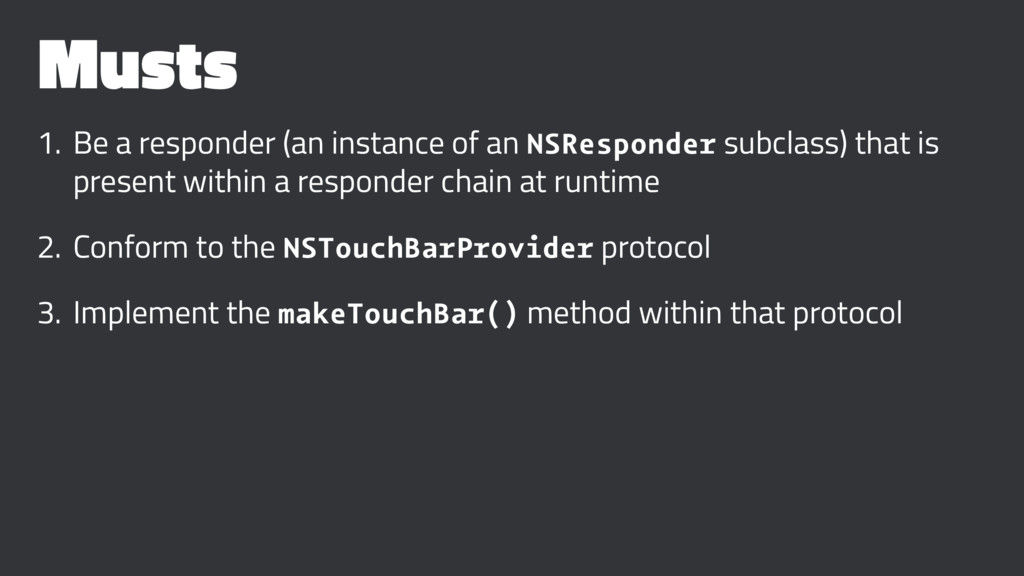
subclass) that is present within a responder chain at runtime 2. Conform to the NSTouchBarProvider protocol 3. Implement the makeTouchBar() method within that protocol
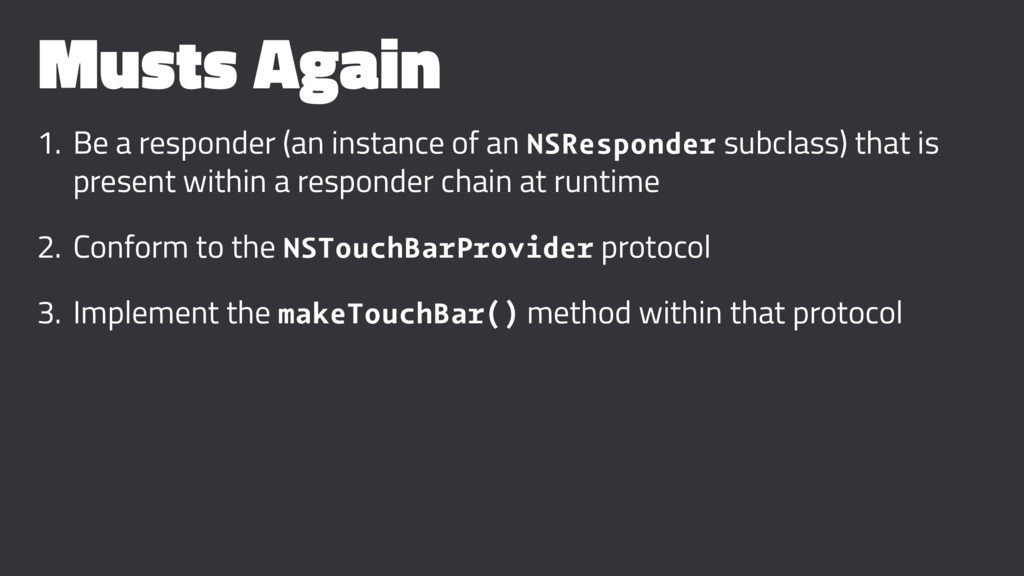
NSResponder subclass) that is present within a responder chain at runtime 2. Conform to the NSTouchBarProvider protocol 3. Implement the makeTouchBar() method within that protocol
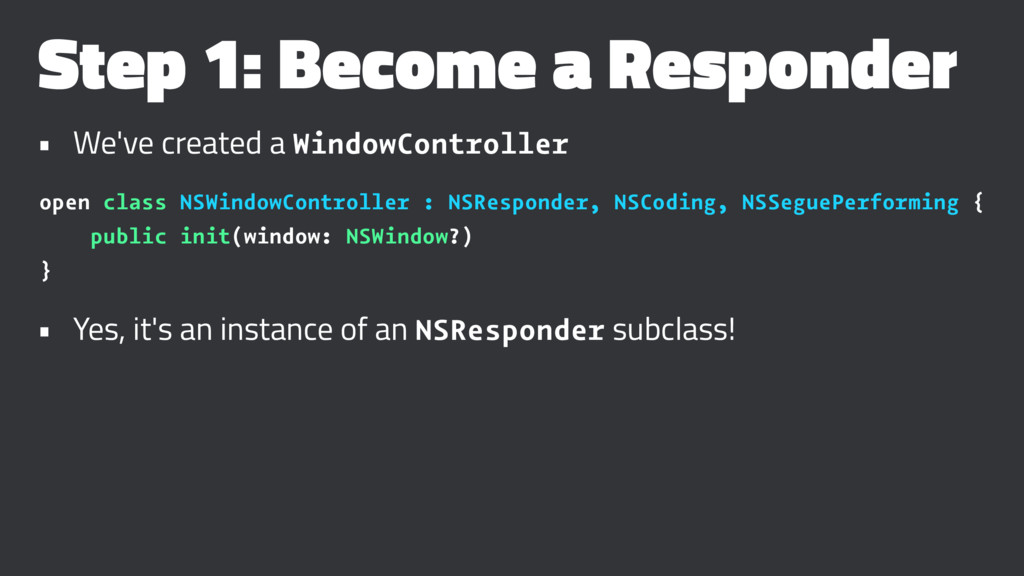
open class NSWindowController : NSResponder, NSCoding, NSSeguePerforming { public init(window: NSWindow?) } • Yes, it's an instance of an NSResponder subclass!
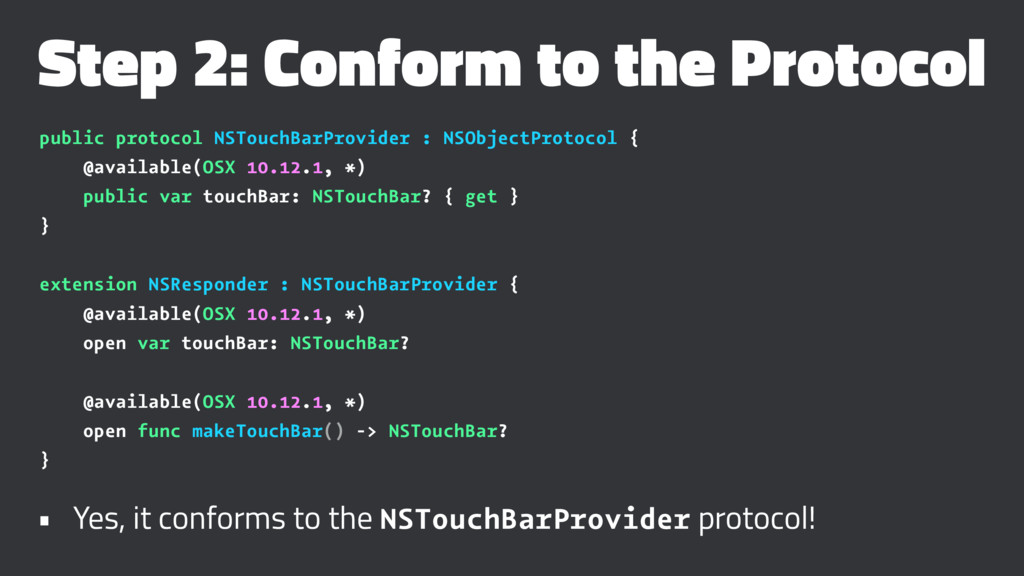
NSObjectProtocol { @available(OSX 10.12.1, *) public var touchBar: NSTouchBar? { get } } extension NSResponder : NSTouchBarProvider { @available(OSX 10.12.1, *) open var touchBar: NSTouchBar? @available(OSX 10.12.1, *) open func makeTouchBar() -> NSTouchBar? } • Yes, it conforms to the NSTouchBarProvider protocol!