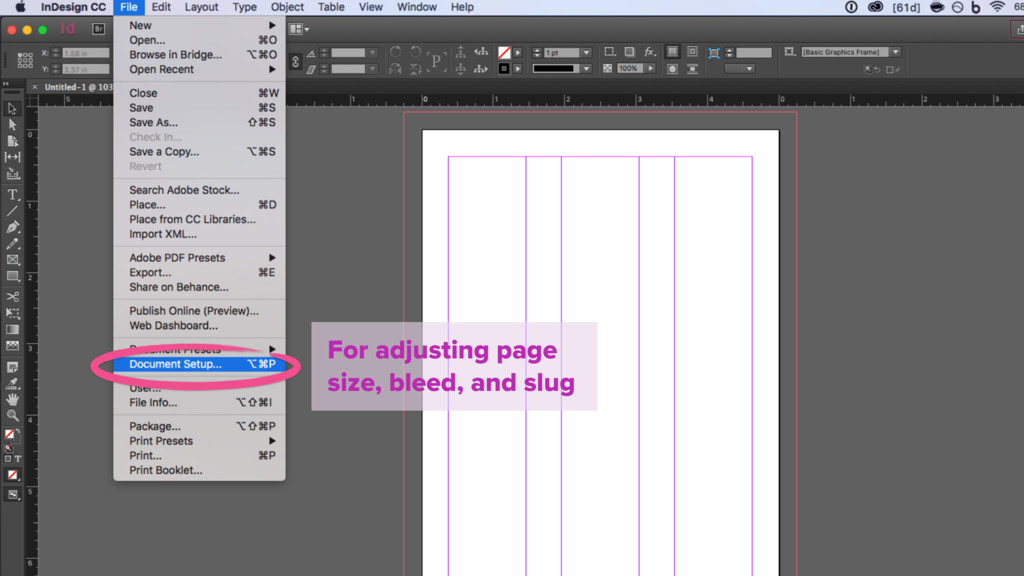
printed work. Unlike bleed, the slug area is not printed at all, as it is intended to provide space for notes to the printer. Occasionally slugs are printed to allow an area for notes about changes or final sign-off on a proof.
flaws, predict results when printing, or record how a print job is intended to appear when finished. There are many more specific words for proofs like “blueline” or “composite proof” which may show different stages of printing or indicate the type of print technology or material.
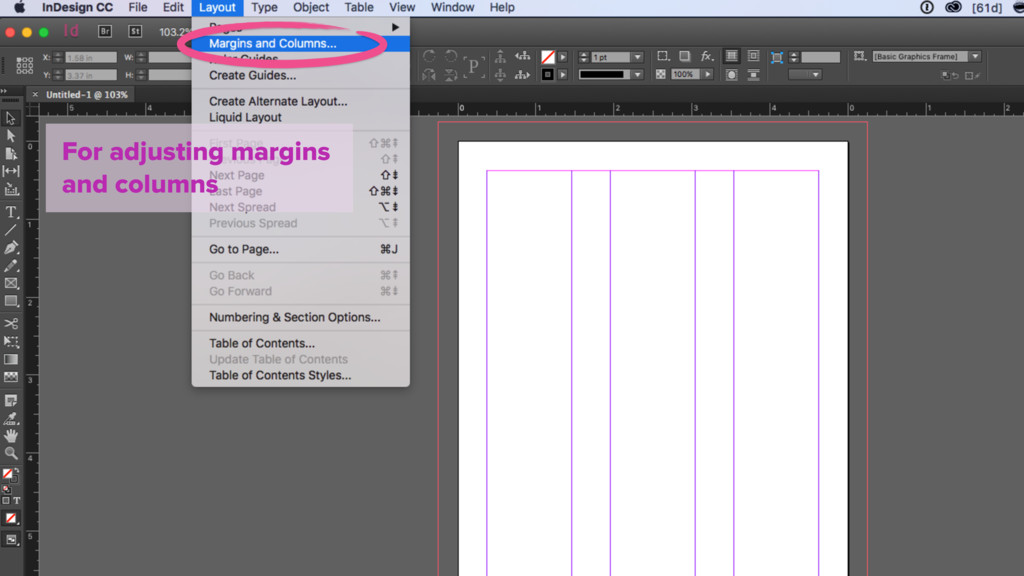
page and the content. Margin proportions are important as they help establish the overall tension of the page, and provide a resting place for the eye.
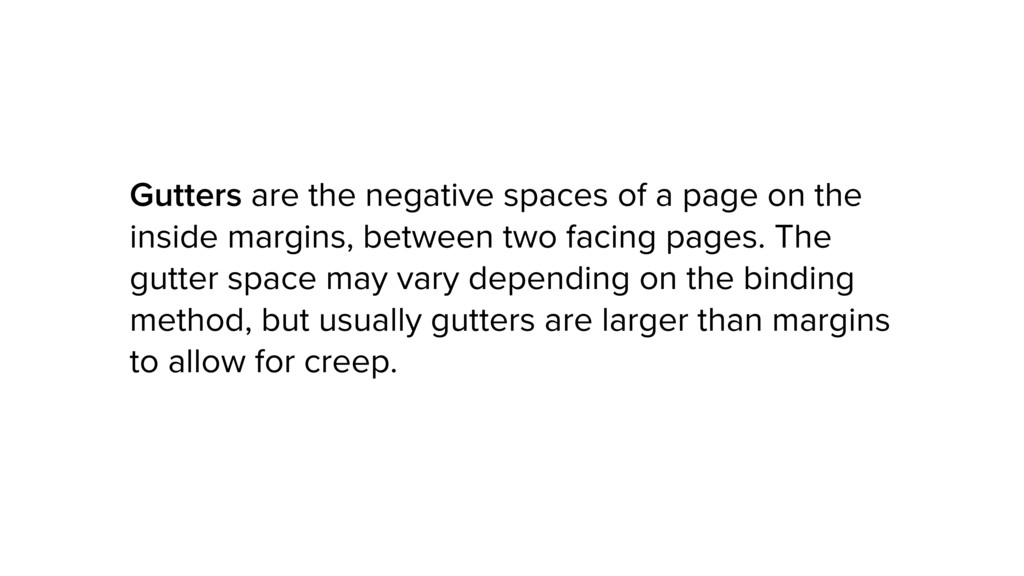
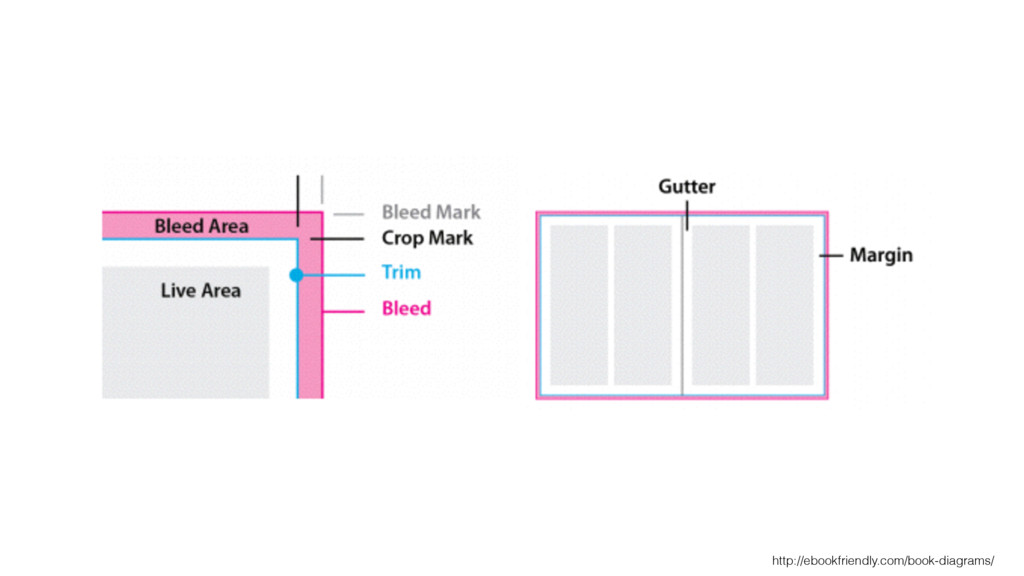
inside margins, between two facing pages. The gutter space may vary depending on the binding method, but usually gutters are larger than margins to allow for creep.
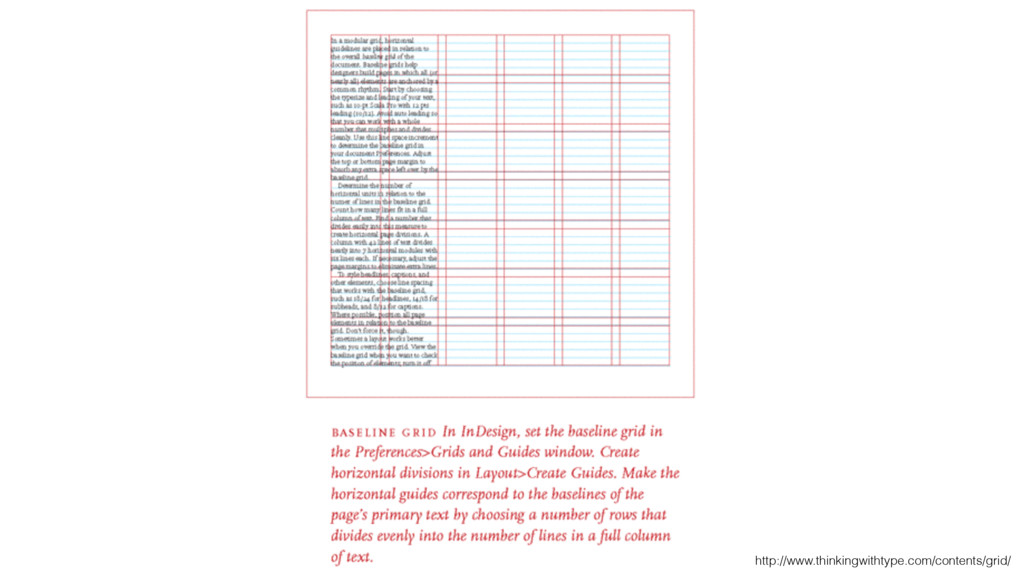
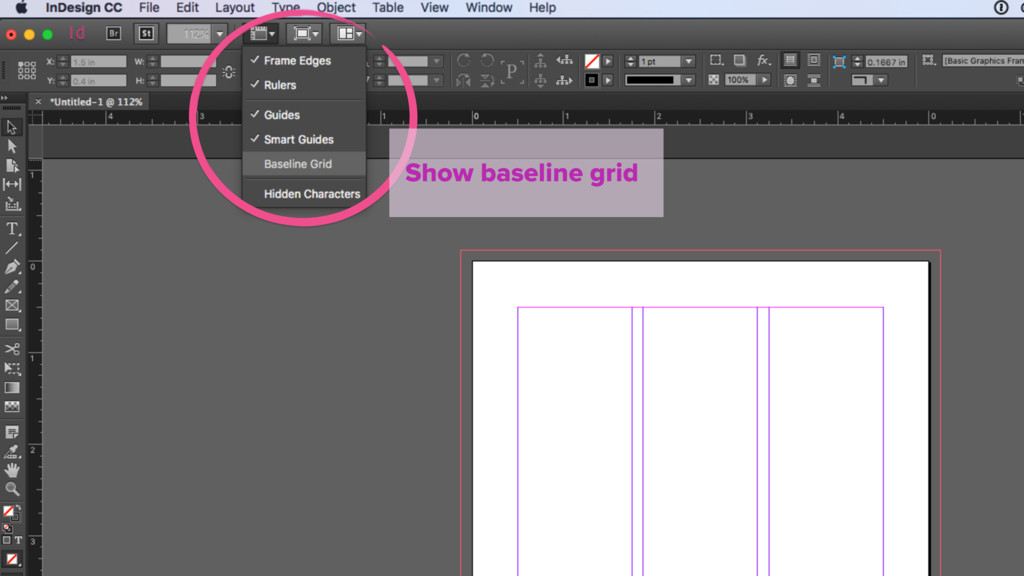
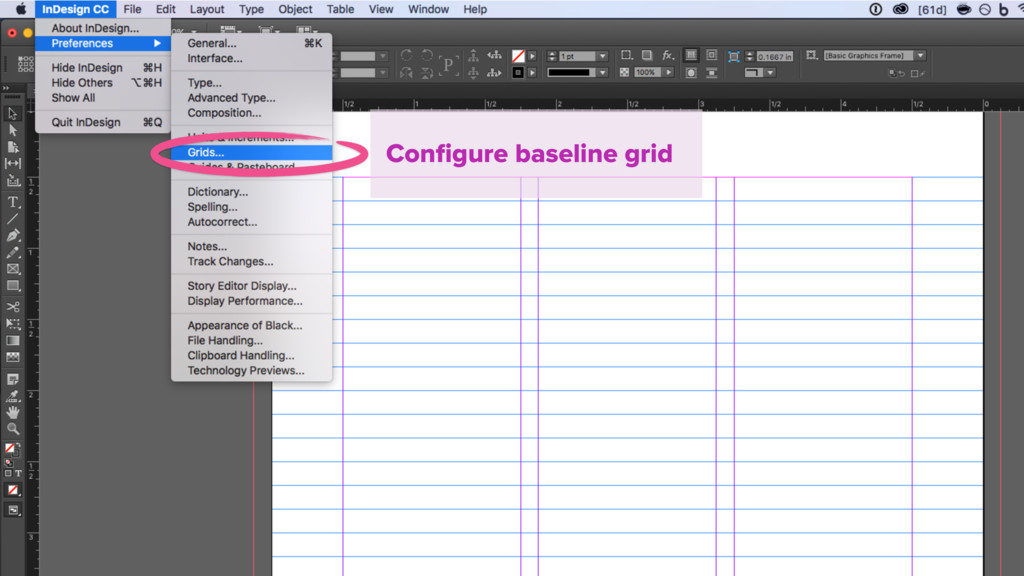
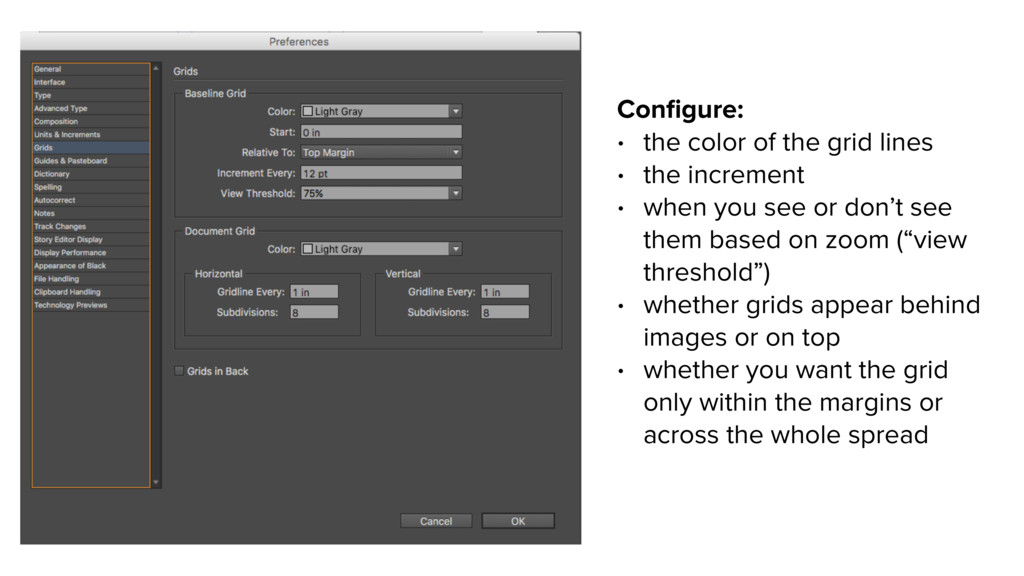
increment • when you see or don’t see them based on zoom (“view threshold”) • whether grids appear behind images or on top • whether you want the grid only within the margins or across the whole spread
type size, treatment, and spacing across the whole document. Using styles helps ensure consistency, and makes it easy to adjust type choices and style later.
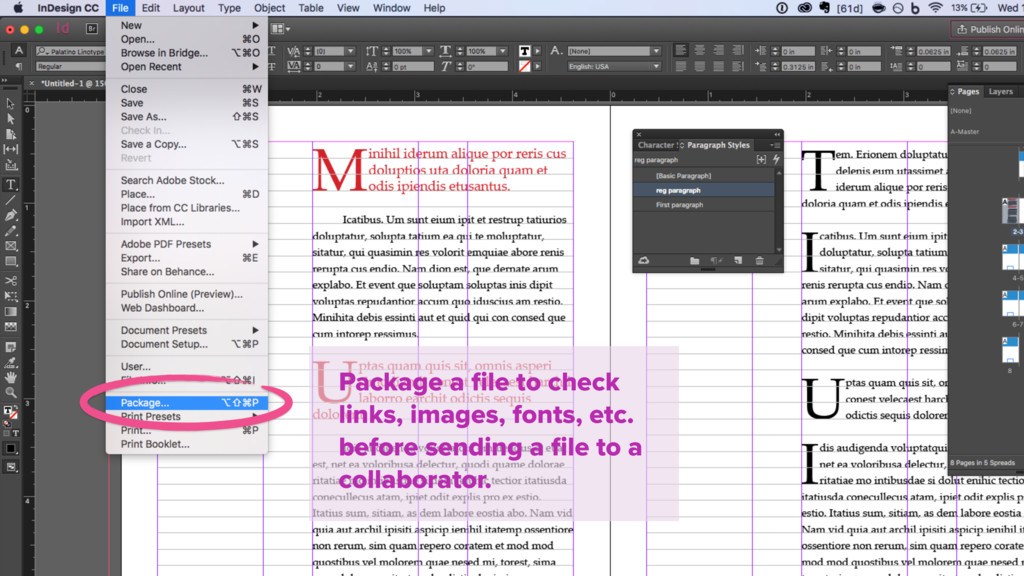
on your system that you’ve used to create your design. For someone else to see your work, they will need the same image files, fonts, and any other assets you’ve used (unlike other programs like PowerPoint). Fortunately, there’s a feature called Packaging that helps with this.
your work in InDesign with a collaborator who will also make edits or work on the design. This is different than exporting, which you will do to create a file that’s ready for sharing with someone who doesn’t have InDesign, or for printing.
to a PDF (printers usually don’t want packaged InDesign files). Check with the printer to see what printers’ marks or bleeds they want included in the file you’re sending.
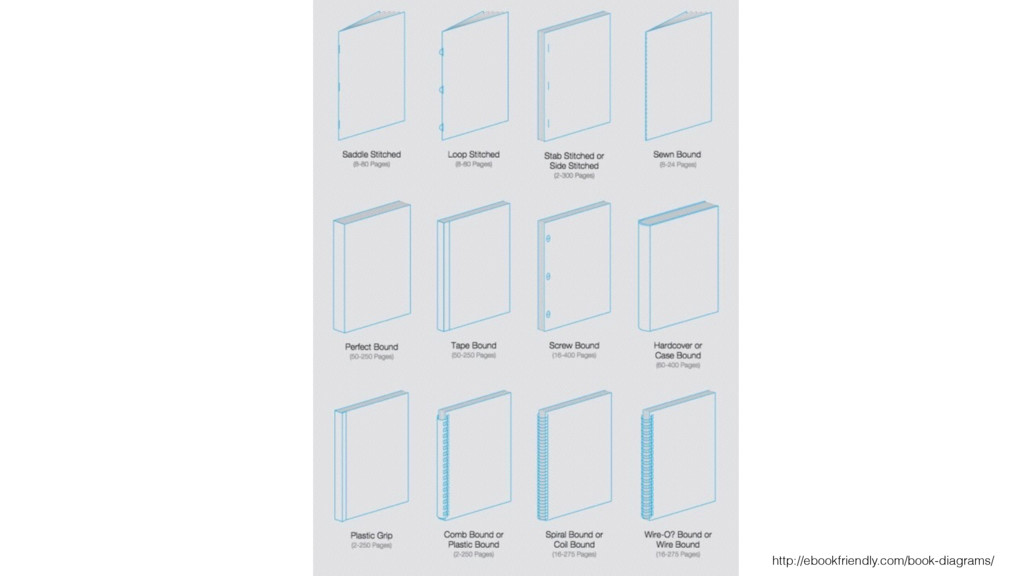
to do with the file, how you are going to bind a book, etc. Imposition (changing page order so folios can be folded) may be required, or perhaps you just want to email someone a PDF or print a proof from your home printer.