Upgrade to Pro
— share decks privately, control downloads, hide ads and more …
Speaker Deck
Features
Speaker Deck
PRO
Sign in
Sign up for free
Search
Search
kubectlの基礎
Search
Sponsored
·
Ship Features Fearlessly
Turn features on and off without deploys. Used by thousands of Ruby developers.
→
hhiroshell
February 28, 2018
Technology
1.3k
6
Share
Embed
Copy iframe code
Copy JS code
Copy link
Start on current slide
kubectlの基礎
hhiroshell
February 28, 2018
More Decks by hhiroshell
See All by hhiroshell
Kubernetes Multi-tenancy: Principles and Practices for Large Scale Internal Platforms
hhiroshell
0
250
Platform Engineering from the CNCF Perspective
hhiroshell
0
85
Maximizing the Launch Reliability: Ensuring Stable Application Lift-off and Orbit on Kubernetes
hhiroshell
0
120
CNCFの視点で捉えるPlatform Engineering - 最新動向と展望 / Platform Engineering from the CNCF Perspective
hhiroshell
0
370
Cloud Native Scalability for Internal Developer Platforms
hhiroshell
5
890
LINEヤフーにおける超大規模プラットフォーム実現への挑戦と学び / Challenges and Lessons in Building an Ultra-Large-Scale Platform at LY Corporation
hhiroshell
3
1.9k
Architecting Kubernetes-Based Internal Developer Platforms: Essential Patterns and Practices
hhiroshell
0
310
Discover Your Tailored Platform Strategy with Real-World Practice
hhiroshell
1
310
Kubernetesでアプリの安定稼働と高頻度のアップデートを両立するためのプラクティス / Best Practices for Applications on Kubernetes to Achieve Both Frequent Updates and Stability
hhiroshell
11
5.1k
Other Decks in Technology
See All in Technology
アップデートで何が変わった?デモで学んで使いこなすIBM Bob2.0
muehara
0
220
AI時代の開発生産性を捉え直す — 経営と現場をつなぐ「開発組織のオブザーバビリティ」— / AI Dev Ex Conference 2026
tkyowa
1
1.2k
全員がリーダーである世界へ キリマンジャロ登頂とシェアド・リーダー
jinwatanabe
0
120
AI時代の開発生産性は、個人技からチーム設計へ
moongift
PRO
4
2.5k
Playwright × AI Agent でE2Eテストはどう変わるか AI駆動テストの可能性と実用検証の結果
taiga7543
2
750
ソニー銀行におけるビジネスアジリティ向上のためのクラウドシフト戦略
srenext
0
1k
生成AI×AWS CDK×AWS FISで"振り返れる"ミニGameDayをつくろう
yoshimi0227
2
500
LLM/Agent評価:トップ営業の発言を「正解」にする 〜暗黙的正解による評価を営業資産に変える〜
takkuhiro
1
240
データエンジニアリングとドメイン駆動設計
masuda220
PRO
13
2.3k
ゴールデンパスは敷いただけでは道にならない ─ 企画部門のエンジニアが技術標準を事業価値に変えるまで
mhrtech
1
250
Webアプリ認証の全体像 / The Big Picture of Web App Authentication
kitano_yuichi
1
400
現場との対話から始める “作る前に問い直す”業務改善
mochico50
1
160
Featured
See All Featured
Fireside Chat
paigeccino
42
4k
Ecommerce SEO: The Keys for Success Now & Beyond - #SERPConf2024
aleyda
1
2.1k
Designing for humans not robots
tammielis
254
26k
Done Done
chrislema
186
16k
Connecting the Dots Between Site Speed, User Experience & Your Business [WebExpo 2025]
tammyeverts
11
970
The Anti-SEO Checklist Checklist. Pubcon Cyber Week
ryanjones
0
190
Being A Developer After 40
akosma
91
590k
Paper Plane (Part 1)
katiecoart
PRO
1
9.7k
Building a Modern Day E-commerce SEO Strategy
aleyda
45
9.1k
CoffeeScript is Beautiful & I Never Want to Write Plain JavaScript Again
sstephenson
162
16k
Utilizing Notion as your number one productivity tool
mfonobong
4
440
4 Signs Your Business is Dying
shpigford
187
22k
Transcript
Cloud Native Developers JP kubectlの基礎 @hhiroshell 1
Cloud Native Developers JP Kubernetesの全体像 k8sクラスター >_ kubectl (CLI) マシンとネットワーク
2
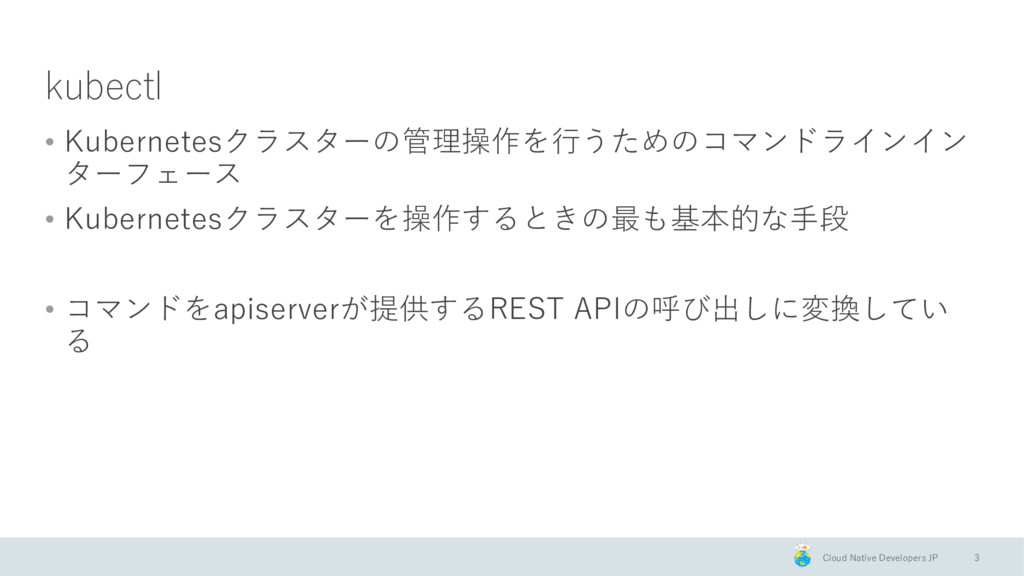
Cloud Native Developers JP kubectl • Kubernetesクラスターの管理操作を行うためのコマンドラインイン ターフェース • Kubernetesクラスターを操作するときの最も基本的な手段
• コマンドをapiserverが提供するREST APIの呼び出しに変換してい る 3
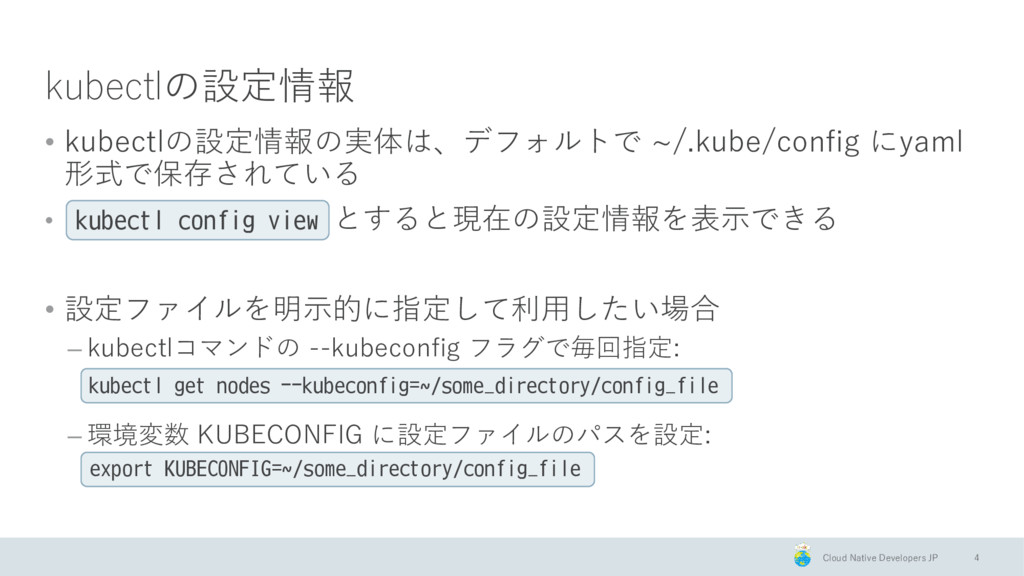
Cloud Native Developers JP kubectlの設定情報 • kubectlの設定情報の実体は、デフォルトで ~/.kube/config にyaml 形式で保存されている
• kubectl config view とすると現在の設定情報を表示できる • 設定ファイルを明示的に指定して利用したい場合 – kubectlコマンドの --kubeconfig フラグで毎回指定: kubectl get nodes --kubeconfig=~/some_directory/config_file – 環境変数 KUBECONFIG に設定ファイルのパスを設定: export KUBECONFIG=~/some_directory/config_file 4
Cloud Native Developers JP kubectlでよく使うコマンド(チートシート) 5
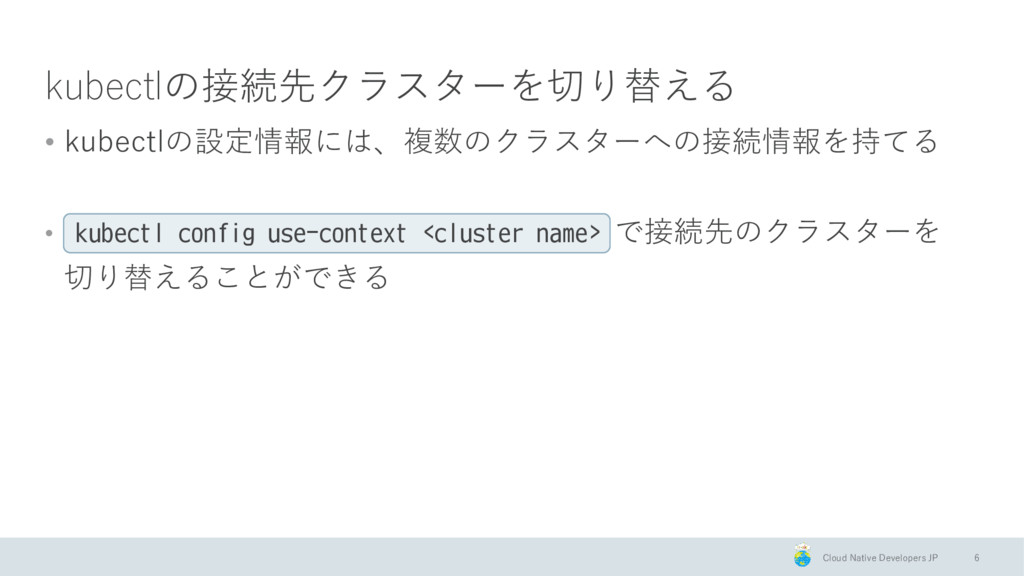
Cloud Native Developers JP kubectlの接続先クラスターを切り替える • kubectlの設定情報には、複数のクラスターへの接続情報を持てる • kubectl config
use-context <cluster name> で接続先のクラスターを 切り替えることができる 6
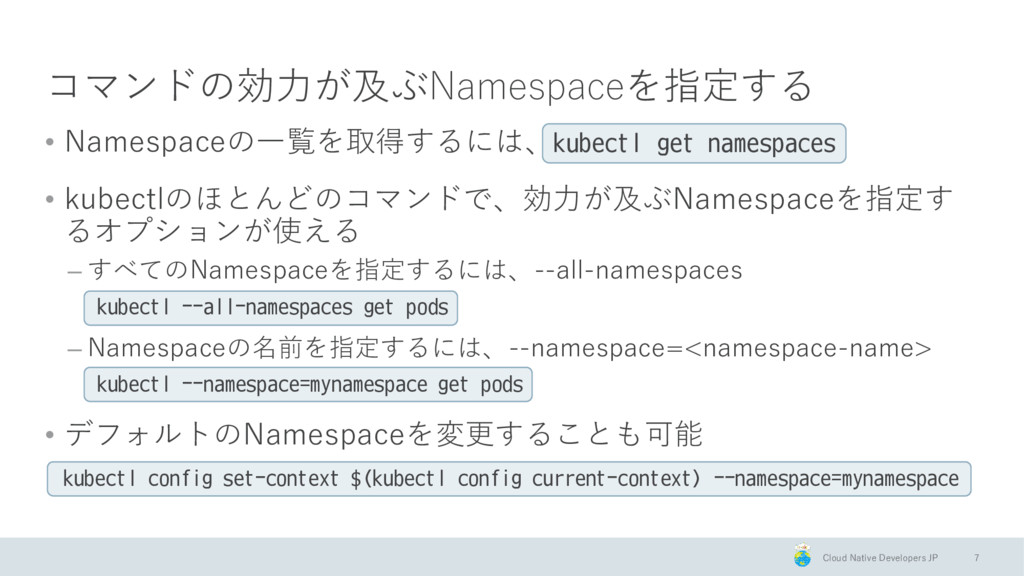
Cloud Native Developers JP コマンドの効力が及ぶNamespaceを指定する • Namespaceの一覧を取得するには、kubectl get namespaces •
kubectlのほとんどのコマンドで、効力が及ぶNamespaceを指定す るオプションが使える – すべてのNamespaceを指定するには、--all-namespaces kubectl --all-namespaces get pods – Namespaceの名前を指定するには、--namespace=<namespace-name> kubectl --namespace=mynamespace get pods • デフォルトのNamespaceを変更することも可能 kubectl config set-context $(kubectl config current-context) --namespace=mynamespace 7
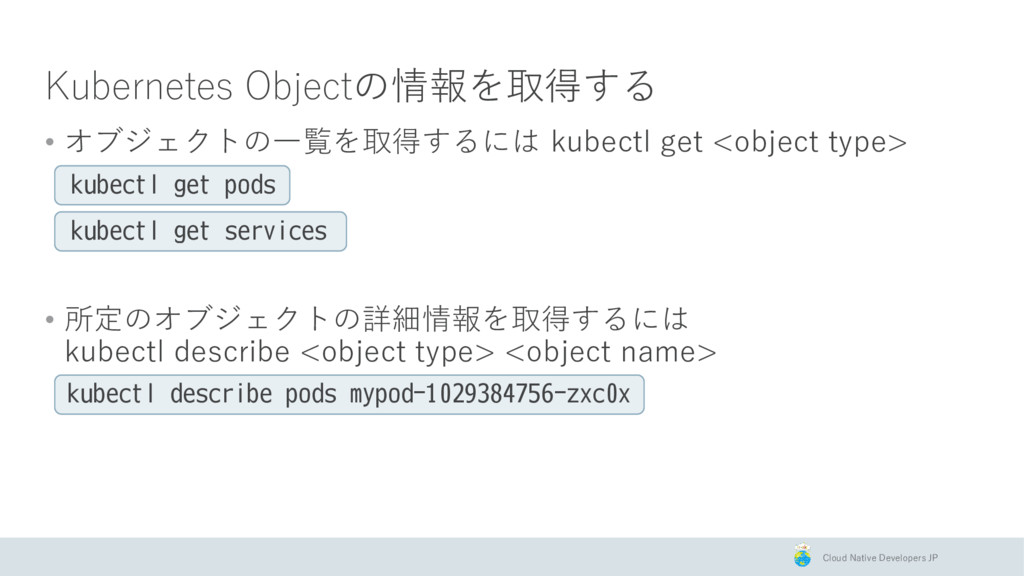
Cloud Native Developers JP Kubernetes Objectの情報を取得する • オブジェクトの一覧を取得するには kubectl get
<object type> kubectl get pods kubectl get services • 所定のオブジェクトの詳細情報を取得するには kubectl describe <object type> <object name> kubectl describe pods mypod-1029384756-zxc0x
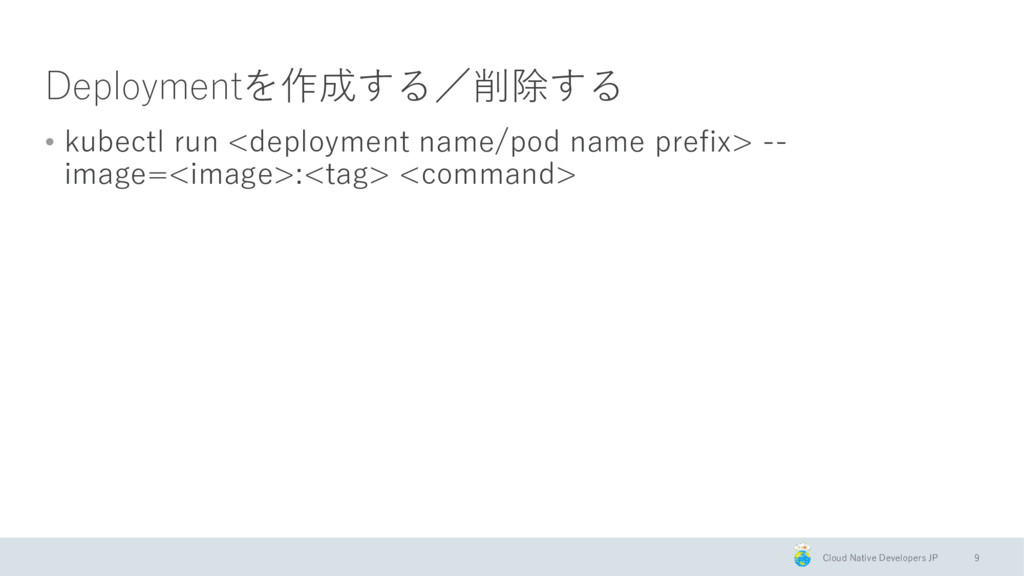
Cloud Native Developers JP Deploymentを作成する/削除する • kubectl run <deployment name/pod
name prefix> -- image=<image>:<tag> <command> 9
Cloud Native Developers JP manifestファイルでKubernetes Objectを操作する • manifestはKubernetes Objectの構成情報を記述したjson/yamlファイル •
-f オプションでファイル自体のパスか、manifestのあるディレクトリの パスを指定する • 命令的方式 – オブジェクトに対する作用(create, delete, replace...)を明示して実行する kubectl create –f ./deployment-nginx.yaml • 宣言的方式 – maninfestファイルから要求された状態を識別し、自動的にオブジェクトを変更する kubectl apply -f ./deployment-nginx.yaml 10
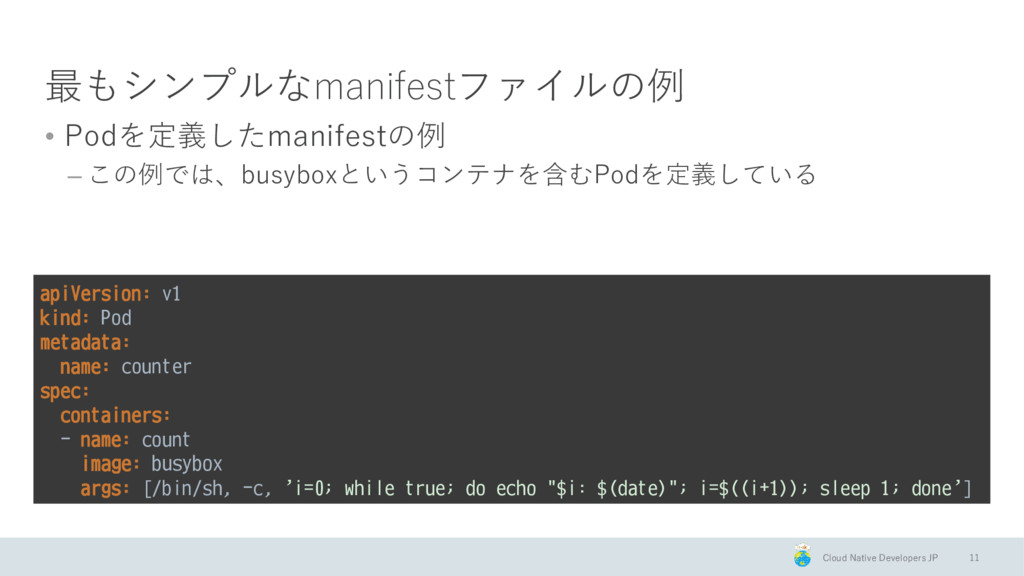
Cloud Native Developers JP 最もシンプルなmanifestファイルの例 • Podを定義したmanifestの例 – この例では、busyboxというコンテナを含むPodを定義している 11
apiVersion: v1 kind: Pod metadata: name: counter spec: containers: - name: count image: busybox args: [/bin/sh, -c, 'i=0; while true; do echo "$i: $(date)"; i=$((i+1)); sleep 1; done']
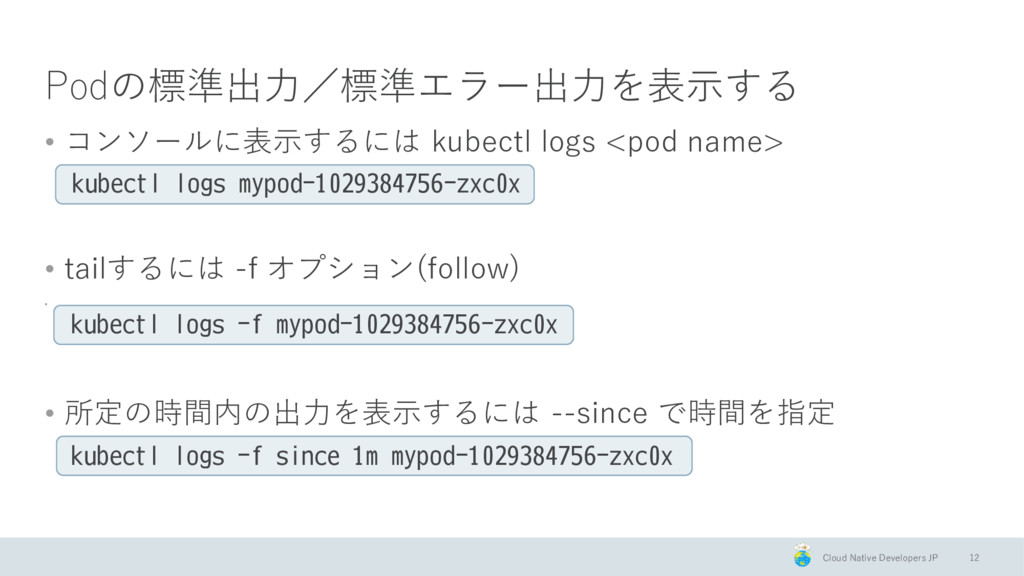
Cloud Native Developers JP Podの標準出力/標準エラー出力を表示する • コンソールに表示するには kubectl logs <pod
name> kubectl logs mypod-1029384756-zxc0x • tailするには -f オプション(follow) • kubectl logs -f mypod-1029384756-zxc0x • 所定の時間内の出力を表示するには --since で時間を指定 kubectl logs -f since 1m mypod-1029384756-zxc0x 12
Cloud Native Developers JP 実行中のPodで任意のコマンドを実行する • kubectl exec <pod name>
<command> でOK • “hello world”を出力 kubectl exec mypod-1029384756-zxc0x echo hello world • シェルにアクセス kubectl exec -it mypod-1029384756-zxc0x /bin/bash 13
Cloud Native Developers JP 14 Fin