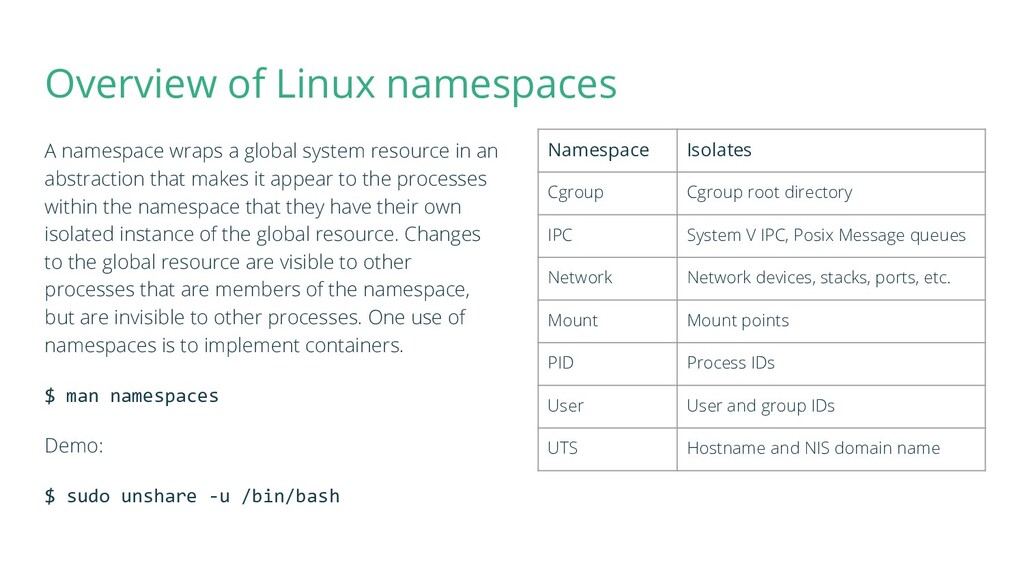
resource in an abstraction that makes it appear to the processes within the namespace that they have their own isolated instance of the global resource. Changes to the global resource are visible to other processes that are members of the namespace, but are invisible to other processes. One use of namespaces is to implement containers. $ man namespaces Demo: $ sudo unshare -u /bin/bash Namespace Isolates Cgroup Cgroup root directory IPC System V IPC, Posix Message queues Network Network devices, stacks, ports, etc. Mount Mount points PID Process IDs User User and group IDs UTS Hostname and NIS domain name
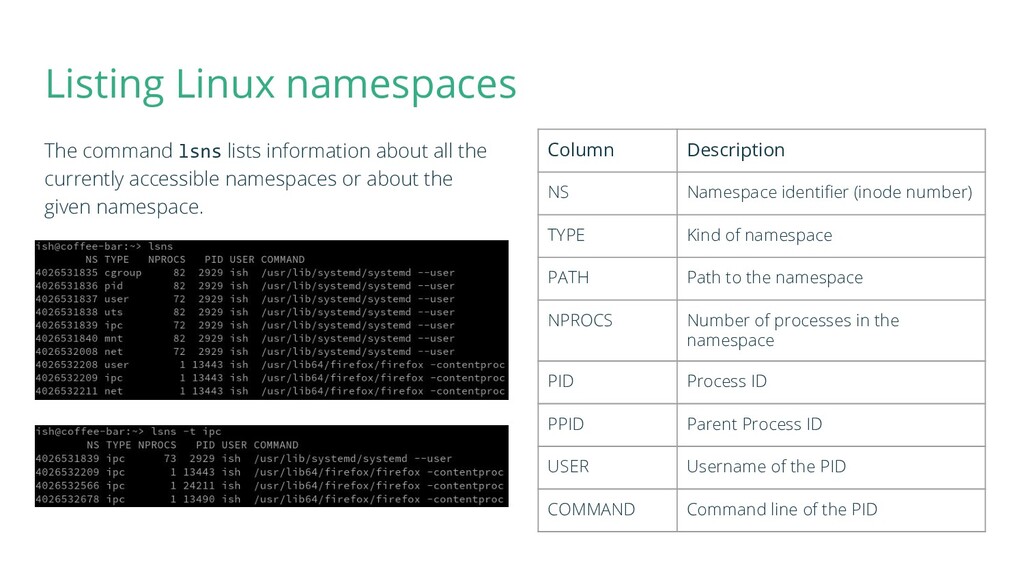
the currently accessible namespaces or about the given namespace. Column Description NS Namespace identifier (inode number) TYPE Kind of namespace PATH Path to the namespace NPROCS Number of processes in the namespace PID Process ID PPID Parent Process ID USER Username of the PID COMMAND Command line of the PID
or high-level. Low-level container runtimes would usually focus on just running containers, e.g runc. High-level container runtimes provide additional features, e.g manage images and containers. Nevertheless, running a container is often all that is required to call “something” a container runtime. • containerd • Docker • Kata Containers • LXD • rkt • runc • Others… (Mentioned in alphabetical order)
with local and remote container images and container image registries. Skopeo can copy container images between various containers image stores, converting them as necessary. $ skopeo inspect docker://opensuse/leap $ mkdir nginx $ skopeo copy docker://nginx:latest dir:nginx $ tree nginx
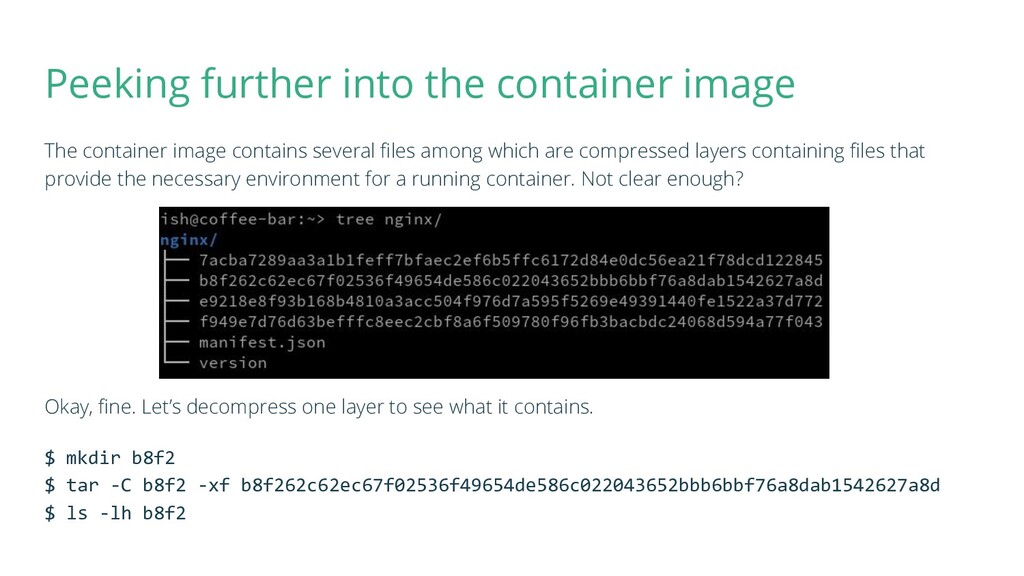
several files among which are compressed layers containing files that provide the necessary environment for a running container. Not clear enough? Okay, fine. Let’s decompress one layer to see what it contains. $ mkdir b8f2 $ tar -C b8f2 -xf b8f262c62ec67f02536f49654de586c022043652bbb6bbf76a8dab1542627a8d $ ls -lh b8f2
that is a simple daemonless tool. Podman provides a Docker-CLI comparable command line that eases the transition from other container engines and allows the management of pods, containers and images. Podman uses Buildah internally to create container images. Both tools share image (not container) storage, hence each can use or manipulate images (but not containers) created by the other. Simple demo: $ podman run --rm -d -p 8080:80 nginx $ curl localhost:8080
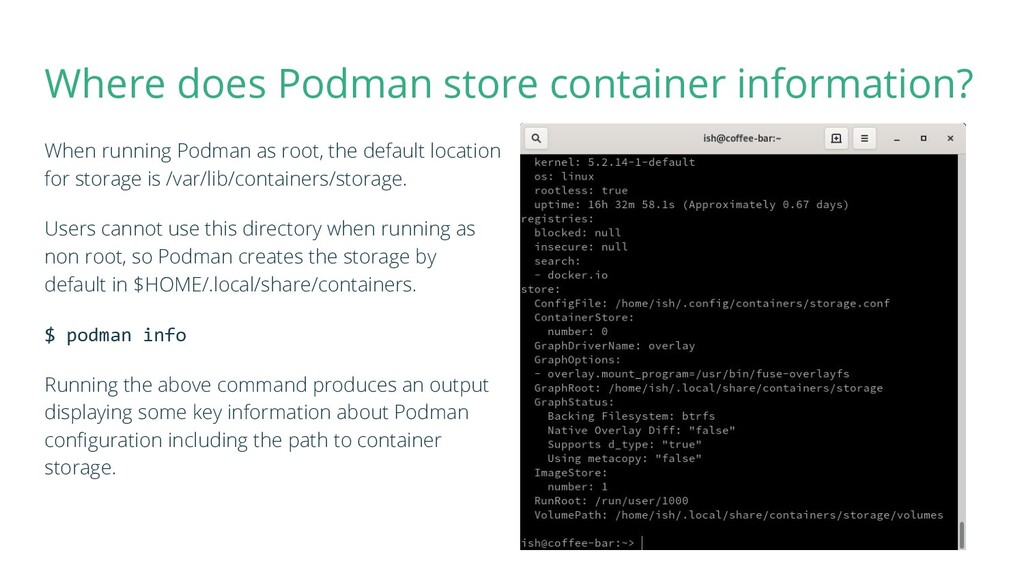
root, the default location for storage is /var/lib/containers/storage. Users cannot use this directory when running as non root, so Podman creates the storage by default in $HOME/.local/share/containers. $ podman info Running the above command produces an output displaying some key information about Podman configuration including the path to container storage.
need to understand a few basic things about registries. What happened when we ran the below command earlier? $ podman run --rm -d -p 8080:80 nginx Podman first checks whether there is a local image tagged “nginx” to spin a container from. If it is not present on the system it will look for it in some “remote location”, pull the image and then run the container. The action of pulling a container can be independent of running a container, e.g: $ podman pull nextcloud The remote location which we referred to is called a container registry. Local images can be listed by executing: $ podman images
/etc/containers/registries.conf. It is a system-wide configuration file for container image registries. The file format is TOML. More information about the configuration can be found in the man page. $ man containers-registries.conf The most important thing about this config file is the specification of registry urls. [registries.search] registries = ["registry.opensuse.org", "docker.io"] The above list contains urls of container registries where images will be searched and downloaded from. If the list contains more that one url they should be comma separated.
should pull an image. $ podman pull registry.opensuse.org/opensuse/nginx:latest $ podman pull registry.opensuse.org/opensuse/nginx:1.17.9 Skopeo can be used to find all the tags for a specific image. $ skopeo inspect docker://registry.opensuse.org/opensuse/nginx Look for the RepoTags and you will find the different Nginx version numbers for which a container image was built.
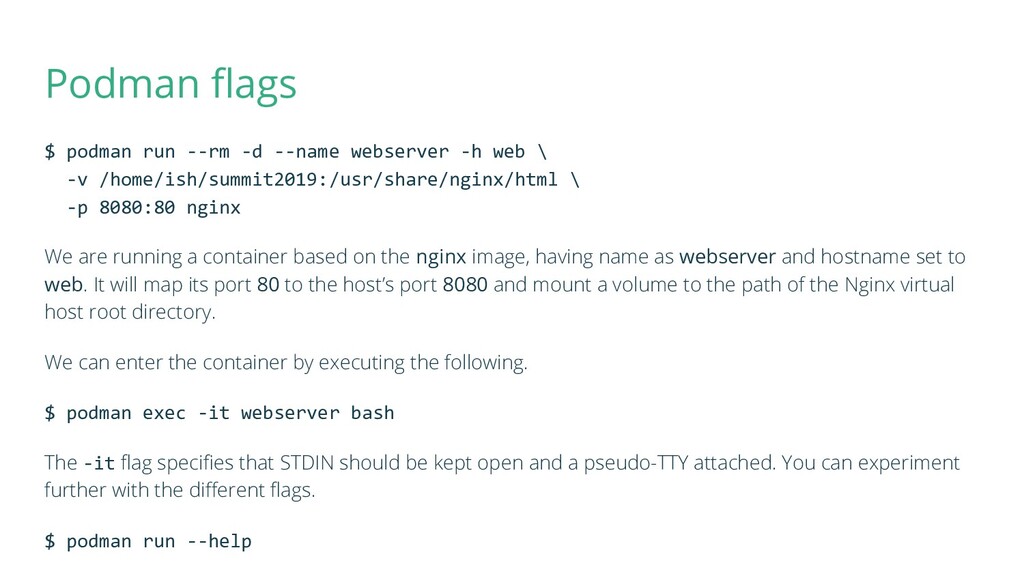
web \ -v /home/ish/summit2019:/usr/share/nginx/html \ -p 8080:80 nginx We are running a container based on the nginx image, having name as webserver and hostname set to web. It will map its port 80 to the host’s port 8080 and mount a volume to the path of the Nginx virtual host root directory. We can enter the container by executing the following. $ podman exec -it webserver bash The -it flag specifies that STDIN should be kept open and a pseudo-TTY attached. You can experiment further with the different flags. $ podman run --help
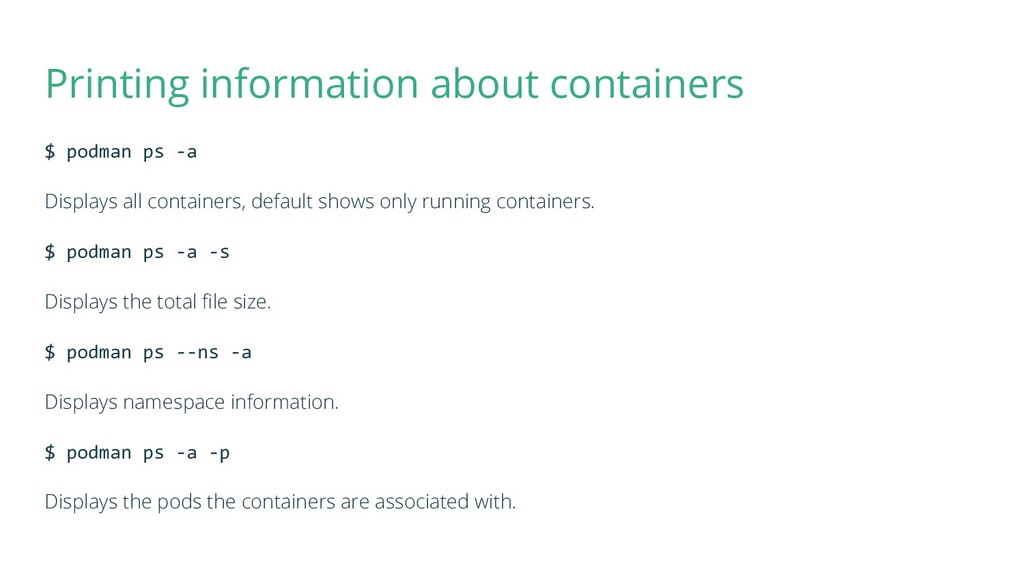
containers, default shows only running containers. $ podman ps -a -s Displays the total file size. $ podman ps --ns -a Displays namespace information. $ podman ps -a -p Displays the pods the containers are associated with.
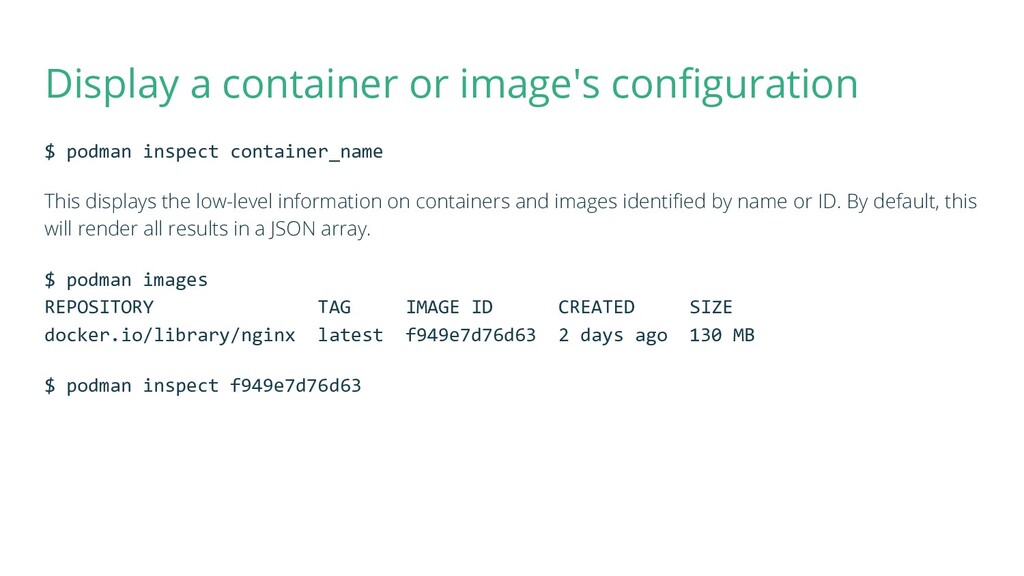
This displays the low-level information on containers and images identified by name or ID. By default, this will render all results in a JSON array. $ podman images REPOSITORY TAG IMAGE ID CREATED SIZE docker.io/library/nginx latest f949e7d76d63 2 days ago 130 MB $ podman inspect f949e7d76d63
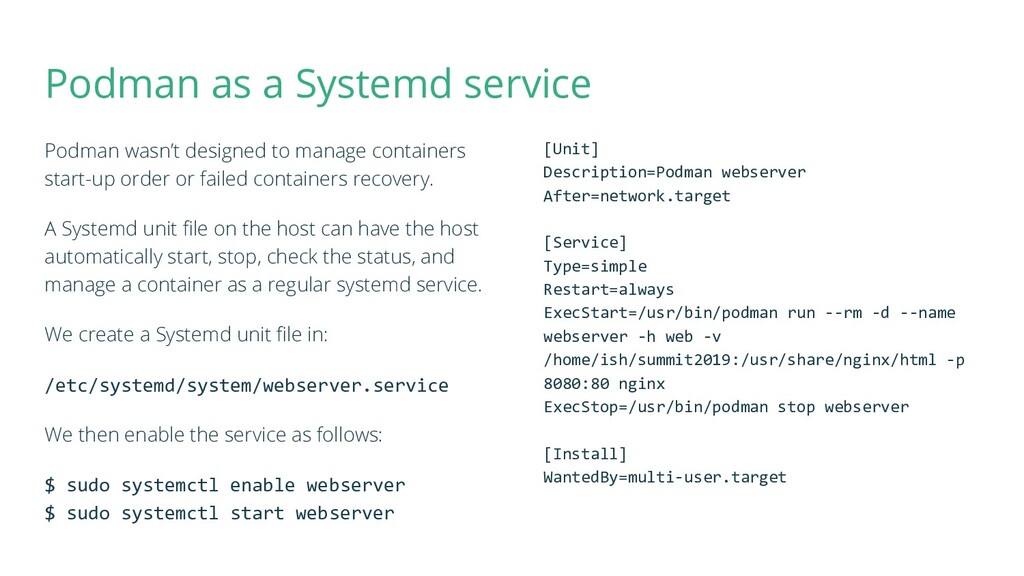
containers start-up order or failed containers recovery. A Systemd unit file on the host can have the host automatically start, stop, check the status, and manage a container as a regular systemd service. We create a Systemd unit file in: /etc/systemd/system/webserver.service We then enable the service as follows: $ sudo systemctl enable webserver $ sudo systemctl start webserver [Unit] Description=Podman webserver After=network.target [Service] Type=simple Restart=always ExecStart=/usr/bin/podman run --rm -d --name webserver -h web -v /home/ish/summit2019:/usr/share/nginx/html -p 8080:80 nginx ExecStop=/usr/bin/podman stop webserver [Install] WantedBy=multi-user.target
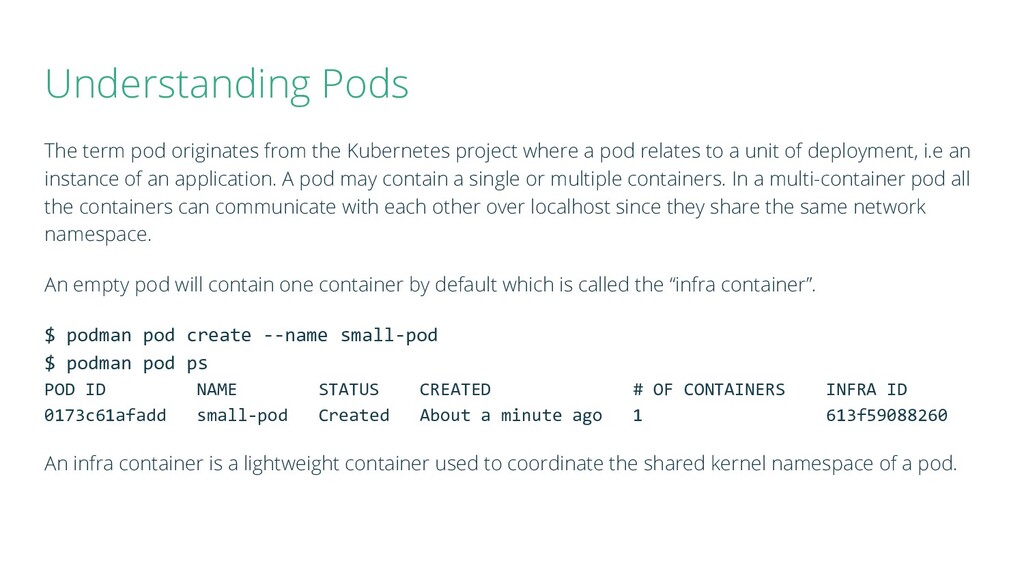
where a pod relates to a unit of deployment, i.e an instance of an application. A pod may contain a single or multiple containers. In a multi-container pod all the containers can communicate with each other over localhost since they share the same network namespace. An empty pod will contain one container by default which is called the “infra container”. $ podman pod create --name small-pod $ podman pod ps POD ID NAME STATUS CREATED # OF CONTAINERS INFRA ID 0173c61afadd small-pod Created About a minute ago 1 613f59088260 An infra container is a lightweight container used to coordinate the shared kernel namespace of a pod.
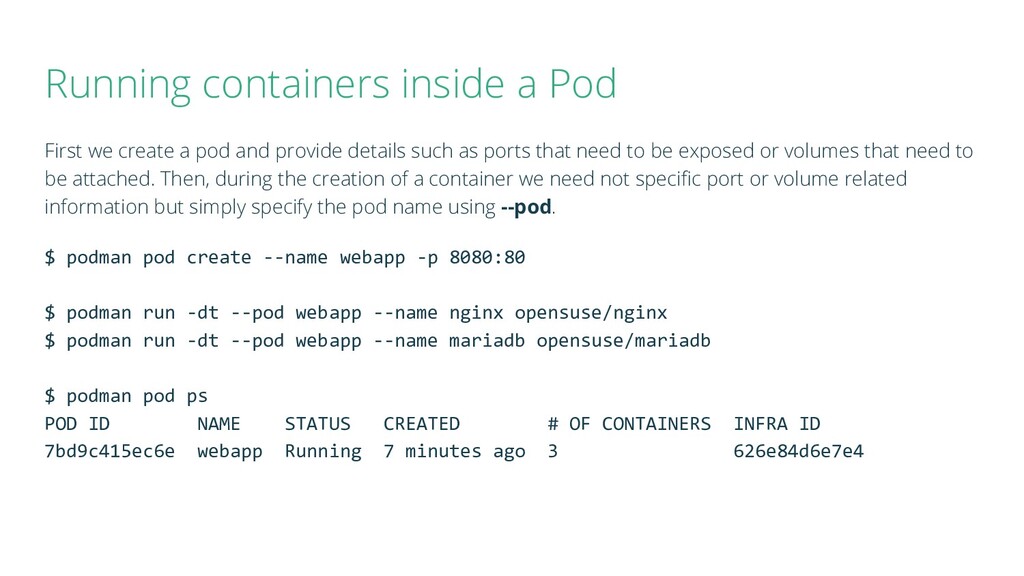
and provide details such as ports that need to be exposed or volumes that need to be attached. Then, during the creation of a container we need not specific port or volume related information but simply specify the pod name using --pod. $ podman pod create --name webapp -p 8080:80 $ podman run -dt --pod webapp --name nginx opensuse/nginx $ podman run -dt --pod webapp --name mariadb opensuse/mariadb $ podman pod ps POD ID NAME STATUS CREATED # OF CONTAINERS INFRA ID 7bd9c415ec6e webapp Running 7 minutes ago 3 626e84d6e7e4
and communication tool between podman and runc for a single container. $ podman ps -a --pod $ ps -ef `pidof conmon` Compare the output of the above commands to relate one conmon process for every running container.
under the Creative Commons Attribution-Share Alike 4.0 License (unless otherwise specified). “LibreOffice” and “The Document Foundation” are registered trademarks. Their respective logos and icons are subject to international copyright laws. The use of these thereof is subject to trademark policy. Finish Thank You