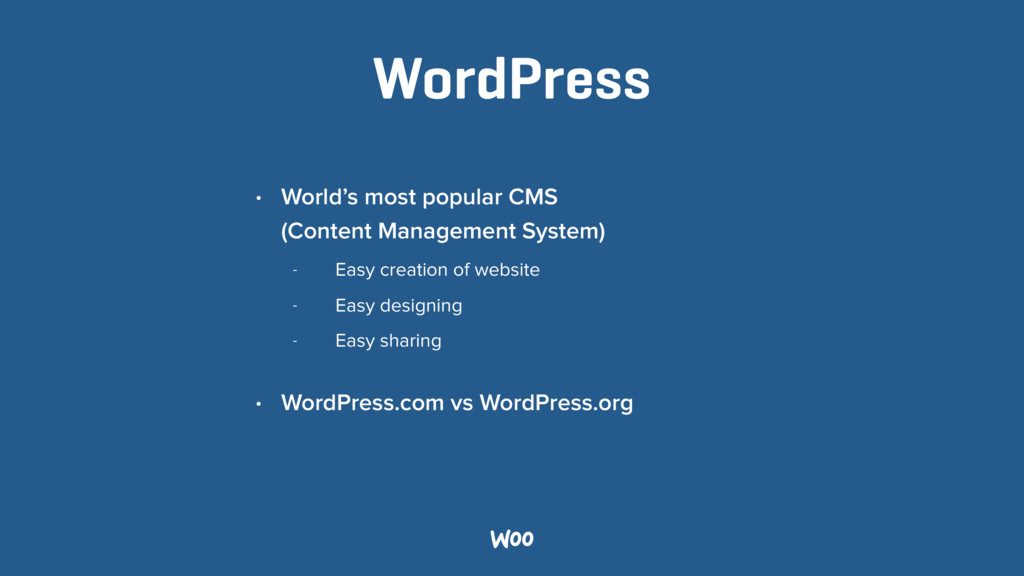
In May 2016, Hugh, Gareth and I (all working at Automattic) went to GROW! leadership academy to teach how to set up a WordPress.com website to support the projects that the students had been working on.
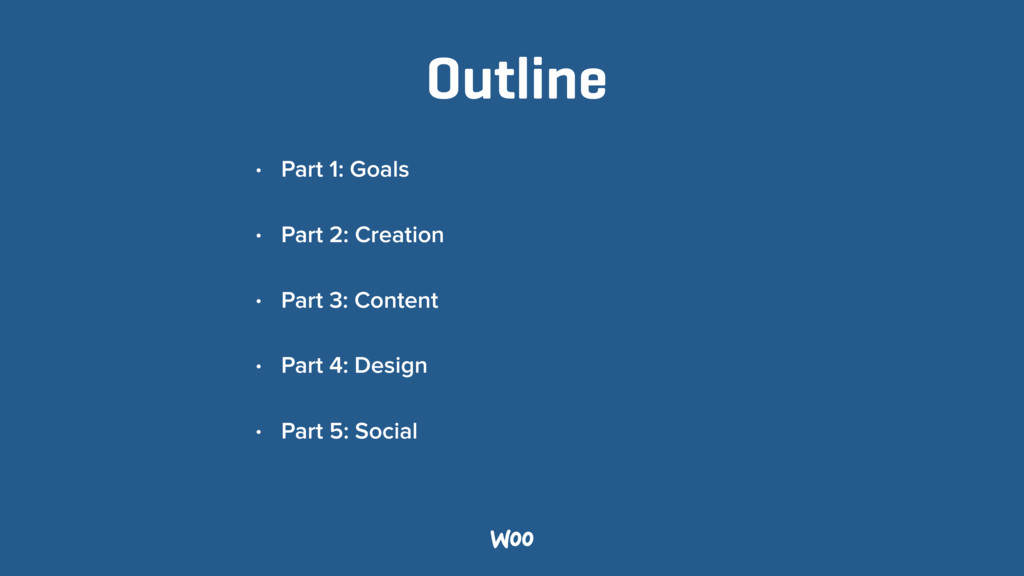
We talked about:
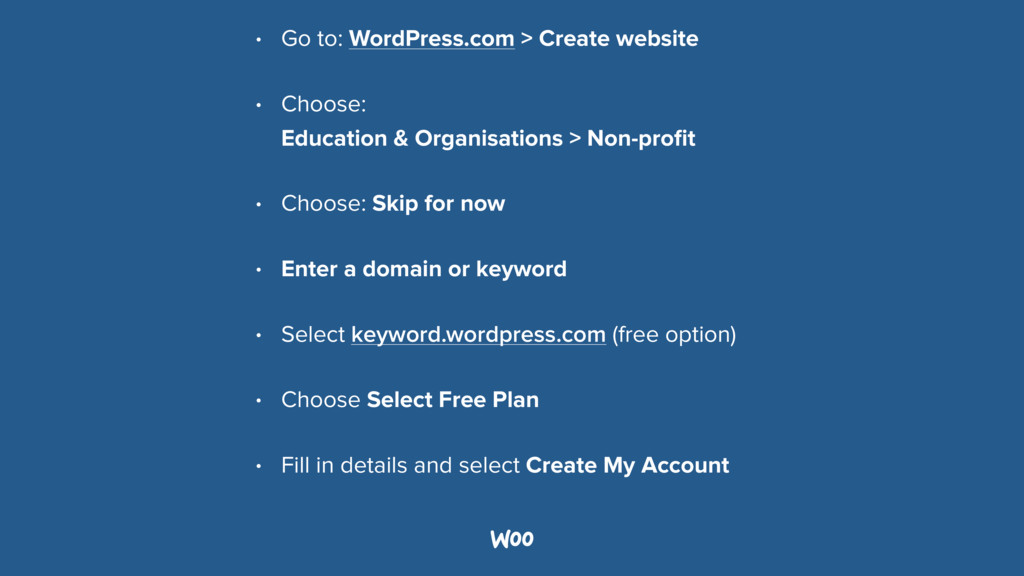
- Designing structure
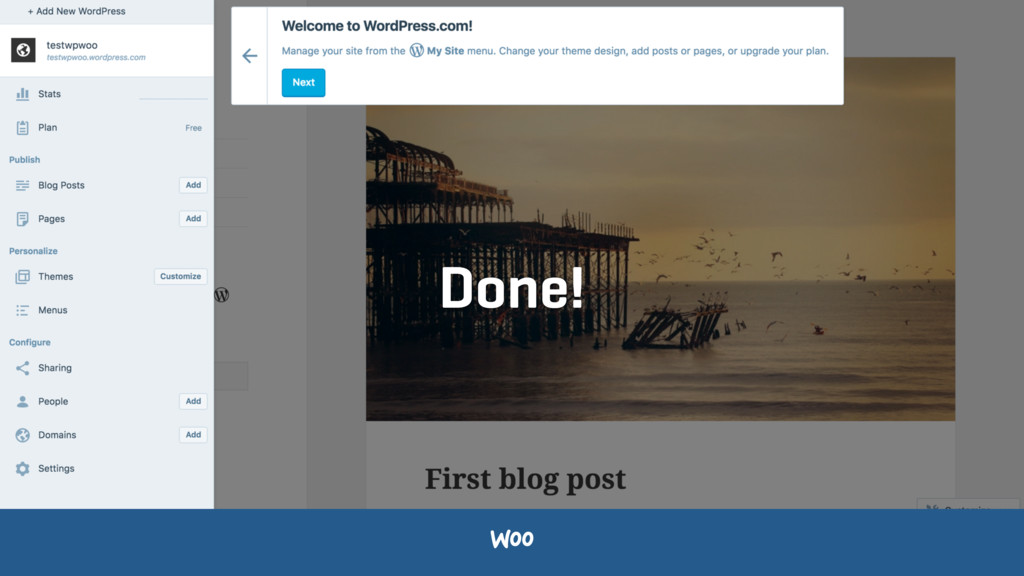
- Setting up accounts
- Creating content
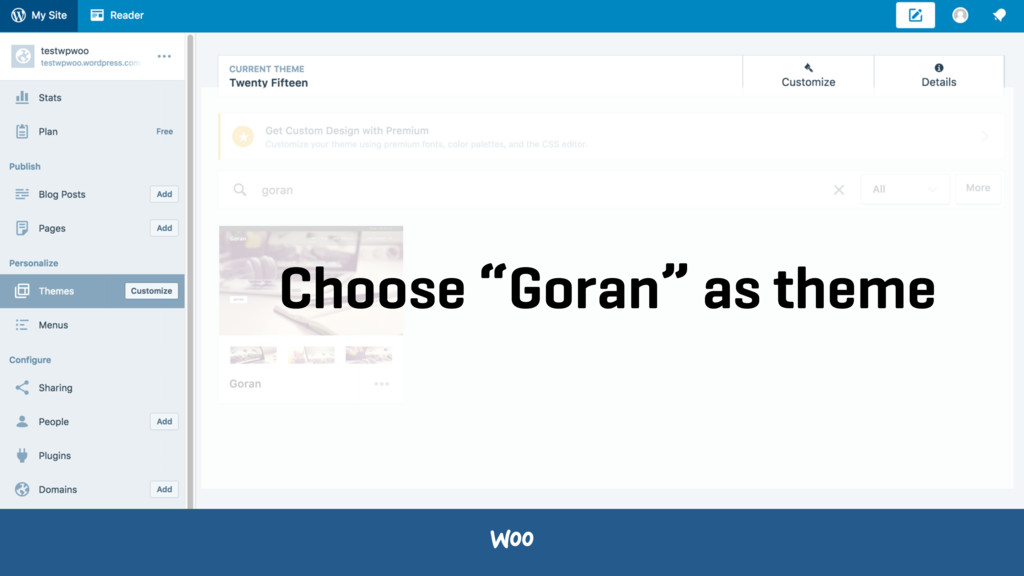
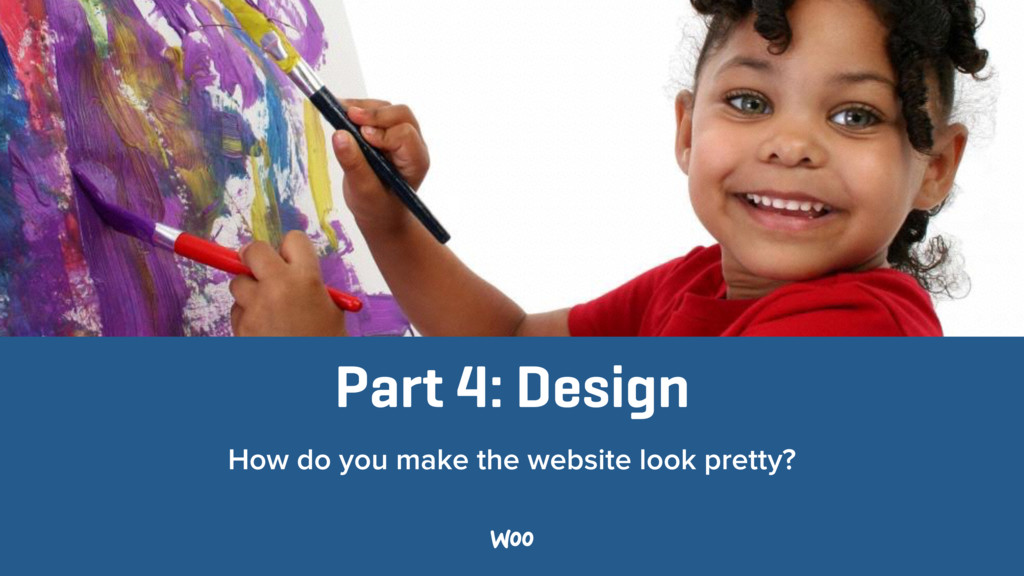
- Improving design
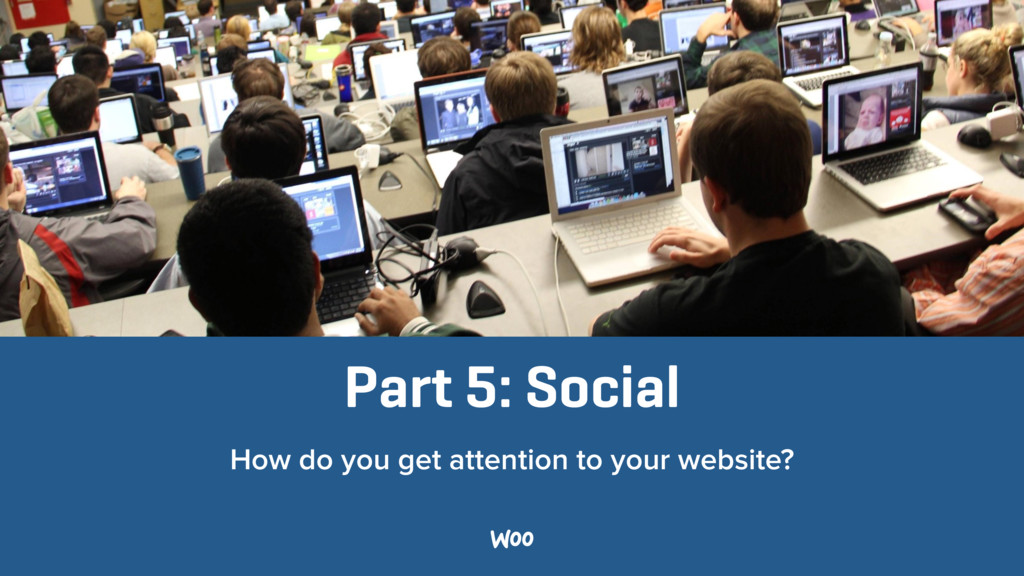
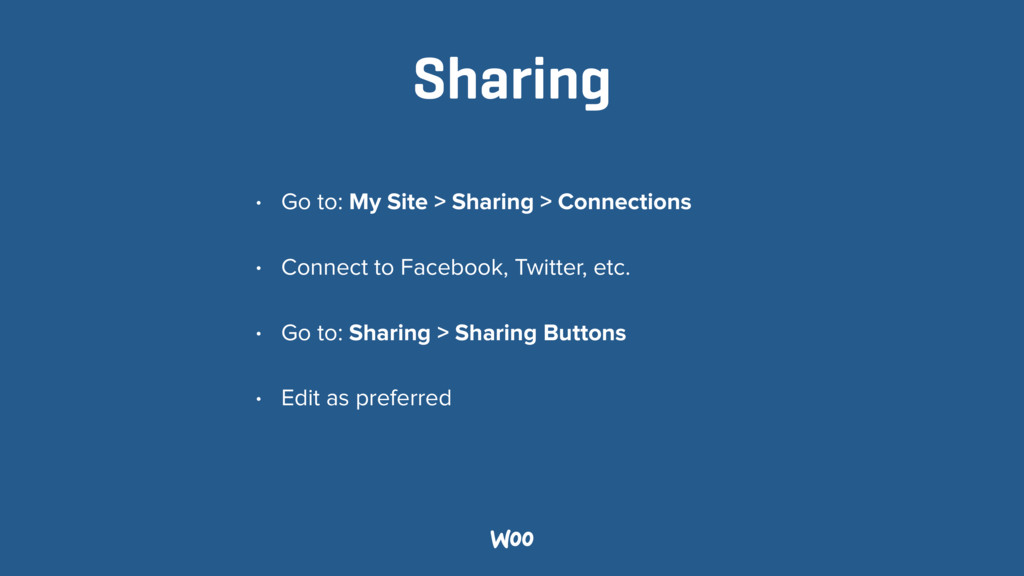
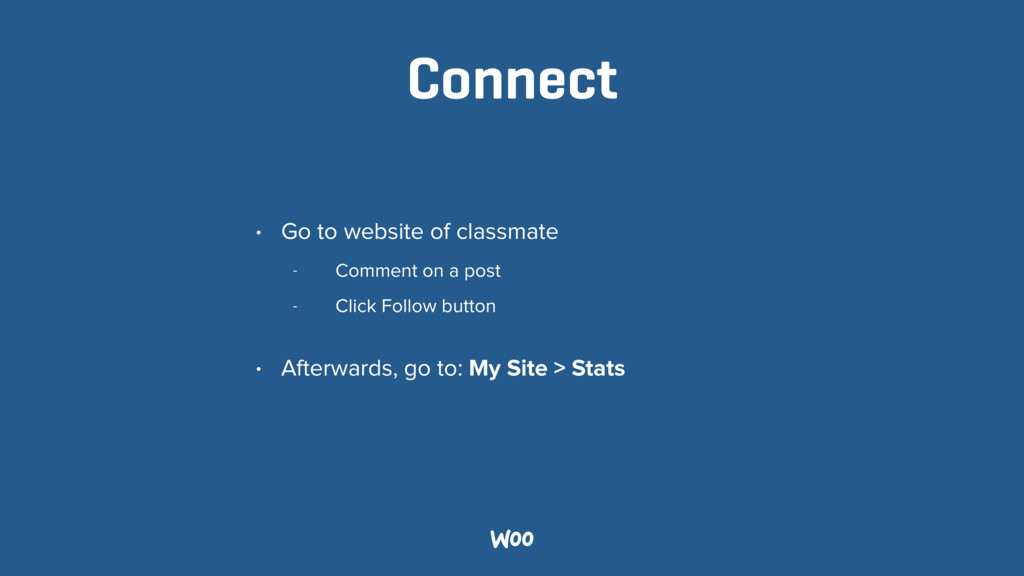
- Connecting on social media