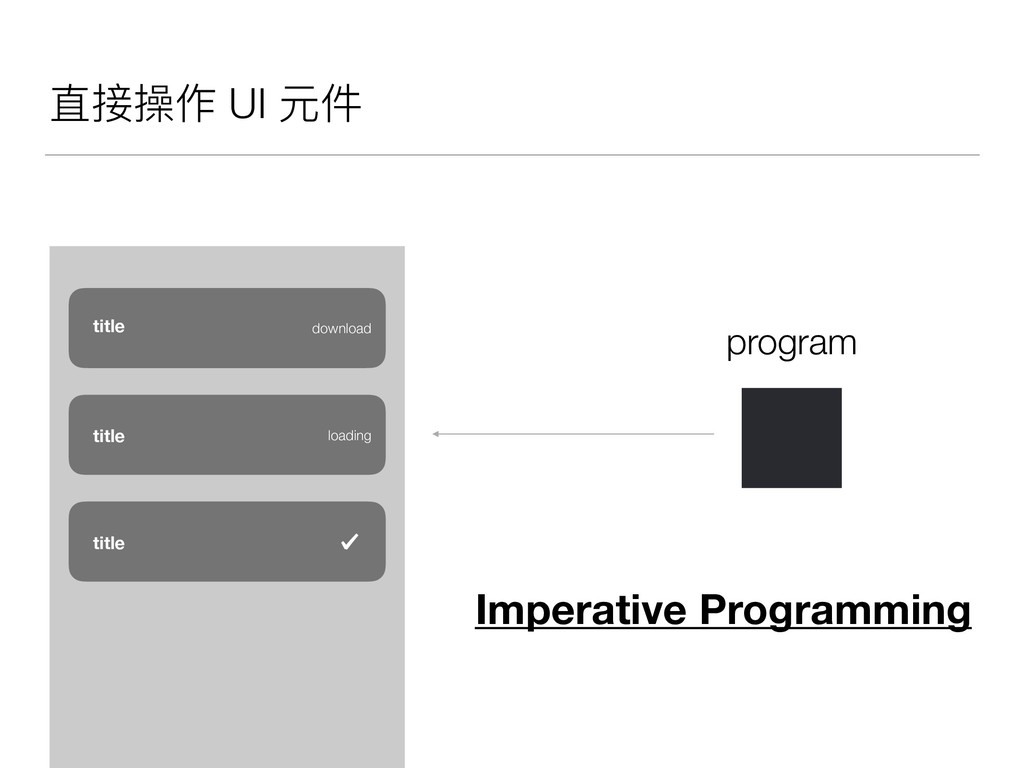
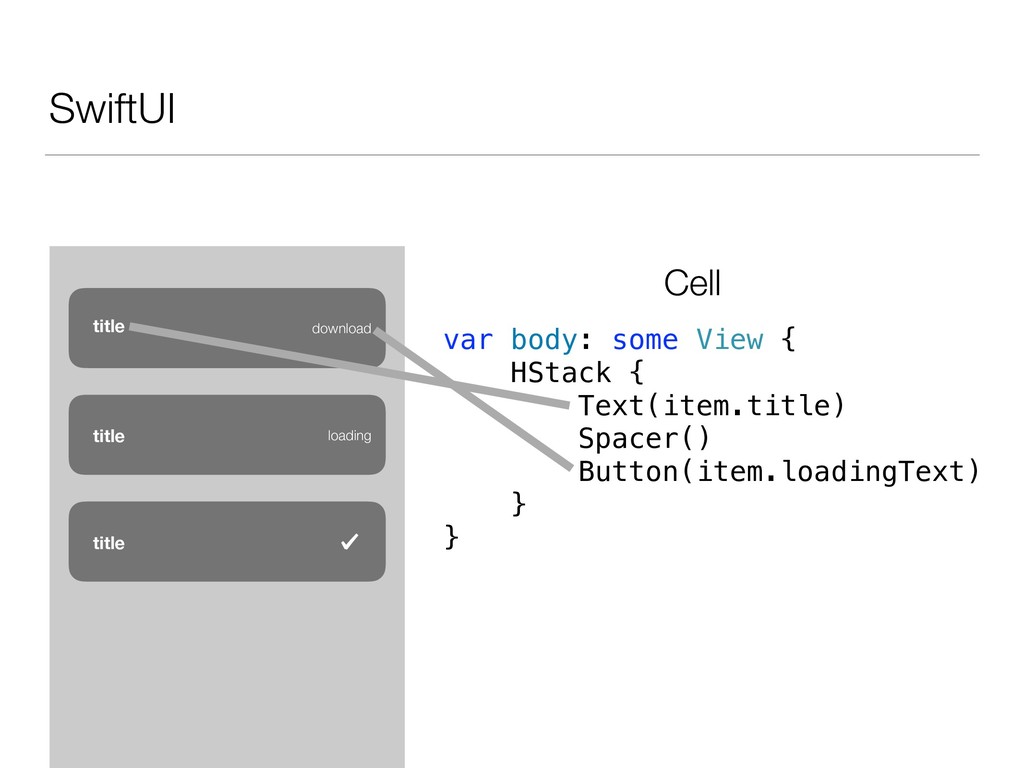
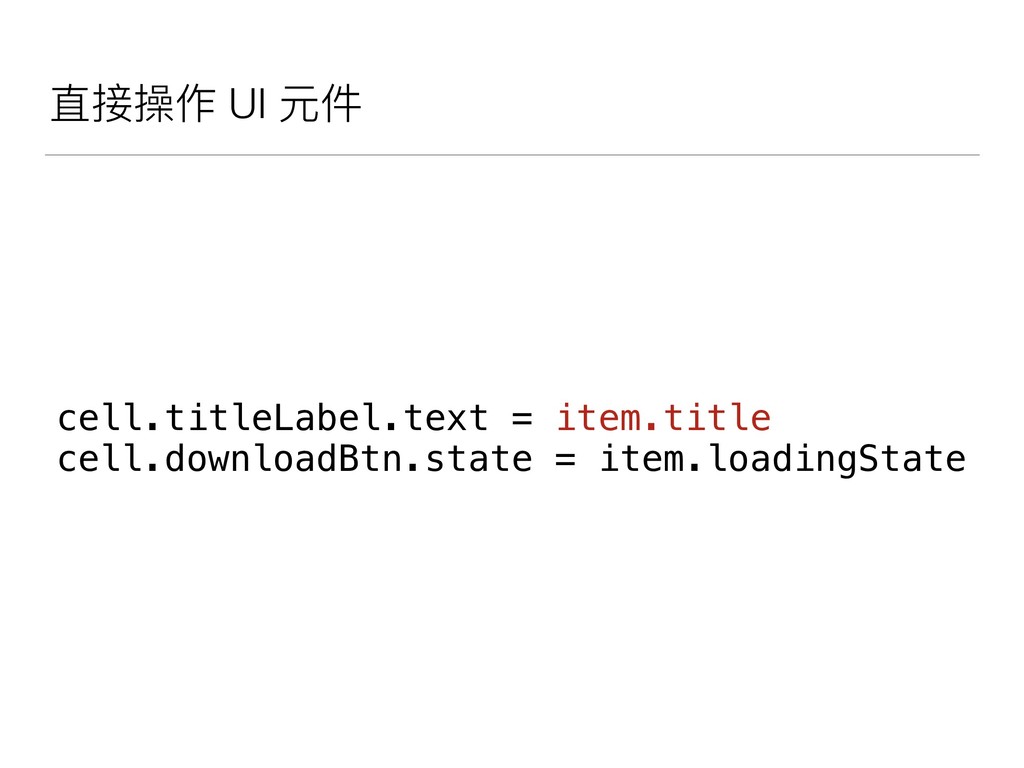
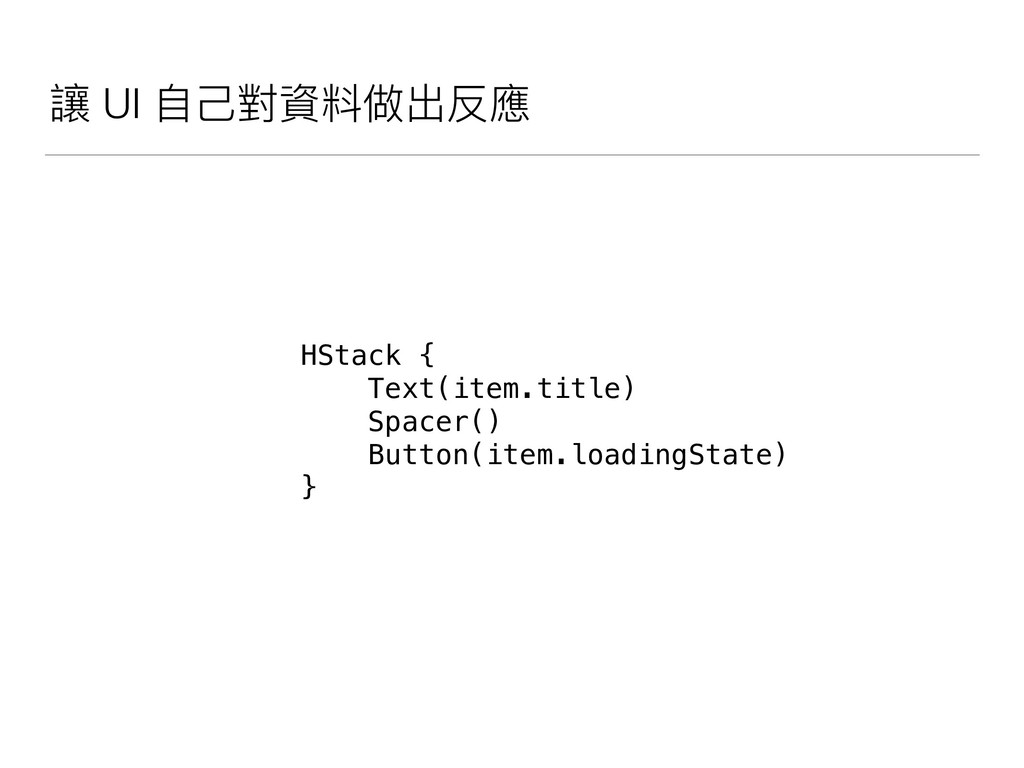
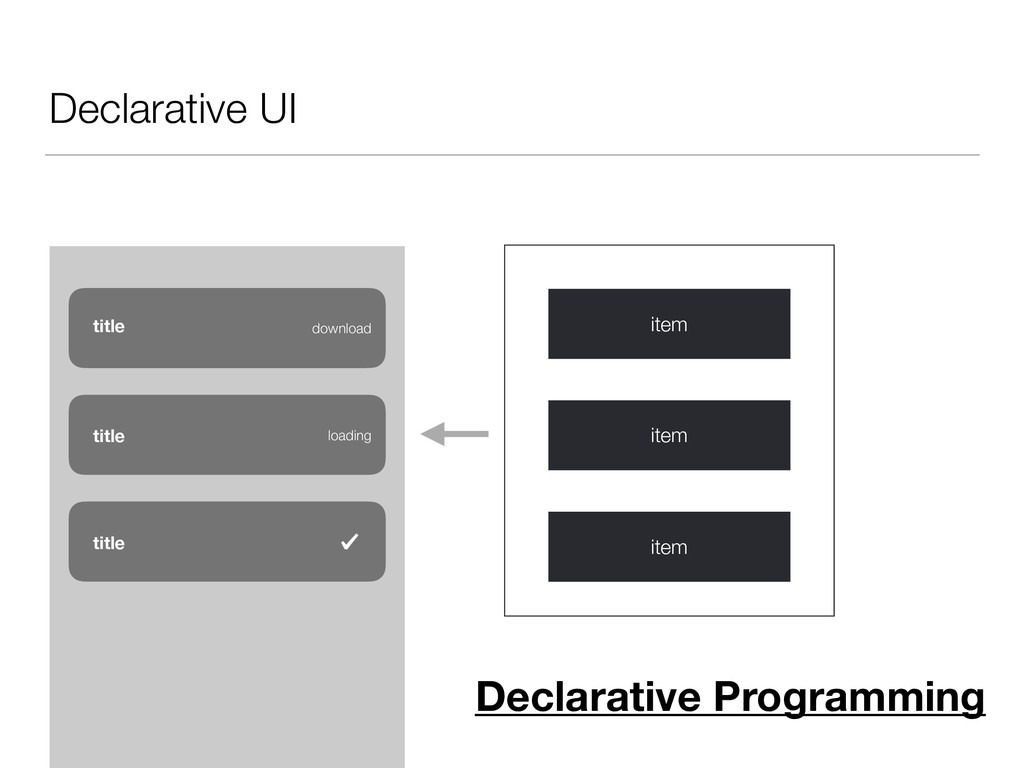
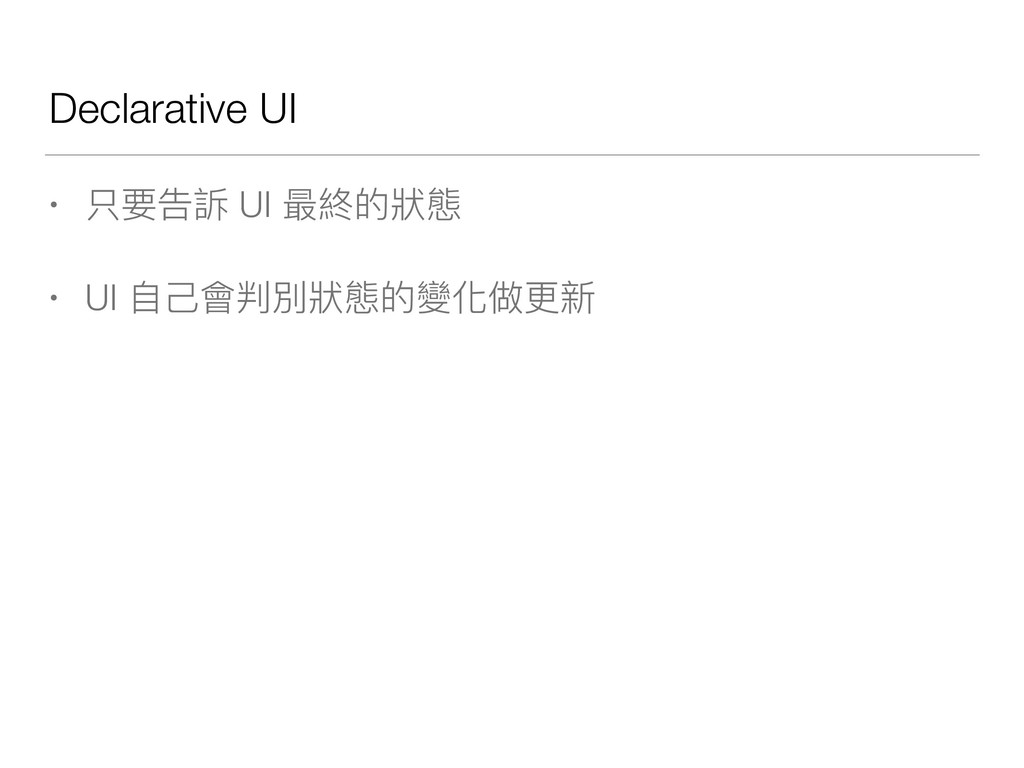
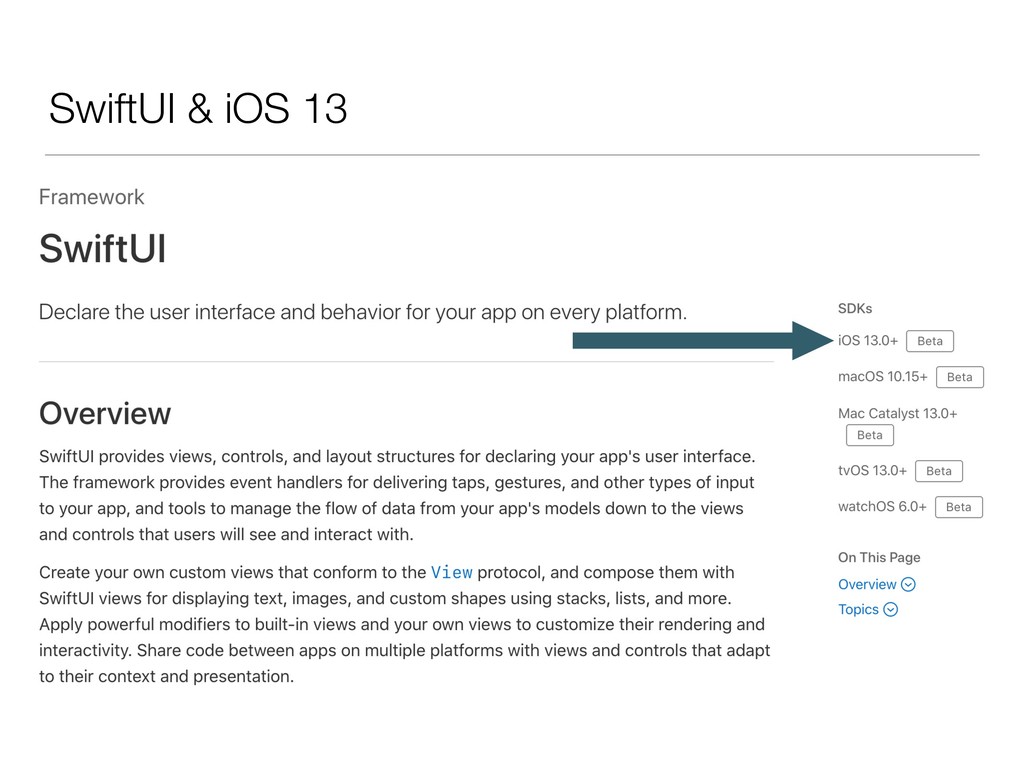
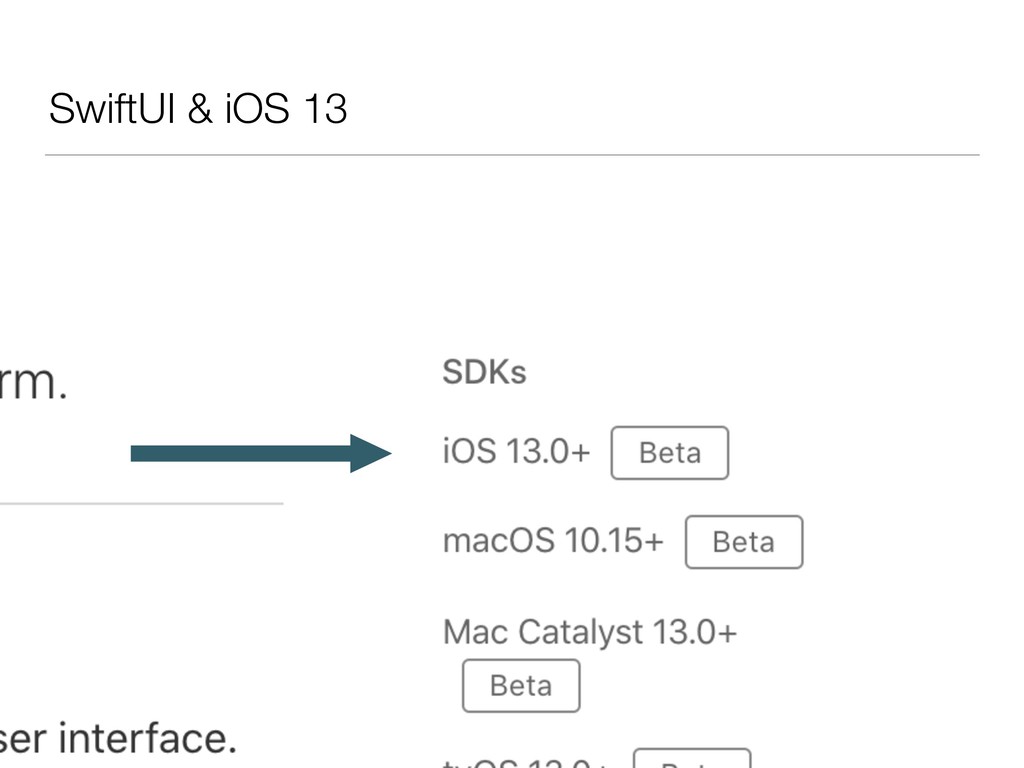
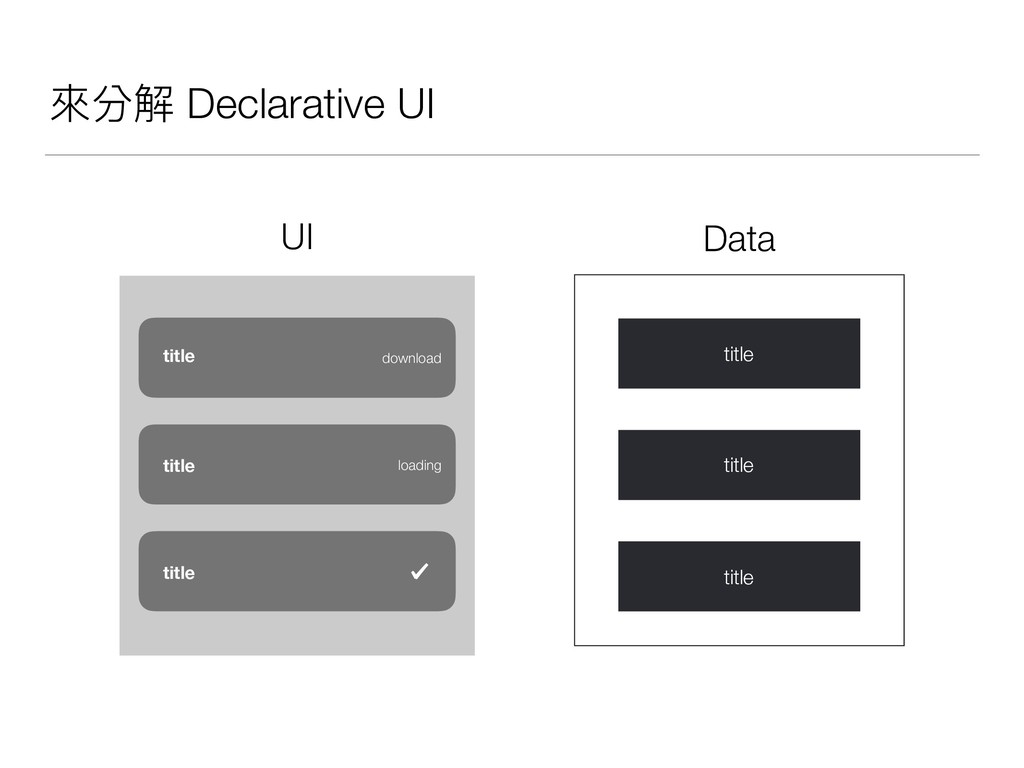
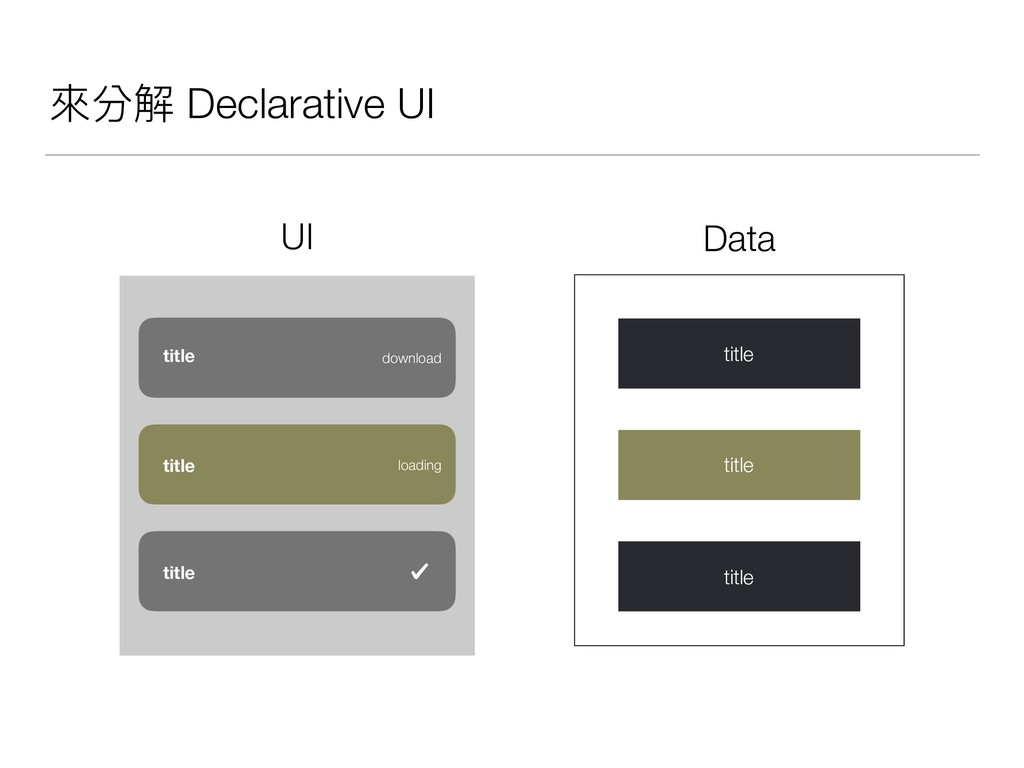
DeclaratvieUI is a good pattern for crafting complex UI components while keeping the states simple. SwiftUI is one of the best frameworks of Declarative UI pattern. However, due to the ABI stability, we cannot use SwiftUI, or even those syntax supporting declarative programming, on devices below iOS 13.
In this slide, I briefly introduce the main idea of the declarative pattern, and demonstrate how to implement the pattern based on older SDKs.
(投影片內容為中文 Chinese Content)
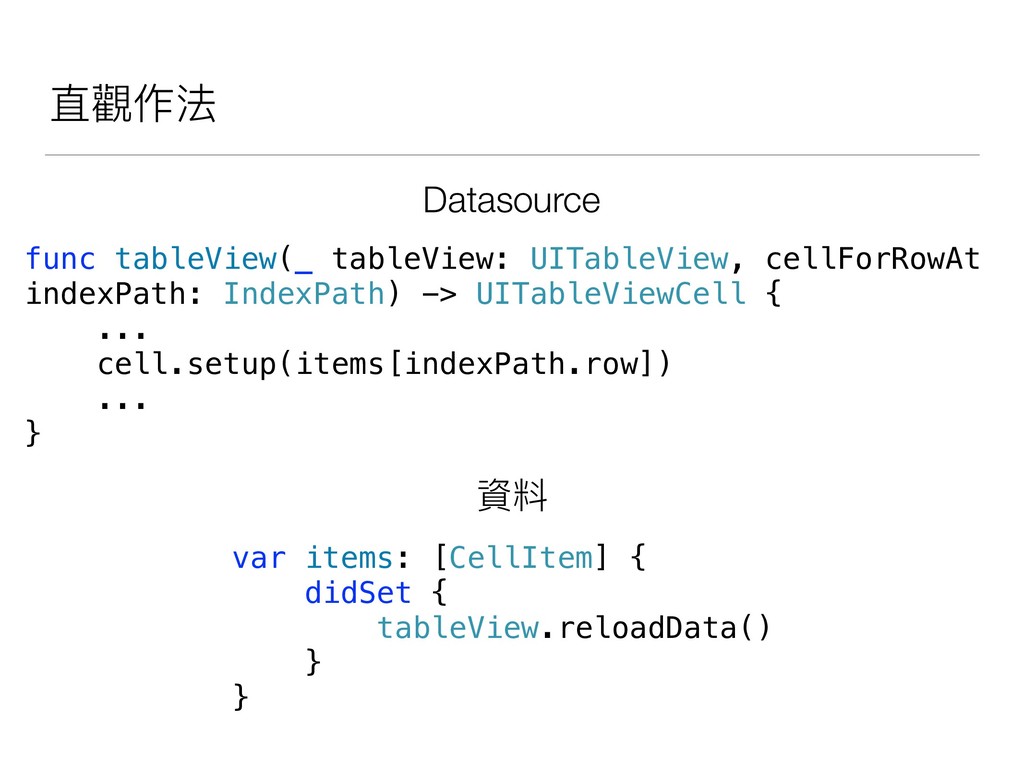
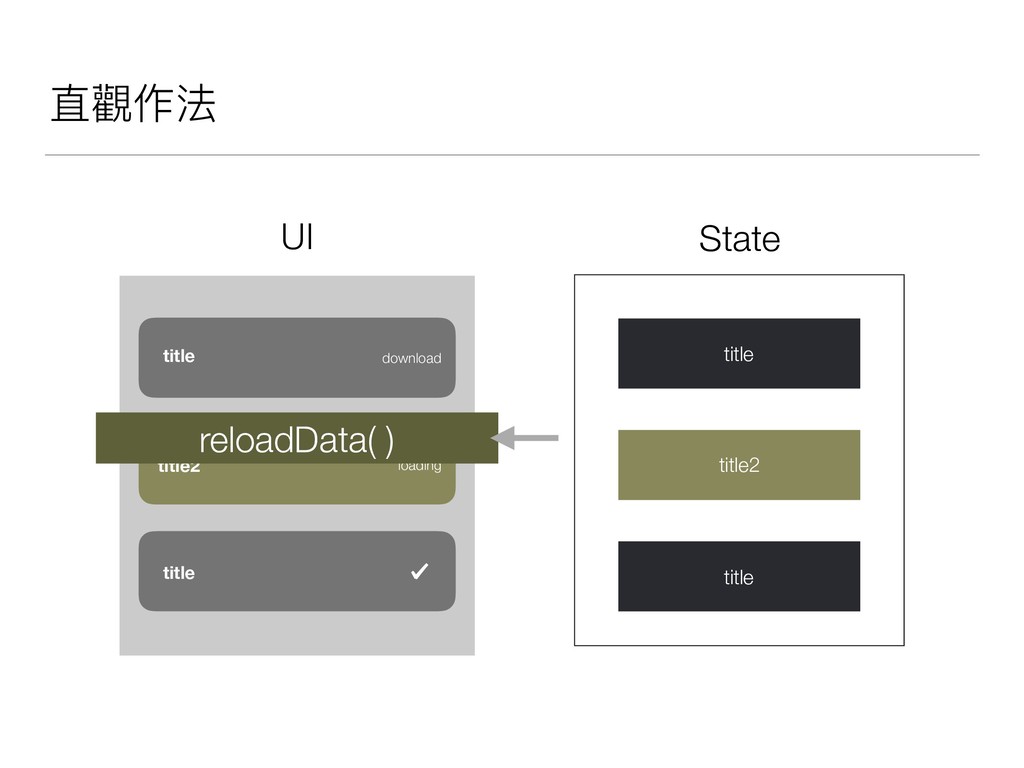
![直觀作法 var items: [CellItem] { didSet { tableView.reloadData() } }](https://files.speakerdeck.com/presentations/3bd04c564b9b474d8e46cc4f72ace27e/slide_37.jpg)
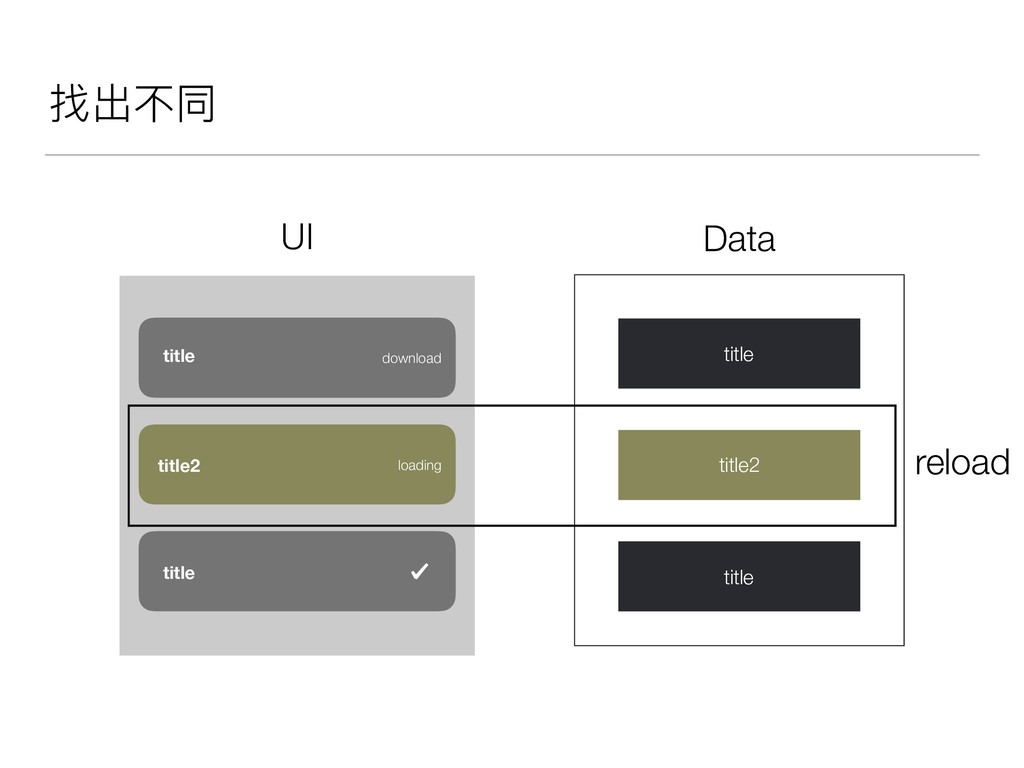
![找出不同 tableView.reloadData() tableView.deleteRows(at: [IndexPath(row: 1, section: 0)], with: .automatic) tableView.insertRows(at:](https://files.speakerdeck.com/presentations/3bd04c564b9b474d8e46cc4f72ace27e/slide_47.jpg)
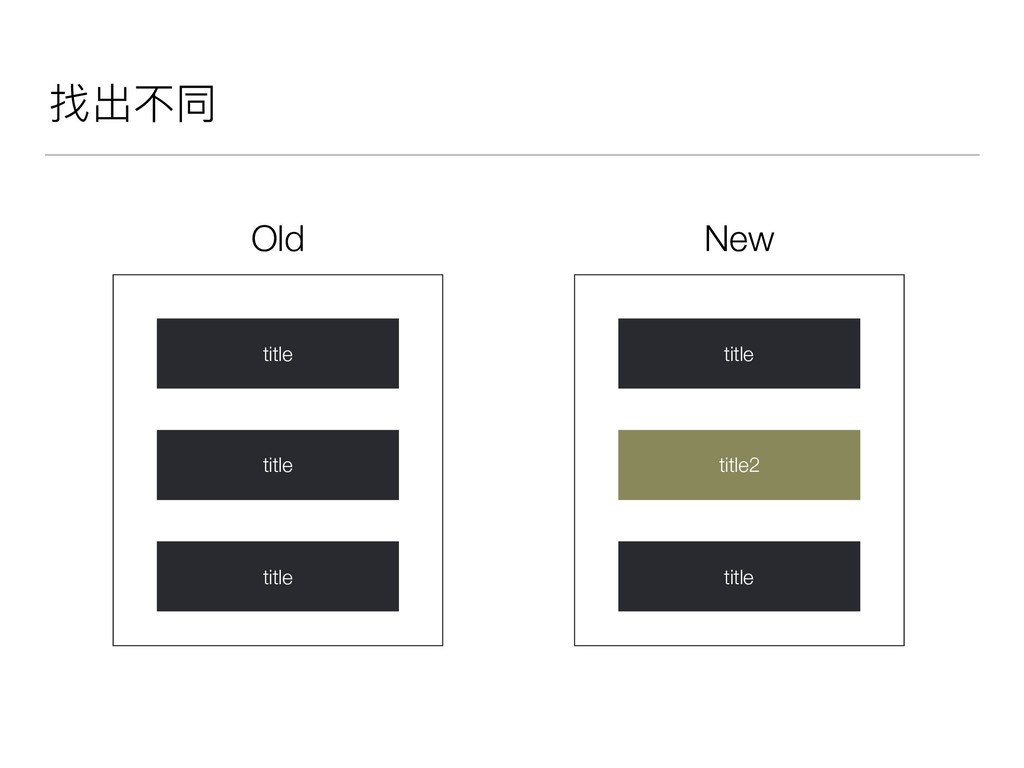
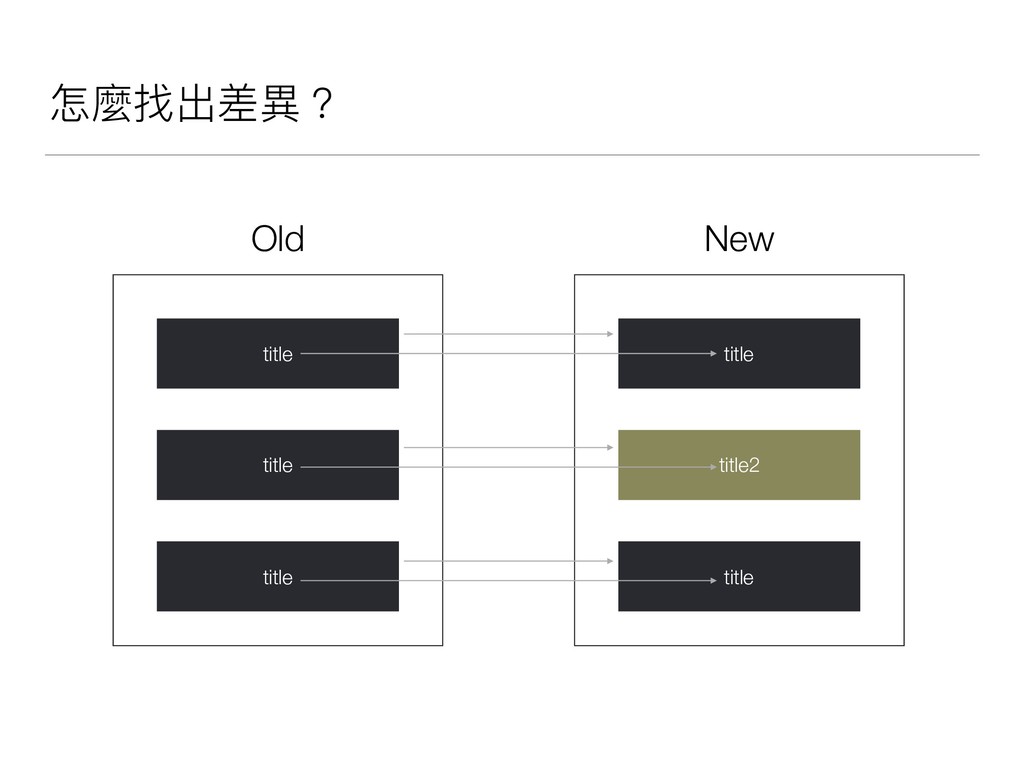
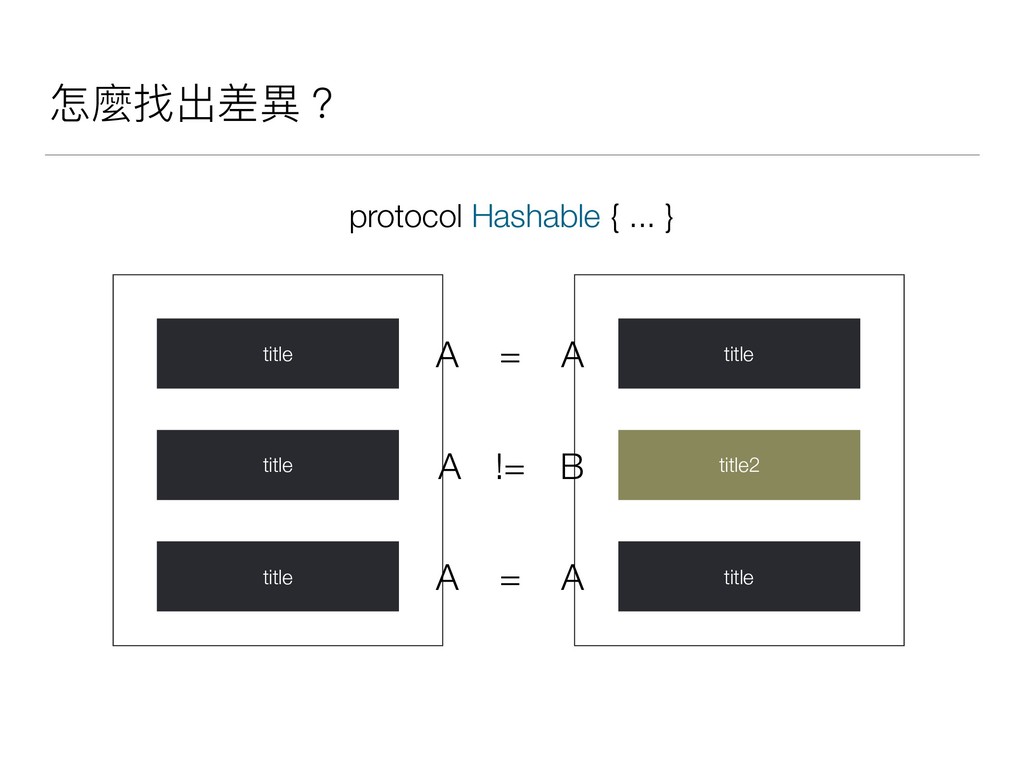
![怎麼找出差異異? A A A A A B [ ] [](https://files.speakerdeck.com/presentations/3bd04c564b9b474d8e46cc4f72ace27e/slide_53.jpg)
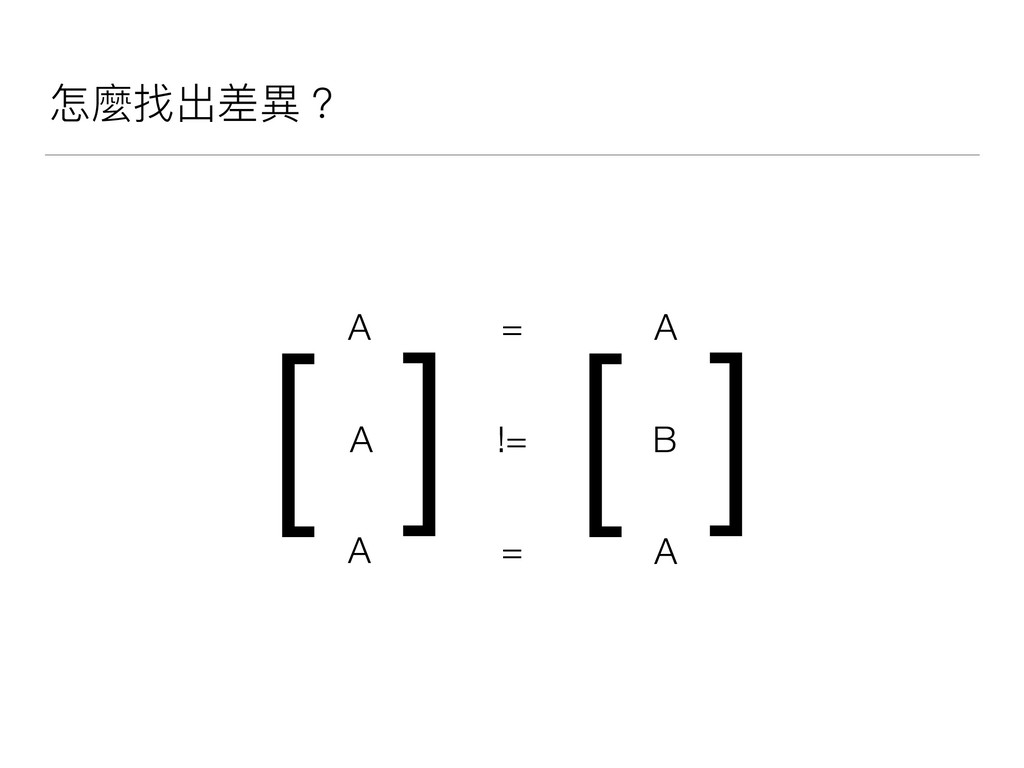
![怎麼找出差異異? A A A A A B [ ] [](https://files.speakerdeck.com/presentations/3bd04c564b9b474d8e46cc4f72ace27e/slide_54.jpg)
![找出不同 diffs = [.remove(1), .insert(B, at: 1)] for diff in](https://files.speakerdeck.com/presentations/3bd04c564b9b474d8e46cc4f72ace27e/slide_55.jpg)
![Edit distance calculator var items: [CellItems] { didSet { let](https://files.speakerdeck.com/presentations/3bd04c564b9b474d8e46cc4f72ace27e/slide_66.jpg)
![Edit distance calculator var items: [CellItems] { didSet { let](https://files.speakerdeck.com/presentations/3bd04c564b9b474d8e46cc4f72ace27e/slide_67.jpg)
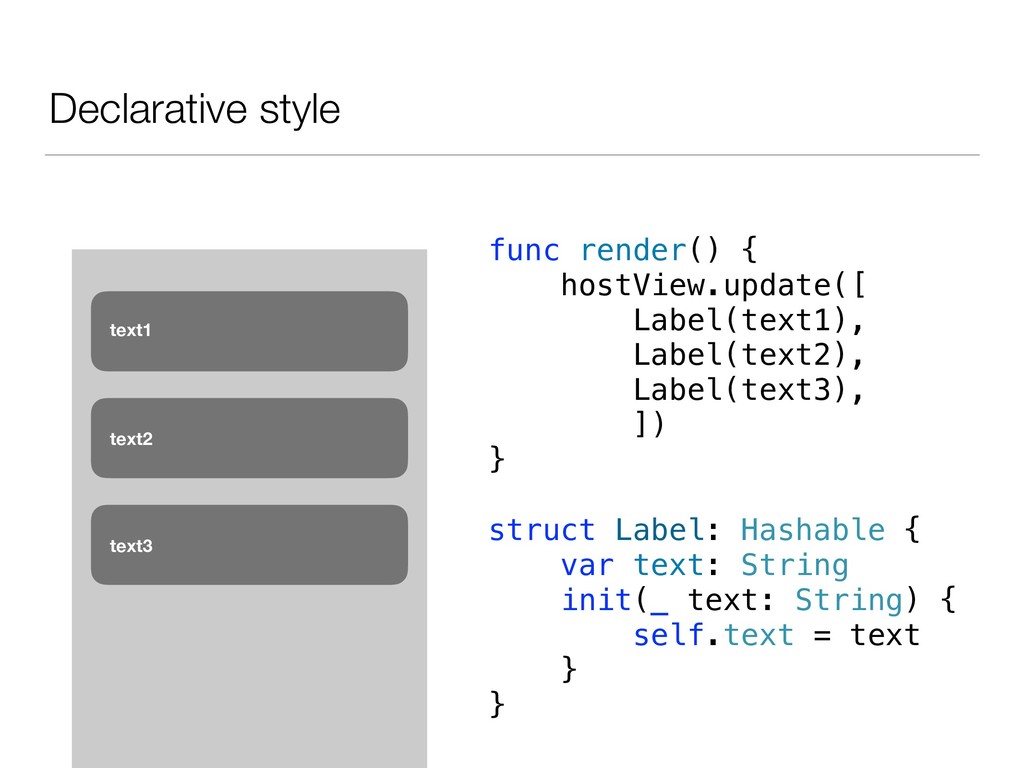
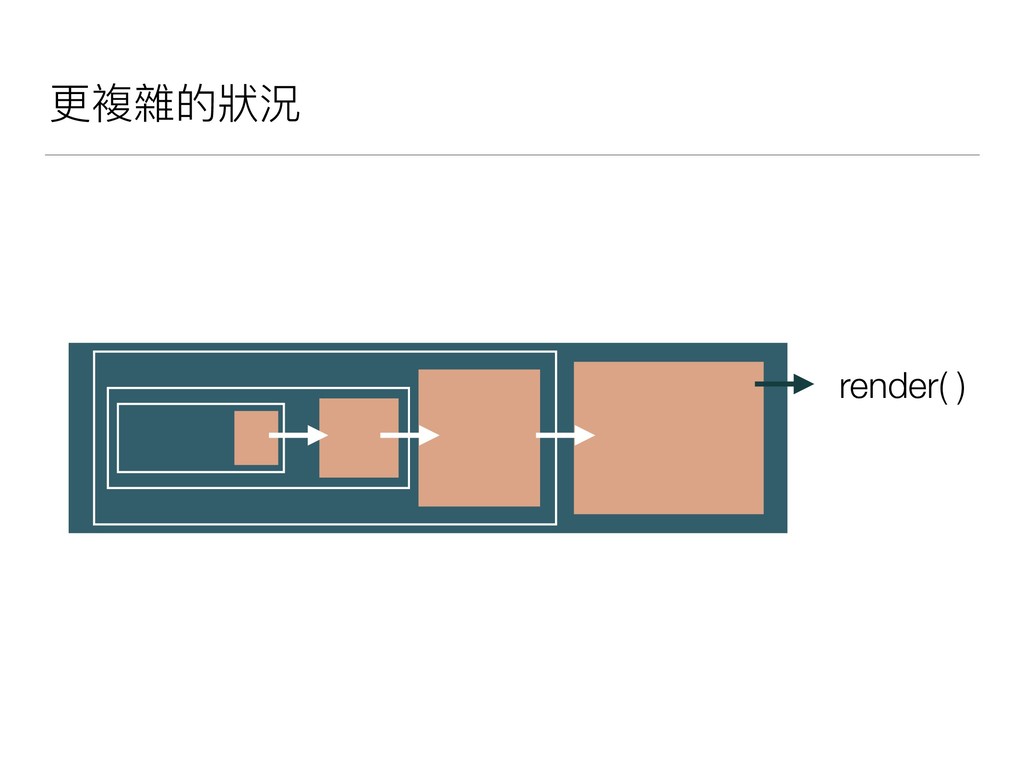
![Declarative style func render() { hostView.update([ Label(text1), Label(text2), Label(text3), ])](https://files.speakerdeck.com/presentations/3bd04c564b9b474d8e46cc4f72ace27e/slide_78.jpg)
![Sub-class: UIStackView private var current: [Label] = [] func update(_](https://files.speakerdeck.com/presentations/3bd04c564b9b474d8e46cc4f72ace27e/slide_81.jpg)
![Sub-class: UIStackView private var current: [Label] = [] func update(_](https://files.speakerdeck.com/presentations/3bd04c564b9b474d8e46cc4f72ace27e/slide_82.jpg)
![更更新資料 func render() { hostView.update([ Label(text1), Label(text2), Label(text3), ]) }](https://files.speakerdeck.com/presentations/3bd04c564b9b474d8e46cc4f72ace27e/slide_83.jpg)
![更更新資料 func render() { hostView.update([ Label(text1), Label(text2), Label(text3), ]) }](https://files.speakerdeck.com/presentations/3bd04c564b9b474d8e46cc4f72ace27e/slide_84.jpg)
![更更新資料 func render() { hostView.update([ Label(text1), Label(text2), Label(text3), ]) }](https://files.speakerdeck.com/presentations/3bd04c564b9b474d8e46cc4f72ace27e/slide_85.jpg)