you're going to download an Sdsol project that we store on Github, create a replica of the project (called a branch), do some work on the branch, merge the branch with the original (called master), and push your local master back to Github.
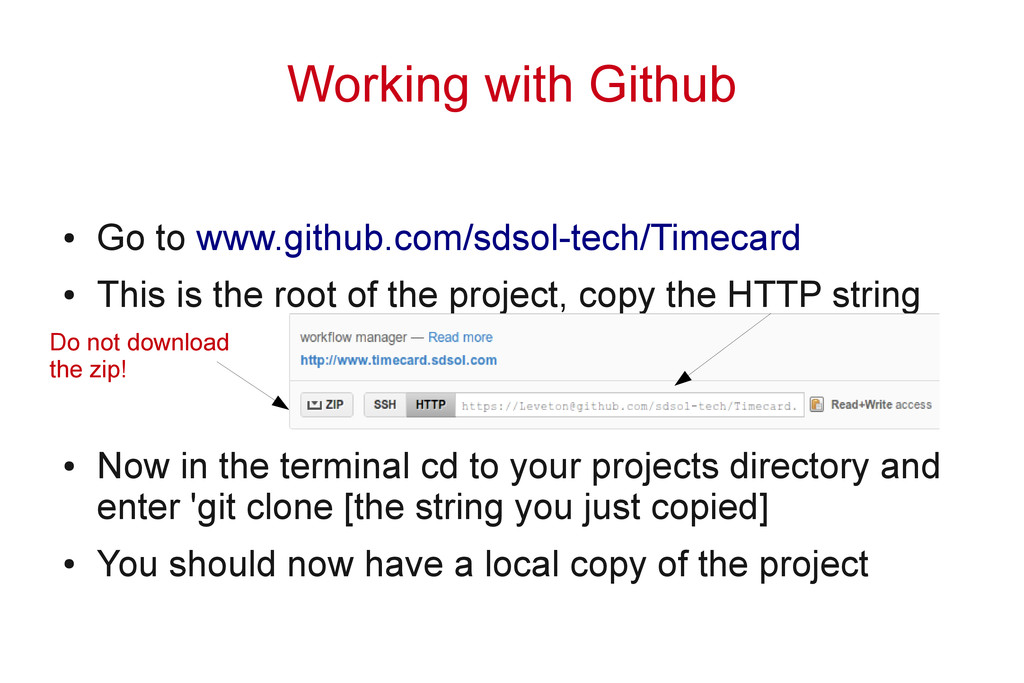
the root of the project, copy the HTTP string • Now in the terminal cd to your projects directory and enter 'git clone [the string you just copied] • You should now have a local copy of the project Do not download the zip!
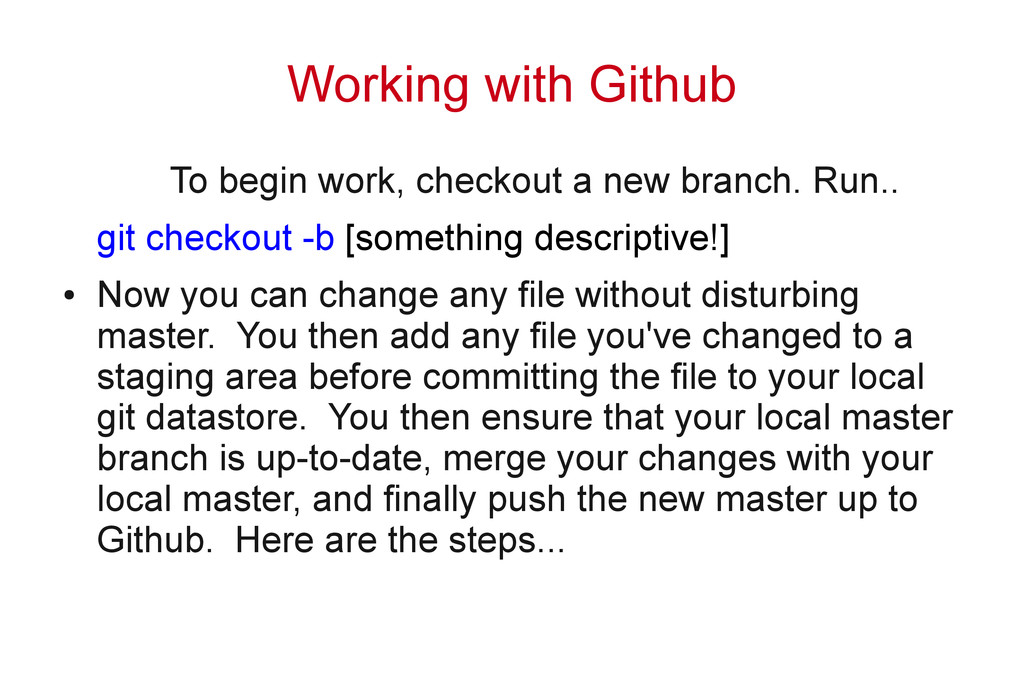
Run.. git checkout -b [something descriptive!] • Now you can change any file without disturbing master. You then add any file you've changed to a staging area before committing the file to your local git datastore. You then ensure that your local master branch is up-to-date, merge your changes with your local master, and finally push the new master up to Github. Here are the steps...
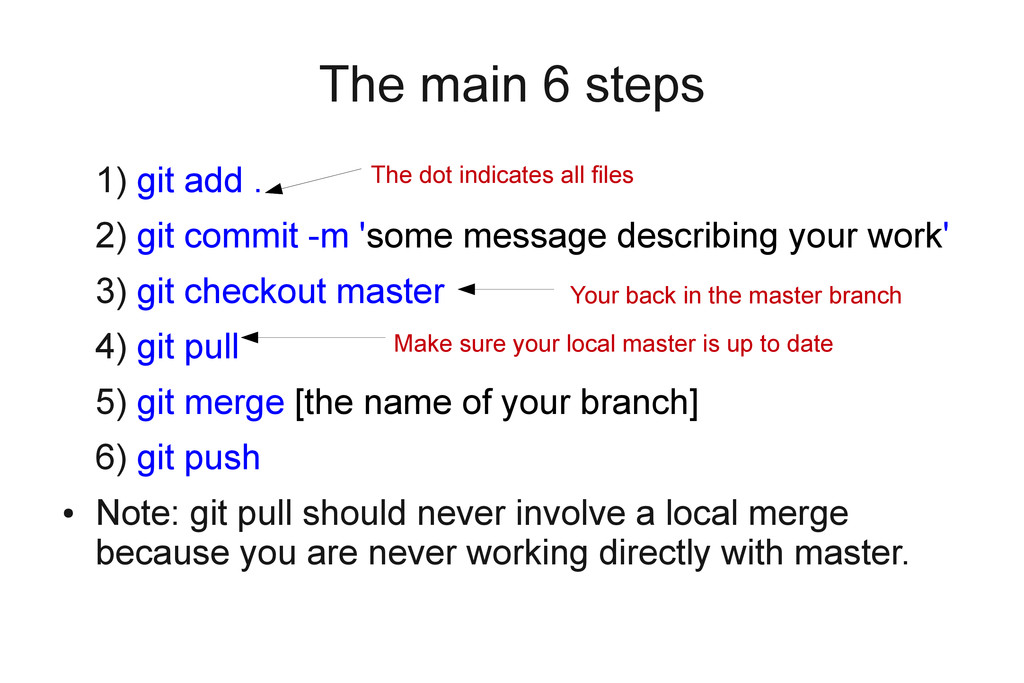
commit -m 'some message describing your work' 3) git checkout master 4) git pull 5) git merge [the name of your branch] 6) git push • Note: git pull should never involve a local merge because you are never working directly with master. Your back in the master branch The dot indicates all files Make sure your local master is up to date
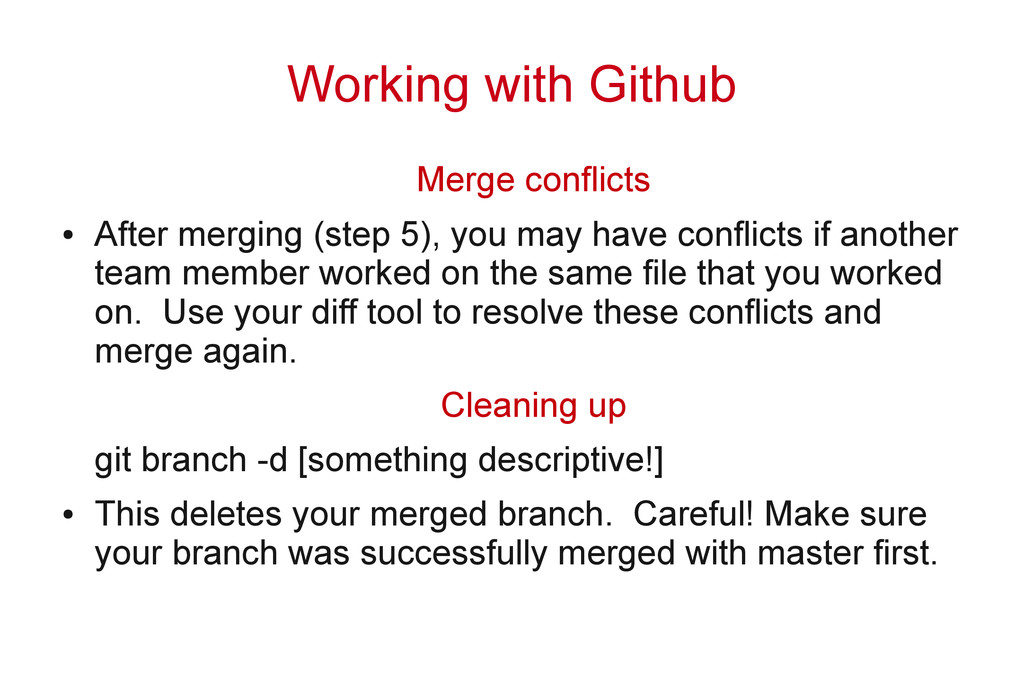
you may have conflicts if another team member worked on the same file that you worked on. Use your diff tool to resolve these conflicts and merge again. Cleaning up git branch -d [something descriptive!] • This deletes your merged branch. Careful! Make sure your branch was successfully merged with master first.
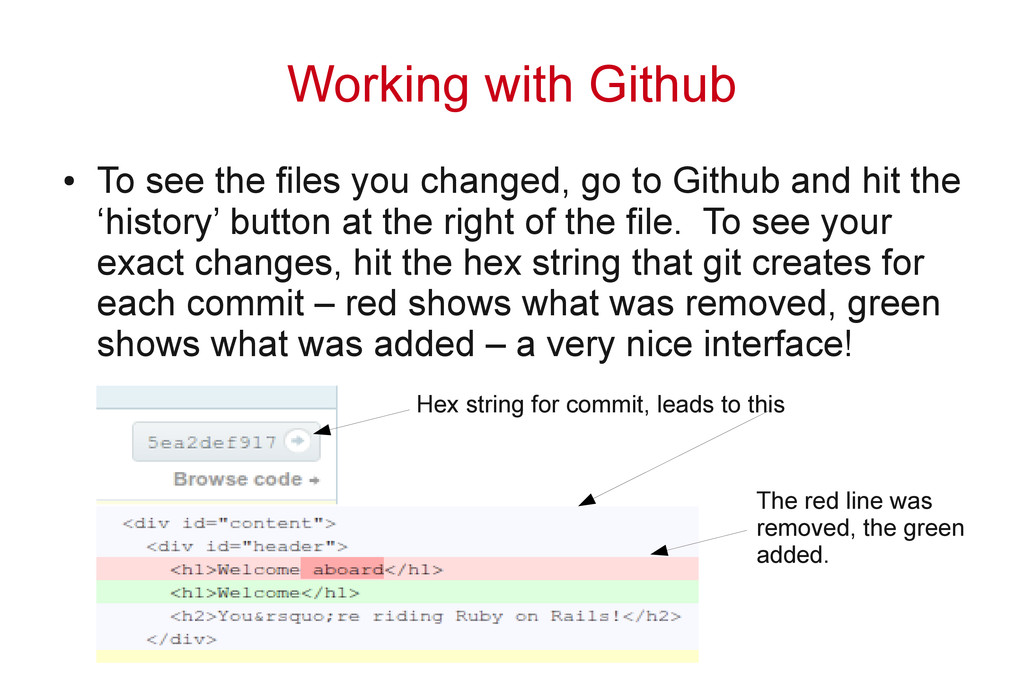
go to Github and hit the ‘history’ button at the right of the file. To see your exact changes, hit the hex string that git creates for each commit – red shows what was removed, green shows what was added – a very nice interface! The red line was removed, the green added. Hex string for commit, leads to this
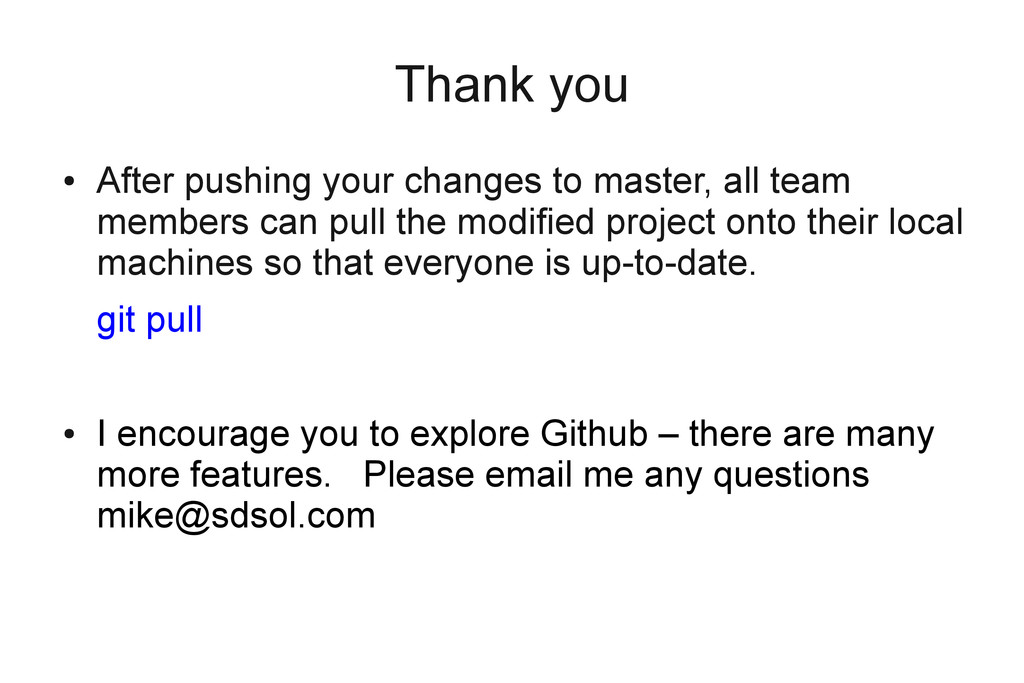
team members can pull the modified project onto their local machines so that everyone is up-to-date. git pull • I encourage you to explore Github – there are many more features. Please email me any questions [email protected]