Upgrade to Pro — share decks privately, control downloads, hide ads and more …

Blender for XNA

Blender for XNA

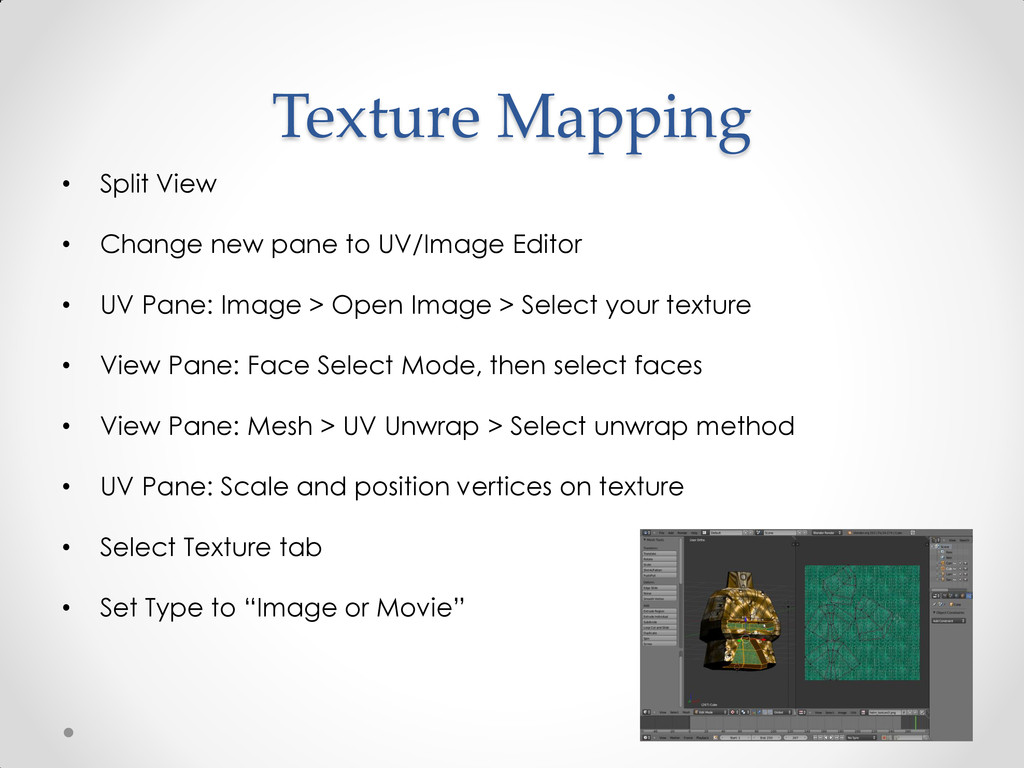
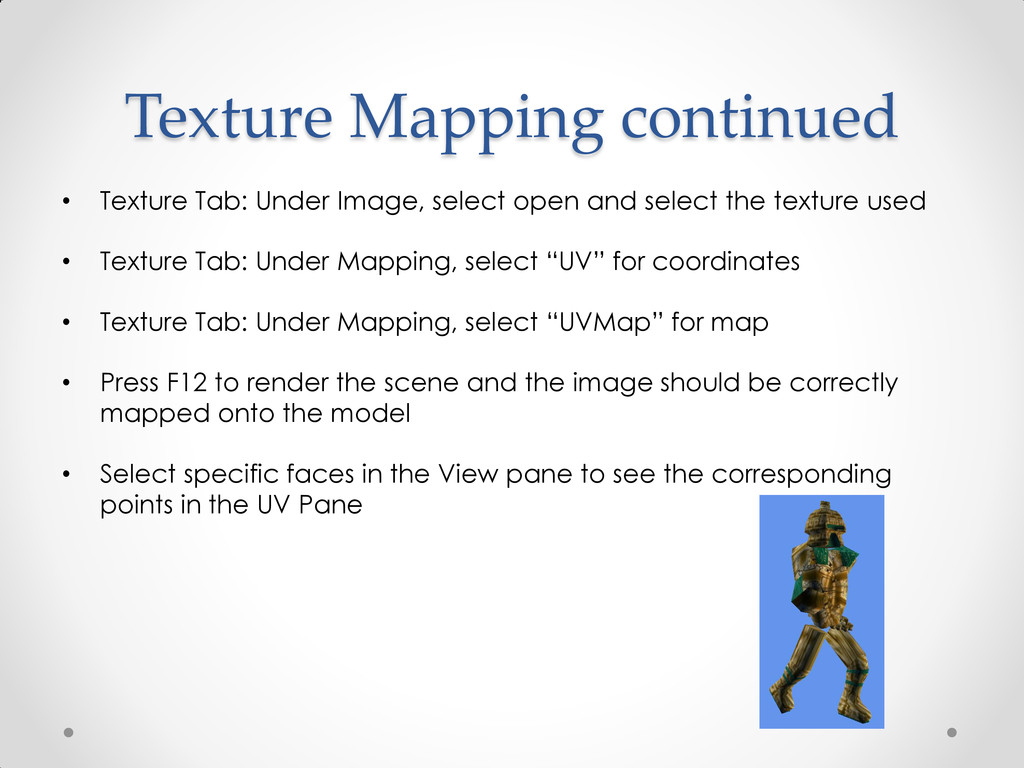
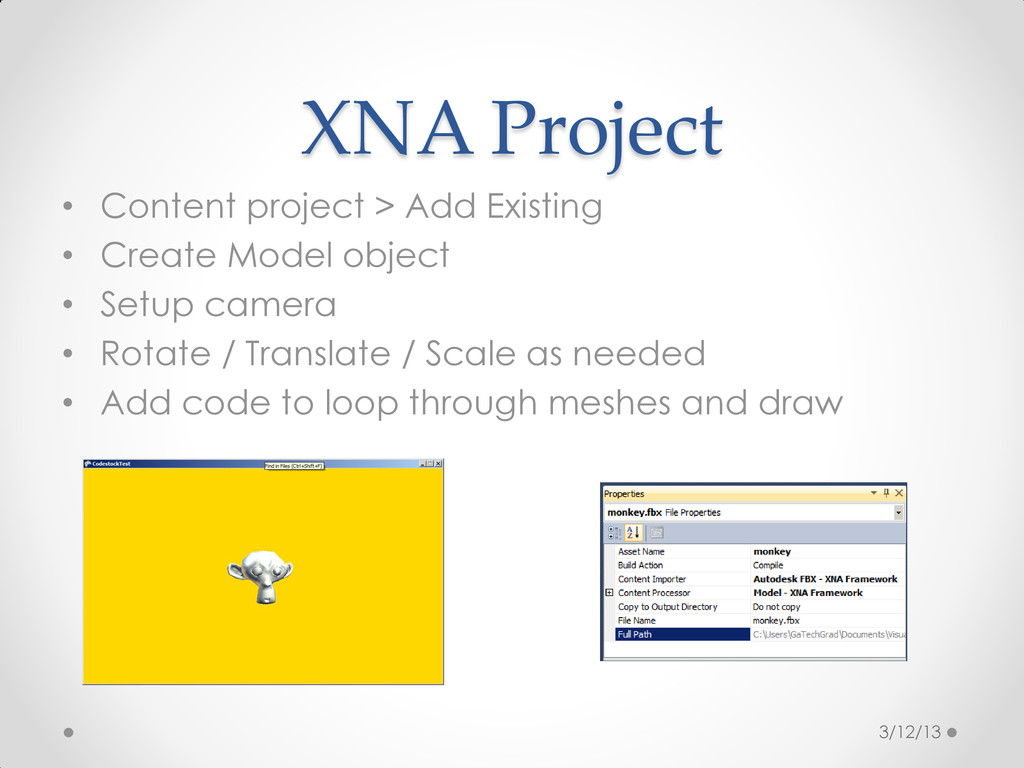
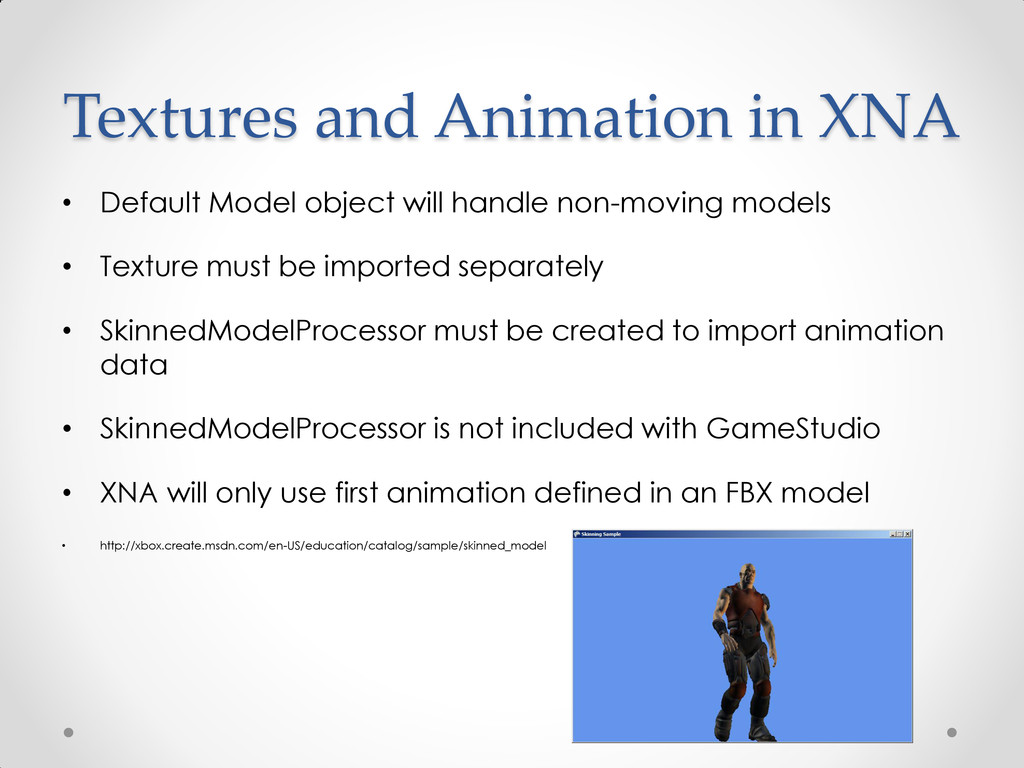
Learn how to use the free and open source modeling tool Blender to create content for 3D XNA games. This presentation will cover the basics of using Blender to model a simple character, texture mapping, animating a model with an armature, and exporting a model to an XNA game.

LD Smith

July 12, 2013
Tweet

More Decks by LD Smith

Other Decks in Technology

Transcript

  1. Blender History • Developed by Ton Roosendaal in 1995 •

    Funding campaign in 2002 to GPL the software • Blender Foundation • Project Orange, Peach, Mango, Durian • http://www.blender.org/blenderorg/blender-foundation/history/ • http://en.wikipedia.org/wiki/Blender_%28software%29
  2. Professional Use • Can Blender be used for professional quality

    graphics?  Elephants Dream (2006) http://www.youtube.com/watch?v=TLkA0RELQ1g  Big Buck Bunny (2008) http://www.youtube.com/watch?v=YE7VzlLtp-4 – Sintel (2010) http://www.youtube.com/watch?v=eRsGyueVLvQ – Tears of Steel (2012) http://www.youtube.com/watch?v=R6MlUcmOul8
  3. What do You Need? • Visual C# Express 2010 o

    http://www.microsoft.com/visualstudio/eng/downloads#d-2010-express • XNA Game Studio 4.0 o http://www.microsoft.com/en-us/download/details.aspx?id=23714 • Blender 2.67 o http://www.blender.org/ • 2D Texture Editor o Gimp, Paint.NET, Microsoft Paint
  4. Views • Selecting the view – Numpad 7: Top View

    – Numpad 1: Front View – Numpad 3: Right Side View – Numpad 5: Orthographic (see gridlines) – Ctrl + Numpad: Other side (bottom, back, left side) • Note: All commands are for Blender 2.6
  5. Cameras • Numpad 0: Camera view • Helpful for positioning

    view • Ctrl + 0 select camera when using multiple cameras • Right click on line between panes to split screen – Multiple concurrent views of scene • F12 renders the current scene • F3 saves image
  6. Modes • Change modes with Tab • Object mode –

    Lock location and size for XNA – Location: (0, 0, 0) Size: (1, 1, 1) – Vertex coordinates in XNA are relative to orange anchor dot • Edit mode – Select vertices, edges, faces – Move (translate), rotate, scale
  7. Creating an Object • A – Select All / Select

    None • B – Box select • E – Extrude • X – Delete • These can be applied to vertices, edges, and faces • Ctrl + Mouse button – free select • Z – fill object; select only one side
  8. Modifying the Object • G – Translate (move) • R

    – Rotate • S – Scale • Follow operator by X, Y, or Z to lock movement to that axis • Follow operator by number to translate, rotate, or scale by that value
  9. Armature • Add a bone to your object • Select

    point on bone in edit mode and extrude to add new bones • Make sure your bones are aligned with your object • In object mode, select armature and object • Ctrl + P, with automatic weights to assign armature to object
  10. Weight Paint • Select mesh in object mode, then select

    Weight Paint mode • Used for finer control of assigning vertices to bones • Change selected bone in object browser under Vertex Groups
  11. Posing • Pose mode to move armature – Must have

    armature selected to enter Pose mode • Record button - automatic keyframing – Not recommended • Dope sheet / action editor • I, LockRotScale – insert keyframe – Must be in Pose mode! – Make sure all bones are selected (A) • Can duplicate keyframe using select then Shift + D
  12. Animation • Walk cycle • Ctrl + F12 to render

    images • Images stored in “Output” folder (default C:\tmp) • Select “RGBA” to keep transparency
  13. Render a Face • Start with default Cube • Subsurf

    modifier – High value for CG image, low value for objects to be rendered in real time (games) • Ctrl + R – Loop cut • Mirror modifier – Delete half of the object • Proportional Editing Tool – O Key
  14. Render a Body • Set background images as a guide

    • Export FBX for XNA – Blender Z Up coordinate system – XNA Y Up coordinate system – Rotate 90 degrees on import – Both use “Right Hand Rule” – Select “XNA Strict Options” • Skinned Model Processor • Many models will cause slowdown – Hardware Instancing to draw multiple models efficiently
  15. Other Useful Options • F – Make face from selected

    vertices  3 or 4 selected vertices only • Remove doubles (button)  Change merge threshold if no vertices are removed  Vertices to be merged must be selected • Shift + D – duplicate object (or vertices/faces) • Ctrl + J – join two objects • Alt + F – fill (generate triangle faces for selected vertices) • Ctrl + T – generate triangles faces from quad faces
  16. Texture Mapping • Split View • Change new pane to

    UV/Image Editor • UV Pane: Image > Open Image > Select your texture • View Pane: Face Select Mode, then select faces • View Pane: Mesh > UV Unwrap > Select unwrap method • UV Pane: Scale and position vertices on texture • Select Texture tab • Set Type to “Image or Movie”
  17. Texture Mapping continued • Texture Tab: Under Image, select open

    and select the texture used • Texture Tab: Under Mapping, select “UV” for coordinates • Texture Tab: Under Mapping, select “UVMap” for map • Press F12 to render the scene and the image should be correctly mapped onto the model • Select specific faces in the View pane to see the corresponding points in the UV Pane
  18. XNA Project • Content project > Add Existing • Create

    Model object • Setup camera • Rotate / Translate / Scale as needed • Add code to loop through meshes and draw 3/12/13
  19. Textures and Animation in XNA • Default Model object will

    handle non-moving models • Texture must be imported separately • SkinnedModelProcessor must be created to import animation data • SkinnedModelProcessor is not included with GameStudio • XNA will only use first animation defined in an FBX model • http://xbox.create.msdn.com/en-US/education/catalog/sample/skinned_model
  20. Special Techniques • Billboarding  Keeps flat objects facing towards

    the camera  Trees in a racing game  Text in a 3D world • Atlas Mapping  Render many similar objects at once  Allows object texture changing without sacrificing processing time
  21. Sites to Check Out • Blender 3D: Noob to Pro

    – Free online wiki book – http://en.wikibooks.org/wiki/Blender_3D:_Noob_to_Pro  Blasting Bits  My game using Blender models, with development process documented  https://blastingbits.wordpress.com/  My website  http://www.levidsmith.com
  22. Books • Foundation Blender Compositing  Author: Roger Wickes 

    http://www.amazon.com/Foundation-Blender-Compositing-Roger-Wickes/dp/1430219769  Covers Blender 2.4, before user interface changes  XNA 3D Primer (eBook)  Author: Michael Need  http://www.amazon.com/gp/product/B003A6RCES?ie=UTF8&tag=thefistsofnia- 20&link_code=as3&camp=211189&creative=373489&creativeASIN=B003A6RCES  Pre XNA 4.0