look the same” and/or • “I don’t have time to learn PHP” • “I tried customizing a [commercial theme provider] theme once and I couldn’t find the right files to edit”
a fully-functional WordPress theme, based on an existing HTML/CSS design • give an overview of the bare minimum PHP functions needed to build a WordPress theme (plus some extra stuff) • suggest how you could use a custom WordPress theme as a tool for rapid prototyping • use WordPress.org’s Theme Guidelines1 as a starting point for best practices 1 developer.wordpress.org/themes/release/theme-review-guidelines/
accurately represent how I build themes for clients • focus on making a WordPress.org-repository-ready theme and/or incorporate every use case into a single theme • be a hands-on workshop — I only have 45 minutes, so I’ll be moving quickly All of my slides and example files are available at drollic.ca/wcmtl16, so you can work through them at your own pace after the conference. Please feel free to shoot me an email if you have any questions!
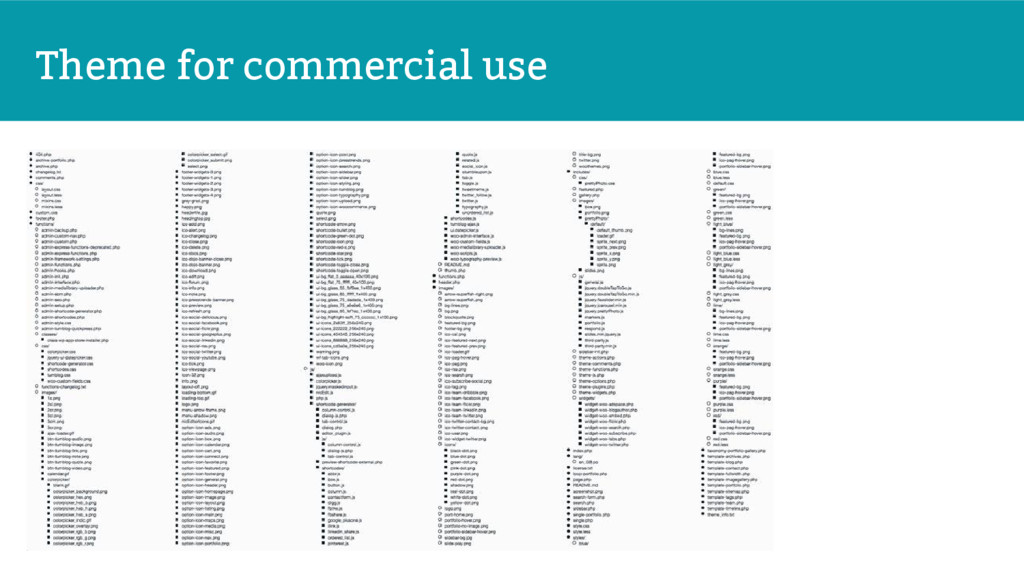
theme on a client’s site. There is definitely a place for commercial and child themes in the WordPress ecosystem, but creating a custom theme may be appropriate more often than you think.
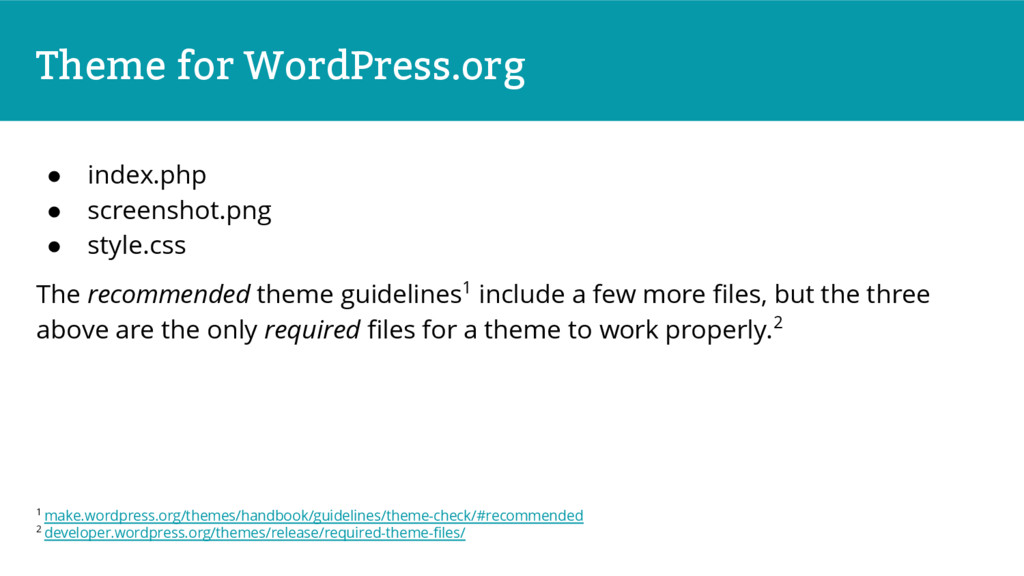
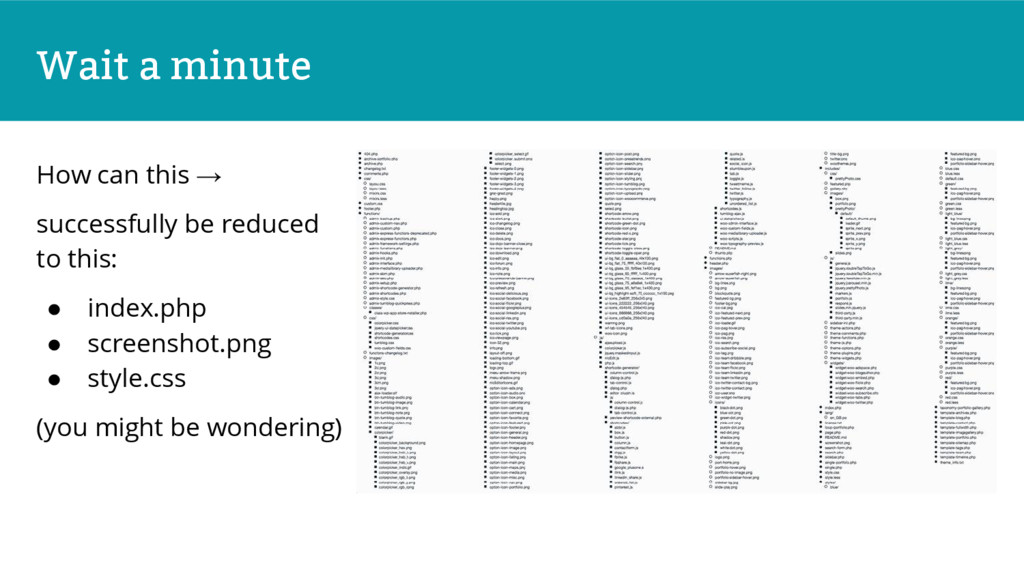
recommended theme guidelines1 include a few more files, but the three above are the only required files for a theme to work properly.2 1 make.wordpress.org/themes/handbook/guidelines/theme-check/#recommended 2 developer.wordpress.org/themes/release/required-theme-files/
required file1 on WordPress.org, you can actually get away with omitting it in your custom theme. The site will fall back to the default comments display if it doesn’t find a comments.php file. For client sites, I’d recommend including comments.php just in case – you can always copy the file from one of the default themes (like Twenty Sixteen) rather than writing your own. 1 developer.wordpress.org/themes/release/required-theme-files/
diagram is on its right-hand side: all lines lead to index.php. If your theme contains other files on the diagram, they will trump index.php, but if you only have index.php, that’s fine too!
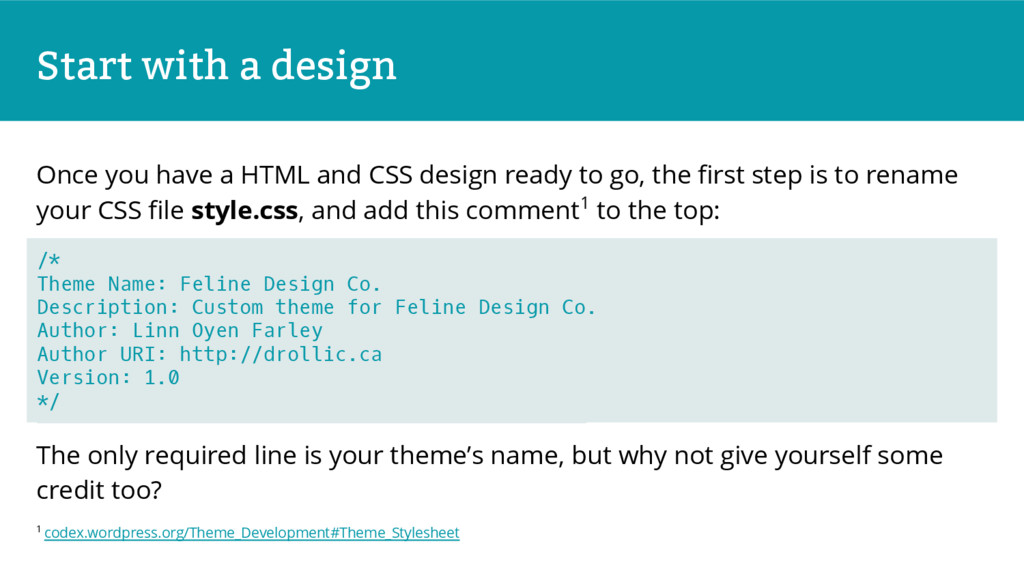
CSS design ready to go, the first step is to rename your CSS file style.css, and add this comment1 to the top: The only required line is your theme’s name, but why not give yourself some credit too? 1 codex.wordpress.org/Theme_Development#Theme_Stylesheet /* Theme Name: Feline Design Co. Description: Custom theme for Feline Design Co. Author: Linn Oyen Farley Author URI: http://drollic.ca Version: 1.0 */
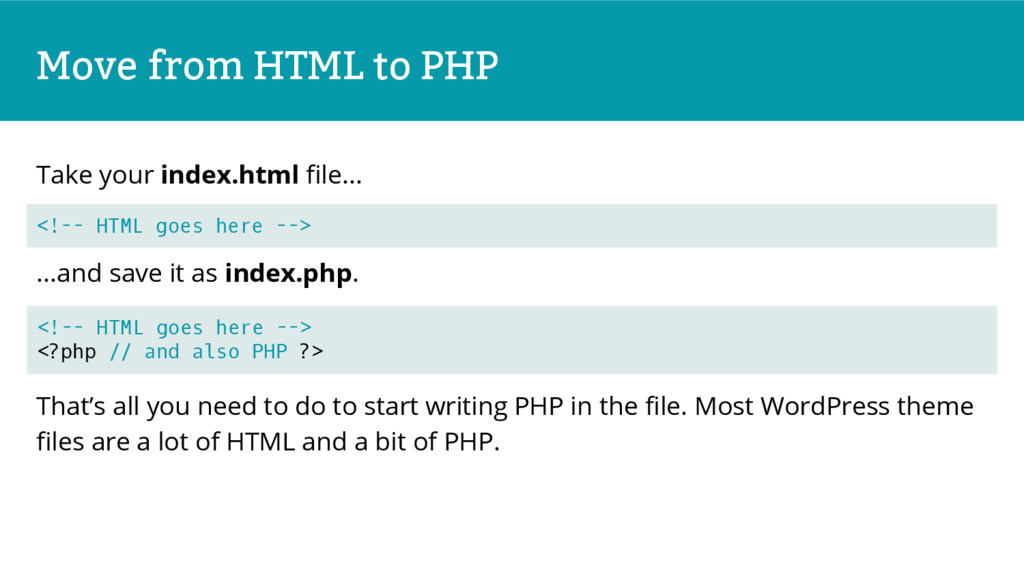
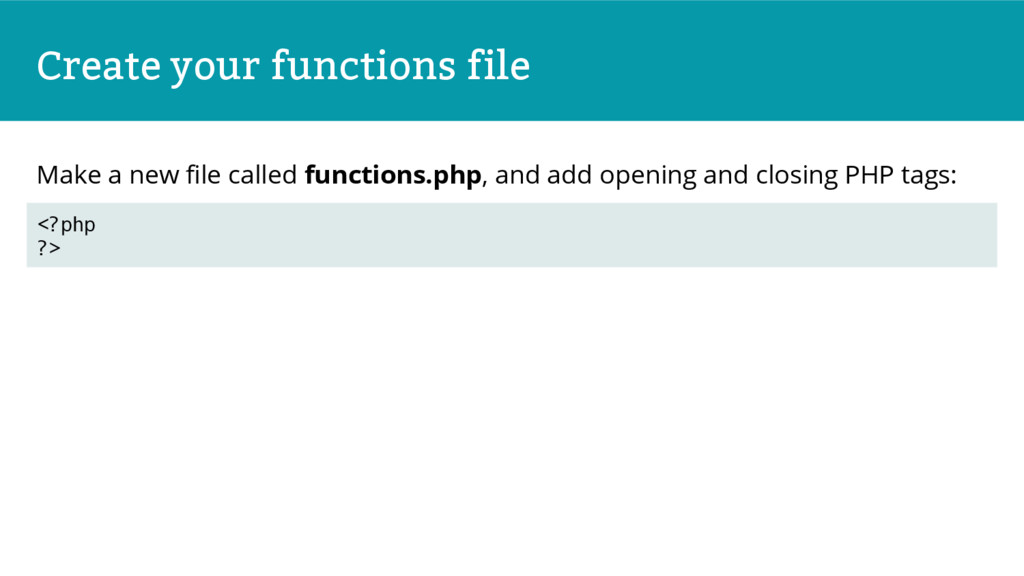
save it as index.php. That’s all you need to do to start writing PHP in the file. Most WordPress theme files are a lot of HTML and a bit of PHP. <!-- HTML goes here --> <!-- HTML goes here --> <?php // and also PHP ?>
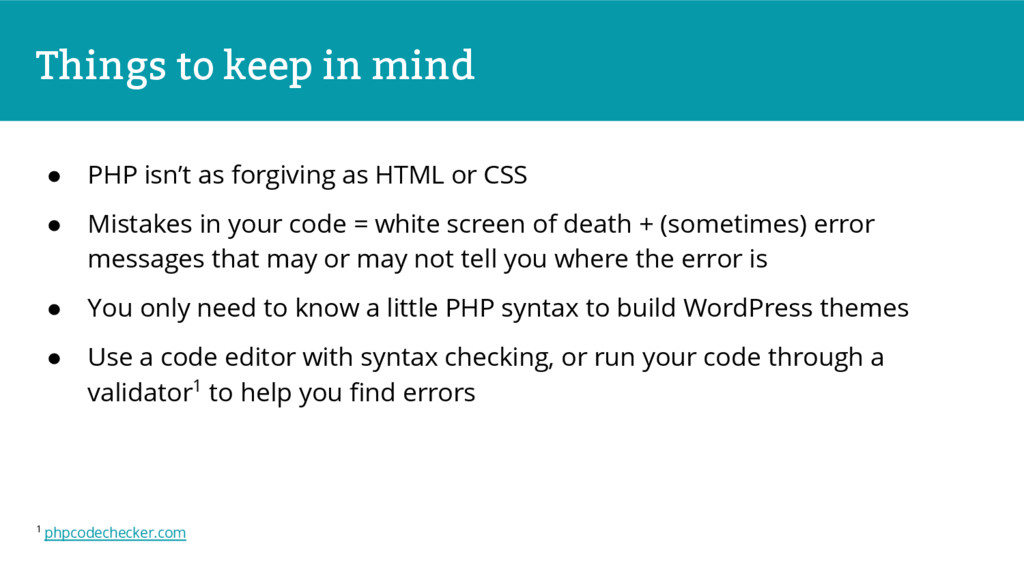
as HTML or CSS • Mistakes in your code = white screen of death + (sometimes) error messages that may or may not tell you where the error is • You only need to know a little PHP syntax to build WordPress themes • Use a code editor with syntax checking, or run your code through a validator1 to help you find errors 1 phpcodechecker.com
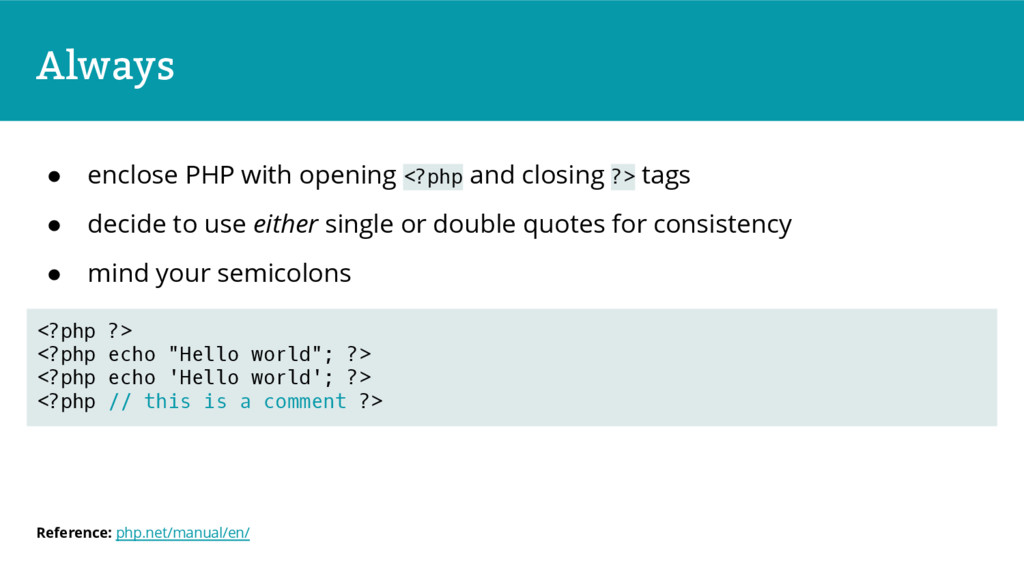
tags • decide to use either single or double quotes for consistency • mind your semicolons Reference: php.net/manual/en/ <?php ?> <?php echo "Hello world"; ?> <?php echo 'Hello world'; ?> <?php // this is a comment ?>
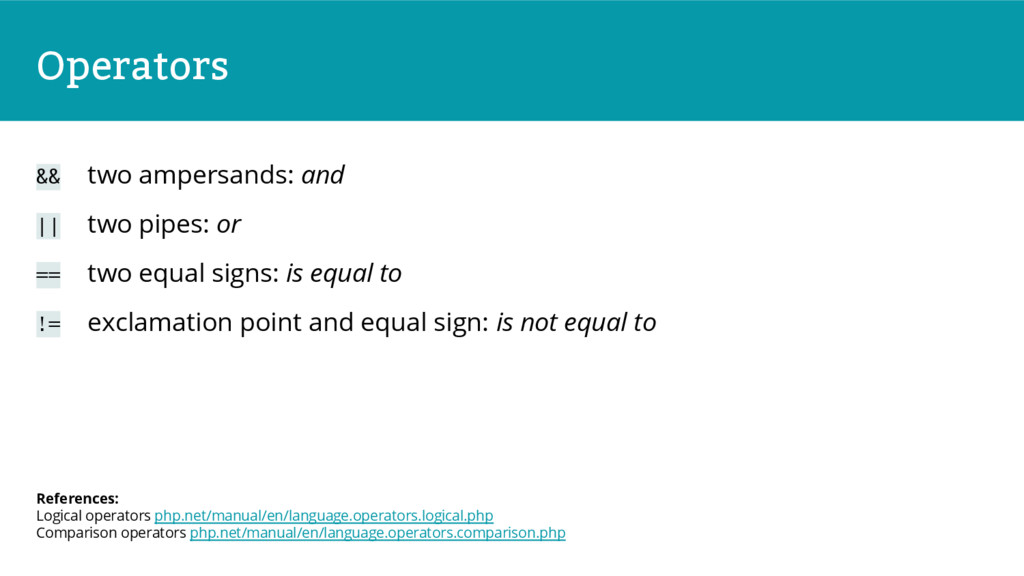
two equal signs: is equal to != exclamation point and equal sign: is not equal to References: Logical operators php.net/manual/en/language.operators.logical.php Comparison operators php.net/manual/en/language.operators.comparison.php
specifies what to do as long as that condition is true. For example, the main posts loop in WordPress states that as long as there are posts to show (while you have posts) set up each post (so you can grab its title, content, etc). Reference: php.net/manual/en/control-structures.while.php while ( condition1 == true ) { // do stuff }
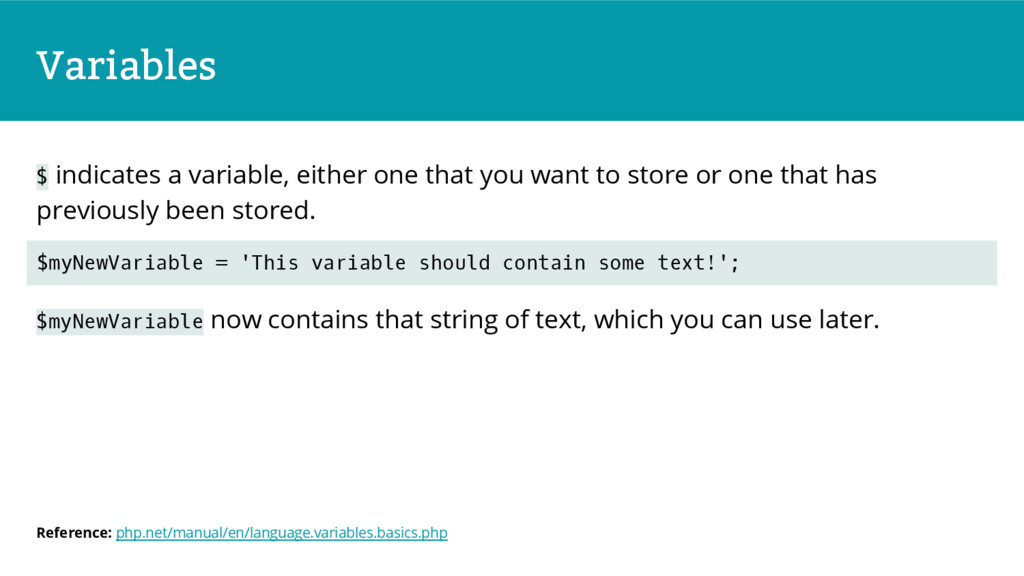
to store or one that has previously been stored. $myNewVariable now contains that string of text, which you can use later. Reference: php.net/manual/en/language.variables.basics.php $myNewVariable = 'This variable should contain some text!';
existing variable. This: would output your text string on the page like this: Reference: php.net/manual/en/function.echo.php <p><?php echo $myNewVariable; ?></p> This variable should contain some text!
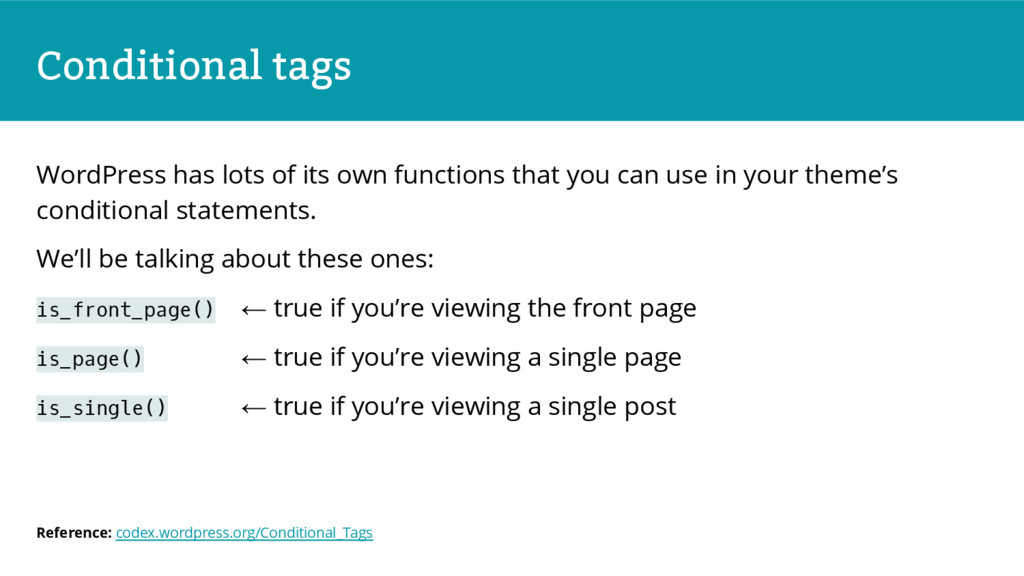
you can use in your theme’s conditional statements. We’ll be talking about these ones: is_front_page() ← true if you’re viewing the front page is_page() ← true if you’re viewing a single page is_single() ← true if you’re viewing a single post Reference: codex.wordpress.org/Conditional_Tags
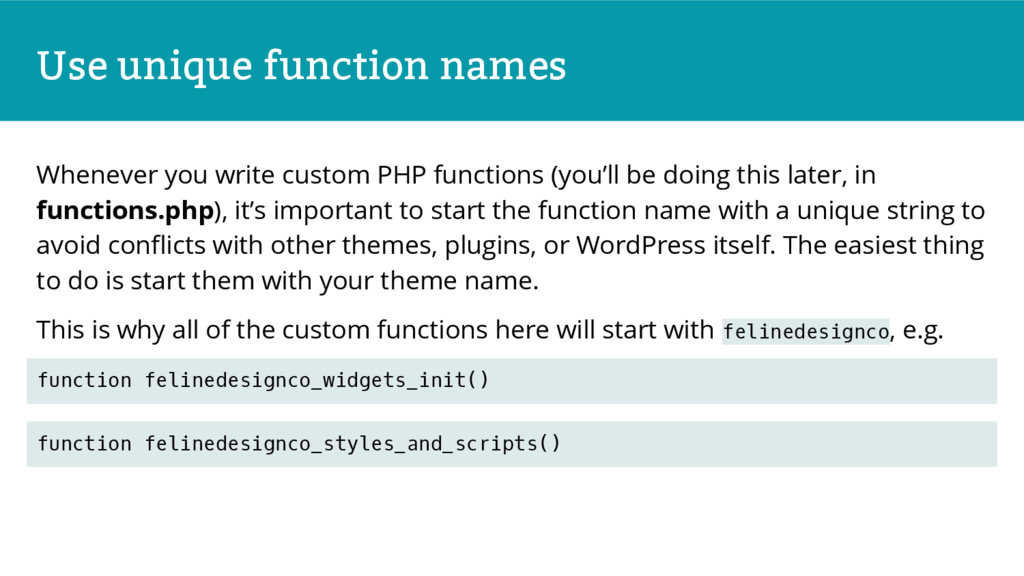
(you’ll be doing this later, in functions.php), it’s important to start the function name with a unique string to avoid conflicts with other themes, plugins, or WordPress itself. The easiest thing to do is start them with your theme name. This is why all of the custom functions here will start with felinedesignco, e.g. function felinedesignco_widgets_init() function felinedesignco_styles_and_scripts()
in action as you work on it, it’s safe to zip up your files at this point (index.php and style.css, plus any image assets) and install the theme on your site. Be aware that the theme won’t know where to find your CSS or any of your content yet, so it will look broken. Doing this now will just allow you to refresh your actual WordPress site as you edit these files and add new ones. I wouldn’t recommend doing this on a publicly accessible site!
theme files via FTP, not in Appearance → Editor. If you make a mistake in your PHP, you may not be able to access the WordPress admin area at all to fix it. Editing via FTP lets you undo any mistakes.
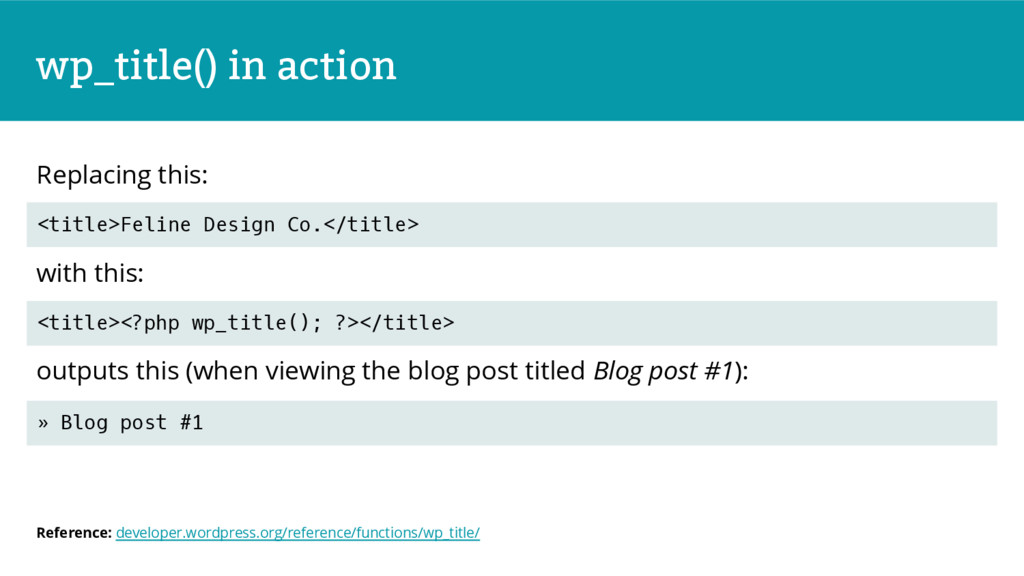
output a separator and the title of the page or post being viewed. Note that if you’re viewing the front page, it won’t output anything. Reference: developer.wordpress.org/reference/functions/wp_title/
viewing the blog post titled Blog post #1): <title>Feline Design Co.</title> <title><?php wp_title(); ?></title> » Blog post #1 Reference: developer.wordpress.org/reference/functions/wp_title/
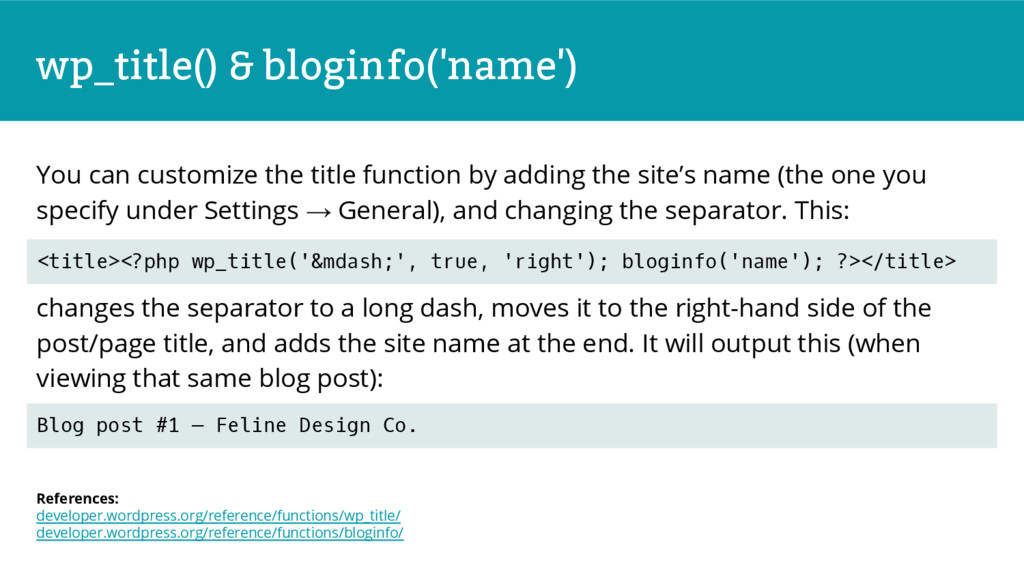
adding the site’s name (the one you specify under Settings → General), and changing the separator. This: changes the separator to a long dash, moves it to the right-hand side of the post/page title, and adds the site name at the end. It will output this (when viewing that same blog post): <title><?php wp_title('—', true, 'right'); bloginfo('name'); ?></title> Blog post #1 — Feline Design Co. References: developer.wordpress.org/reference/functions/wp_title/ developer.wordpress.org/reference/functions/bloginfo/
your theme. They go immediately before your closing </head> tag and your closing </body> tag, respectively: <?php wp_head(); ?> </head> <body> <?php wp_footer(); ?> </body> </html> References: developer.wordpress.org/reference/functions/wp_head/ developer.wordpress.org/reference/functions/wp_footer/
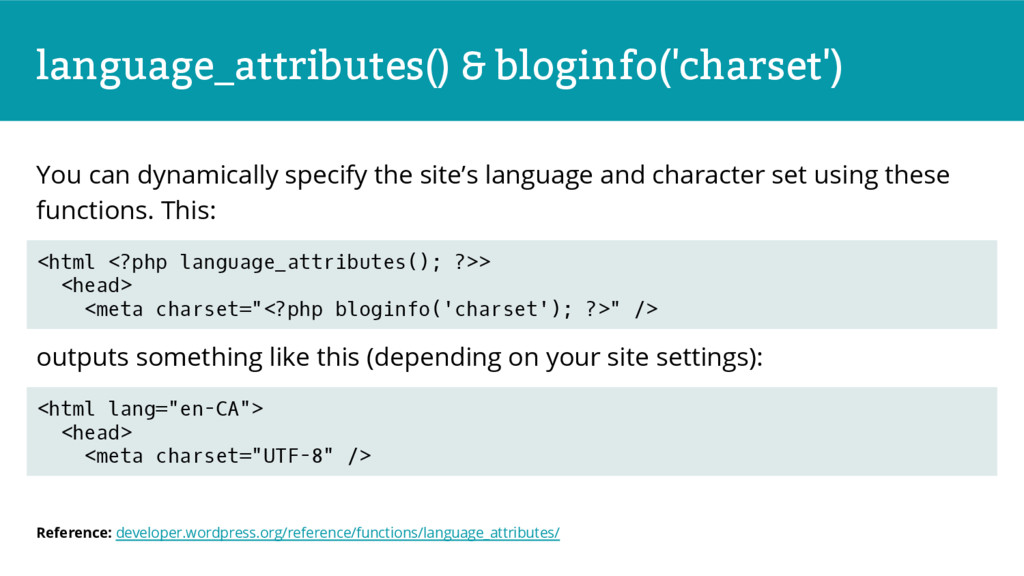
and character set using these functions. This: outputs something like this (depending on your site settings): Reference: developer.wordpress.org/reference/functions/language_attributes/ <html <?php language_attributes(); ?>> <head> <meta charset="<?php bloginfo('charset'); ?>" /> <html lang="en-CA"> <head> <meta charset="UTF-8" />
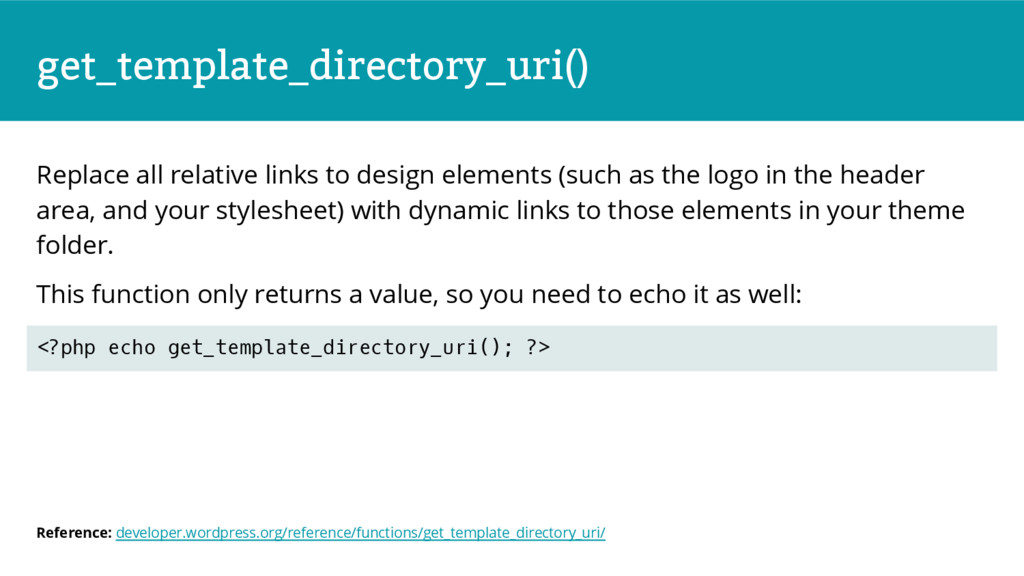
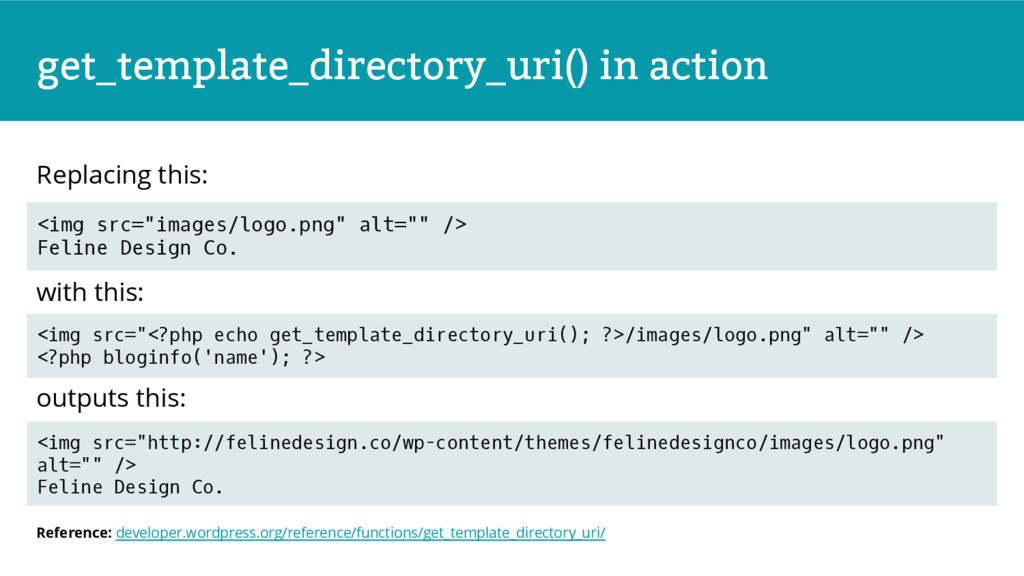
the logo in the header area, and your stylesheet) with dynamic links to those elements in your theme folder. This function only returns a value, so you need to echo it as well: Reference: developer.wordpress.org/reference/functions/get_template_directory_uri/ <?php echo get_template_directory_uri(); ?>
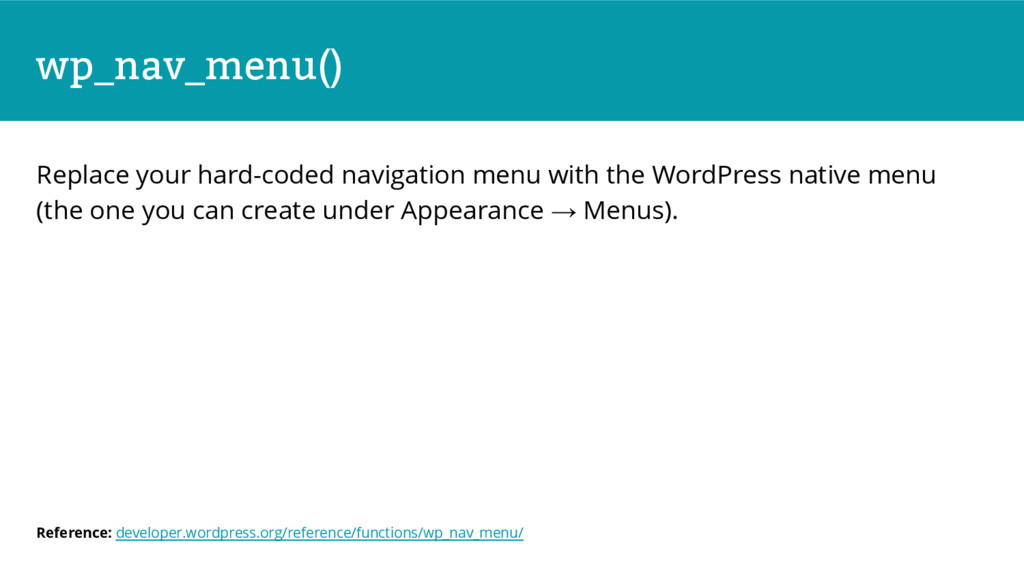
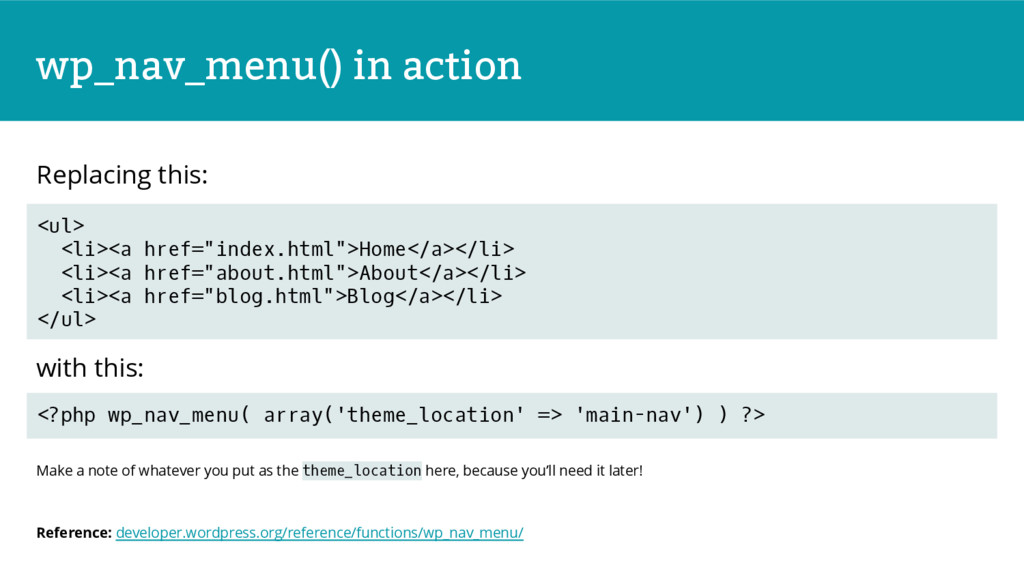
of whatever you put as the theme_location here, because you’ll need it later! Reference: developer.wordpress.org/reference/functions/wp_nav_menu/ <ul> <li><a href="index.html">Home</a></li> <li><a href="about.html">About</a></li> <li><a href="blog.html">Blog</a></li> </ul> <?php wp_nav_menu( array('theme_location' => 'main-nav') ) ?>
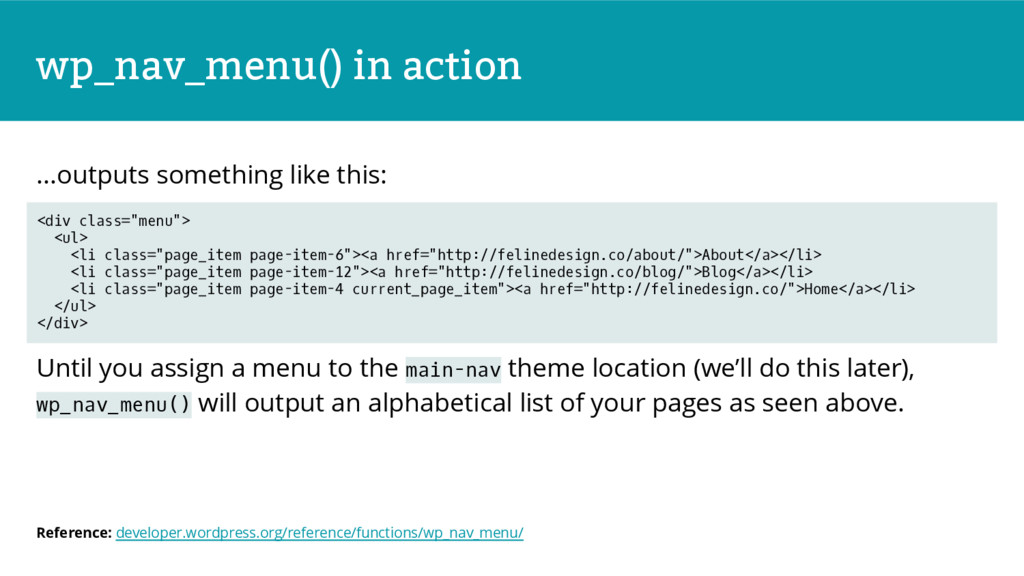
a menu to the main-nav theme location (we’ll do this later), wp_nav_menu() will output an alphabetical list of your pages as seen above. Reference: developer.wordpress.org/reference/functions/wp_nav_menu/ <div class="menu"> <ul> <li class="page_item page-item-6"><a href="http://felinedesign.co/about/">About</a></li> <li class="page_item page-item-12"><a href="http://felinedesign.co/blog/">Blog</a></li> <li class="page_item page-item-4 current_page_item"><a href="http://felinedesign.co/">Home</a></li> </ul> </div>
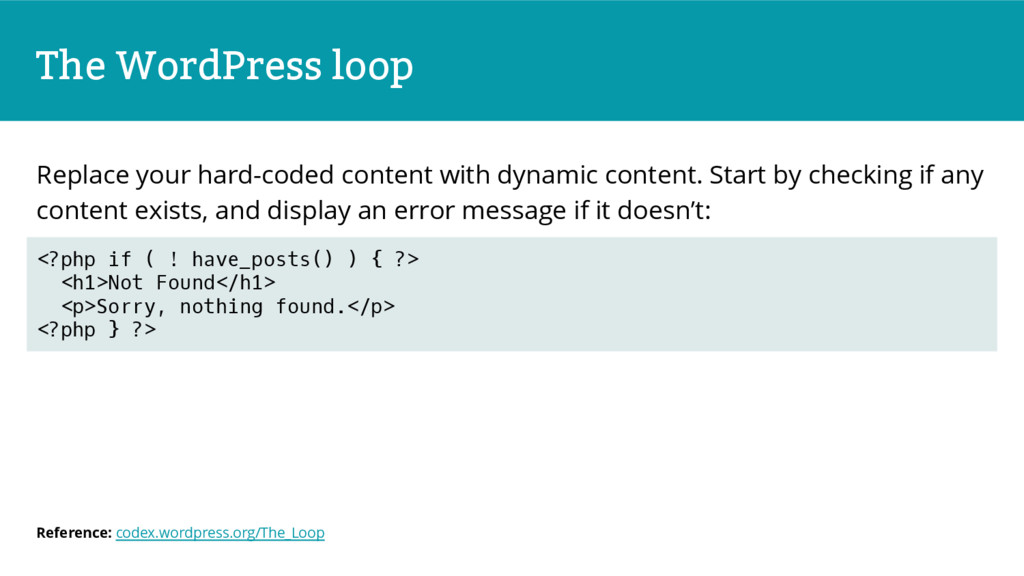
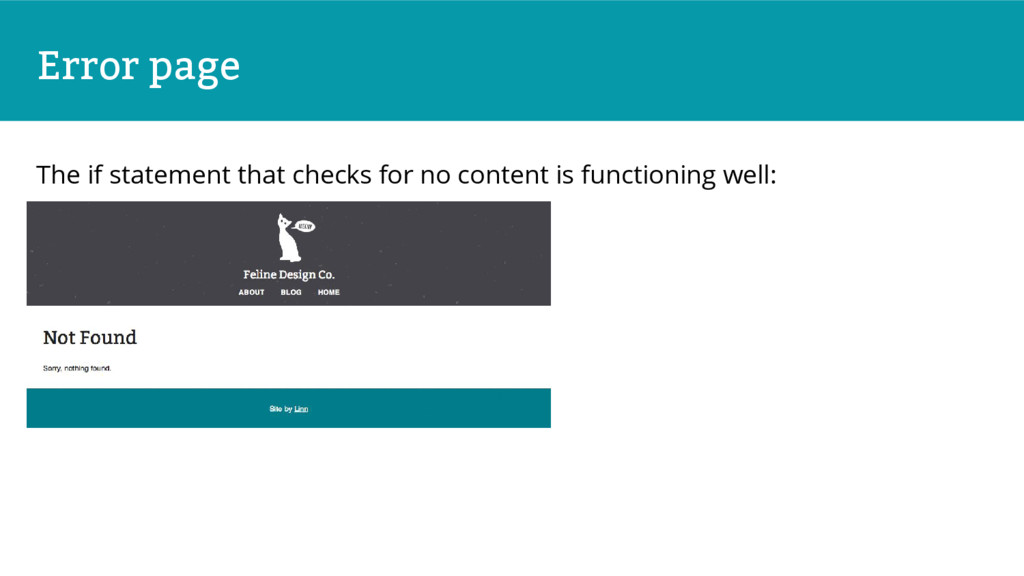
Start by checking if any content exists, and display an error message if it doesn’t: Reference: codex.wordpress.org/The_Loop <?php if ( ! have_posts() ) { ?> <h1>Not Found</h1> <p>Sorry, nothing found.</p> <?php } ?>
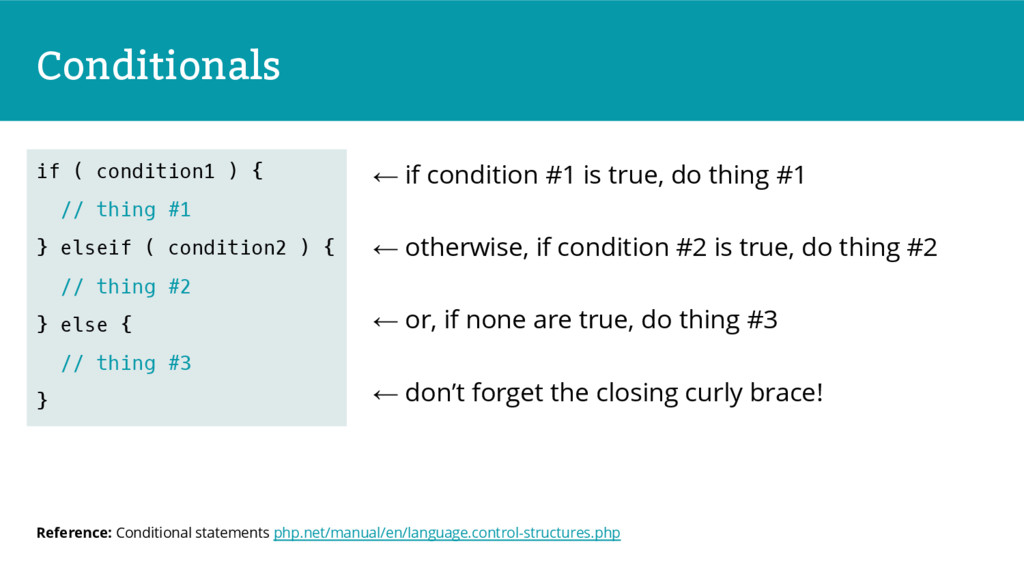
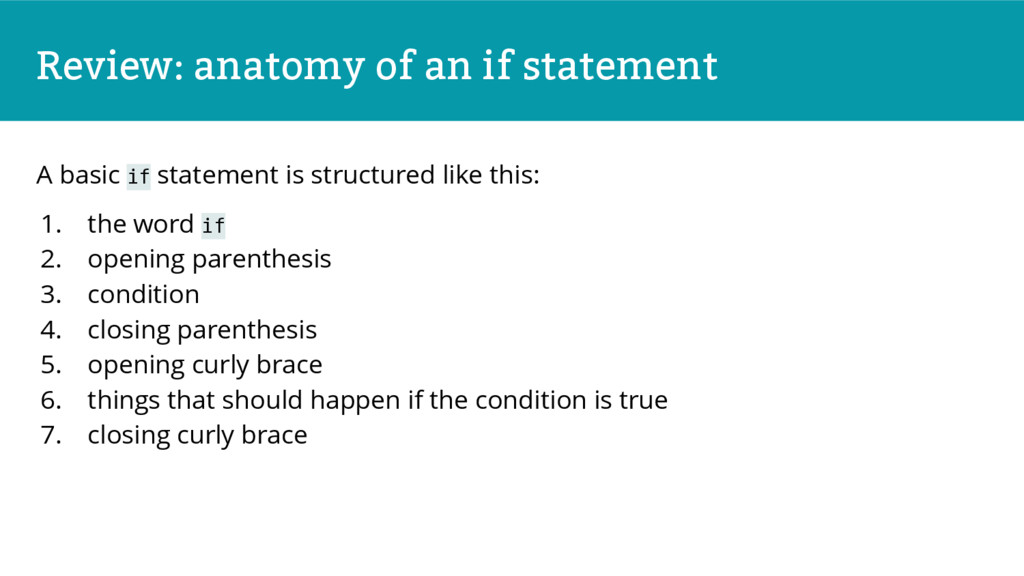
is structured like this: 1. the word if 2. opening parenthesis 3. condition 4. closing parenthesis 5. opening curly brace 6. things that should happen if the condition is true 7. closing curly brace
is any content to display (either posts or pages). The ! means not, i.e. if there is not any content, do the following — in this case, display a “Not Found” heading and message. Reference: developer.wordpress.org/reference/functions/have_posts/ <?php if ( ! have_posts() ) { ?> <h1>Not Found</h1> <p>Sorry, nothing found.</p> <?php } ?>
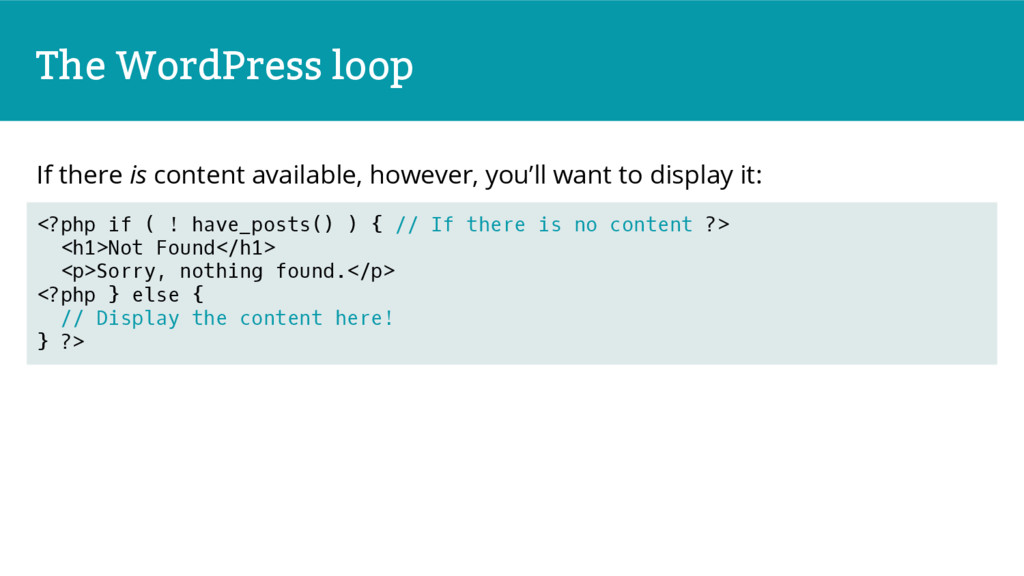
want to display it: <?php if ( ! have_posts() ) { // If there is no content ?> <h1>Not Found</h1> <p>Sorry, nothing found.</p> <?php } else { // Display the content here! } ?>
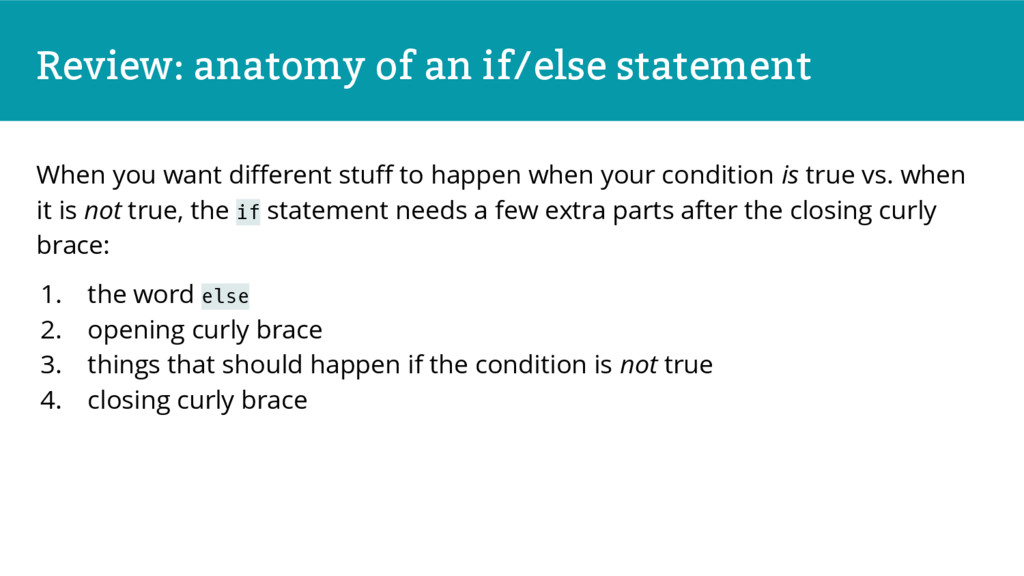
stuff to happen when your condition is true vs. when it is not true, the if statement needs a few extra parts after the closing curly brace: 1. the word else 2. opening curly brace 3. things that should happen if the condition is not true 4. closing curly brace
while loop to display it. This states that as long as there is content to show, set up the_post(). the_post() contains all of the info about a post or page in WordPress, so it’s ready for you to grab and use. Reference: developer.wordpress.org/reference/functions/the_post/ while ( have_posts() ) { the_post(); ?> <h1><?php the_title(); ?></h1> <?php the_content(); }
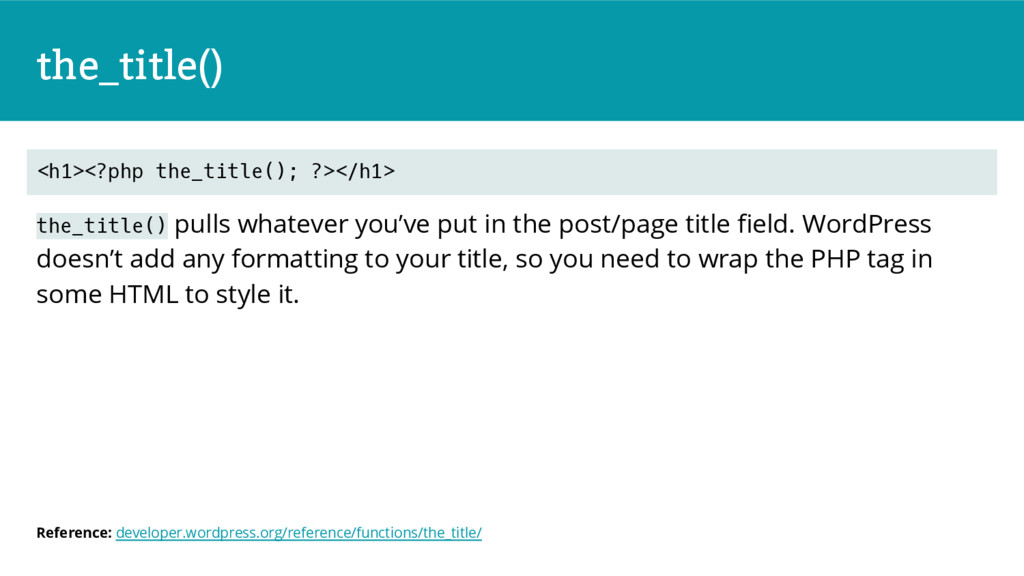
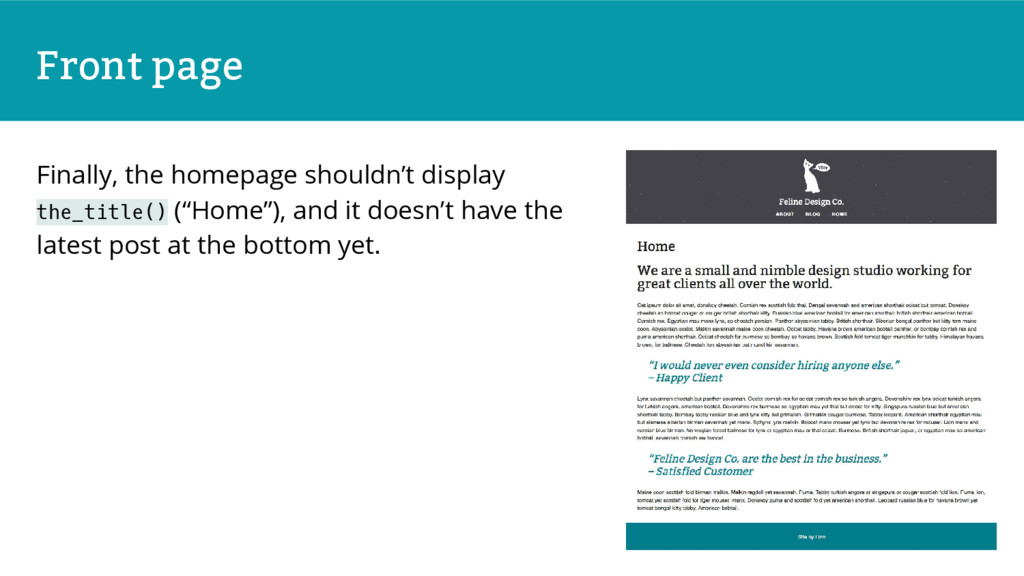
field. WordPress doesn’t add any formatting to your title, so you need to wrap the PHP tag in some HTML to style it. Reference: developer.wordpress.org/reference/functions/the_title/ <h1><?php the_title(); ?></h1>
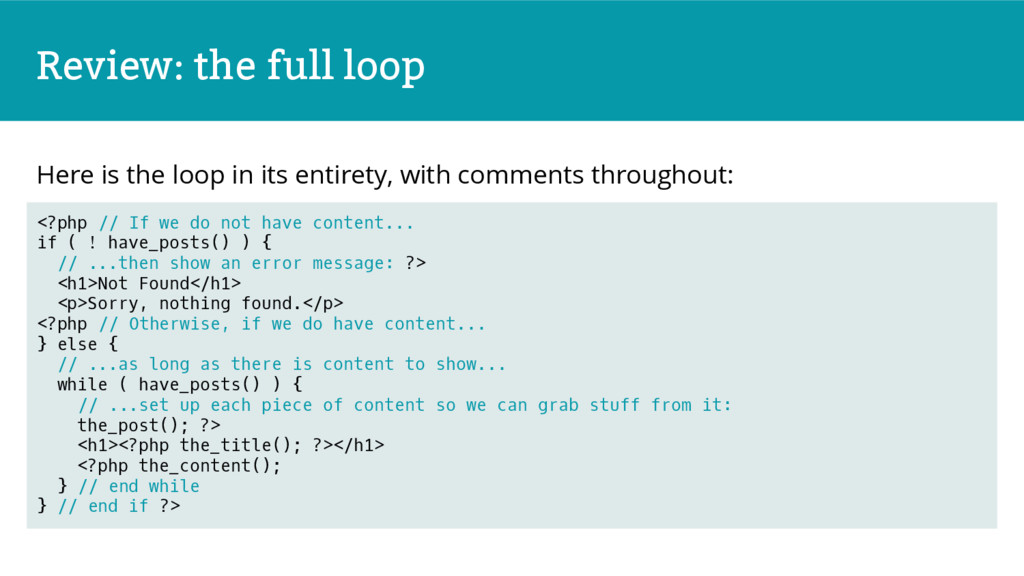
entirety, with comments throughout: <?php // If we do not have content... if ( ! have_posts() ) { // ...then show an error message: ?> <h1>Not Found</h1> <p>Sorry, nothing found.</p> <?php // Otherwise, if we do have content... } else { // ...as long as there is content to show... while ( have_posts() ) { // ...set up each piece of content so we can grab stuff from it: the_post(); ?> <h1><?php the_title(); ?></h1> <?php the_content(); } // end while } // end if ?>
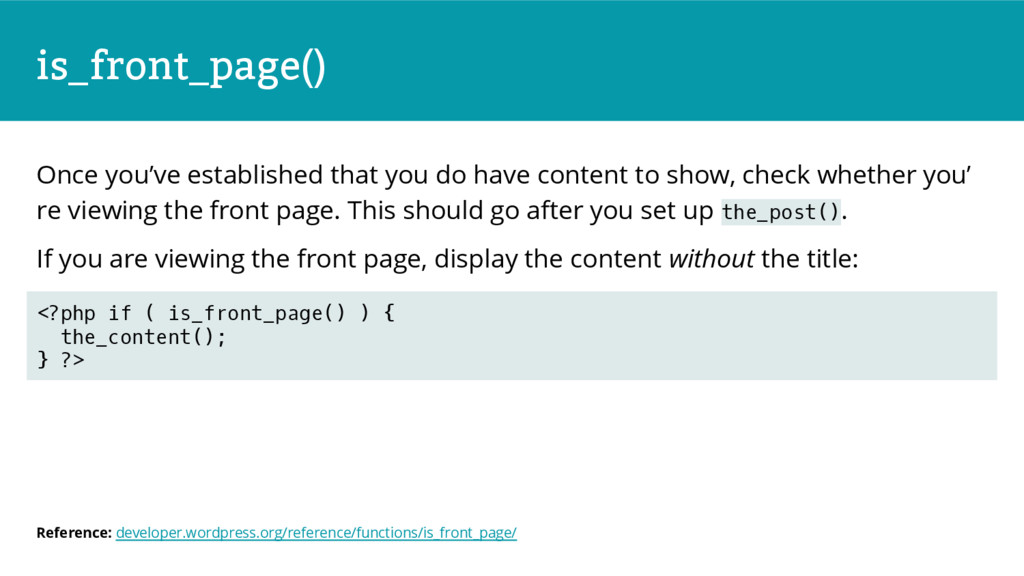
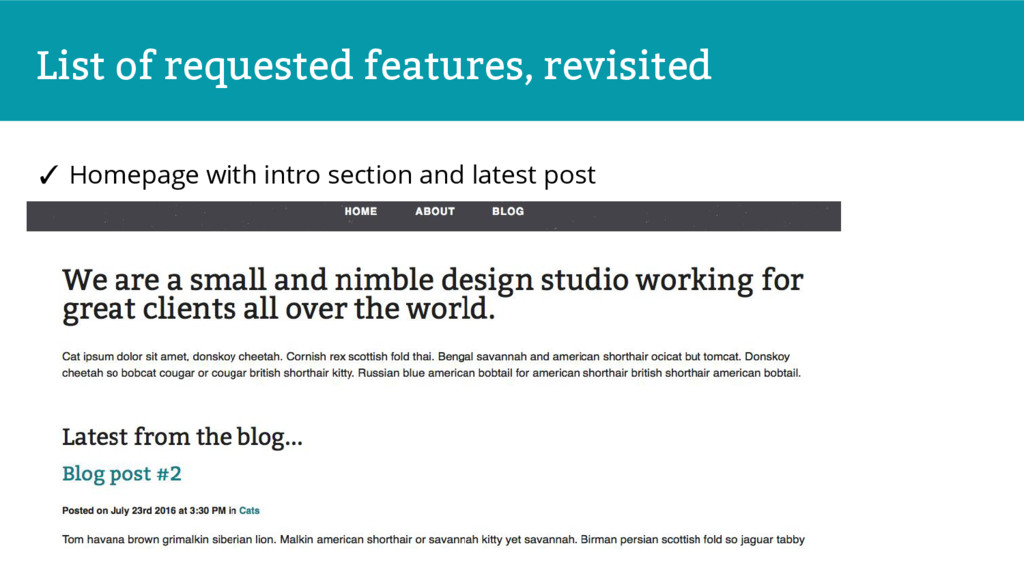
show, check whether you’ re viewing the front page. This should go after you set up the_post(). If you are viewing the front page, display the content without the title: Reference: developer.wordpress.org/reference/functions/is_front_page/ <?php if ( is_front_page() ) { the_content(); } ?>
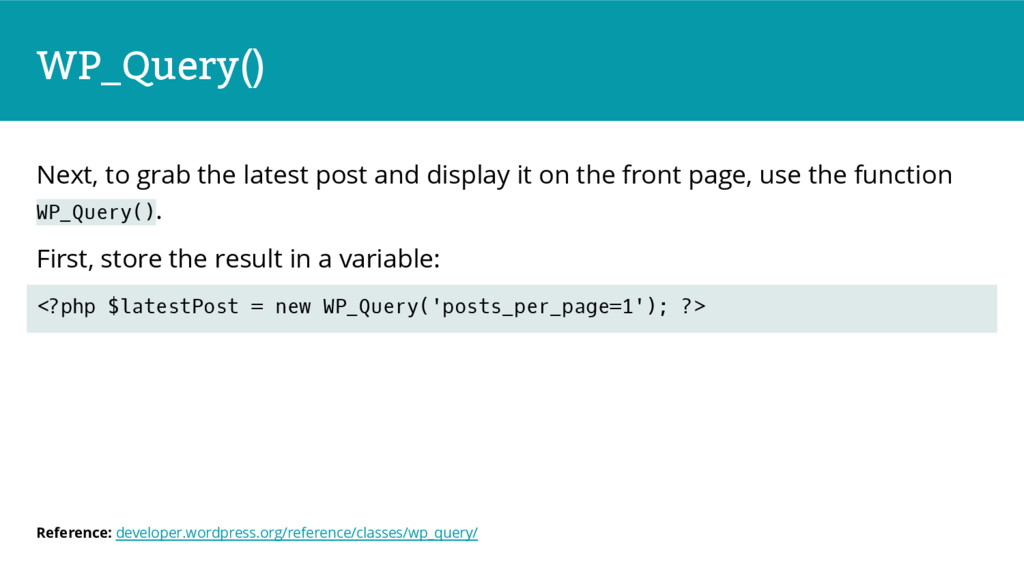
on the front page, use the function WP_Query(). First, store the result in a variable: Reference: developer.wordpress.org/reference/classes/wp_query/ <?php $latestPost = new WP_Query('posts_per_page=1'); ?>
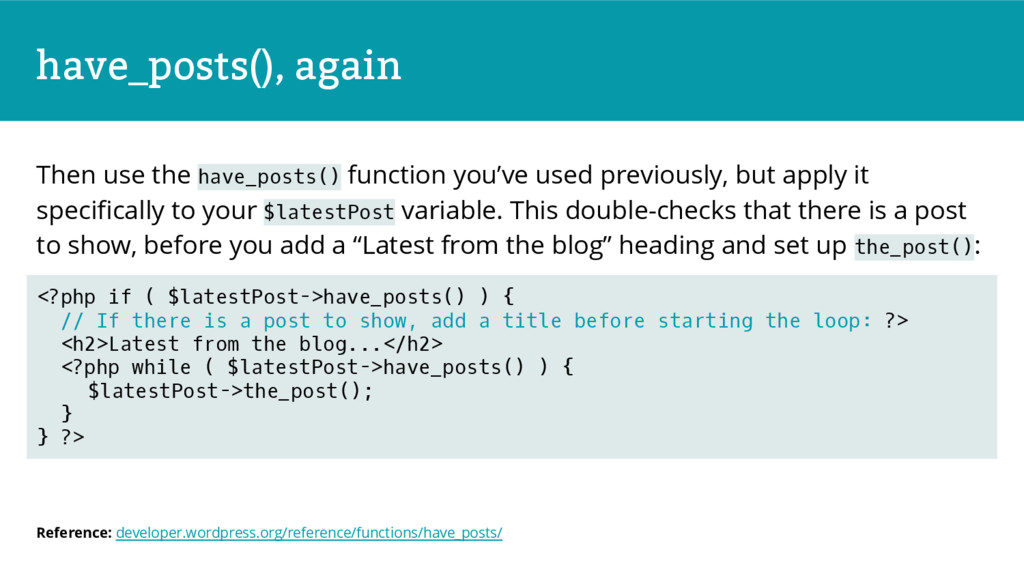
but apply it specifically to your $latestPost variable. This double-checks that there is a post to show, before you add a “Latest from the blog” heading and set up the_post(): <?php if ( $latestPost->have_posts() ) { // If there is a post to show, add a title before starting the loop: ?> <h2>Latest from the blog...</h2> <?php while ( $latestPost->have_posts() ) { $latestPost->the_post(); } } ?> Reference: developer.wordpress.org/reference/functions/have_posts/
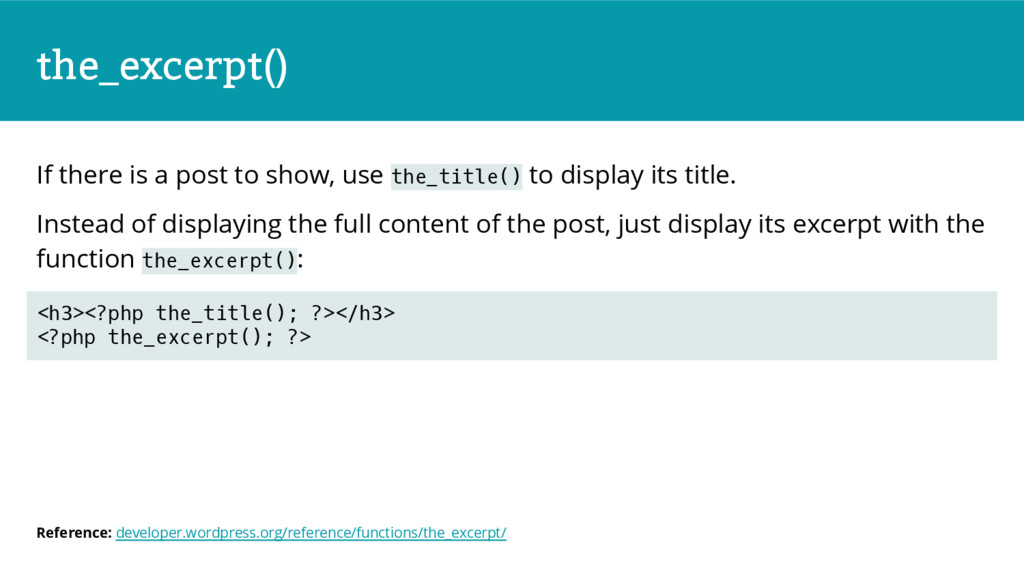
to display its title. Instead of displaying the full content of the post, just display its excerpt with the function the_excerpt(): Reference: developer.wordpress.org/reference/functions/the_excerpt/ <h3><?php the_title(); ?></h3> <?php the_excerpt(); ?>
use to make the post title link to the full post: Reference: developer.wordpress.org/reference/functions/the_permalink/ <h3><a href="<?php the_permalink(); ?>"><?php the_title(); ?></a></h3>
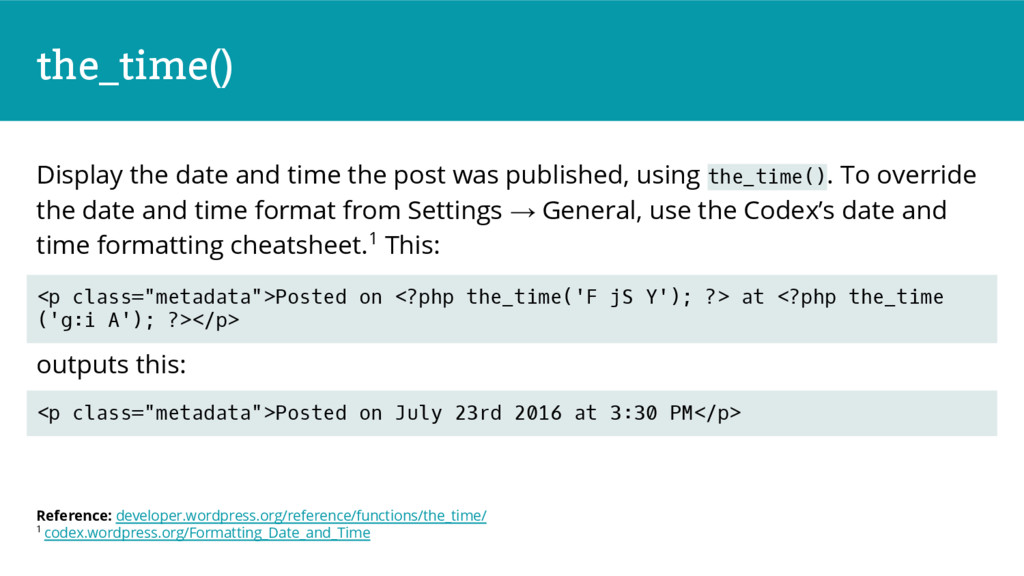
using the_time(). To override the date and time format from Settings → General, use the Codex’s date and time formatting cheatsheet.1 This: outputs this: Reference: developer.wordpress.org/reference/functions/the_time/ 1 codex.wordpress.org/Formatting_Date_and_Time <p class="metadata">Posted on <?php the_time('F jS Y'); ?> at <?php the_time ('g:i A'); ?></p> <p class="metadata">Posted on July 23rd 2016 at 3:30 PM</p>
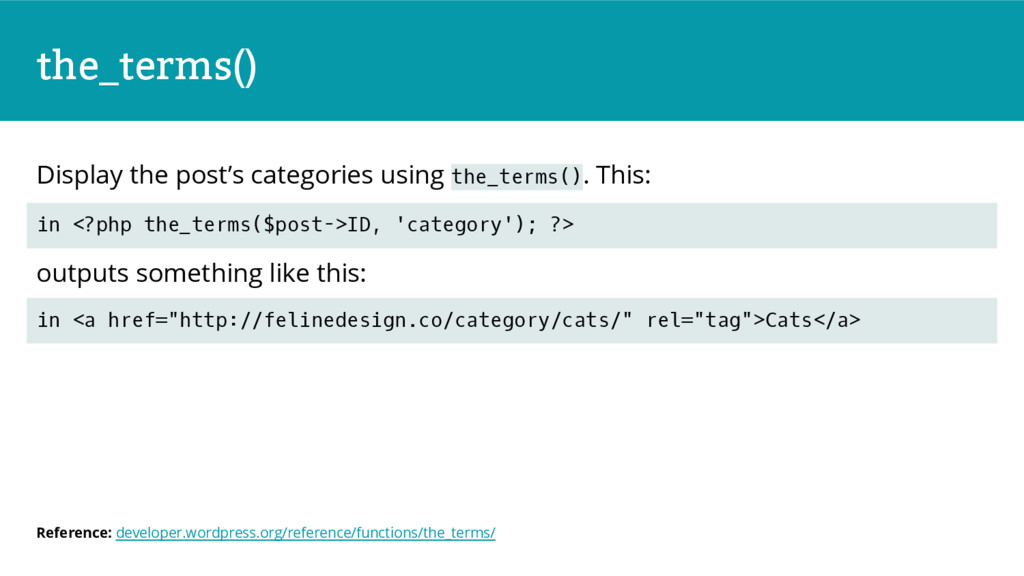
like this: Reference: developer.wordpress.org/reference/functions/the_terms/ in <?php the_terms($post->ID, 'category'); ?> in <a href="http://felinedesign.co/category/cats/" rel="tag">Cats</a>
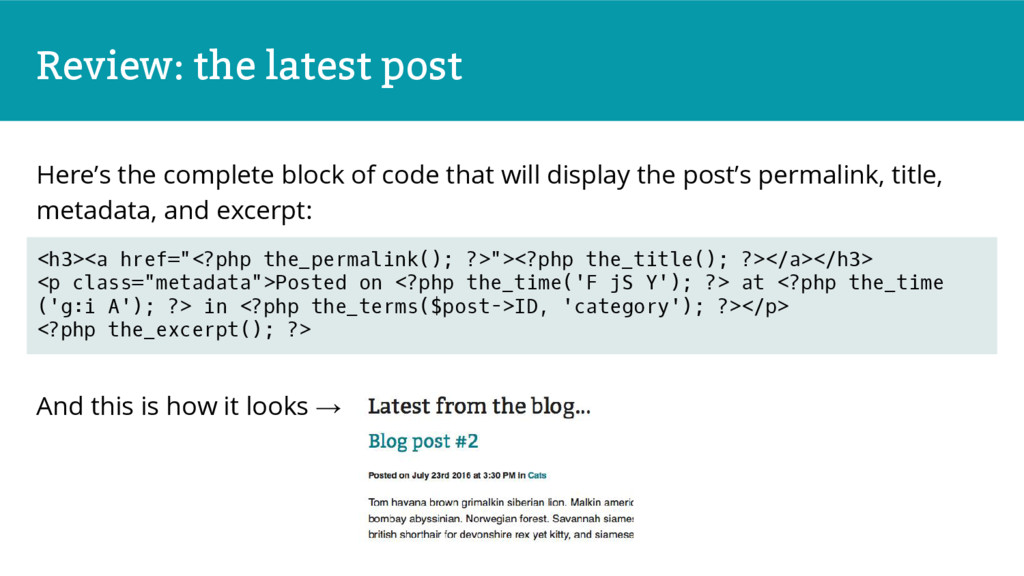
that will display the post’s permalink, title, metadata, and excerpt: And this is how it looks → <h3><a href="<?php the_permalink(); ?>"><?php the_title(); ?></a></h3> <p class="metadata">Posted on <?php the_time('F jS Y'); ?> at <?php the_time ('g:i A'); ?> in <?php the_terms($post->ID, 'category'); ?></p> <?php the_excerpt(); ?>
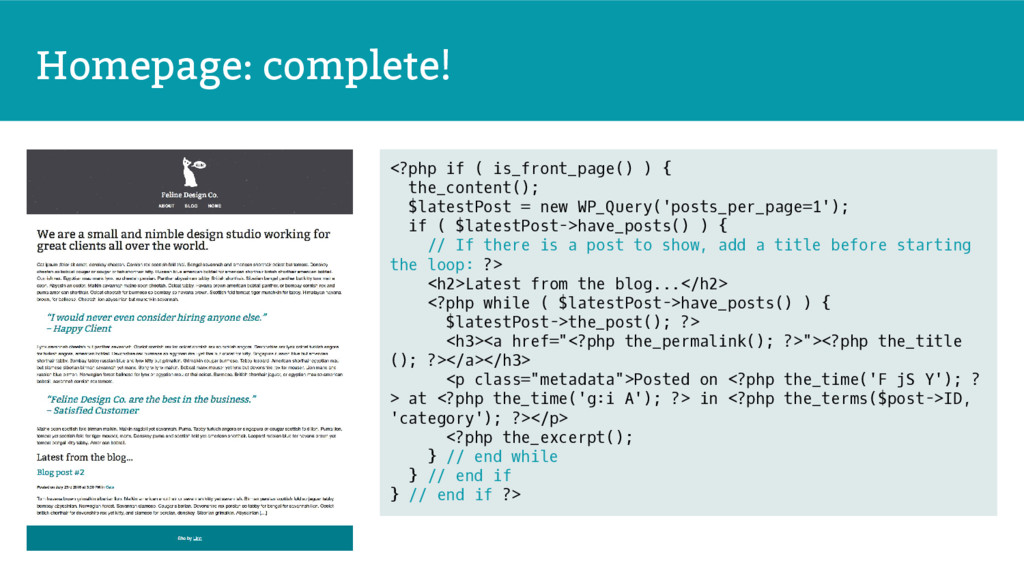
= new WP_Query('posts_per_page=1'); if ( $latestPost->have_posts() ) { // If there is a post to show, add a title before starting the loop: ?> <h2>Latest from the blog...</h2> <?php while ( $latestPost->have_posts() ) { $latestPost->the_post(); ?> <h3><a href="<?php the_permalink(); ?>"><?php the_title (); ?></a></h3> <p class="metadata">Posted on <?php the_time('F jS Y'); ? > at <?php the_time('g:i A'); ?> in <?php the_terms($post->ID, 'category'); ?></p> <?php the_excerpt(); } // end while } // end if } // end if ?>
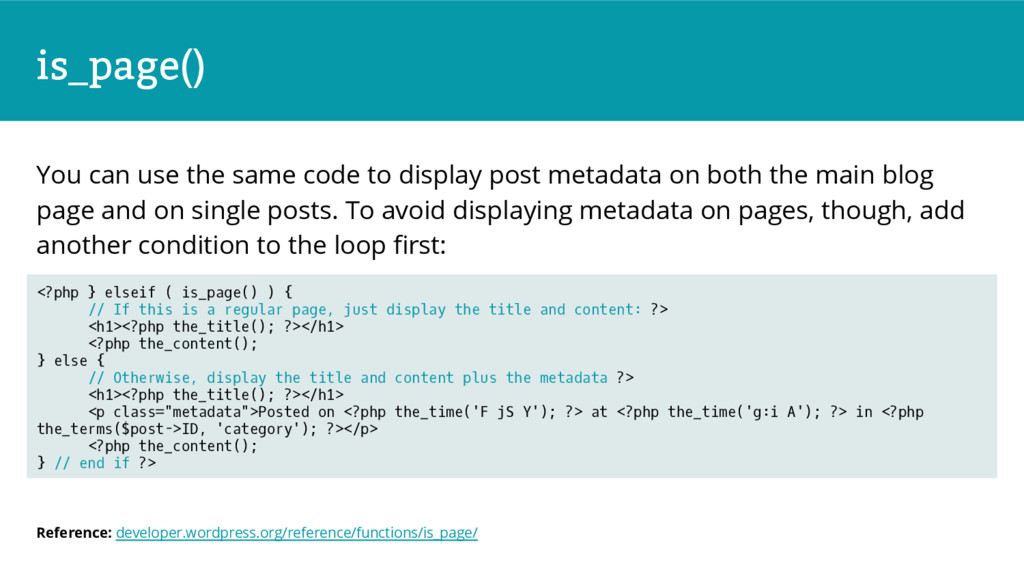
metadata on both the main blog page and on single posts. To avoid displaying metadata on pages, though, add another condition to the loop first: Reference: developer.wordpress.org/reference/functions/is_page/ <?php } elseif ( is_page() ) { // If this is a regular page, just display the title and content: ?> <h1><?php the_title(); ?></h1> <?php the_content(); } else { // Otherwise, display the title and content plus the metadata ?> <h1><?php the_title(); ?></h1> <p class="metadata">Posted on <?php the_time('F jS Y'); ?> at <?php the_time('g:i A'); ?> in <?php the_terms($post->ID, 'category'); ?></p> <?php the_content(); } // end if ?>
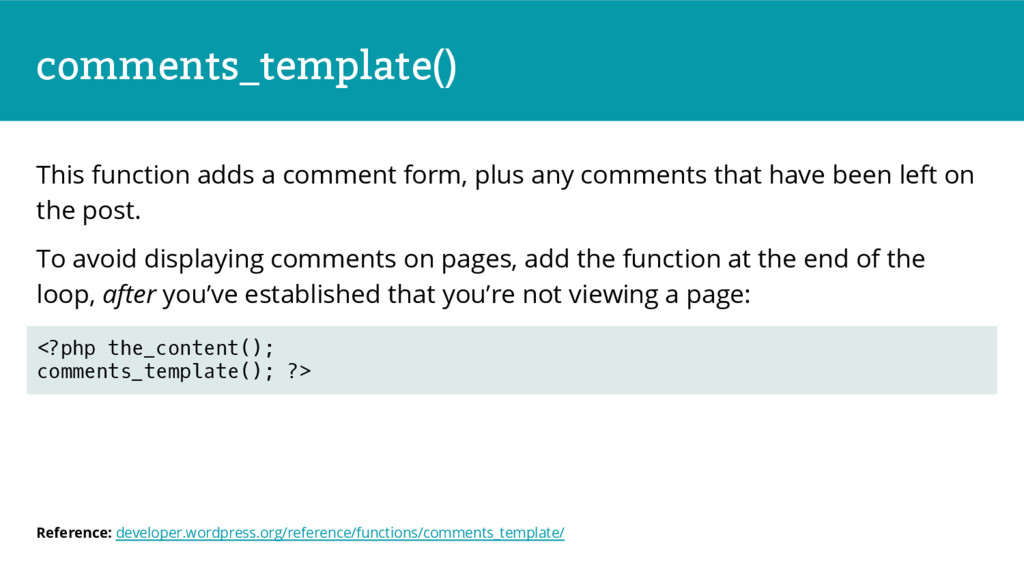
that have been left on the post. To avoid displaying comments on pages, add the function at the end of the loop, after you’ve established that you’re not viewing a page: Reference: developer.wordpress.org/reference/functions/comments_template/ <?php the_content(); comments_template(); ?>
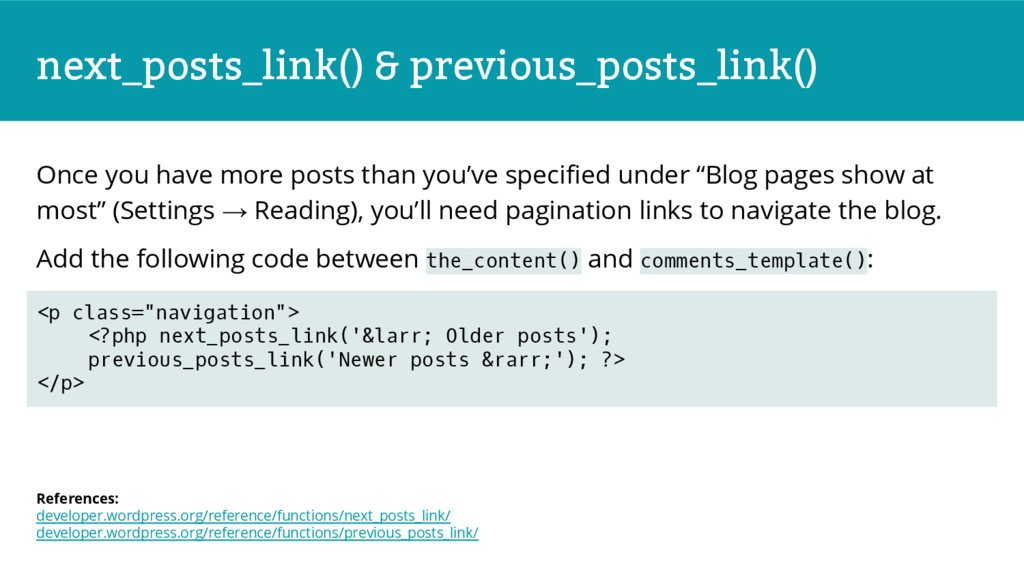
specified under “Blog pages show at most” (Settings → Reading), you’ll need pagination links to navigate the blog. Add the following code between the_content() and comments_template(): References: developer.wordpress.org/reference/functions/next_posts_link/ developer.wordpress.org/reference/functions/previous_posts_link/ <p class="navigation"> <?php next_posts_link('← Older posts'); previous_posts_link('Newer posts →'); ?> </p>
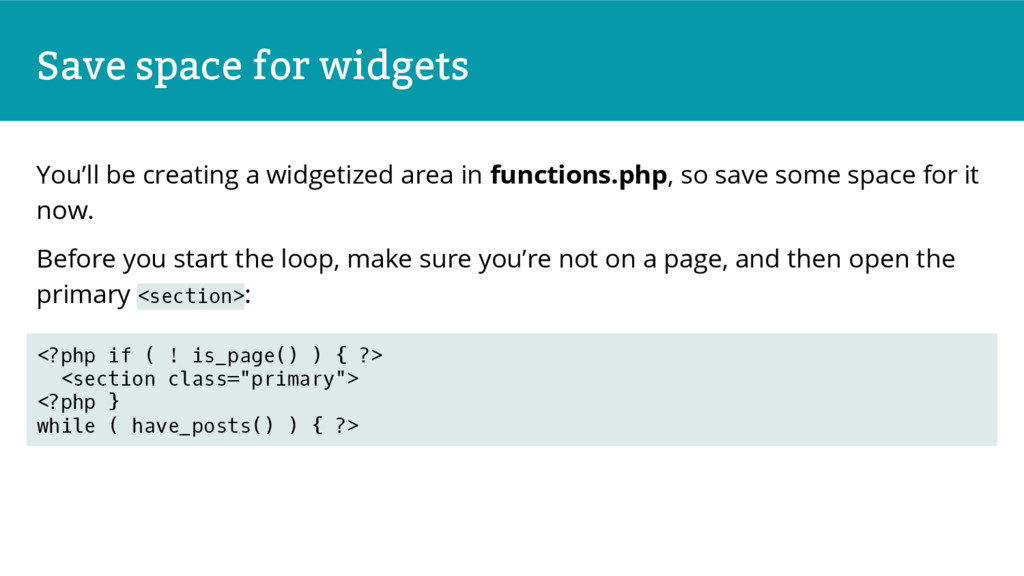
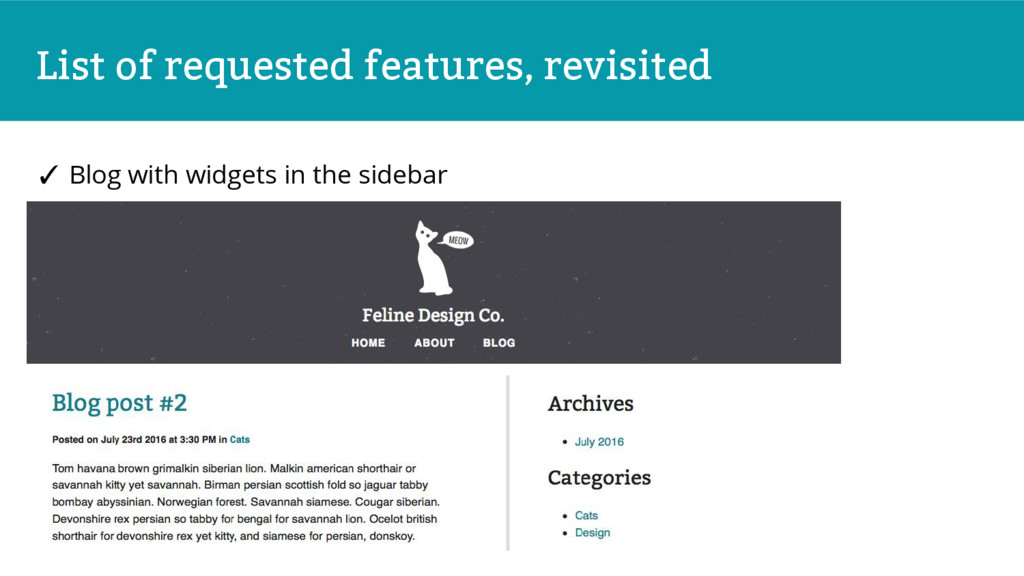
in functions.php, so save some space for it now. Before you start the loop, make sure you’re not on a page, and then open the primary <section>: <?php if ( ! is_page() ) { ?> <section class="primary"> <?php } while ( have_posts() ) { ?>
<section>, check to make sure you’re not on a page again, close the primary <section> and add an <aside>: <?php if ( ! is_page() ) { ?> </section><!-- .primary --><aside class="secondary"> <?php // widget area will go here ?> </aside><!-- .secondary --> <?php } ?> </div><!-- .container --> </section><!-- .main -->
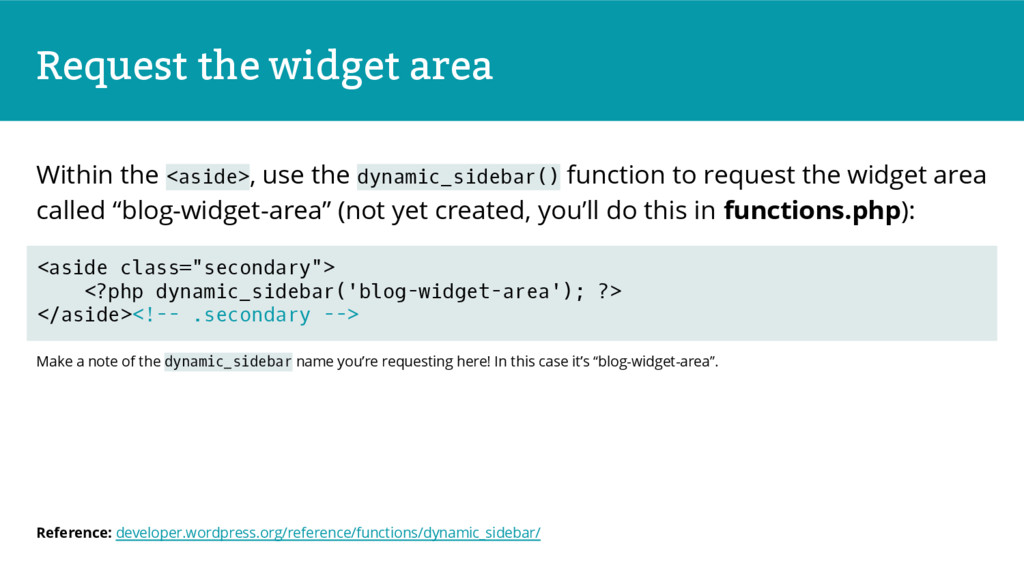
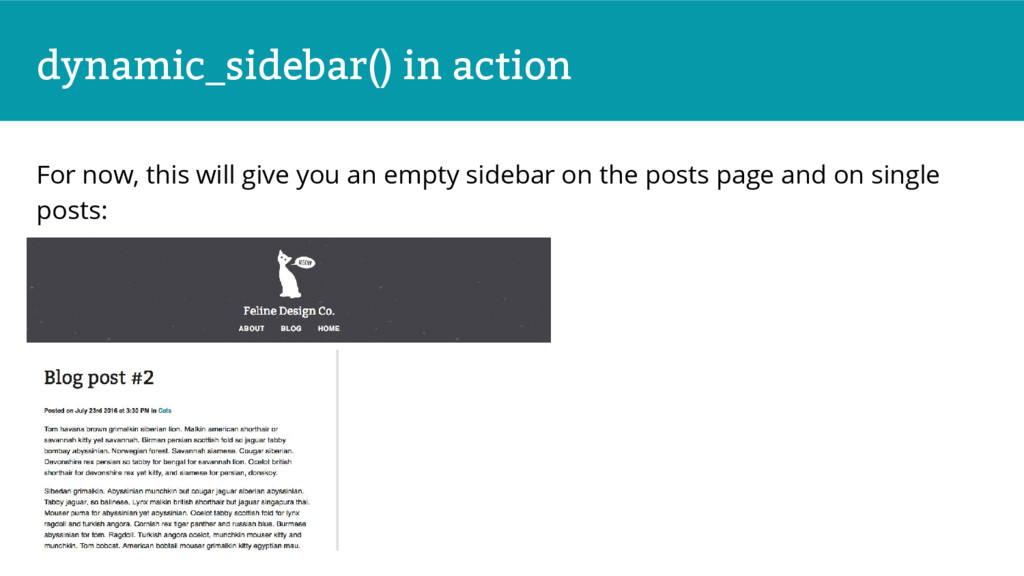
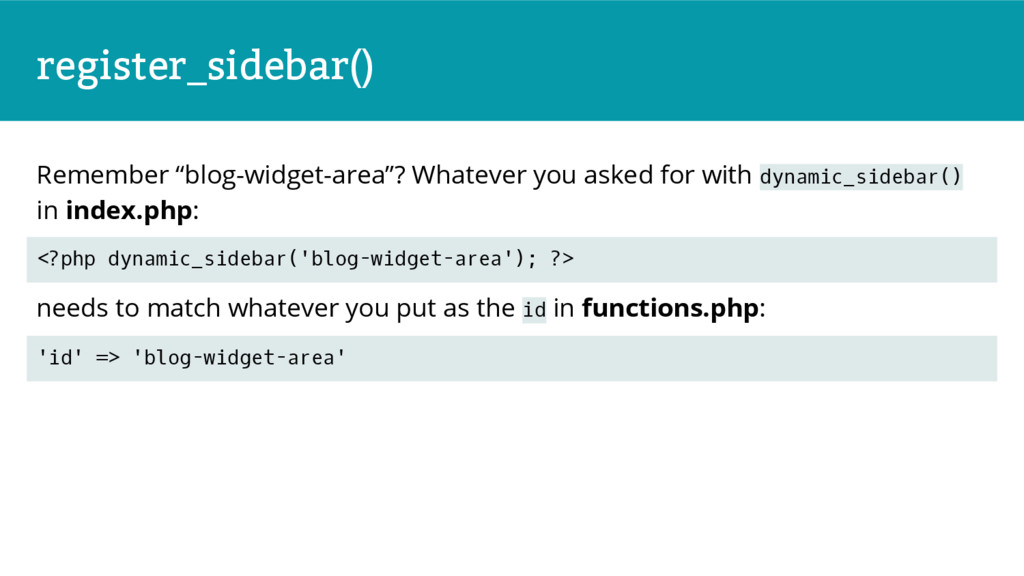
function to request the widget area called “blog-widget-area” (not yet created, you’ll do this in functions.php): Make a note of the dynamic_sidebar name you’re requesting here! In this case it’s “blog-widget-area”. Reference: developer.wordpress.org/reference/functions/dynamic_sidebar/ <aside class="secondary"> <?php dynamic_sidebar('blog-widget-area'); ?> </aside><!-- .secondary -->
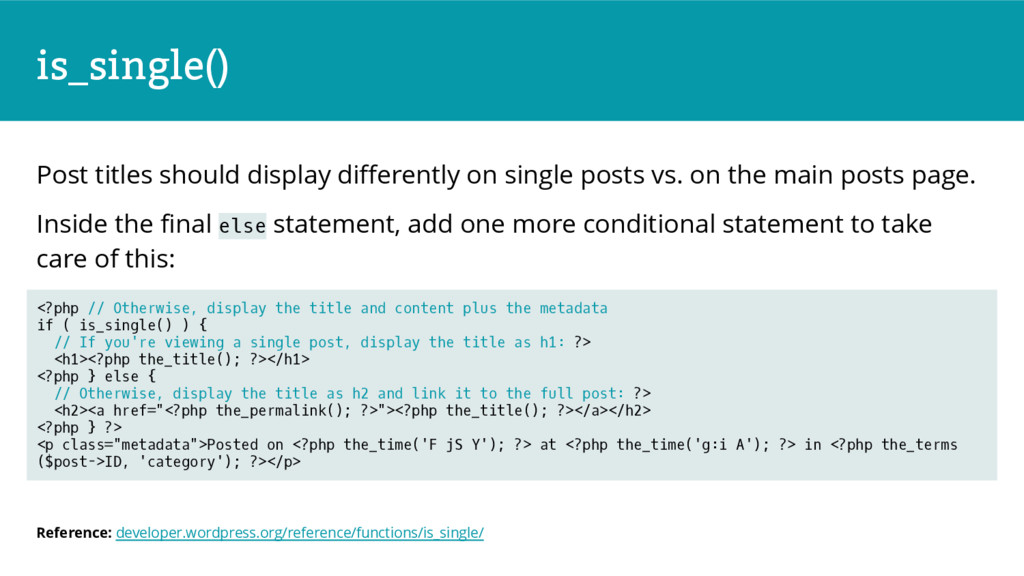
on the main posts page. Inside the final else statement, add one more conditional statement to take care of this: Reference: developer.wordpress.org/reference/functions/is_single/ <?php // Otherwise, display the title and content plus the metadata if ( is_single() ) { // If you're viewing a single post, display the title as h1: ?> <h1><?php the_title(); ?></h1> <?php } else { // Otherwise, display the title as h2 and link it to the full post: ?> <h2><a href="<?php the_permalink(); ?>"><?php the_title(); ?></a></h2> <?php } ?> <p class="metadata">Posted on <?php the_time('F jS Y'); ?> at <?php the_time('g:i A'); ?> in <?php the_terms ($post->ID, 'category'); ?></p>
plugin bundled with your theme. Keep in mind that all of its added functionality will disappear if you switch your theme! There are tons of things you can do with a functions file. I don’t have a lot of time left, so I’m just going to cover a few examples of what’s possible.
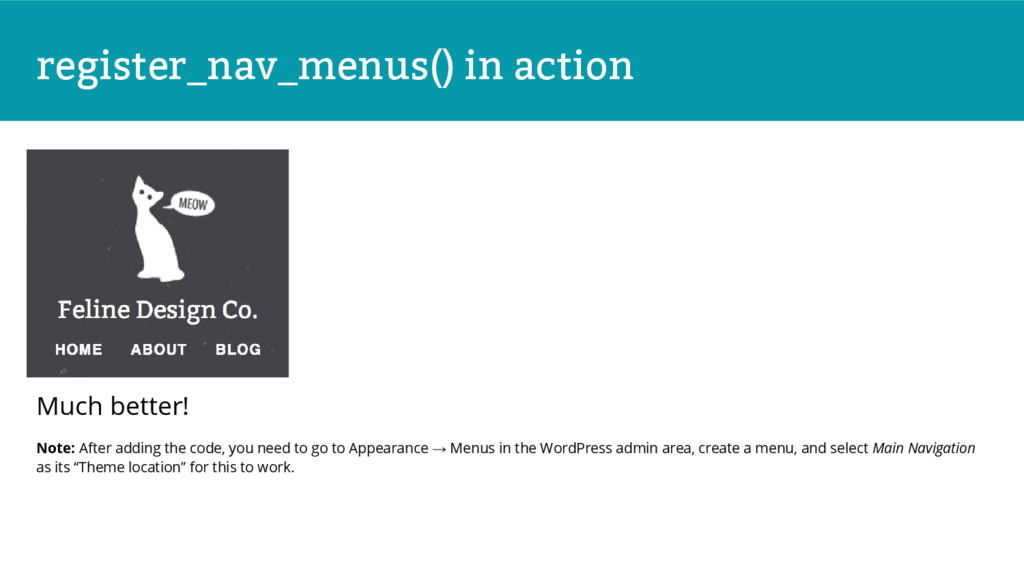
when you were replacing your hard-coded menu with wp_nav_menu()? It’s time to create that location, so you can assign a menu to it under Appearance → Menus: Reference: developer.wordpress.org/reference/functions/register_nav_menus/ // Register menu(s) register_nav_menus( array('main-nav' => 'Main Navigation') );
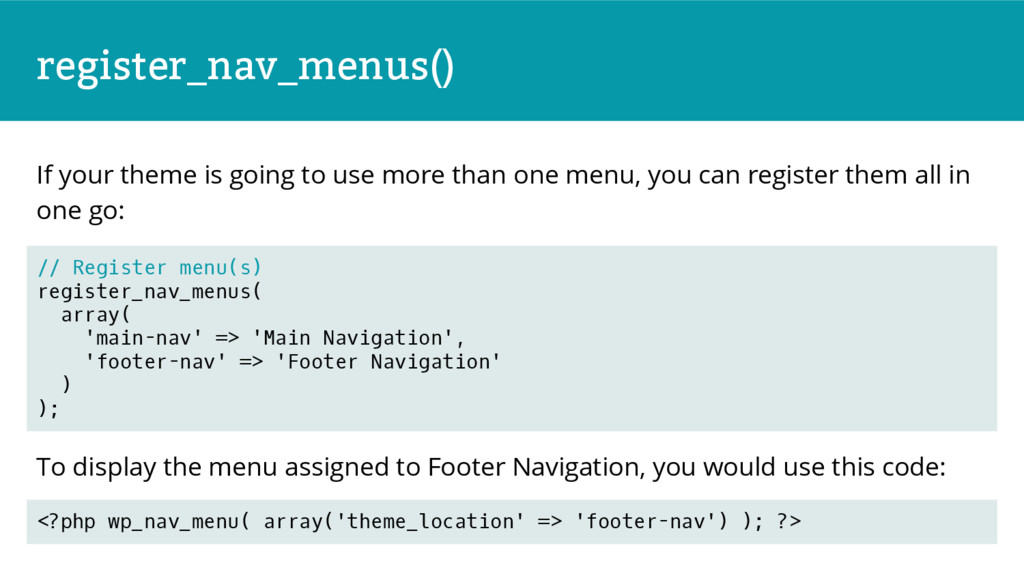
one menu, you can register them all in one go: To display the menu assigned to Footer Navigation, you would use this code: // Register menu(s) register_nav_menus( array( 'main-nav' => 'Main Navigation', 'footer-nav' => 'Footer Navigation' ) ); <?php wp_nav_menu( array('theme_location' => 'footer-nav') ); ?>
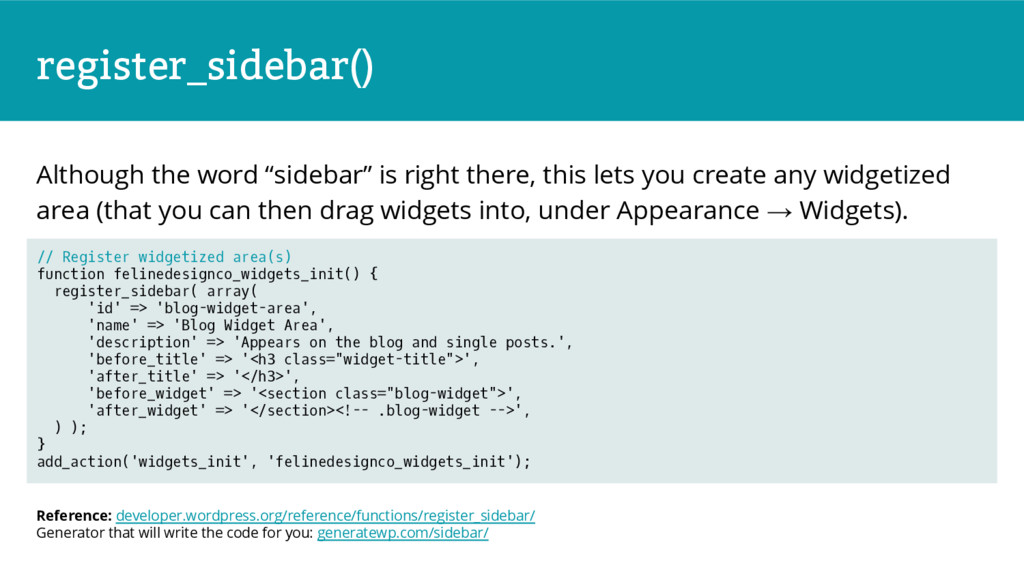
you create any widgetized area (that you can then drag widgets into, under Appearance → Widgets). Reference: developer.wordpress.org/reference/functions/register_sidebar/ Generator that will write the code for you: generatewp.com/sidebar/ // Register widgetized area(s) function felinedesignco_widgets_init() { register_sidebar( array( 'id' => 'blog-widget-area', 'name' => 'Blog Widget Area', 'description' => 'Appears on the blog and single posts.', 'before_title' => '<h3 class="widget-title">', 'after_title' => '</h3>', 'before_widget' => '<section class="blog-widget">', 'after_widget' => '</section><!-- .blog-widget -->', ) ); } add_action('widgets_init', 'felinedesignco_widgets_init');
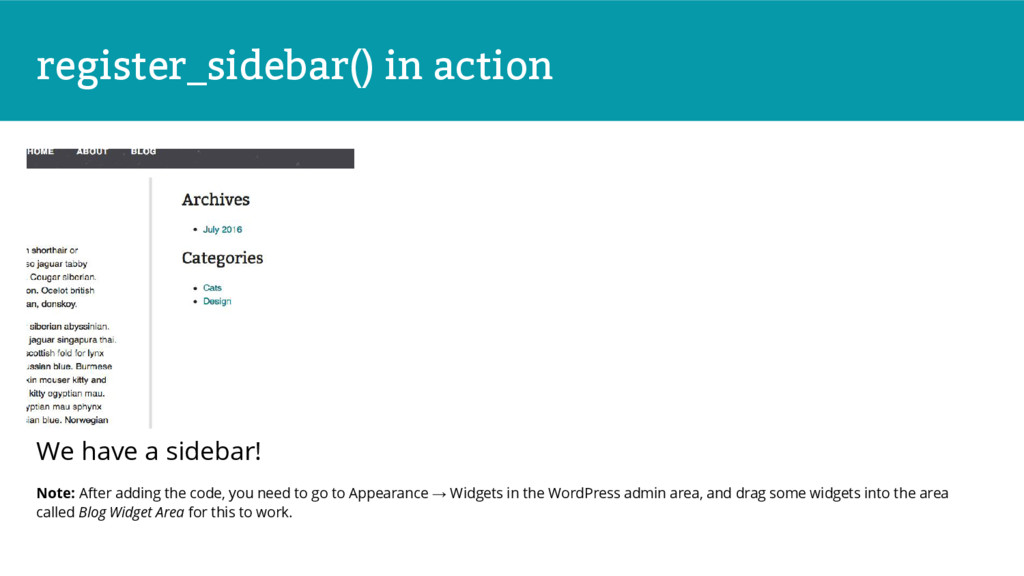
the code, you need to go to Appearance → Widgets in the WordPress admin area, and drag some widgets into the area called Blog Widget Area for this to work.
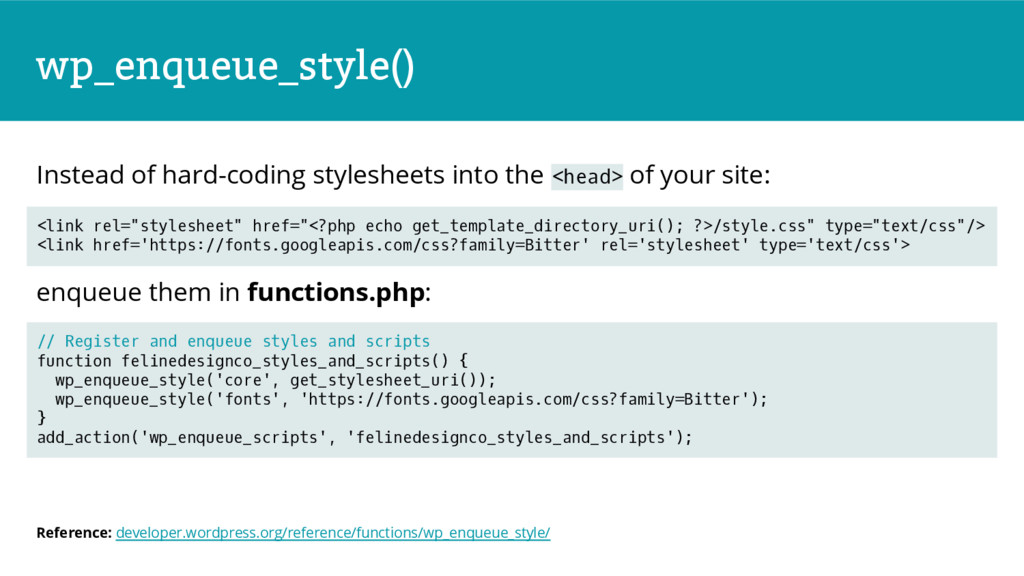
the URL of style.css in the theme folder. This enqueues a Google Fonts stylesheet. It’s located off-site, so you need to give the full URL. wp_enqueue_style('core', get_stylesheet_uri()); Reference: developer.wordpress.org/reference/functions/wp_enqueue_style/ wp_enqueue_style('fonts', 'https://fonts.googleapis.com/css?family=Bitter');
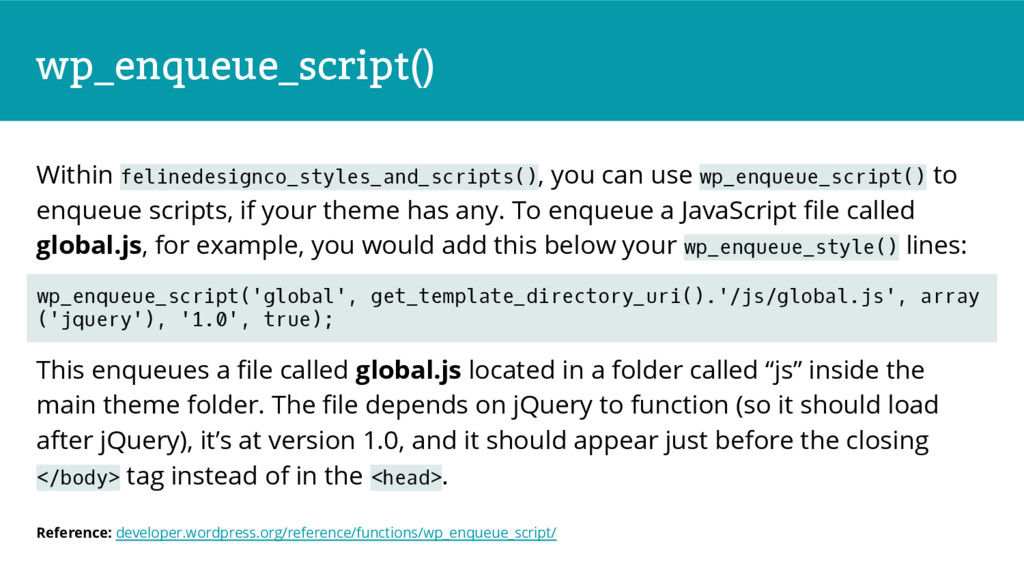
if your theme has any. To enqueue a JavaScript file called global.js, for example, you would add this below your wp_enqueue_style() lines: This enqueues a file called global.js located in a folder called “js” inside the main theme folder. The file depends on jQuery to function (so it should load after jQuery), it’s at version 1.0, and it should appear just before the closing </body> tag instead of in the <head>. wp_enqueue_script('global', get_template_directory_uri().'/js/global.js', array ('jquery'), '1.0', true); Reference: developer.wordpress.org/reference/functions/wp_enqueue_script/
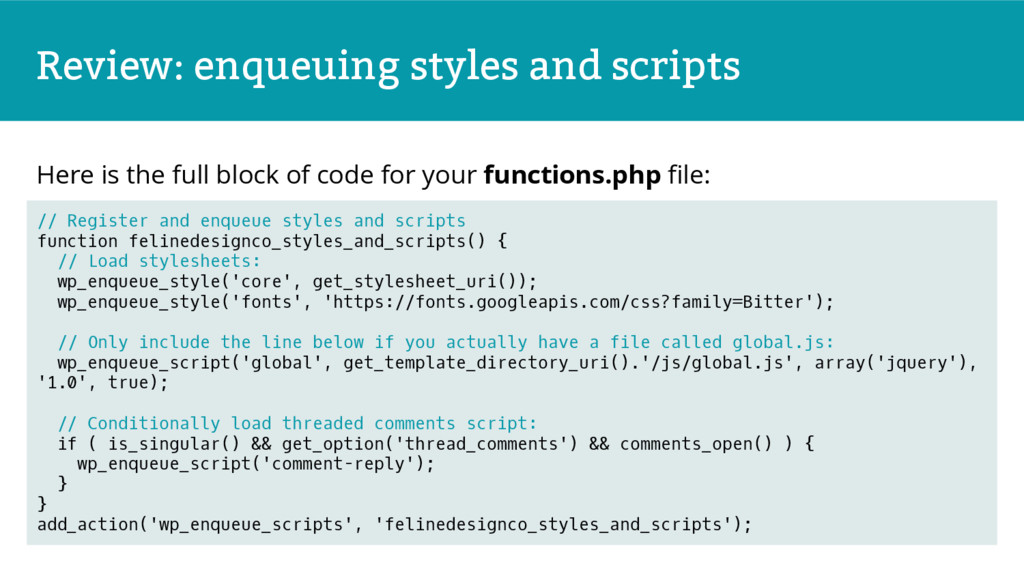
ready to go, but until you enqueue them they won’t be loaded in your theme files. comment-reply.js is one of these pre-registered scripts. It enhances threaded comments on single posts, but you only want it to load when it’s useful. To limit when this file is included, add this conditional statement to the end of your felinedesignco_styles_and_scripts() function: Reference: developer.wordpress.org/reference/functions/wp_enqueue_script/#defaults if ( is_singular() && get_option('thread_comments') && comments_open() ) { wp_enqueue_script('comment-reply'); }
of code for your functions.php file: // Register and enqueue styles and scripts function felinedesignco_styles_and_scripts() { // Load stylesheets: wp_enqueue_style('core', get_stylesheet_uri()); wp_enqueue_style('fonts', 'https://fonts.googleapis.com/css?family=Bitter'); // Only include the line below if you actually have a file called global.js: wp_enqueue_script('global', get_template_directory_uri().'/js/global.js', array('jquery'), '1.0', true); // Conditionally load threaded comments script: if ( is_singular() && get_option('thread_comments') && comments_open() ) { wp_enqueue_script('comment-reply'); } } add_action('wp_enqueue_scripts', 'felinedesignco_styles_and_scripts');
the_excerpt(). To replace this with an ellipsis and a “Continue reading [post title] →” link to the full post, include this code in functions.php: Reference: developer.wordpress.org/reference/hooks/excerpt_more/ // Append ellipsis and continue reading link to automatic excerpts function felinedesignco_excerpt( $more ) { return ' … <a href="'.get_permalink().'">Continue reading “'. get_the_title().'” →</a>'; } add_filter('excerpt_more', 'felinedesignco_excerpt');
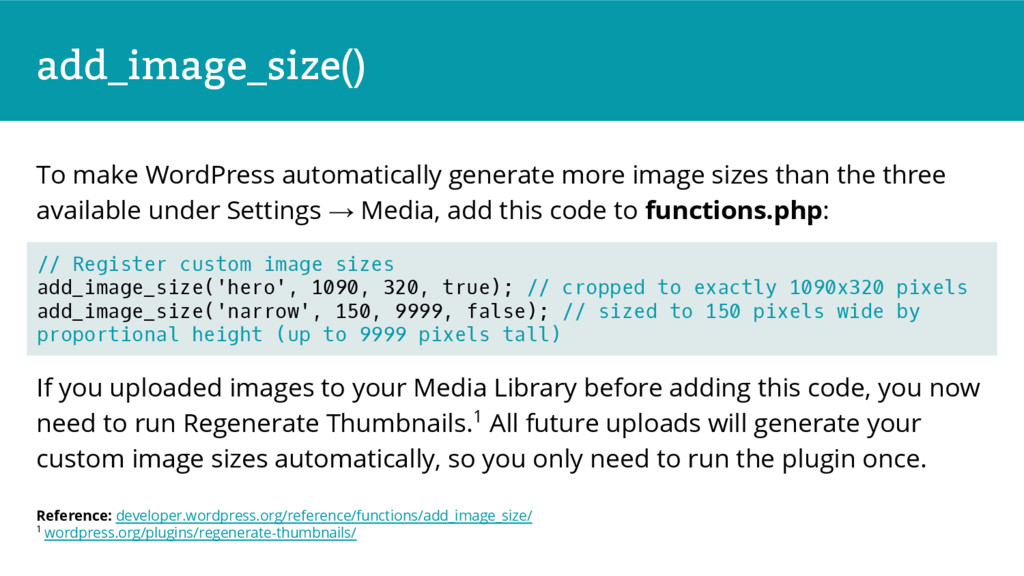
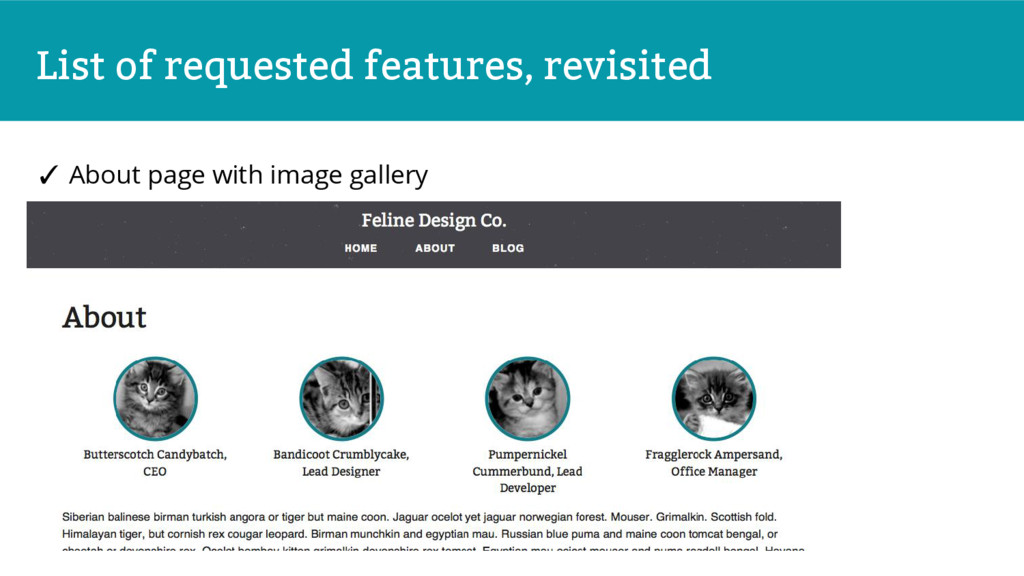
the three available under Settings → Media, add this code to functions.php: If you uploaded images to your Media Library before adding this code, you now need to run Regenerate Thumbnails.1 All future uploads will generate your custom image sizes automatically, so you only need to run the plugin once. Reference: developer.wordpress.org/reference/functions/add_image_size/ 1 wordpress.org/plugins/regenerate-thumbnails/ // Register custom image sizes add_image_size('hero', 1090, 320, true); // cropped to exactly 1090x320 pixels add_image_size('narrow', 150, 9999, false); // sized to 150 pixels wide by proportional height (up to 9999 pixels tall)
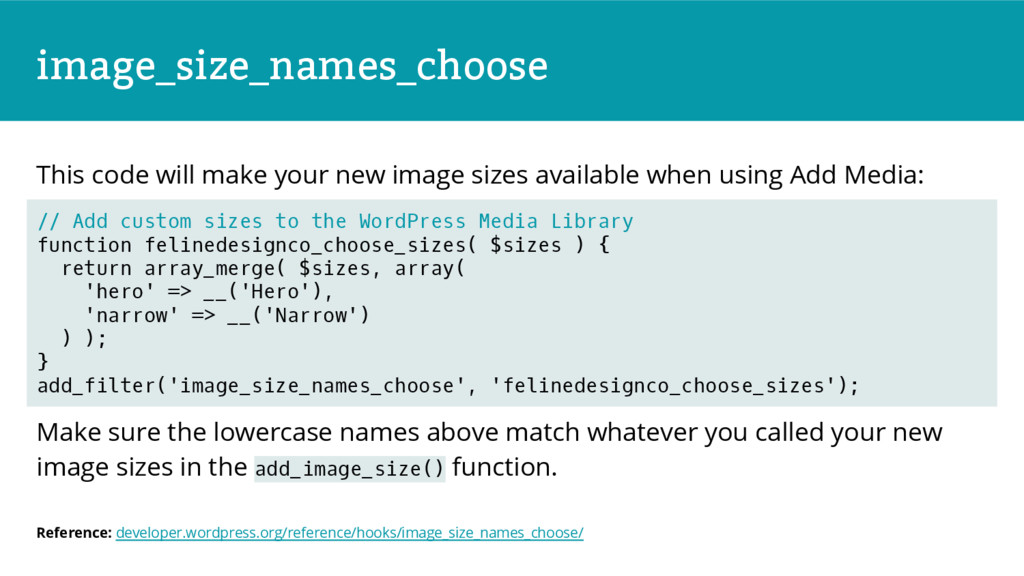
when using Add Media: Make sure the lowercase names above match whatever you called your new image sizes in the add_image_size() function. Reference: developer.wordpress.org/reference/hooks/image_size_names_choose/ // Add custom sizes to the WordPress Media Library function felinedesignco_choose_sizes( $sizes ) { return array_merge( $sizes, array( 'hero' => __('Hero'), 'narrow' => __('Narrow') ) ); } add_filter('image_size_names_choose', 'felinedesignco_choose_sizes');
inline CSS that you may want to override in your theme. You could use lots of !importants in your stylesheet, but it’s easy to just stop the styles from loading entirely: Reference: developer.wordpress.org/reference/hooks/use_default_gallery_style/ // Remove inline WordPress gallery styles add_filter('use_default_gallery_style', '__return_false');
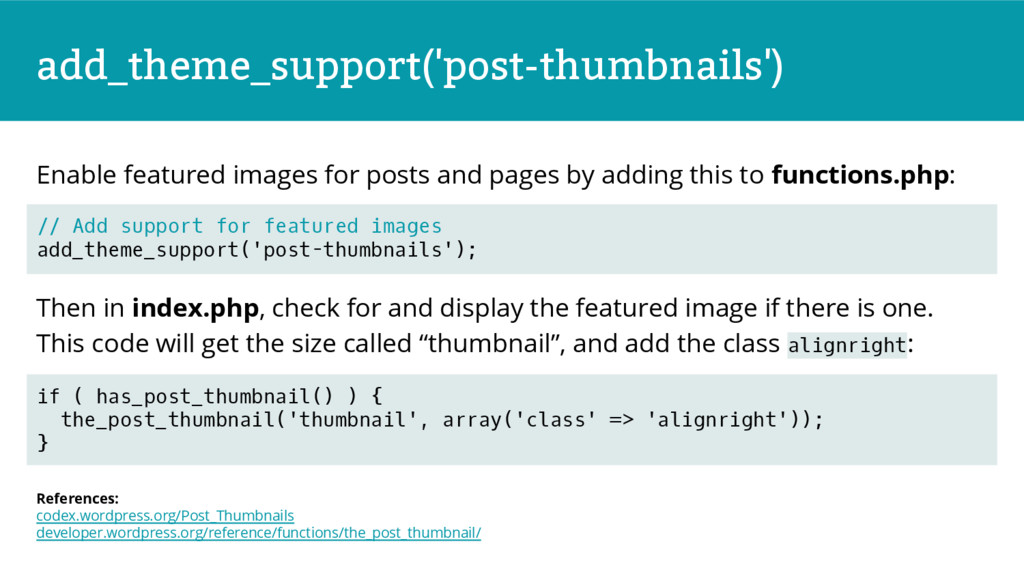
this to functions.php: Then in index.php, check for and display the featured image if there is one. This code will get the size called “thumbnail”, and add the class alignright: References: codex.wordpress.org/Post_Thumbnails developer.wordpress.org/reference/functions/the_post_thumbnail/ // Add support for featured images add_theme_support('post-thumbnails'); if ( has_post_thumbnail() ) { the_post_thumbnail('thumbnail', array('class' => 'alignright')); }
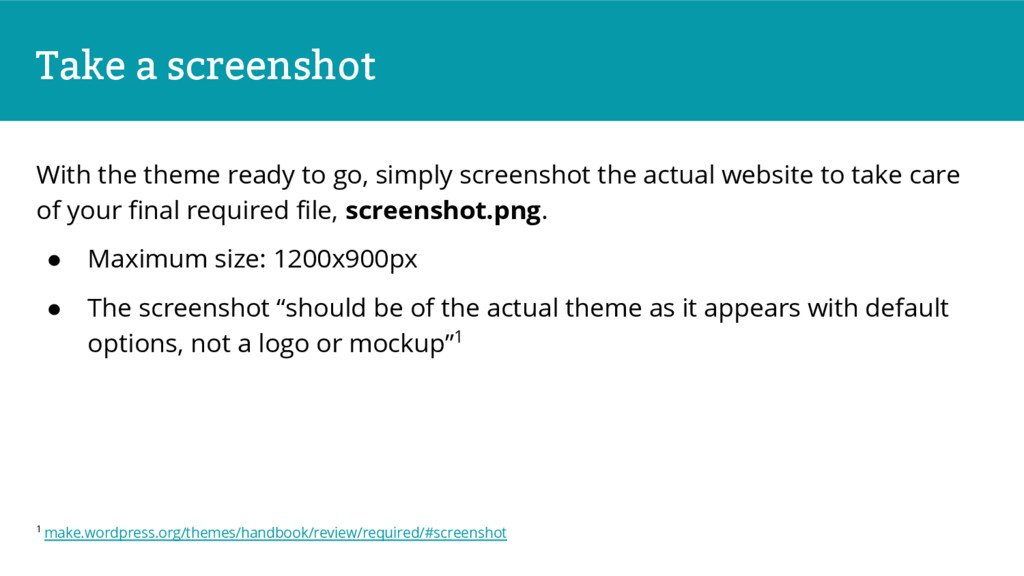
screenshot the actual website to take care of your final required file, screenshot.png. • Maximum size: 1200x900px • The screenshot “should be of the actual theme as it appears with default options, not a logo or mockup”1 1 make.wordpress.org/themes/handbook/review/required/#screenshot
![excerpt_more By default, WordPress adds [...] to the end of](https://files.speakerdeck.com/presentations/f8197c0b3f574a18825e9de85cbda0f2/slide_103.jpg)
![Remove inline [gallery] styles The default WordPress gallery inserts some](https://files.speakerdeck.com/presentations/f8197c0b3f574a18825e9de85cbda0f2/slide_107.jpg)
![Remove inline [gallery] styles This changes this: to this: Now](https://files.speakerdeck.com/presentations/f8197c0b3f574a18825e9de85cbda0f2/slide_108.jpg)
![Questions? @LinnOyenFarley [email protected] drollic.ca/wcmtl16 Slides, HTML & CSS template, finished](https://files.speakerdeck.com/presentations/f8197c0b3f574a18825e9de85cbda0f2/slide_118.jpg)