Upgrade to Pro — share decks privately, control downloads, hide ads and more …

Ghetto Brewing

Ghetto Brewing

Tips and tricks to help you make good beer, when you are heavily constrained by space and time, and can't afford or justify the equipment.

London Amateur Brewers

July 07, 2014
Tweet

More Decks by London Amateur Brewers

Other Decks in How-to & DIY

Transcript

  1. What is it? Taking shortcuts with conventional brewing technique Embracing/working

    withing your constraints Still ending up with good beer
  2. What it is not A replacement for well established brewing

    best practices Prison hooch / nasty compromised beer The final answer in brewing
  3. Brewing with Constraints Ghetto Brewing is all about working within

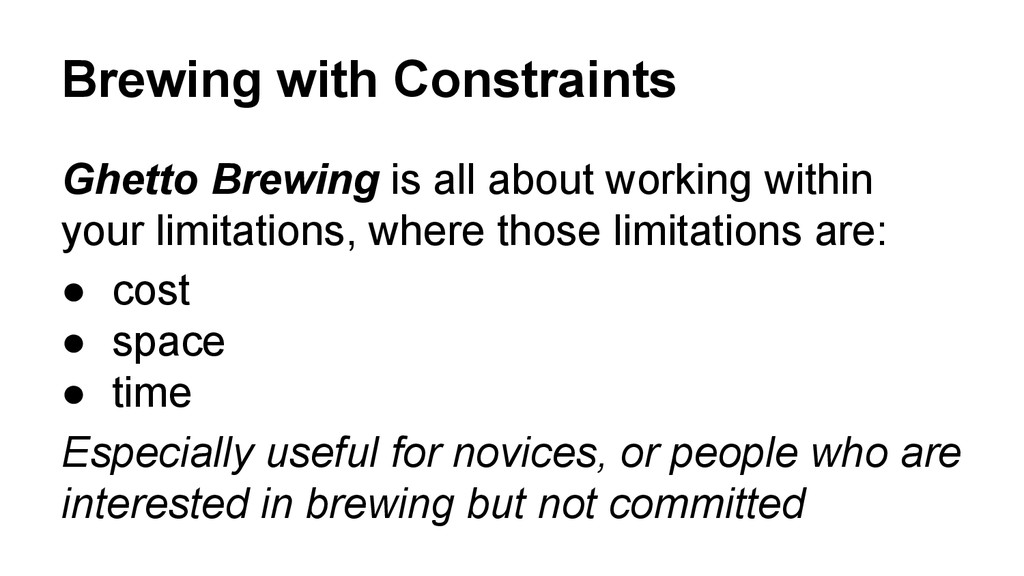
    your limitations, where those limitations are: • cost • space • time Especially useful for novices, or people who are interested in brewing but not committed
  4. Brewing 101 1. Malted cereal grains are mashed 2. The

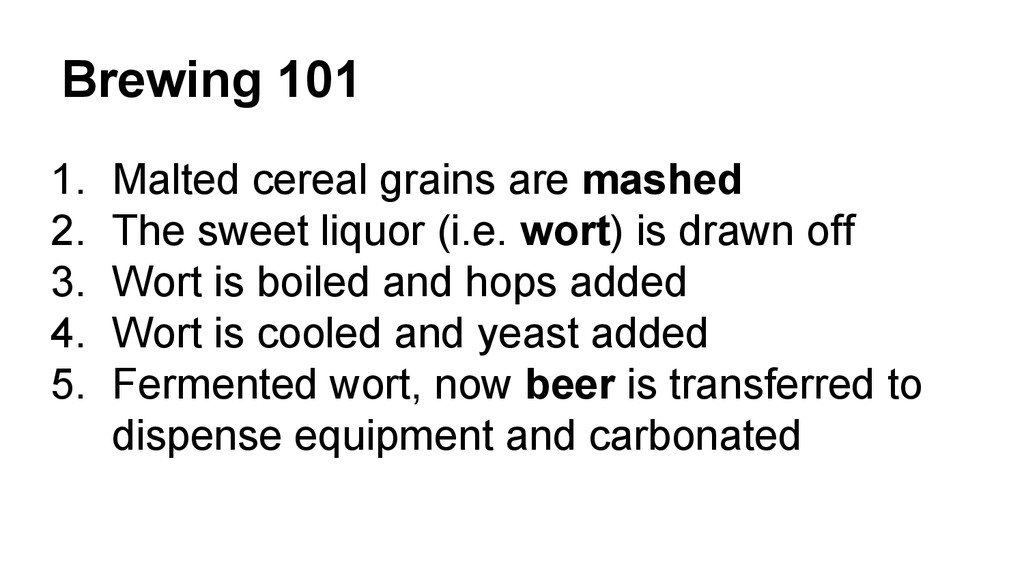
    sweet liquor (i.e. wort) is drawn off 3. Wort is boiled and hops added 4. Wort is cooled and yeast added 5. Fermented wort, now beer is transferred to dispense equipment and carbonated
  5. Brewing 101 • Many processes • Specialised equipment • Lots

    of things to do and learn However many of the equipment and processes are not essential to making good beer.
  6. Brewing 101 Experienced brewers invest in equipment and learn processes

    that allow them to make good beer consistently, to eliminate variables, cut down on labour and to produce beer with complex recipes and brew schedules
  7. Sanitisation Don't compromise on the quality of sanitisation. Complacency can

    set in quickly. Unspecialised workspaces more vulnerable to bacterial contamination.
  8. Sanitisation • Contact no-rinse sanitisers save a lot of effort

    • More effective than immersion sanitising • Cheap and easy to make • Bleach & Vinegar is easy to make • Star-san though expensive lasts forever
  9. Stove Top Brewing • Very easy to do • Very

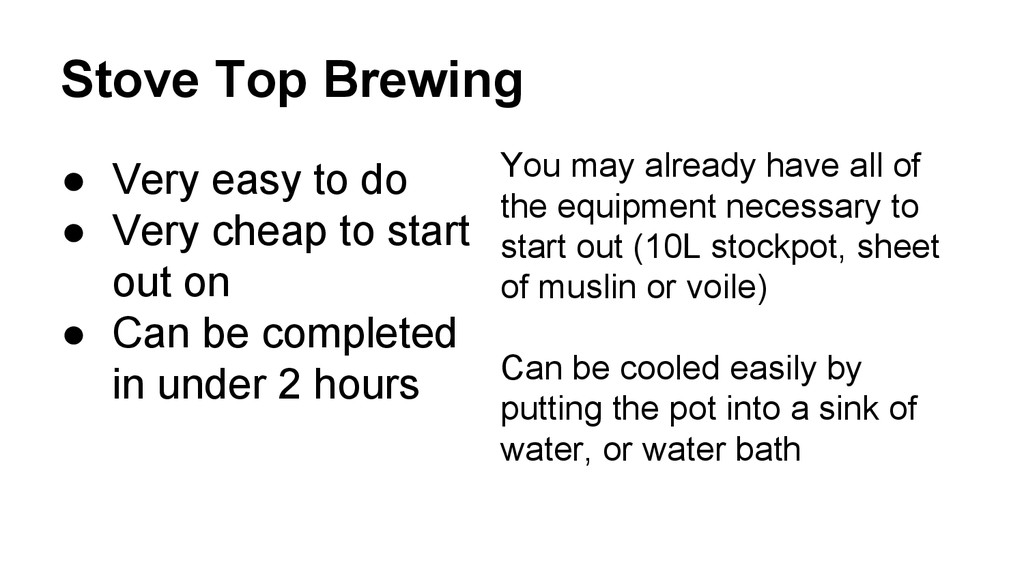
    cheap to start out on • Can be completed in under 2 hours You may already have all of the equipment necessary to start out (10L stockpot, sheet of muslin or voile) Can be cooled easily by putting the pot into a sink of water, or water bath
  10. Brew in a Bag • Mash and Boil in the

    same vessel • Vessel lined with a strong mesh • Hoist bag to remove grain • Boil as usual
  11. Brew in a Bag • Full size batches will need

    a dedicated kettle • Forgiving - you can agitate or heat your mash
  12. Brew in a Bag • Catering Urn • Modified F.V.

    • Modified stock pot Kettle can be re-used in 3V systems too
  13. Brew in a Bag Possible to brew a full batch

    on a weeknight Wort will not run as clear as a mash tun Hoists recommended for larger grain bills
  14. Hop Tea Hops are brewed externally to a full boil

    Allows all extract, no boil beers to be made Can be used to add bitterness, or aroma same as regular brew schedules
  15. Hop Tea • Before fermentation • Instead of dry hopping

    • After fermentation • Priming time Mix with wort/malt extract for best results
  16. Hop Tea • A hop tea allows you to get

    many of the effects of hops without having to do a full boil • Allows beginning brewers to build up a palate for various hop varieties without having to do a full batch • You can keep tea < 80C to prevent bittering of high alpha aroma hops
  17. Fermentation Temperature Control • Swamp Chiller • Soaked cloth keeps

    FV wet • Evaporation lowers temperature ~ 5-7C from ambient
  18. Swamp Chiller Works best with carboys Air circulation is important

    Add bleach to water reservoir to stop mold May aid in flocculation, but cannot crash cool or lager
  19. Winter Lager • Can lager during winter • Keep out

    of light, in shade or box • Try not to let it freeze • Also very useful for cold conditioning
  20. Improvised Bottling • Use carbonated beverage bottles • Store in

    a dark place to protect from lightflash • Drink young (within 2 months) or oxidation will set in
  21. No Chill / Passive Chilling • Hot wort added straight

    to cube • Release as much headspace as possible • Rotate to make contact with all internal surfaces • Leave to cool (24-48 hrs)
  22. No Chill/Passive Chilling • Saves Water • Wort is pasteurised

    and will keep indefinitely *** • You get a good hot break, but no cold break
  23. No Chill/Passive Chill • Pitch when the wort is properly

    down to pitch temp • Siphoning will result in a very clear wort
  24. No Chill Advantages • Saves time on a brew day

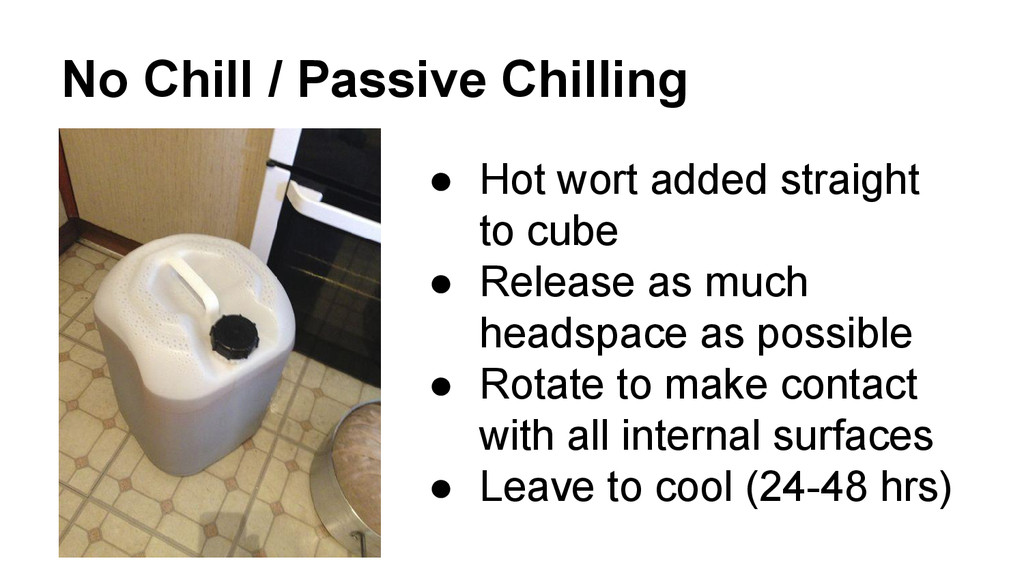
    - you don't need to get your wort down to pitch temperature • You stagger brewing and pitching • No more pitching too high a temp • You can develop a good workflow
  25. No Chill Issues • Hop schedule needs to change as

    wort stays > 80c for longer • To convert a recipe, subtract 15m • No flameout/steep
  26. No Chill Issues Be aware of the risks • Use

    catering grade HDPE plastic • Risk of botulism Use chilled wort quickly, don’t stockpile it
  27. Cube Hopping • Replaces late additions in no-chill • Hop

    bags useful • Aroma components become trapped • Pellets > Leaf • Some isomerisation
  28. Improvised CO2 purging • Connect primary blow off into secondary

    after pitching • Fermentation will purge secondary of CO2