Upgrade to Pro — share decks privately, control downloads, hide ads and more …

Tema trendy documentación

Rafa
July 18, 2019

Tema trendy documentación

Hola a todos! Hoy quería enseñaros toda la documentación necesaria para la correcta instalación y configuración del tema Trendy (Muy usado y con muy buen seo) para blogger. Lo recomiendo bastante y este manual os sera útil.
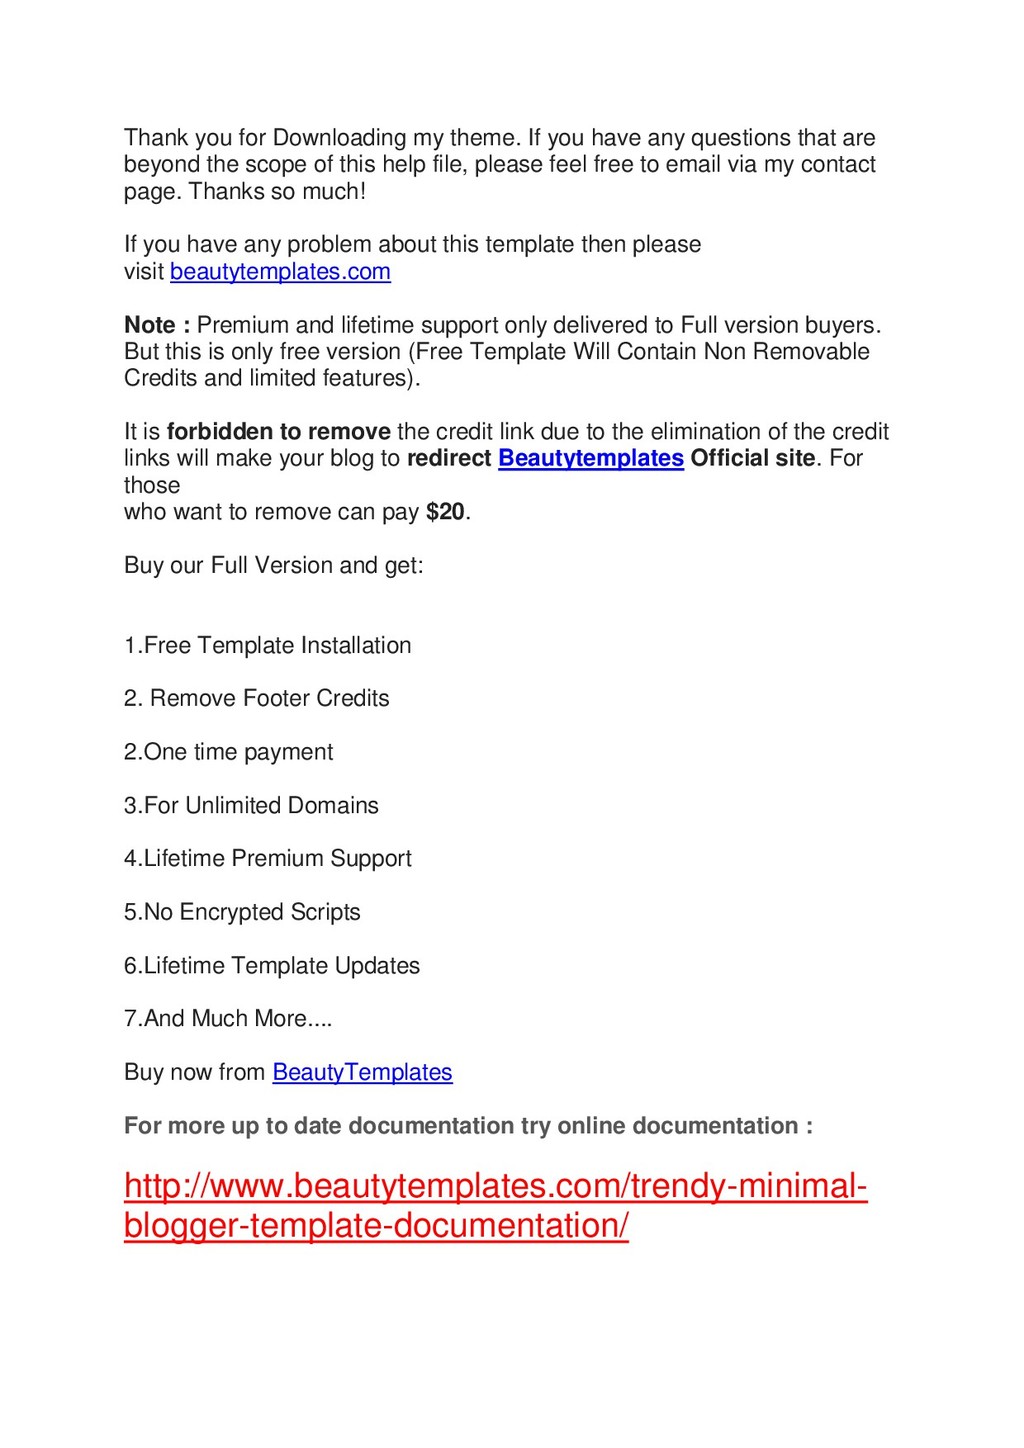
Para preguntas sobre la configuración por favor preguntar en esta página.
Un saludo y hasta otra
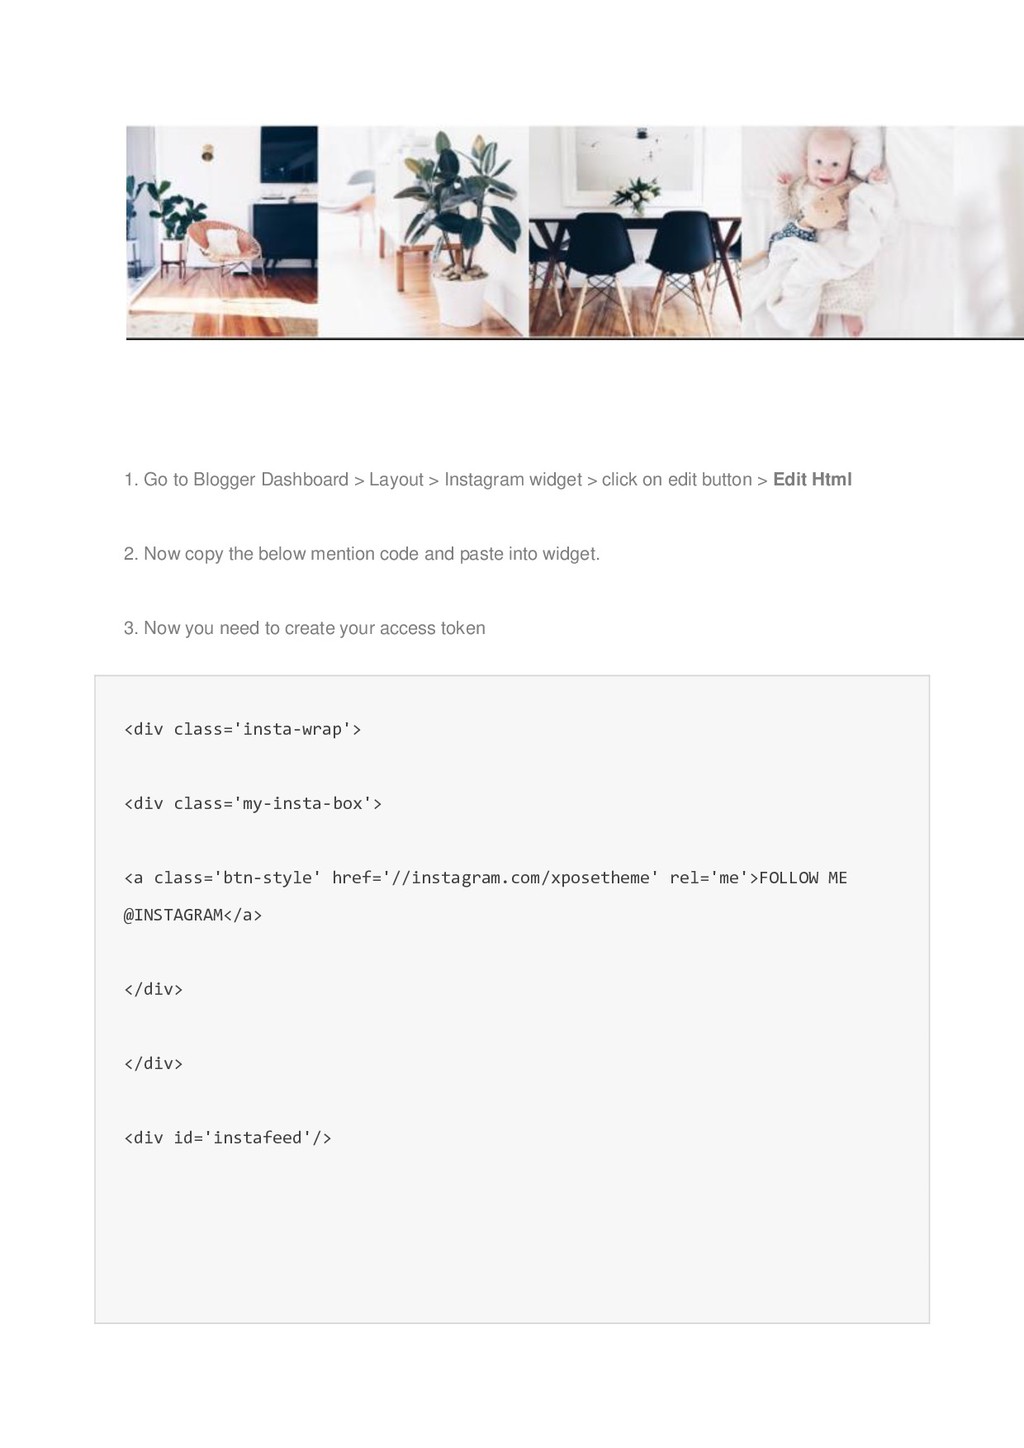
Rafa

July 18, 2019
Tweet

Other Decks in Design

Transcript

  1. Thank you for Downloading my theme. If you have any

    questions that are beyond the scope of this help file, please feel free to email via my contact page. Thanks so much! If you have any problem about this template then please visit beautytemplates.com Note : Premium and lifetime support only delivered to Full version buyers. But this is only free version (Free Template Will Contain Non Removable Credits and limited features). It is forbidden to remove the credit link due to the elimination of the credit links will make your blog to redirect Beautytemplates Official site. For those who want to remove can pay $20. Buy our Full Version and get: 1.Free Template Installation 2. Remove Footer Credits 2.One time payment 3.For Unlimited Domains 4.Lifetime Premium Support 5.No Encrypted Scripts 6.Lifetime Template Updates 7.And Much More.... Buy now from BeautyTemplates For more up to date documentation try online documentation : http://www.beautytemplates.com/trendy-minimal- blogger-template-documentation/
  2. Trendy Blogger Template Installation Documentation, a step to step guide

    to help you out to set up your blog easy way. First of all, Thank you for Downloading our template if you haven’t done yet you can get it from here : Trendy Blogger Template . You check the live demo through the button below and also Please Read this documentation carefully in order to set up your blog and please note that there’s no support for free users. 1. Installation Open your purchase folder, you will see a file with name Trendy-(Free or Premium)- Version.xml Open this XML file with a text editor (Notepad or something like that). Then select all text and copy (Ctrl+A, Ctrl+C in Window).
  3. Return to your blog dashboard, access your Template menu, click

    Edit HTML In Editor HTML window, select all old code and paste the new code that you copied from the release file into code field. Then, click Save template.
  4. Video Guide : – 2. Navigation Menu 2.1 Top Menu

    Setup To Edit Top Menu in this theme you can follow this step: 1. Go to -> Blogger Dashboard- >layout -> Pages – > press edit button. Main Navigation :
  5. 2. Now choose ( check mark ) those pages you

    want to show on menu and press save. You can also add the external link just press ADD external Link and add you link then save it.. 2.2 Main Menu/DropDown  On Blogger Dashboard Click Layout.  Click Edit on Main Menu Widget.  Change it according to your needs. Add name of the link Name and link url then click add Link  Click Save.  To Add sub menu Item. You have to add “_”(underscore without quotes) before Menu item Link (example : _Left Sidebar)  Change the location of menu item using arrow down and arrow up Icon  For More Information- Watch Video Below
  6. 3. Setting Up The Top Social Menu To Edit Top

    Social icons in this theme you can follow these steps: 1. 1. On Blogger Dashbord Click Layout 2. Top Social Widget Click Edit button
  7. Add your social media name and link >> ADD LINK

    >> Once you added all the links SAVE. Use http:// or https:// where applicable. To Edit Sidebar Social icons in this theme you can follow these steps:
  8. 1. 1. On Blogger Dashbord Click Layout 2. Top Social

    Widget Click Edit button Add your social media name and link >> ADD LINK >> Once you added all the links SAVE.
  9. Use http:// or https:// where applicable. AVAILABLE ICONS: Behance Facebook

    Twitter Bloglovin Dribbble Flickr GooglePlus Instagram Linkedin Pinterest Vimeo Youtube Vine Soundcloud Goodreads Deviantart Foursquare Reddit Tumblr Spotify Twitch Vk Mailto shop Rss Etsy Video Guide : – 4. About The Author Widget
  10. To Author Widget in this theme you can follow these

    steps: 1. On Blogger Dashbord Click layout 2. Click Edit On Author Widget 3. Add The following code <center> <div class="photo-profile"> 6JXGusu_Nv4gdizZafCf93JU0vnwCLcB/s1600/about-image.jpg" / /> class="profile-name">Taylor Wong</span> call it Hanakotoba, and King Charles II brought it to Sweden from Persia in the 17th century. <a class="more-profile" href="/about">Read More</a></p>
  11. 4. Change Image Url with yours URL link and text

    with your text. 6. How To Set Date On Post Go to Blogger Dashboard > Settings > Language and Formatting > Formatting > Timestamp Format > set it to date instead of time Save it 7. Instagram Widget
  12. 1. Go to Blogger Dashboard > Layout > Instagram widget

    > click on edit button > Edit Html 2. Now copy the below mention code and paste into widget. 3. Now you need to create your access token <div class='insta-wrap'> <div class='my-insta-box'> <a class='btn-style' href='//instagram.com/xposetheme' rel='me'>FOLLOW ME @INSTAGRAM</a> </div> </div> <div id='instafeed'/>
  13. <script type='text/javascript'>//<![CDATA[ var feed = new Instafeed({ get: 'user', userId:

    10008029, limit:16, sortBy:'random', accessToken: '1531863919.1677ed0.23d238bc564249e799095d060c750218', template: '<li><a href="{{link}}" target="_blank"><img src="{{image}}" /><div class="insta-likes"><div style="display: table; vertical-align: middle; height: 100%; width: 100%;"><span style="display: table-cell; vertical-align: middle; height: 100%; width: 100%;">{{likes}} <i class="fa fa- heart"></i><br/>{{comments}} <i class="fa fa- comment"></i></span></div></div></a></li>', resolution: 'standard_resolution' }); feed.run();
  14. //]]> </script></div> you need access token for instagram widget to

    work Go to this url-> Click here to Generate access token
  15. http://instagram.pixelunion.net/ Generate access token Sign In and Follow the steps

    Then You’ll be given an access token like this 1531863919.1677ed0.23d238bc564249e799095d060c750218 Follow The next step Add Instagram User ID: 8. Customizer – Change The Color And Font Of The Template (Only Avialabel In Premium Version) Go to Blogger Dashboard > Template > Customize Now Click on Advance > Main color -> change color according to your need and then press apply button. 9. Mobile Version ( Responsive Design Option ) Mobile Responsive
  16. After you apply mobile version for this template, Color changing

    option will not work. This is official bug of Blogger. So, please make sure, you used Color changing option before do this step. As default, Blogger will use its own template for you blog on mobile. So if you want to use Fashion template on mobile devices, please enable it first. Access your Template menu and click on Gear button of Mobile template. In Choose mobile template window, check “No. Show desktop template on mobile devices.” option, then click Save button.