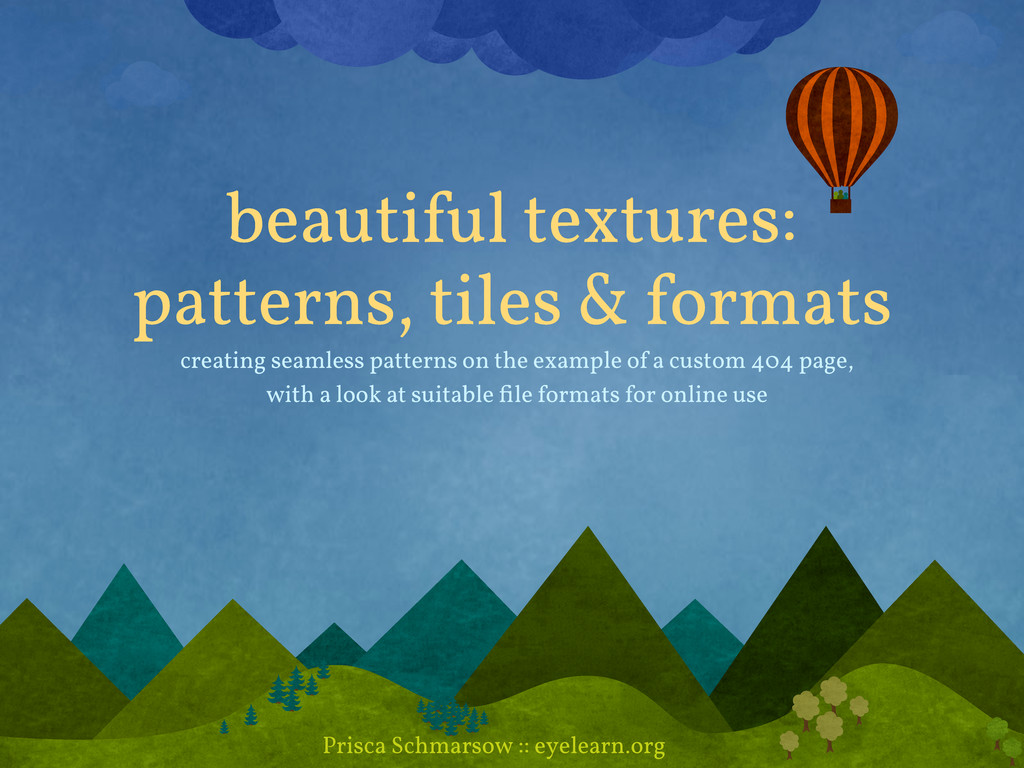
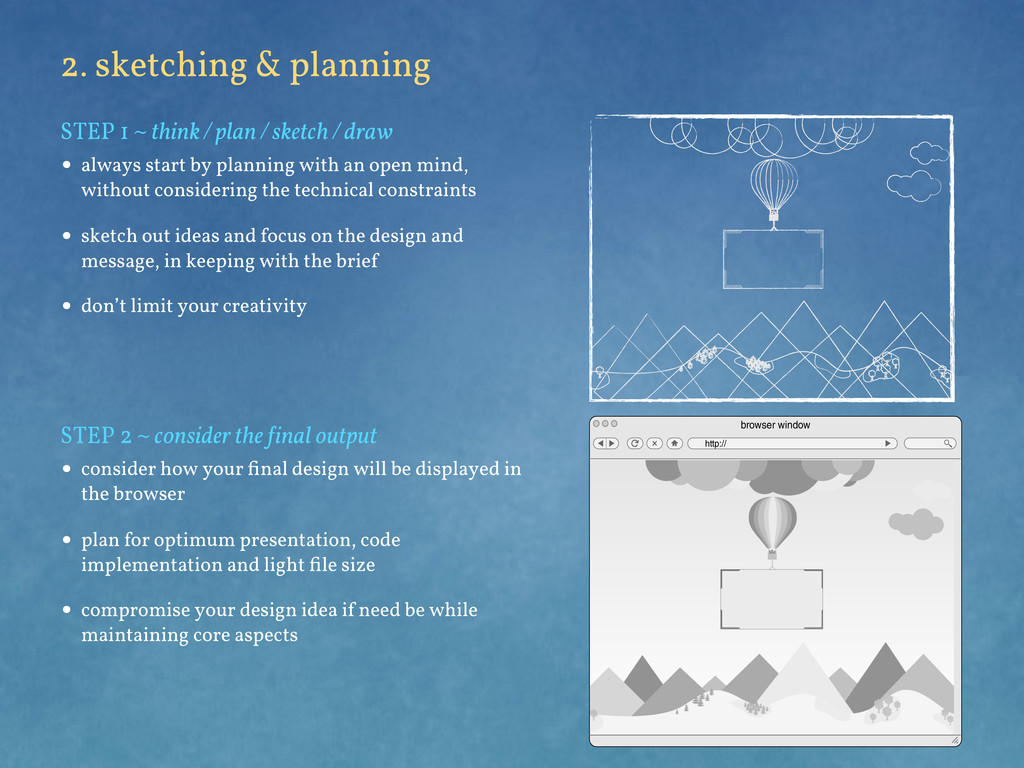
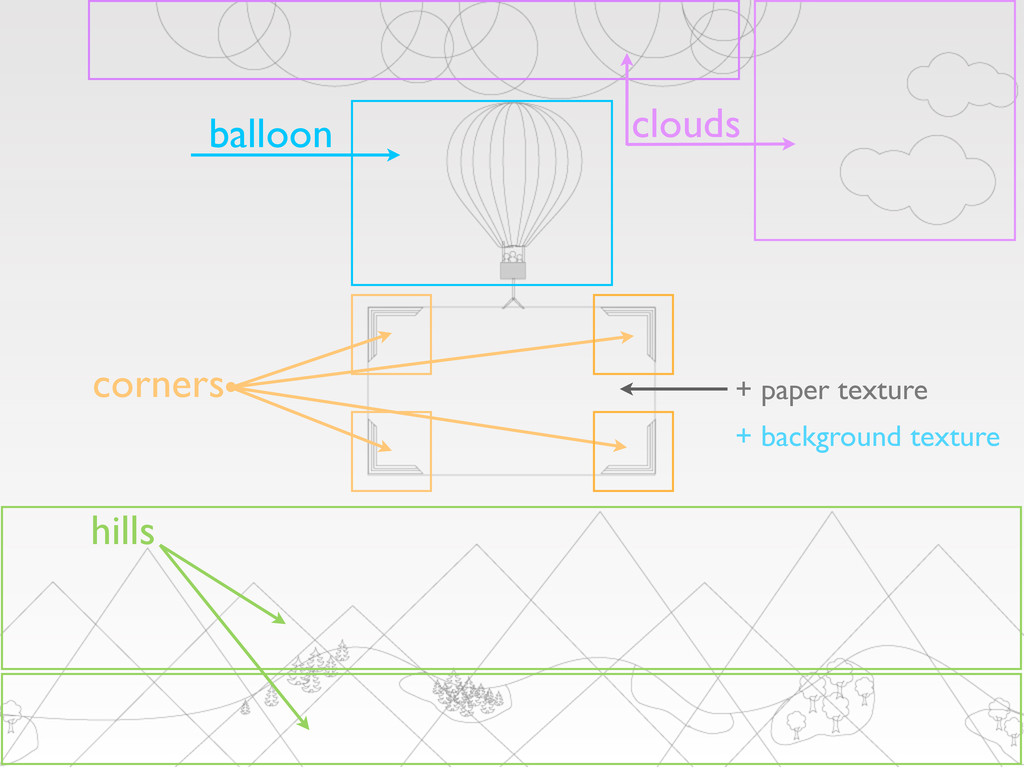
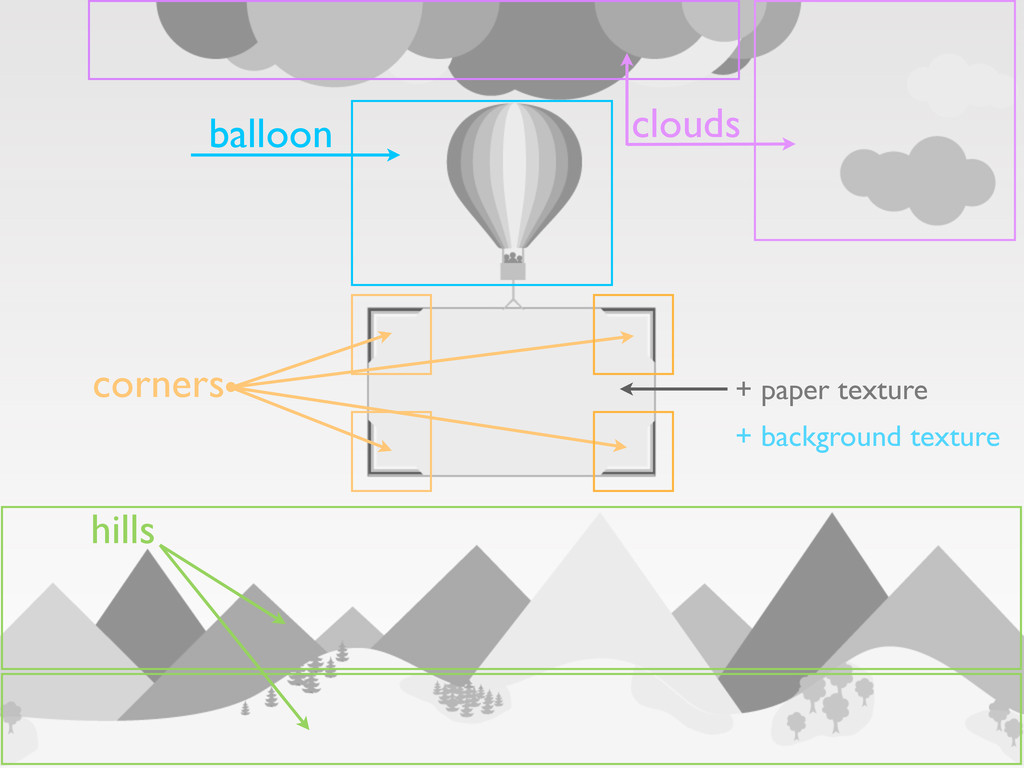
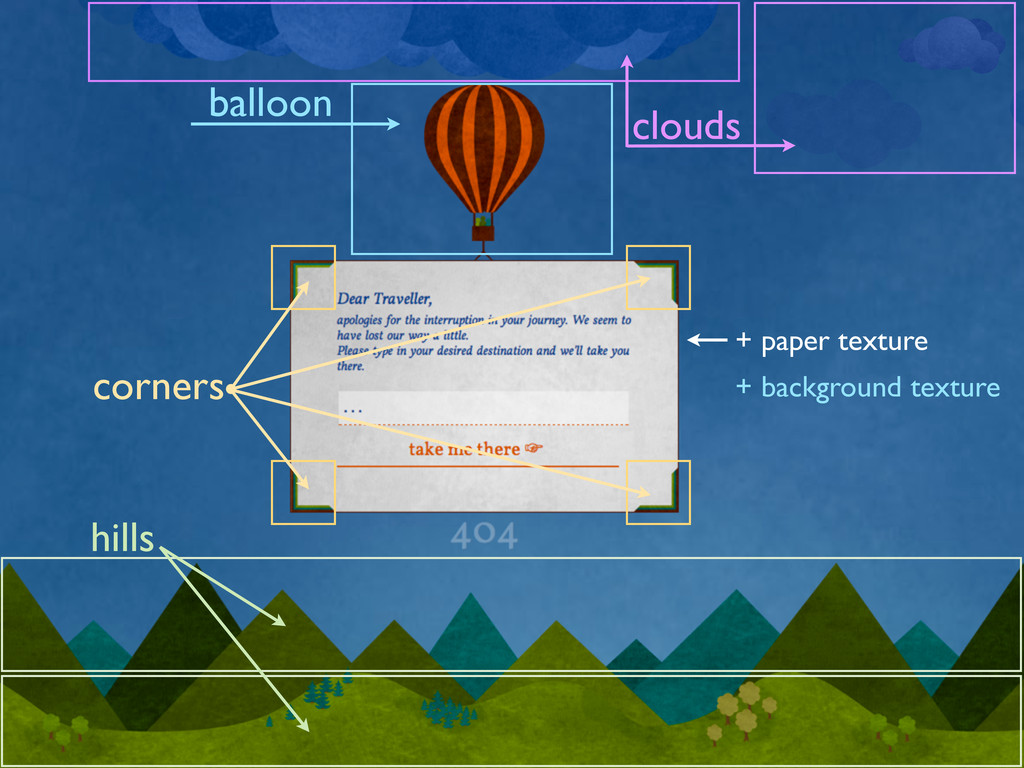
creating seamless patterns on the example of a custom 404 page,
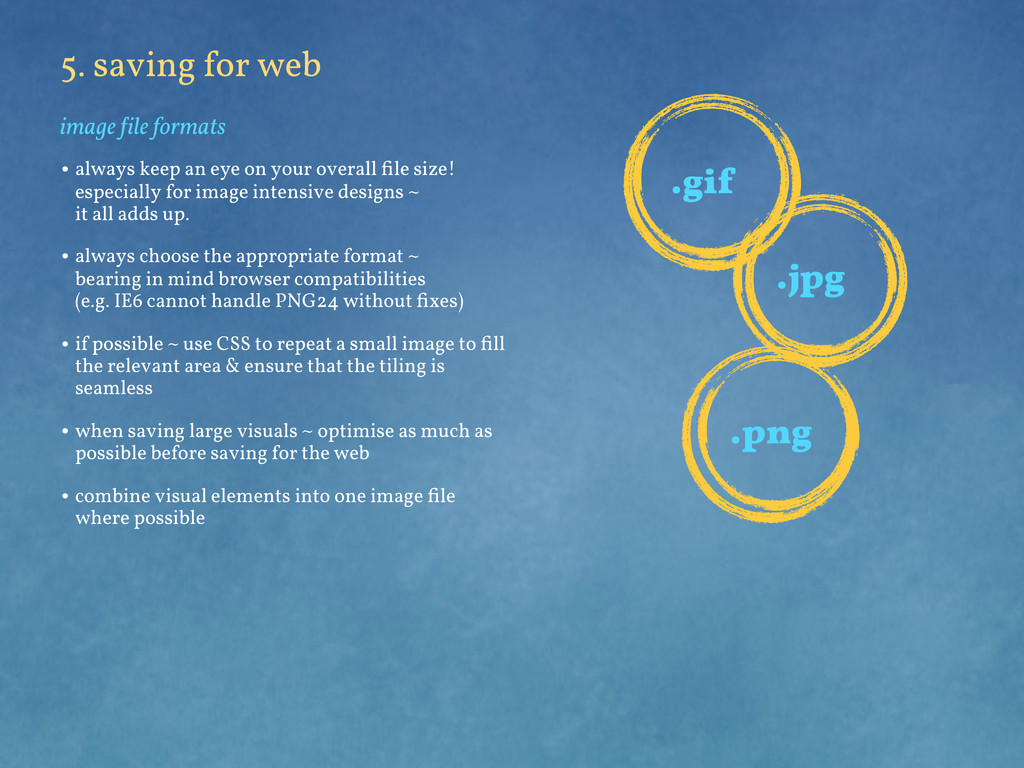
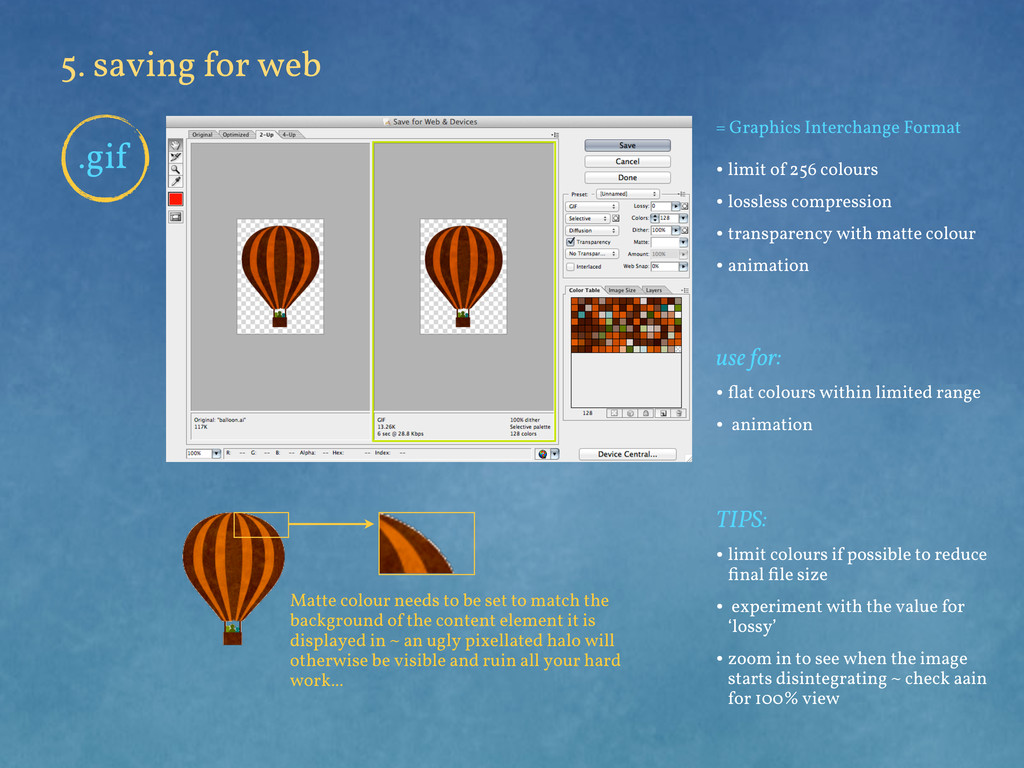
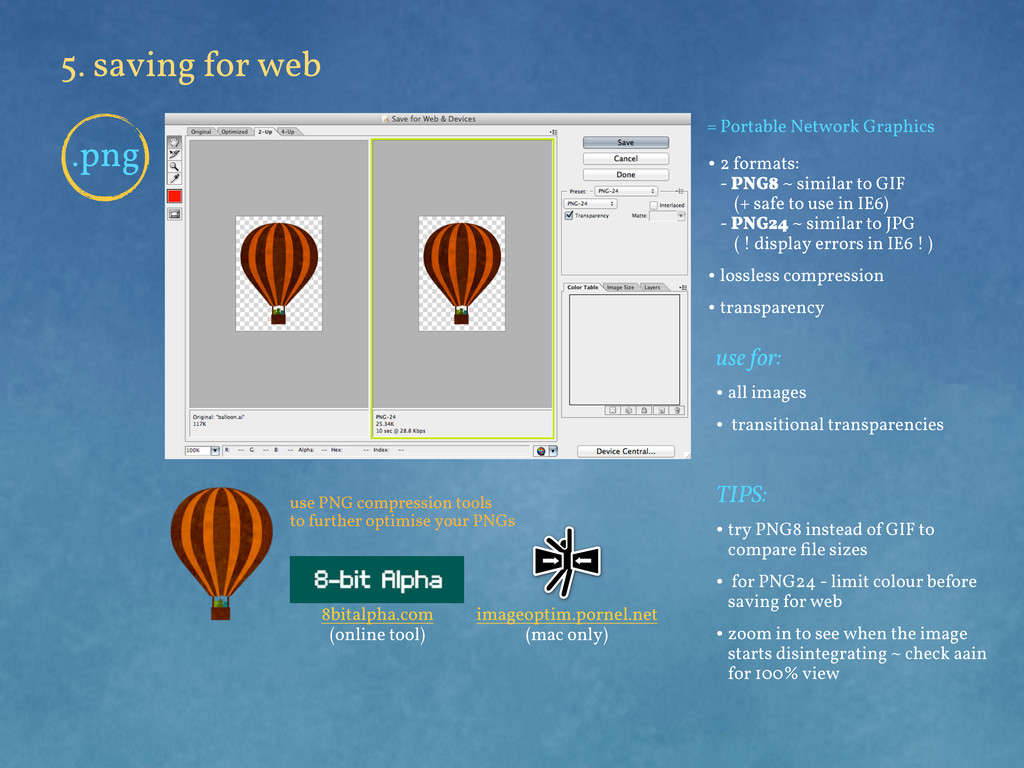
with a look at suitable file formats for online use
follow up tutorial (.net magazine): Get to grips with CSS3 multiple background images
[http://www.creativebloq.com/css3/get-grips-css3-multiple-background-images-9134280]