Upgrade to Pro — share decks privately, control downloads, hide ads and more …

Front-End Development in node.js

Front-End Development in node.js

Given at jQuery Conference in Portland, Oregon.

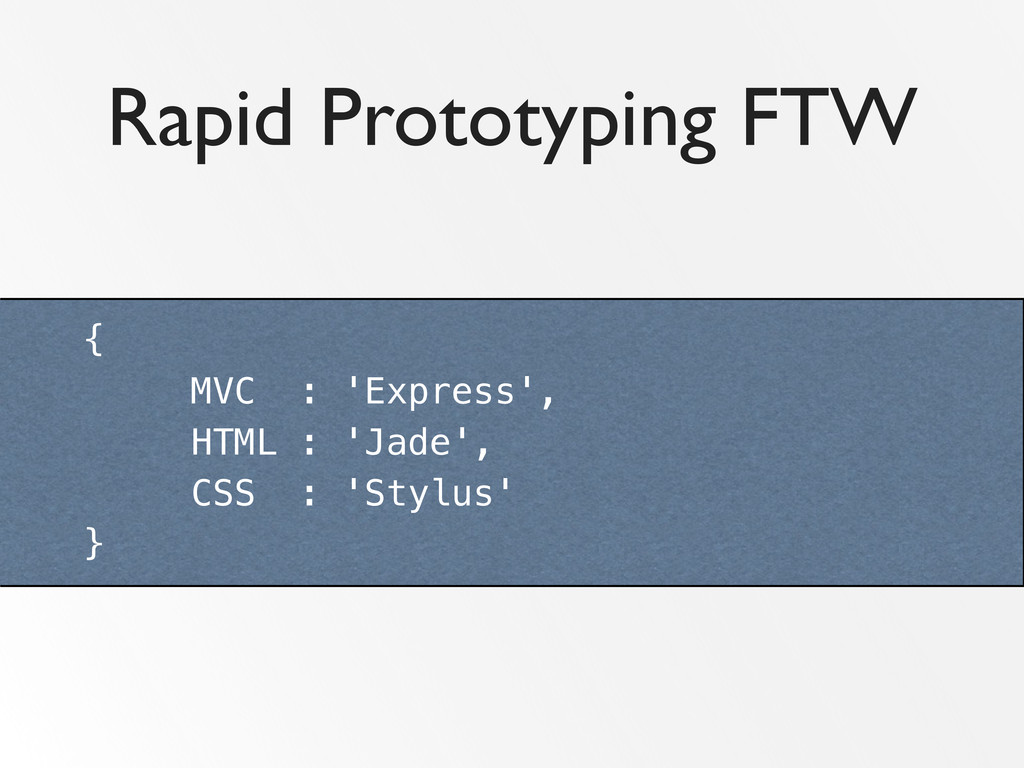
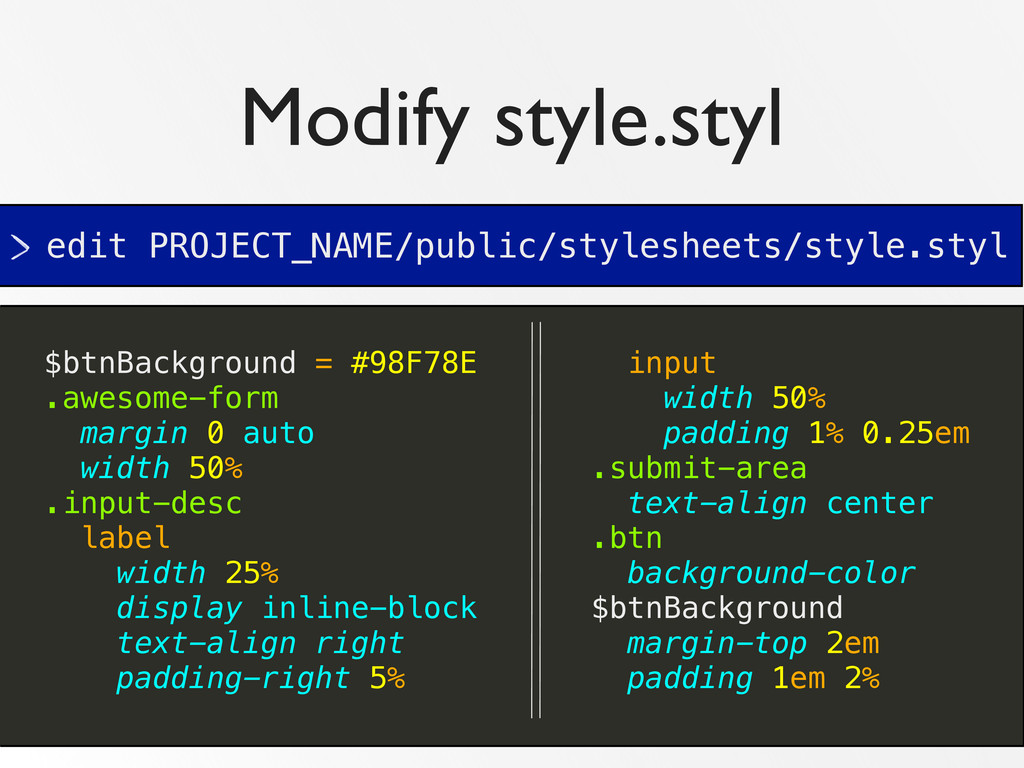
You know HTML and CSS. You know (or at least may have heard of) HAML and SASS. Introducing: Jade and Stylus!

Welcome to front-end development in node.js! As more applications are built in node, front-end devs need to make them beautiful, generally using the node front-end toolkit. But what are the tools? How do you get started? What if you've never used node before?

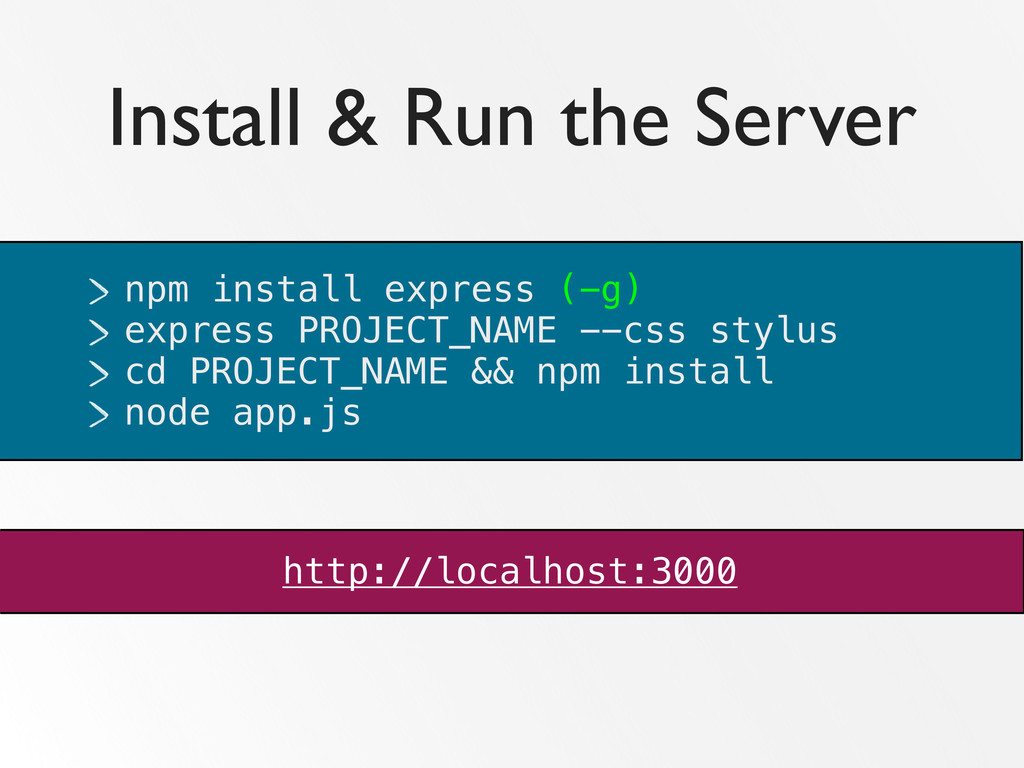
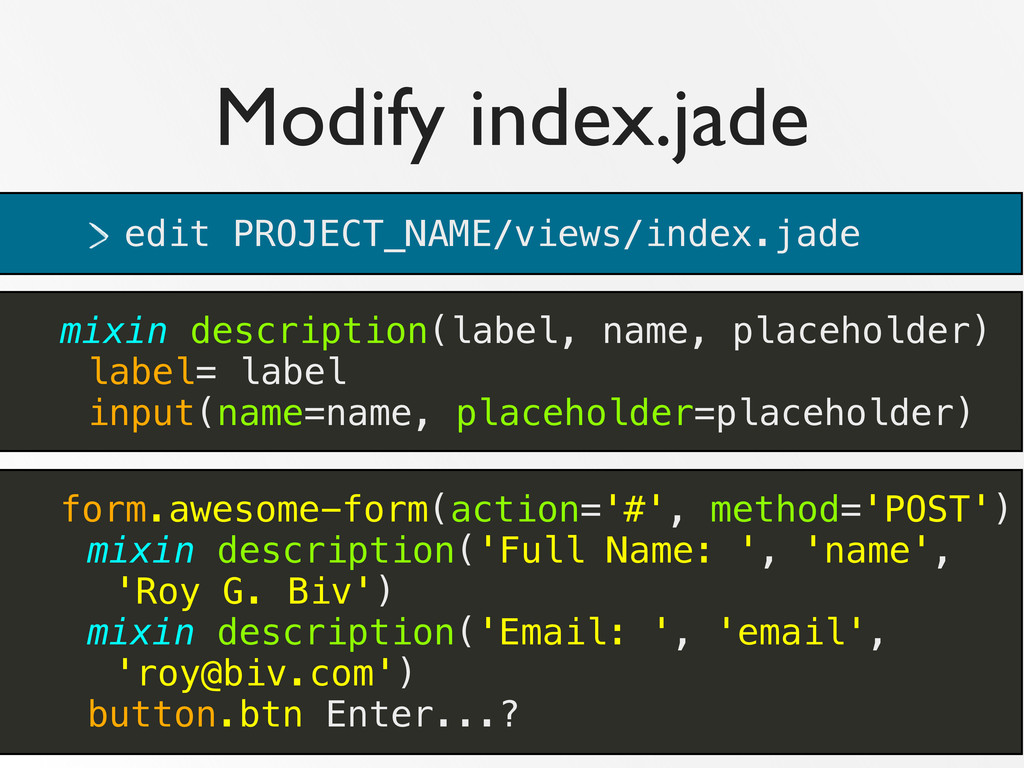
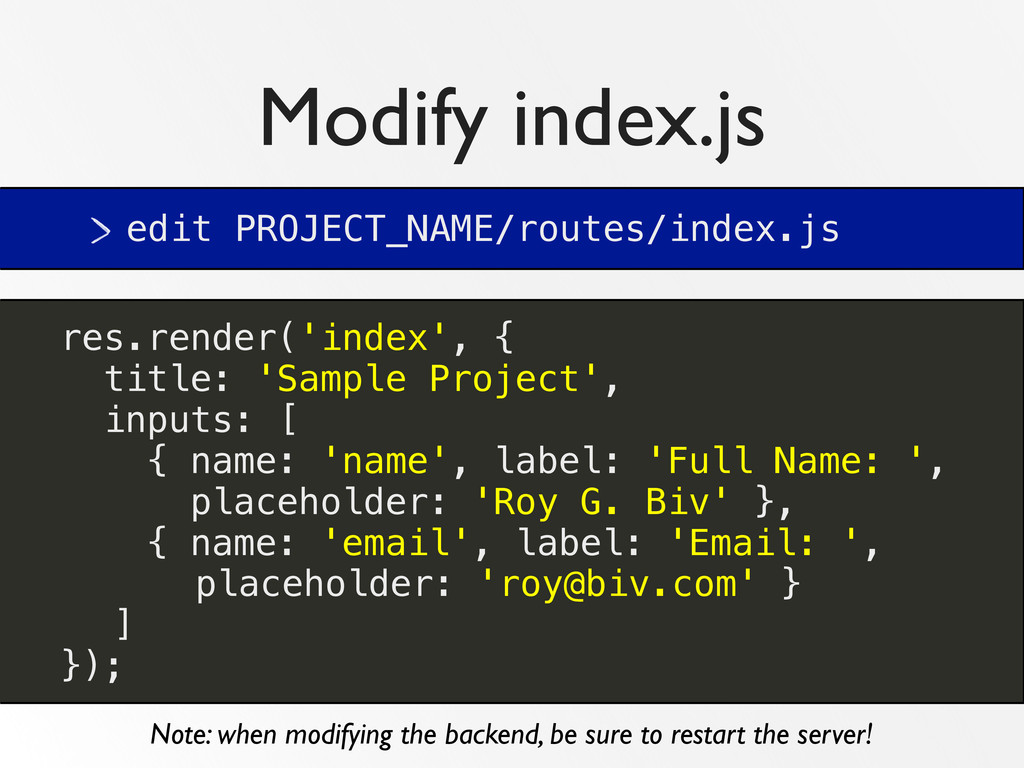
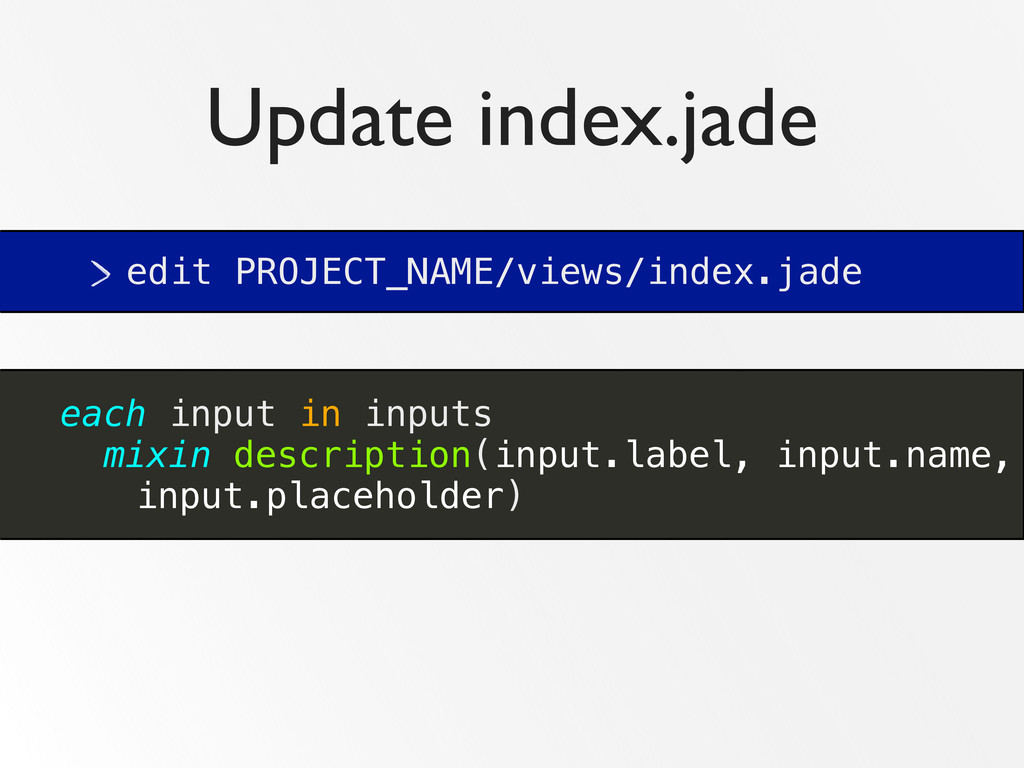
Join me as we use Express to spin up a simple node server and serve up a super basic index page. Then we'll use Jade and Stylus to layout and style it. Finally, we'll all chuckle about how easy it was and begin scheming about what we'll do next!

Sample code can be found here: https://github.com/rockbot/node-FED

Raquel Vélez

June 14, 2013
Tweet

More Decks by Raquel Vélez

Other Decks in Technology

Transcript

  1. Install & Run the Server npm install express (-g) express

    PROJECT_NAME --css stylus cd PROJECT_NAME && npm install node app.js http://localhost:3000
  2. Variables & Loops ul - var pets = ['cat', 'dog',

    'mouse']; each pet in pets li= pet <ul> <li>cat</li> <li>dog</li> <li>mouse</li> </ul>
  3. <div class=“dates”> <span class=“date bill-date”>April 23, 2013</span> </div> mixin StripeDate(date,

    isEndDate) span.date(class=isEndDate ? 'end-date' : 'bill-date')= date.format('MMMM D, YYYY') Functions (aka mixins) .dates mixin StripeDate(planDate)
  4. Extends, Block, Append extends ../layouts/layout block content append scripts ➥

    Sets up a layout framework ➥ Replaces content in the layout ➥ Adds content to the layout
  5. Modify index.jade edit PROJECT_NAME/views/index.jade mixin description(label, name, placeholder) label= label

    input(name=name, placeholder=placeholder) form.awesome-form(action='#', method='POST') mixin description('Full Name: ', 'name', 'Roy G. Biv') mixin description('Email: ', 'email', '[email protected]') button.btn Enter...?
  6. Mixins border-radius(n) -webkit-border-radius n -moz-border-radius n border-radius n form input[type=button]

    border-radius 5px form input[type=button] { -webkit-border-radius: 5px; -moz-border-radius: 5px; border-radius: 5px; };
  7. Variables $activeButtonFace = #3876b2 button background $activeButtonFace border-radius 5px button

    { background: #3876b2; -webkit-border-radius: 5px; -moz-border-radius: 5px; border-radius: 5px; };
  8. Modify style.styl edit PROJECT_NAME/public/stylesheets/style.styl $btnBackground = #98F78E .awesome-form margin 0

    auto width 50% .input-desc label width 25% display inline-block text-align right padding-right 5% input width 50% padding 1% 0.25em .submit-area text-align center .btn background-color $btnBackground margin-top 2em padding 1em 2%
  9. Modify index.js edit PROJECT_NAME/routes/index.js res.render('index', { title: 'Sample Project', inputs:

    [ { name: 'name', label: 'Full Name: ', placeholder: 'Roy G. Biv' }, { name: 'email', label: 'Email: ', placeholder: '[email protected]' } ] }); Note: when modifying the backend, be sure to restart the server!