Upgrade to Pro — share decks privately, control downloads, hide ads and more …

Leather Patches Explained: Repair, Materials & ...

Avatar for SBS DIGIT SBS DIGIT
August 31, 2026

Leather Patches Explained: Repair, Materials & Best Uses

Learn how leather patches can be used to repair small tears, holes, scratches, and worn areas on furniture, jackets, bags, car seats, and other leather products.

This presentation explains the main types of leather patches, genuine vs faux leather, adhesive vs sew-on options, how to choose the right color and texture, basic repair steps, and situations where a simple patch may not be enough.

For more detailed leather patch repair guides, materials, attachment methods, and custom patch resources, visit SBS Digit.

Learn more: https://sbsdigit.com/do-leather-patches-work-a-complete-guide-to-leather-patch-repair/

Avatar for SBS DIGIT

SBS DIGIT

August 31, 2026

Other Decks in Design

Transcript

  1. THE BEGINNER'S GUIDE TO LEATHER PATCH REPAIR How to choose,

    apply and care for leather patches LEATHER PATCH REPAIR Published by SBS Digit Practical guides for patch materials, attachment and custom patch production
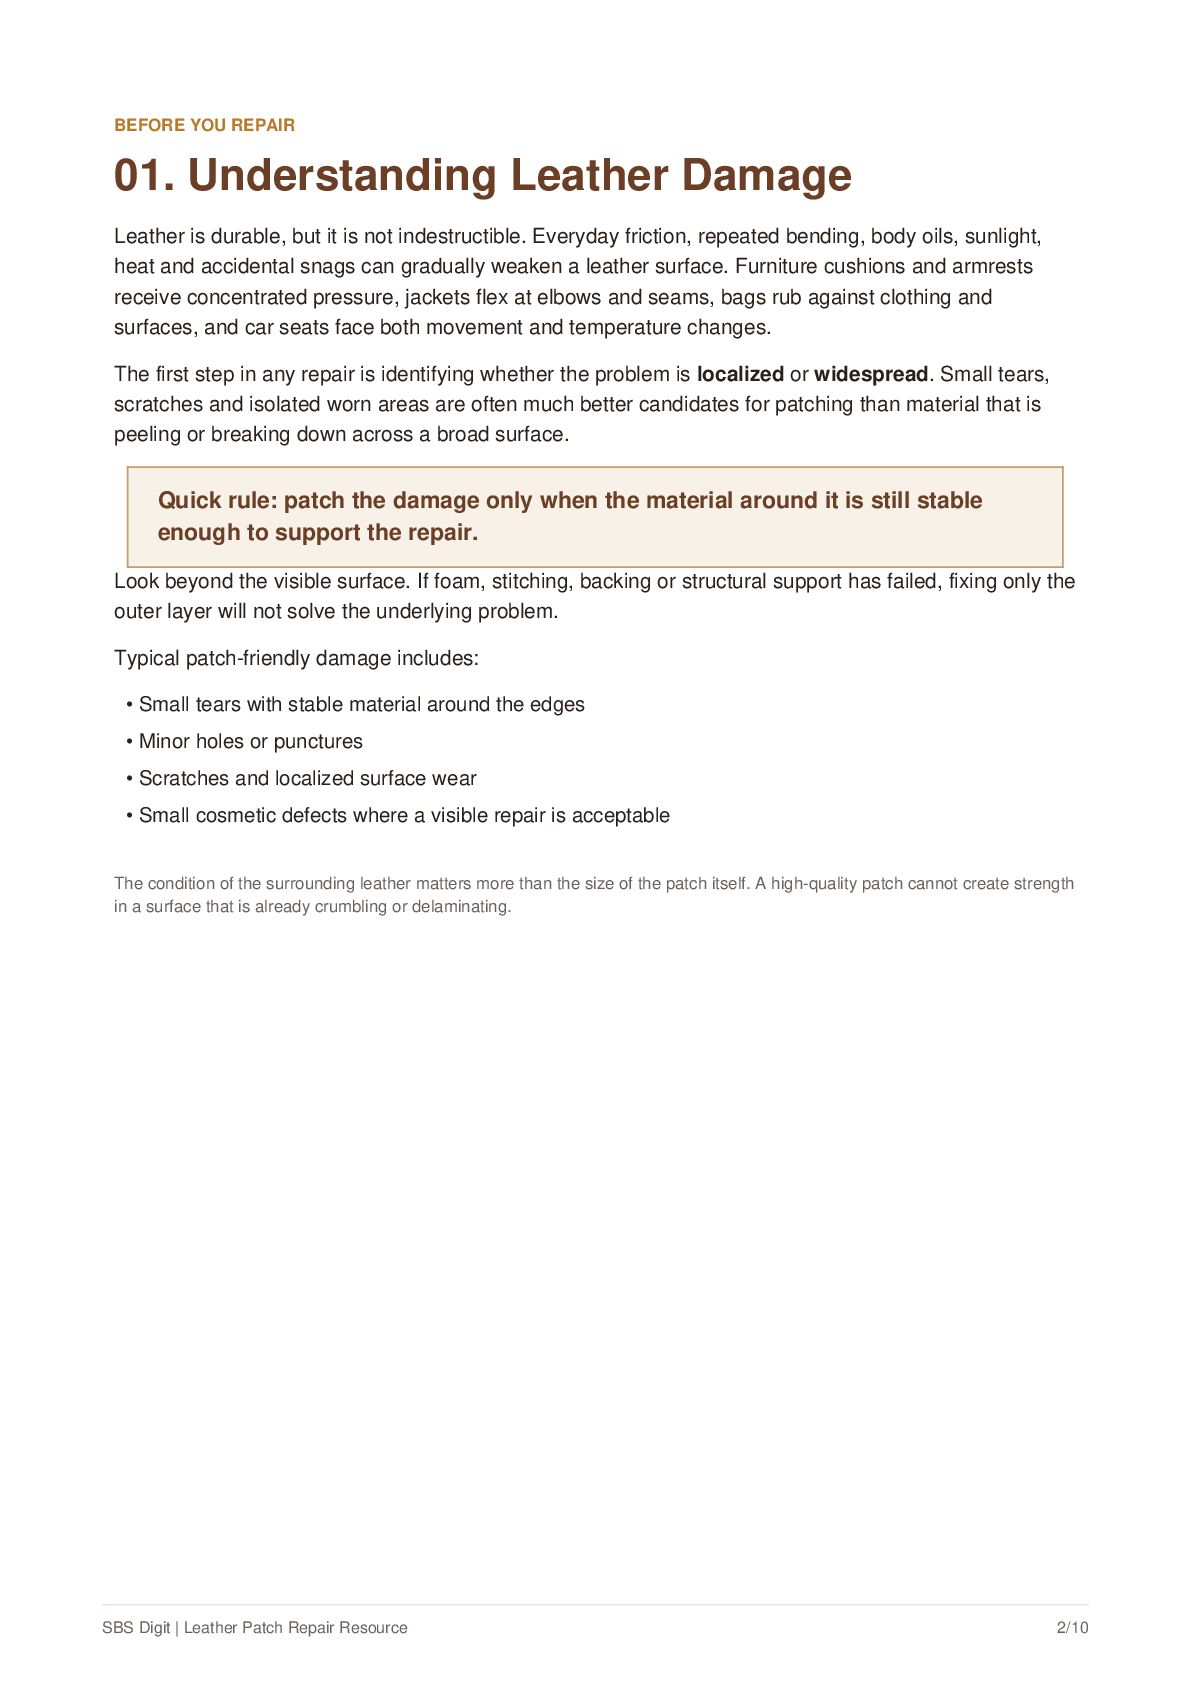
  2. BEFORE YOU REPAIR 01. Understanding Leather Damage Leather is durable,

    but it is not indestructible. Everyday friction, repeated bending, body oils, sunlight, heat and accidental snags can gradually weaken a leather surface. Furniture cushions and armrests receive concentrated pressure, jackets flex at elbows and seams, bags rub against clothing and surfaces, and car seats face both movement and temperature changes. The first step in any repair is identifying whether the problem is localized or widespread. Small tears, scratches and isolated worn areas are often much better candidates for patching than material that is peeling or breaking down across a broad surface. Quick rule: patch the damage only when the material around it is still stable enough to support the repair. Look beyond the visible surface. If foam, stitching, backing or structural support has failed, fixing only the outer layer will not solve the underlying problem. Typical patch-friendly damage includes: • Small tears with stable material around the edges • Minor holes or punctures • Scratches and localized surface wear • Small cosmetic defects where a visible repair is acceptable The condition of the surrounding leather matters more than the size of the patch itself. A high-quality patch cannot create strength in a surface that is already crumbling or delaminating. SBS Digit | Leather Patch Repair Resource 2/10
  3. MATERIALS AND FORMATS 02. What Are Leather Patches? Leather patches

    are pieces of genuine leather, faux leather, textile or leather-like material used to repair, reinforce, decorate or brand another item. Some are designed to blend into a damaged surface, while others are intentionally visible and become part of the finished design. Genuine leather patches use animal hide and can provide natural grain, texture and aging characteristics. They may be a good visual match for genuine leather products when color and finish are carefully selected. Faux leather patches are synthetic alternatives available in many colors, textures and finishes. They can be practical for synthetic upholstery or when consistency and affordability are priorities. Self-adhesive patches include a pressure-sensitive backing for convenient DIY repairs. Their performance depends heavily on surface preparation, adhesive compatibility and the amount of movement in the repaired area. Sew-on patches are attached with stitching and are common on garments, bags and other flexible items where sewing is appropriate. Decorative and embossed patches may be used for logos, lettering, branding or intentional visual contrast. In some projects, a visible decorative patch is more attractive than trying to hide a repair completely. Choosing a patch starts with purpose: repair, reinforcement, decoration or branding. SBS Digit | Leather Patch Repair Resource 3/10
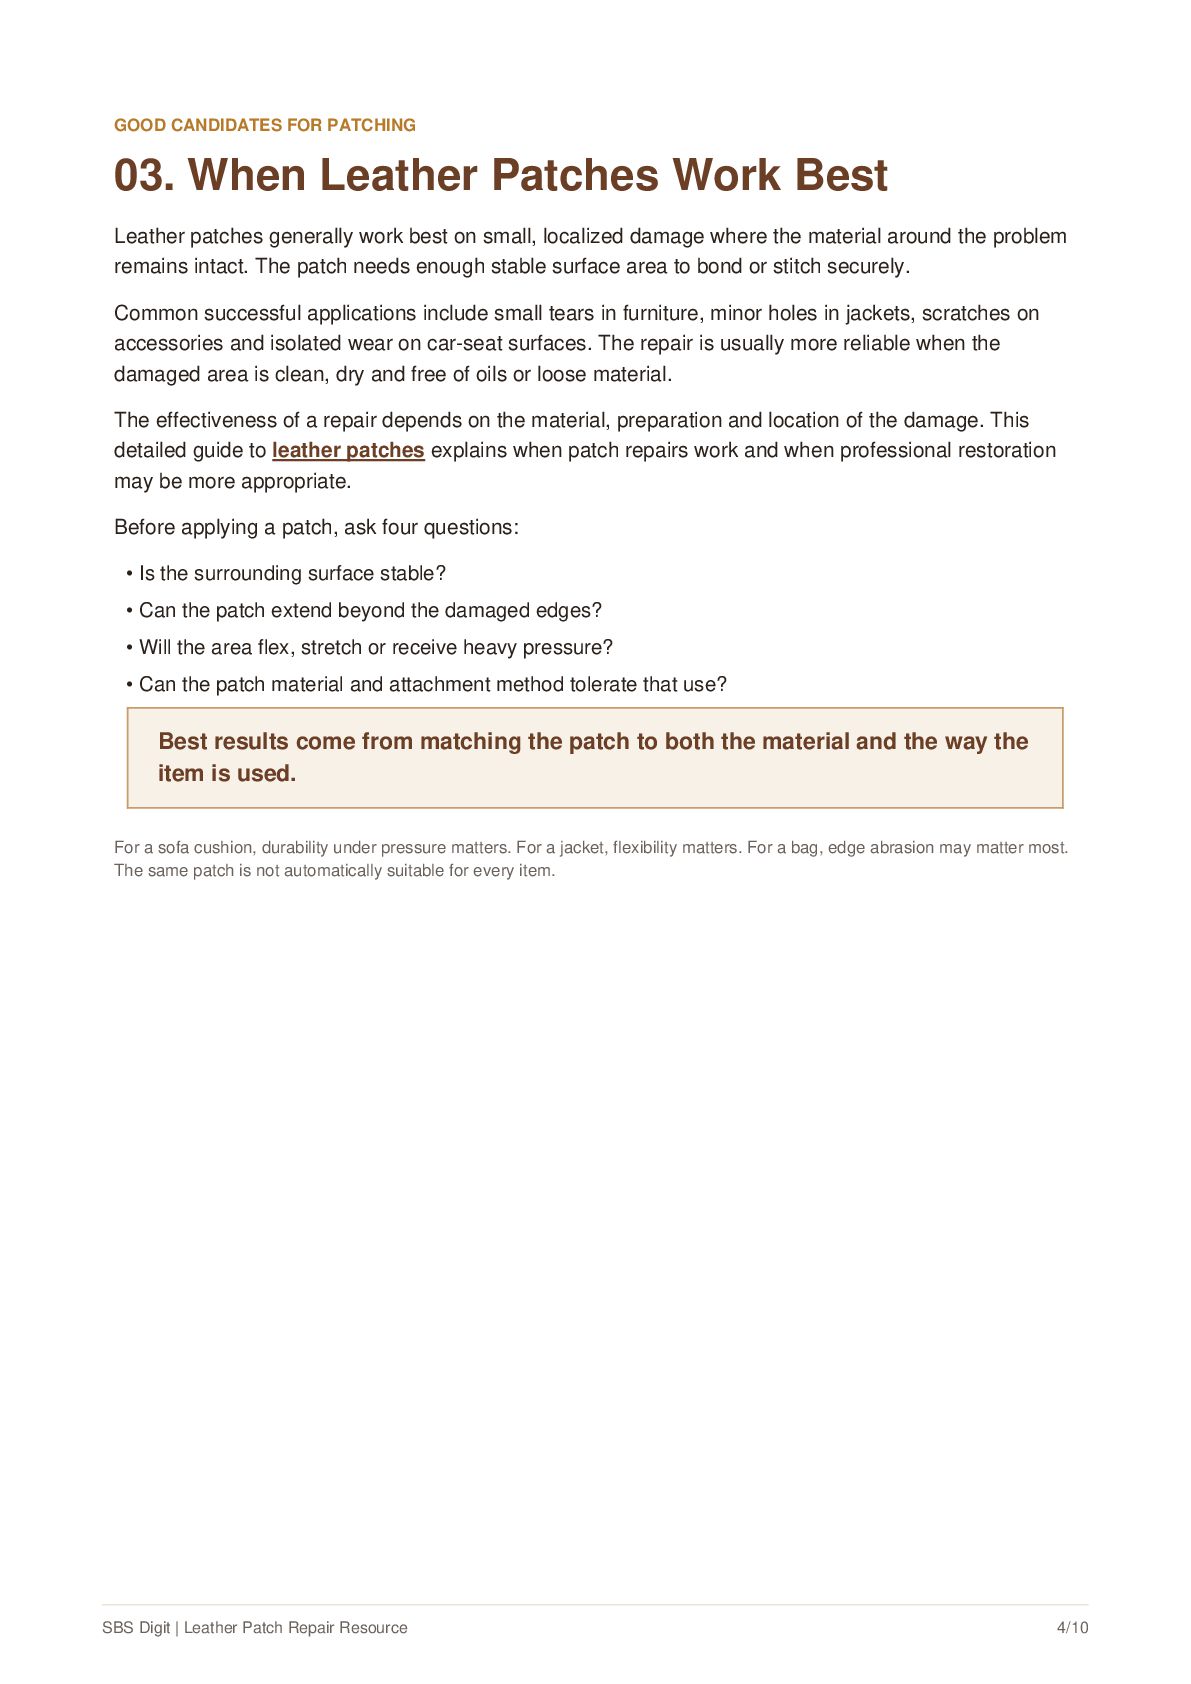
  4. GOOD CANDIDATES FOR PATCHING 03. When Leather Patches Work Best

    Leather patches generally work best on small, localized damage where the material around the problem remains intact. The patch needs enough stable surface area to bond or stitch securely. Common successful applications include small tears in furniture, minor holes in jackets, scratches on accessories and isolated wear on car-seat surfaces. The repair is usually more reliable when the damaged area is clean, dry and free of oils or loose material. The effectiveness of a repair depends on the material, preparation and location of the damage. This detailed guide to leather patches explains when patch repairs work and when professional restoration may be more appropriate. Before applying a patch, ask four questions: • Is the surrounding surface stable? • Can the patch extend beyond the damaged edges? • Will the area flex, stretch or receive heavy pressure? • Can the patch material and attachment method tolerate that use? Best results come from matching the patch to both the material and the way the item is used. For a sofa cushion, durability under pressure matters. For a jacket, flexibility matters. For a bag, edge abrasion may matter most. The same patch is not automatically suitable for every item. SBS Digit | Leather Patch Repair Resource 4/10
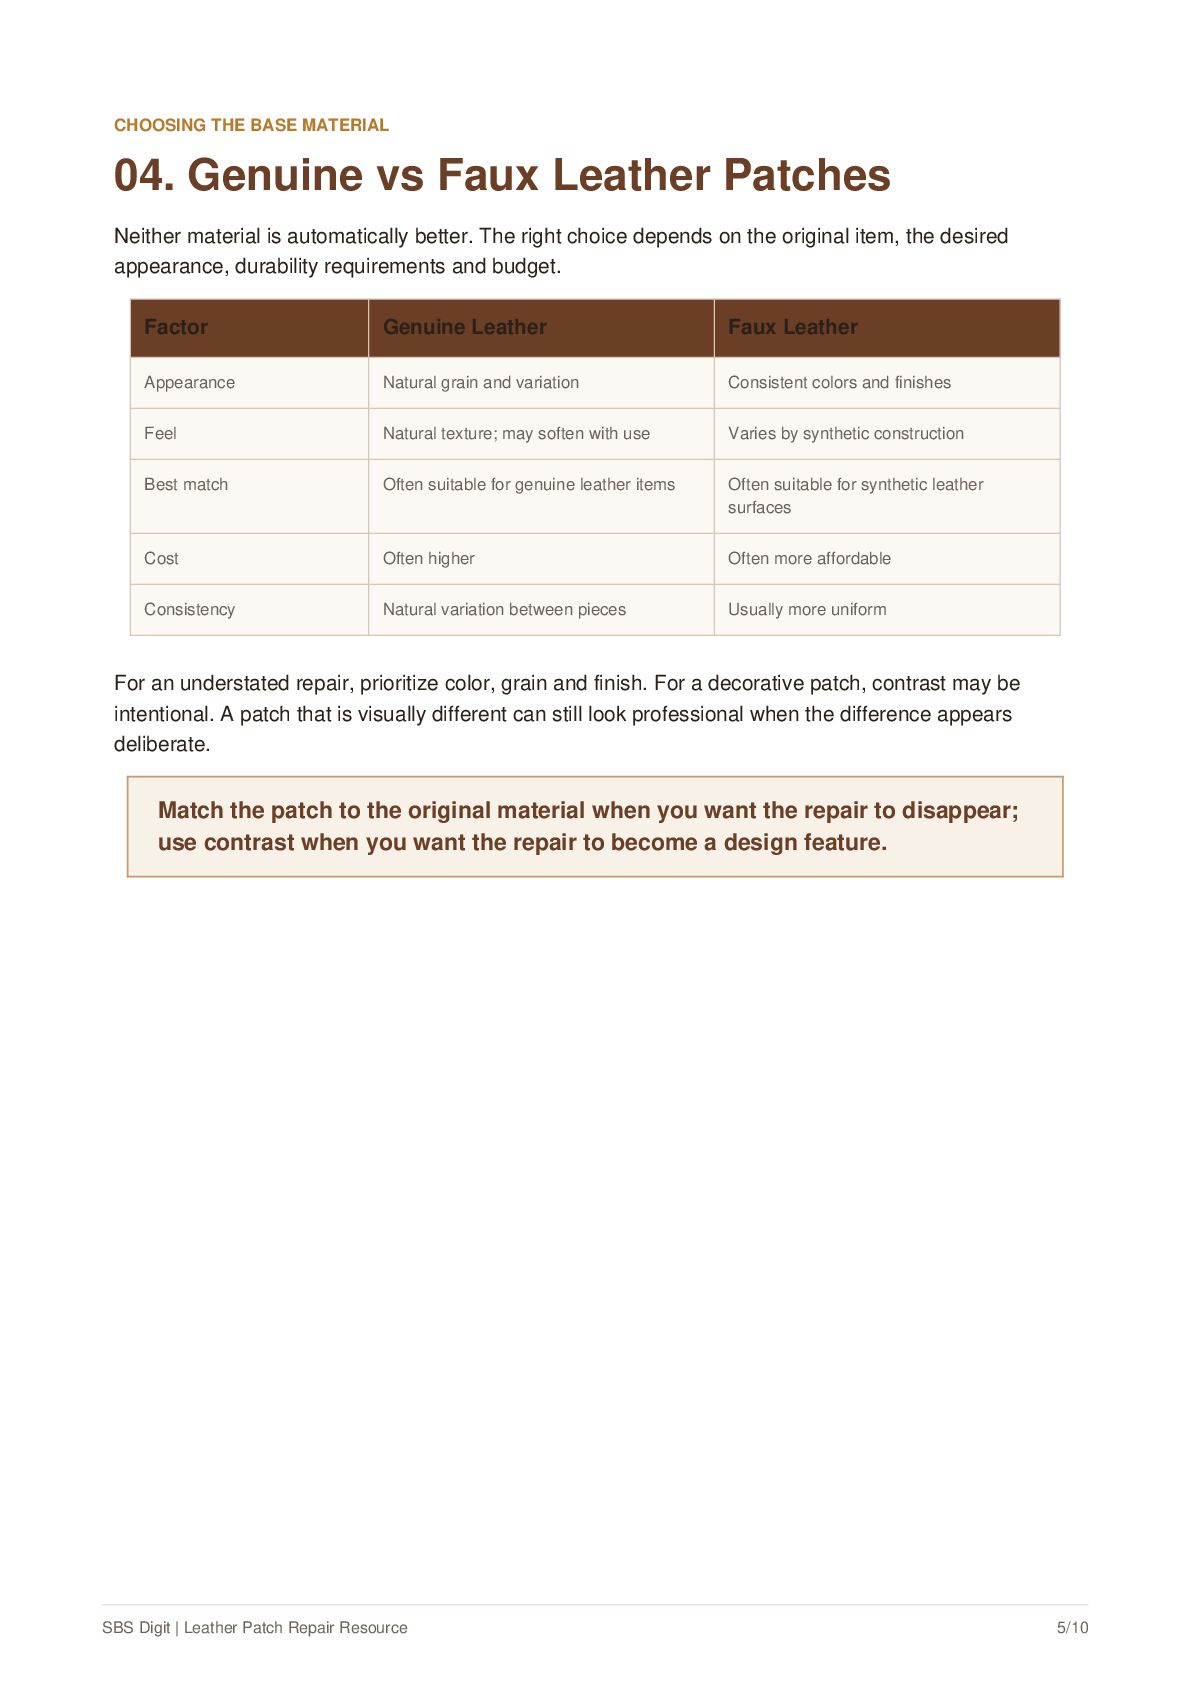
  5. CHOOSING THE BASE MATERIAL 04. Genuine vs Faux Leather Patches

    Neither material is automatically better. The right choice depends on the original item, the desired appearance, durability requirements and budget. Factor Genuine Leather Faux Leather Appearance Natural grain and variation Consistent colors and finishes Feel Natural texture; may soften with use Varies by synthetic construction Best match Often suitable for genuine leather items Often suitable for synthetic leather surfaces Cost Often higher Often more affordable Consistency Natural variation between pieces Usually more uniform For an understated repair, prioritize color, grain and finish. For a decorative patch, contrast may be intentional. A patch that is visually different can still look professional when the difference appears deliberate. Match the patch to the original material when you want the repair to disappear; use contrast when you want the repair to become a design feature. SBS Digit | Leather Patch Repair Resource 5/10
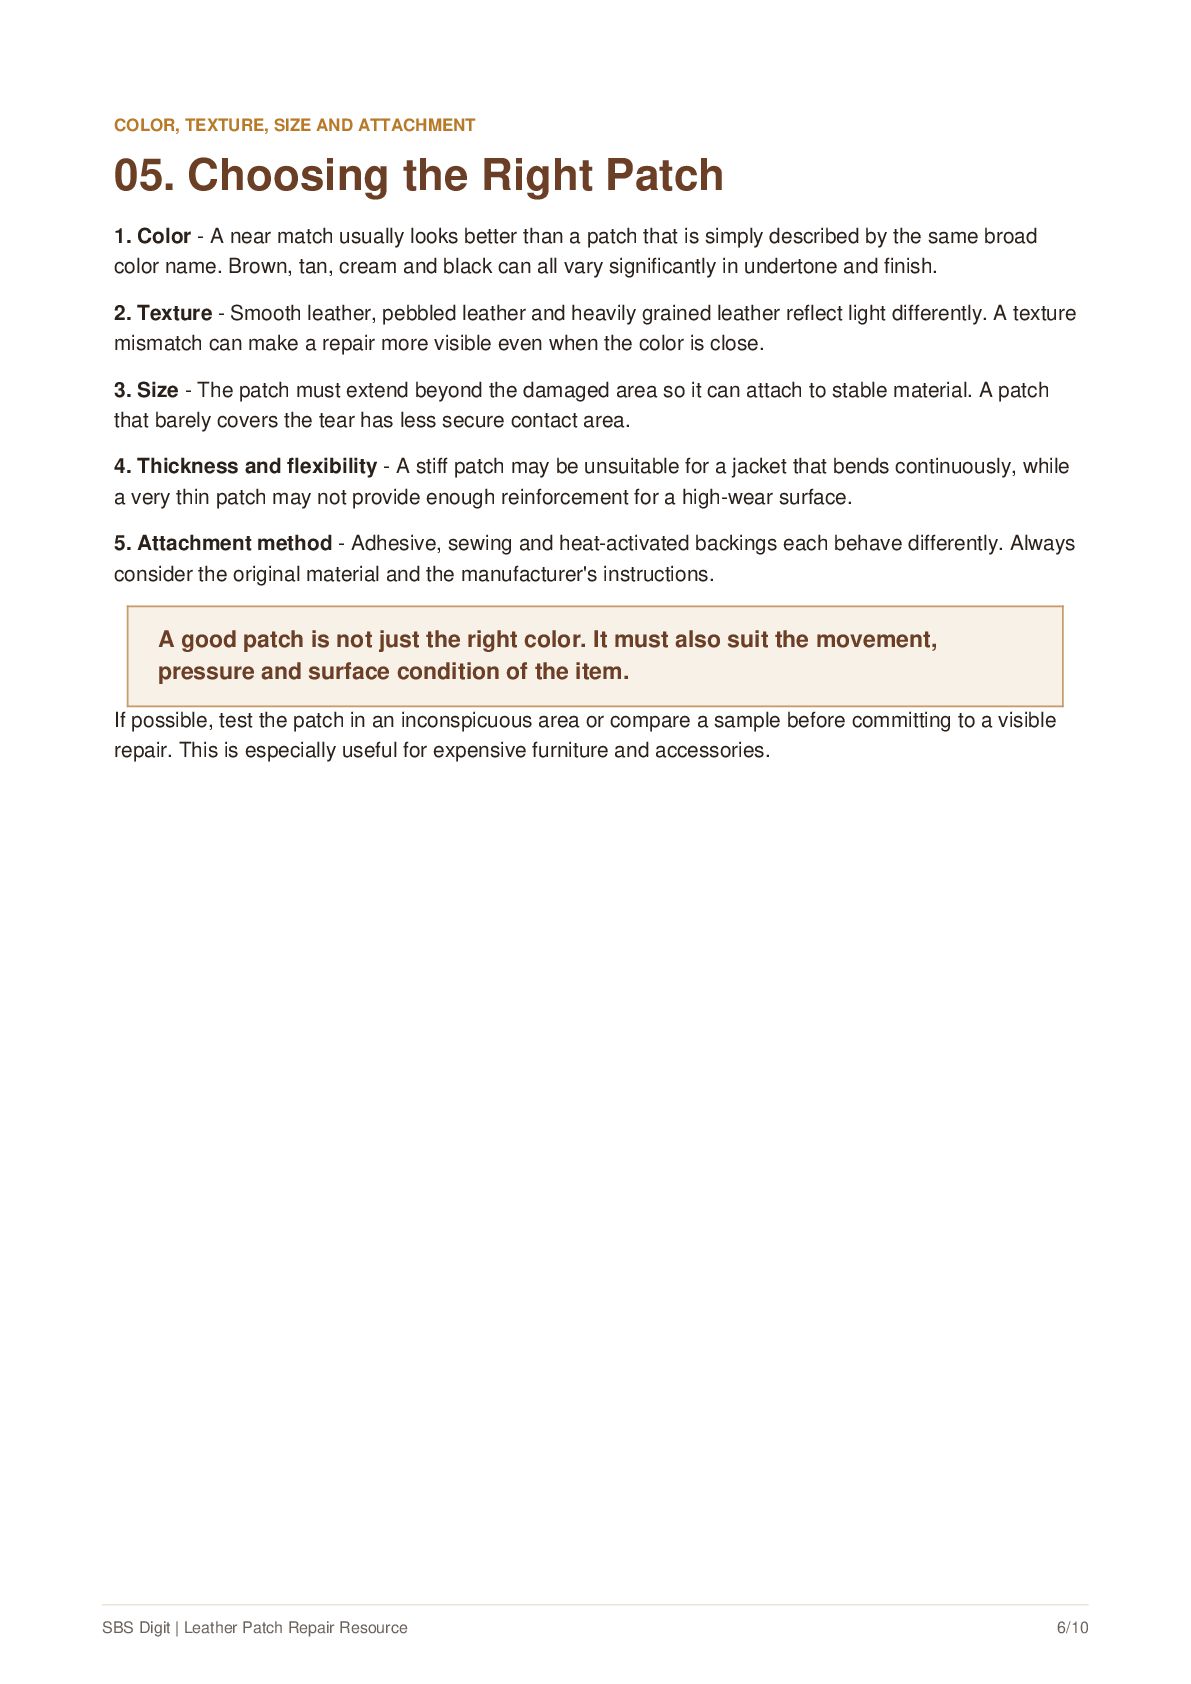
  6. COLOR, TEXTURE, SIZE AND ATTACHMENT 05. Choosing the Right Patch

    1. Color - A near match usually looks better than a patch that is simply described by the same broad color name. Brown, tan, cream and black can all vary significantly in undertone and finish. 2. Texture - Smooth leather, pebbled leather and heavily grained leather reflect light differently. A texture mismatch can make a repair more visible even when the color is close. 3. Size - The patch must extend beyond the damaged area so it can attach to stable material. A patch that barely covers the tear has less secure contact area. 4. Thickness and flexibility - A stiff patch may be unsuitable for a jacket that bends continuously, while a very thin patch may not provide enough reinforcement for a high-wear surface. 5. Attachment method - Adhesive, sewing and heat-activated backings each behave differently. Always consider the original material and the manufacturer's instructions. A good patch is not just the right color. It must also suit the movement, pressure and surface condition of the item. If possible, test the patch in an inconspicuous area or compare a sample before committing to a visible repair. This is especially useful for expensive furniture and accessories. SBS Digit | Leather Patch Repair Resource 6/10
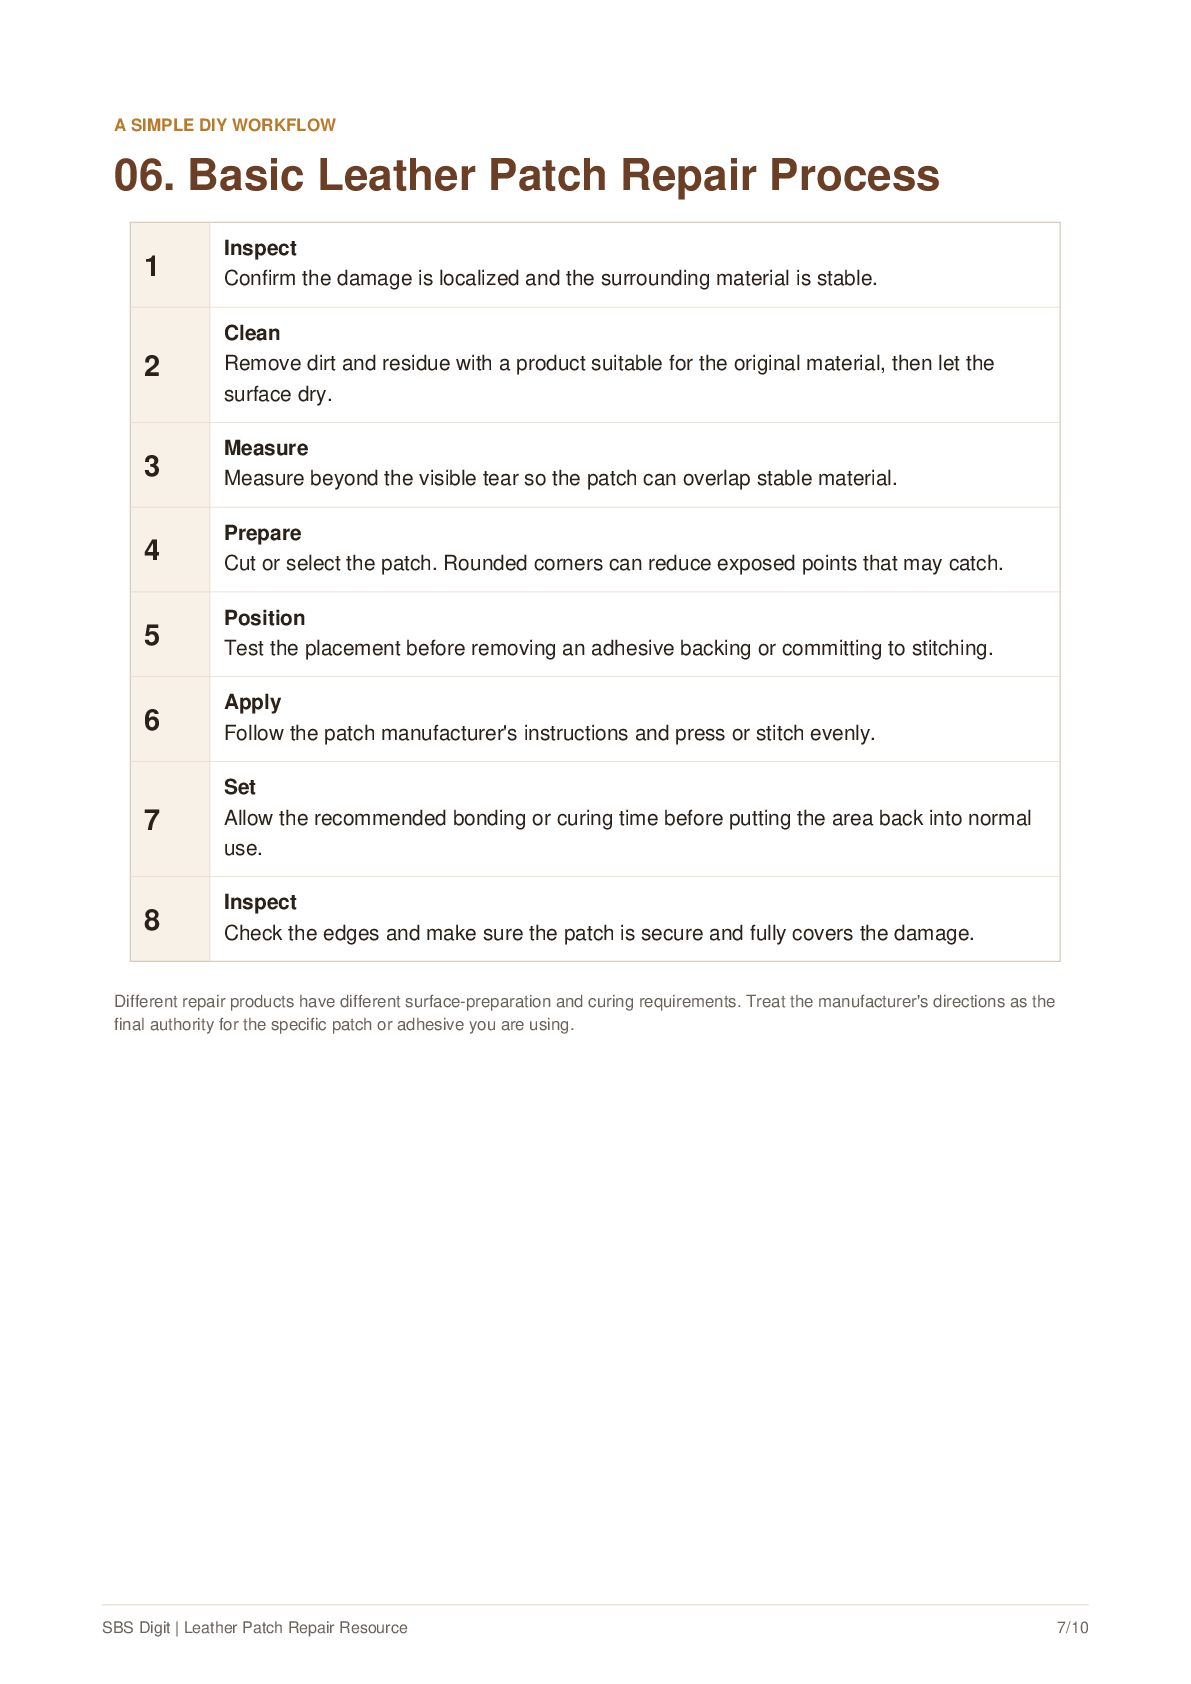
  7. A SIMPLE DIY WORKFLOW 06. Basic Leather Patch Repair Process

    1 Inspect Confirm the damage is localized and the surrounding material is stable. 2 Clean Remove dirt and residue with a product suitable for the original material, then let the surface dry. 3 Measure Measure beyond the visible tear so the patch can overlap stable material. 4 Prepare Cut or select the patch. Rounded corners can reduce exposed points that may catch. 5 Position Test the placement before removing an adhesive backing or committing to stitching. 6 Apply Follow the patch manufacturer's instructions and press or stitch evenly. 7 Set Allow the recommended bonding or curing time before putting the area back into normal use. 8 Inspect Check the edges and make sure the patch is secure and fully covers the damage. Different repair products have different surface-preparation and curing requirements. Treat the manufacturer's directions as the final authority for the specific patch or adhesive you are using. SBS Digit | Leather Patch Repair Resource 7/10
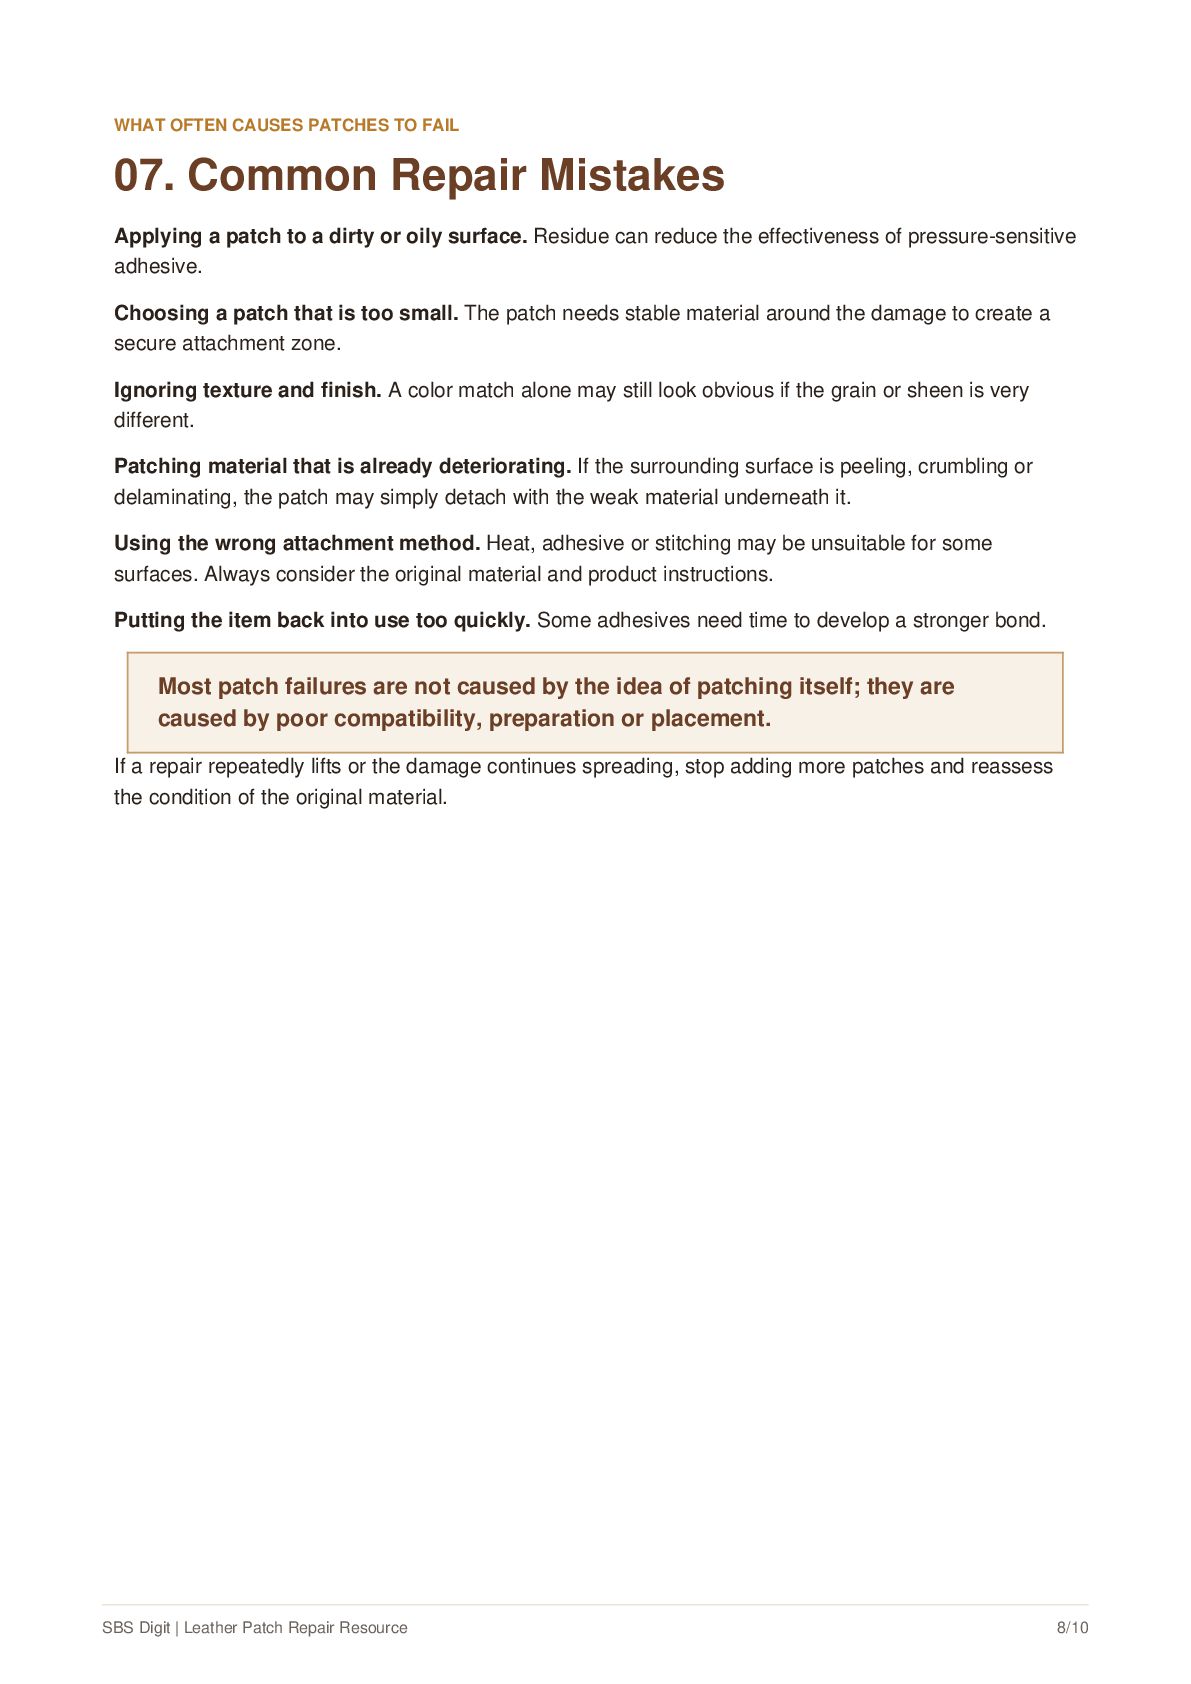
  8. WHAT OFTEN CAUSES PATCHES TO FAIL 07. Common Repair Mistakes

    Applying a patch to a dirty or oily surface. Residue can reduce the effectiveness of pressure-sensitive adhesive. Choosing a patch that is too small. The patch needs stable material around the damage to create a secure attachment zone. Ignoring texture and finish. A color match alone may still look obvious if the grain or sheen is very different. Patching material that is already deteriorating. If the surrounding surface is peeling, crumbling or delaminating, the patch may simply detach with the weak material underneath it. Using the wrong attachment method. Heat, adhesive or stitching may be unsuitable for some surfaces. Always consider the original material and product instructions. Putting the item back into use too quickly. Some adhesives need time to develop a stronger bond. Most patch failures are not caused by the idea of patching itself; they are caused by poor compatibility, preparation or placement. If a repair repeatedly lifts or the damage continues spreading, stop adding more patches and reassess the condition of the original material. SBS Digit | Leather Patch Repair Resource 8/10
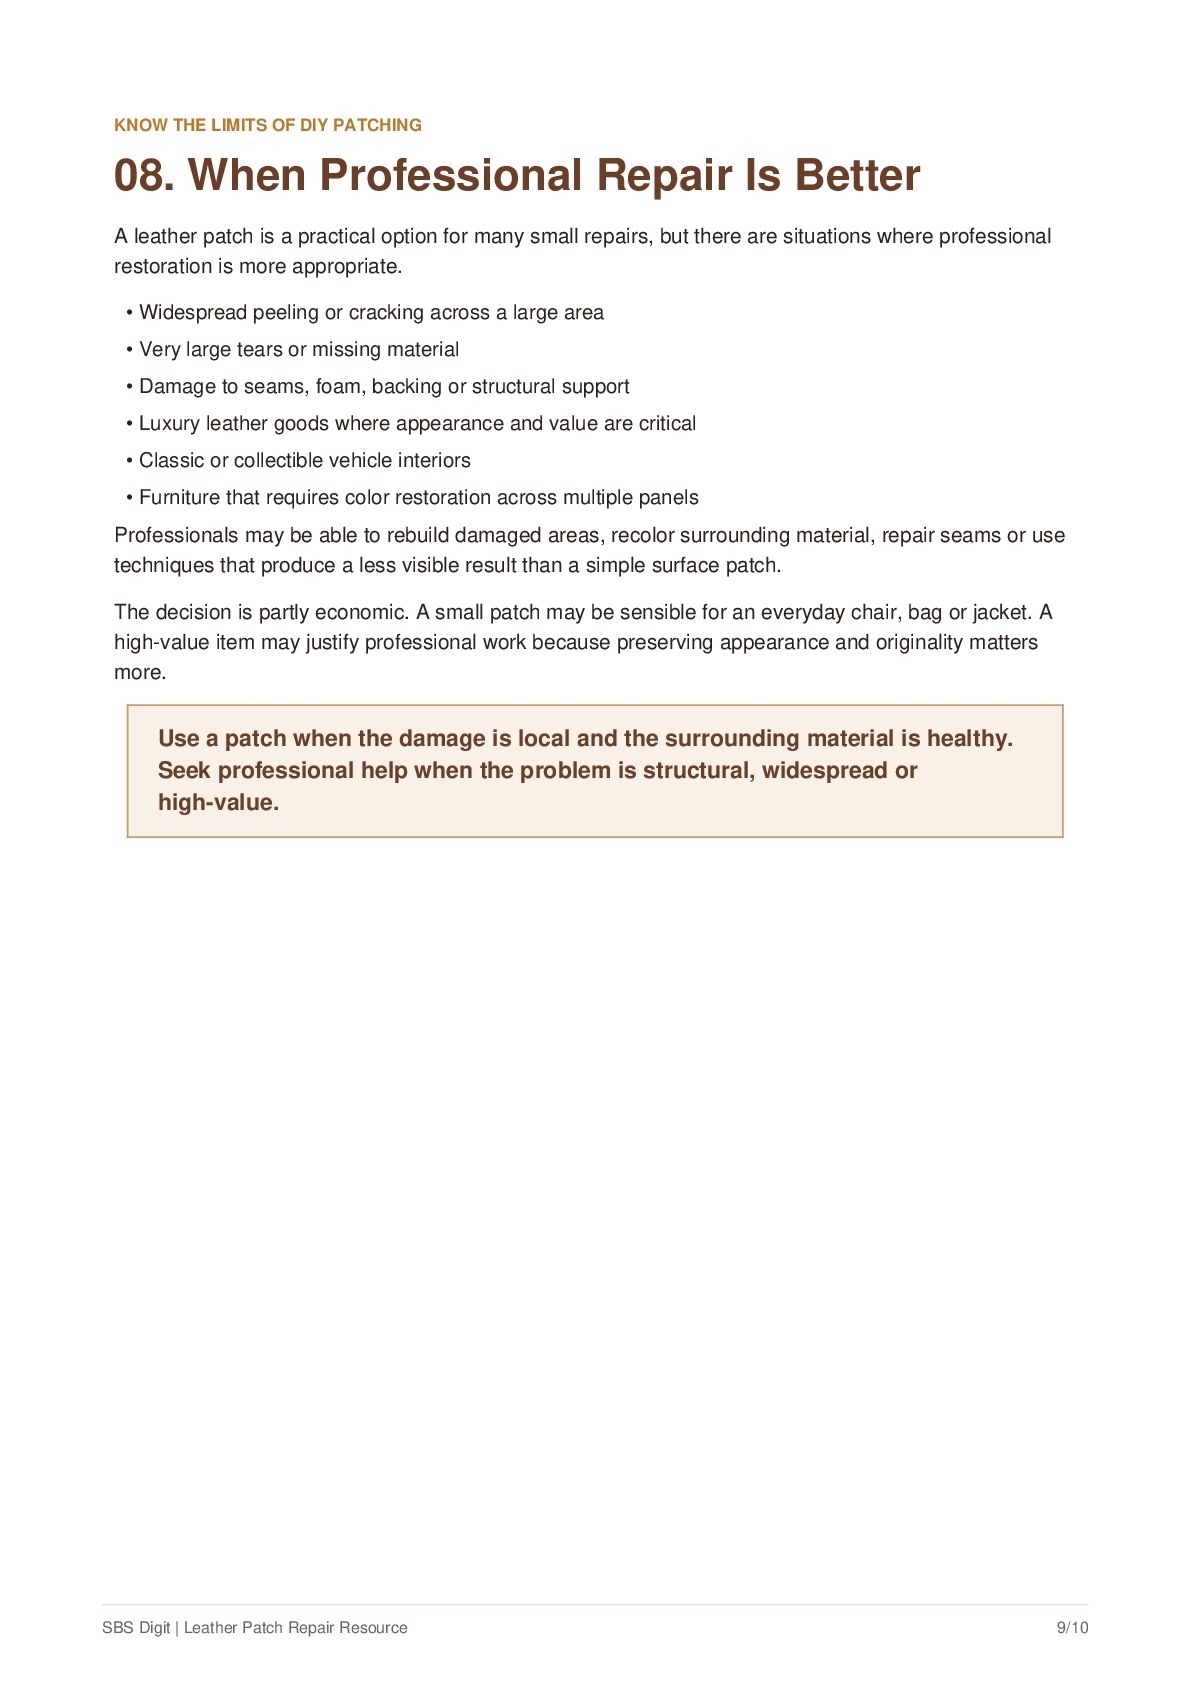
  9. KNOW THE LIMITS OF DIY PATCHING 08. When Professional Repair

    Is Better A leather patch is a practical option for many small repairs, but there are situations where professional restoration is more appropriate. • Widespread peeling or cracking across a large area • Very large tears or missing material • Damage to seams, foam, backing or structural support • Luxury leather goods where appearance and value are critical • Classic or collectible vehicle interiors • Furniture that requires color restoration across multiple panels Professionals may be able to rebuild damaged areas, recolor surrounding material, repair seams or use techniques that produce a less visible result than a simple surface patch. The decision is partly economic. A small patch may be sensible for an everyday chair, bag or jacket. A high-value item may justify professional work because preserving appearance and originality matters more. Use a patch when the damage is local and the surrounding material is healthy. Seek professional help when the problem is structural, widespread or high-value. SBS Digit | Leather Patch Repair Resource 9/10
  10. MORE PRACTICAL PATCH RESOURCES 09. About SBS Digit SBS Digit

    publishes practical resources covering patch materials, attachment methods, patch styles and custom patch production. The goal is to help readers understand the choices that affect appearance, durability and application before they repair or order a patch. Read the full SBS Digit guide: Do Leather Patches Work? A Complete Guide to Leather Patch Repair Explore more resources at SBS Digit. Repair. Restore. Reinforce. Choose the patch that fits the material and the job. This guide is intended for general educational use. Always follow the care instructions for the original leather product and the application instructions supplied with any repair patch, adhesive or treatment. SBS DIGIT Patch materials • Attachment guides • Custom patch resources SBS Digit | Leather Patch Repair Resource 10/10