is important ➤ Help each other ➤ Have fun! Girl Develop It is here to provide affordable and accessible programs to learn software through mentorship and hands-on instruction.
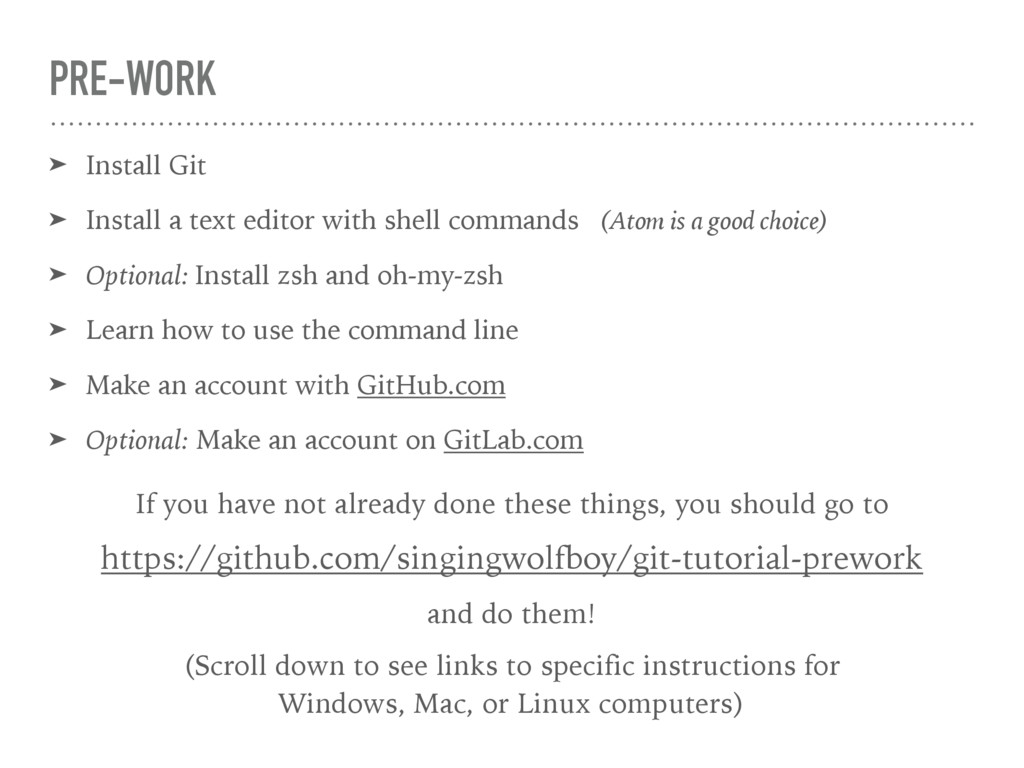
shell commands (Atom is a good choice) ➤ Optional: Install zsh and oh-my-zsh ➤ Learn how to use the command line ➤ Make an account with GitHub.com ➤ Optional: Make an account on GitLab.com If you have not already done these things, you should go to https://github.com/singingwolfboy/git-tutorial-prework and do them! (Scroll down to see links to specific instructions for Windows, Mac, or Linux computers)
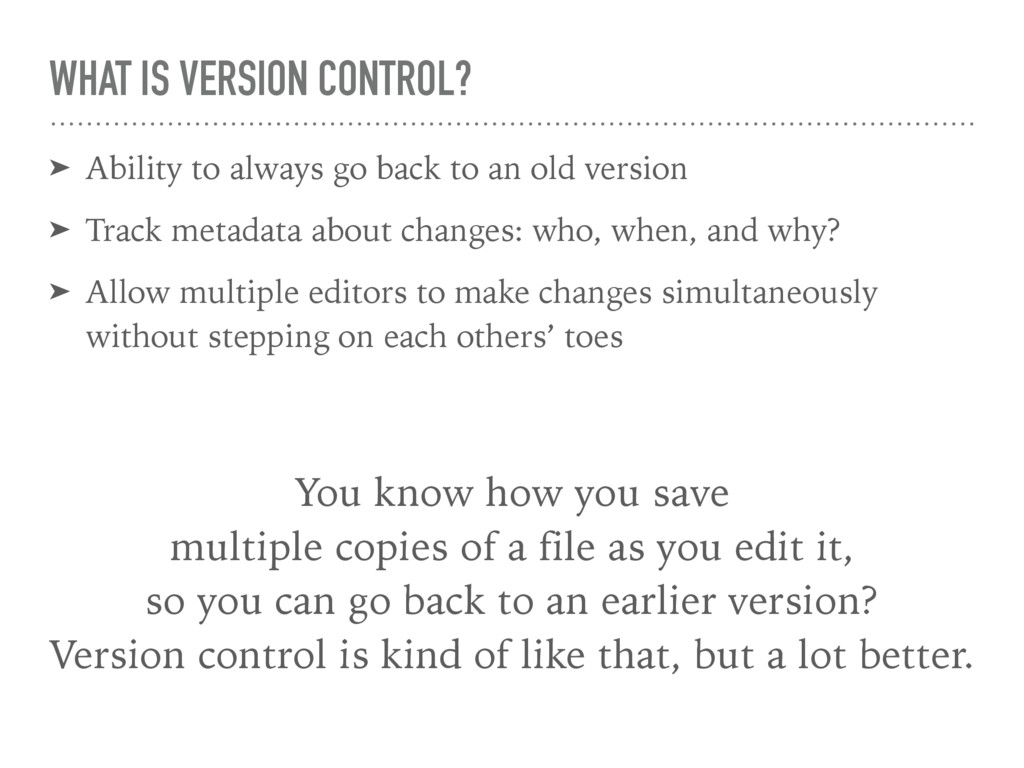
to an old version ➤ Track metadata about changes: who, when, and why? ➤ Allow multiple editors to make changes simultaneously without stepping on each others’ toes You know how you save multiple copies of a file as you edit it, so you can go back to an earlier version? Version control is kind of like that, but a lot better.
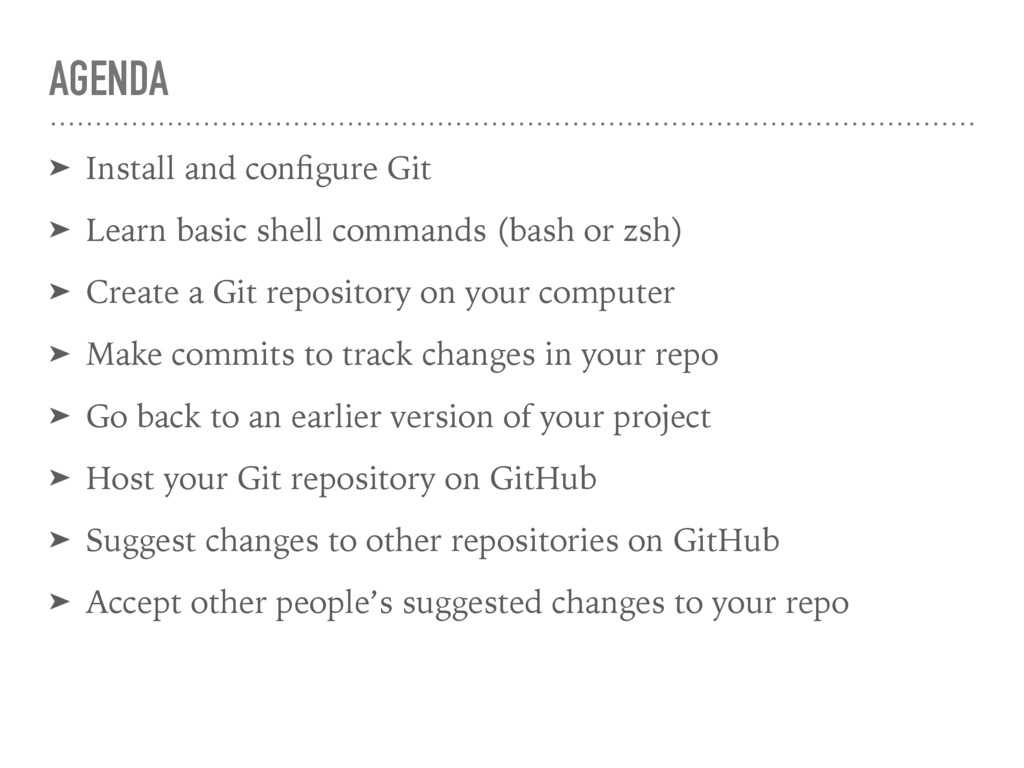
commands (bash or zsh) ➤ Create a Git repository on your computer ➤ Make commits to track changes in your repo ➤ Go back to an earlier version of your project ➤ Host your Git repository on GitHub ➤ Suggest changes to other repositories on GitHub ➤ Accept other people’s suggested changes to your repo
Head First Git David Baumgold A Brain-Friendly Guide Learn how to travel through time Editing has never been so enlightening Compatible with all kinds of text, not just software Track down issues at their source Discover the freedom in branching, forking, & merging Change history without tying yourself in knots
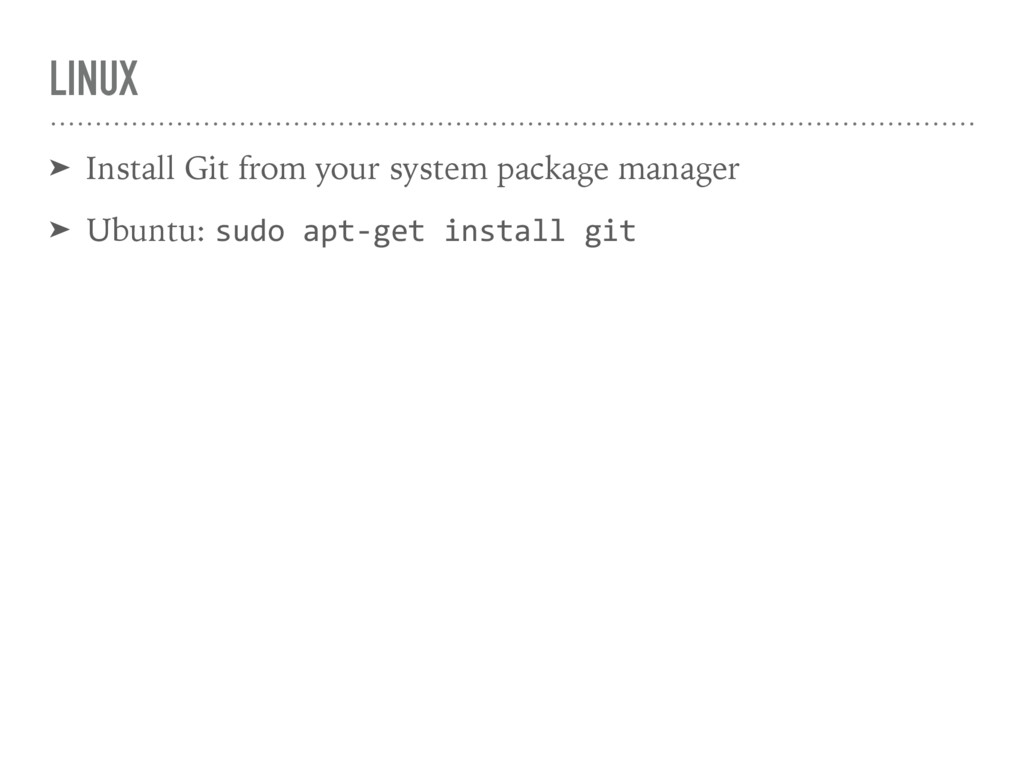
a package manager that will help you install other software easily ➤ Use Homebrew to install Git: brew install git ➤ You can use Homebrew to install lots of other software as well, in the future
editor installed — one that can be invoked using shell commands ➤ I recommend Atom: atom.io ➤ Free, cross-platform ➤ Installing shell commands is easy, and can be done from the menu ➤ Can also use Sublime Text: sublimetext.com ➤ Unlimited free trial, costs $70, cross-platform ➤ Installing shell commands is more complicated
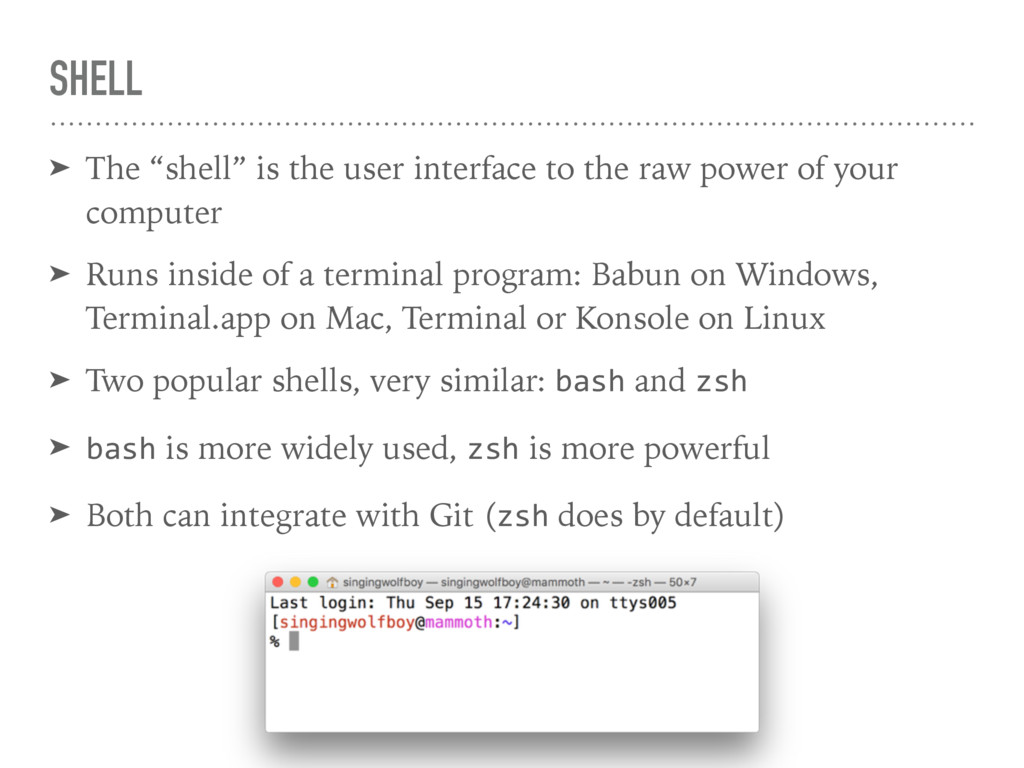
raw power of your computer ➤ Runs inside of a terminal program: Babun on Windows, Terminal.app on Mac, Terminal or Konsole on Linux ➤ Two popular shells, very similar: bash and zsh ➤ bash is more widely used, zsh is more powerful ➤ Both can integrate with Git (zsh does by default)
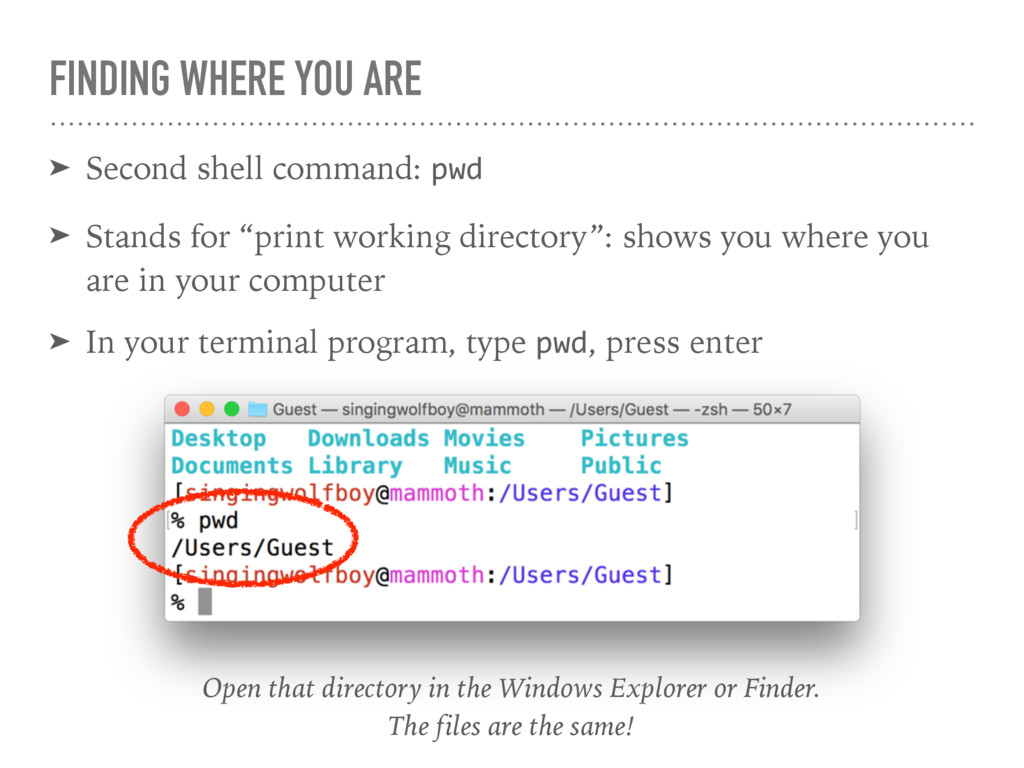
Stands for “print working directory”: shows you where you are in your computer ➤ In your terminal program, type pwd, press enter Open that directory in the Windows Explorer or Finder. The files are the same!
“change directory”: used to move to a different folder/directory on your computer ➤ In your terminal program, type cd Desktop, press enter No response, but try running ls again, and see what happens!
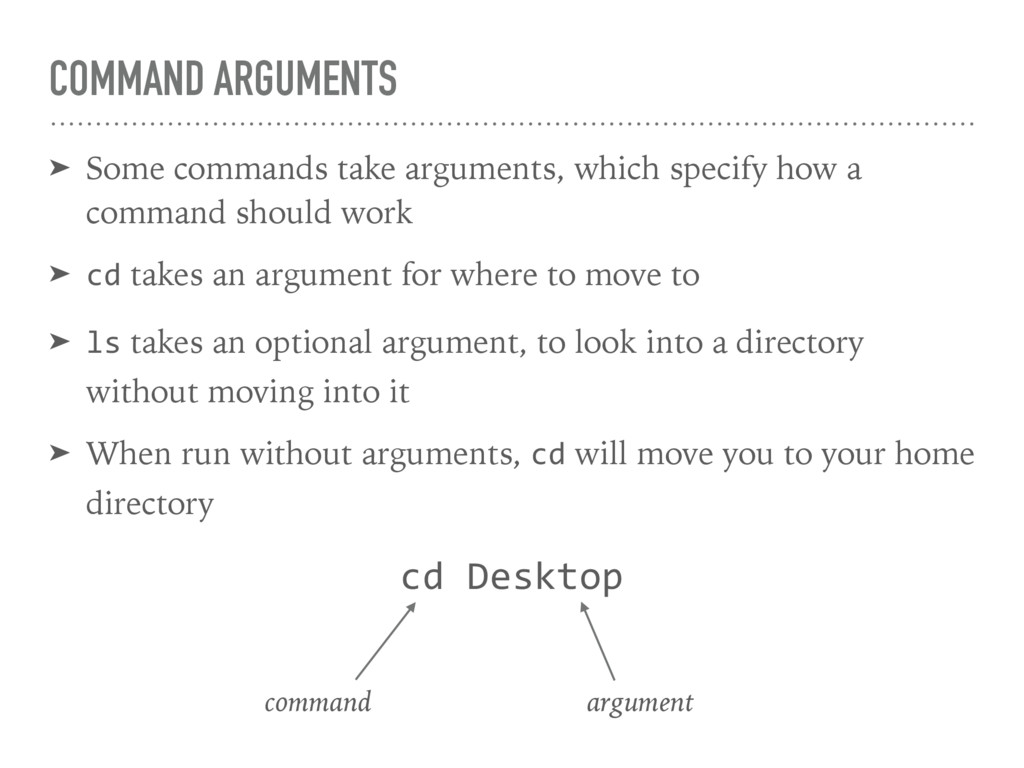
a command should work ➤ cd takes an argument for where to move to ➤ ls takes an optional argument, to look into a directory without moving into it ➤ When run without arguments, cd will move you to your home directory cd Desktop command argument
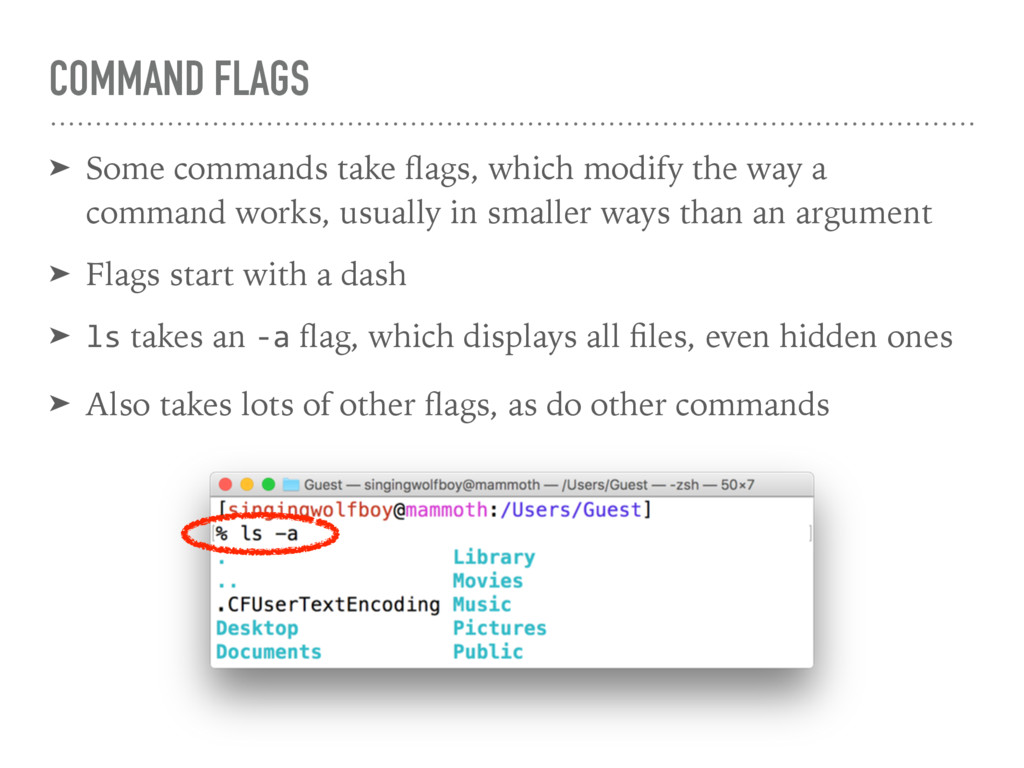
way a command works, usually in smaller ways than an argument ➤ Flags start with a dash ➤ ls takes an -a flag, which displays all files, even hidden ones ➤ Also takes lots of other flags, as do other commands
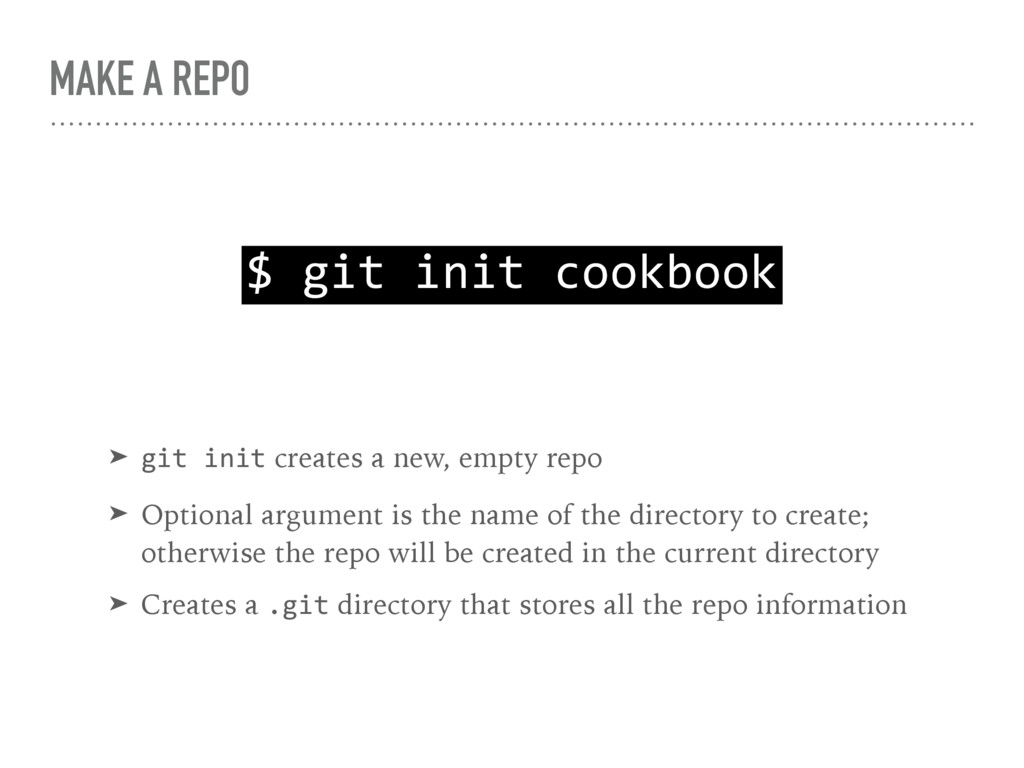
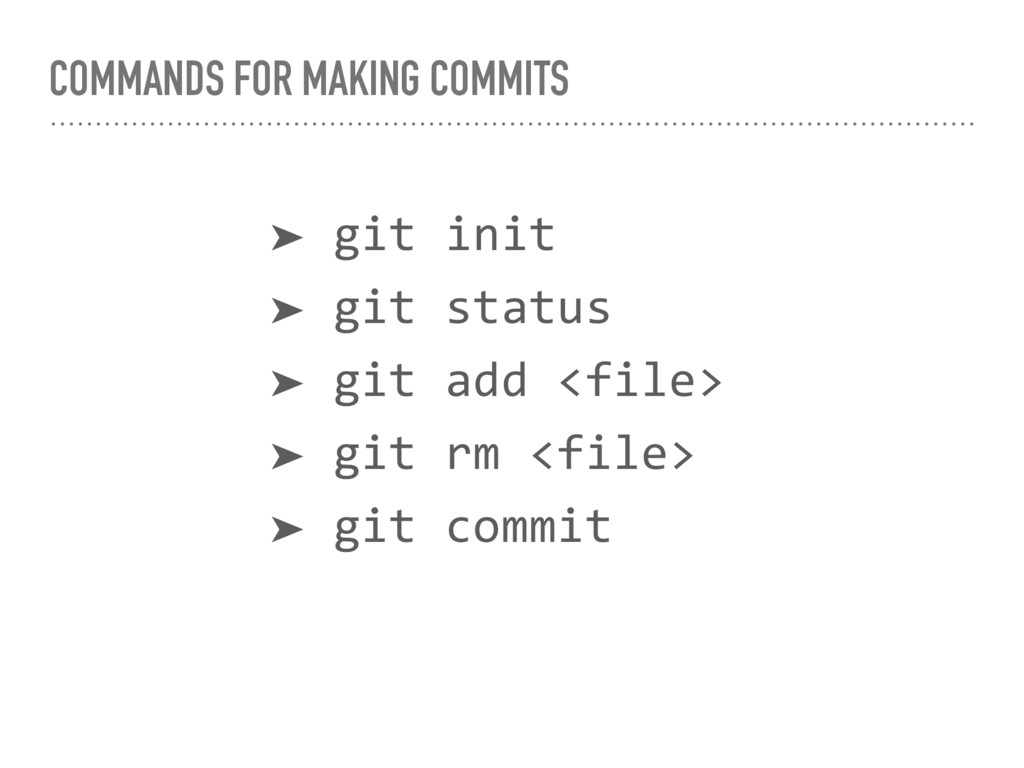
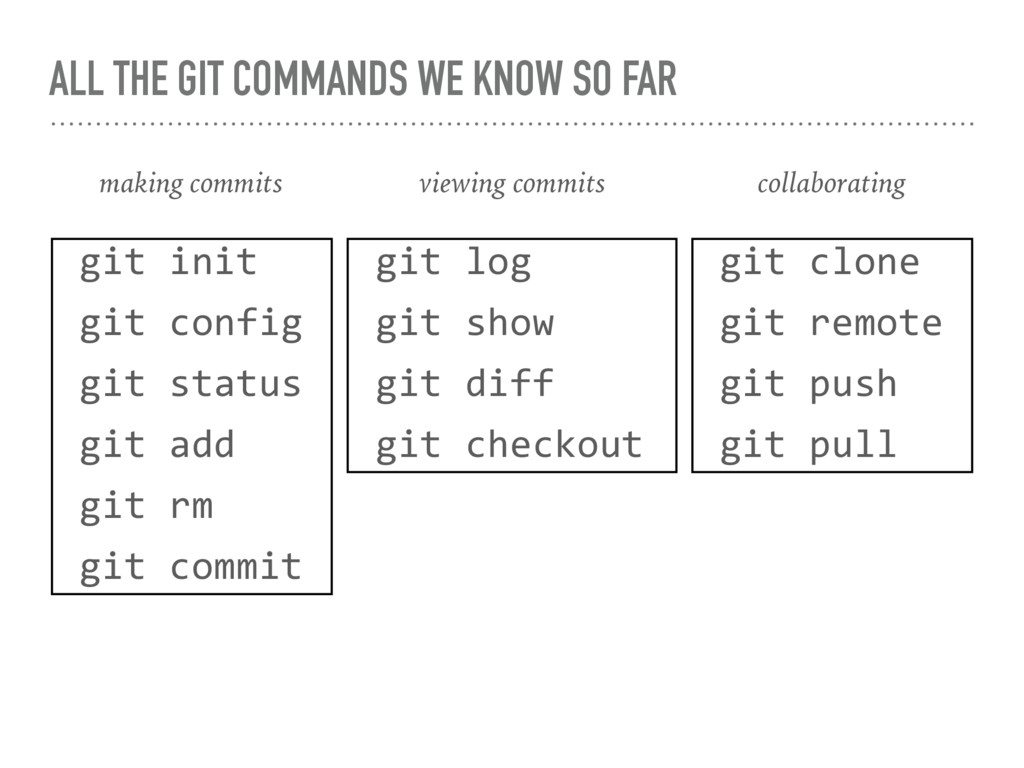
creates a new, empty repo ➤ Optional argument is the name of the directory to create; otherwise the repo will be created in the current directory ➤ Creates a .git directory that stores all the repo information
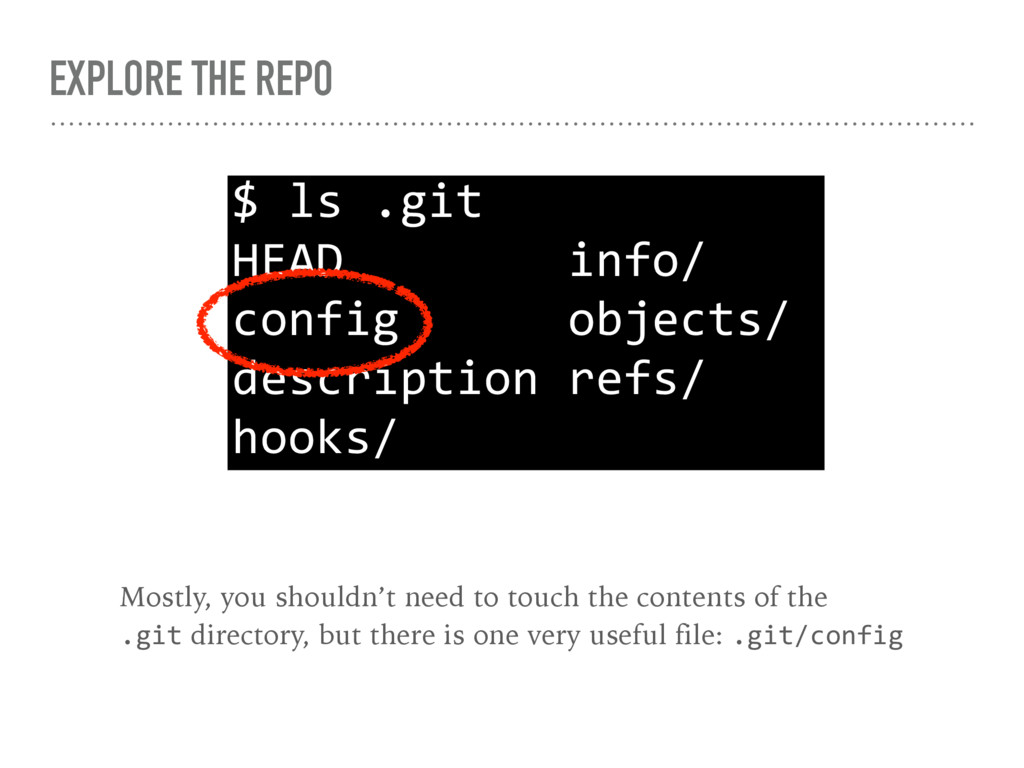
allows you to read and write values to Git’s config files ➤ By default, it uses .git/config Use the --global flag to use ~/.gitconfig ➤ You’ll need to set your name and email address: $ git config --global user.name "Alice Developer" $ git config --global user.email "[email protected]"
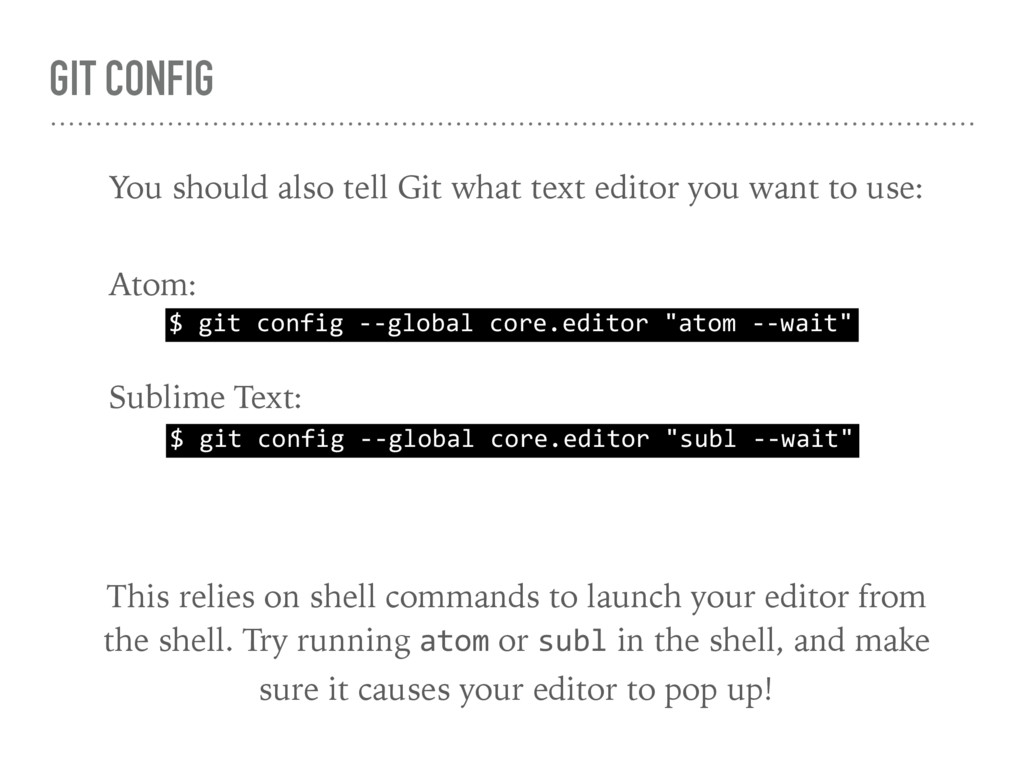
should also tell Git what text editor you want to use: Atom: $ git config --global core.editor "subl --wait" Sublime Text: This relies on shell commands to launch your editor from the shell. Try running atom or subl in the shell, and make sure it causes your editor to pop up!
text, paste it into a file in your “cooking” Git repo. For example: S'mores Recipe Ingredients: 1 large marshmallow 1 graham cracker 1 bar of chocolate Directions: 1. Heat the marshmallow over an open flame until it begins to brown and melt. 2. Break the graham cracker in half. Sandwich the chocolate between the cracker and the hot marshmallow. Allow the marshmallow to cool a moment before eating. smores.txt
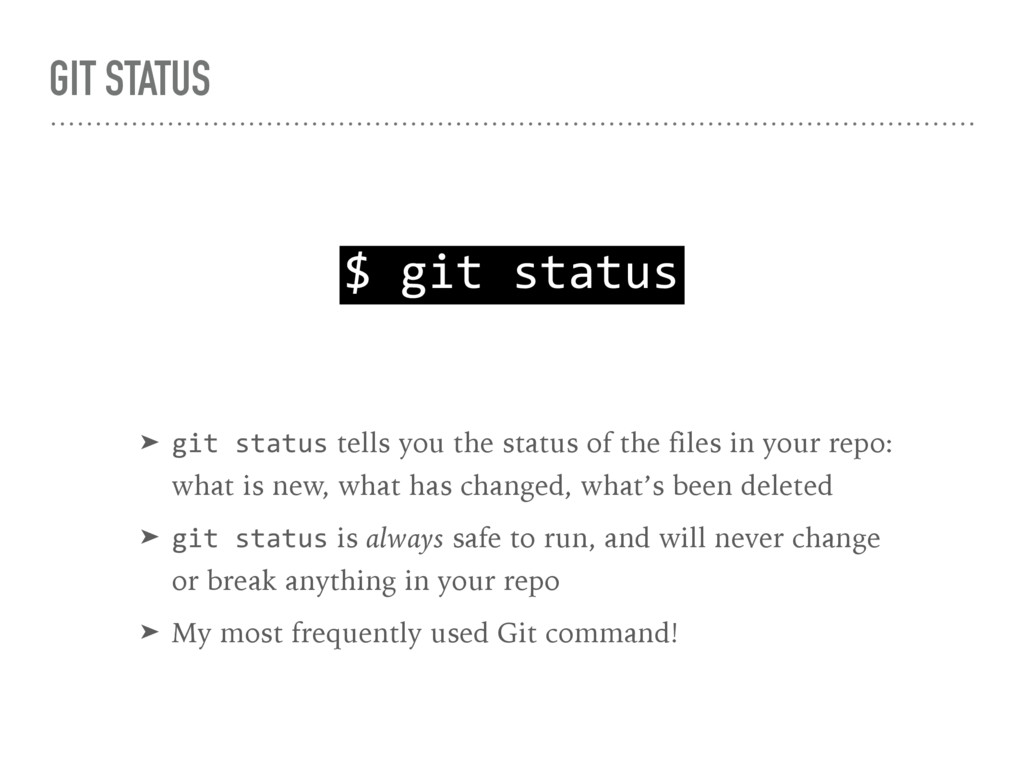
the status of the files in your repo: what is new, what has changed, what’s been deleted ➤ git status is always safe to run, and will never change or break anything in your repo ➤ My most frequently used Git command!
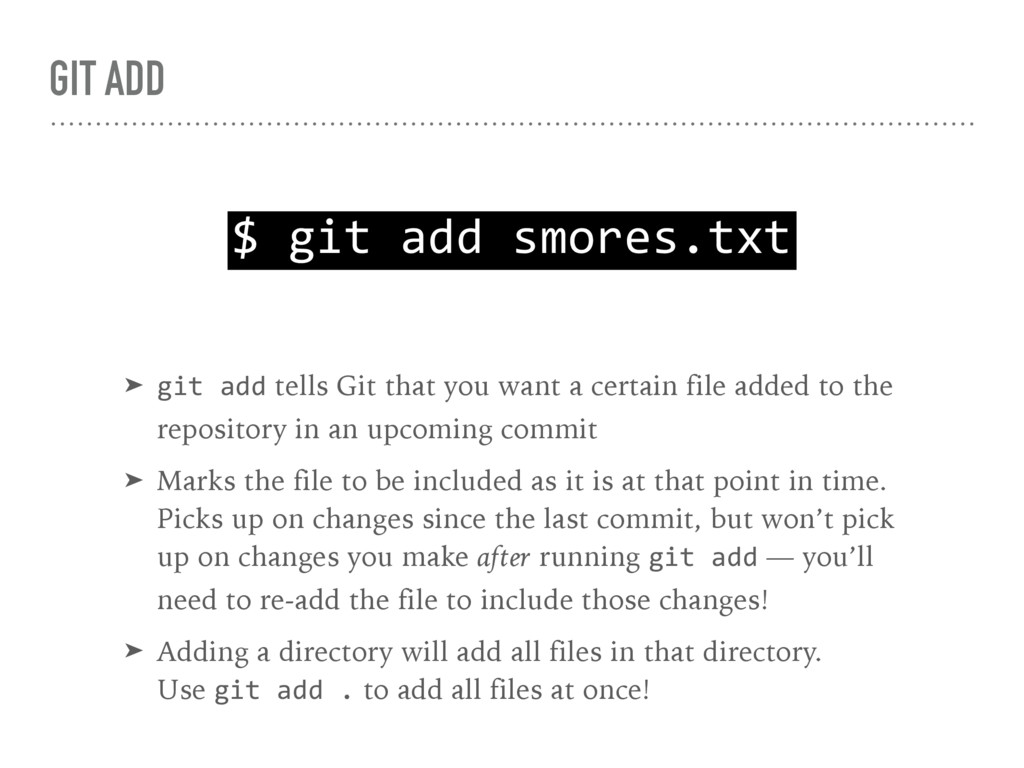
Git that you want a certain file added to the repository in an upcoming commit ➤ Marks the file to be included as it is at that point in time. Picks up on changes since the last commit, but won’t pick up on changes you make after running git add — you’ll need to re-add the file to include those changes! ➤ Adding a directory will add all files in that directory. Use git add . to add all files at once!
new commit based on the files you’ve marked using git add ➤ A commit message is required: Git will open your text editor so you can write one ➤ You can use the -m flag to provide a message on the command line, instead
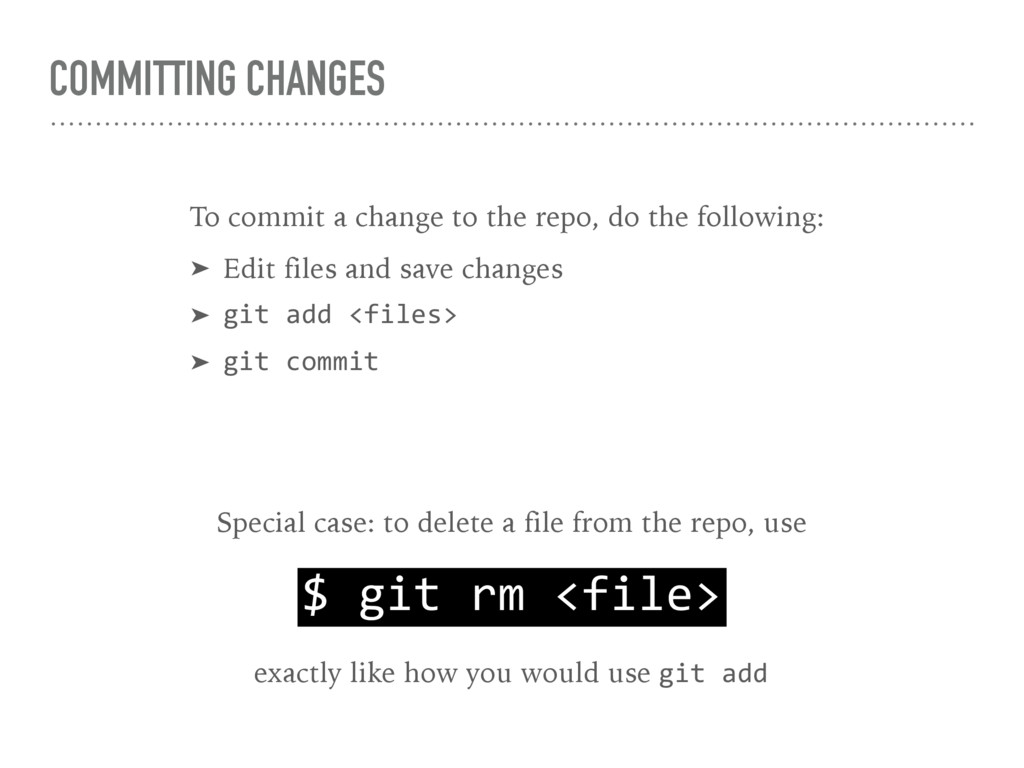
the following: ➤ Edit files and save changes ➤ git add <files> ➤ git commit Special case: to delete a file from the repo, use $ git rm <file> exactly like how you would use git add
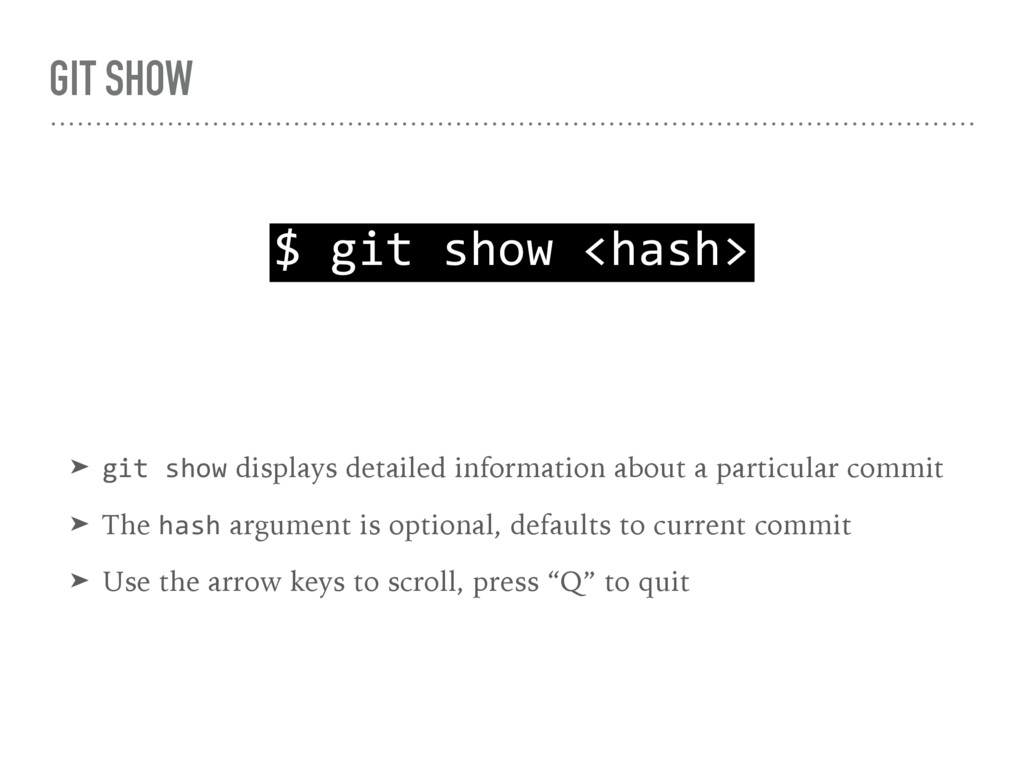
detailed information about a particular commit ➤ The hash argument is optional, defaults to current commit ➤ Use the arrow keys to scroll, press “Q” to quit
the changes you’ve made that haven’t yet been committed ➤ Useful for checking to be sure that you’ve made all the changes you intend, and none of the ones you didn’t ➤ Use the --staged argument to view changes that you’ve already added using git add ➤ Use the arrow keys to scroll, press “Q” to quit
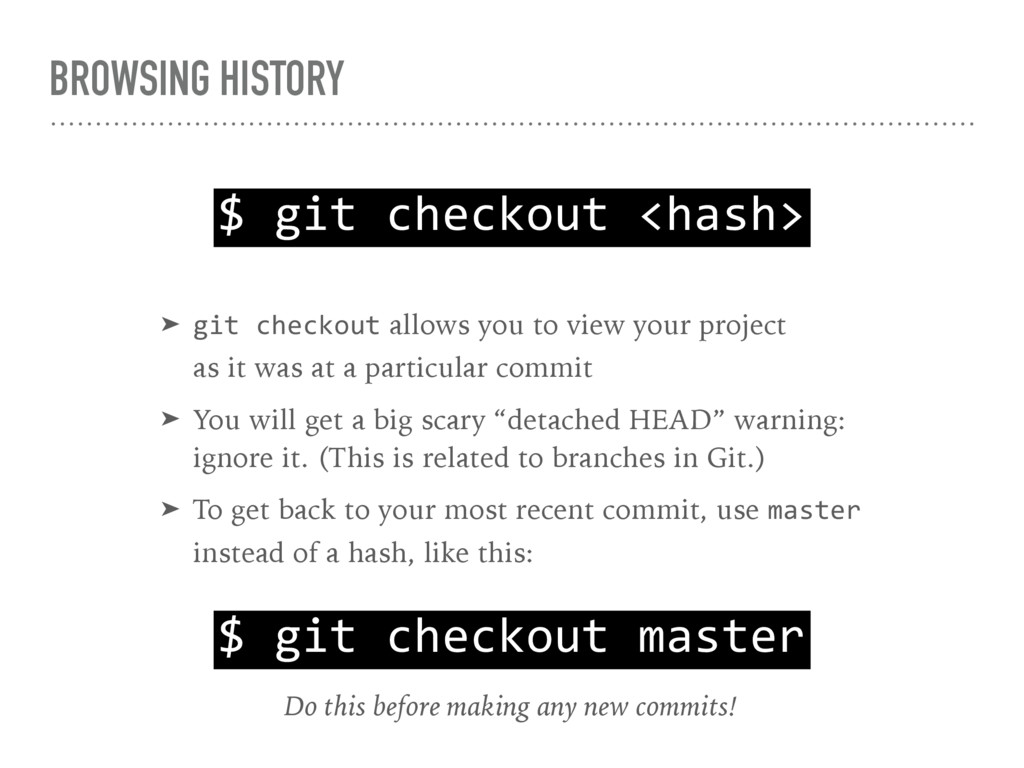
you to view your project as it was at a particular commit ➤ You will get a big scary “detached HEAD” warning: ignore it. (This is related to branches in Git.) ➤ To get back to your most recent commit, use master instead of a hash, like this: $ git checkout master Do this before making any new commits!
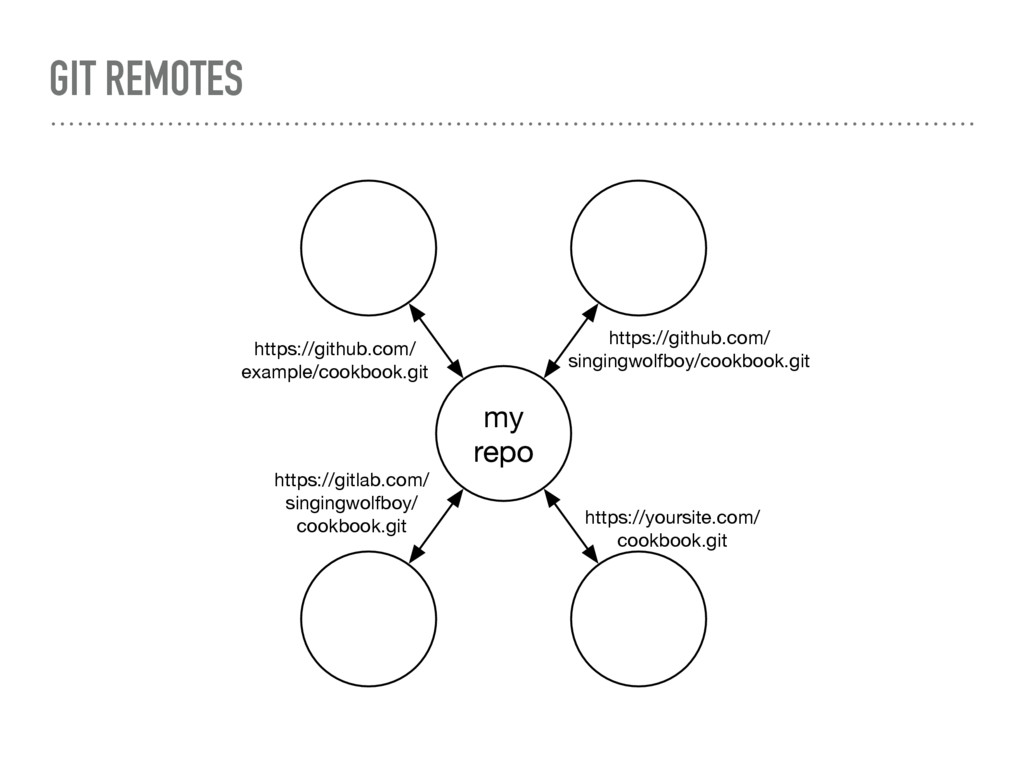
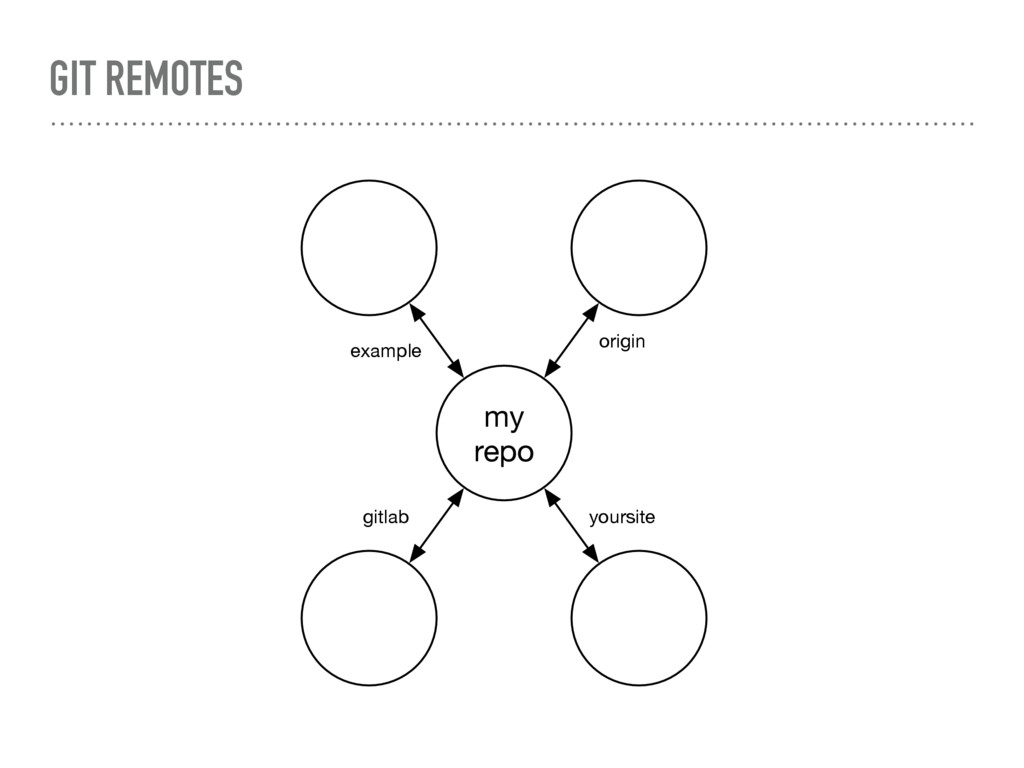
remote creates short nicknames for URLs that point to other Git repos that you want to share commits with ➤ Run git remote -v to list all the remotes that the repo knows about ➤ Remotes are saved in the .git/config file: you can edit it, if you want
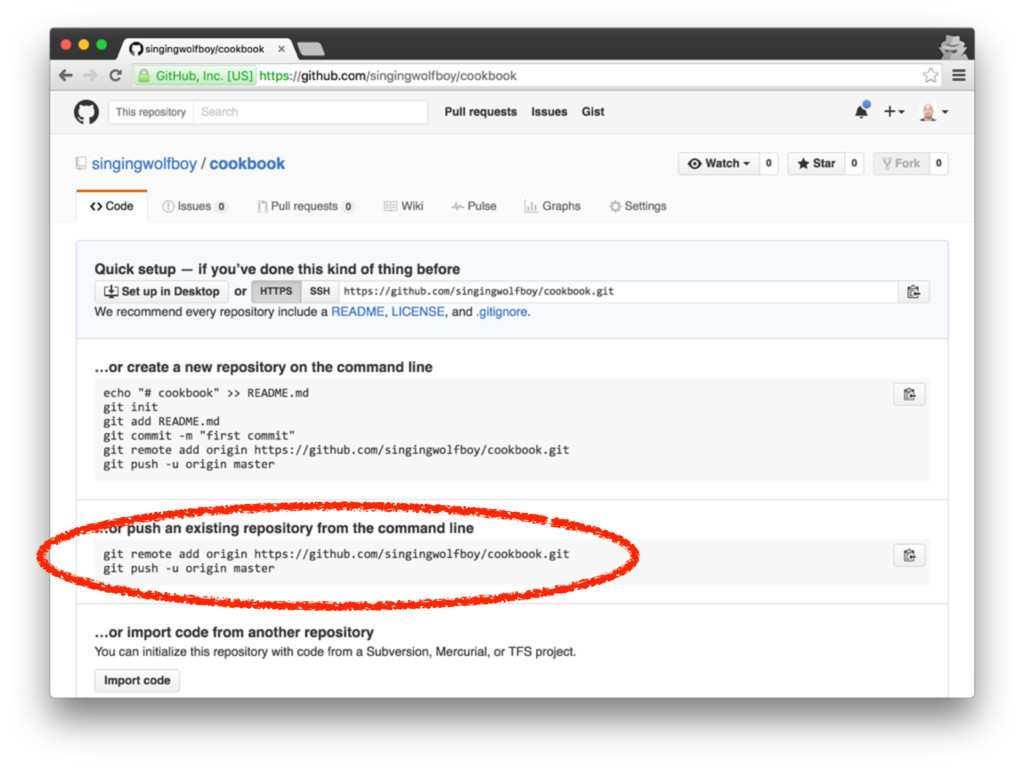
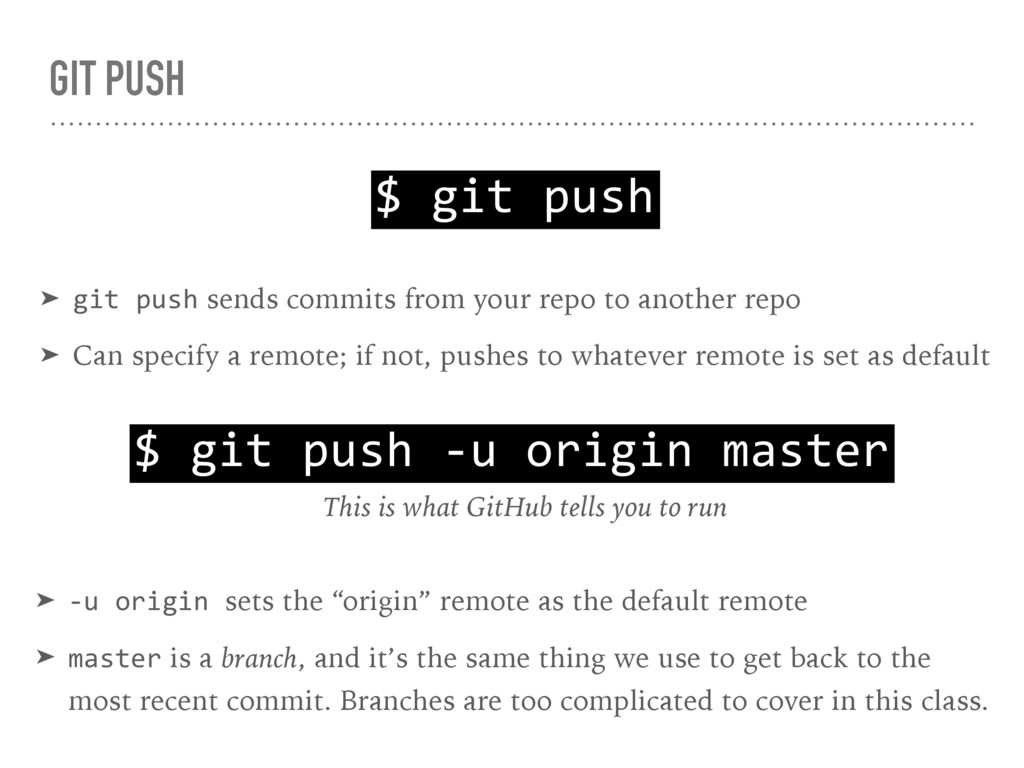
from your repo to another repo ➤ Can specify a remote; if not, pushes to whatever remote is set as default $ git push -u origin master This is what GitHub tells you to run ➤ -u origin sets the “origin” remote as the default remote ➤ master is a branch, and it’s the same thing we use to get back to the most recent commit. Branches are too complicated to cover in this class.
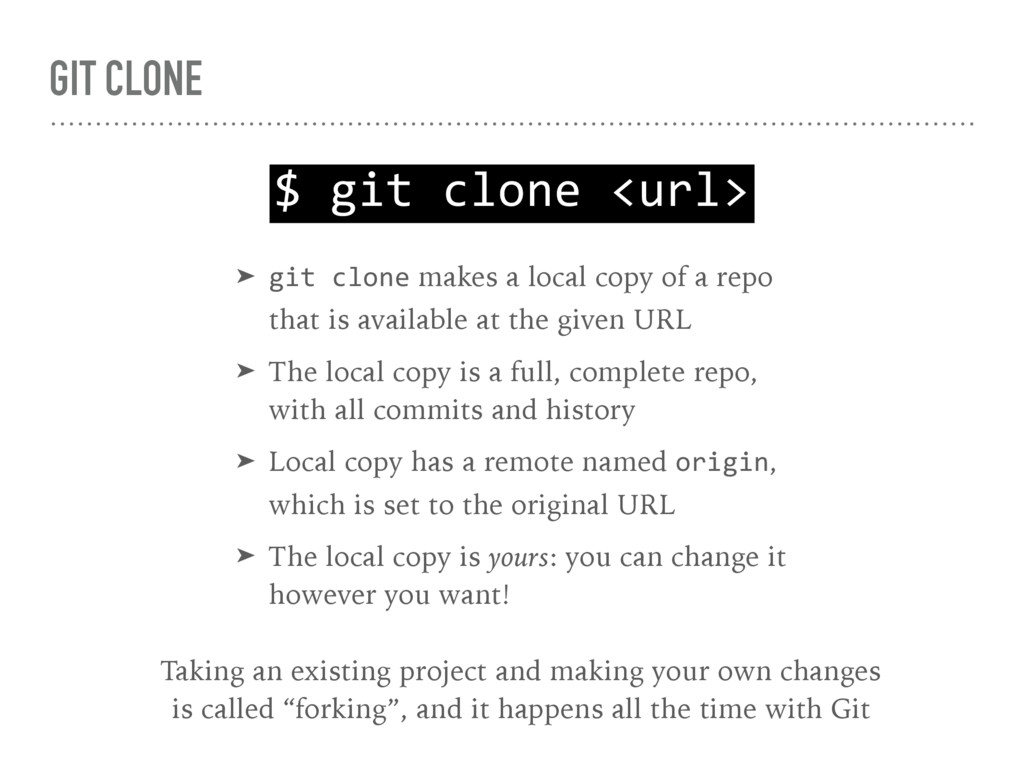
a local copy of a repo that is available at the given URL ➤ The local copy is a full, complete repo, with all commits and history ➤ Local copy has a remote named origin, which is set to the original URL ➤ The local copy is yours: you can change it however you want! Taking an existing project and making your own changes is called “forking”, and it happens all the time with Git
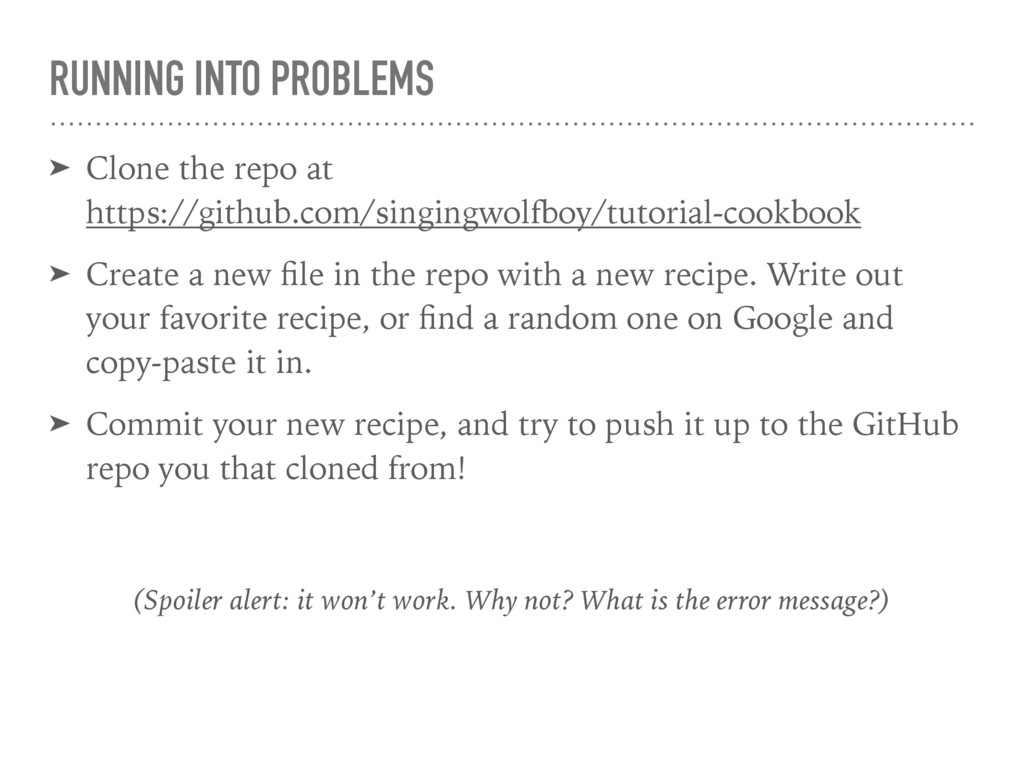
Create a new file in the repo with a new recipe. Write out your favorite recipe, or find a random one on Google and copy-paste it in. ➤ Commit your new recipe, and try to push it up to the GitHub repo you that cloned from! (Spoiler alert: it won’t work. Why not? What is the error message?)
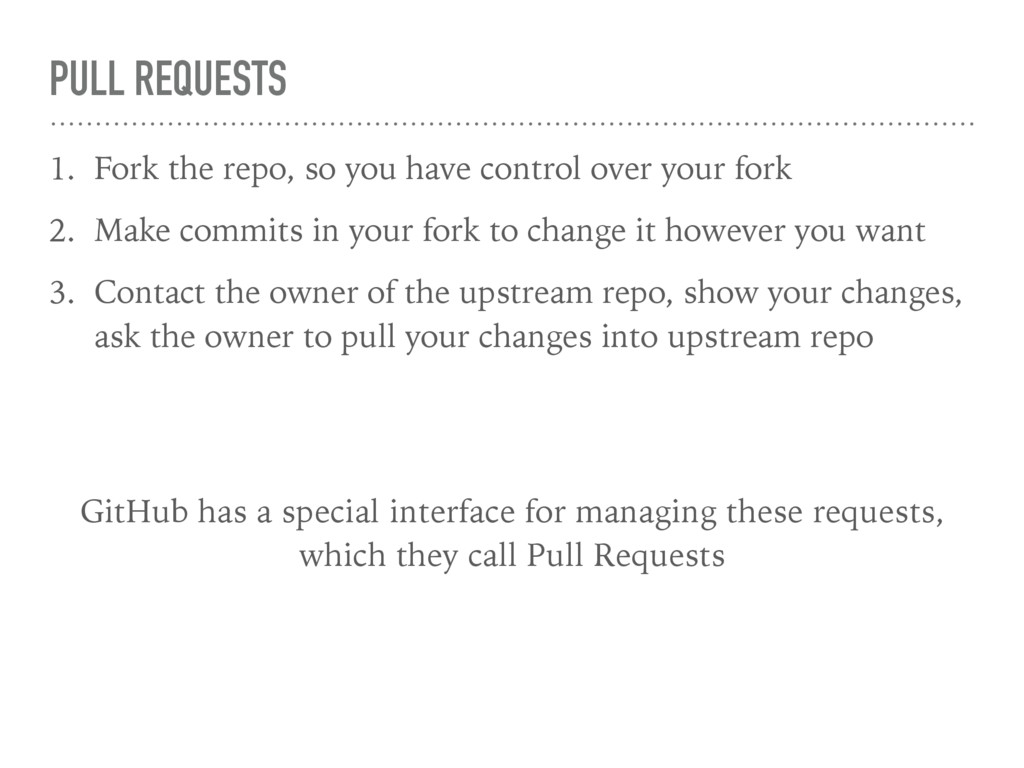
over your fork 2. Make commits in your fork to change it however you want 3. Contact the owner of the upstream repo, show your changes, ask the owner to pull your changes into upstream repo GitHub has a special interface for managing these requests, which they call Pull Requests
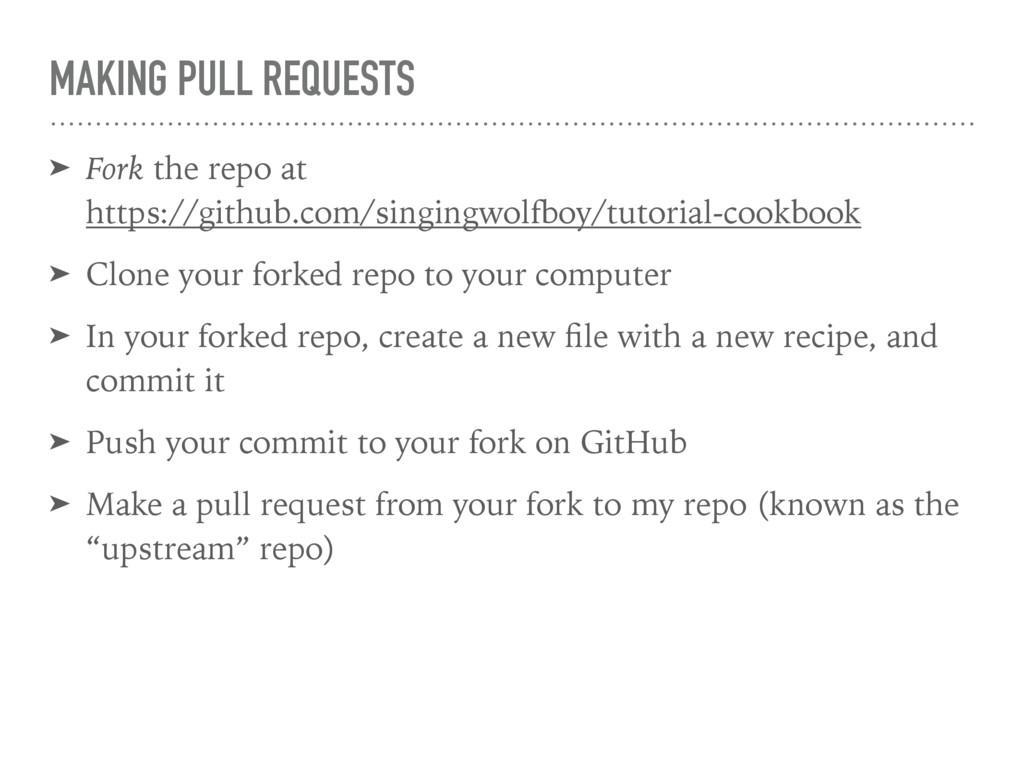
Clone your forked repo to your computer ➤ In your forked repo, create a new file with a new recipe, and commit it ➤ Push your commit to your fork on GitHub ➤ Make a pull request from your fork to my repo (known as the “upstream” repo)
into your repo, you can review and merge it! ➤ Just click the green “Merge pull request” button, and you’re done! ➤ The suggested changes will become actual changes, and will show up in the repo — both on GitHub, and in Git clones (after they pull the latest changes)
you can use to host repos ➤ GitLab, BitBucket: free private repos ➤ GitLab is open source: can run it on your own server ➤ It’s all Git, so you can clone from GitHub and push to GitLab (or vice versa)
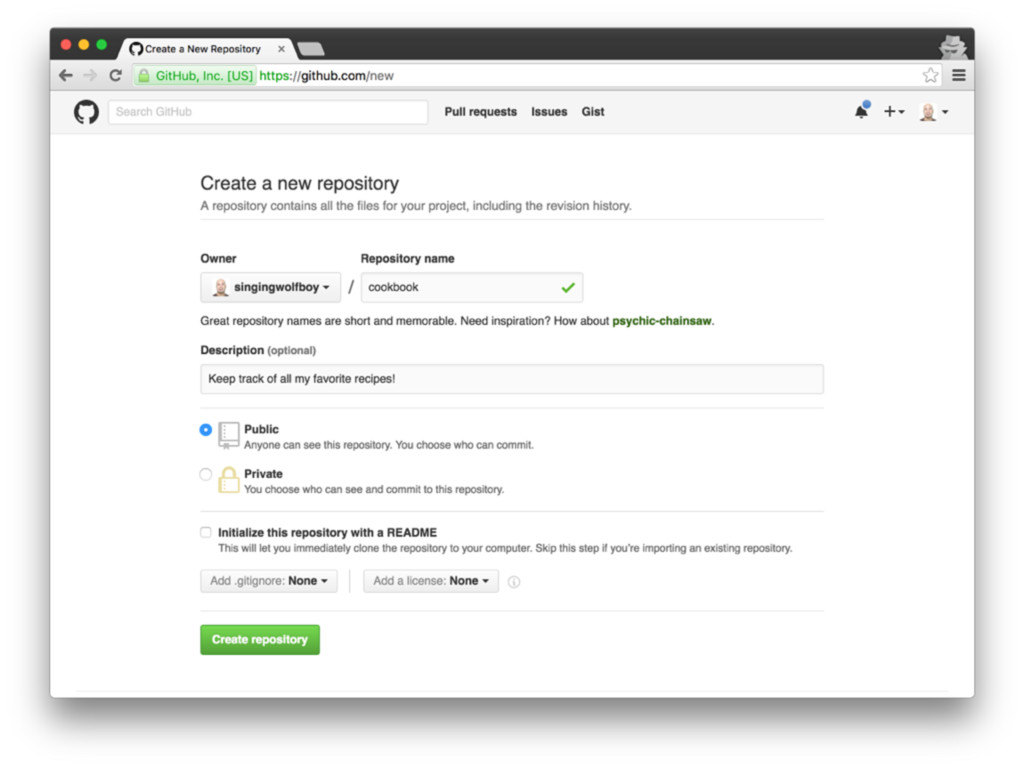
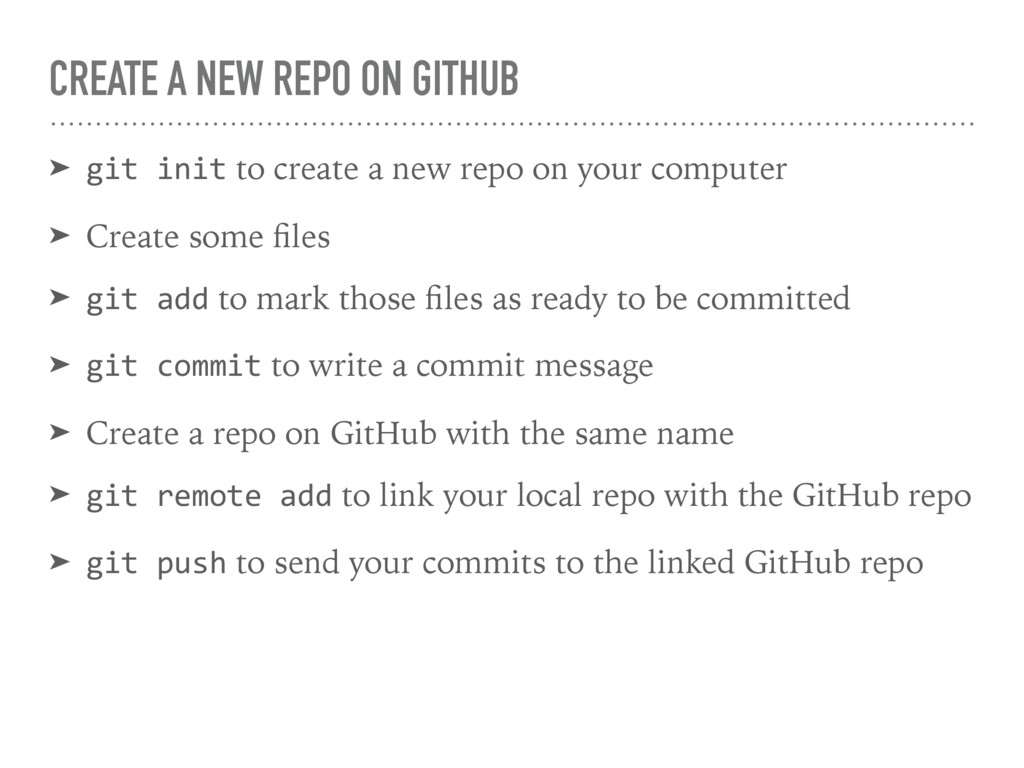
create a new repo on your computer ➤ Create some files ➤ git add to mark those files as ready to be committed ➤ git commit to write a commit message ➤ Create a repo on GitHub with the same name ➤ git remote add to link your local repo with the GitHub repo ➤ git push to send your commits to the linked GitHub repo
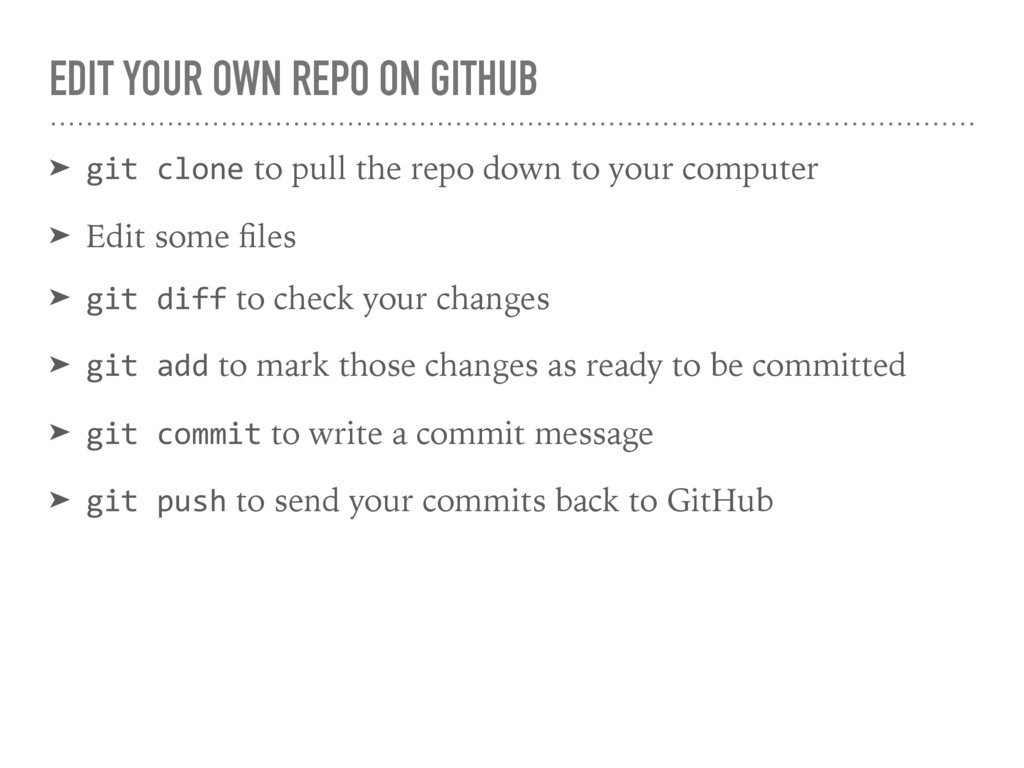
pull the repo down to your computer ➤ Edit some files ➤ git diff to check your changes ➤ git add to mark those changes as ready to be committed ➤ git commit to write a commit message ➤ git push to send your commits back to GitHub
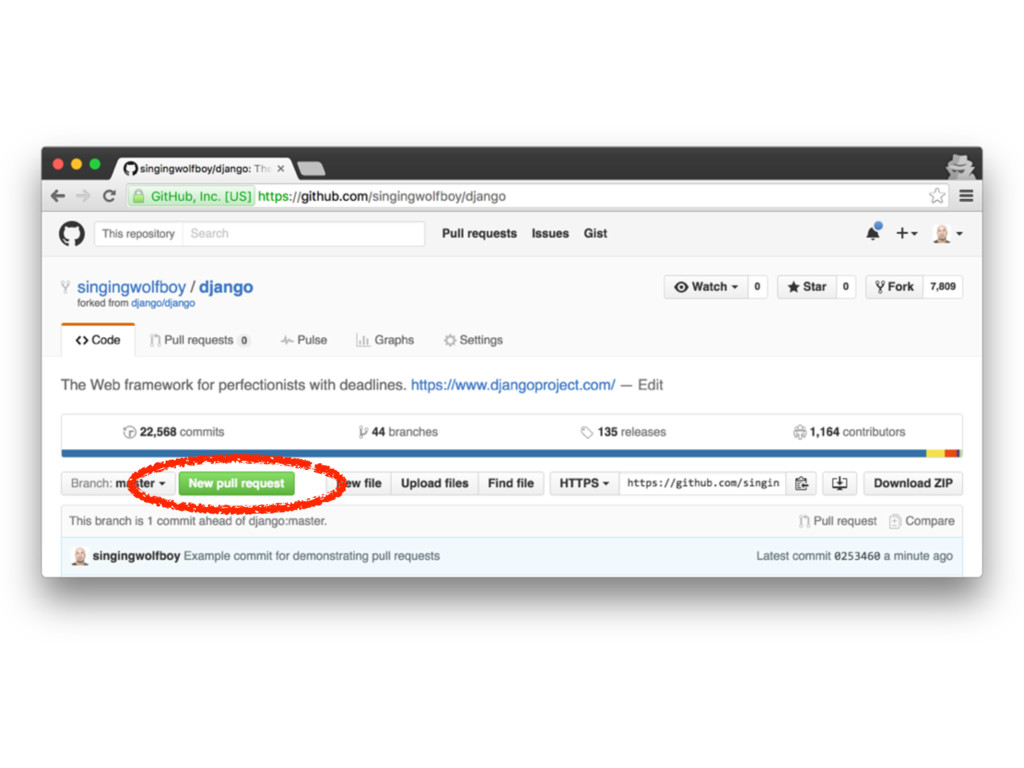
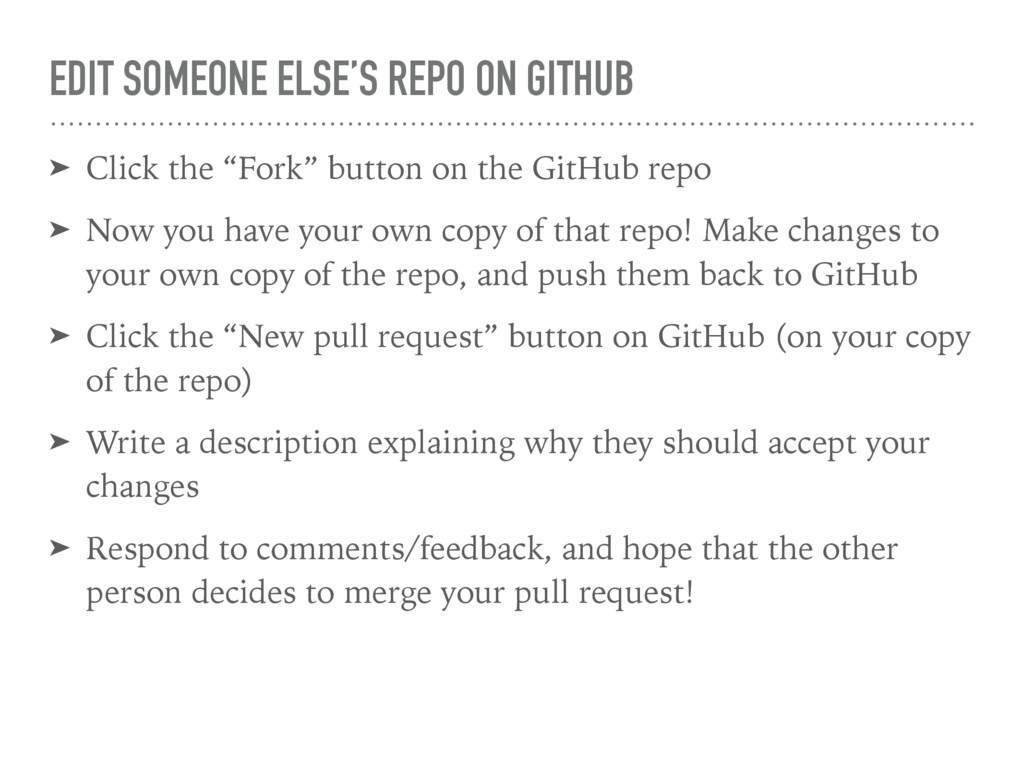
button on the GitHub repo ➤ Now you have your own copy of that repo! Make changes to your own copy of the repo, and push them back to GitHub ➤ Click the “New pull request” button on GitHub (on your copy of the repo) ➤ Write a description explaining why they should accept your changes ➤ Respond to comments/feedback, and hope that the other person decides to merge your pull request!
to have multiple edits in progress simultaneously ➤ Allows you to create multiple pull requests between repos on GitHub! ➤ Merge conflicts occur when two people try to make two incompatible changes to the same file ➤ Who’s right? Git lets you decide! ➤ GitHub can run automated tests for you on your pull requests, so you know if a proposed change will break your code ➤ The green checkmark gives you confidence!
help.github.com ➤ Git’s documentation is thorough, but dense: git-scm.com/doc ➤ Git: The Simple Guide: rogerdudler.github.io/git-guide Questions? Email me: [email protected] Want to get my book? davidbaumgold.com/book
![GIT CONFIG $ git config <key> [<value>] ➤ git config](https://files.speakerdeck.com/presentations/291ba19028ed43438c036a3f0368d7e8/slide_22.jpg)