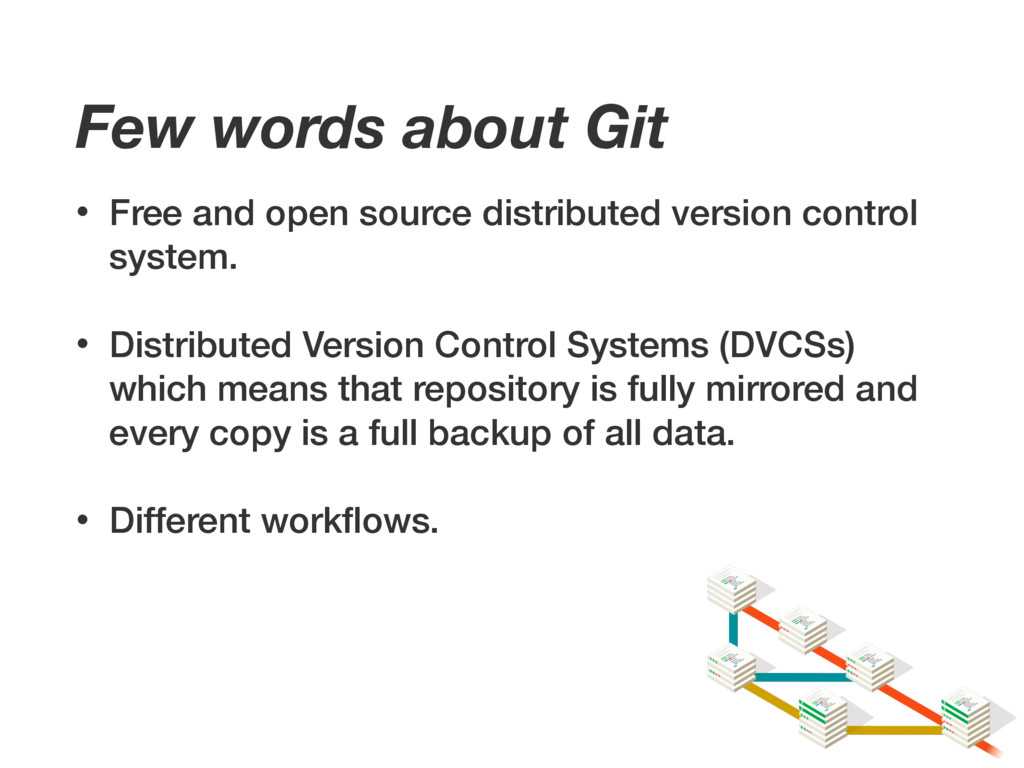
Distributed Version Control Systems (DVCSs) which means that repository is fully mirrored and every copy is a full backup of all data. • Different workflows. Few words about Git
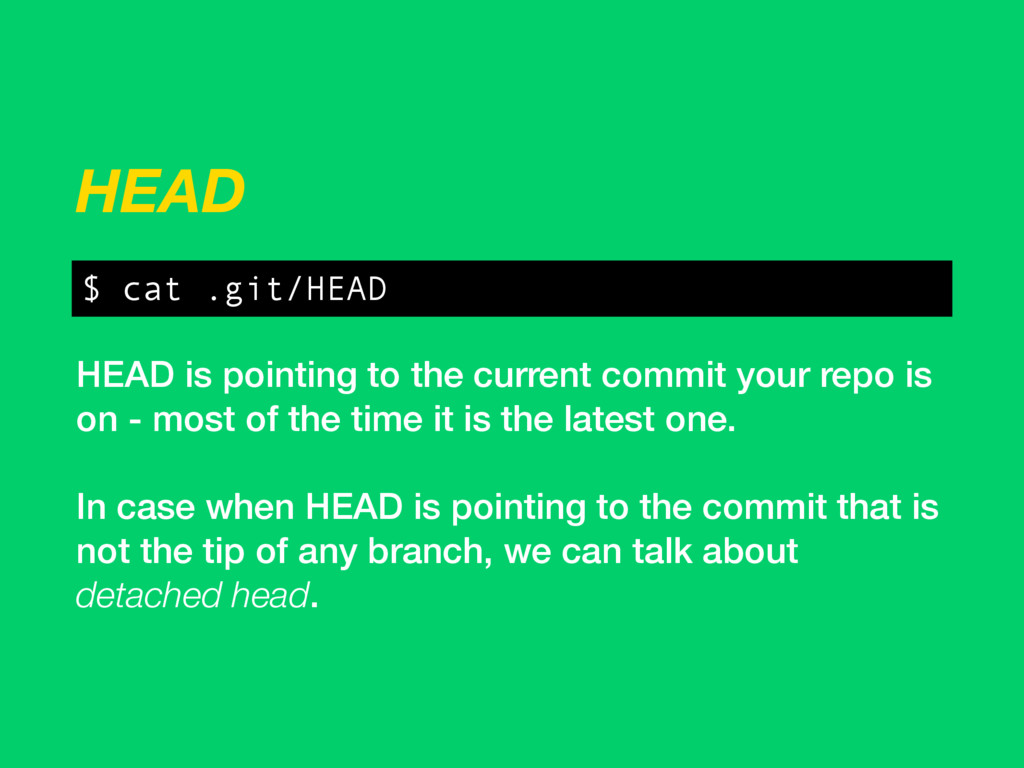
is on - most of the time it is the latest one. In case when HEAD is pointing to the commit that is not the tip of any branch, we can talk about detached head. $ cat .git/HEAD
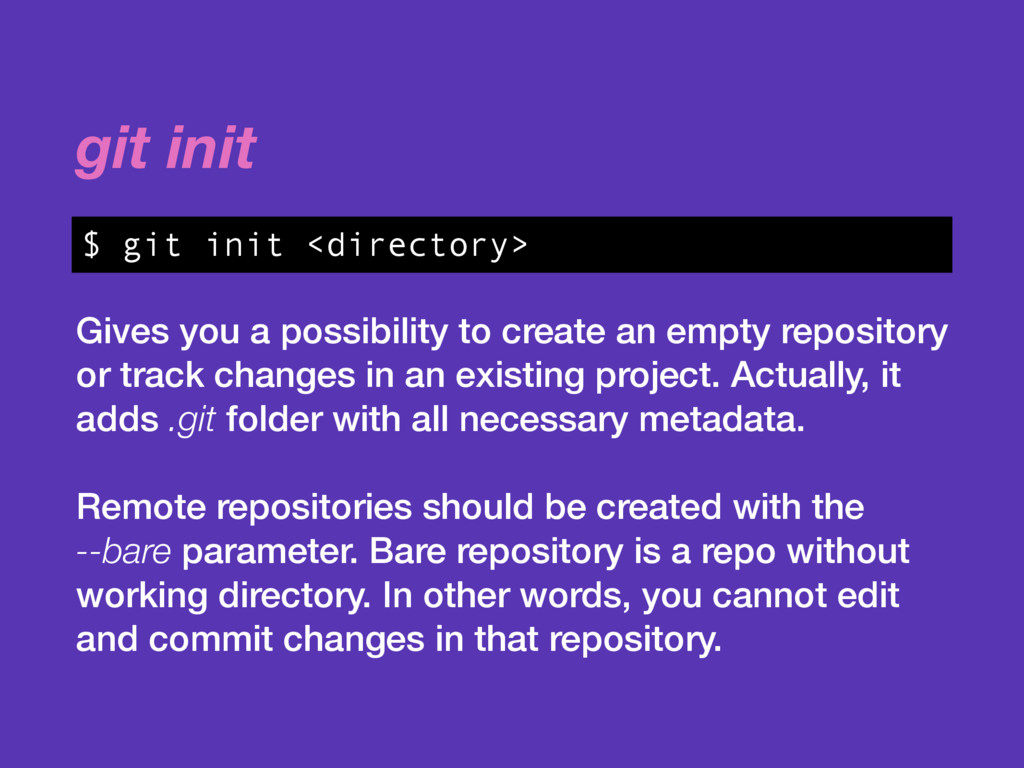
repository or track changes in an existing project. Actually, it adds .git folder with all necessary metadata. Remote repositories should be created with the --bare parameter. Bare repository is a repo without working directory. In other words, you cannot edit and commit changes in that repository. $ git init <directory>
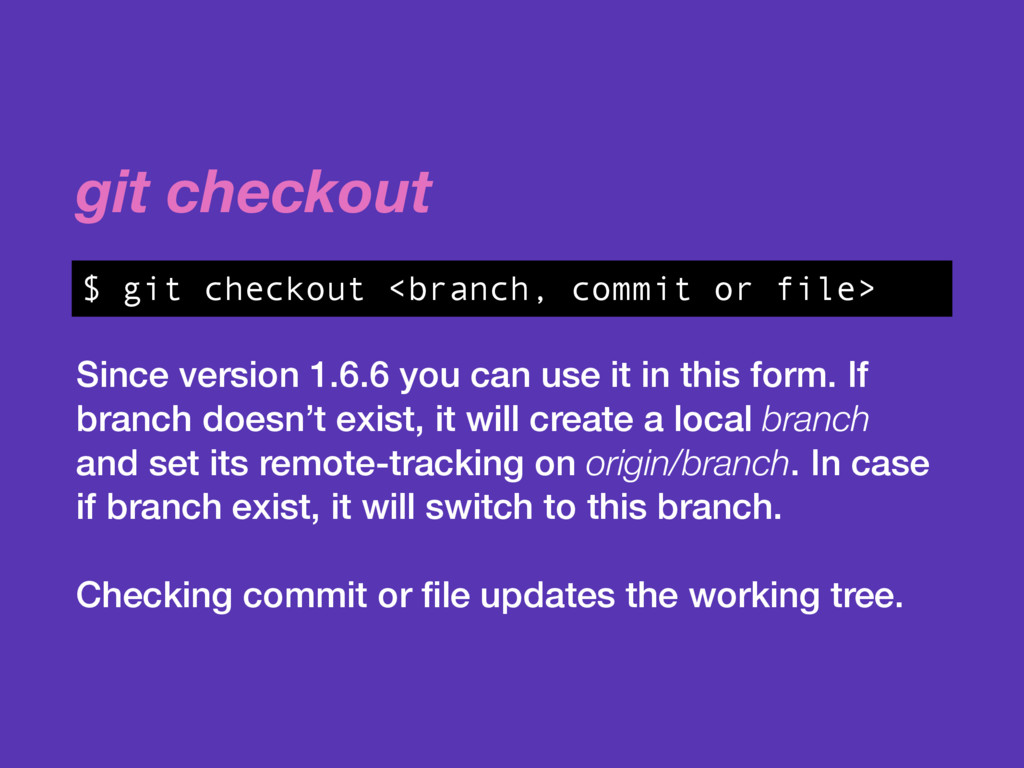
this form. If branch doesn’t exist, it will create a local branch and set its remote-tracking on origin/branch. In case if branch exist, it will switch to this branch. Checking commit or file updates the working tree. $ git checkout <branch, commit or file>
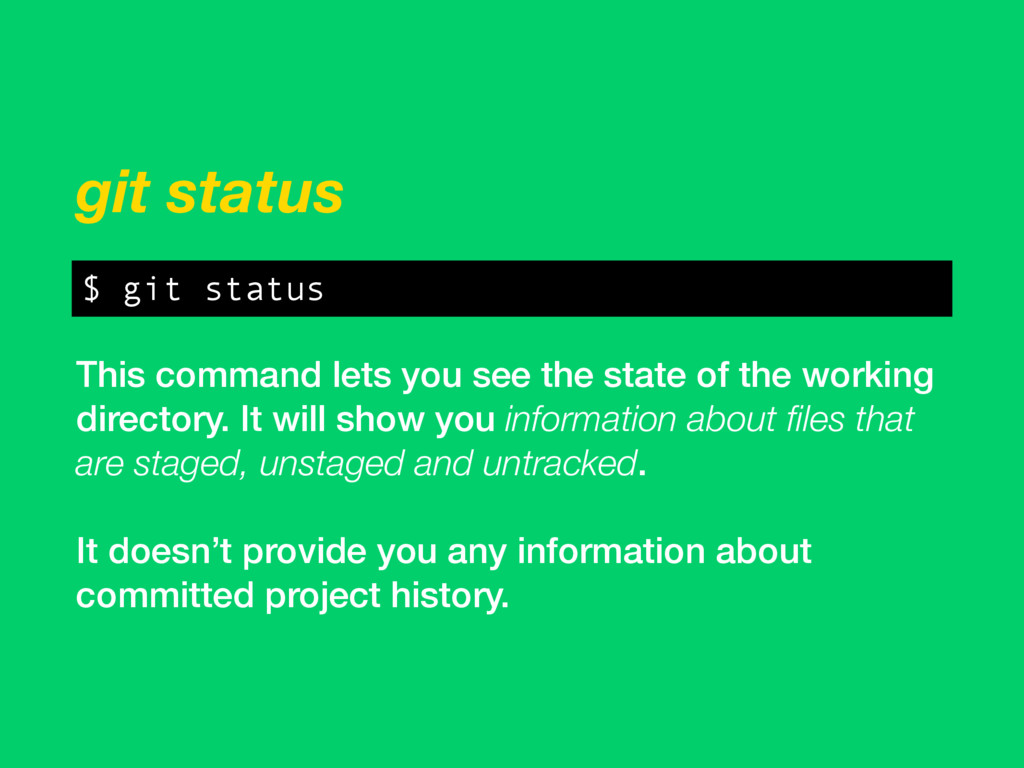
the working directory. It will show you information about files that are staged, unstaged and untracked. It doesn’t provide you any information about committed project history. $ git status
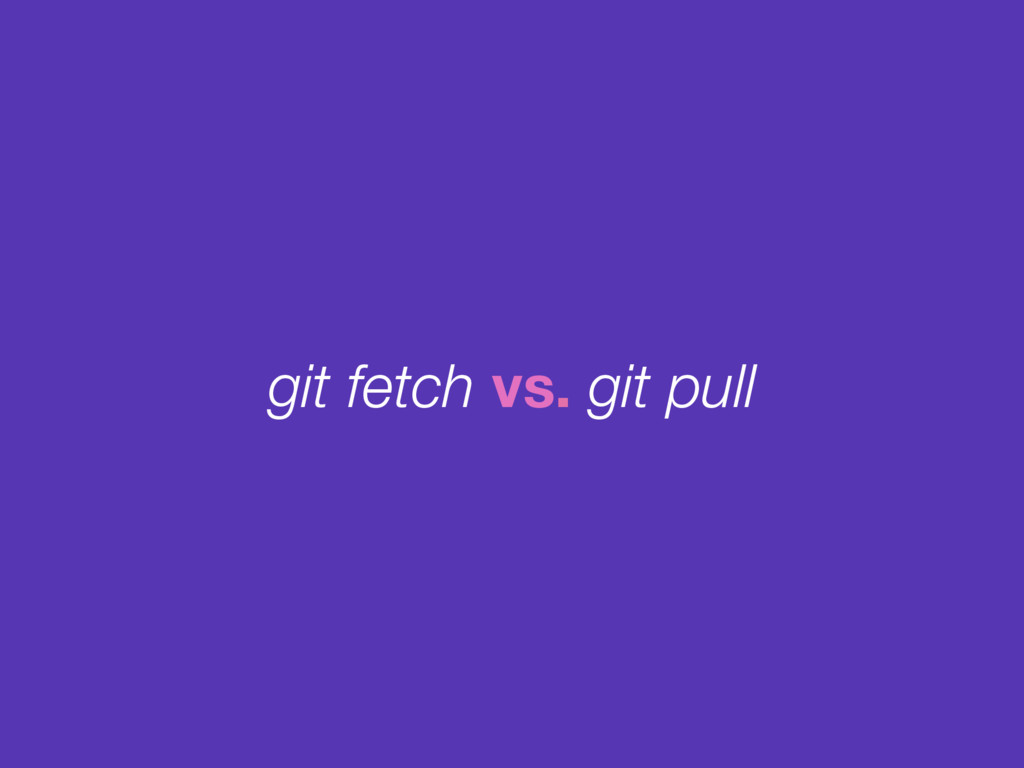
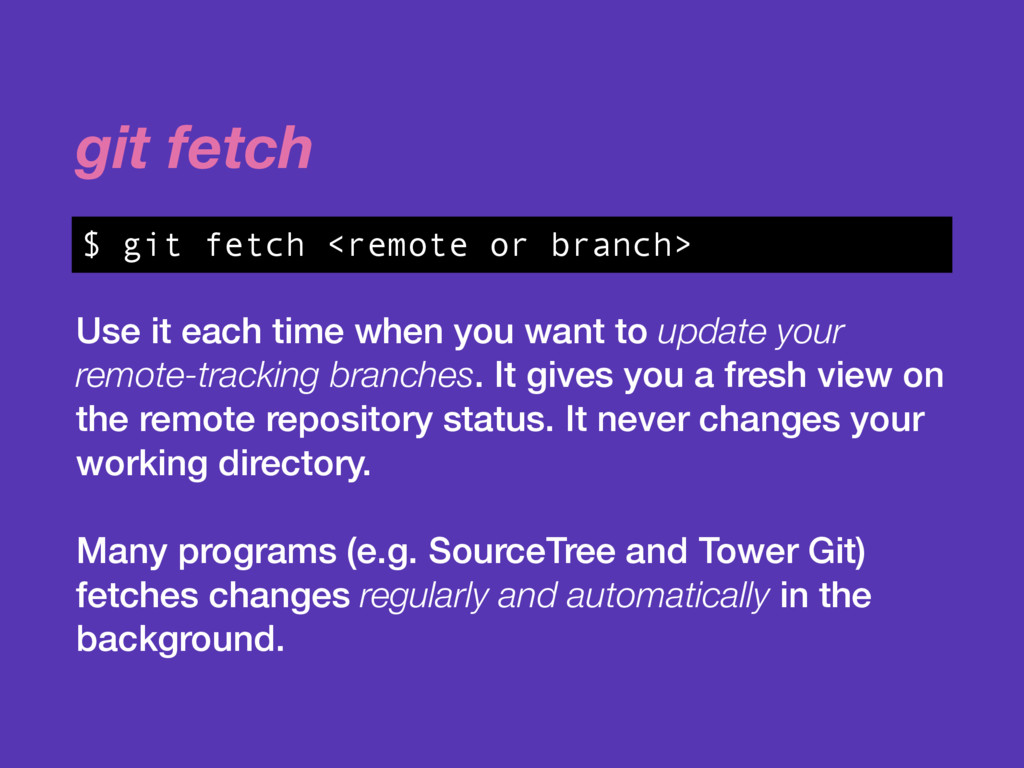
update your remote-tracking branches. It gives you a fresh view on the remote repository status. It never changes your working directory. Many programs (e.g. SourceTree and Tower Git) fetches changes regularly and automatically in the background. $ git fetch <remote or branch>
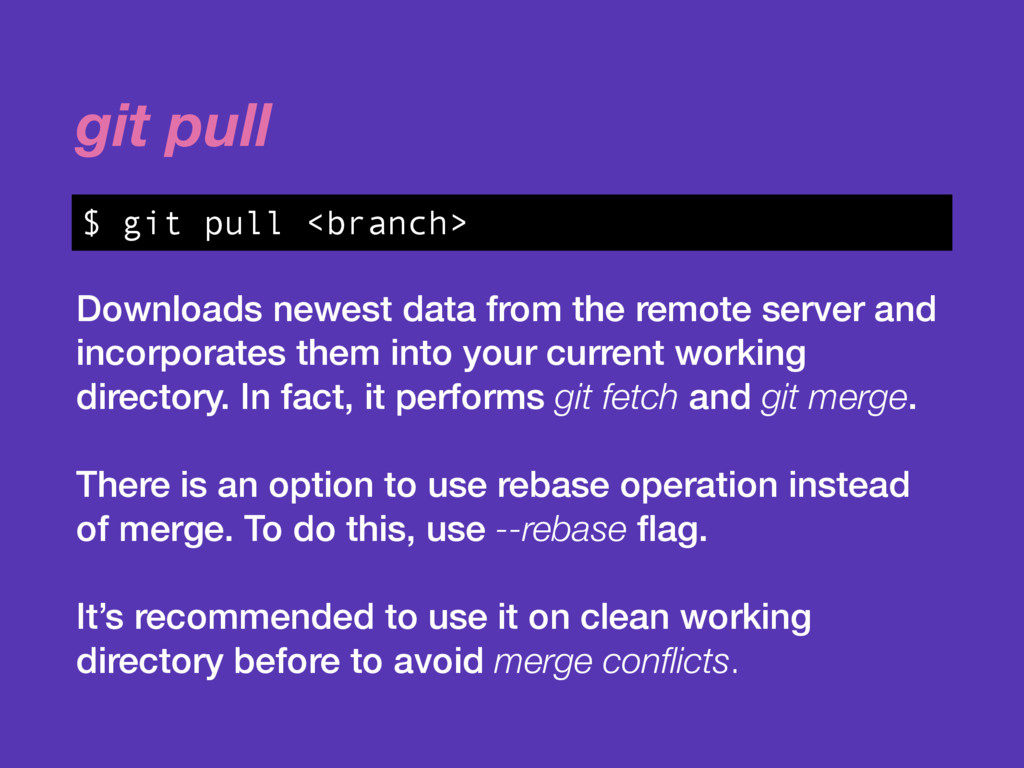
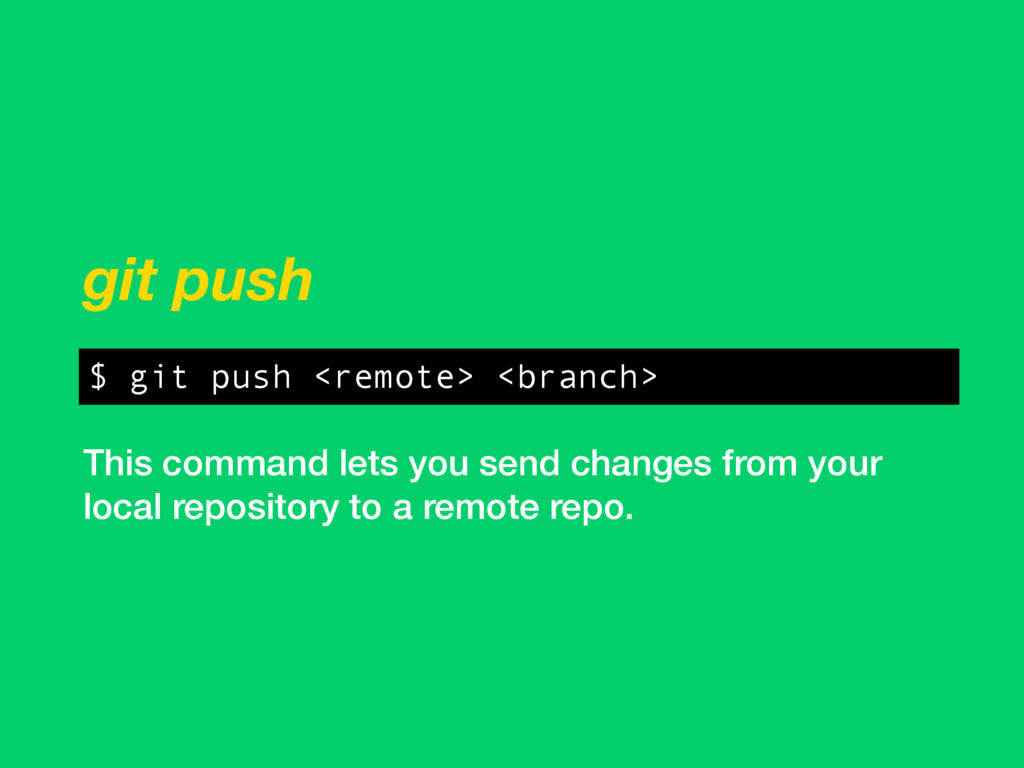
incorporates them into your current working directory. In fact, it performs git fetch and git merge. There is an option to use rebase operation instead of merge. To do this, use --rebase flag. It’s recommended to use it on clean working directory before to avoid merge conflicts. $ git pull <branch>
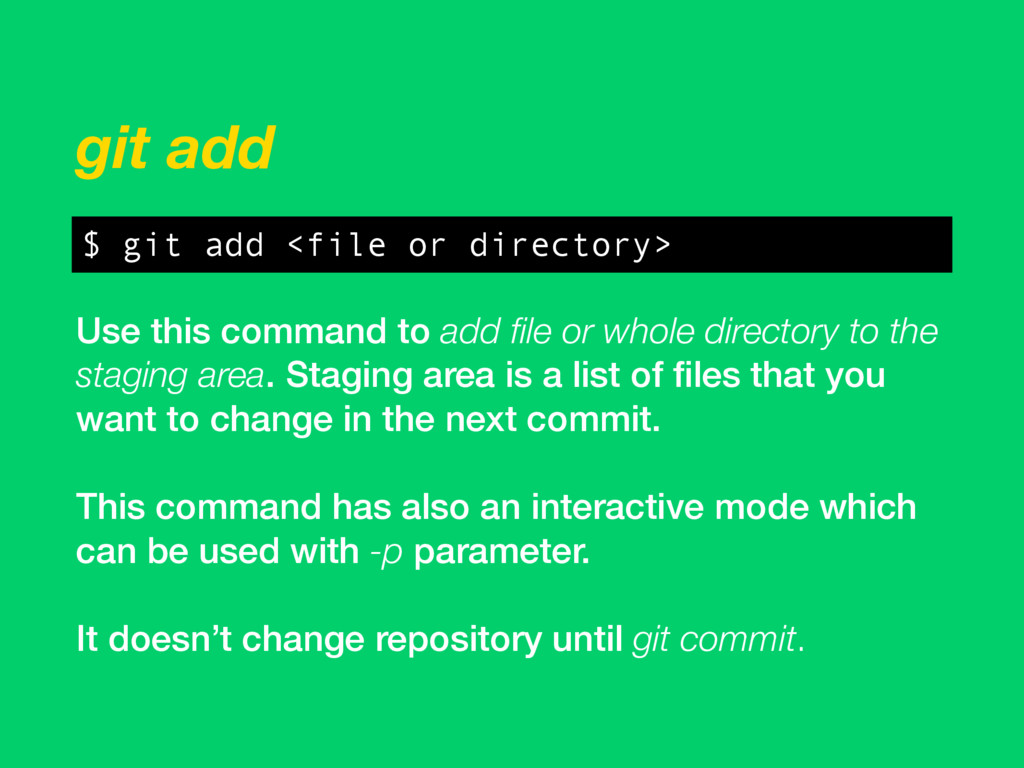
directory to the staging area. Staging area is a list of files that you want to change in the next commit. This command has also an interactive mode which can be used with -p parameter. It doesn’t change repository until git commit. $ git add <file or directory>
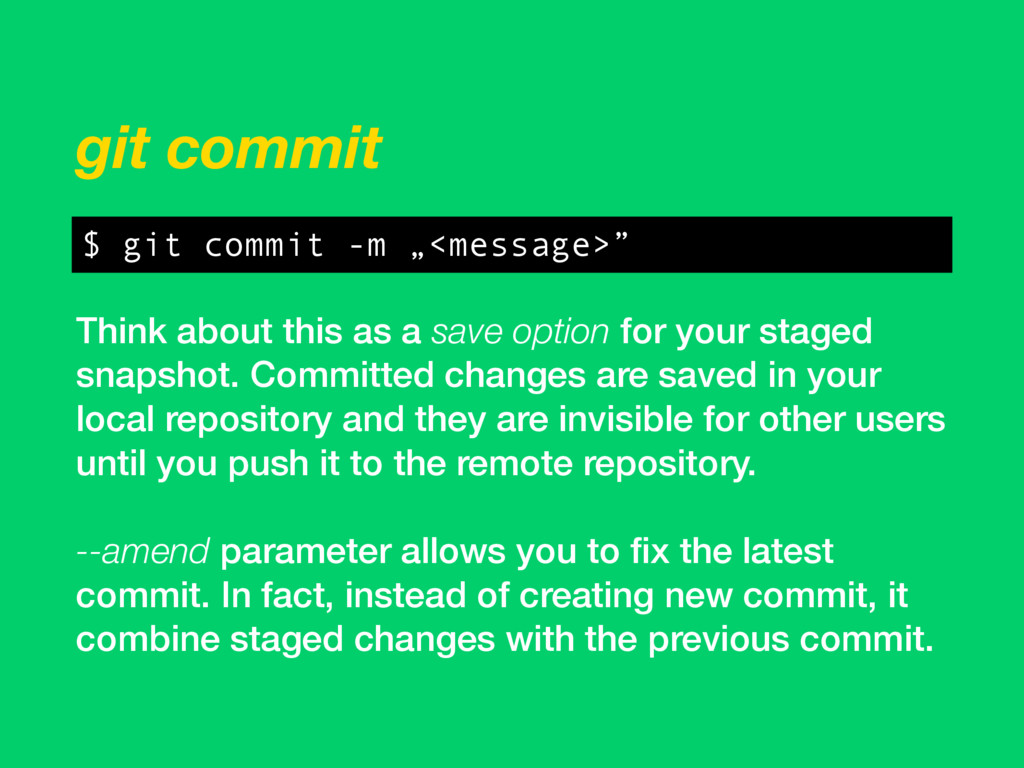
your staged snapshot. Committed changes are saved in your local repository and they are invisible for other users until you push it to the remote repository. --amend parameter allows you to fix the latest commit. In fact, instead of creating new commit, it combine staged changes with the previous commit. $ git commit -m „<message>”
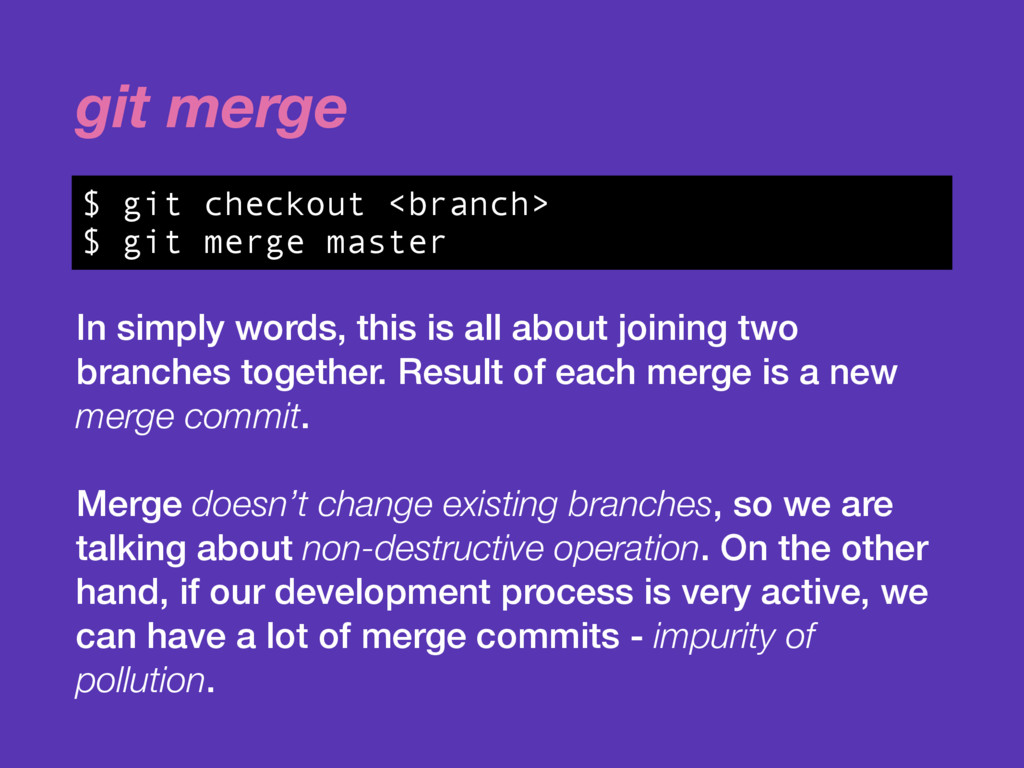
two branches together. Result of each merge is a new merge commit. Merge doesn’t change existing branches, so we are talking about non-destructive operation. On the other hand, if our development process is very active, we can have a lot of merge commits - impurity of pollution. $ git checkout <branch> $ git merge master
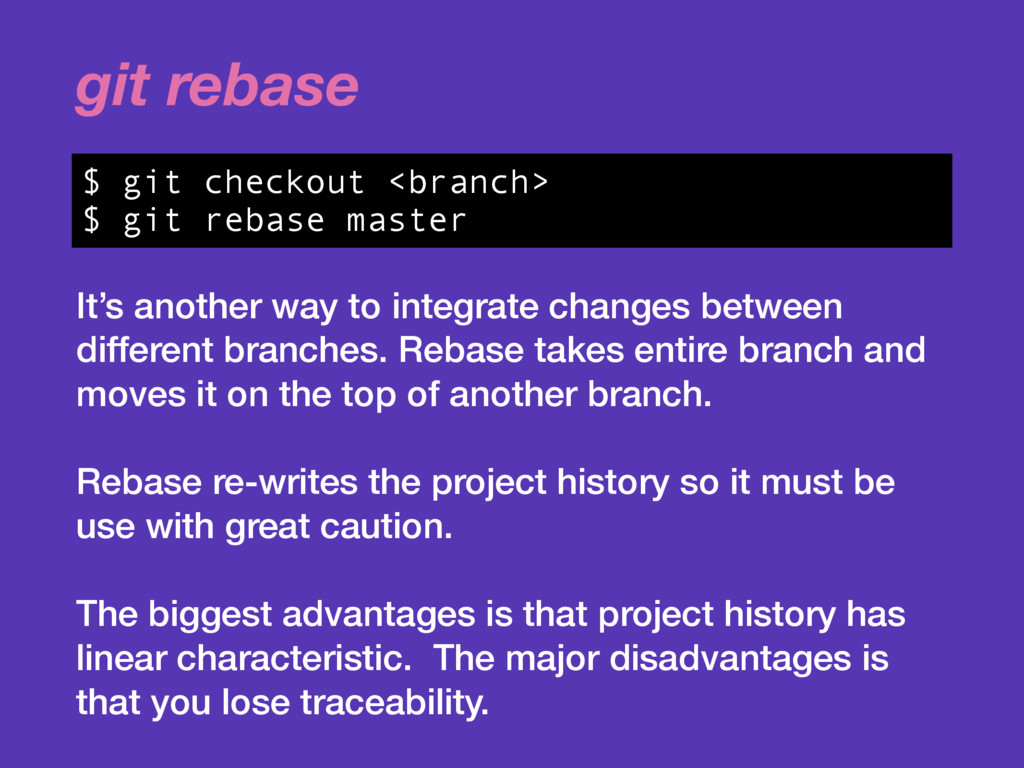
branches. Rebase takes entire branch and moves it on the top of another branch. Rebase re-writes the project history so it must be use with great caution. The biggest advantages is that project history has linear characteristic. The major disadvantages is that you lose traceability. $ git checkout <branch> $ git rebase master
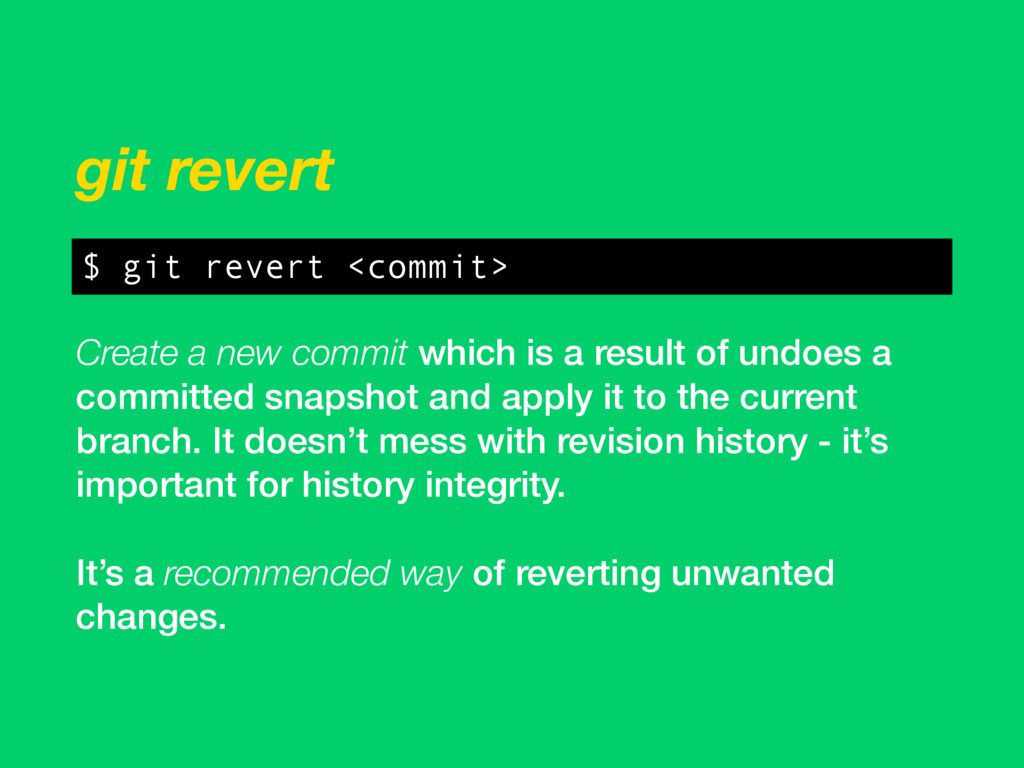
of undoes a committed snapshot and apply it to the current branch. It doesn’t mess with revision history - it’s important for history integrity. It’s a recommended way of reverting unwanted changes. $ git revert <commit>
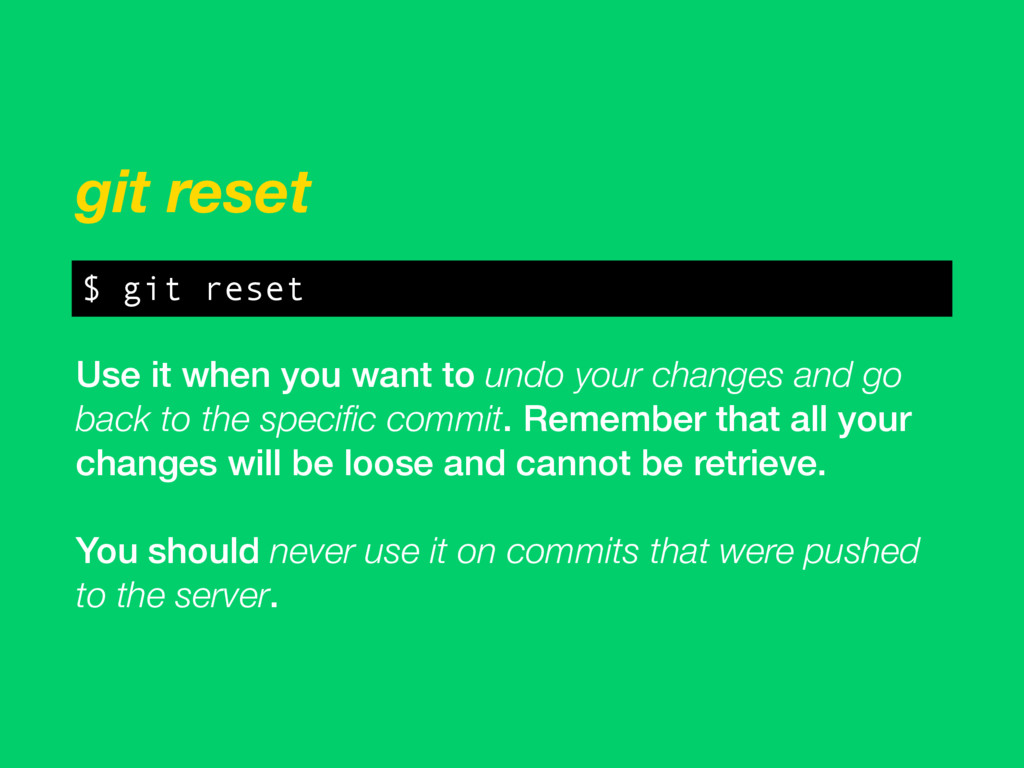
changes and go back to the specific commit. Remember that all your changes will be loose and cannot be retrieve. You should never use it on commits that were pushed to the server. $ git reset
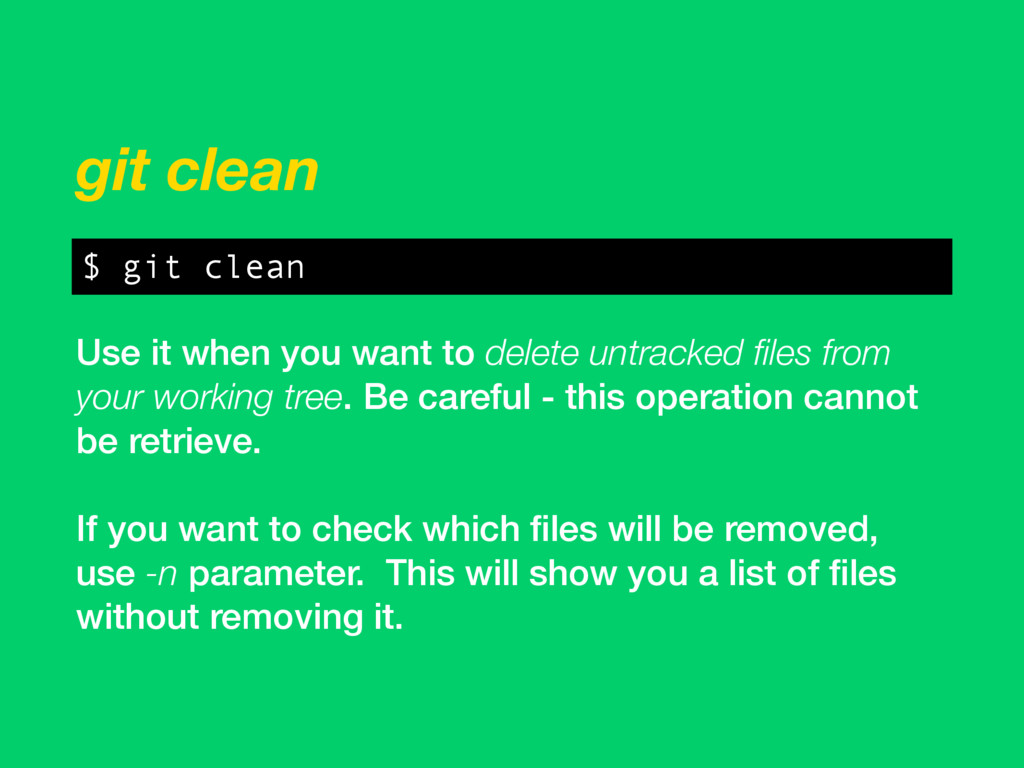
files from your working tree. Be careful - this operation cannot be retrieve. If you want to check which files will be removed, use -n parameter. This will show you a list of files without removing it. $ git clean