linked against, with headers for the public interface. • Not just code, but resources can be included in a bundle that the consuming application can copy into it’s own bundle. • May have their own dependencies.
• Some come with scripts that create the libs • Specta • Most come with decent instructions about integration • Some are just projects built for CocoaPods that don’t build libraries cleanly • Sad Panda
ARC/MRR settings that don’t need to match the consuming application • They build with their own settings configuration, so errors/warnings, if any, are confined to the library build phase and not yours. • They build the correct architecture
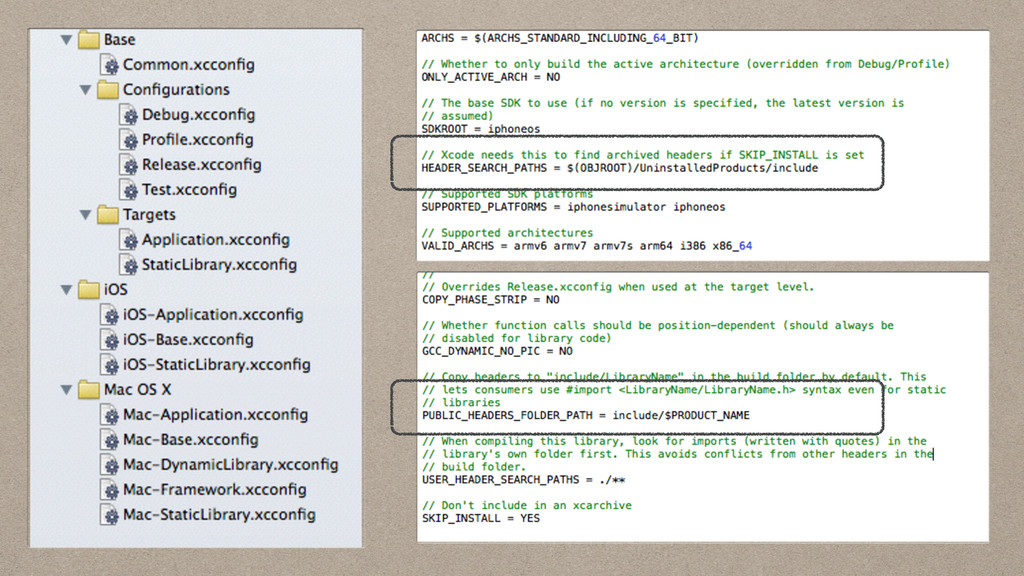
to fix a few things: • Specify the public header path for the library so that you can use • #import <Library/Library.h> • Specify the search path for archived builds so that you can distribute your application to testers • Add `-ObjC` `-force_load “some_path”` to the Other Linker Flags.
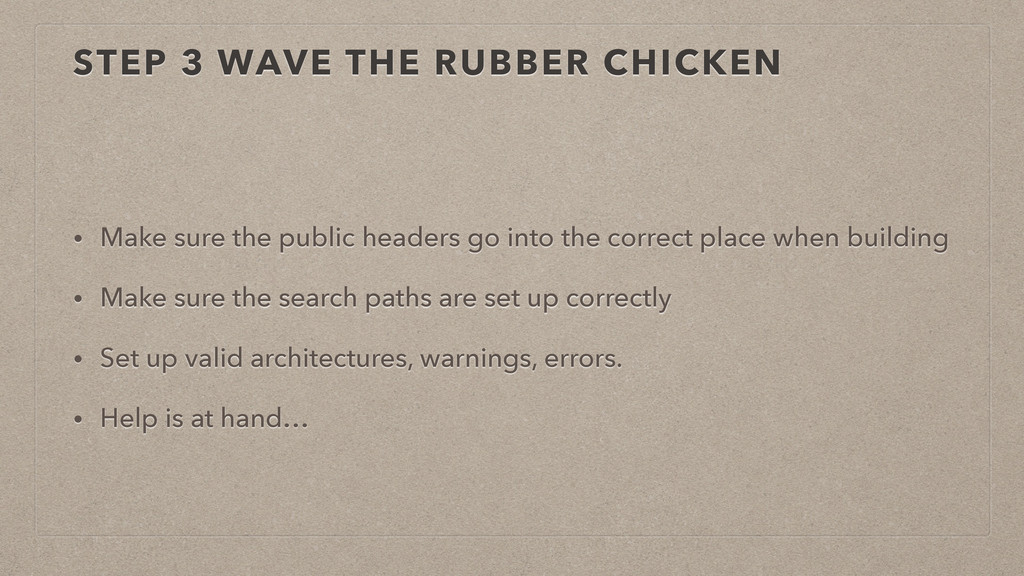
public headers go into the correct place when building • Make sure the search paths are set up correctly • Set up valid architectures, warnings, errors. • Help is at hand…
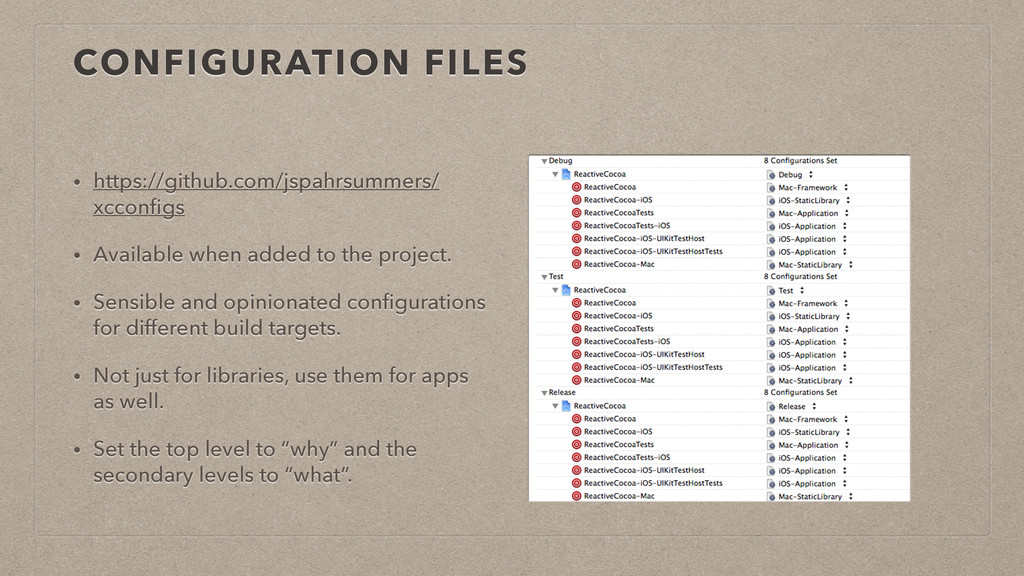
the project. • Sensible and opinionated configurations for different build targets. • Not just for libraries, use them for apps as well. • Set the top level to “why” and the secondary levels to “what”.
have categories on pre- existing classes) or -force_load linker flags (YES if your library only has categories and no classes), and document them. • Provide installation instructions, whether using CocoaPods or adding the project to a project or workspace
Ruby gem the idea of this will be familiar to you. • 3rd party source files and resources are fetched from a specified location, built into a static library which is added to an Xcode workspace that contains your original project. • From now on, you need to use the workspace not the project.
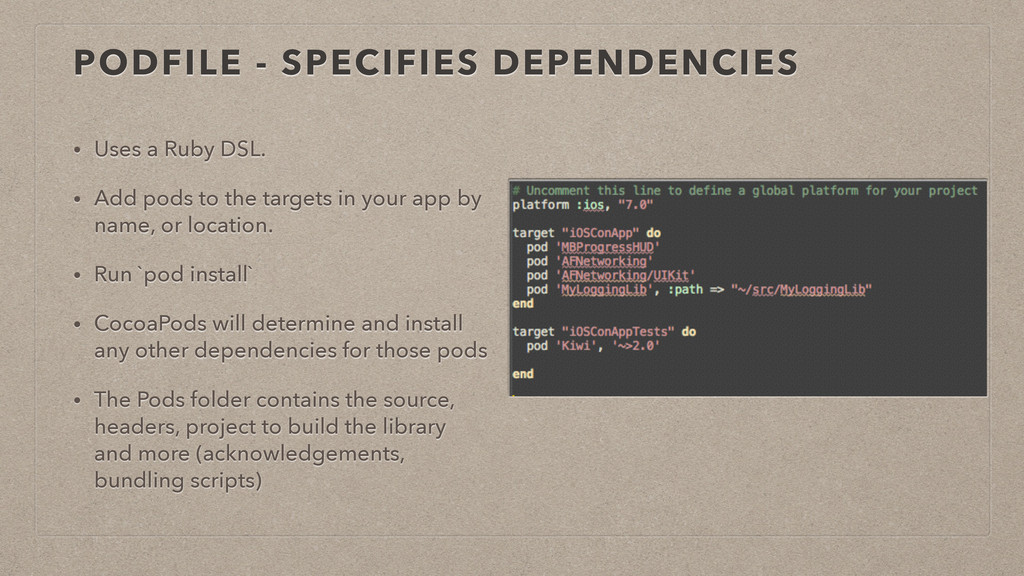
Add pods to the targets in your app by name, or location. • Run `pod install` • CocoaPods will determine and install any other dependencies for those pods • The Pods folder contains the source, headers, project to build the library and more (acknowledgements, bundling scripts)
Pod output is sent to. It contains the sources, the config files, the static library project, the acknowledgements file. • Usually added to source control, even though it is generated. It’s not always guaranteed to be regenerated in the same state. • Useful to have a known state of the source when going back in history.
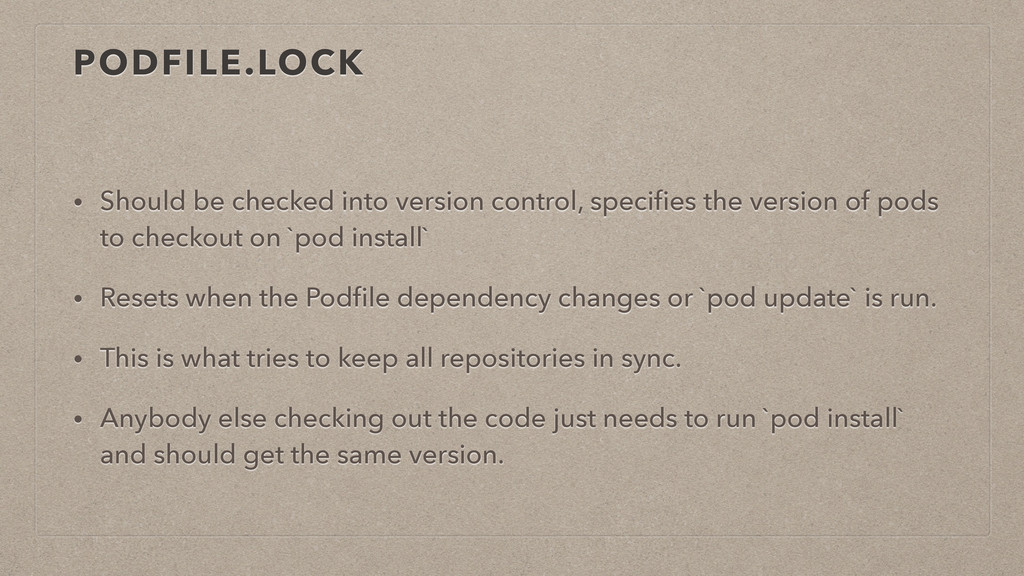
version of pods to checkout on `pod install` • Resets when the Podfile dependency changes or `pod update` is run. • This is what tries to keep all repositories in sync. • Anybody else checking out the code just needs to run `pod install` and should get the same version.
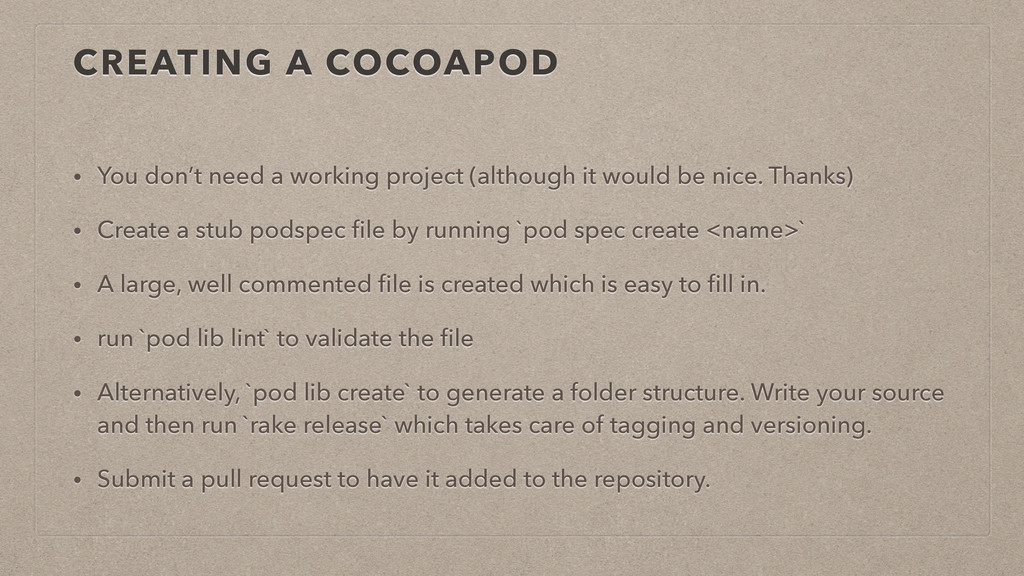
(although it would be nice. Thanks) • Create a stub podspec file by running `pod spec create <name>` • A large, well commented file is created which is easy to fill in. • run `pod lib lint` to validate the file • Alternatively, `pod lib create` to generate a folder structure. Write your source and then run `rake release` which takes care of tagging and versioning. • Submit a pull request to have it added to the repository.
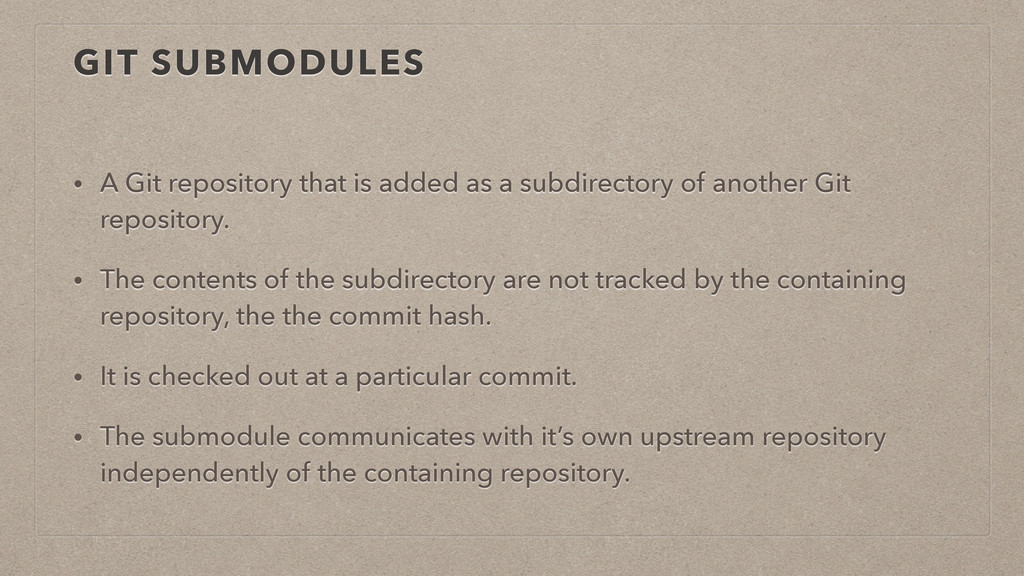
a subdirectory of another Git repository. • The contents of the subdirectory are not tracked by the containing repository, the the commit hash. • It is checked out at a particular commit. • The submodule communicates with it’s own upstream repository independently of the containing repository.
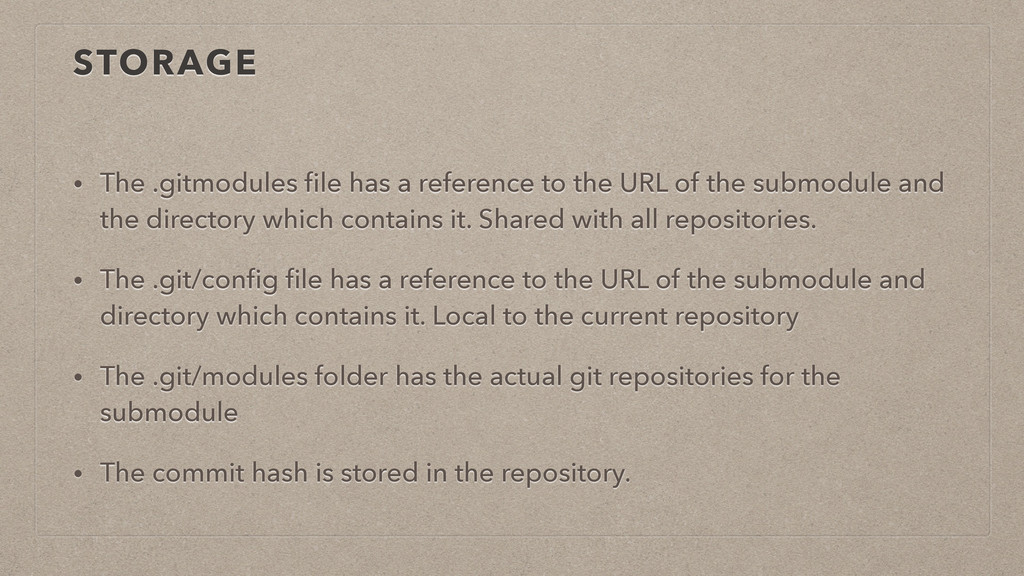
URL of the submodule and the directory which contains it. Shared with all repositories. • The .git/config file has a reference to the URL of the submodule and directory which contains it. Local to the current repository • The .git/modules folder has the actual git repositories for the submodule • The commit hash is stored in the repository.
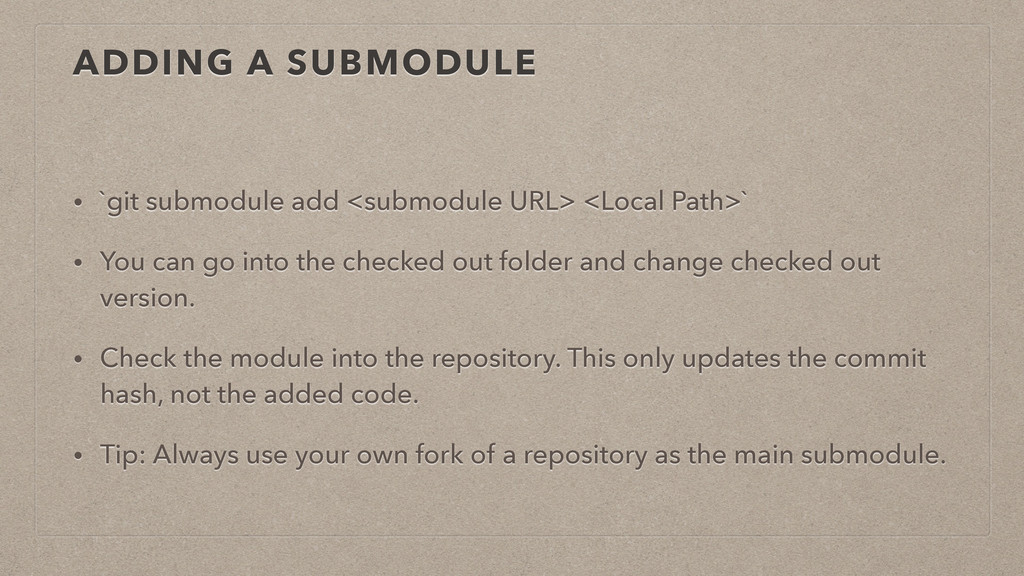
Path>` • You can go into the checked out folder and change checked out version. • Check the module into the repository. This only updates the commit hash, not the added code. • Tip: Always use your own fork of a repository as the main submodule.
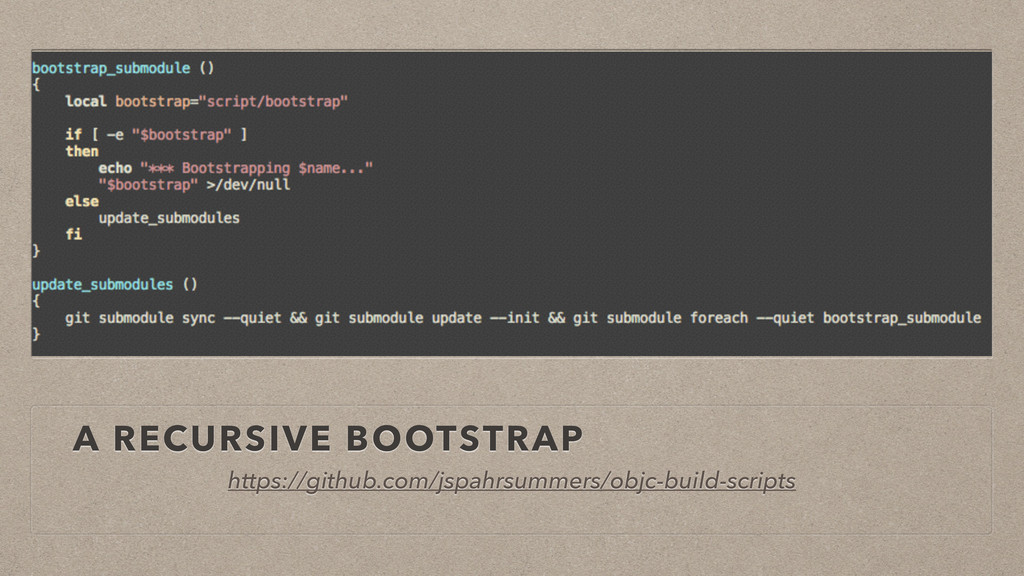
just a library. • Specify the exact submodules and dependencies if required with a bootstrap script. • https://github.com/jspahrsummers/objc-build-scripts
• Keep your submodules up to date - bootstrap or `git submodule update` • ALWAYS push changes to your submodule before committing to the enclosing repository • Use your own clone as submodules.
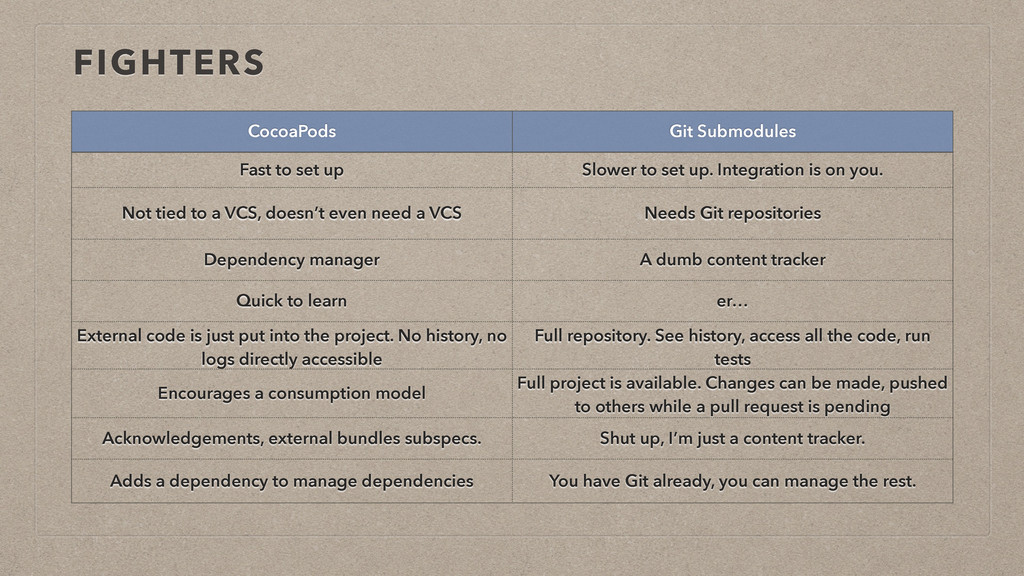
There are some interesting edge cases that both can handle: Private repositories, fixed point checkouts. Try code before you buy. Most of the effort is in the setup, rolling out to others is easier after that. Builds libraries, doesn’t just dump code in the project, there is some audit trail of who did what.
set up. Integration is on you. Not tied to a VCS, doesn’t even need a VCS Needs Git repositories Dependency manager A dumb content tracker Quick to learn er… External code is just put into the project. No history, no logs directly accessible Full repository. See history, access all the code, run tests Encourages a consumption model Full project is available. Changes can be made, pushed to others while a pull request is pending Acknowledgements, external bundles subspecs. Shut up, I’m just a content tracker. Adds a dependency to manage dependencies You have Git already, you can manage the rest.
best suits the working environment • Which are you best able to support? • Do you see the value in the ancillary services that CocoaPods provides? • Almost anything you can do in one you can do in another.
about the supremacy of Android/ iOS (IMHO). • Choices like this are not always technical. They are related to the environment, product, the 3rd party code, even personality. • Compared to actually developing YOUR app, the time and complexity of using one or the other is minimal. • Pick one. Get really good at it. Be able to work with the other.