Basic computer literacy • Basic math skills • Computer • Internet connection • (Optional) Android device & USB cable Prerequisites Here are some the prerequisites that will be helpful. Having basic computer literacy and basic math skills is recommended. You’ll also need a computer and access to the internet to take the online course. [Mention WiFi instructions if necessary.]
Build your first Android apps • Learn the basics of the Kotlin programming language • Learn Jetpack Compose • Discover resources to continue learning Learning Objectives
Programming Language Use Kotlin to start writing Android apps. Kotlin helps developers be more productive. In this workshop, you’ll learn how to create Android app UI using Kotlin and Jetpack Compose. We’ll talk about Jetpack Compose in a minute but first, Kotlin. Kotlin is a programming language recommended by Google for creating new Android apps. It’s a modern and popular programming language, known for helping developers be more productive and more concise when writing code. As a result of many great language features, Kotlin has quickly gained momentum in industry and is used by over 50% of professional Android developers. Let’s check out the basics of Kotlin. [Read about Android’s Kotlin-first approach]
Playground Write and run Kotlin code in the browser. https://bit.ly/kotlin-pg To make it easier for you to learn, you’ll be writing your code in the Kotlin Playground which you can access via the web browser. The site looks something like this. You can write your code in this window and run it by hitting the green Run button. The result of your code (known as the output) will show up at the bottom of the window (where it says “Hello, world!”). To illustrate a few important concepts that you’ll learn in this workshop, we will go through a short code demo to create a program in Kotlin.
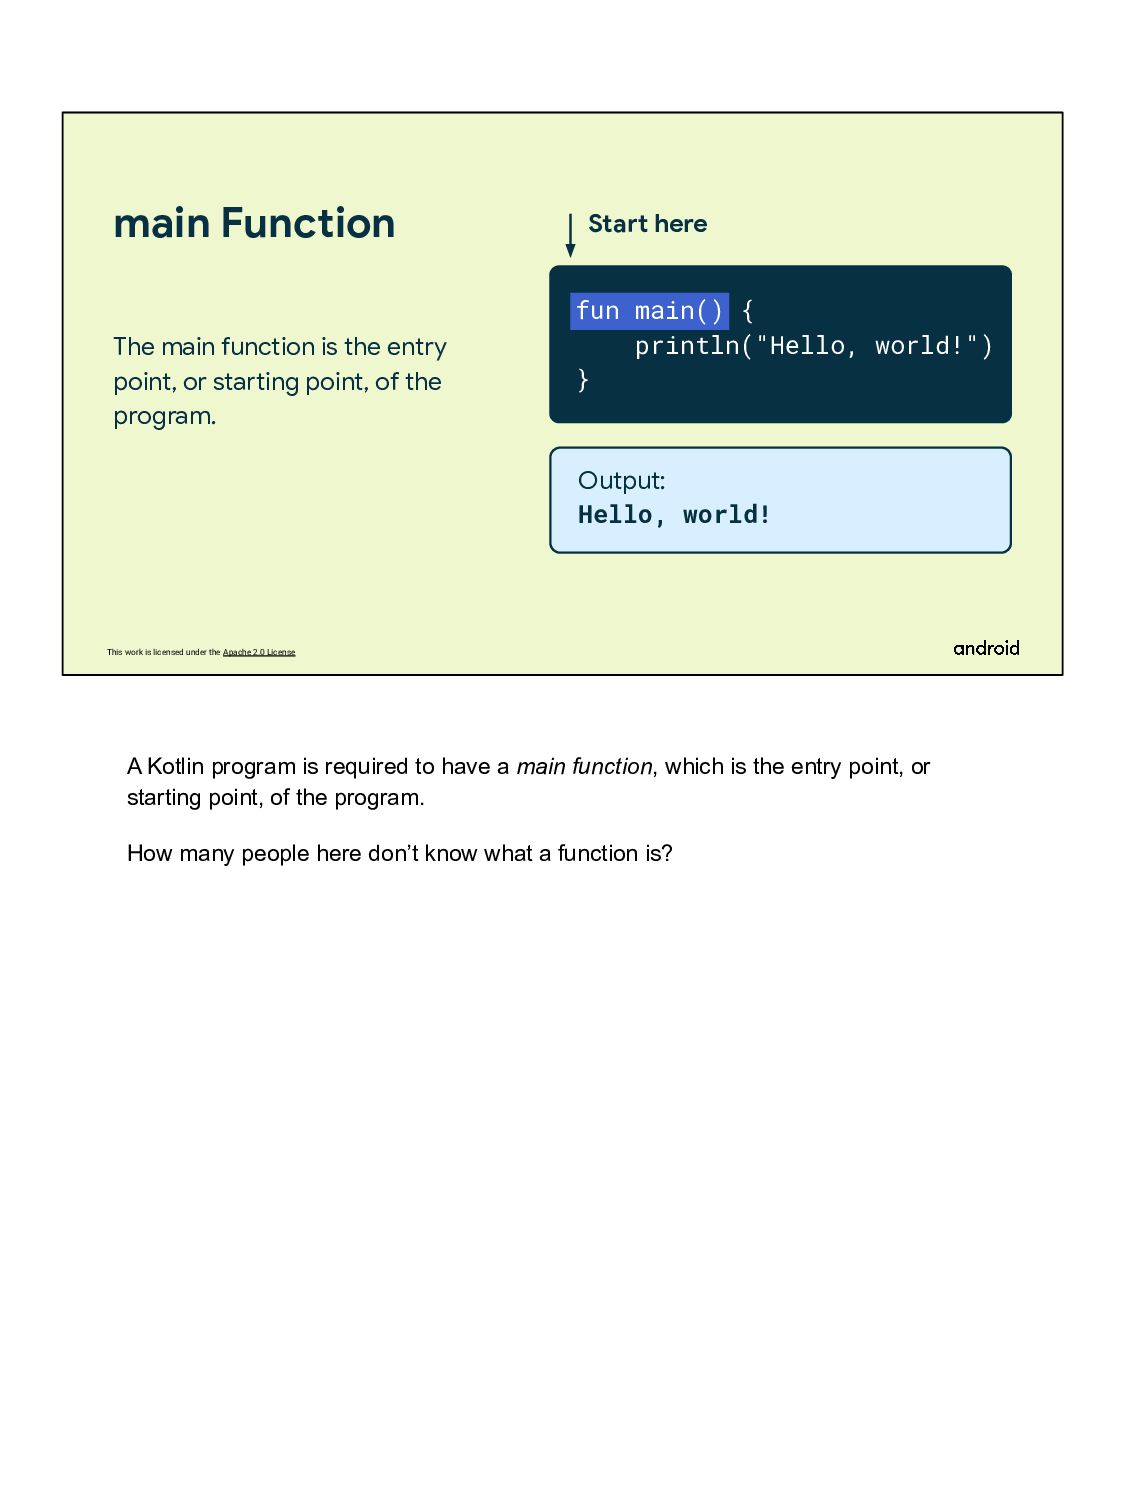
Function The main function is the entry point, or starting point, of the program. Start here fun main() { println("Hello, world!") } Output: Hello, world! A Kotlin program is required to have a main function, which is the entry point, or starting point, of the program. How many people here don’t know what a function is?
A function is a segment of a program that performs a specific task. You can have many functions in your program or only a single one. A function is a segment of a program that performs a specific task. You can have many functions in your program or only a single one. Creating separate functions for specific tasks has a number of benefits. • Reusable code: Rather than copying and pasting code that you need to use more than once, you can simply call a function wherever needed. • Readability: Ensuring functions do one and only one specific task helps other developers and teammates, as well as your future self to know exactly what a piece of code does.
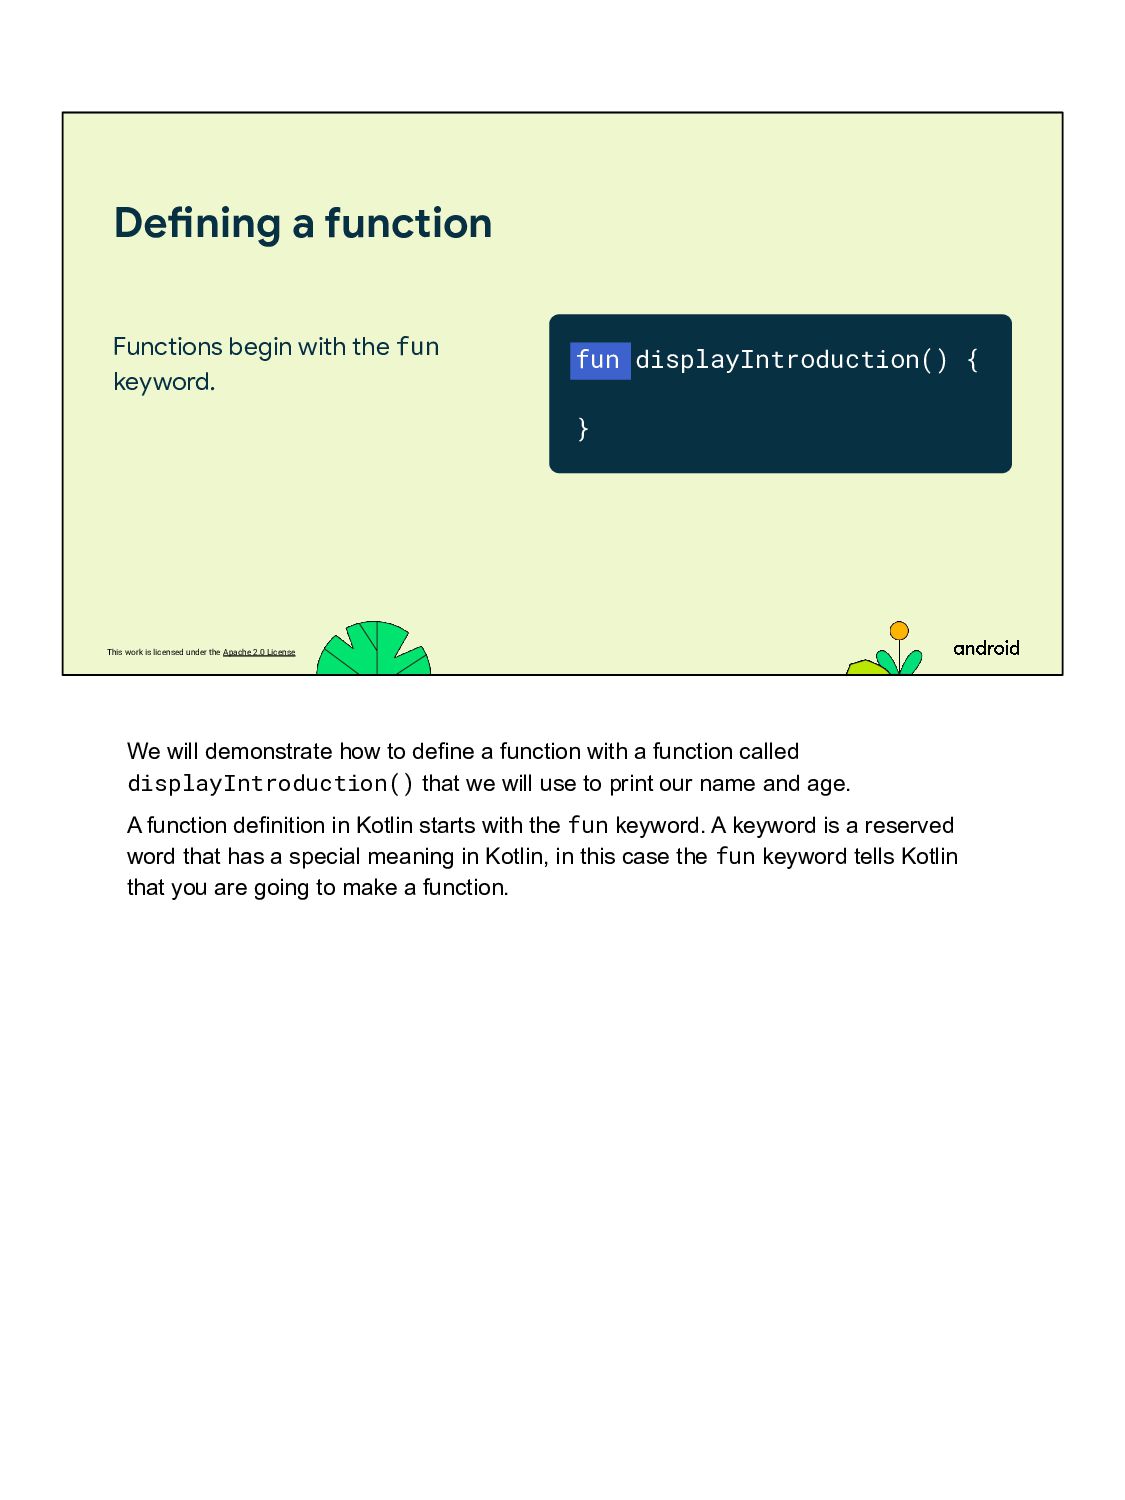
a function Functions begin with the fun keyword. fun displayIntroduction() { } We will demonstrate how to define a function with a function called displayIntroduction() that we will use to print our name and age. A function definition in Kotlin starts with the fun keyword. A keyword is a reserved word that has a special meaning in Kotlin, in this case the fun keyword tells Kotlin that you are going to make a function.
a function Functions have a name so that they can be called. fun displayIntroduction() { } Functions need to have a descriptive name so that they can be called from other parts of the program.
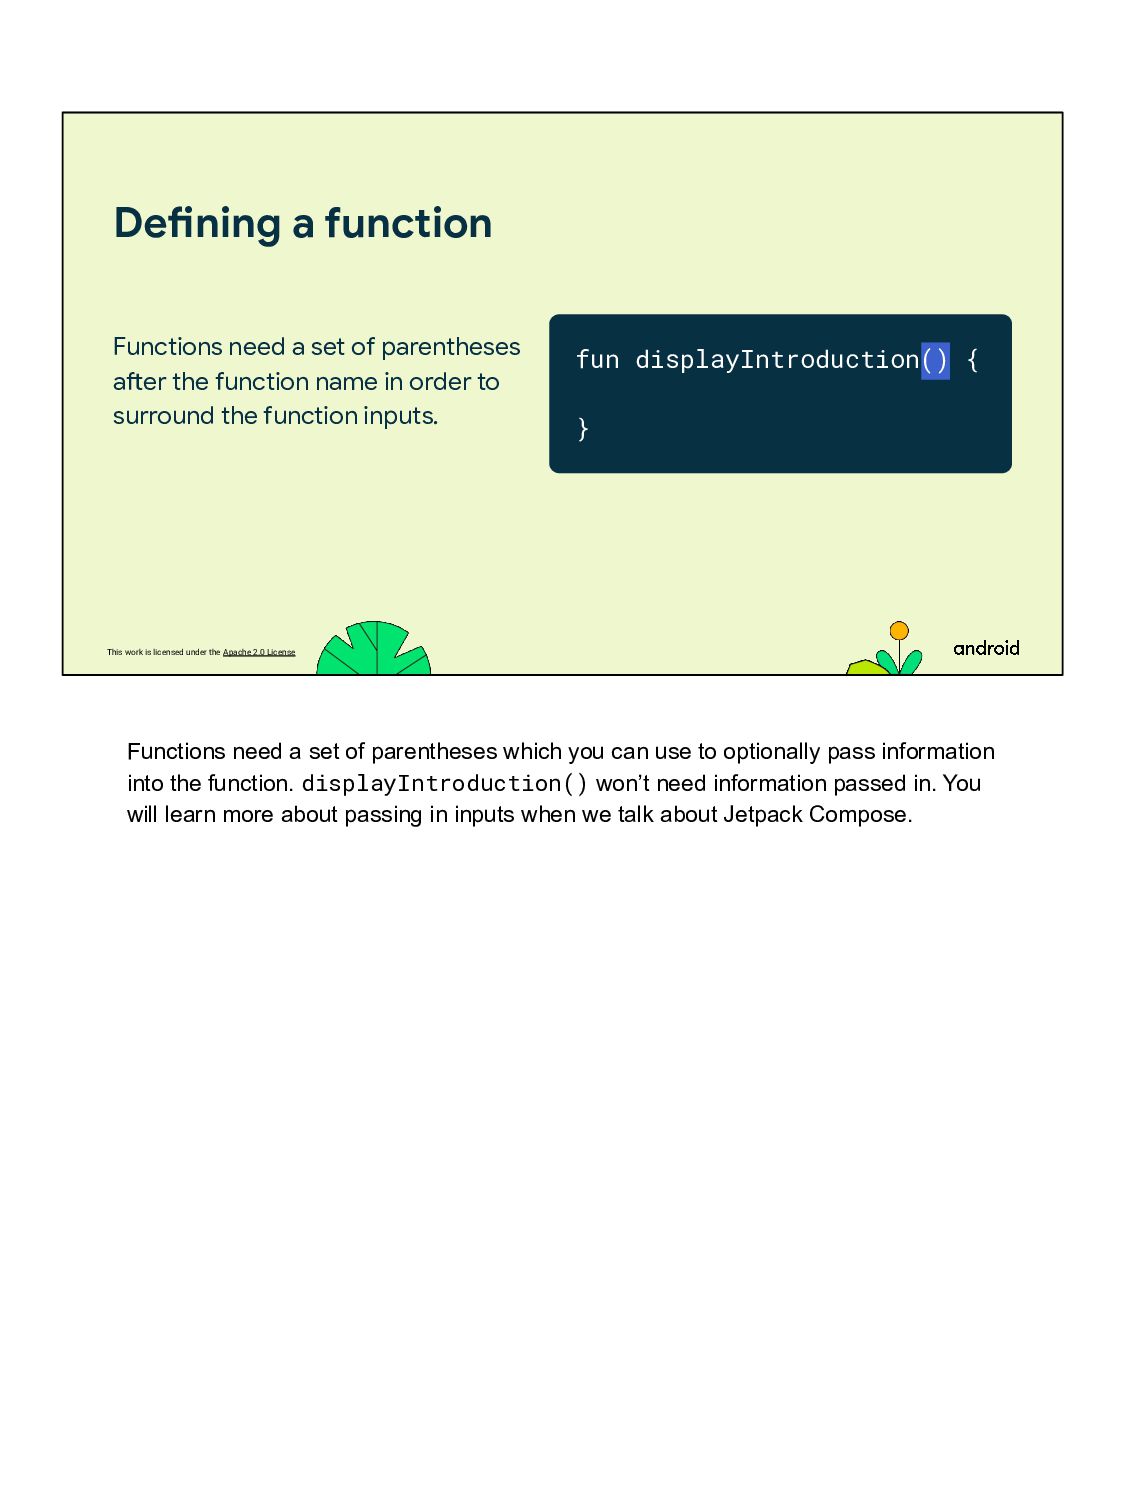
a function Functions need a set of parentheses after the function name in order to surround the function inputs. fun displayIntroduction() { } Functions need a set of parentheses which you can use to optionally pass information into the function. displayIntroduction() won’t need information passed in. You will learn more about passing in inputs when we talk about Jetpack Compose.
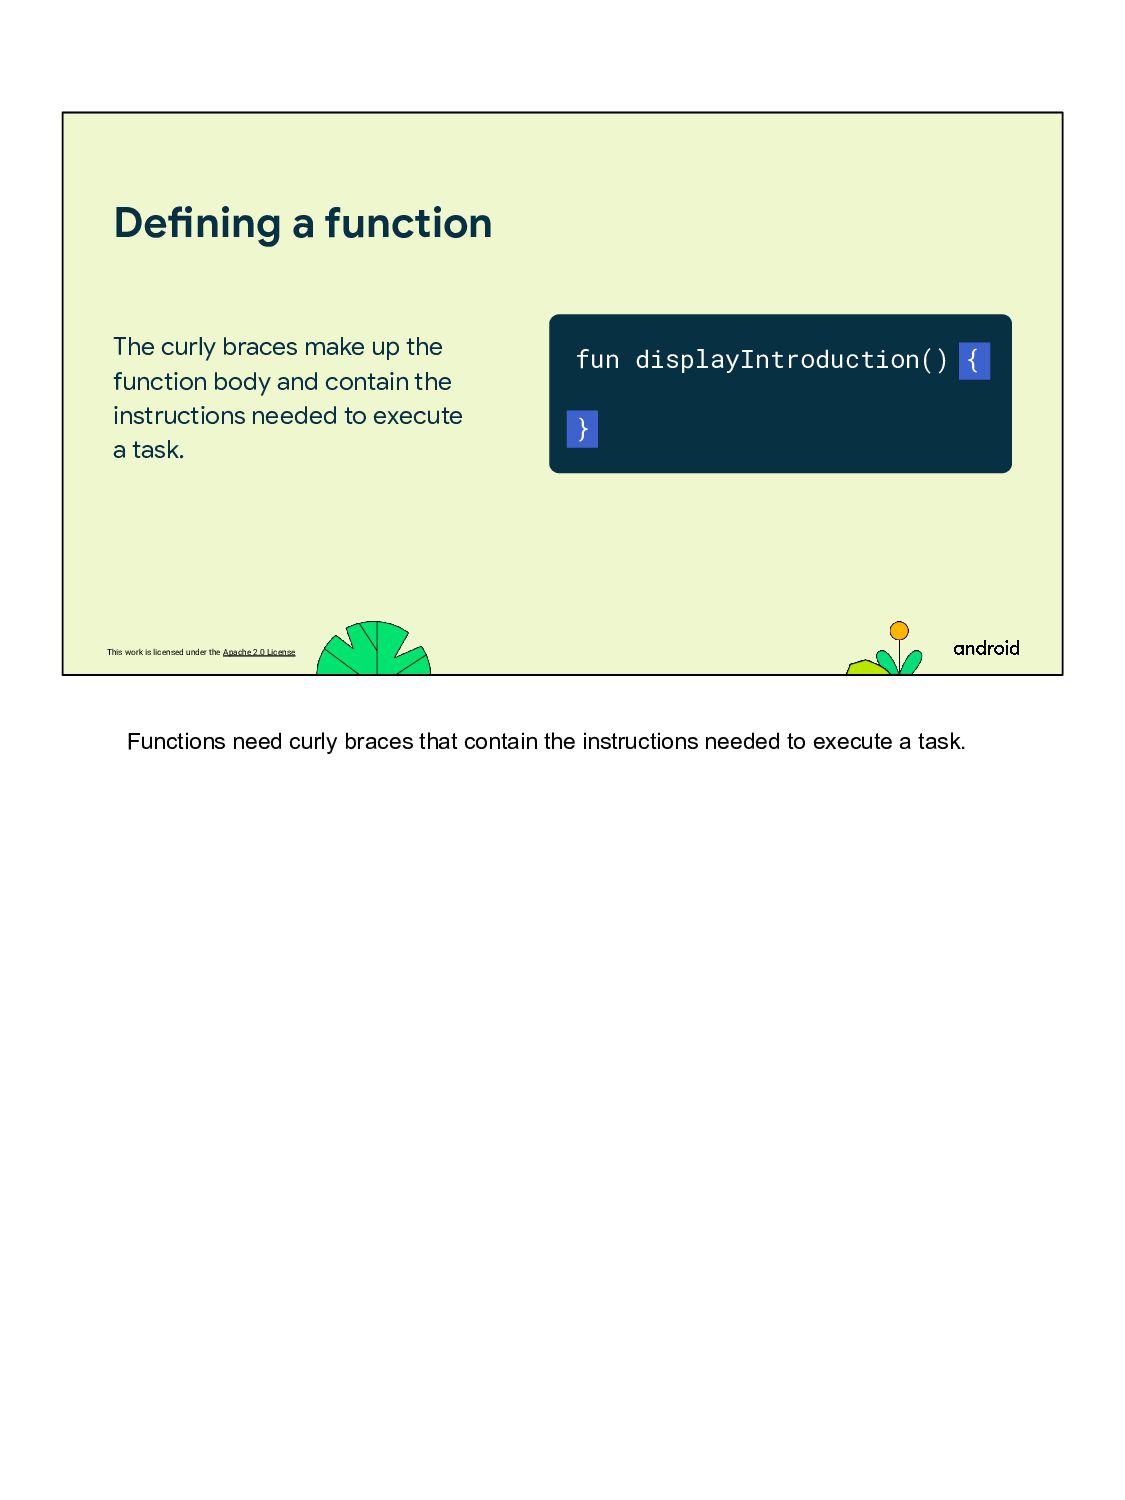
a function The curly braces make up the function body and contain the instructions needed to execute a task. fun displayIntroduction() { } Functions need curly braces that contain the instructions needed to execute a task.
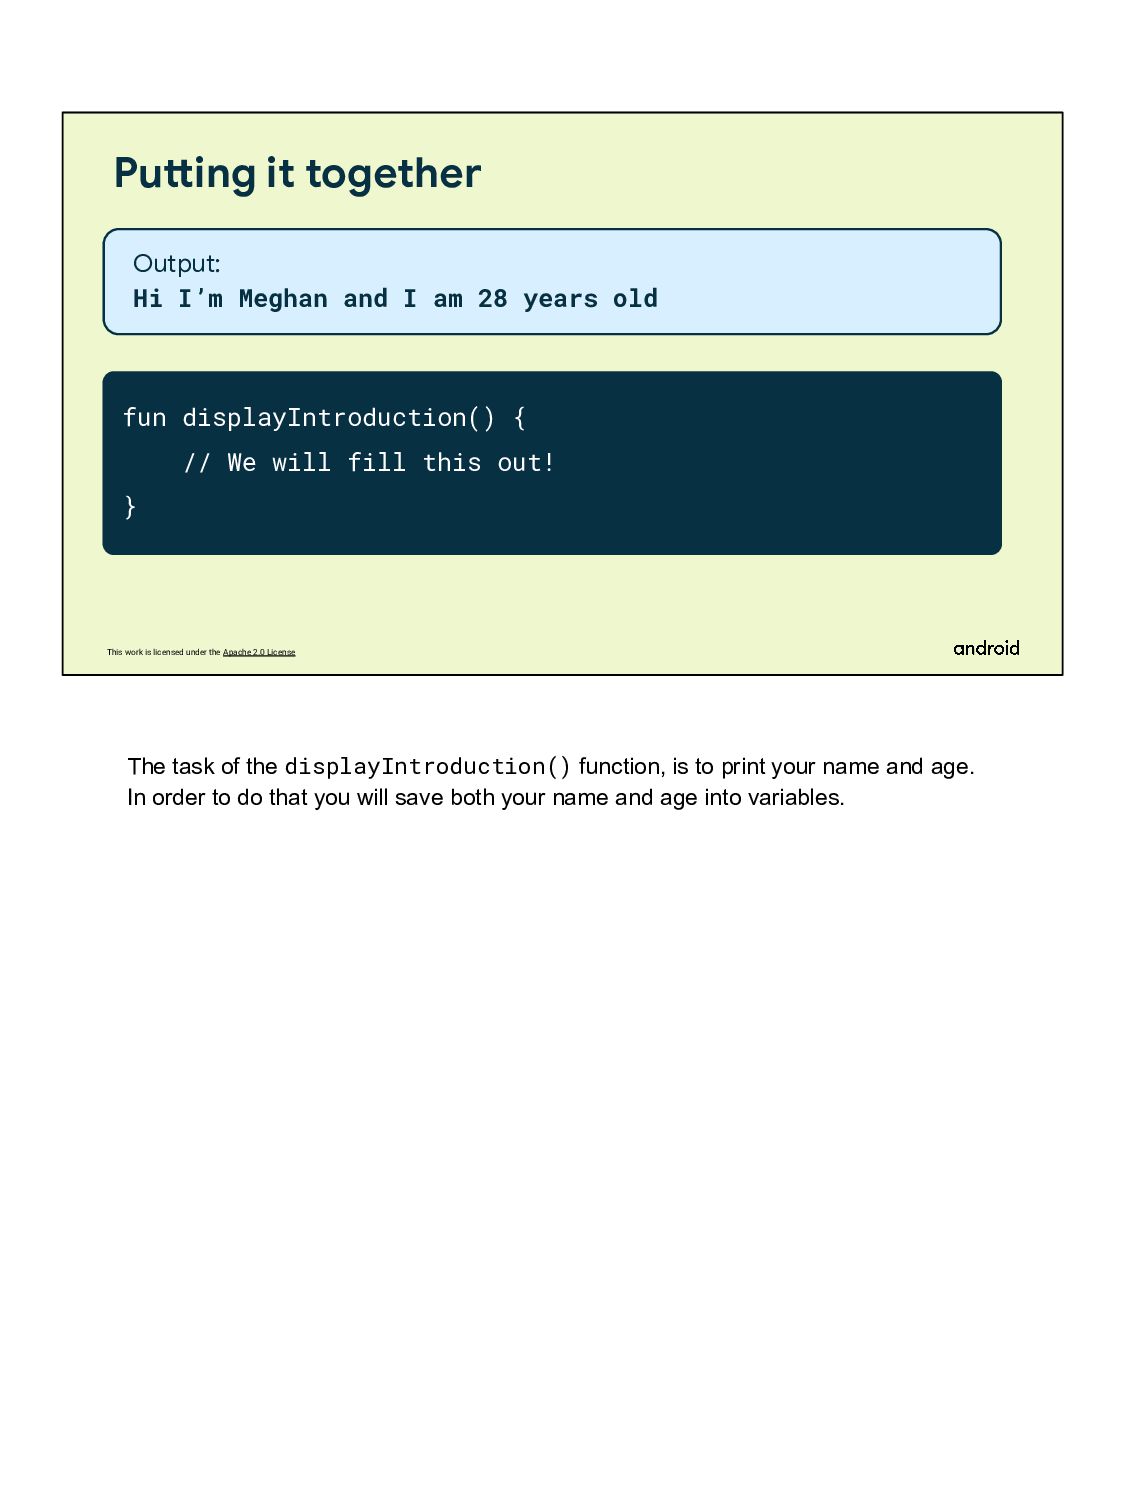
it together fun displayIntroduction() { // We will fill this out! } Output: Hi I’m Meghan and I am 28 years old The task of the displayIntroduction() function, is to print your name and age. In order to do that you will save both your name and age into variables.
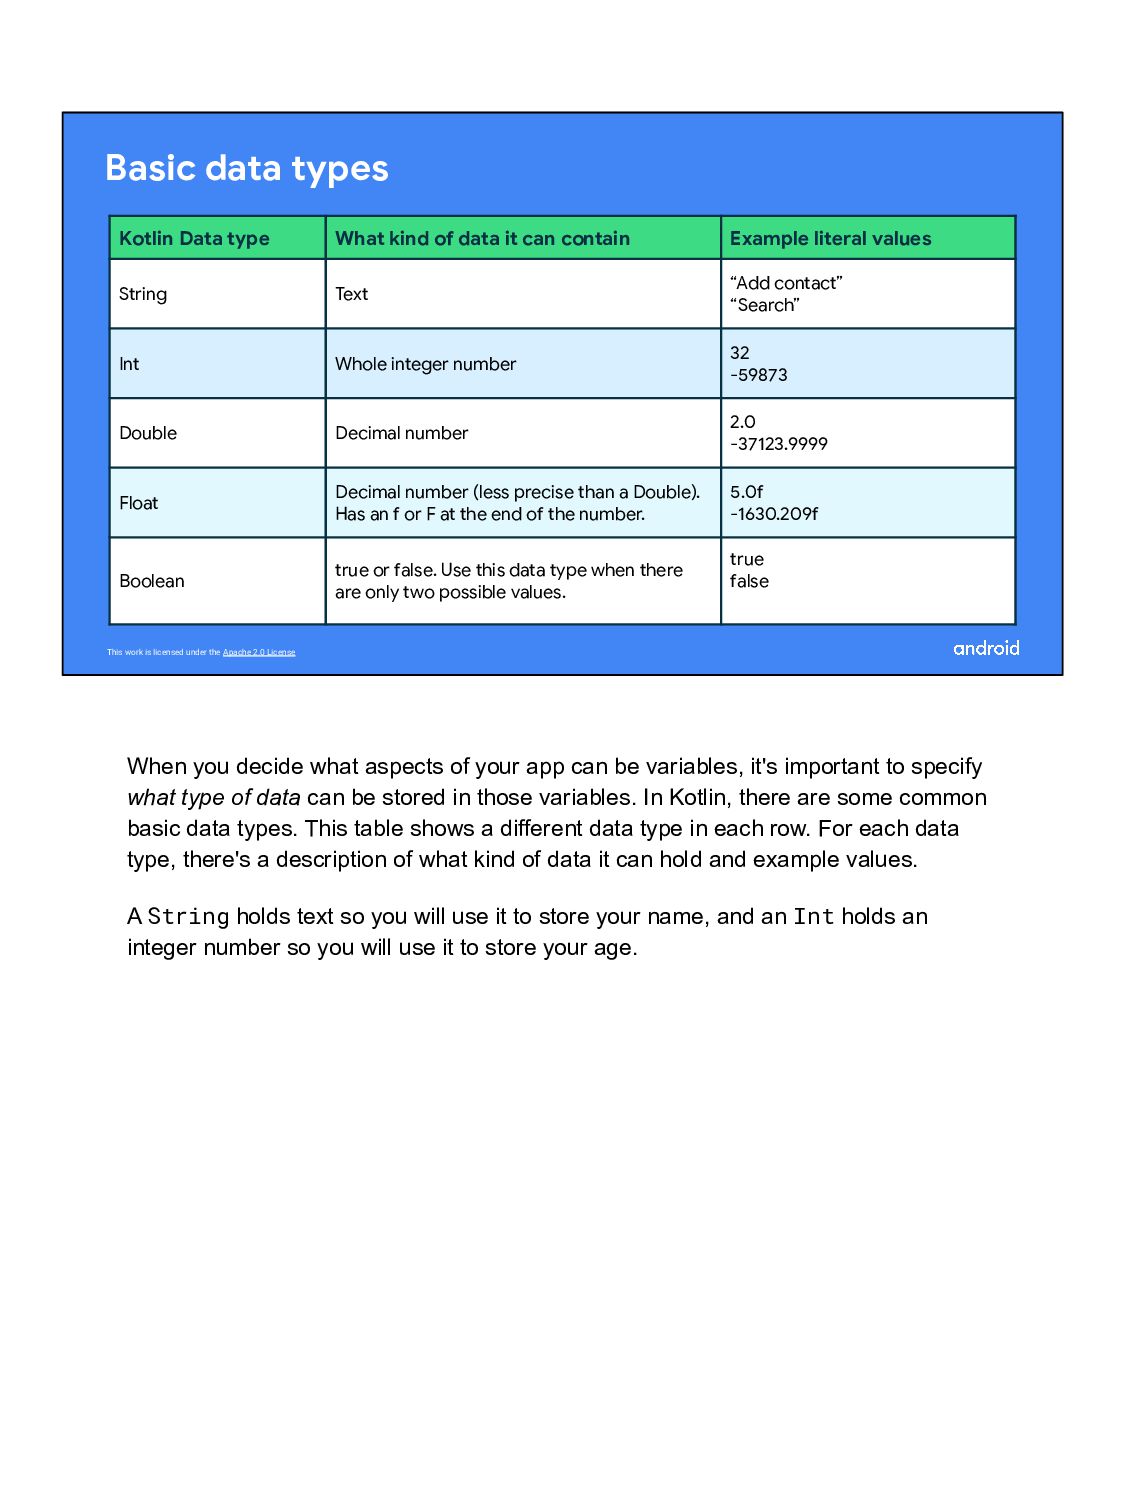
data types Kotlin Data type What kind of data it can contain Example literal values String Text “Add contact” “Search” Int Whole integer number 32 -59873 Double Decimal number 2.0 -37123.9999 Float Decimal number (less precise than a Double). Has an f or F at the end of the number. 5.0f -1630.209f Boolean true or false. Use this data type when there are only two possible values. true false When you decide what aspects of your app can be variables, it's important to specify what type of data can be stored in those variables. In Kotlin, there are some common basic data types. This table shows a different data type in each row. For each data type, there's a description of what kind of data it can hold and example values. A String holds text so you will use it to store your name, and an Int holds an integer number so you will use it to store your age.
keyword Use when you expect the variable value will not change. Example: name var keyword Use when you expect the variable value can change. Example: age Defining a variable Now, let’s jump into how you define a variable. You can declare a variable using either val or var. With val, the variable is read-only, which means you can only read, or access, the value of the variable. Once the value is set, you cannot edit or modify its value. With var, the variable is mutable, which means the value can be changed or modified. The value can be mutated. In Kotlin, it's preferred to use val over var when possible. We will store your name as a val because that will not change. We will store your age as a var because it changes every year.
a variable Variables start with a var or val keyword. fun displayIntroduction() { val name: String = "Meghan" var age: Int = 28 } To demonstrate how to define a variable we will define both name and age variables. Before you use a variable, you must declare it. To declare a variable, start with the val or var keyword.
a variable All variables must have a name. fun displayIntroduction() { val name: String = "Meghan" var age: Int = 28 } All variables must have a name that they can be referenced by.
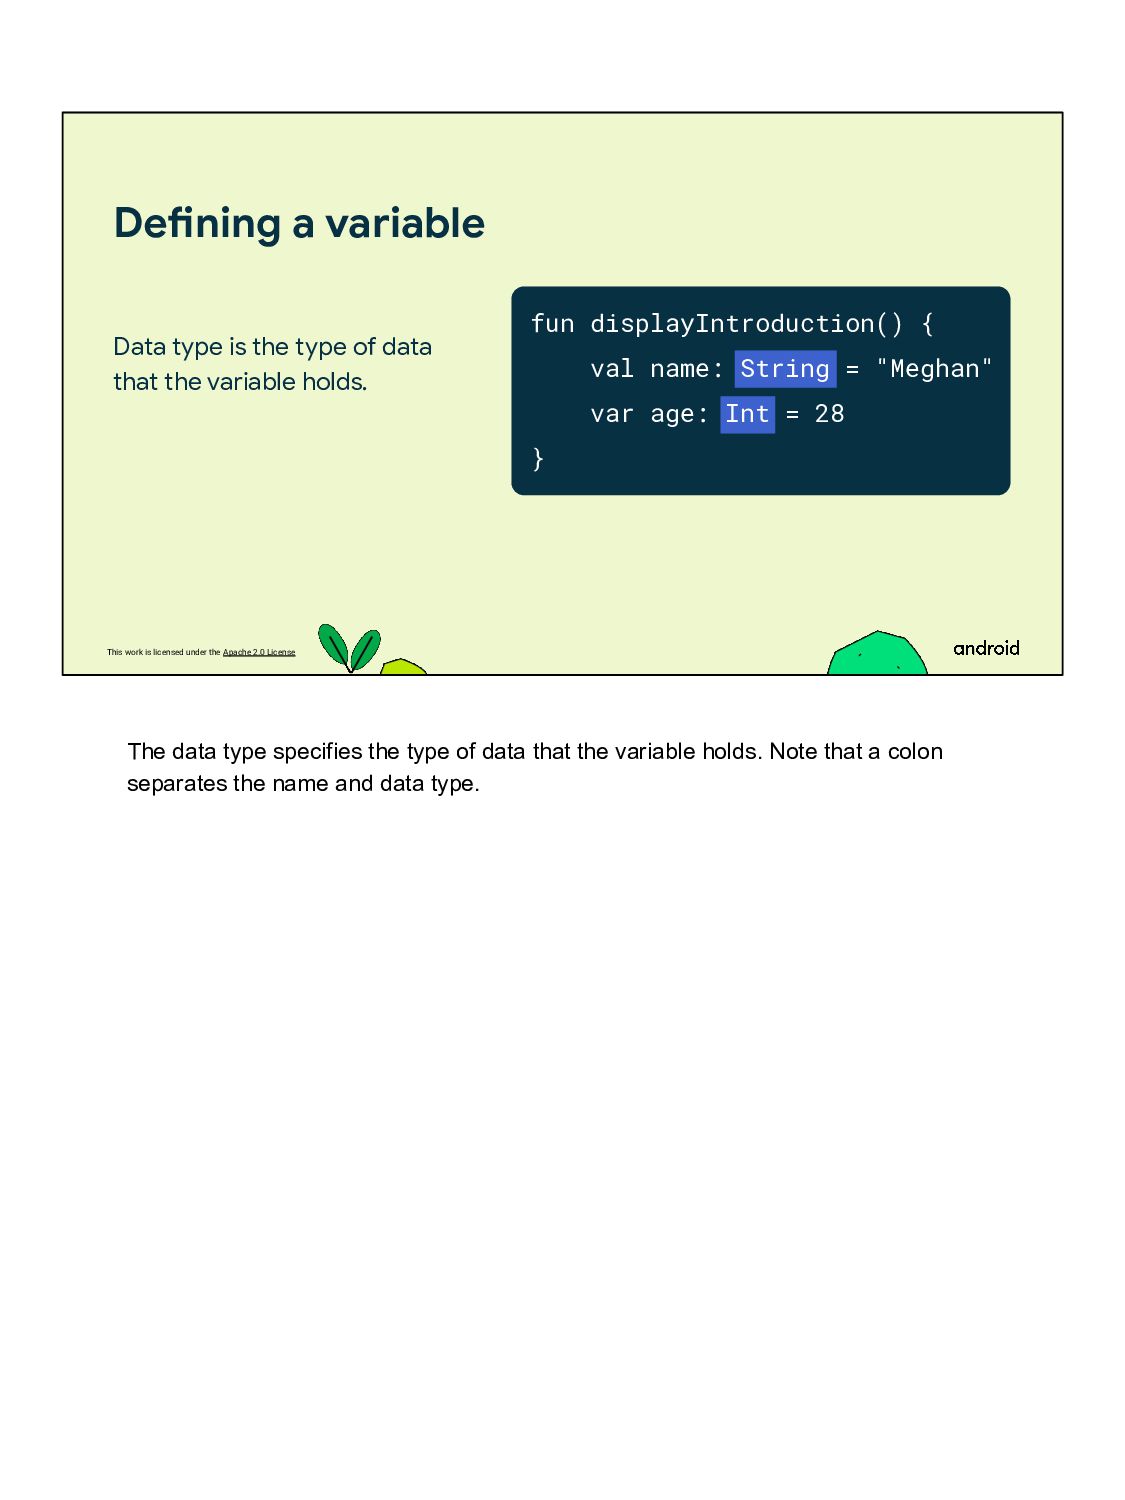
a variable Data type is the type of data that the variable holds. fun displayIntroduction() { val name: String = "Meghan" var age: Int = 28 } The data type specifies the type of data that the variable holds. Note that a colon separates the name and data type.
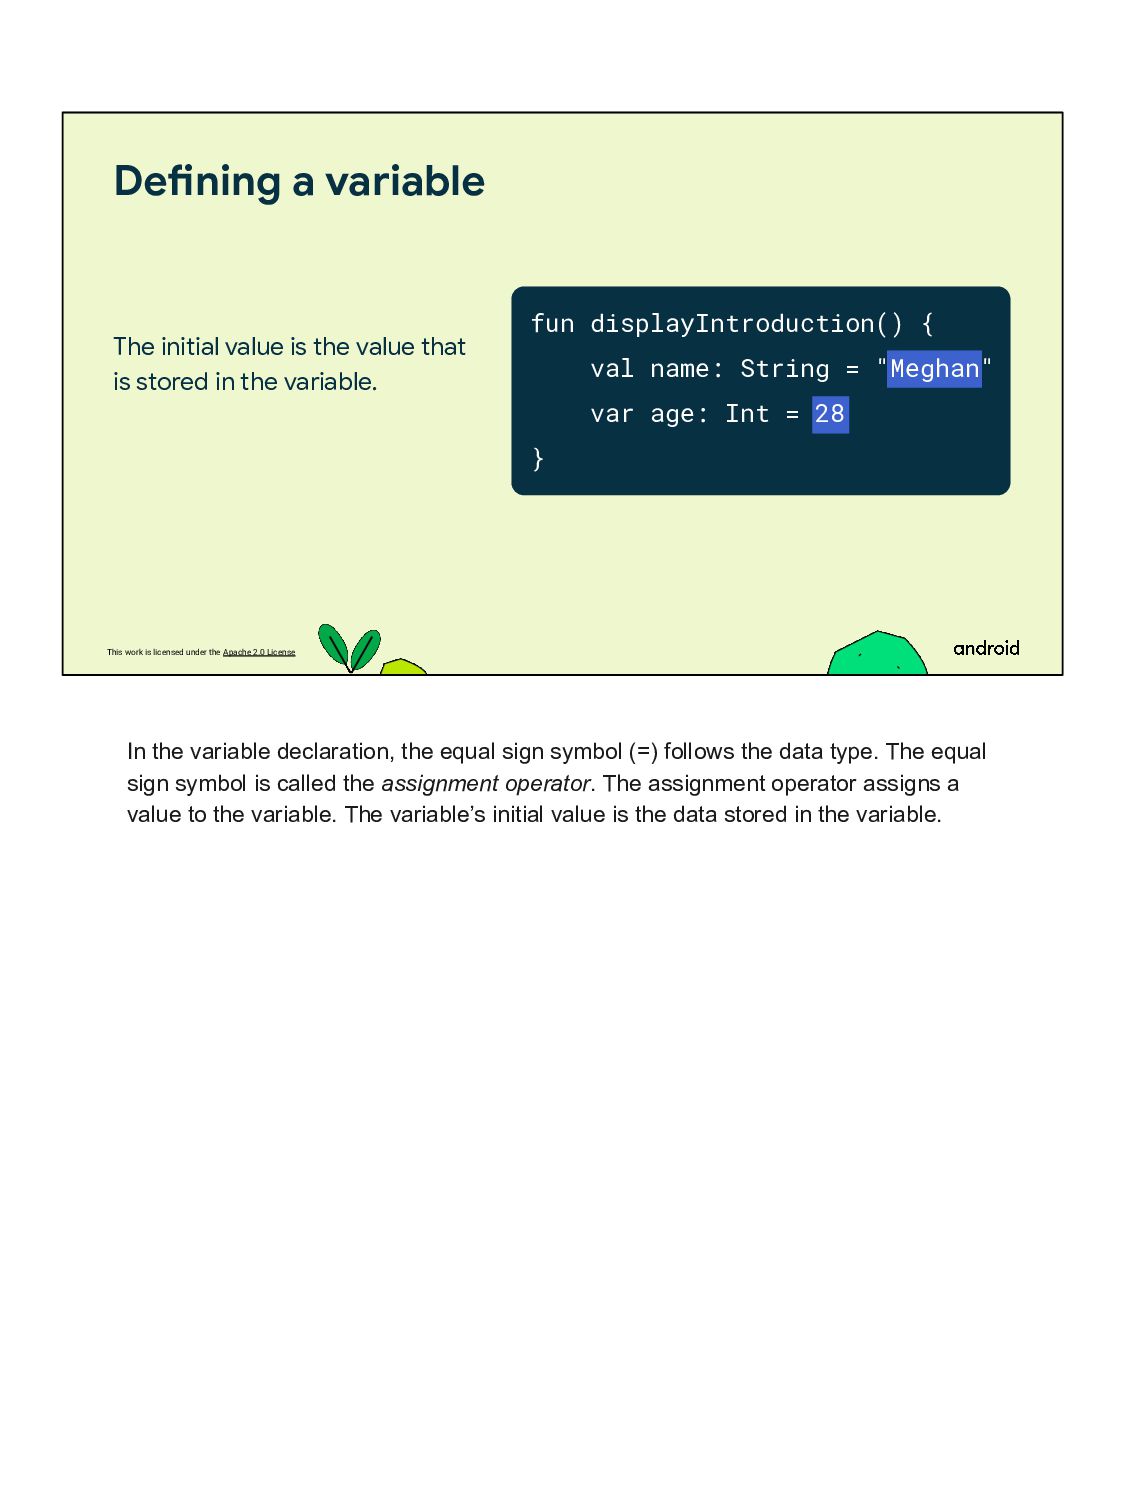
a variable The initial value is the value that is stored in the variable. fun displayIntroduction() { val name: String = "Meghan" var age: Int = 28 } In the variable declaration, the equal sign symbol (=) follows the data type. The equal sign symbol is called the assignment operator. The assignment operator assigns a value to the variable. The variable’s initial value is the data stored in the variable.
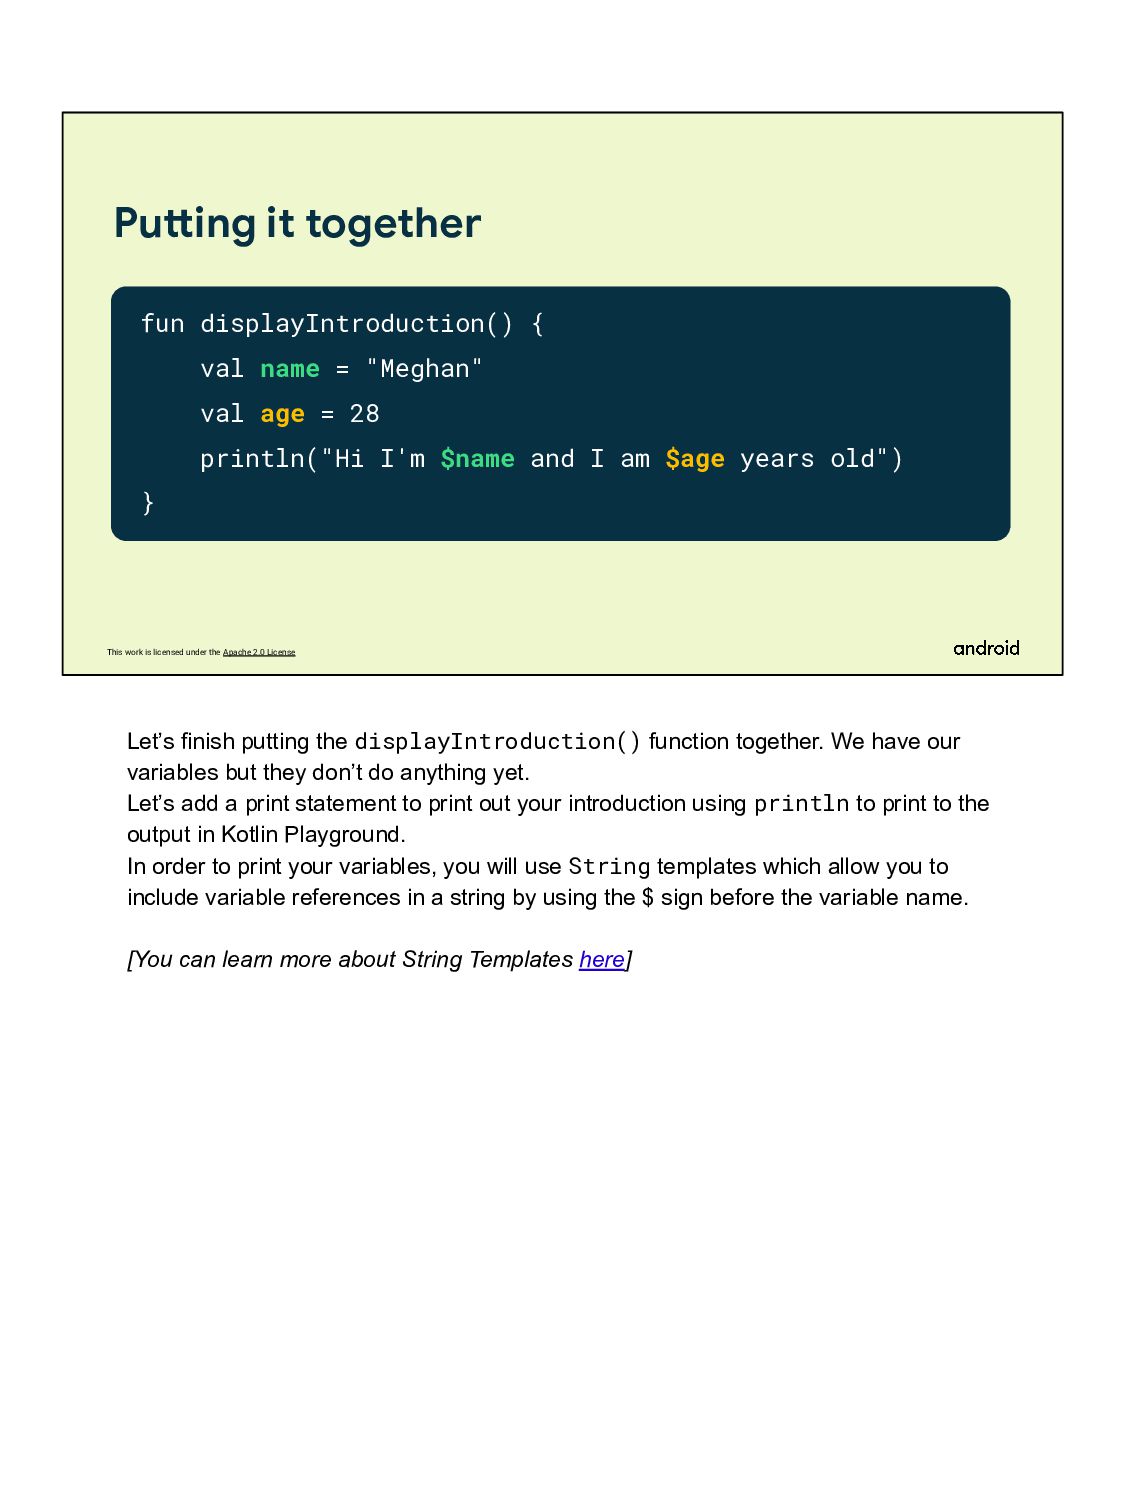
it together fun displayIntroduction() { val name = "Meghan" val age = 28 println("Hi I'm $name and I am $age years old") } Let’s finish putting the displayIntroduction() function together. We have our variables but they don’t do anything yet. Let’s add a print statement to print out your introduction using println to print to the output in Kotlin Playground. In order to print your variables, you will use String templates which allow you to include variable references in a string by using the $ sign before the variable name. [You can learn more about String Templates here]
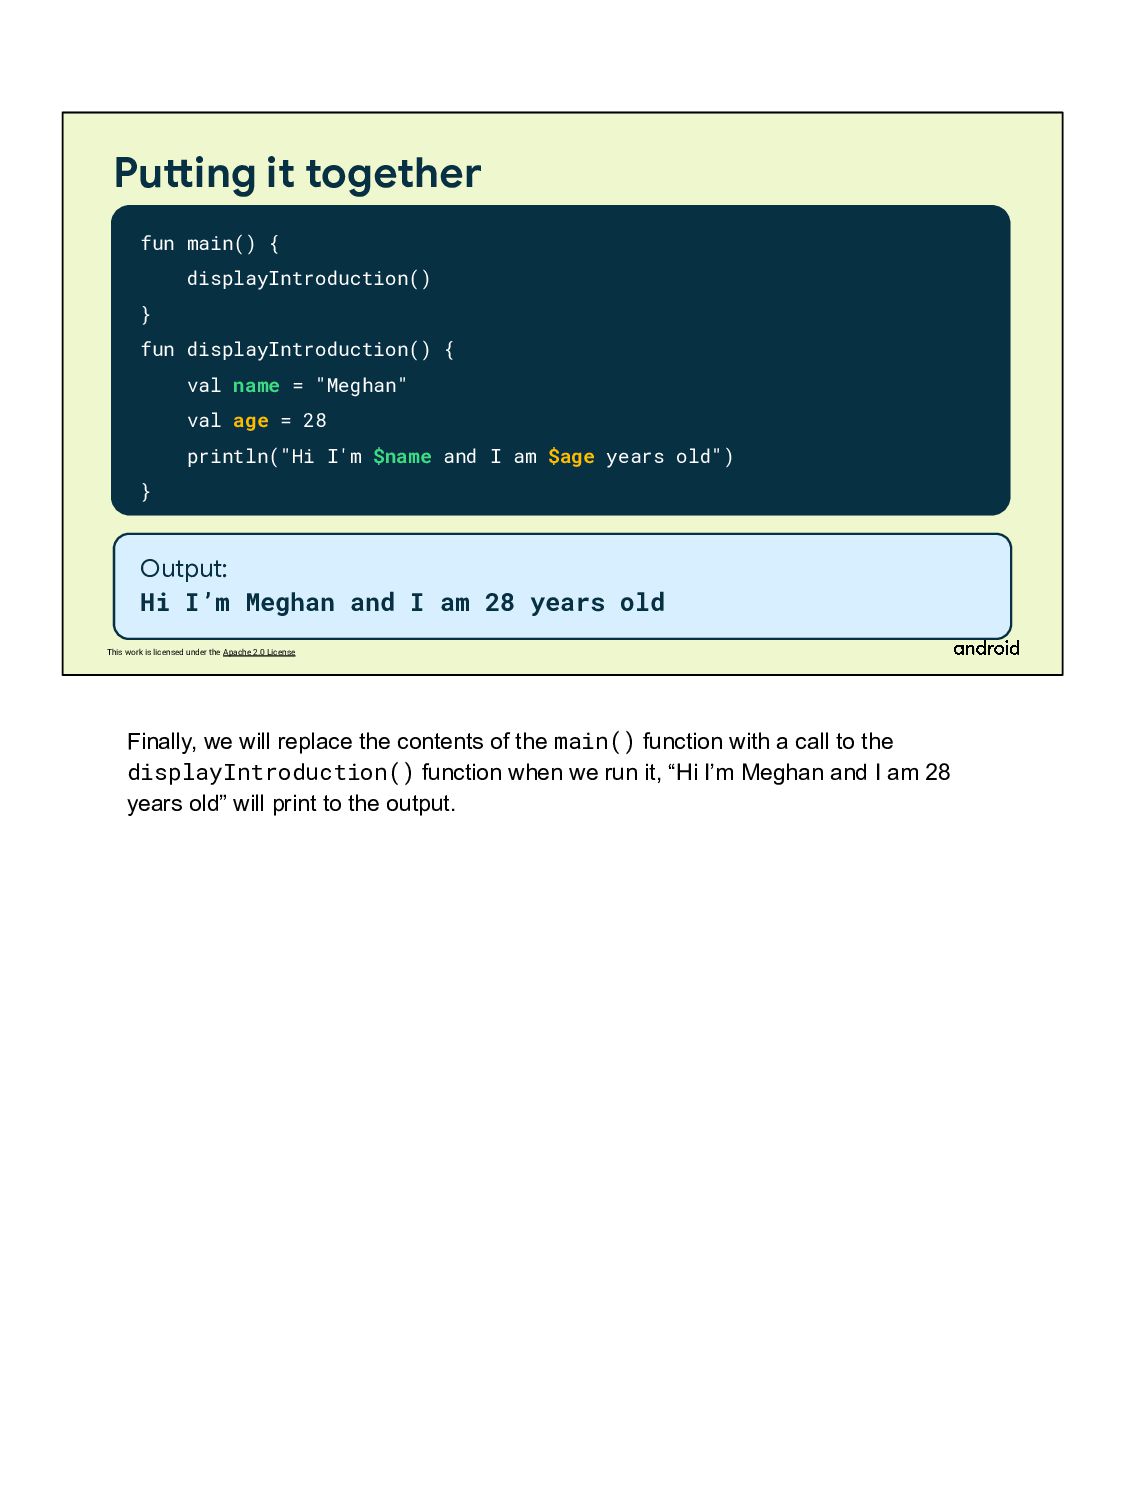
it together fun main() { displayIntroduction() } fun displayIntroduction() { val name = "Meghan" val age = 28 println("Hi I'm $name and I am $age years old") } Output: Hi I’m Meghan and I am 28 years old Finally, we will replace the contents of the main() function with a call to the displayIntroduction() function when we run it, “Hi I’m Meghan and I am 28 years old” will print to the output.
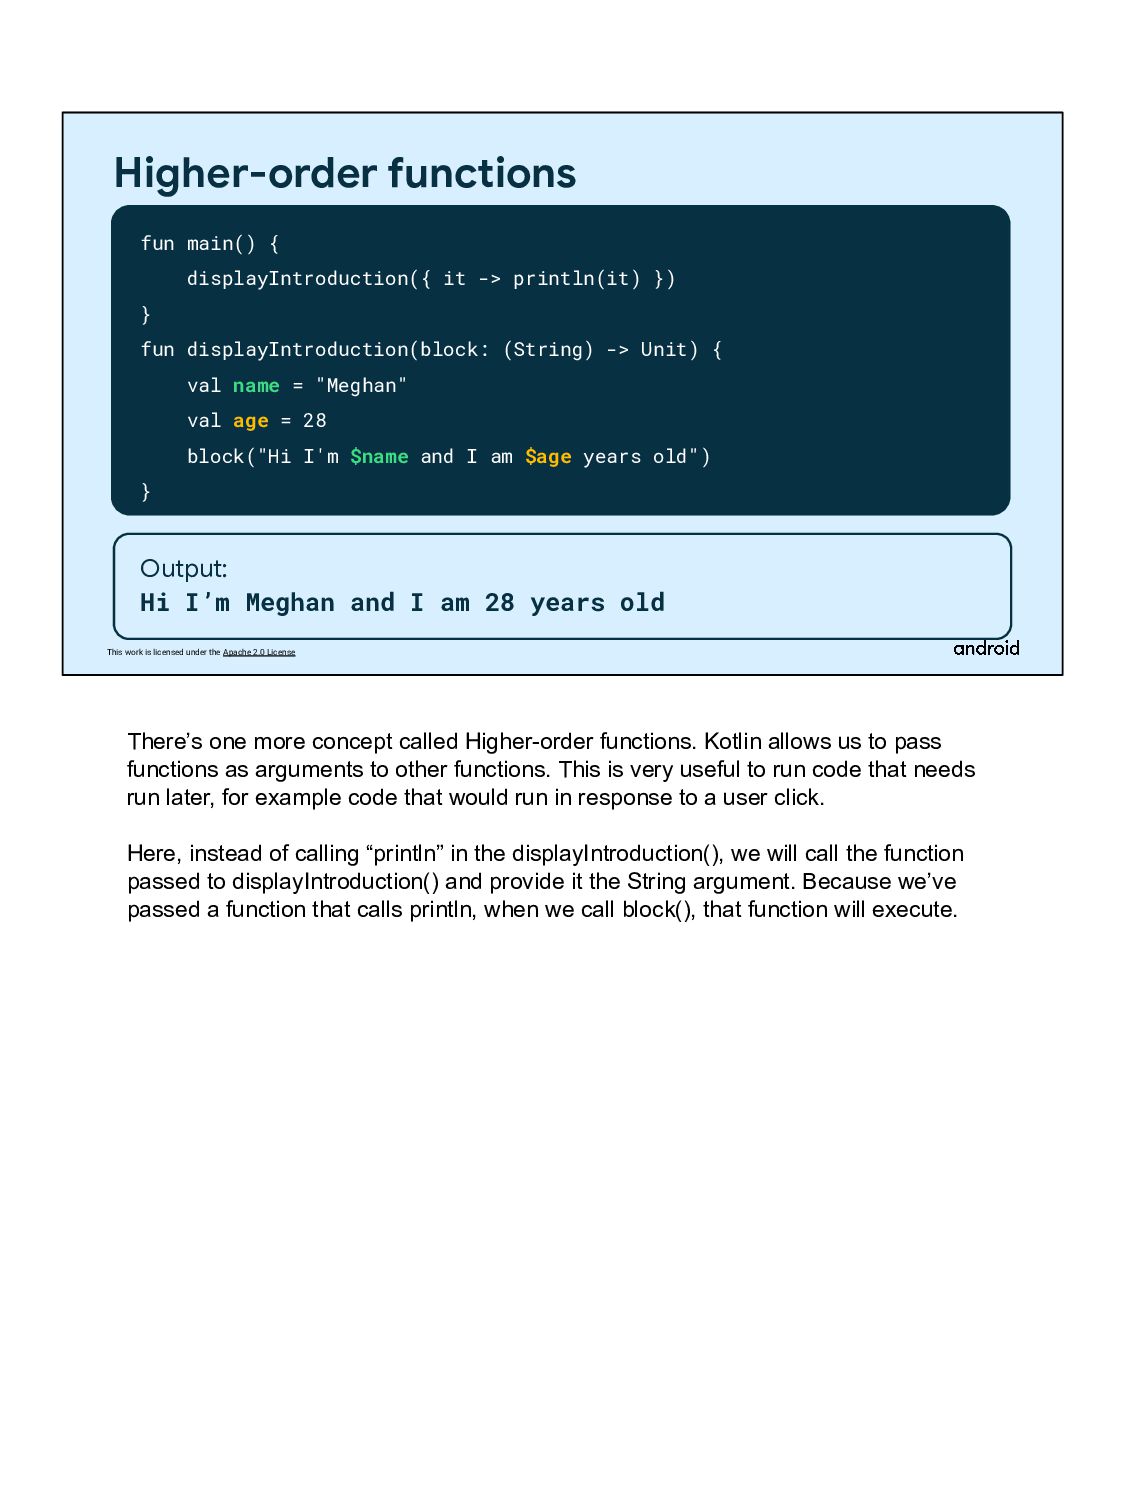
functions fun main() { displayIntroduction({ it -> println(it) }) } fun displayIntroduction(block: (String) -> Unit) { val name = "Meghan" val age = 28 block("Hi I'm $name and I am $age years old") } Output: Hi I’m Meghan and I am 28 years old There’s one more concept called Higher-order functions. Kotlin allows us to pass functions as arguments to other functions. This is very useful to run code that needs run later, for example code that would run in response to a user click. Here, instead of calling “println” in the displayIntroduction(), we will call the function passed to displayIntroduction() and provide it the String argument. Because we’ve passed a function that calls println, when we call block(), that function will execute.
functions fun main() { displayIntroduction { it -> println(it) } } fun displayIntroduction(block: (String) -> Unit) { val name = "Meghan" val age = 28 block("Hi I'm $name and I am $age years old") } Output: Hi I’m Meghan and I am 28 years old We can also omit the parentheses when calling the function when the last argument is a function.
Compose bit.ly/android-dh bit.ly/android-dh-zip Jetpack Compose is a modern toolkit for building Android UIs. Compose simplifies and accelerates UI development on Android with less code, powerful tools, and intuitive Kotlin capabilities. With Compose, you can build your UI by defining a set of functions, called composable functions, that take in data and emit UI elements. To illustrate a few important concepts that you’ll learn in this pathway, we will go through a short code demo to create a flashcard app in compose.
composable function • Describes some part of your UI. • Doesn't return anything. • Takes some input and generates what's shown on the screen. • Might emit several UI elements. To start, let’s talk about Composable functions. Composable functions are the basic building block of a UI in Compose. A Composable function: • Describes some part of your UI. • Doesn't return anything. • Takes some input and generates what's shown on the screen. • Might emit several UI elements.
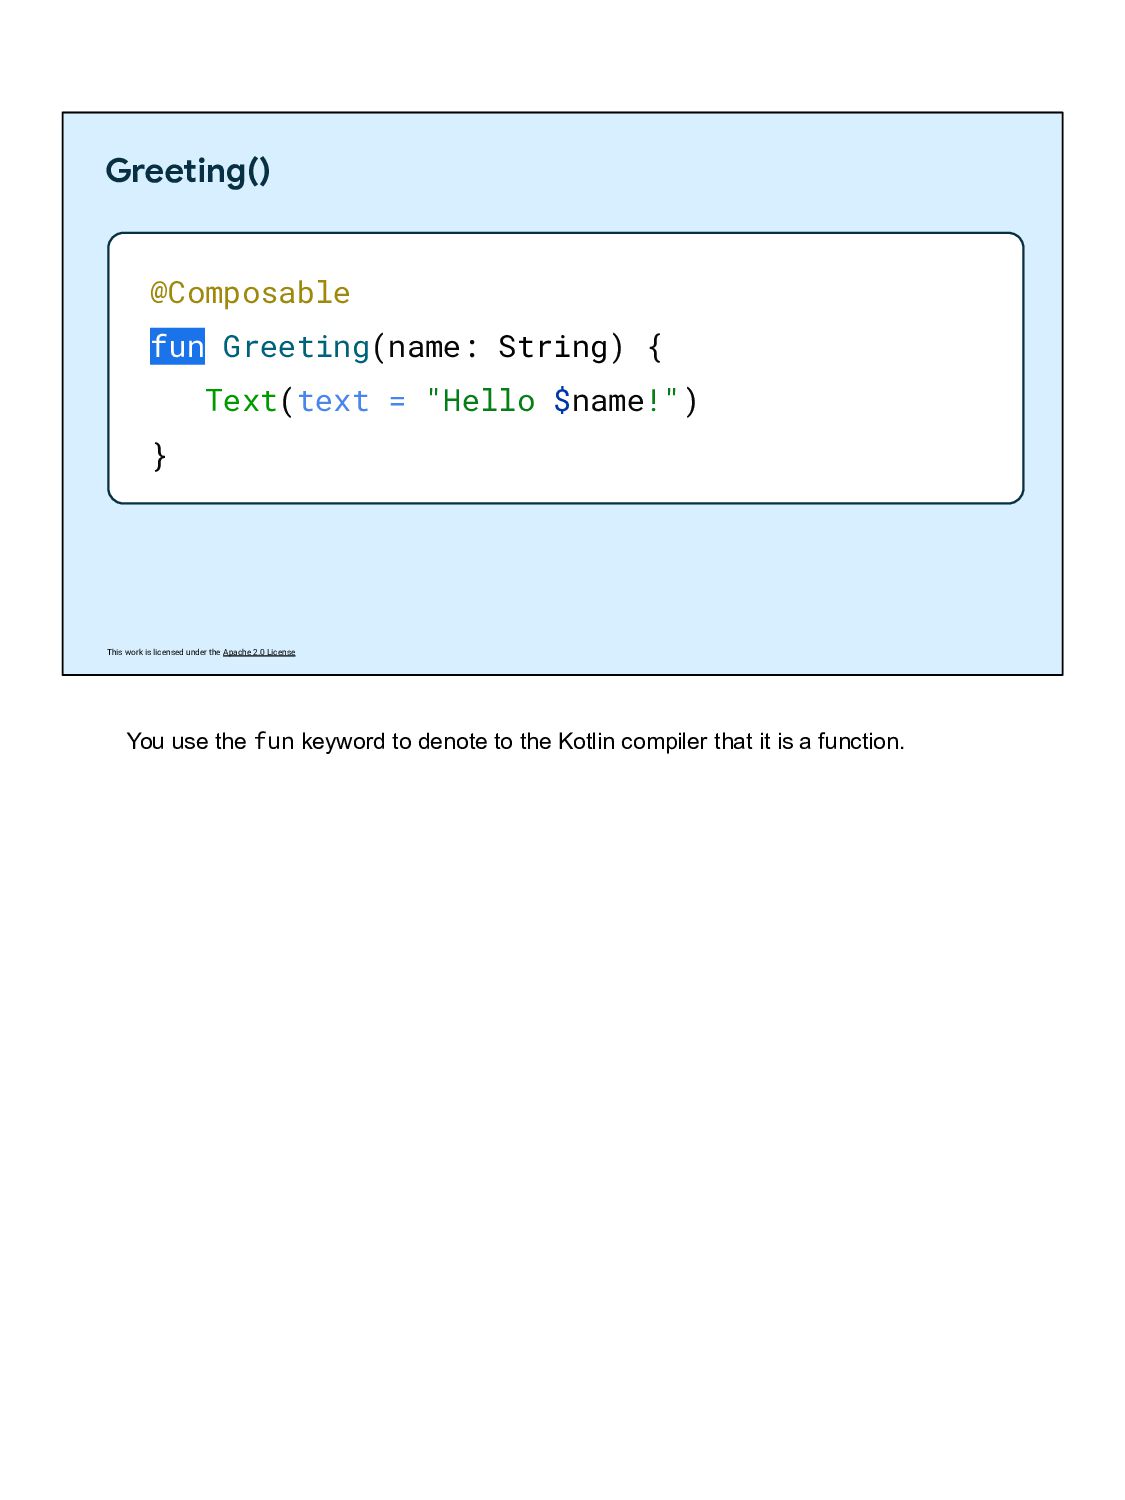
@Composable fun Greeting(name: String) { Text(text = "Hello $name!") } To see the parts of a Composable function, let’s take a look at the Greeting() function that is in MainActivity when you create a new Compose project.
@Composable fun Greeting(name: String) { Text(text = "Hello $name!") } All Composable functions must have the Composable annotation which informs the Compose compiler that this is a Composable function. If you forget to add this annotation, your code will not compile! An annotation is applied by prefixing its name (the annotation) with the @ character at the beginning of the declaration you are annotating. Annotations are means of attaching extra information to code. This information helps tools like the Jetpack Compose compiler understand the app's code.
@Composable fun Greeting(name: String) { Text(text = "Hello $name!") } In Compose, function names are capitalized. Note that this is only in Compose, a non Compose function should start with a lowercase letter.
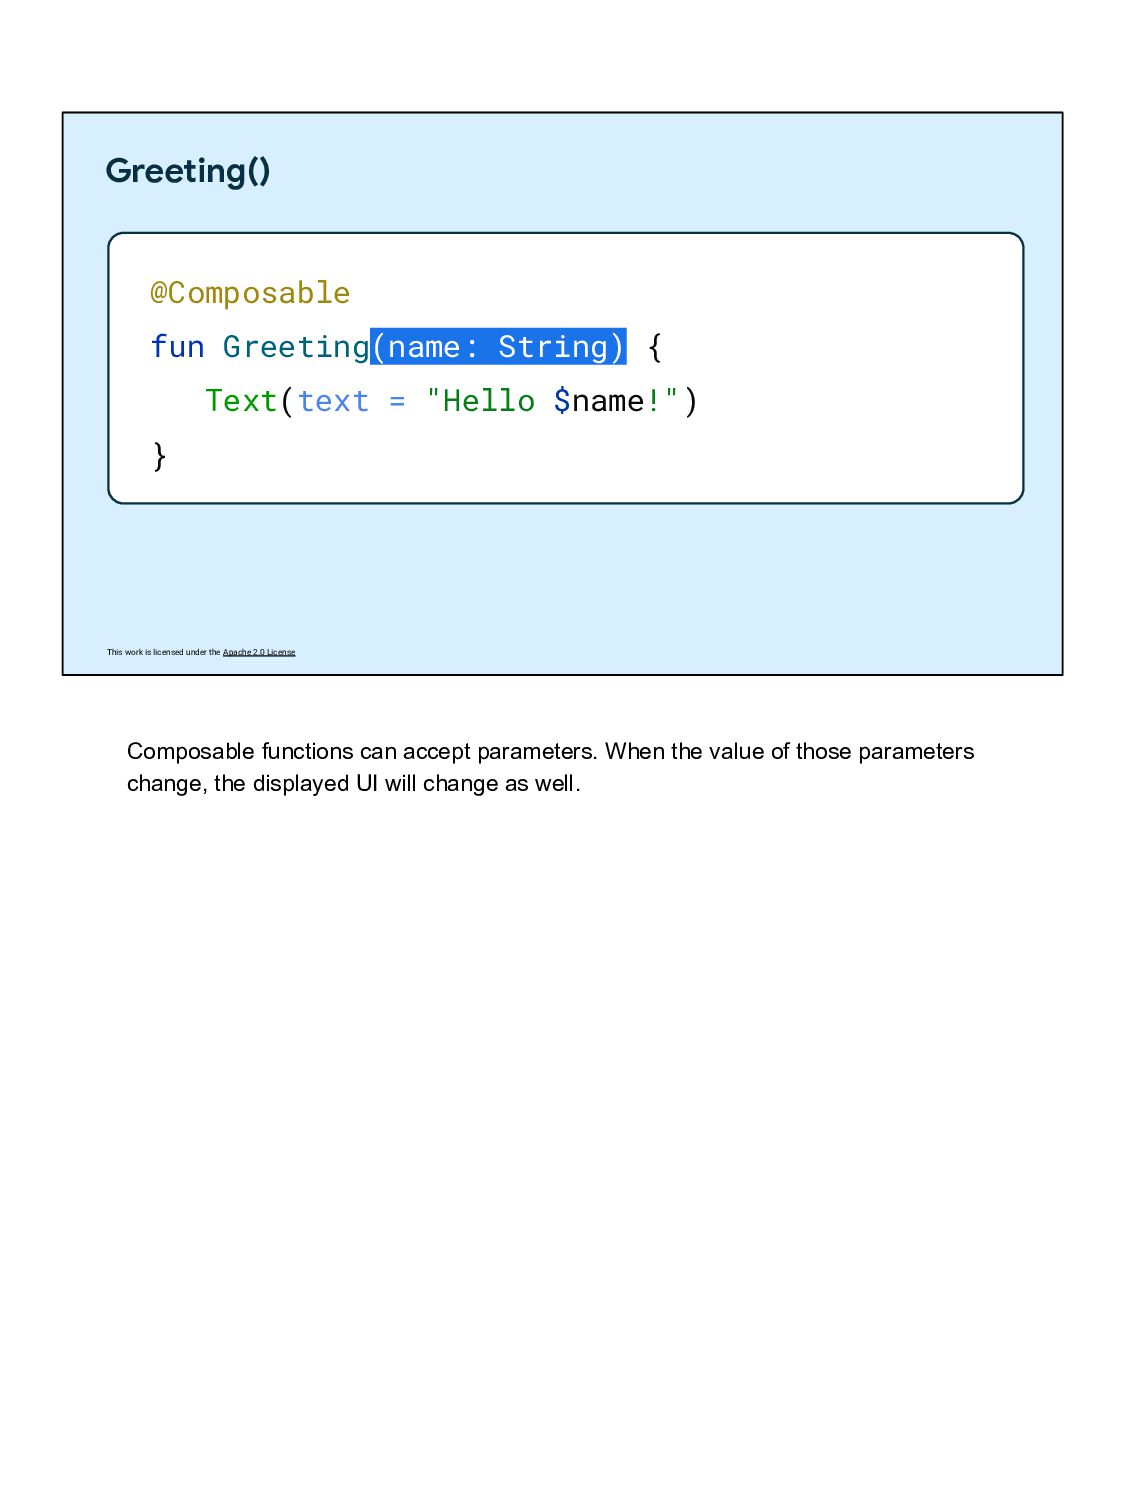
@Composable fun Greeting(name: String) { Text(text = "Hello $name!") } Composable functions can accept parameters. When the value of those parameters change, the displayed UI will change as well.
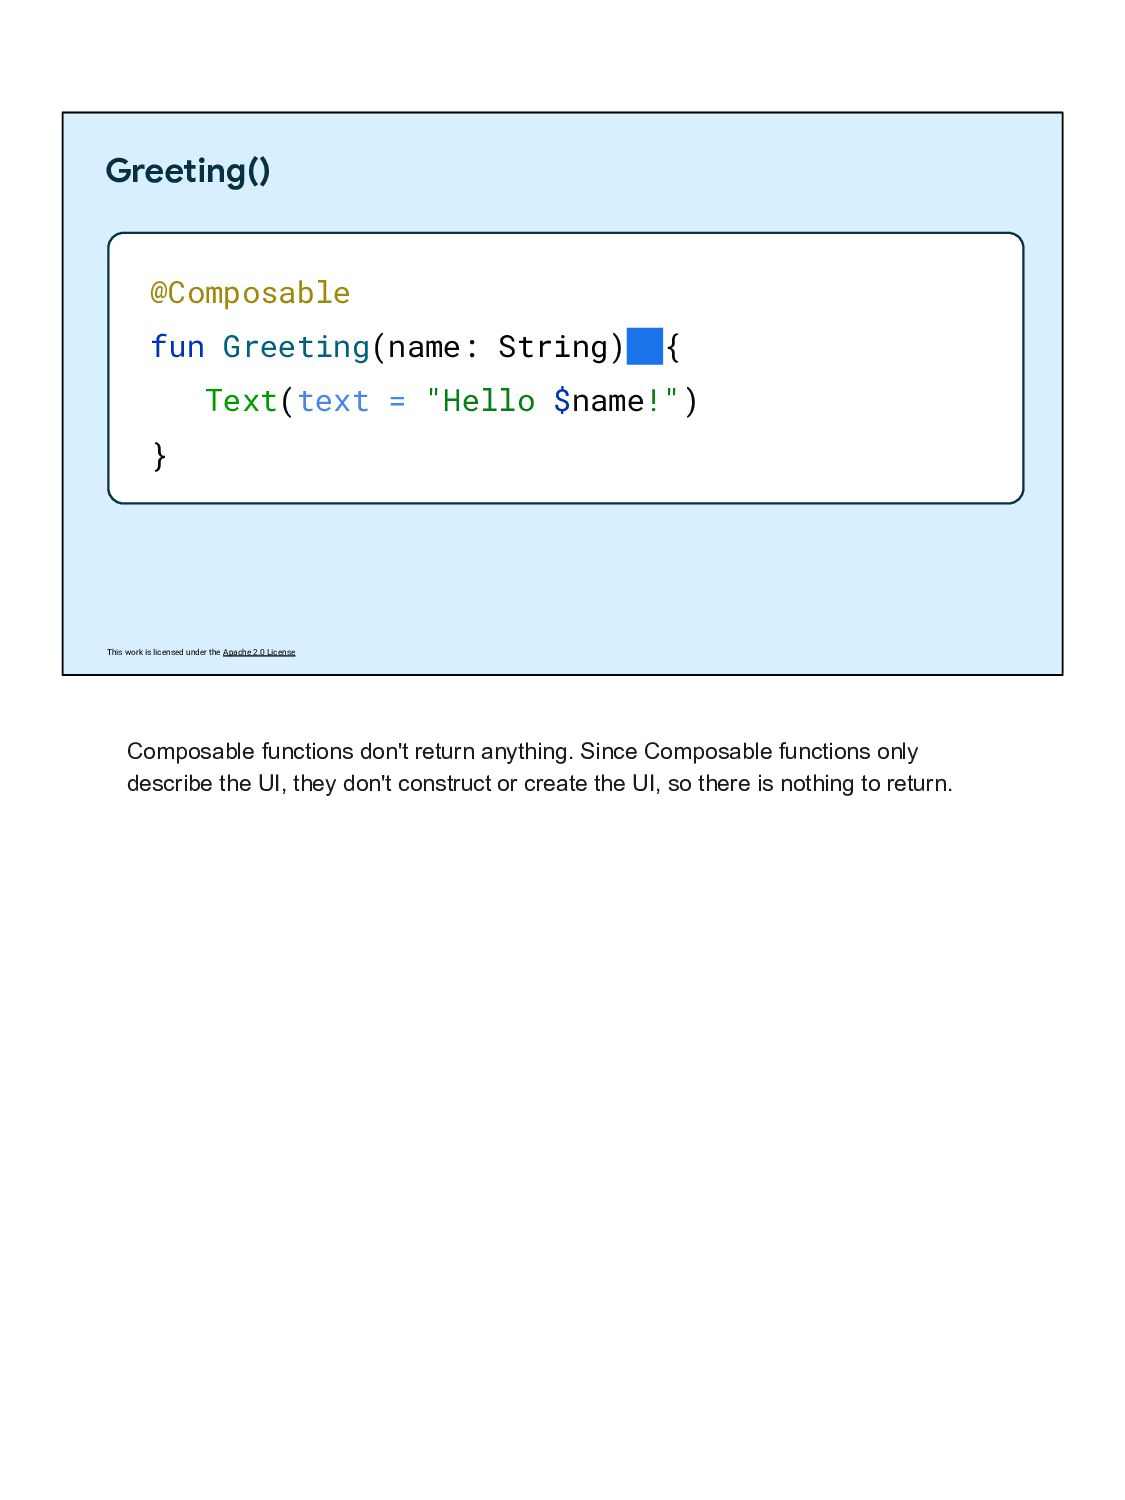
@Composable fun Greeting(name: String) { Text(text = "Hello $name!") } Composable functions don't return anything. Since Composable functions only describe the UI, they don't construct or create the UI, so there is nothing to return.
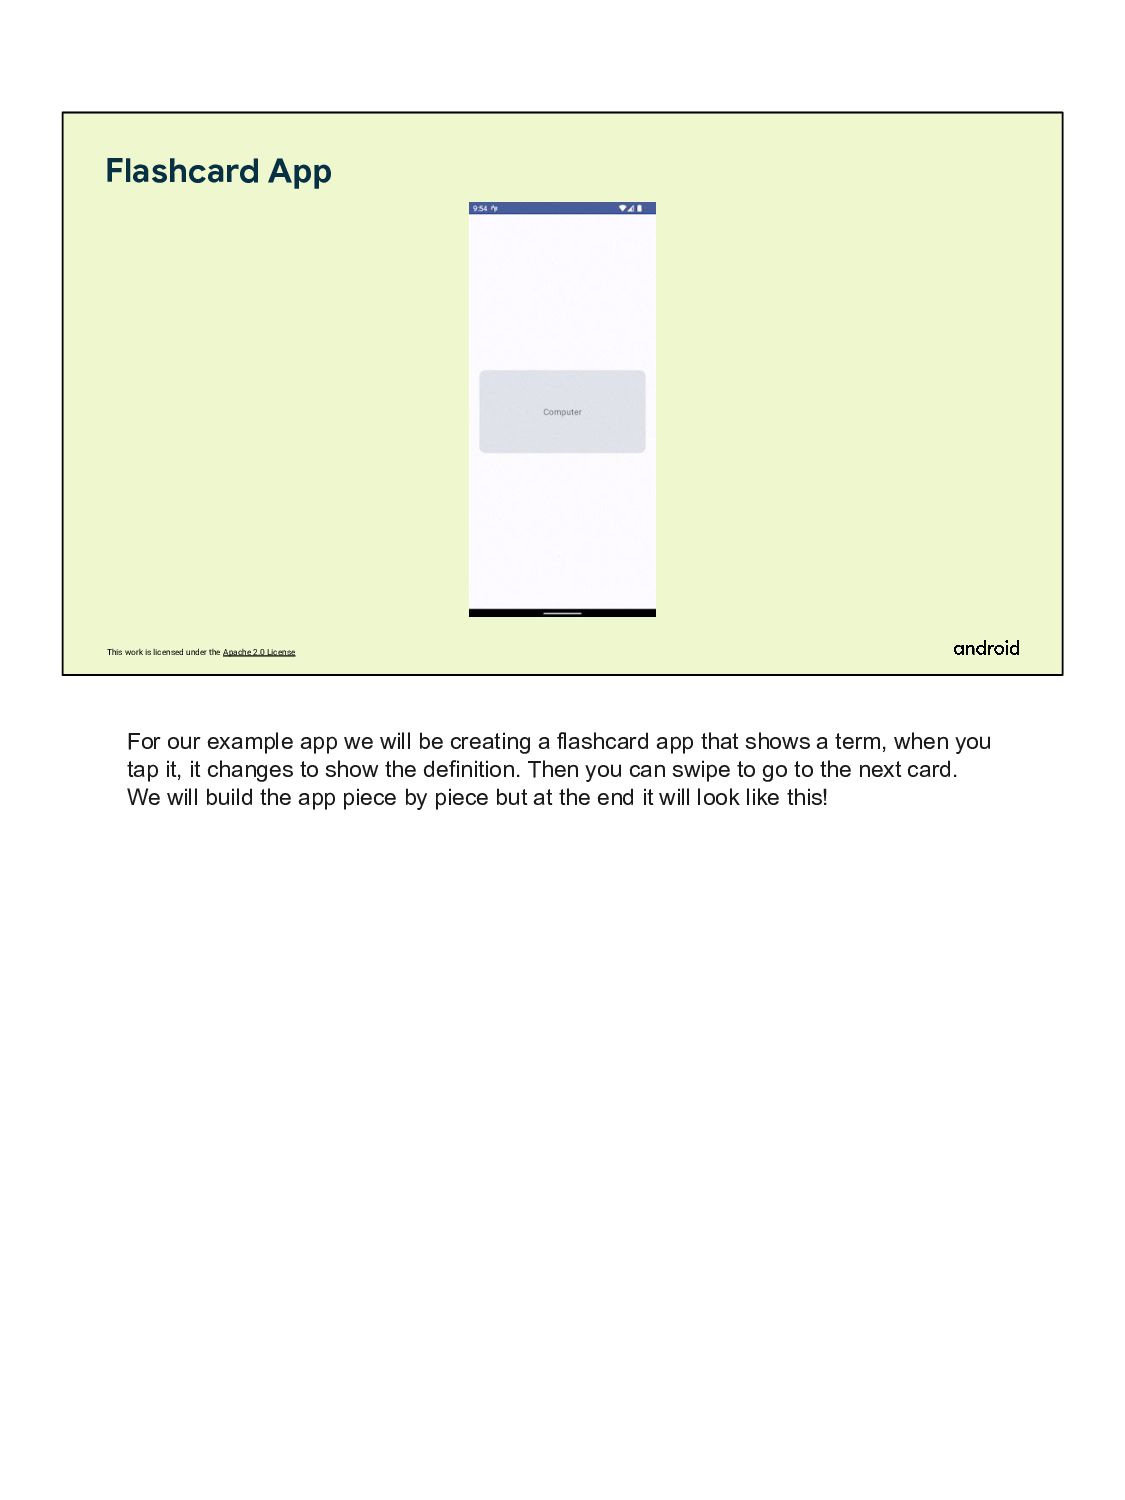
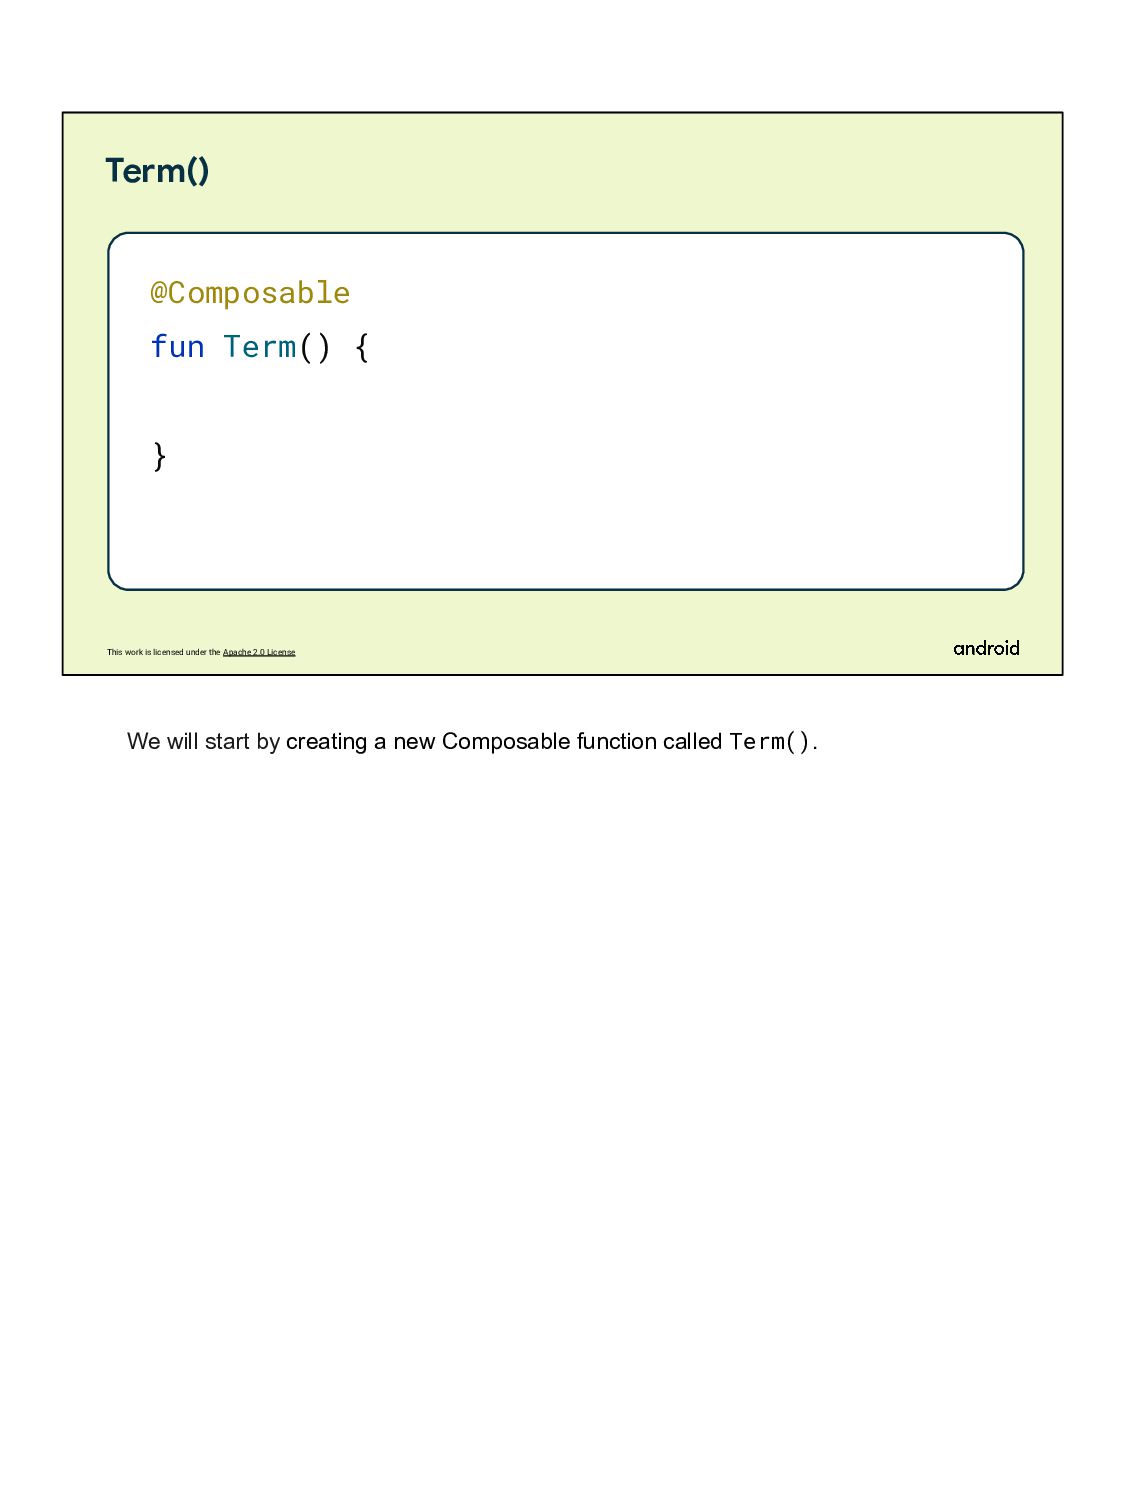
App For our example app we will be creating a flashcard app that shows a term, when you tap it, it changes to show the definition. Then you can swipe to go to the next card. We will build the app piece by piece but at the end it will look like this!
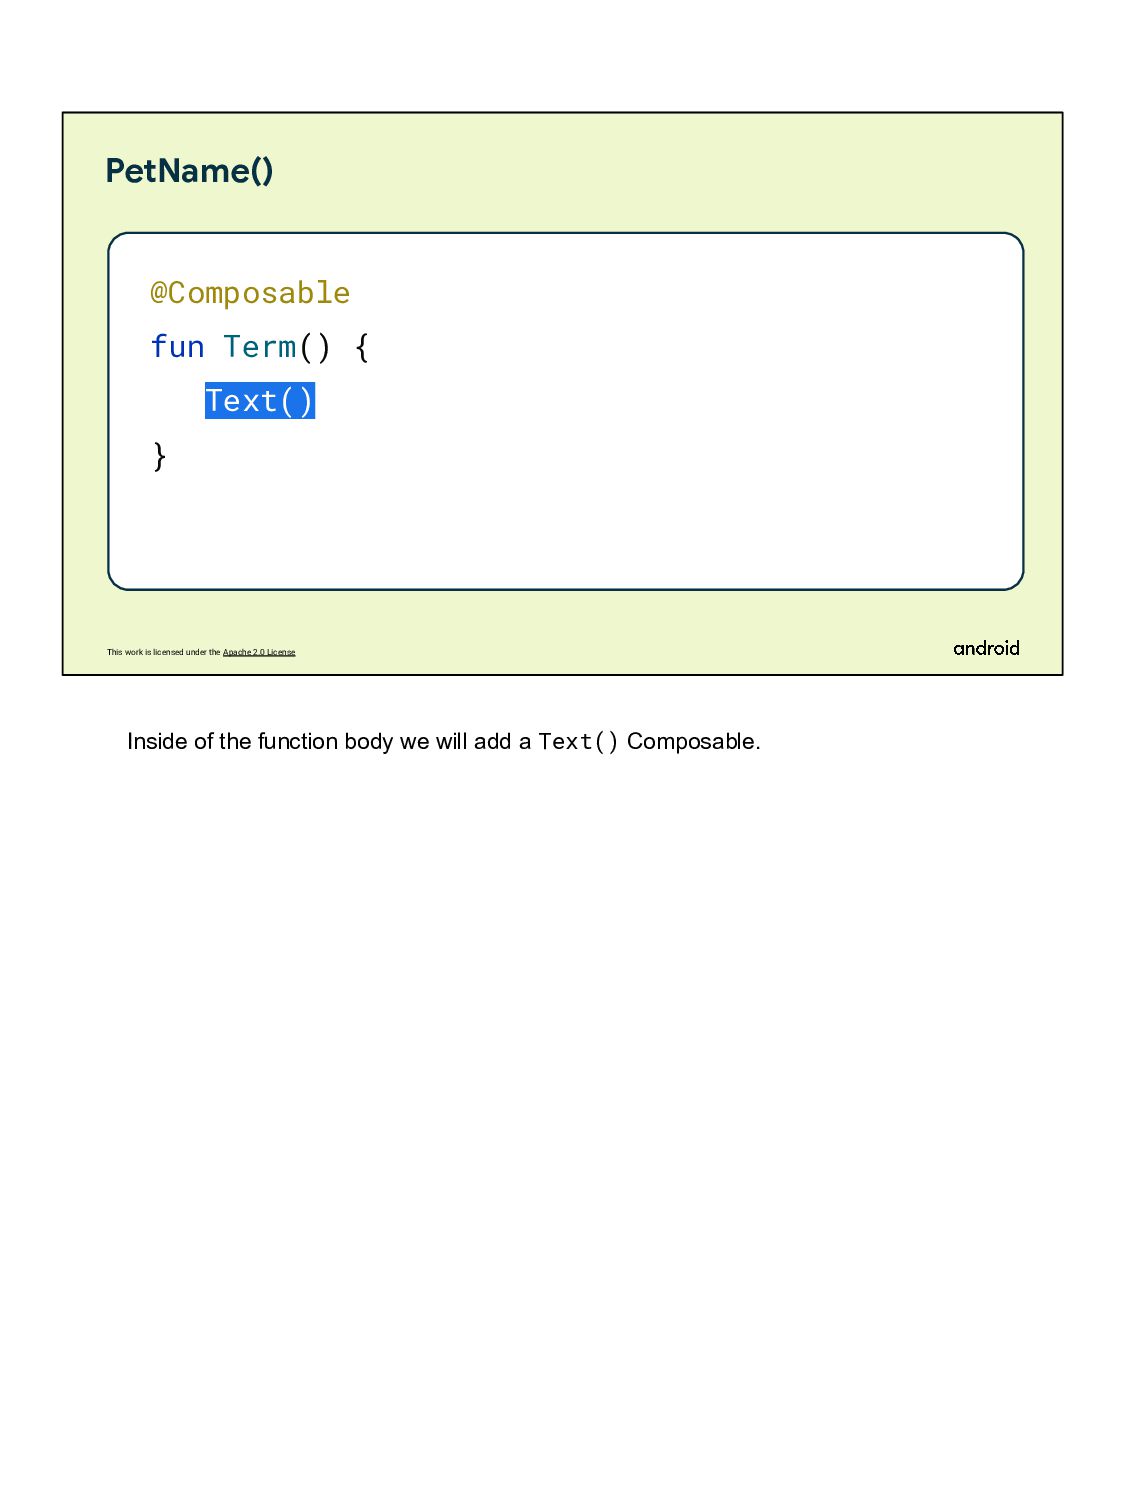
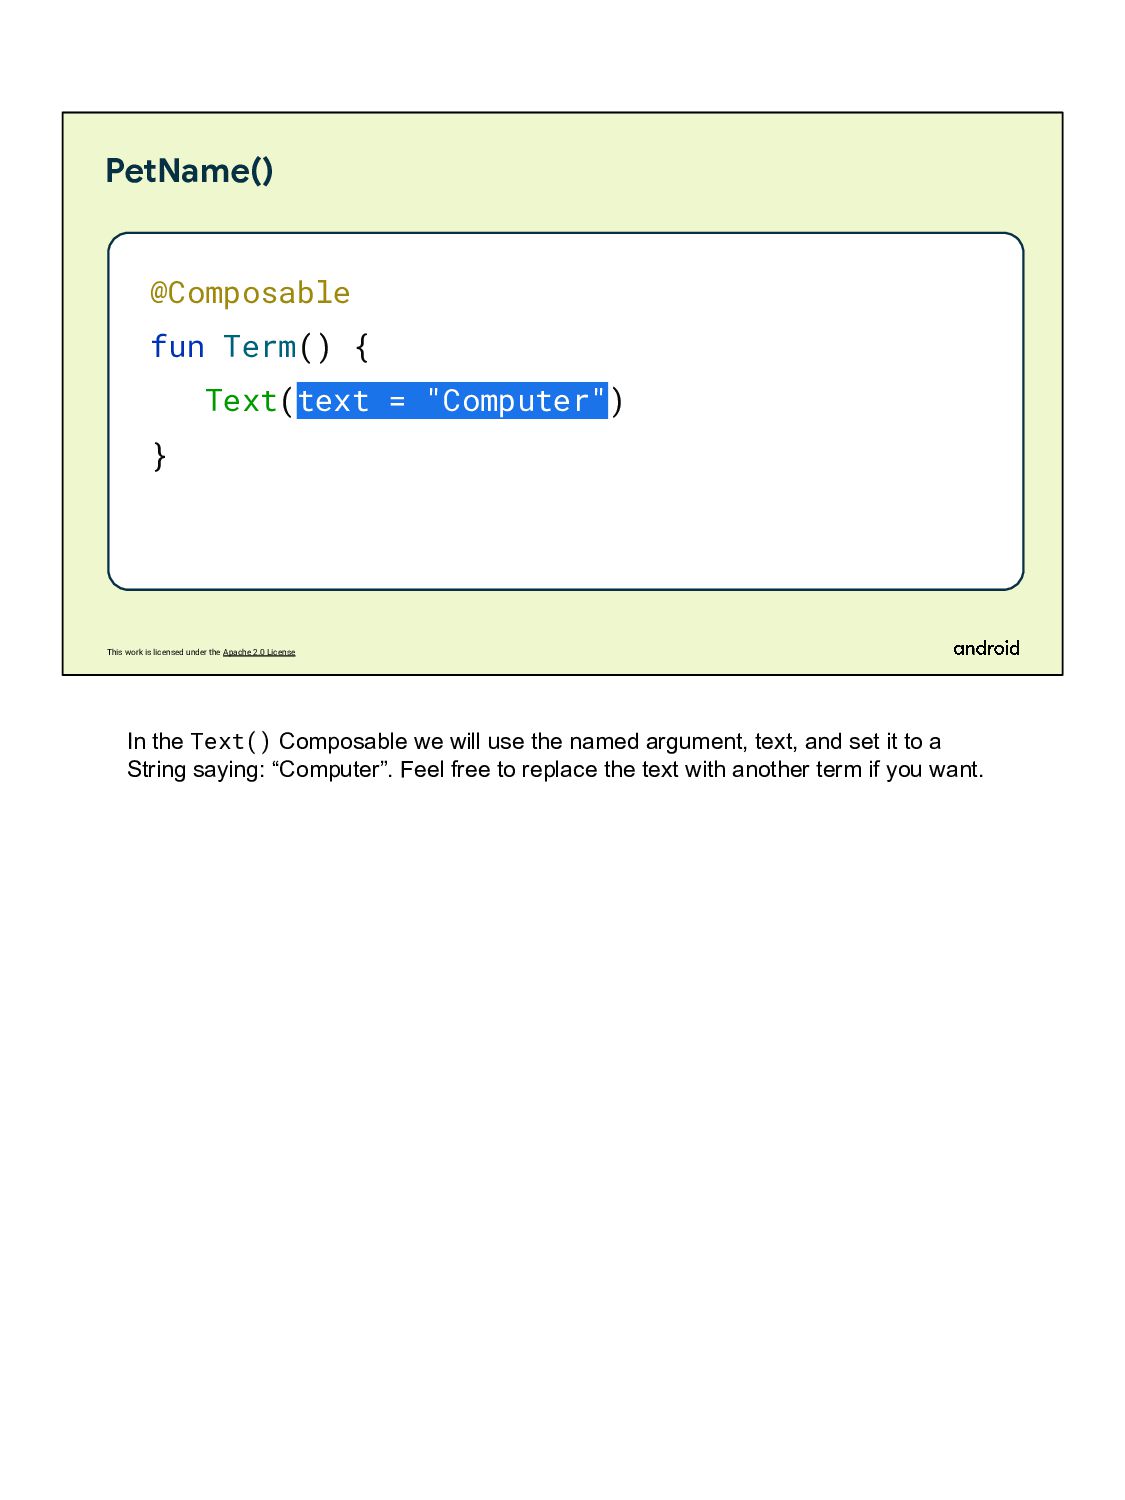
@Composable fun Term() { Text(text = "Computer") } In the Text() Composable we will use the named argument, text, and set it to a String saying: “Computer”. Feel free to replace the text with another term if you want.
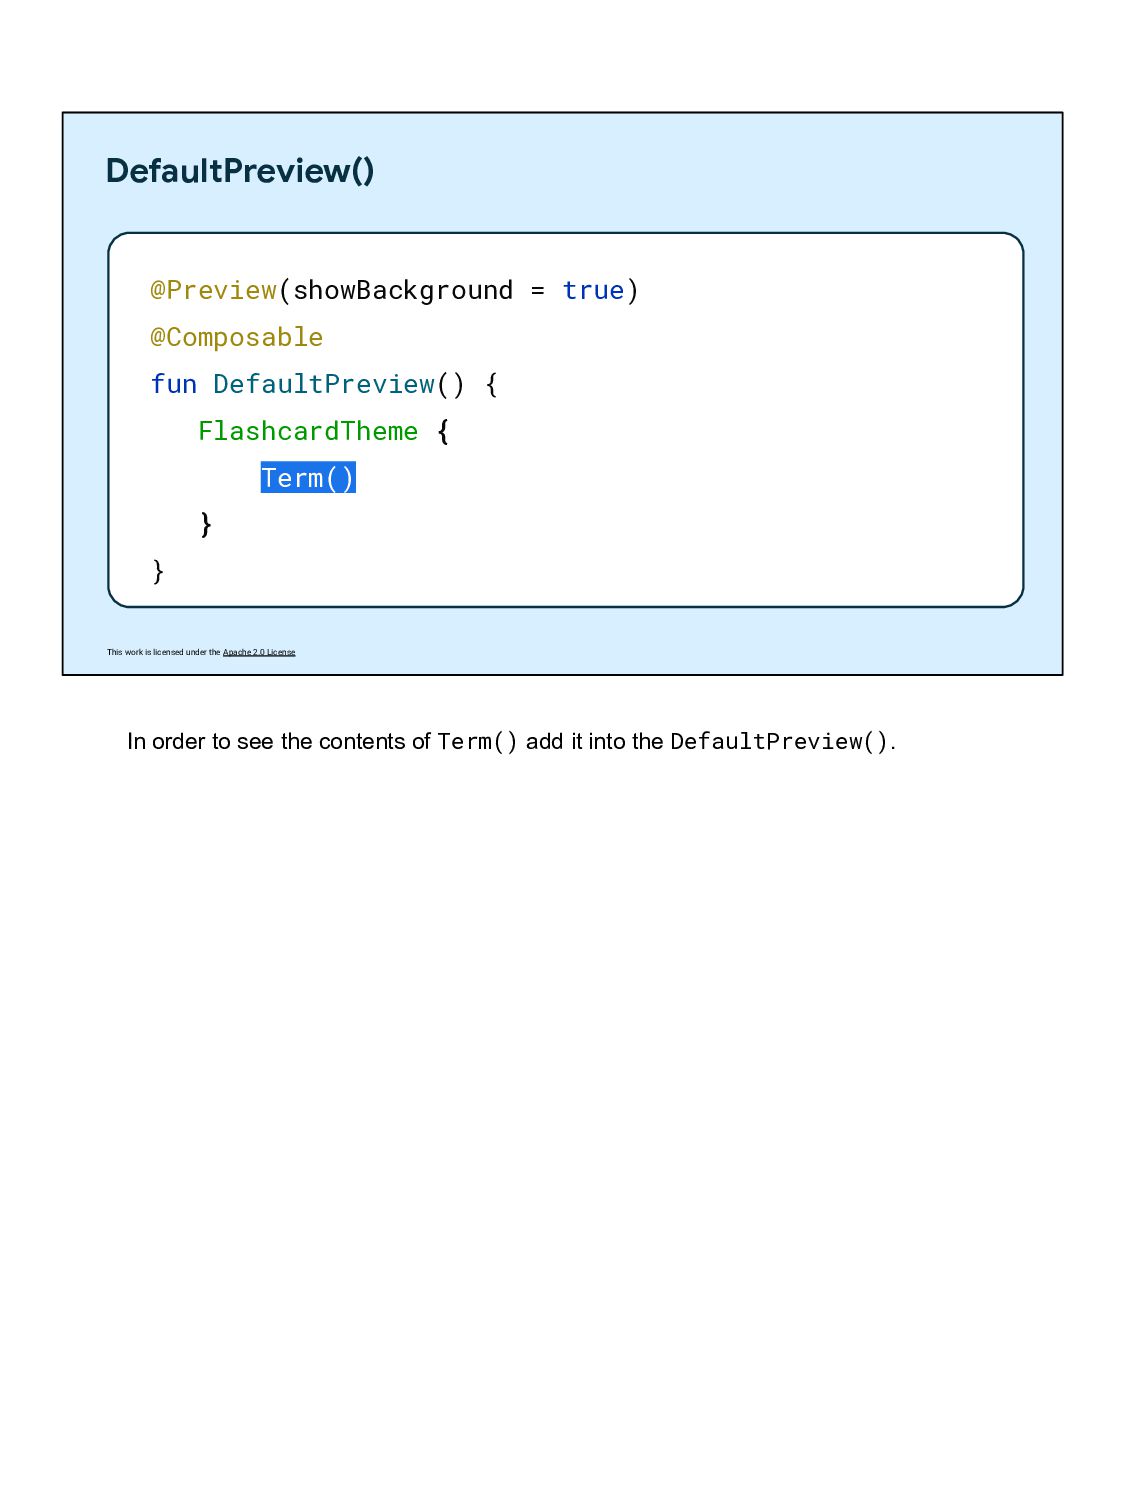
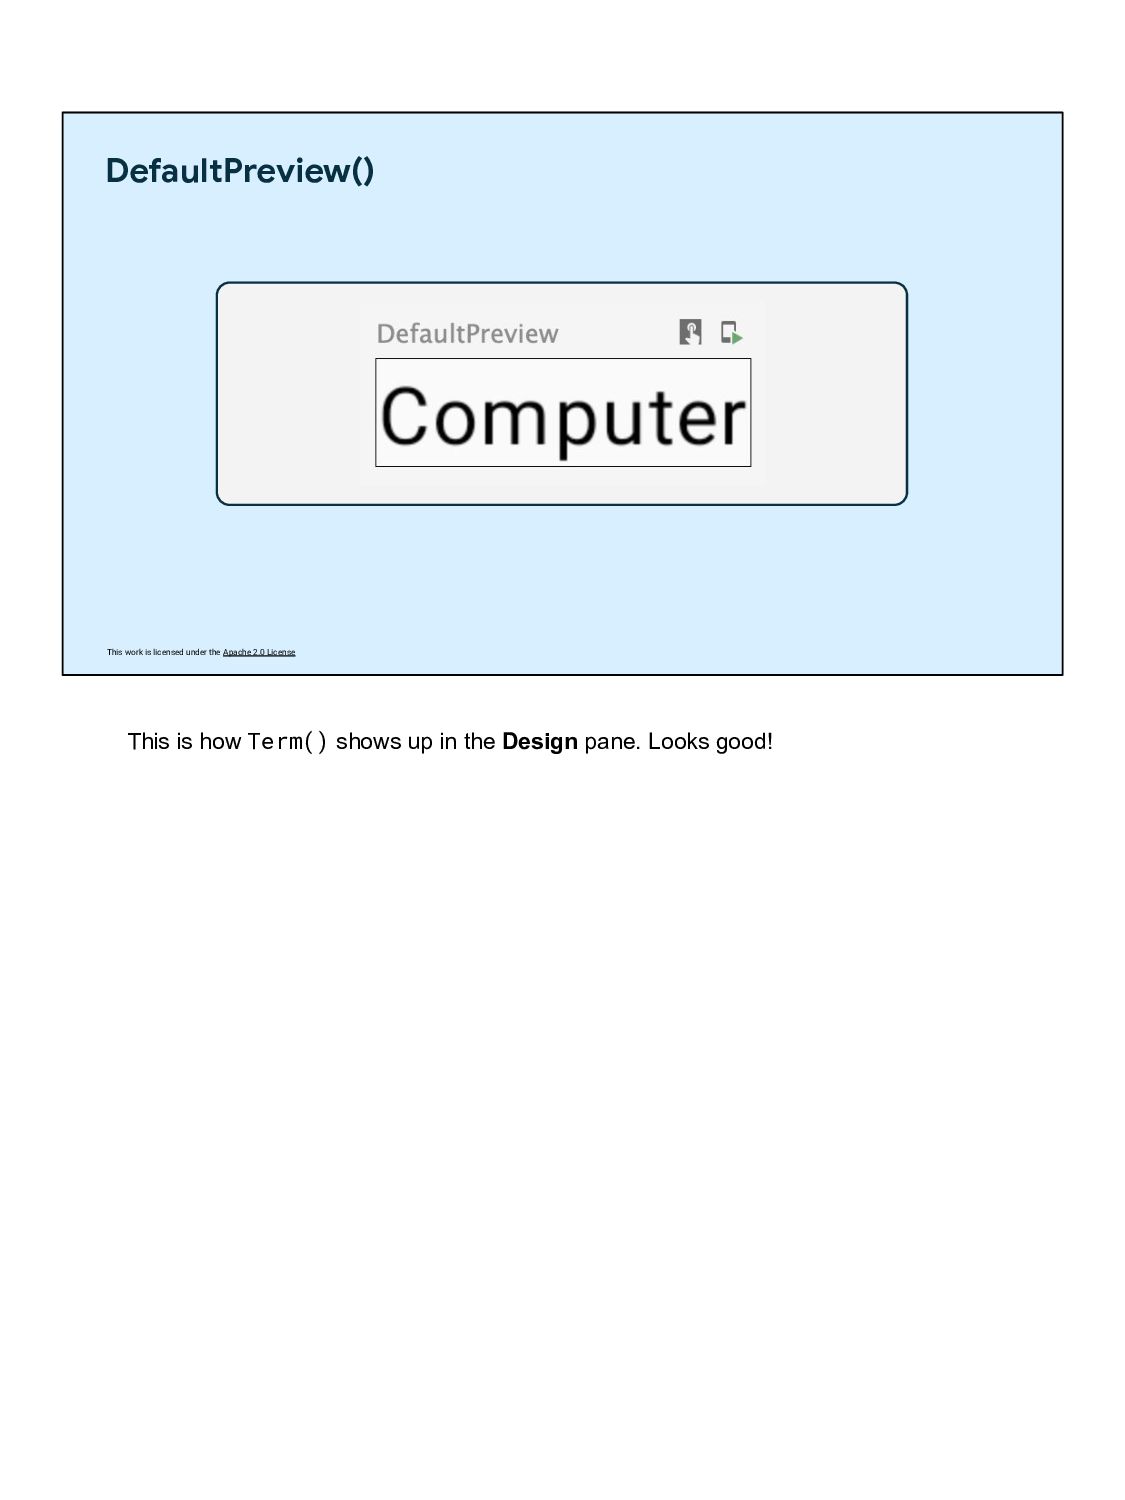
@Preview(showBackground = true) @Composable fun DefaultPreview() { FlashcardTheme { Term() } } In order to see the contents of Term() add it into the DefaultPreview().
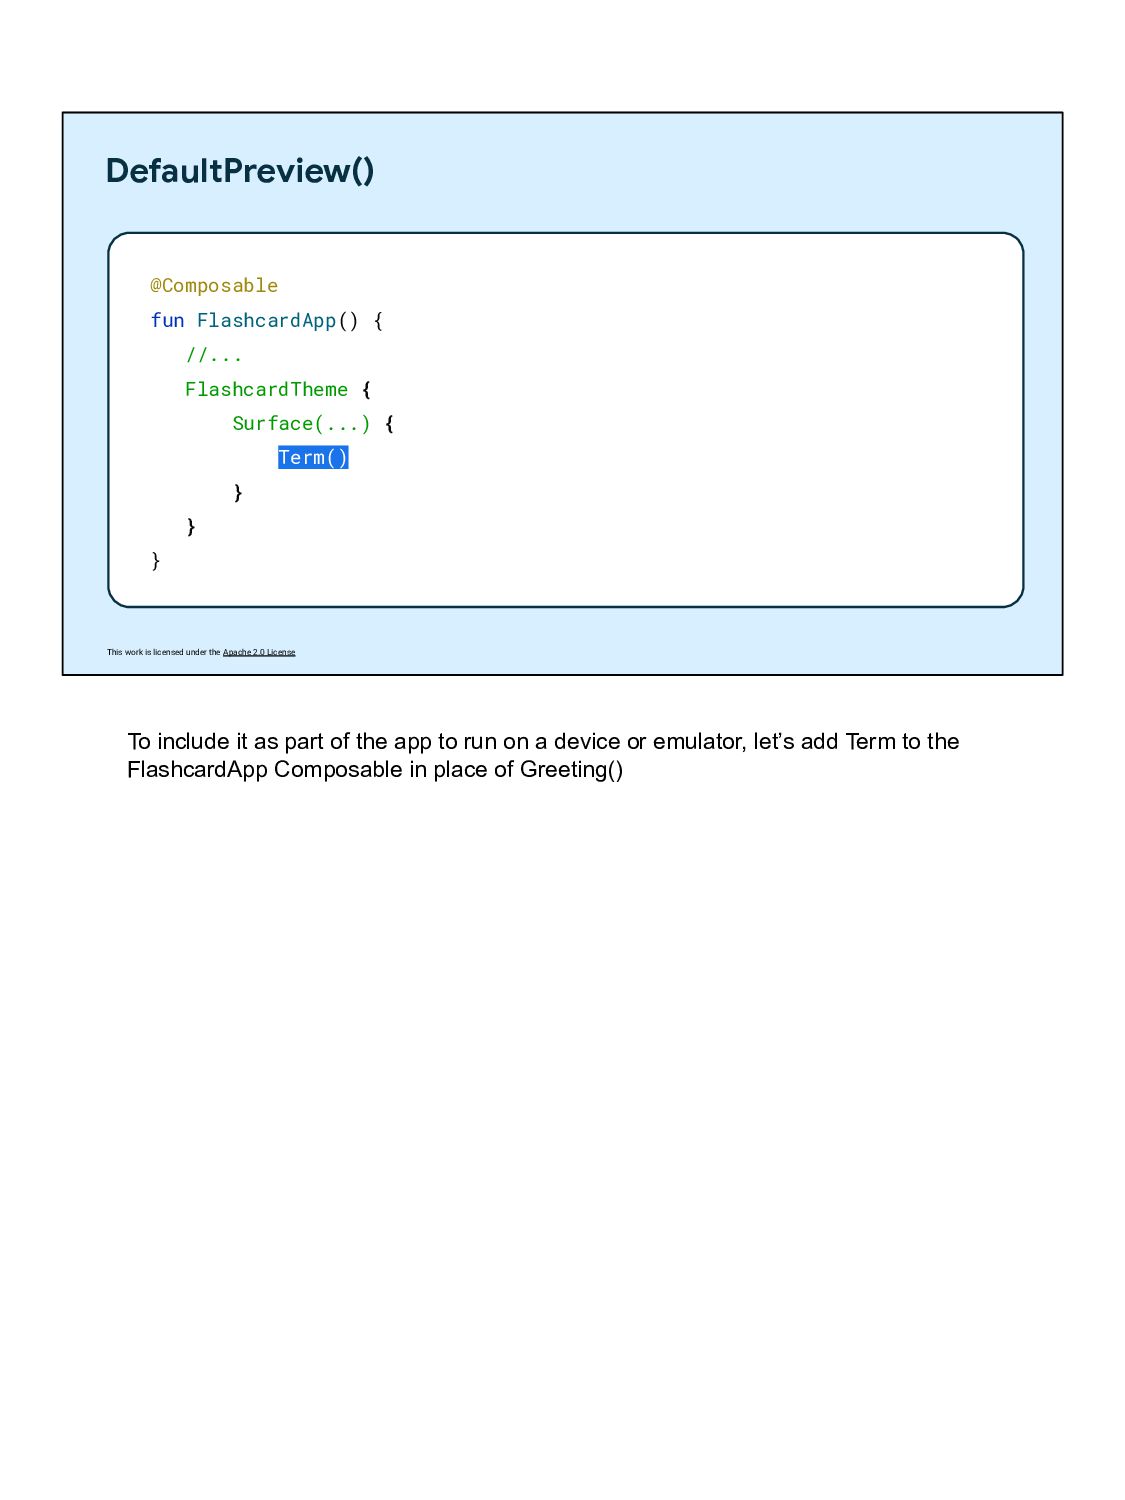
@Composable fun FlashcardApp() { //... FlashcardTheme { Surface(...) { Term() } } } To include it as part of the app to run on a device or emulator, let’s add Term to the FlashcardApp Composable in place of Greeting()
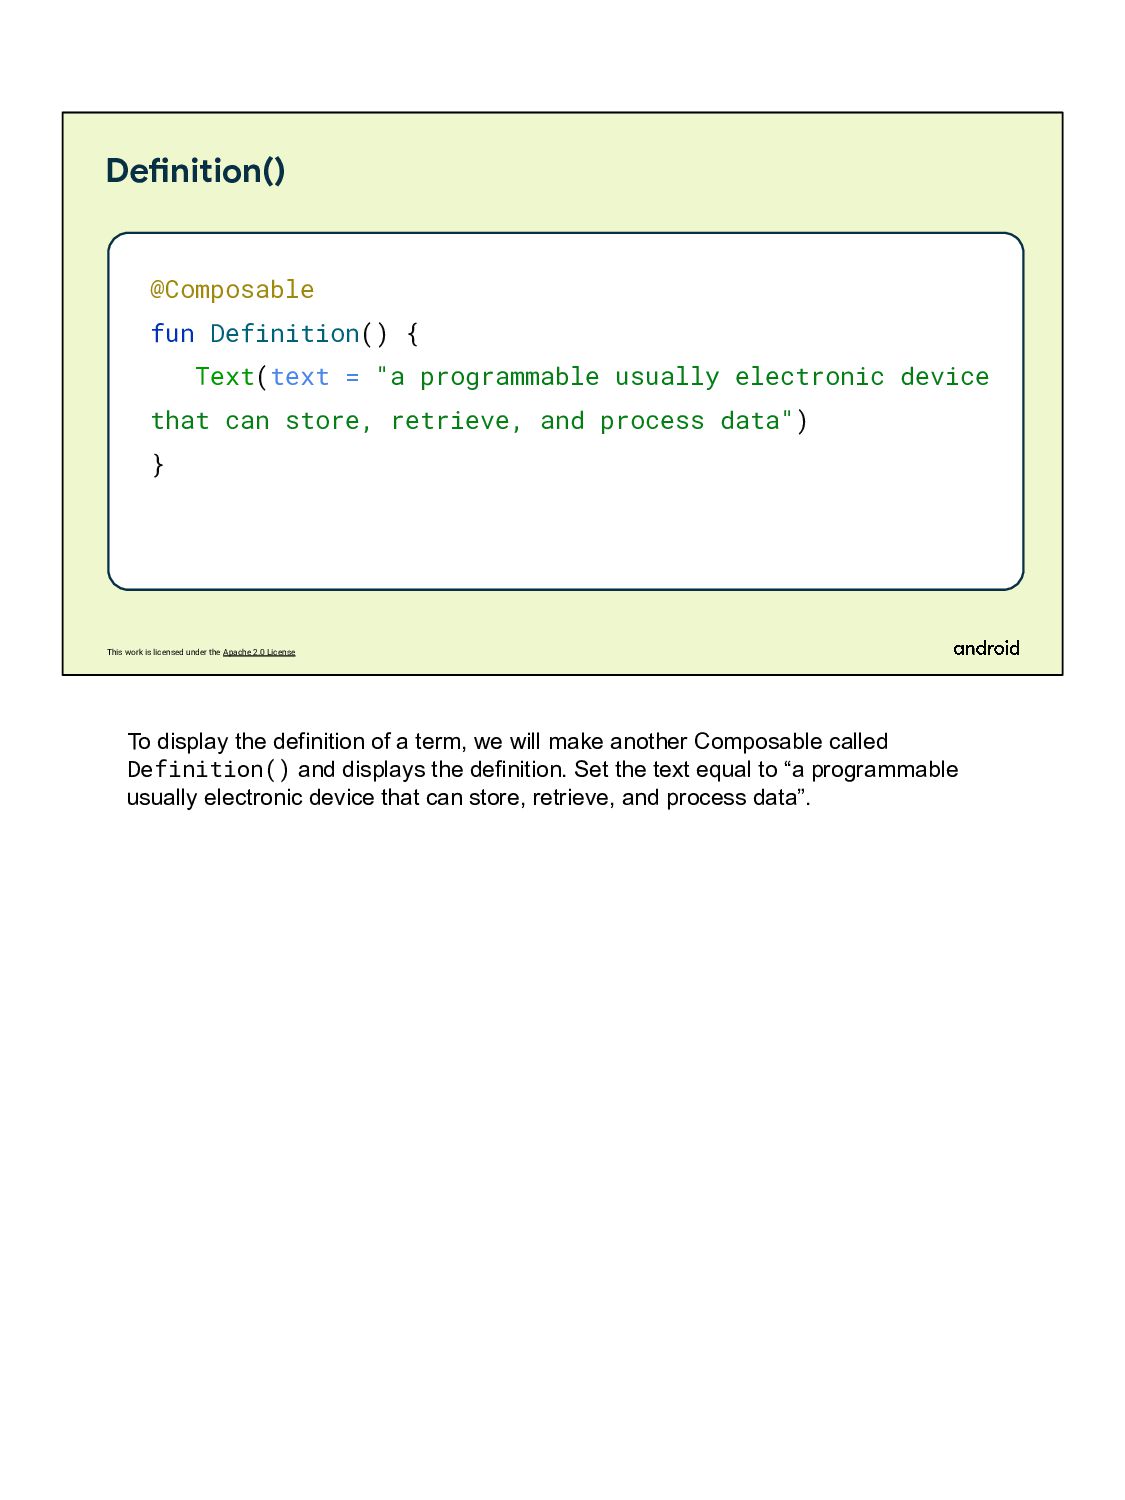
@Composable fun Definition() { Text(text = "a programmable usually electronic device that can store, retrieve, and process data") } To display the definition of a term, we will make another Composable called Definition() and displays the definition. Set the text equal to “a programmable usually electronic device that can store, retrieve, and process data”.
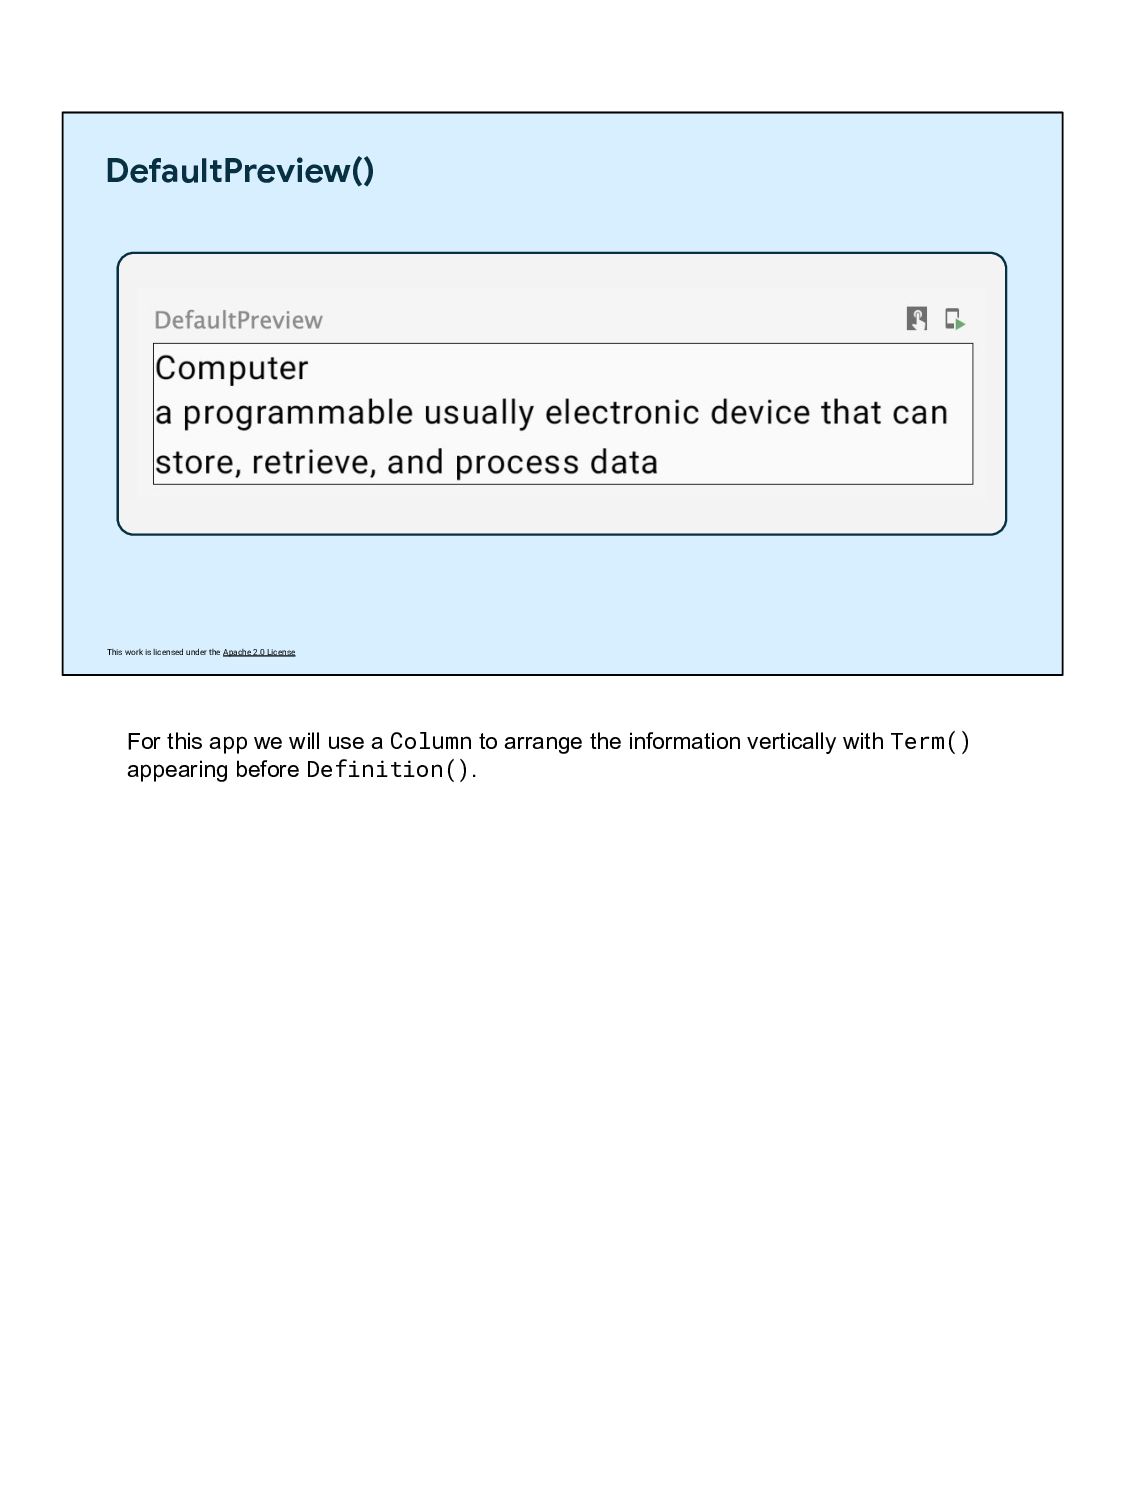
and Row Column Row Now we have two Composables that we want to display. Column and Row are two layout Composables that are used in Compose to arrange multiple Composables.
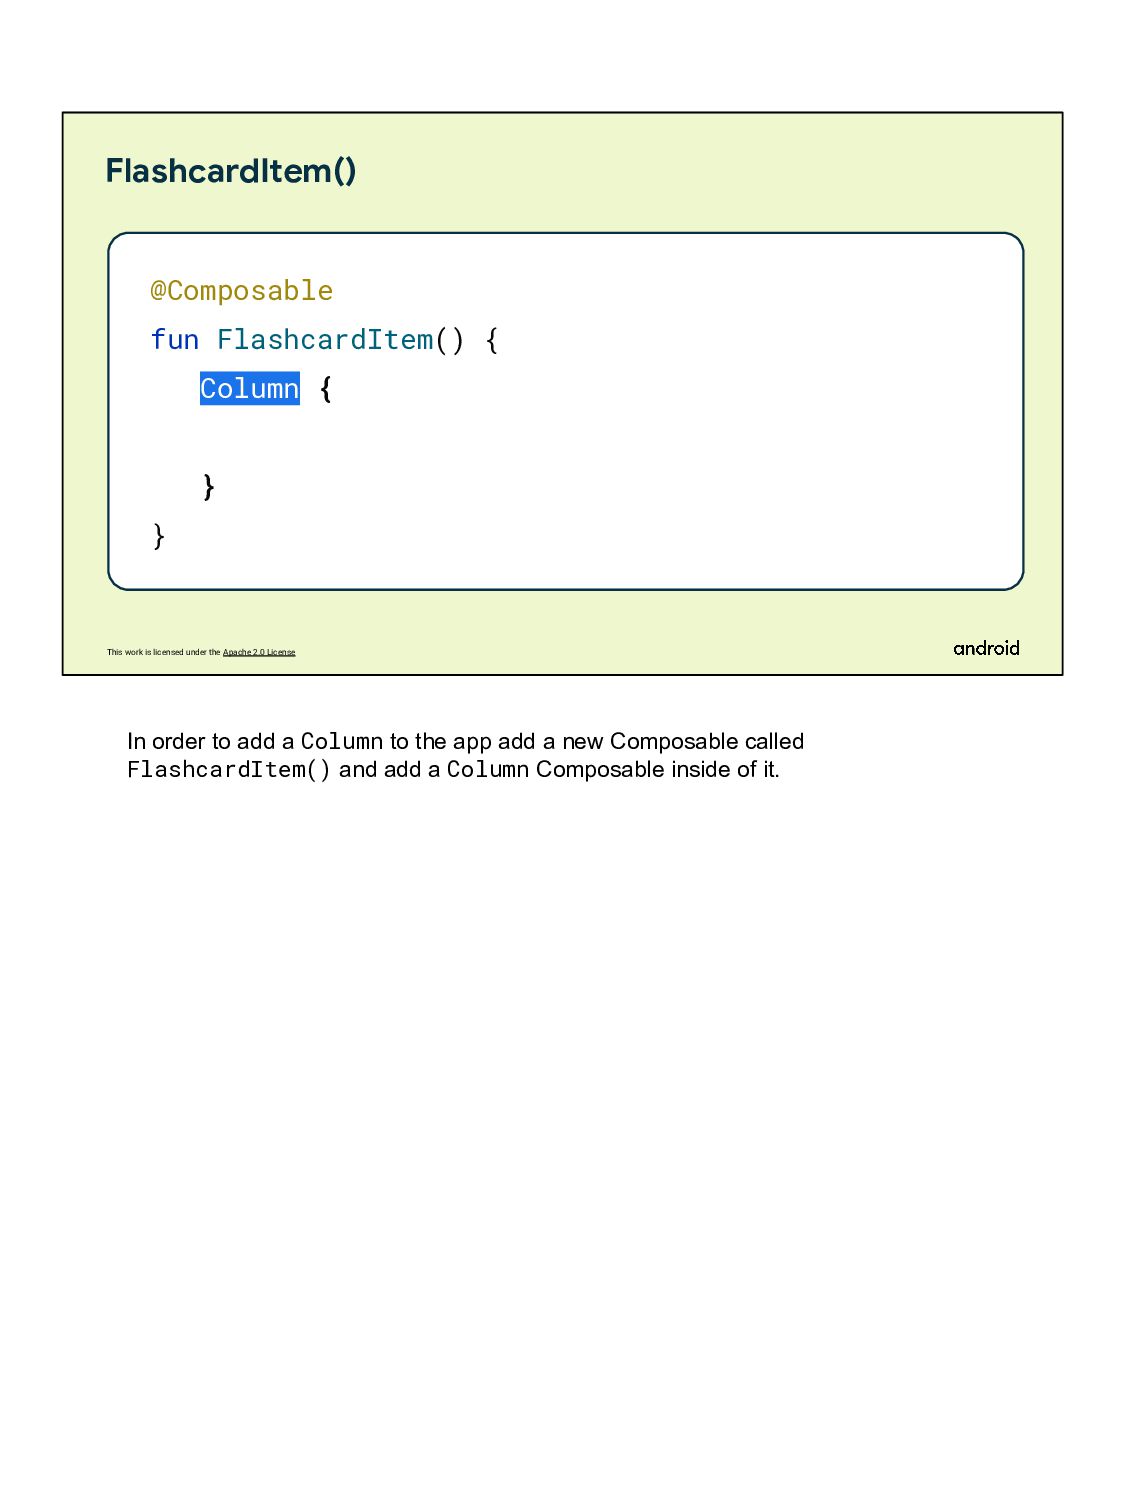
@Composable fun FlashcardItem() { Column { } } In order to add a Column to the app add a new Composable called FlashcardItem() and add a Column Composable inside of it.
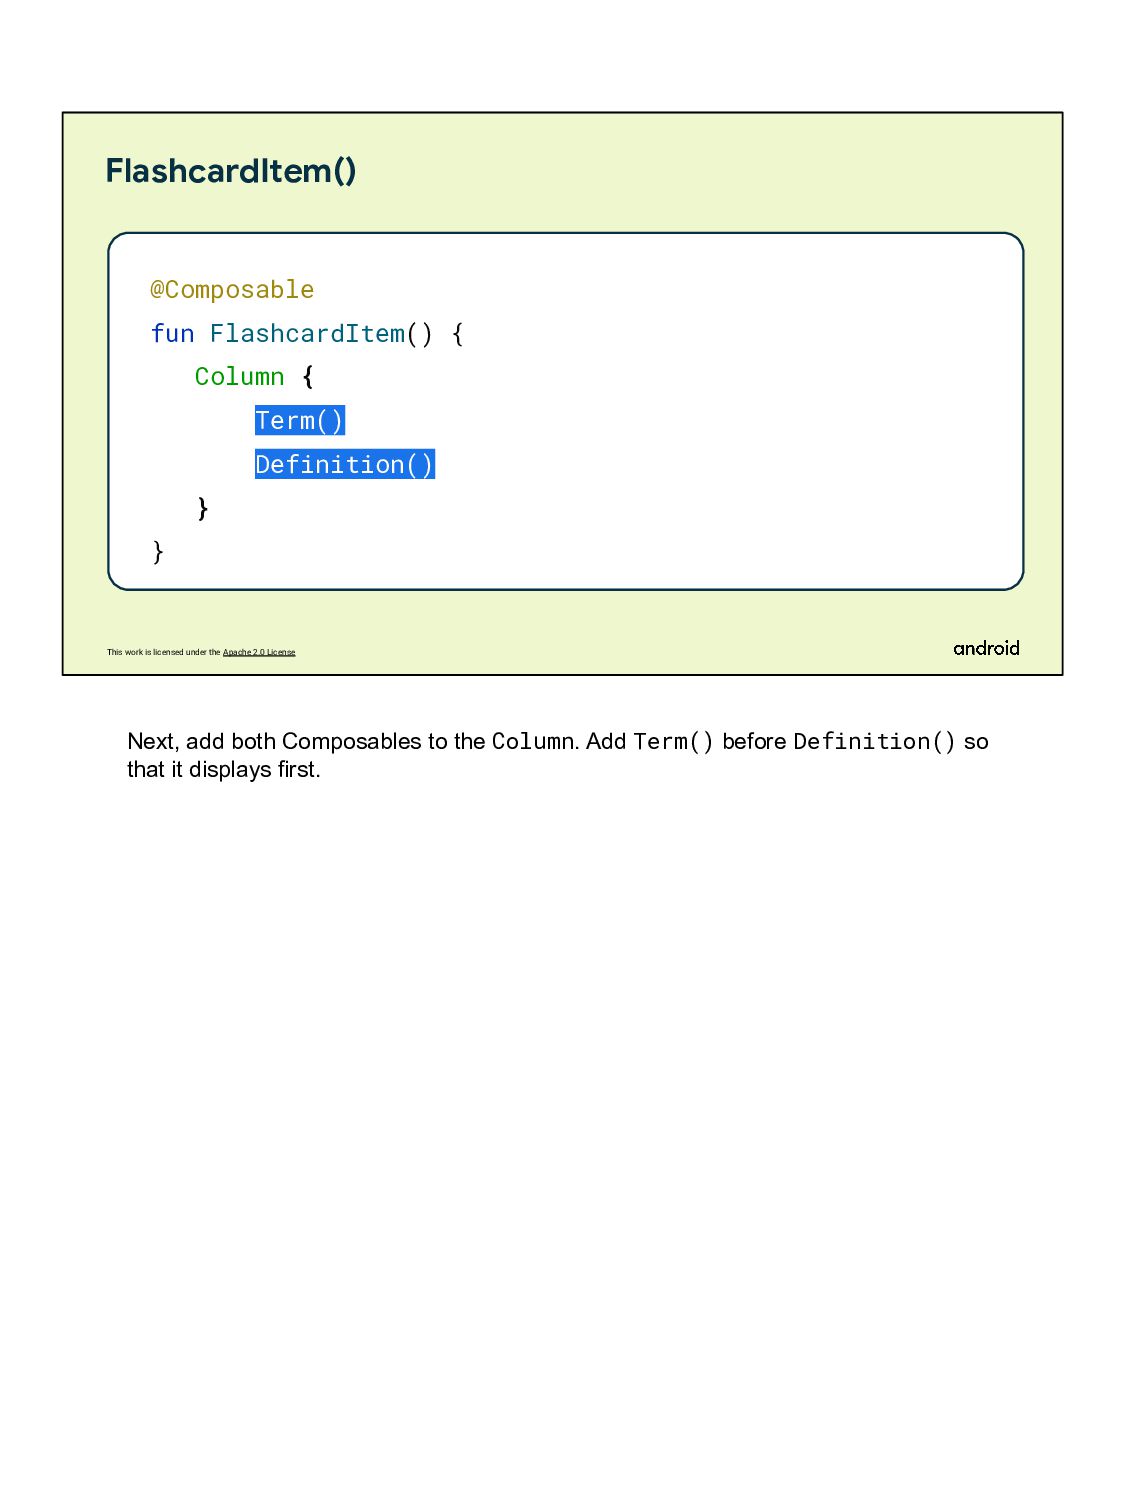
@Composable fun FlashcardItem() { Column { Term() Definition() } } Next, add both Composables to the Column. Add Term() before Definition() so that it displays first.
@Preview(showBackground = true) @Composable fun DefaultPreview() { FlashcardTheme { FlashcardItem() } } To view the new Column you added, add FlashcardItem() to the DefaultPreview().
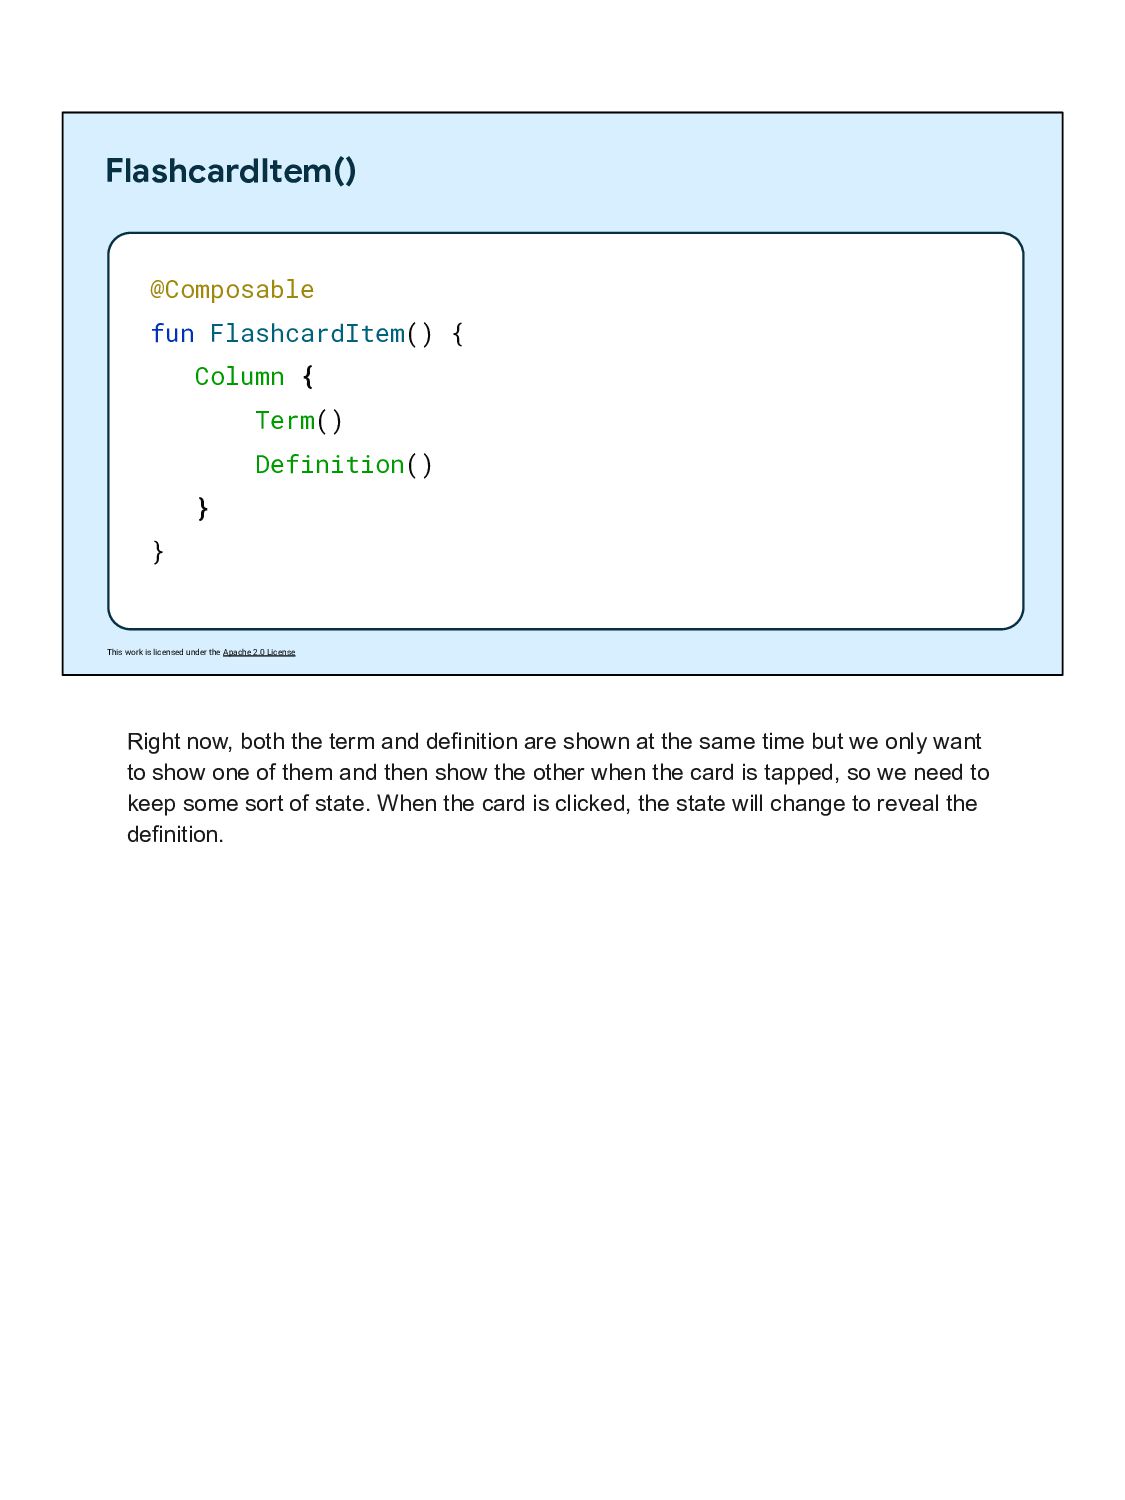
@Composable fun FlashcardItem() { Column { Term() Definition() } } Right now, both the term and definition are shown at the same time but we only want to show one of them and then show the other when the card is tapped, so we need to keep some sort of state. When the card is clicked, the state will change to reveal the definition.
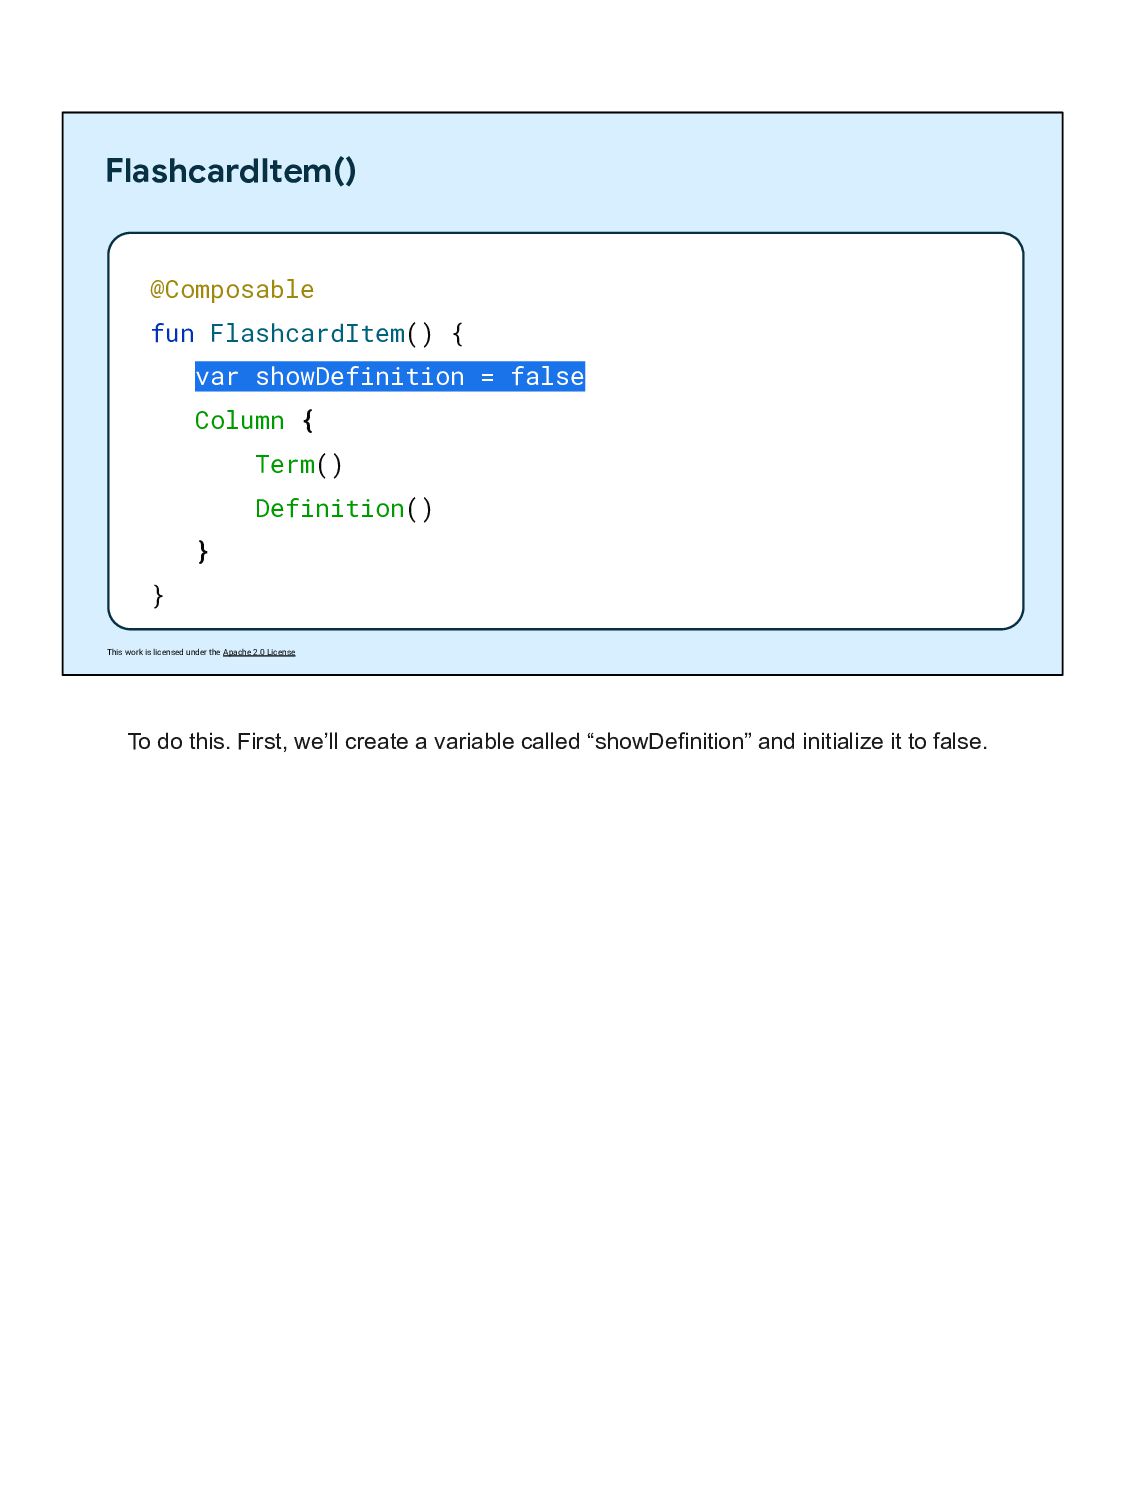
@Composable fun FlashcardItem() { var showDefinition = false Column { Term() Definition() } } To do this. First, we’ll create a variable called “showDefinition” and initialize it to false.
@Composable fun FlashcardItem() { var showDefinition = false Column(Modifier.clickable { showDefinition = !showDefinition }) { // ... } } And then we make Column clickable so that clicking it changes the value of showDefinition.
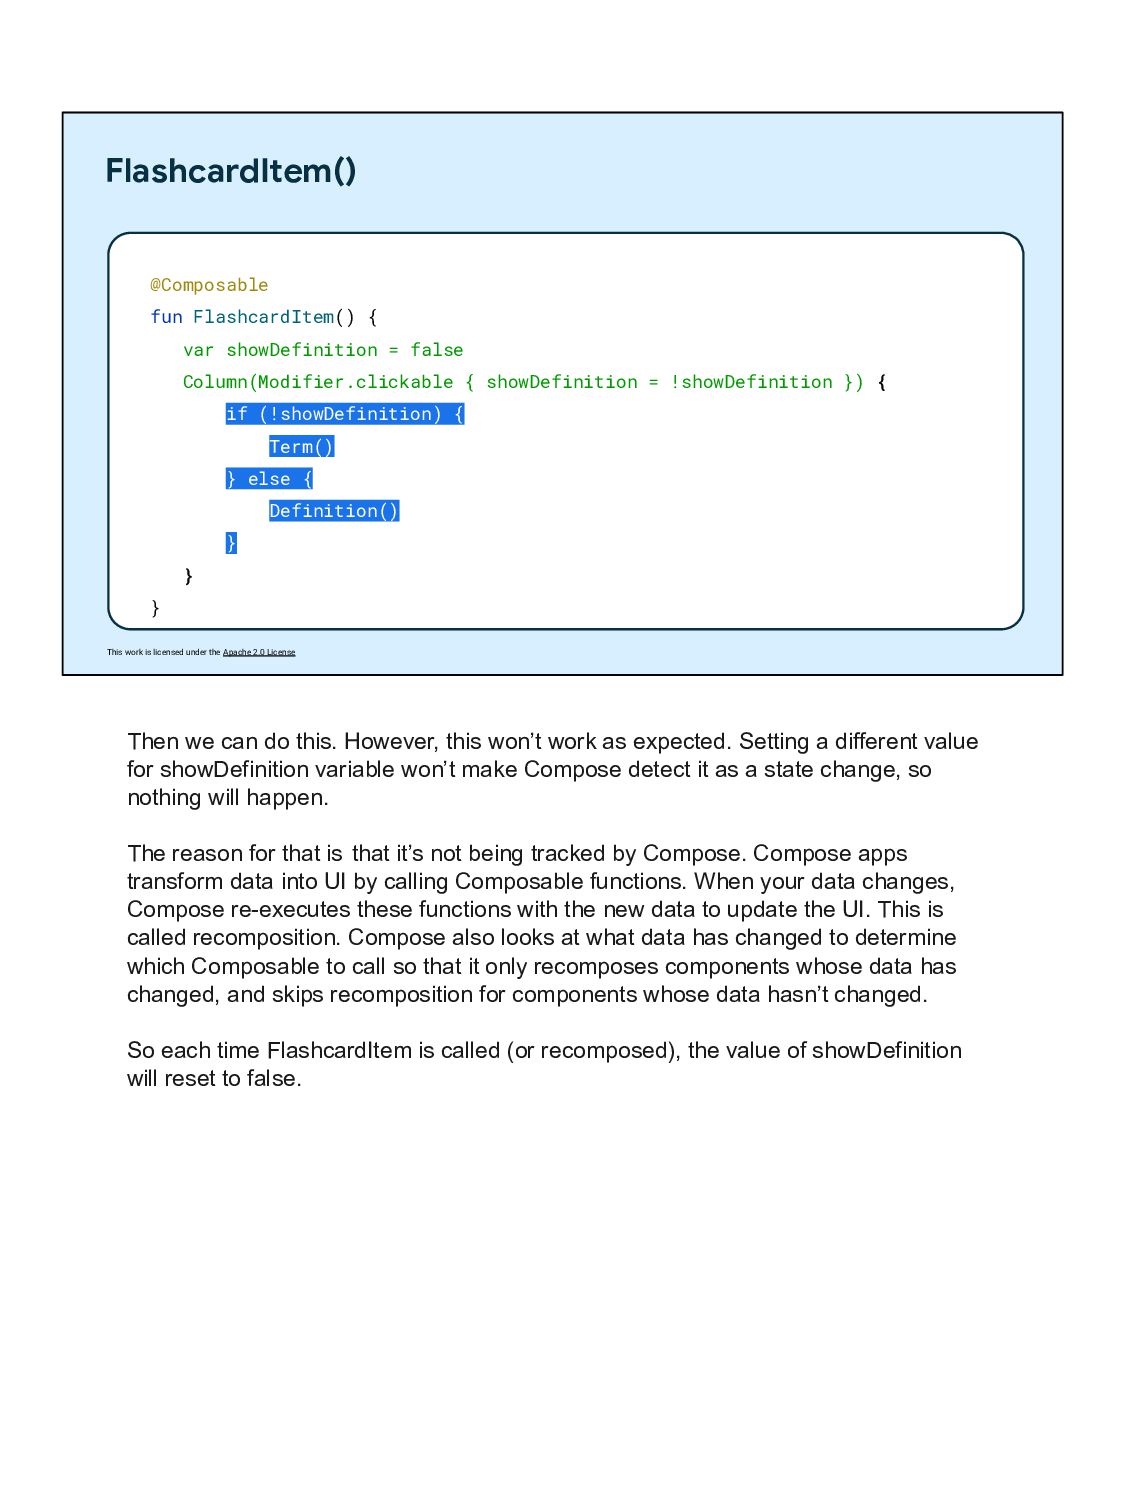
@Composable fun FlashcardItem() { var showDefinition = false Column(Modifier.clickable { showDefinition = !showDefinition }) { if (!showDefinition) { Term() } else { Definition() } } } Then we can do this. However, this won’t work as expected. Setting a different value for showDefinition variable won’t make Compose detect it as a state change, so nothing will happen. The reason for that is that it’s not being tracked by Compose. Compose apps transform data into UI by calling Composable functions. When your data changes, Compose re-executes these functions with the new data to update the UI. This is called recomposition. Compose also looks at what data has changed to determine which Composable to call so that it only recomposes components whose data has changed, and skips recomposition for components whose data hasn’t changed. So each time FlashcardItem is called (or recomposed), the value of showDefinition will reset to false.
@Composable fun FlashcardItem() { var showDefinition = mutableStateOf(false) // ... } To add internal state, you can use the mutableStateOf function. If this were done outside of a Composable function, it would be retained. However, in a Composable function, we have the problem where it will be called many times during recomposition, which would reset this.
@Composable fun FlashcardItem() { var showDefinition = remember { mutableStateOf(false) } // ... } To preserve states across recompositions, we tell Compose to remember the mutable state by using the remember function.
@Composable fun FlashcardItem() { val showDefinition = remember { mutableStateOf(false) } Column(Modifier.clickable { showDefinition.value = !showDefinition.value }) { if (!showDefinition.value) { Term() } else { Definition() } } } Because we’re storing the state in a MutableState object, we need to modify our code to access the value inside it. If we run this code now, we can tap on the card item, it will mutate showDefinition, and Compose will recompose this component to reflect the change by showing Definition() instead of Term().
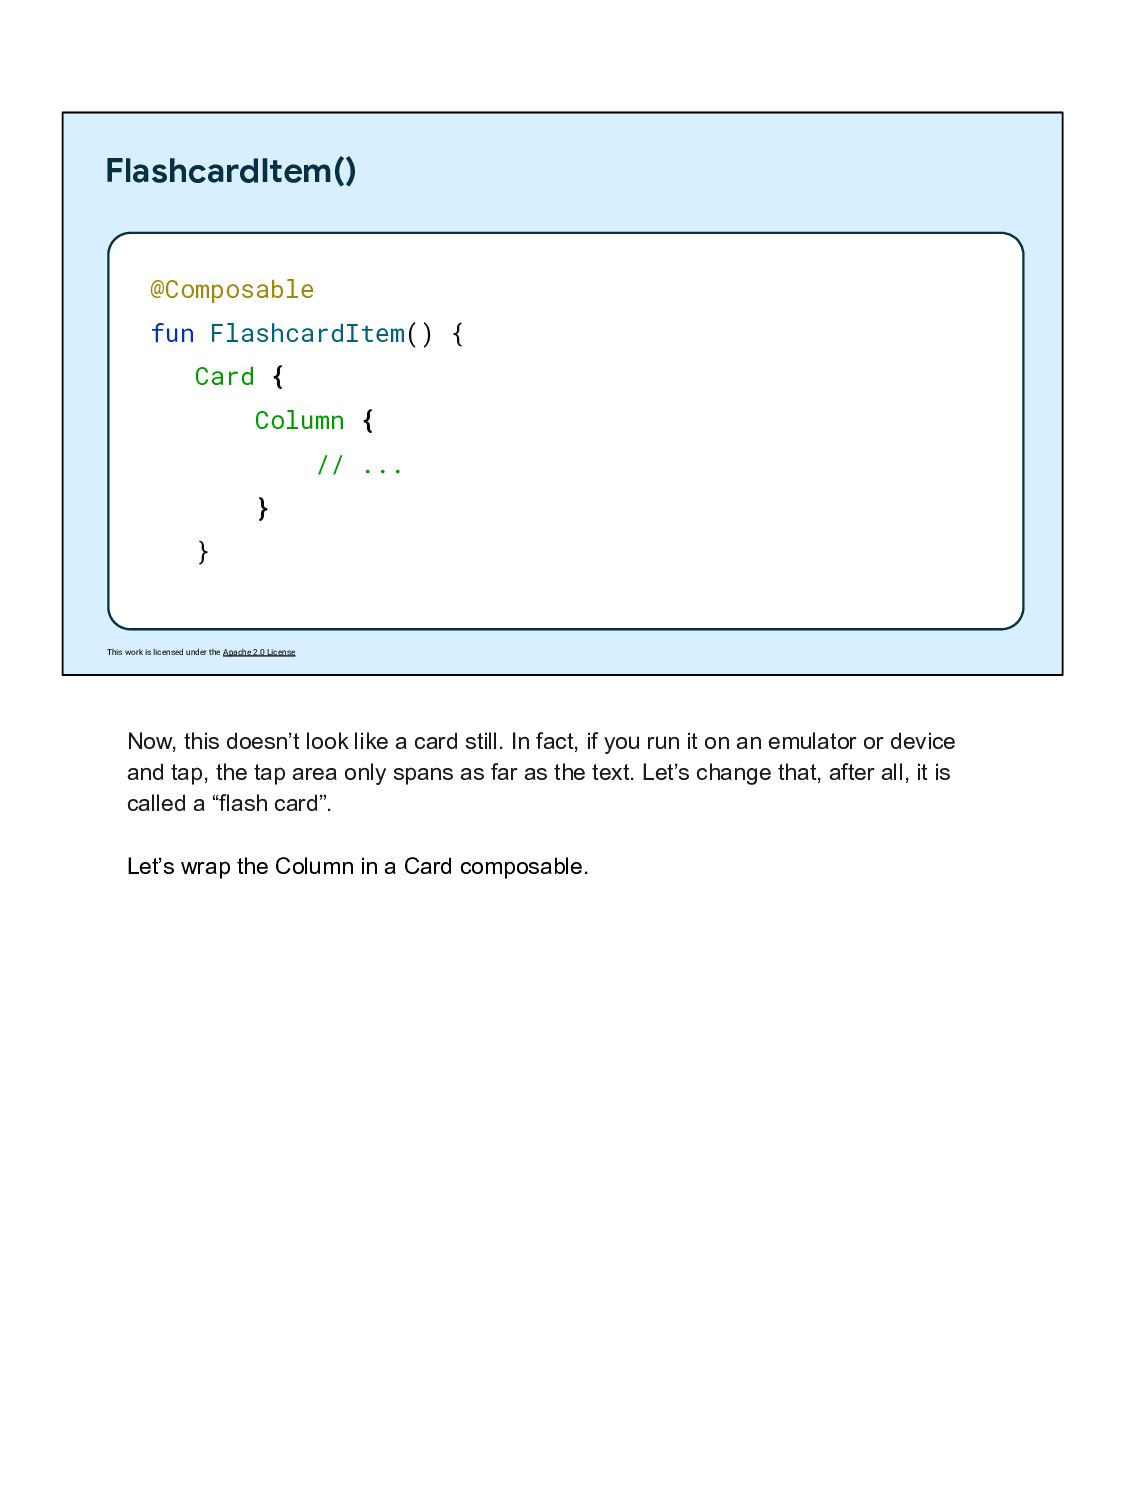
@Composable fun FlashcardItem() { Card { Column { // ... } } Now, this doesn’t look like a card still. In fact, if you run it on an emulator or device and tap, the tap area only spans as far as the text. Let’s change that, after all, it is called a “flash card”. Let’s wrap the Column in a Card composable.
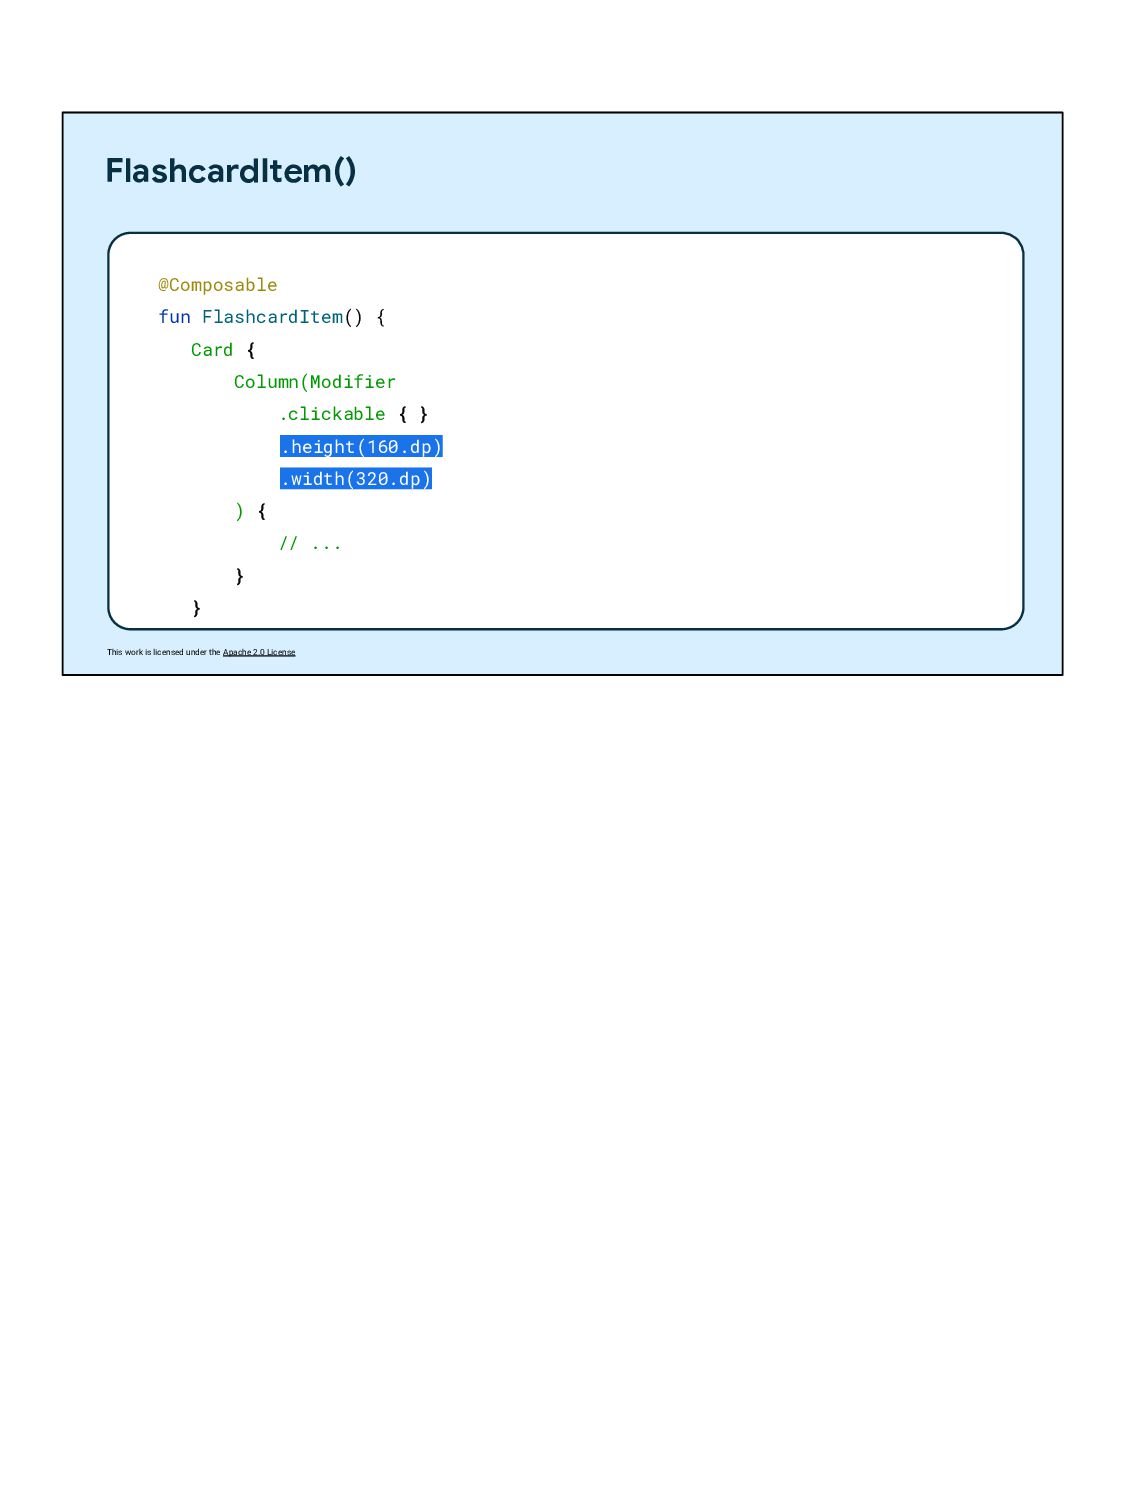
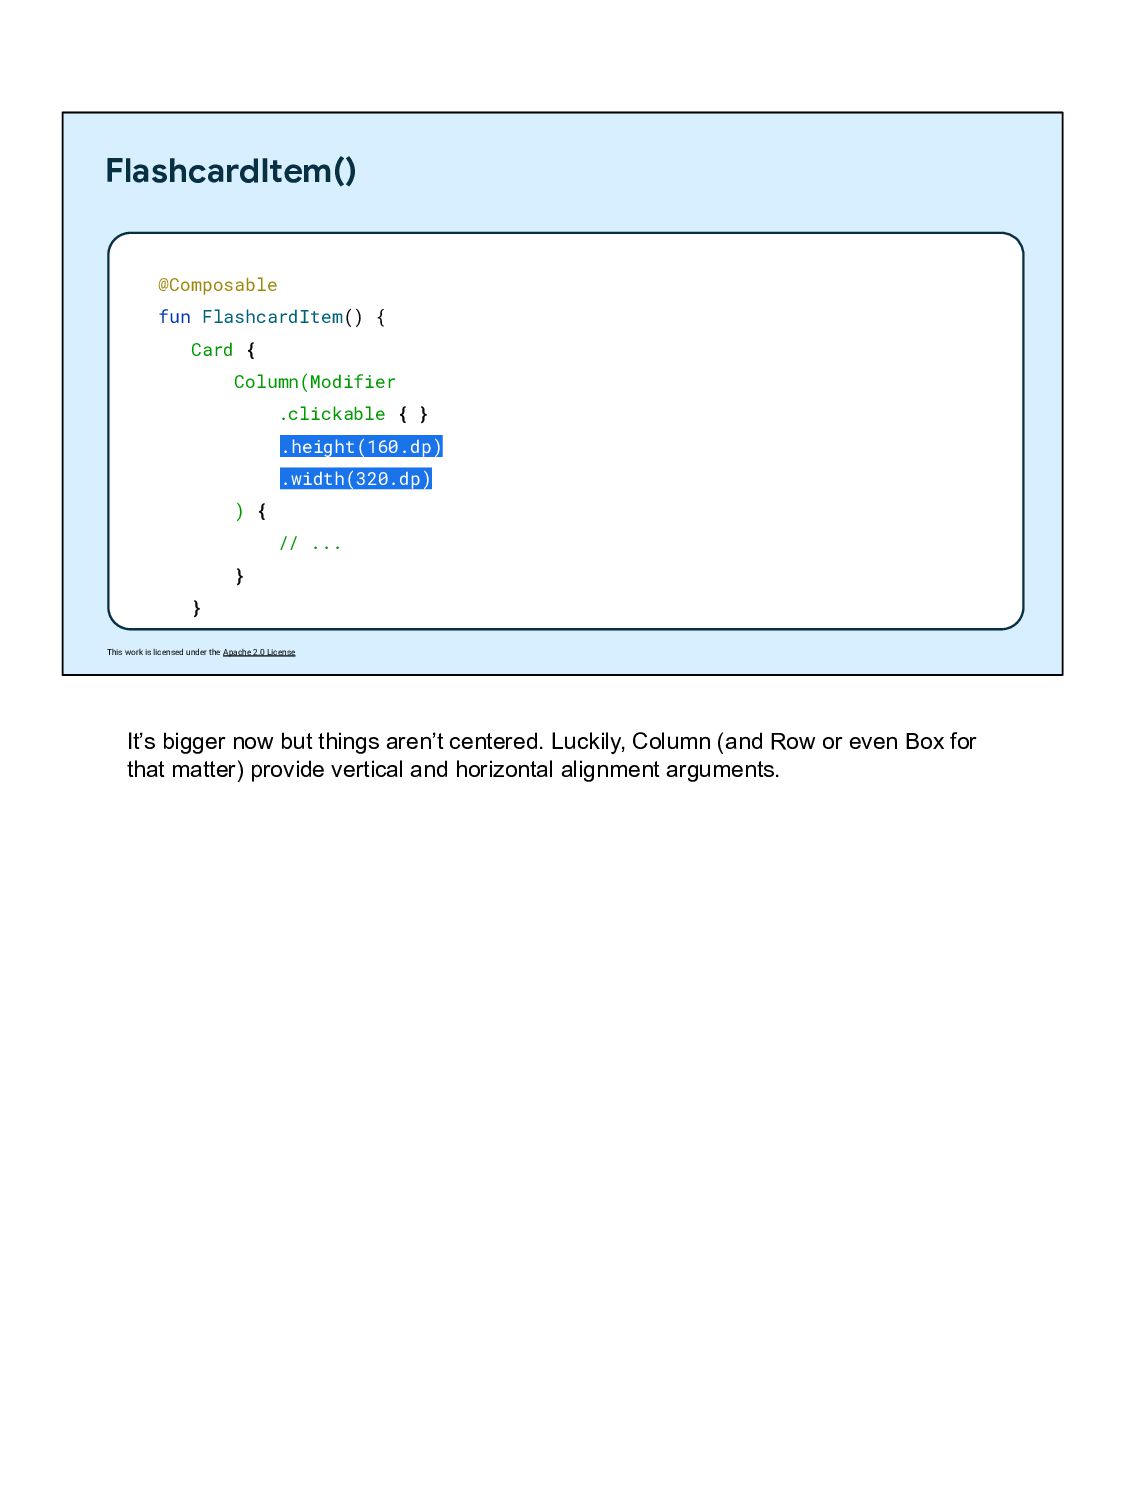
@Composable fun FlashcardItem() { Card { Column(Modifier .clickable { } .height(160.dp) .width(320.dp) ) { // ... } } It’s bigger now but things aren’t centered. Luckily, Column (and Row or even Box for that matter) provide vertical and horizontal alignment arguments.
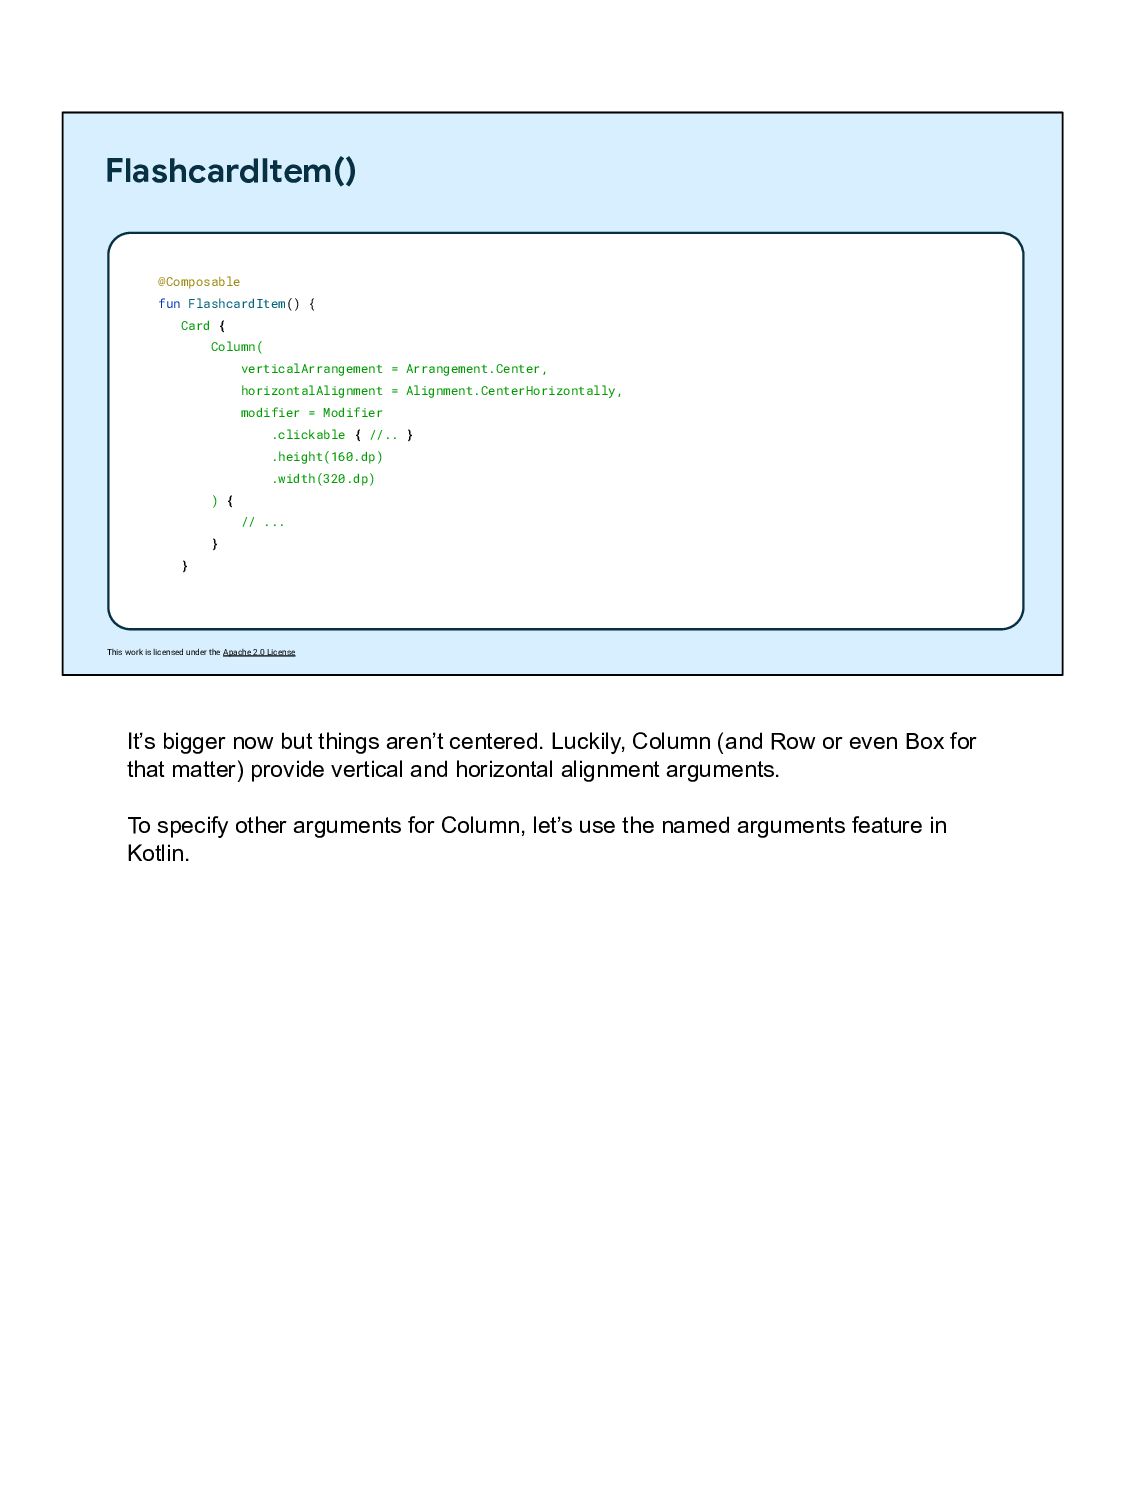
@Composable fun FlashcardItem() { Card { Column( verticalArrangement = Arrangement.Center, horizontalAlignment = Alignment.CenterHorizontally, modifier = Modifier .clickable { //.. } .height(160.dp) .width(320.dp) ) { // ... } } It’s bigger now but things aren’t centered. Luckily, Column (and Row or even Box for that matter) provide vertical and horizontal alignment arguments. To specify other arguments for Column, let’s use the named arguments feature in Kotlin.
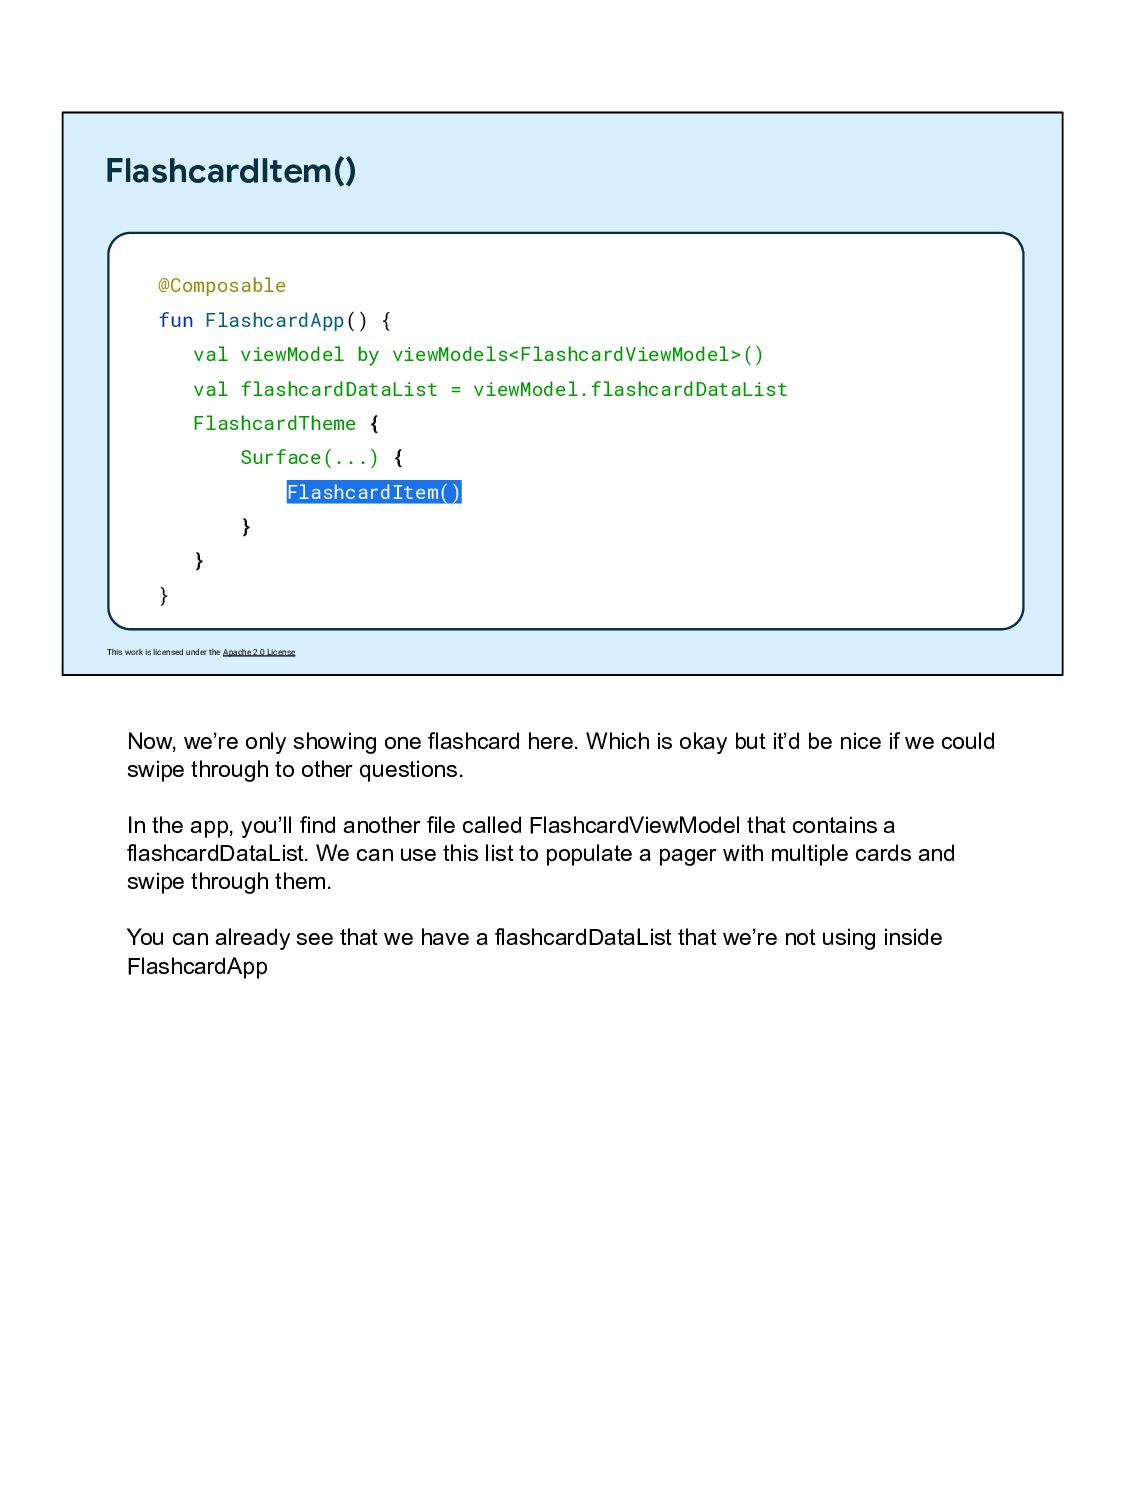
@Composable fun FlashcardApp() { val viewModel by viewModels<FlashcardViewModel>() val flashcardDataList = viewModel.flashcardDataList FlashcardTheme { Surface(...) { FlashcardItem() } } } Now, we’re only showing one flashcard here. Which is okay but it’d be nice if we could swipe through to other questions. In the app, you’ll find another file called FlashcardViewModel that contains a flashcardDataList. We can use this list to populate a pager with multiple cards and swipe through them. You can already see that we have a flashcardDataList that we’re not using inside FlashcardApp
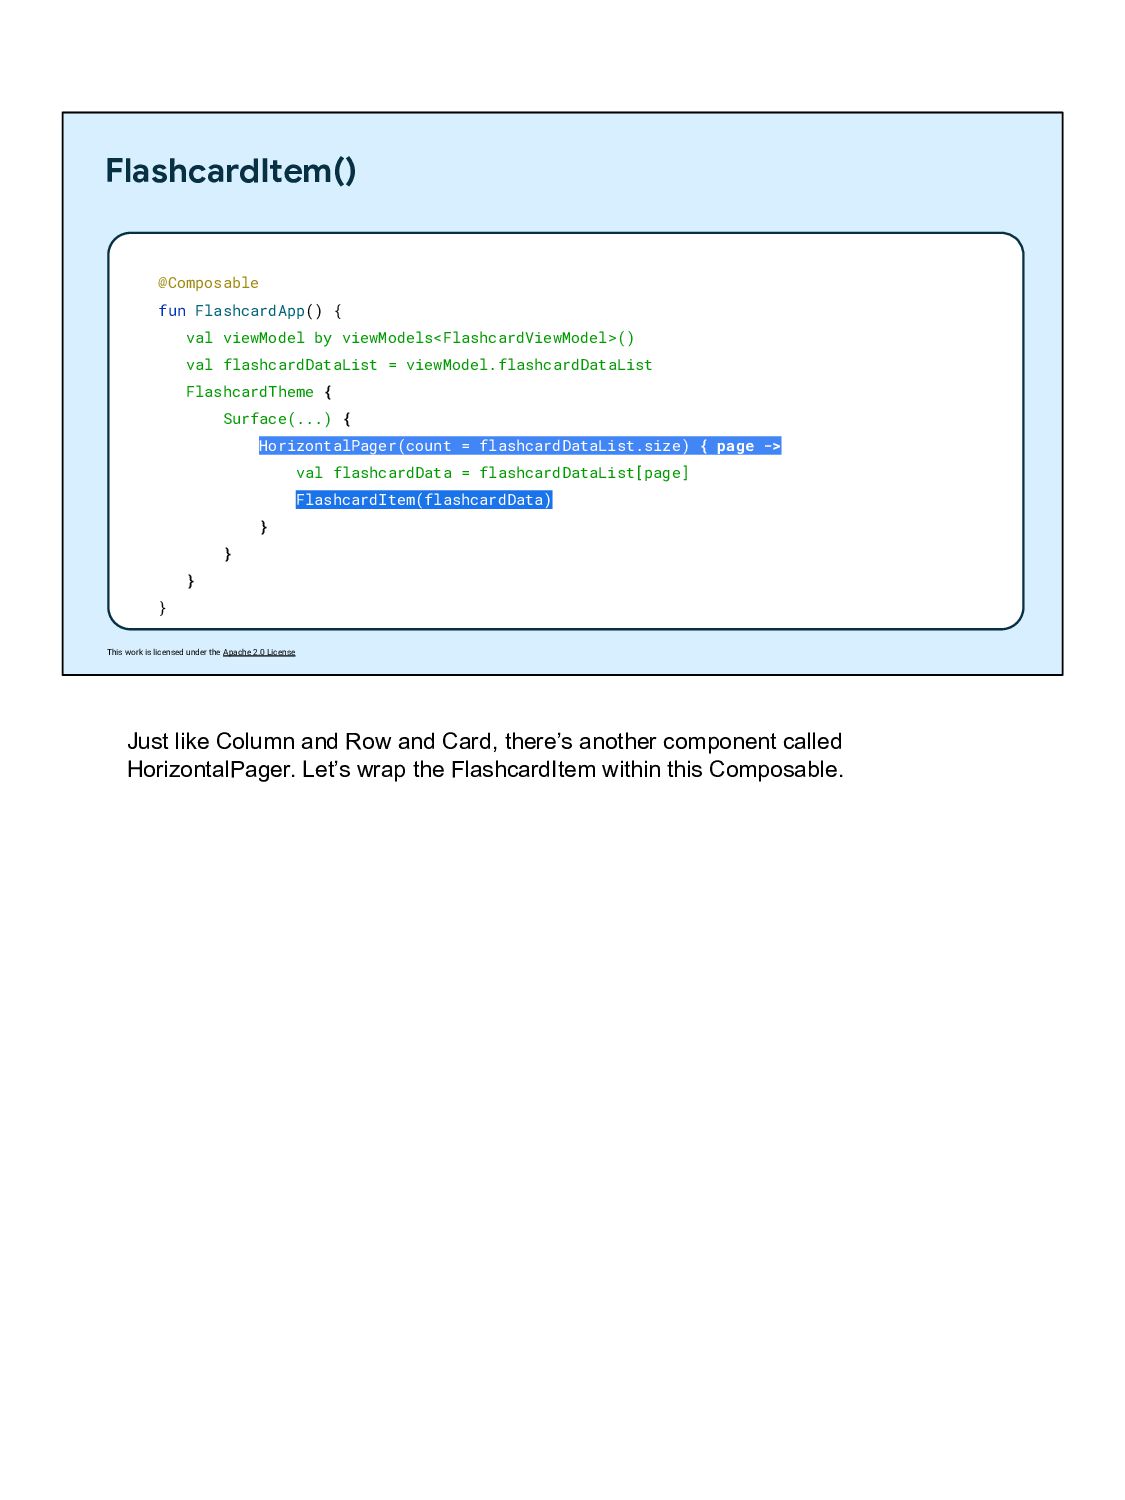
@Composable fun FlashcardApp() { val viewModel by viewModels<FlashcardViewModel>() val flashcardDataList = viewModel.flashcardDataList FlashcardTheme { Surface(...) { HorizontalPager(count = flashcardDataList.size) { page -> val flashcardData = flashcardDataList[page] FlashcardItem(flashcardData) } } } } Just like Column and Row and Card, there’s another component called HorizontalPager. Let’s wrap the FlashcardItem within this Composable.
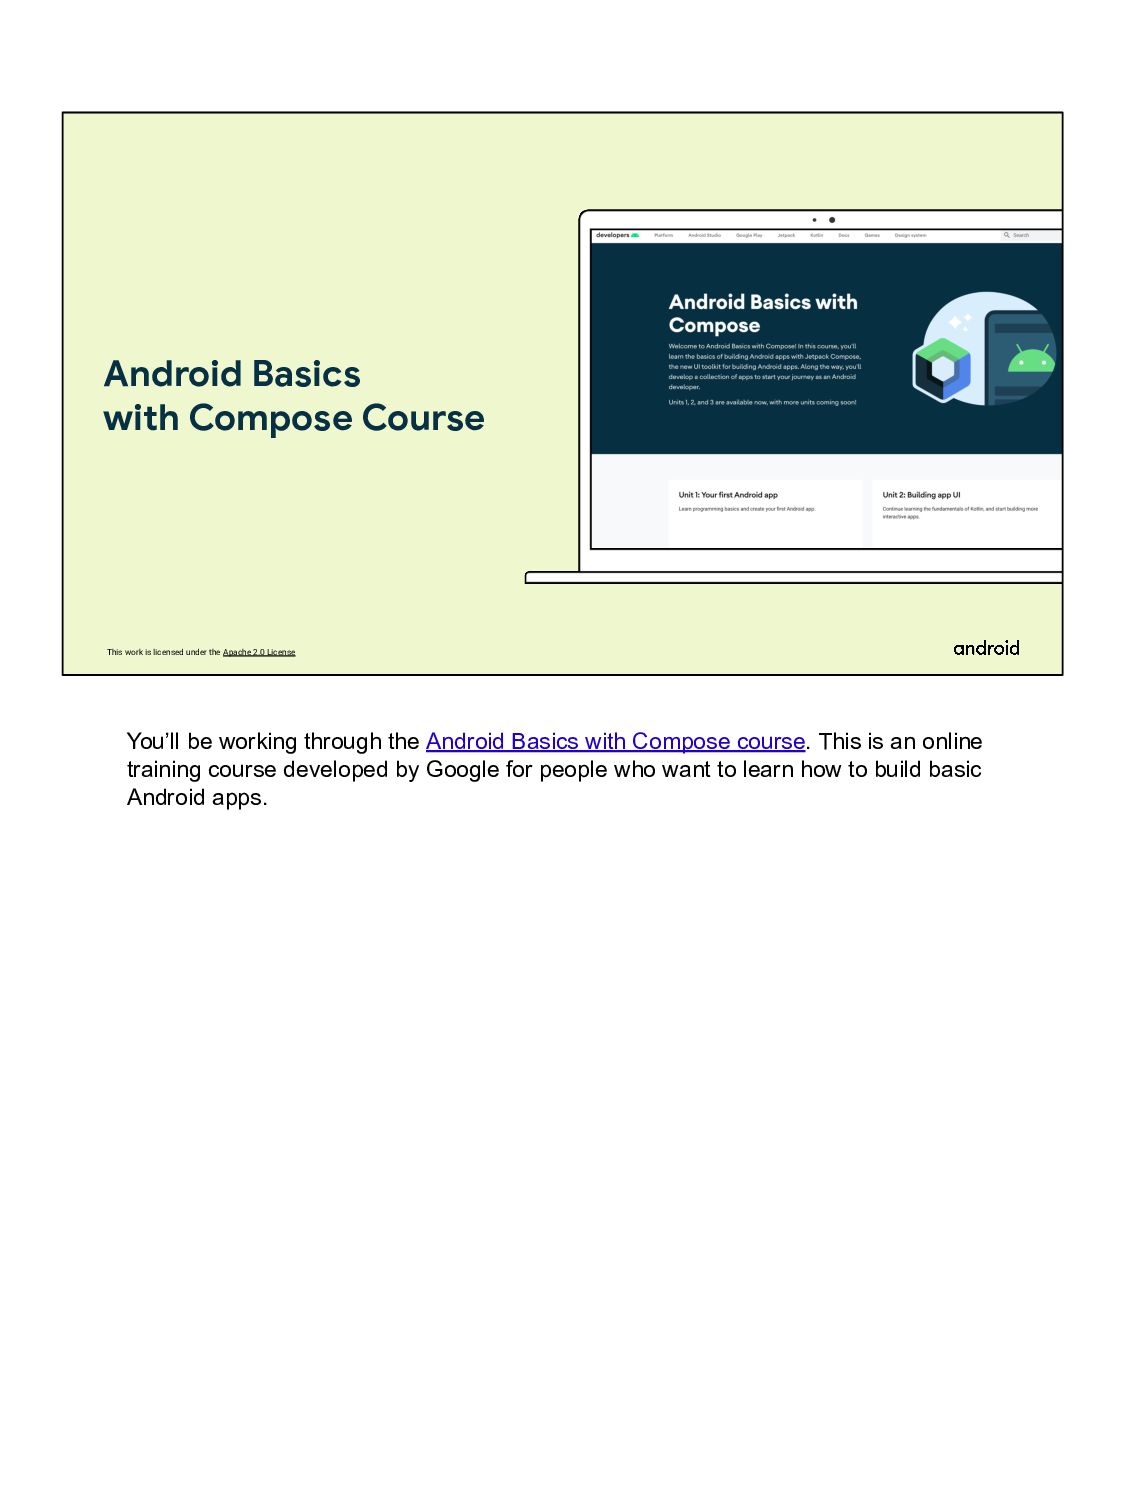
Basics with Compose Course You’ll be working through the Android Basics with Compose course. This is an online training course developed by Google for people who want to learn how to build basic Android apps.
• Official Android Developers Site: developer.android.com • Official Android Developers Blog (for announcements) • Android Developers Medium Blog (for more technical articles) • Android Developers YouTube channel • Follow @AndroidDev on Twitter • Follow @AndroidDev on LinkedIn • Subscribe to the Android Developer Newsletter ou can check out these additional resources, which professional developers use to stay up to date on Android. As you get into more advanced features, you will likely need to learn more programming concepts. You can check out the Learn Kotlin By Example or the Kotlin language website resources for that.