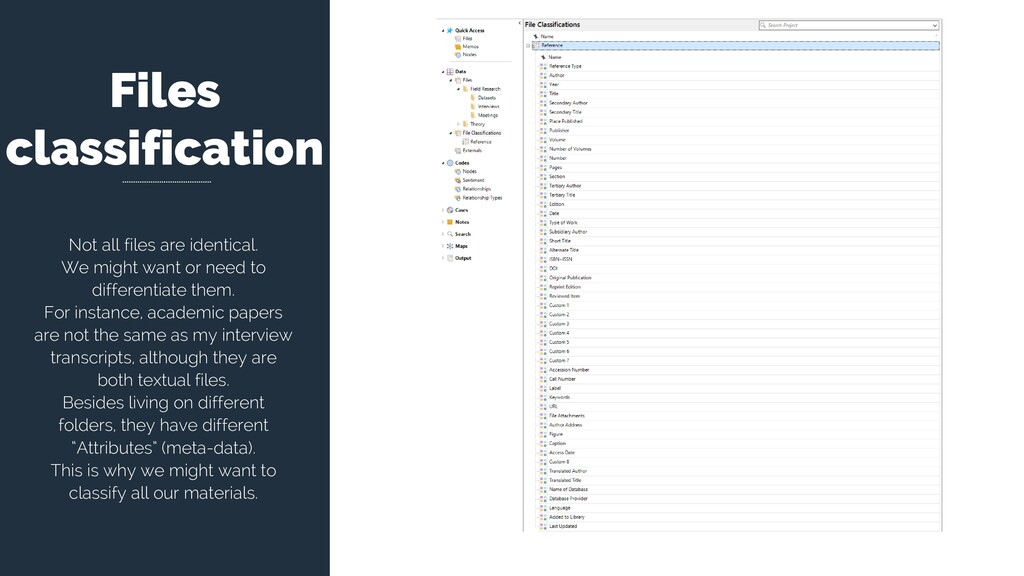
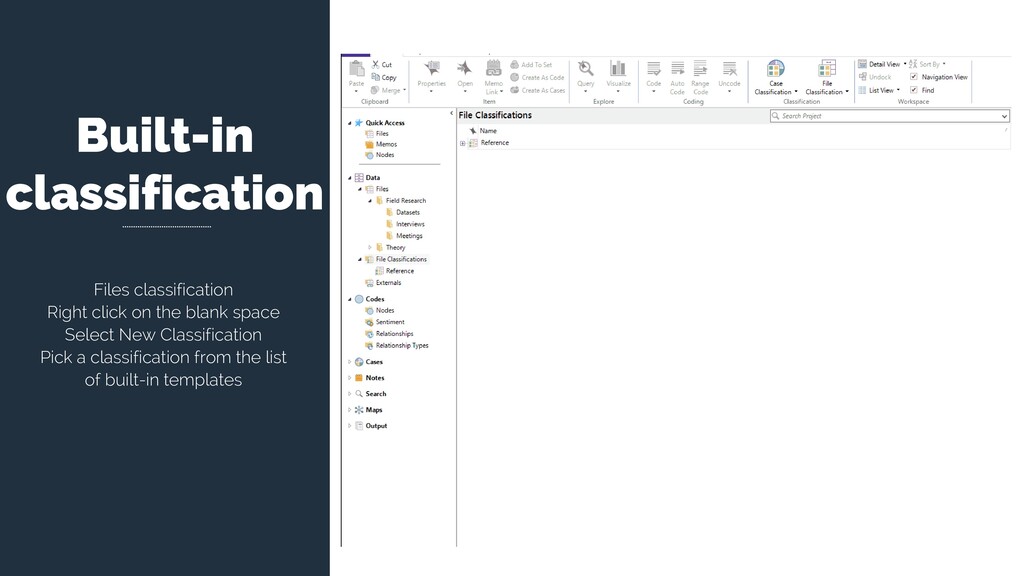
or need to differentiate them. For instance, academic papers are not the same as my interview transcripts, although they are both textual files. Besides living on different folders, they have different “Attributes” (meta-data). This is why we might want to classify all our materials.
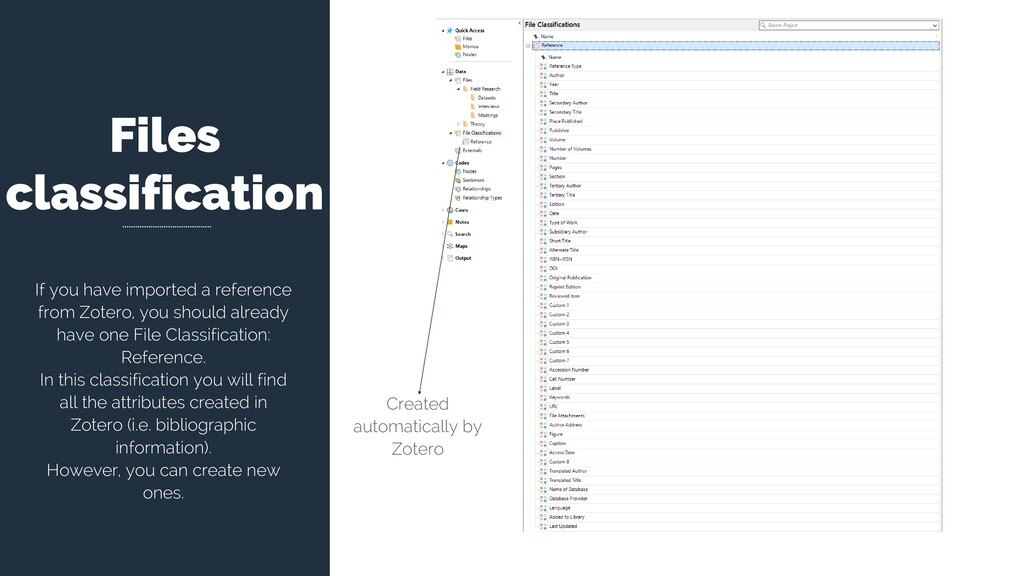
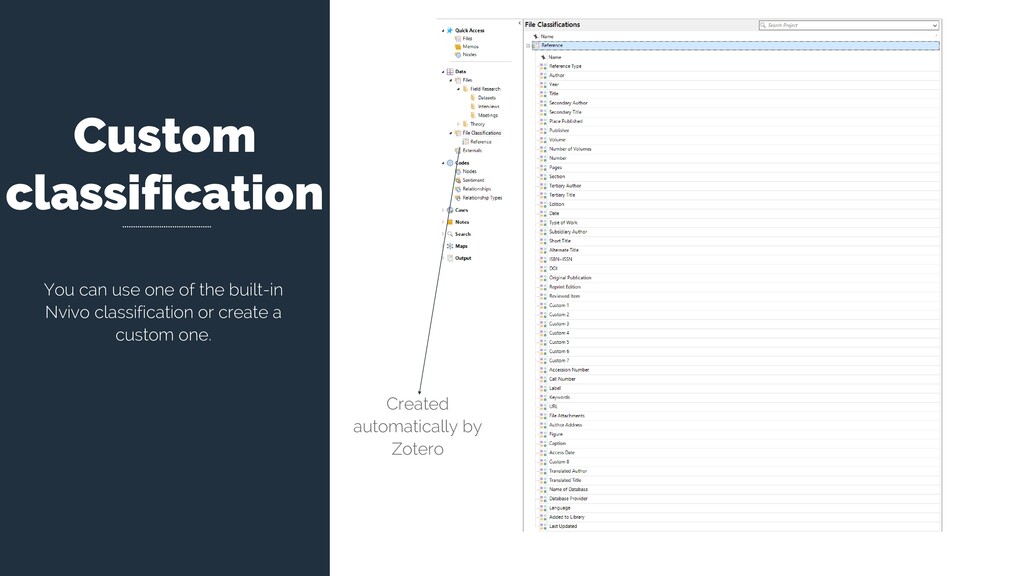
you should already have one File Classification: Reference. In this classification you will find all the attributes created in Zotero (i.e. bibliographic information). However, you can create new ones. Created automatically by Zotero
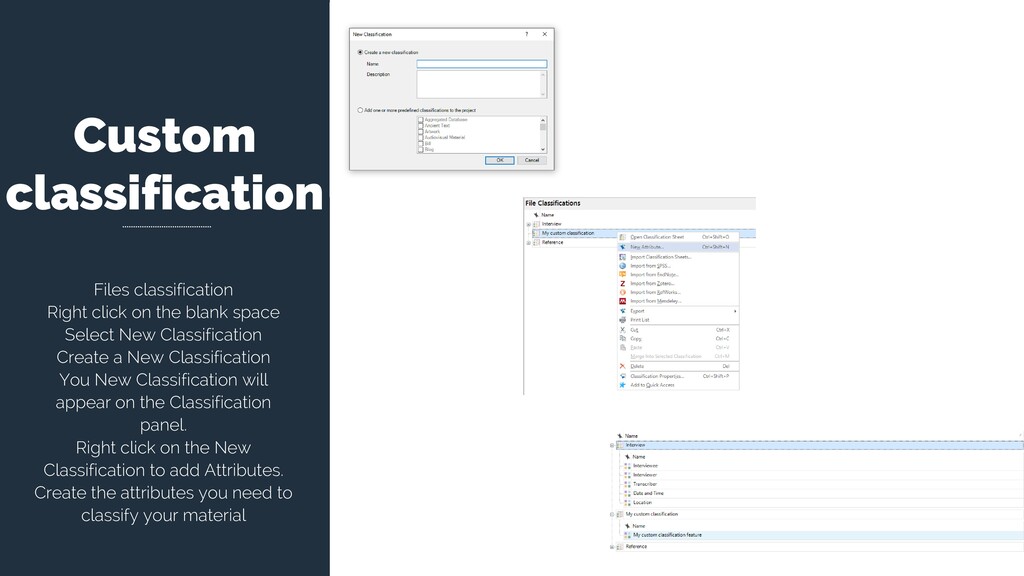
Select New Classification Create a New Classification You New Classification will appear on the Classification panel. Right click on the New Classification to add Attributes. Create the attributes you need to classify your material
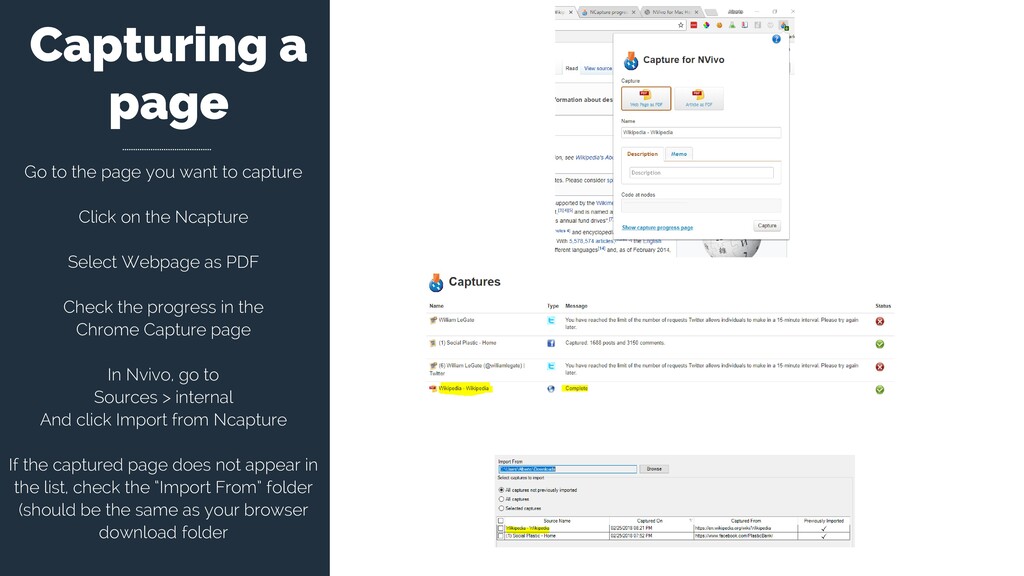
capture Click on the Ncapture Select Webpage as PDF Check the progress in the Chrome Capture page In Nvivo, go to Sources > internal And click Import from Ncapture If the captured page does not appear in the list, check the “Import From” folder (should be the same as your browser download folder
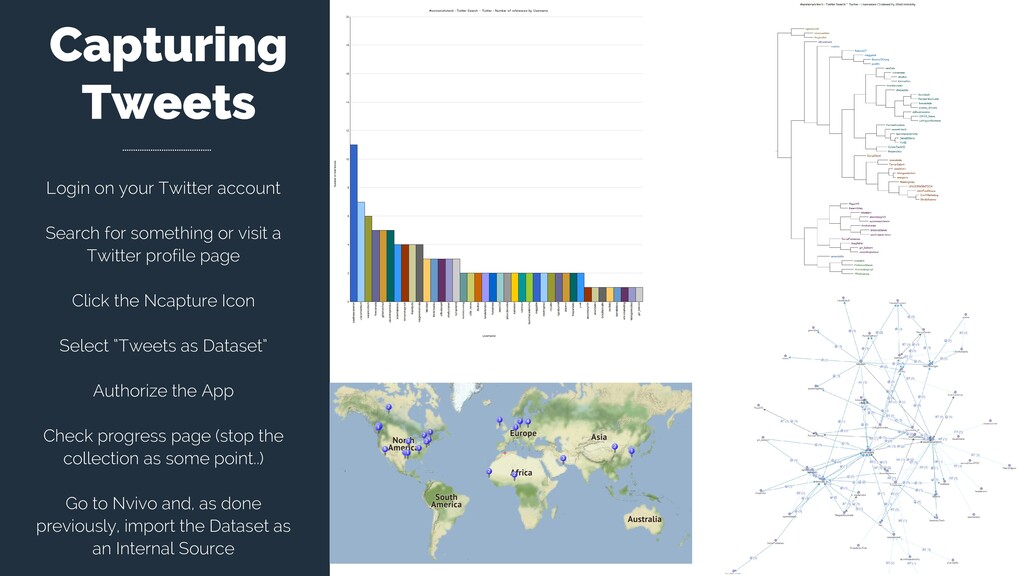
or visit a Twitter profile page Click the Ncapture Icon Select “Tweets as Dataset” Authorize the App Check progress page (stop the collection as some point..) Go to Nvivo and, as done previously, import the Dataset as an Internal Source
or visit a Twitter profile page Click the Ncapture Icon Select “Tweets as Dataset” Authorize the App Check progress page (stop the collection as some point..) Go to Nvivo and, as done previously, import the Dataset as an Internal Source
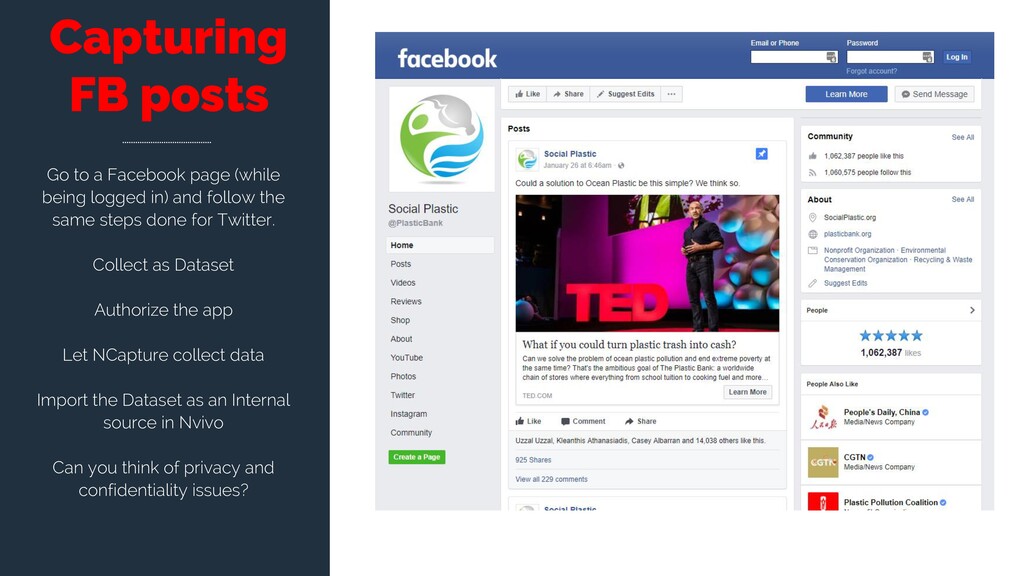
logged in) and follow the same steps done for Twitter. Collect as Dataset Authorize the app Let NCapture collect data Import the Dataset as an Internal source in Nvivo Can you think of privacy and confidentiality issues?
![For questions or help, write me at: [email protected] THANK YOU](https://files.speakerdeck.com/presentations/6f0e61ac4c3446cb9b829860da77bbdc/slide_23.jpg)