Upgrade to Pro
— share decks privately, control downloads, hide ads and more …
Speaker Deck
Features
Speaker Deck
PRO
Sign in
Sign up for free
Search
Search
Python Picamera with GPIO Zero
Search
Ben Nuttall
October 15, 2016
Programming
360
0
Share
Embed
Copy iframe code
Copy JS code
Copy link
Start on current slide
Python Picamera with GPIO Zero
Picamera workshop given at Pi Towers Raspberry Jam, October 2016
Ben Nuttall
October 15, 2016
More Decks by Ben Nuttall
See All by Ben Nuttall
Numeronyms are obnoxious
bennuttall
0
510
Live Highlights in BBC iPlayer
bennuttall
0
160
Rapid prototyping in BBC News with Python and AWS
bennuttall
0
230
Rapid prototyping in BBC News with Python and AWS
bennuttall
0
170
Running a Python Package Index for Raspberry Pi
bennuttall
0
190
From Acorns to Raspberries
bennuttall
0
170
Innovation in the newsroom
bennuttall
0
220
Innovation in the newsroom - MOS Running Order Manager
bennuttall
0
250
How to market your open source project
bennuttall
0
290
Other Decks in Programming
See All in Programming
【やさしく解説 設計編・中級 #4】ルールの寿命と、システムの年輪
panda728
PRO
2
130
Performance Engineering for Everyone
elenatanasoiu
0
270
自作OSでスライド発表する
uyuki234
1
3.8k
AI時代、エンジニアはどう育つのか -未経験エンジニアの成長を間近で見て考えたこと-
thasu0123
0
110
【やさしく解説 設計編 #0】DDDのコード、読めるのに分からない人へ
panda728
PRO
2
260
なぜ関数型プログラミングで「型」と「証明」が語られるのか #fp_matsuri
kajitack
3
890
5分で問診!Composer セキュリティ健康診断
codmoninc
0
150
OSINT for SRE: 学術論文とポストモーテムから探る システム障害の共通パターン / SRE NEXT 2026
tomoyk
1
3.6k
分散システム、なんですぐ死んでしまうん?耐障害性を高めたいあなたのためのレジリエンスパターン入門
mshibuya
7
5.9k
琵琶湖の水は止められてもNet--HTTPのリトライは止められない / You might be able to stop the water flow of Lake Biwa but you can't stop Net::HTTP retries
luccafort
PRO
0
330
はてなアカウント基盤 State of the Union
cockscomb
1
1.3k
ローカルLLMでどこまでコードが書けるか -拡張版 / How much code can be written on a local LLM Extended
kishida
12
4.8k
Featured
See All Featured
Applied NLP in the Age of Generative AI
inesmontani
PRO
4
2.4k
A Modern Web Designer's Workflow
chriscoyier
698
190k
10 Git Anti Patterns You Should be Aware of
lemiorhan
PRO
659
62k
Context Engineering - Making Every Token Count
addyosmani
9
1k
The Pragmatic Product Professional
lauravandoore
37
7.4k
Mobile First: as difficult as doing things right
swwweet
225
10k
Optimizing for Happiness
mojombo
378
71k
How to Ace a Technical Interview
jacobian
281
24k
Paper Plane (Part 1)
katiecoart
PRO
0
9.6k
Practical Tips for Bootstrapping Information Extraction Pipelines
honnibal
25
2k
Mind Mapping
helmedeiros
PRO
1
280
The Web Performance Landscape in 2024 [PerfNow 2024]
tammyeverts
12
1.2k
Transcript
Python Picamera with GPIO Zero Introducing the camera board and
Python module
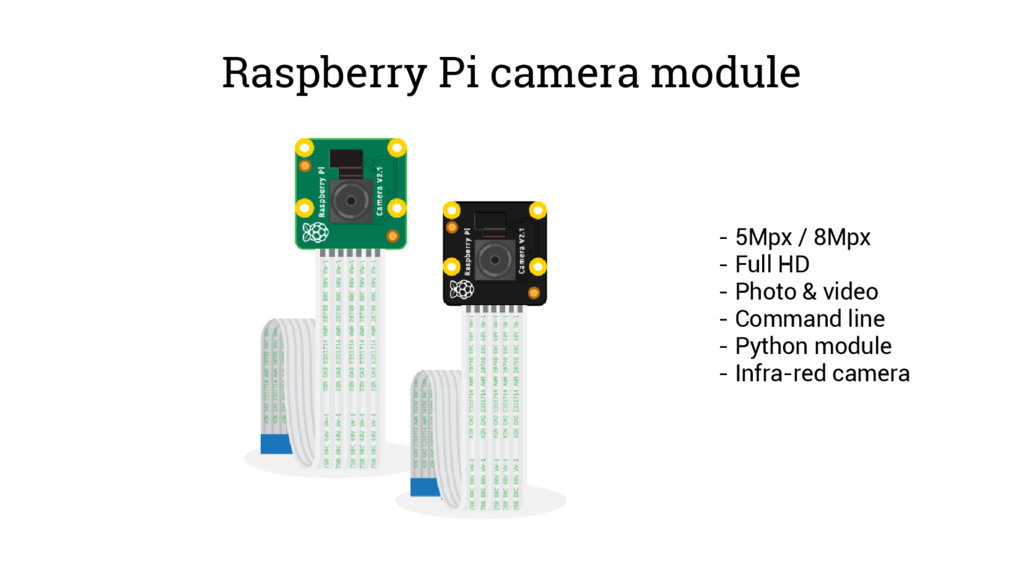
Raspberry Pi camera module - 5Mpx / 8Mpx - Full
HD - Photo & video - Command line - Python module - Infra-red camera
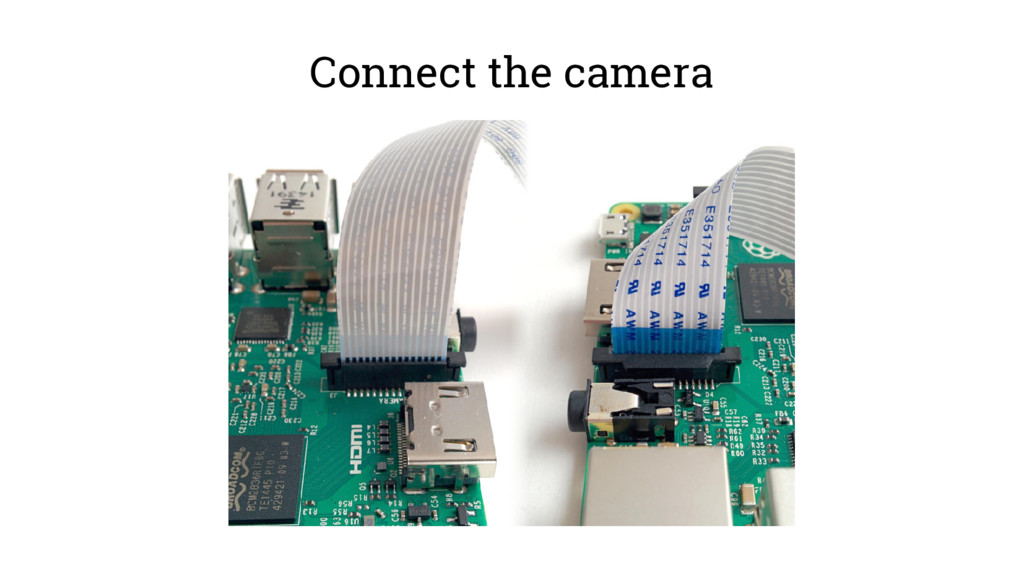
Connect the camera
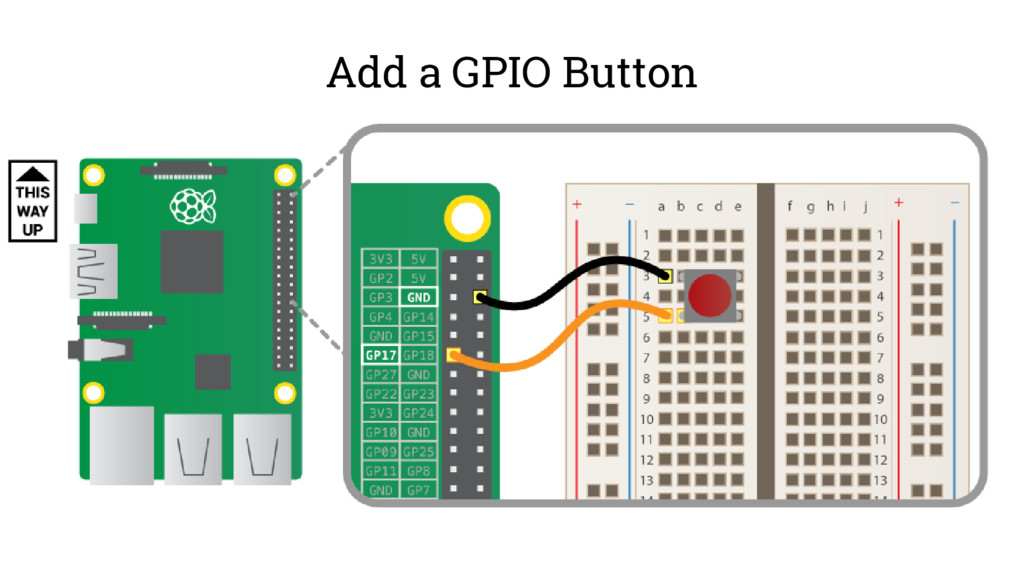
Add a GPIO Button
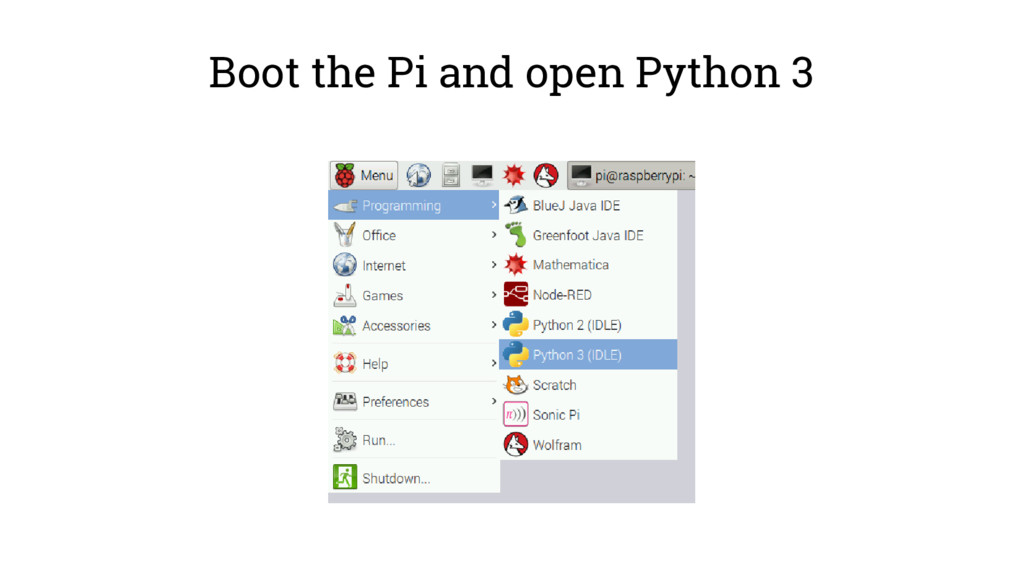
Boot the Pi and open Python 3
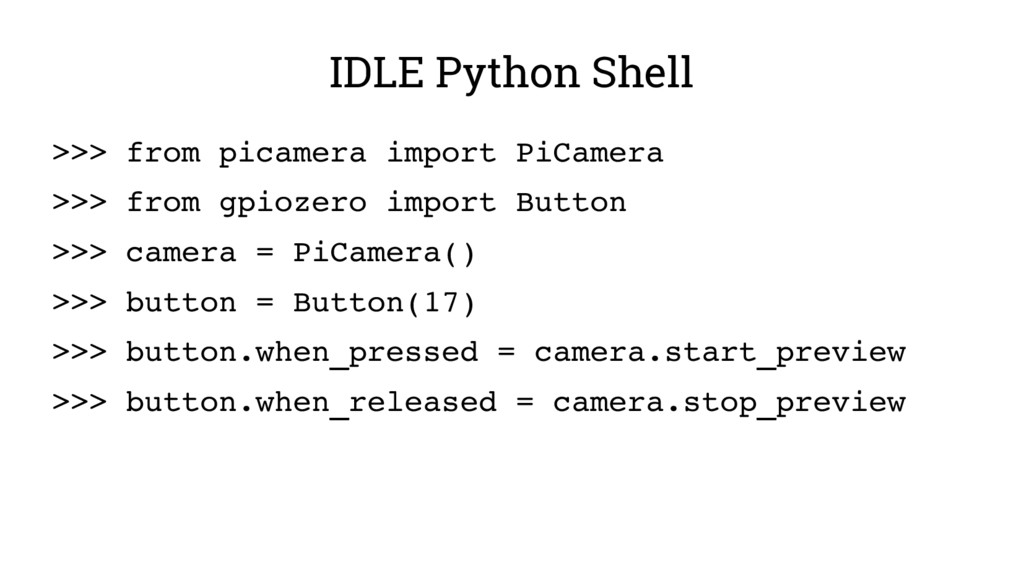
IDLE Python Shell >>> from picamera import PiCamera >>> from
gpiozero import Button >>> camera = PiCamera() >>> button = Button(17) >>> button.when_pressed = camera.start_preview >>> button.when_released = camera.stop_preview
Open a new file • File > New File •
File > Save • Save as camera.py
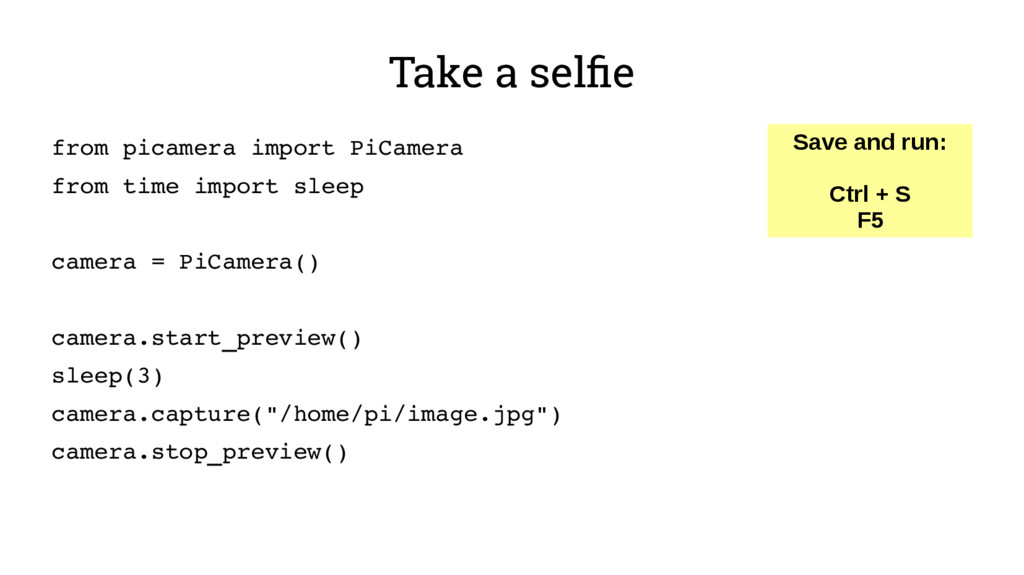
Take a selfie from picamera import PiCamera from time import
sleep camera = PiCamera() camera.start_preview() sleep(3) camera.capture("/home/pi/image.jpg") camera.stop_preview() Save and run: Ctrl + S F5
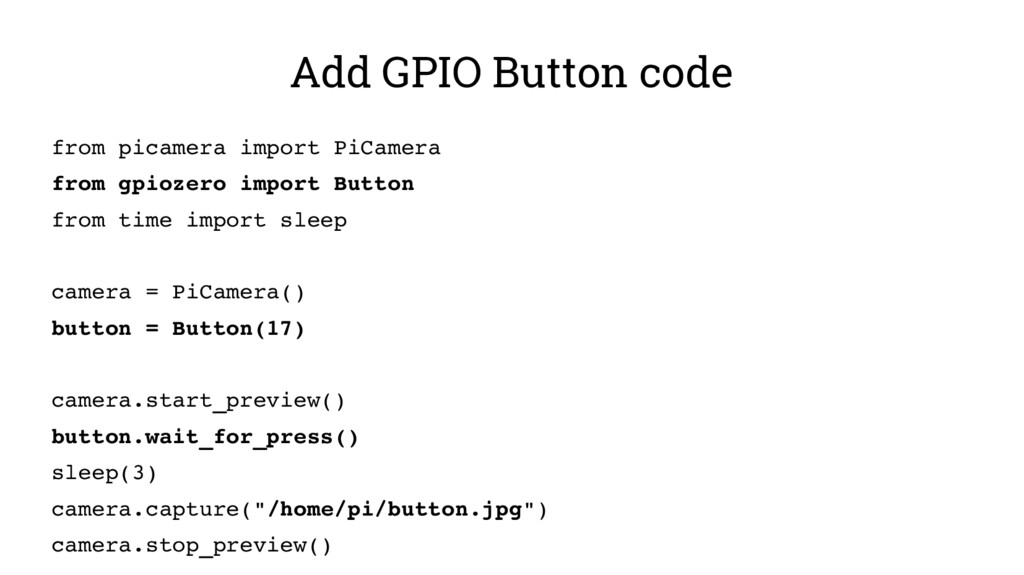
Add GPIO Button code from picamera import PiCamera from gpiozero
import Button from time import sleep camera = PiCamera() button = Button(17) camera.start_preview() button.wait_for_press() sleep(3) camera.capture("/home/pi/button.jpg") camera.stop_preview()
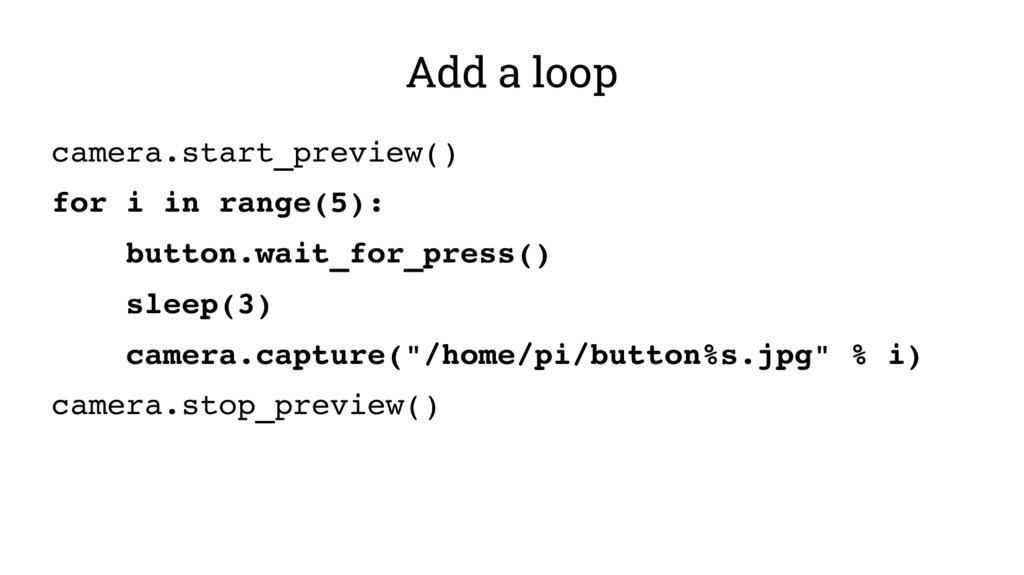
Add a loop camera.start_preview() for i in range(5): button.wait_for_press() sleep(3)
camera.capture("/home/pi/button%s.jpg" % i) camera.stop_preview()
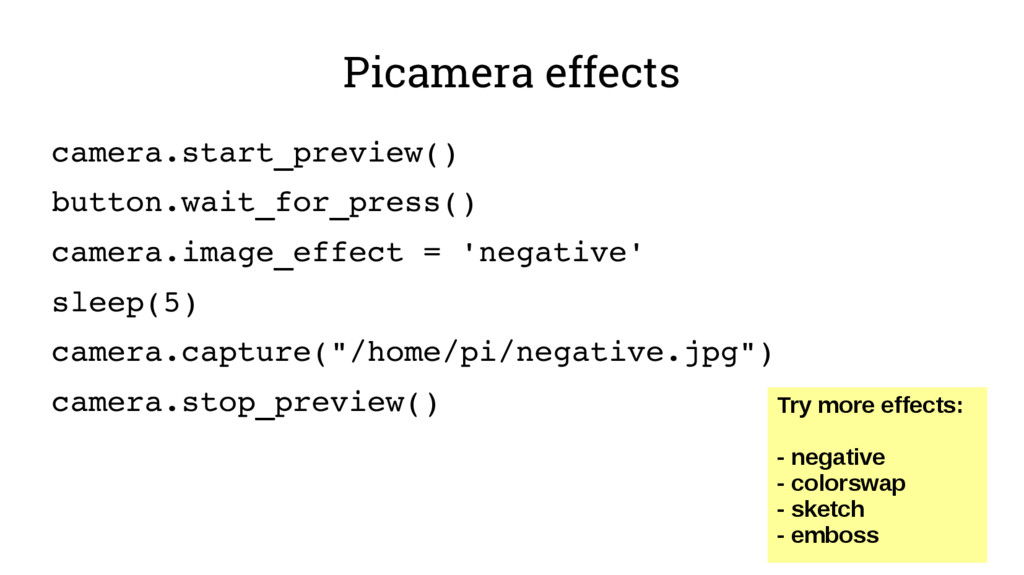
Picamera effects
Picamera effects camera.start_preview() button.wait_for_press() camera.image_effect = 'negative' sleep(5) camera.capture("/home/pi/negative.jpg") camera.stop_preview()
Try more effects: - negative - colorswap - sketch - emboss
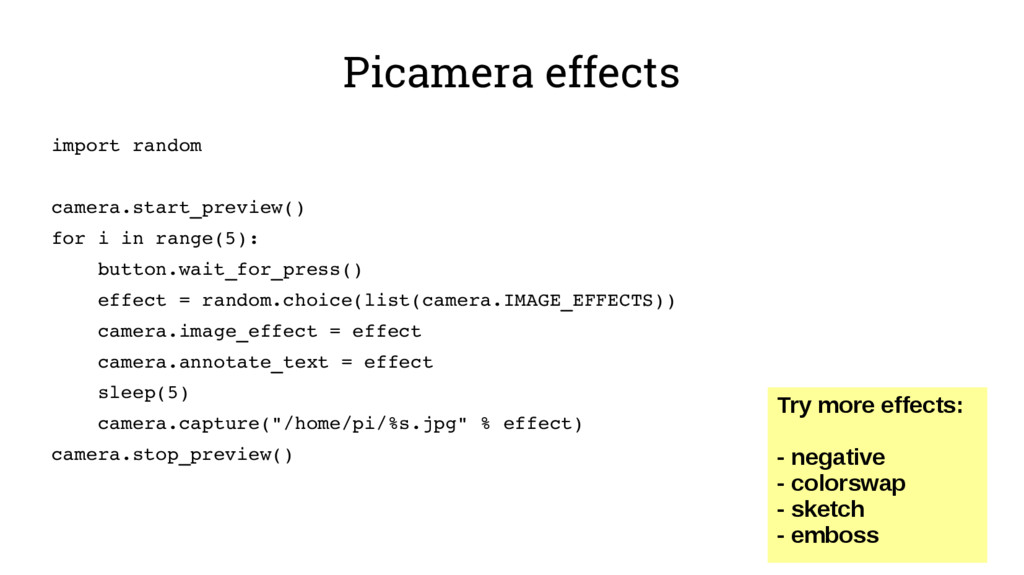
Picamera effects import random camera.start_preview() for i in range(5): button.wait_for_press()
effect = random.choice(list(camera.IMAGE_EFFECTS)) camera.image_effect = effect camera.annotate_text = effect sleep(5) camera.capture("/home/pi/%s.jpg" % effect) camera.stop_preview() Try more effects: - negative - colorswap - sketch - emboss
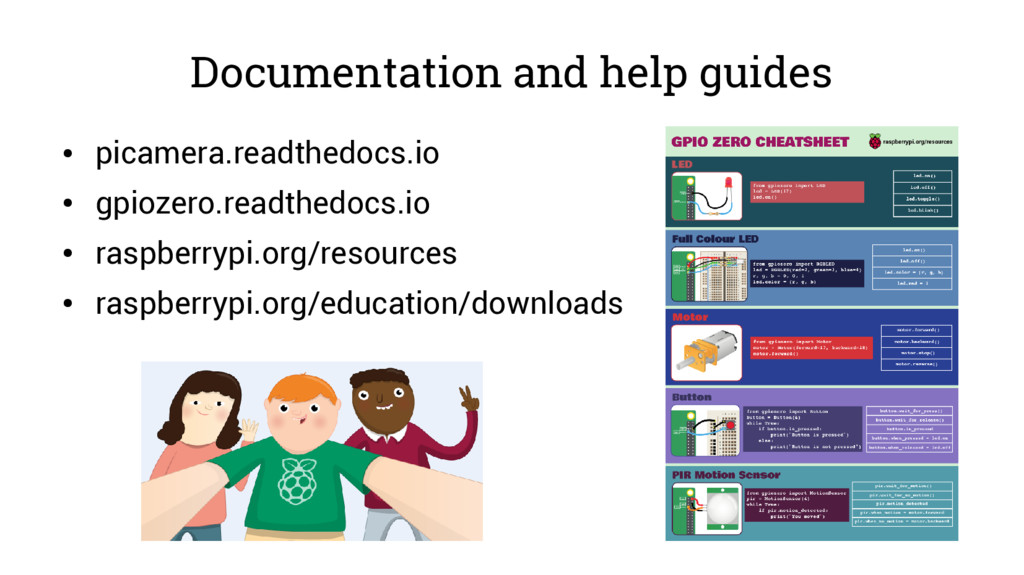
Documentation and help guides • picamera.readthedocs.io • gpiozero.readthedocs.io • raspberrypi.org/resources
• raspberrypi.org/education/downloads
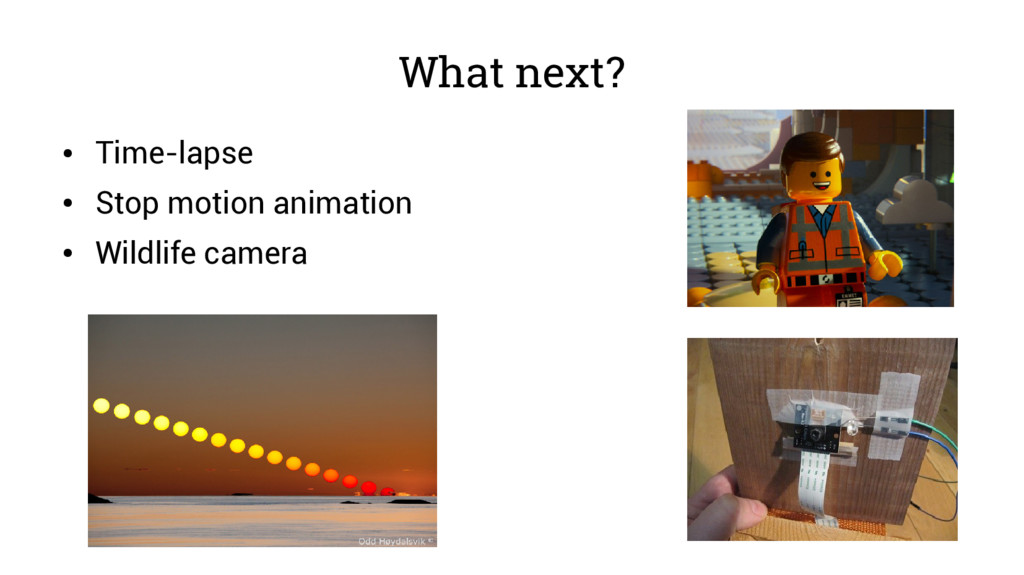
What next? • Time-lapse • Stop motion animation • Wildlife
camera
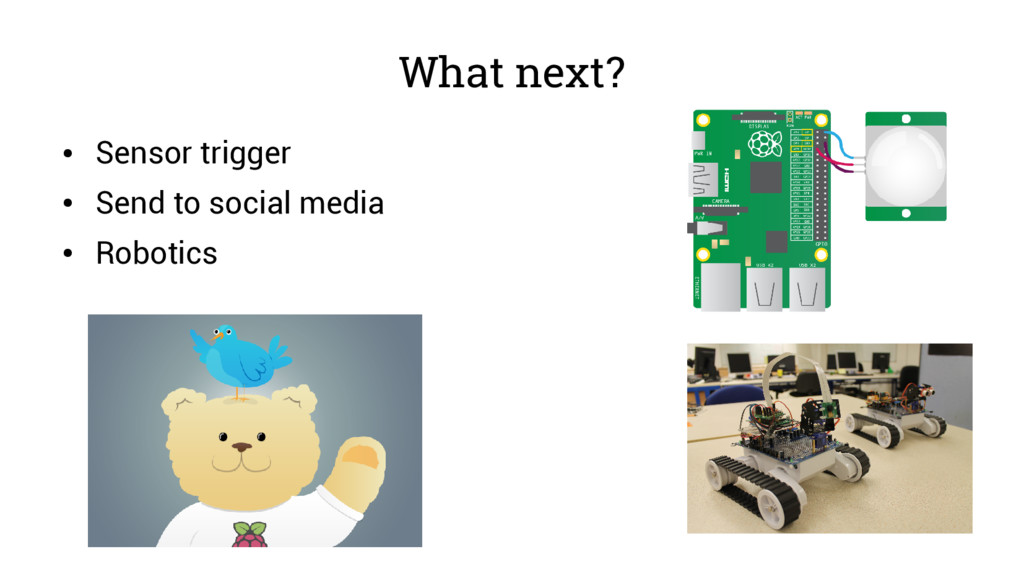
What next? • Sensor trigger • Send to social media
• Robotics