to do one database operation with ASP.NET: 1. Retrieve data from the database We still have several more to cover: 2. Insert data into the database 3. Delete data from the database 4. Edit data in the database
your BOOKS database, make a new webpage called assignment17.aspx To start off, add a <h1> element to your webpage, with the text “Assignment #17” Next add a <h2> element, with the text “Insert Data”
only to retrieve data, but also insert, delete, and edit data by doing the following: 1. From the Toolbox, drag a SqlDataSource control inside the <form> element on the webpage The <form> element is an essential part of how your Web controls communicate with the server 2. In the Design view, click on the smart button 3. Click on Configure Data Source 4. From the drop down menu, select ConnectionString
screen, from the drop down list, select the BOOKS table 6. To select all the records in the BOOKS table, click on the * (asterisk) 7. Click the Advanced button 8. This will bring up the Advanced SQL Generation Options window 9. Click the first check box “Generate INSERT, UPDATE, and DELETE statements”
an online database with many users, then you also need to click “Use optimistic concurrency”, to coordinate updates and deletions to the database 11. Click the OK button 12. Click the Next button 13. On the Test Query screen, click the Test Query button 14. If all the records are displayed, click the Finish button
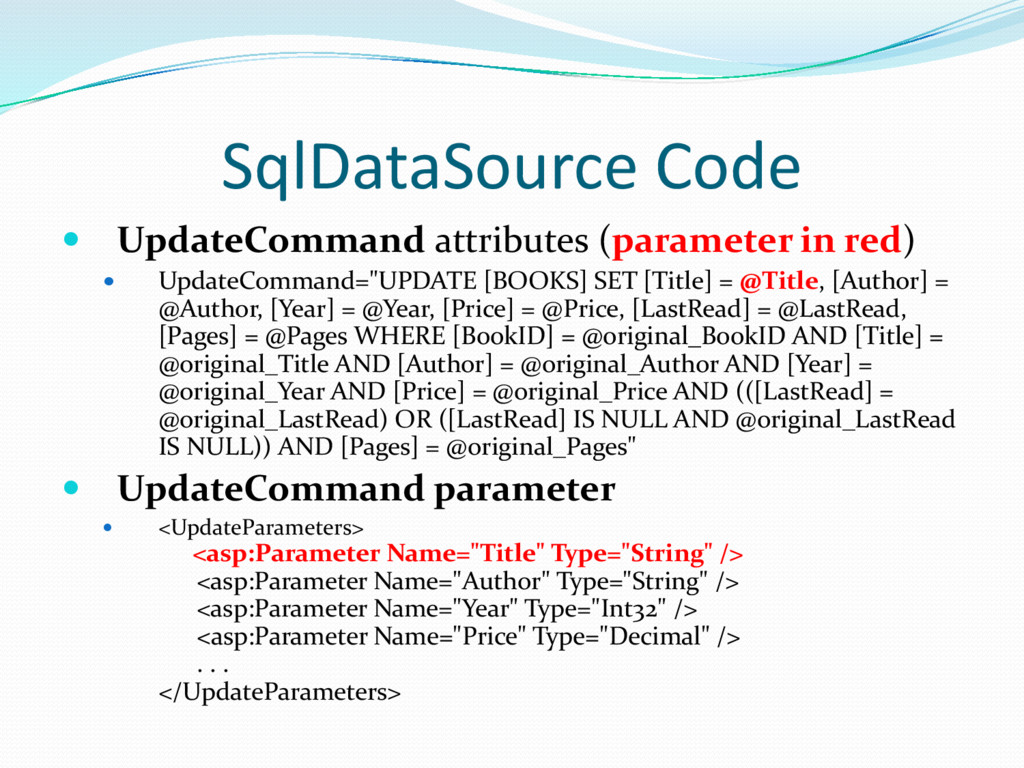
view The SqlDataSource control’s code should have not only the SelectCommand attribute, but also the DeleteCommand, InsertCommand, and UpdateCommand attributes The values to these properties are the SQL commands that are sent to the database
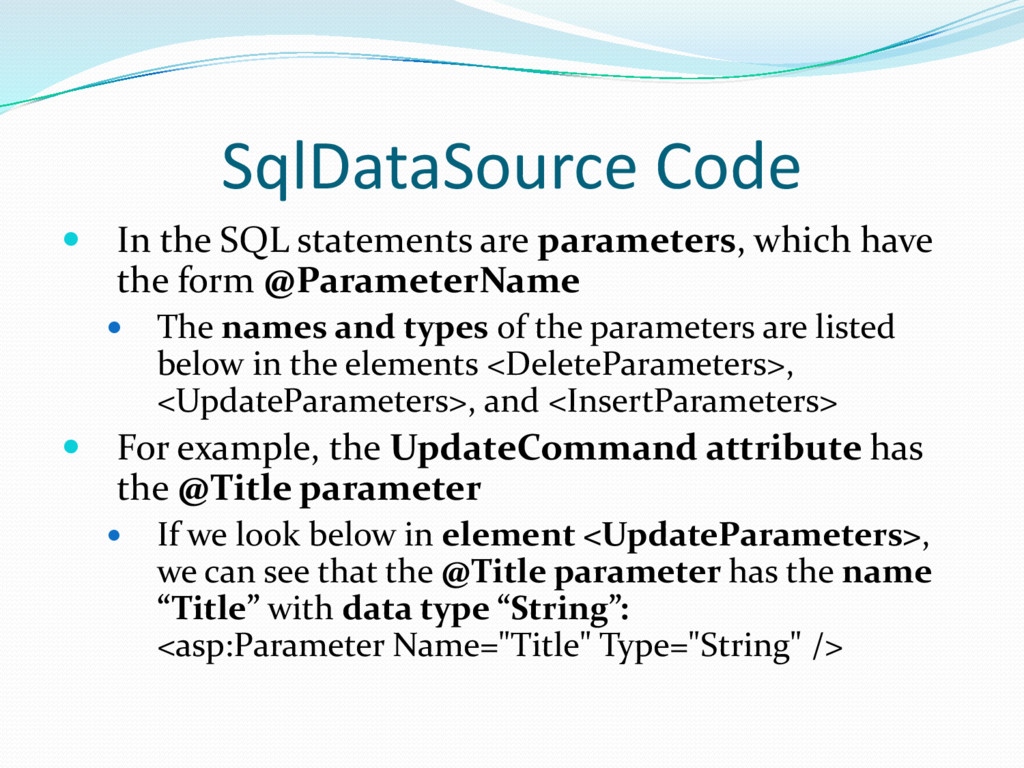
have the form @ParameterName The names and types of the parameters are listed below in the elements <DeleteParameters>, <UpdateParameters>, and <InsertParameters> For example, the UpdateCommand attribute has the @Title parameter If we look below in element <UpdateParameters>, we can see that the @Title parameter has the name “Title” with data type “String”: <asp:Parameter Name="Title" Type="String" />
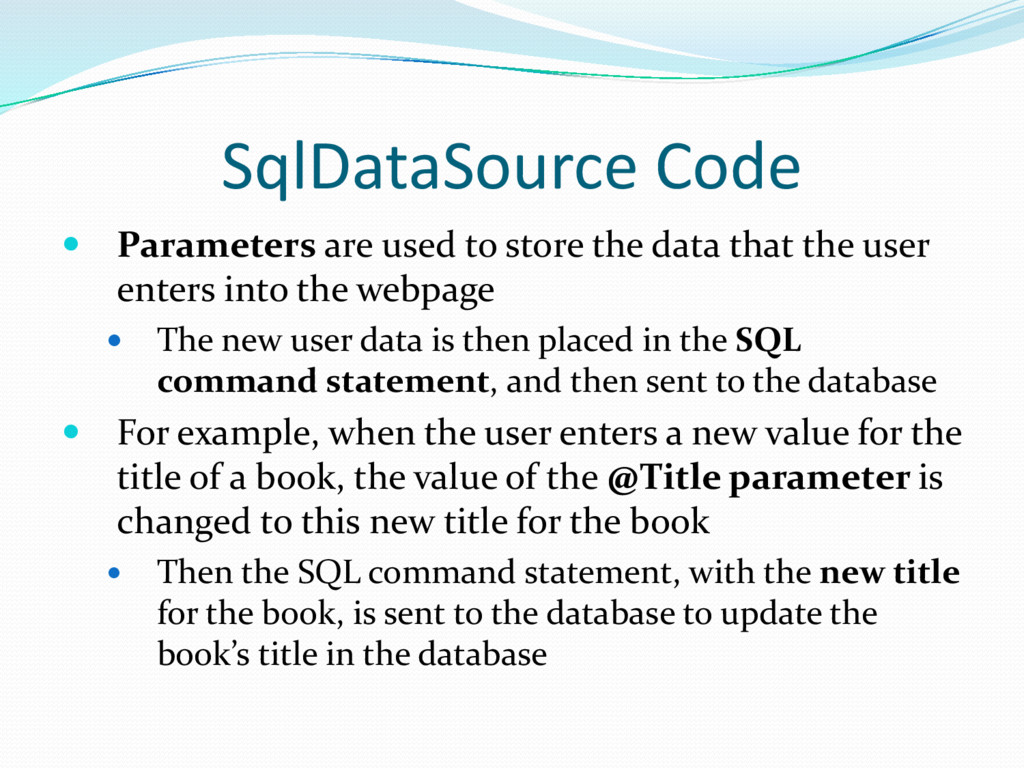
that the user enters into the webpage The new user data is then placed in the SQL command statement, and then sent to the database For example, when the user enters a new value for the title of a book, the value of the @Title parameter is changed to this new title for the book Then the SQL command statement, with the new title for the book, is sent to the database to update the book’s title in the database
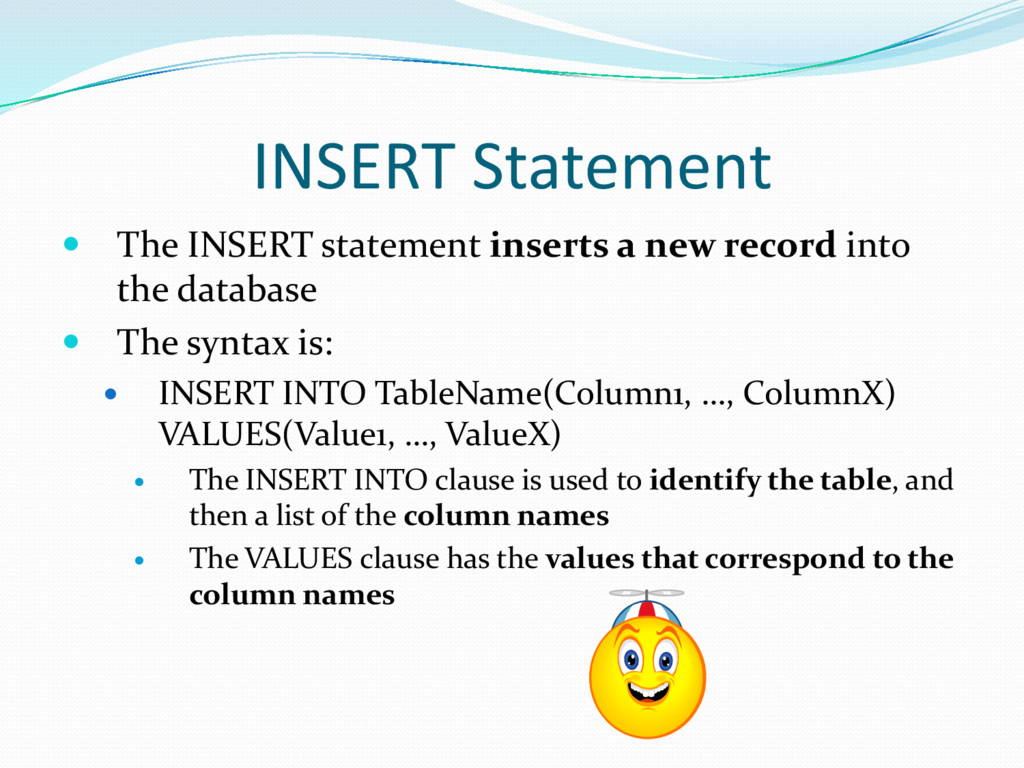
into the database The syntax is: INSERT INTO TableName(Column1, …, ColumnX) VALUES(Value1, …, ValueX) The INSERT INTO clause is used to identify the table, and then a list of the column names The VALUES clause has the values that correspond to the column names
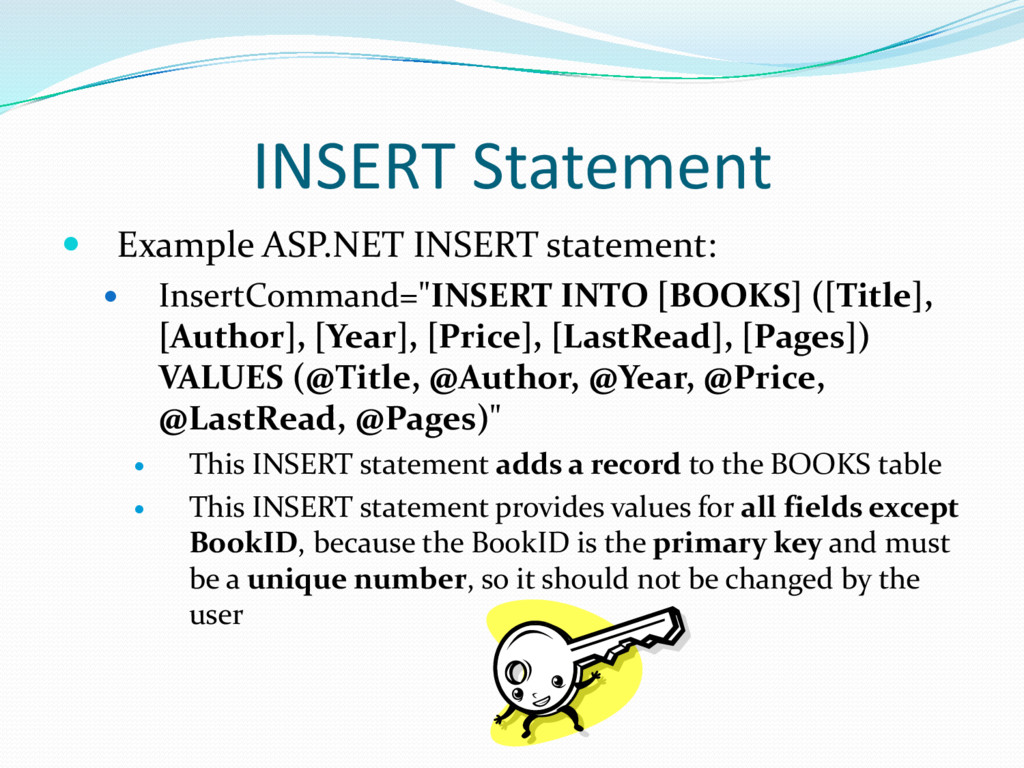
[BOOKS] ([Title], [Author], [Year], [Price], [LastRead], [Pages]) VALUES (@Title, @Author, @Year, @Price, @LastRead, @Pages)" This INSERT statement adds a record to the BOOKS table This INSERT statement provides values for all fields except BookID, because the BookID is the primary key and must be a unique number, so it should not be changed by the user
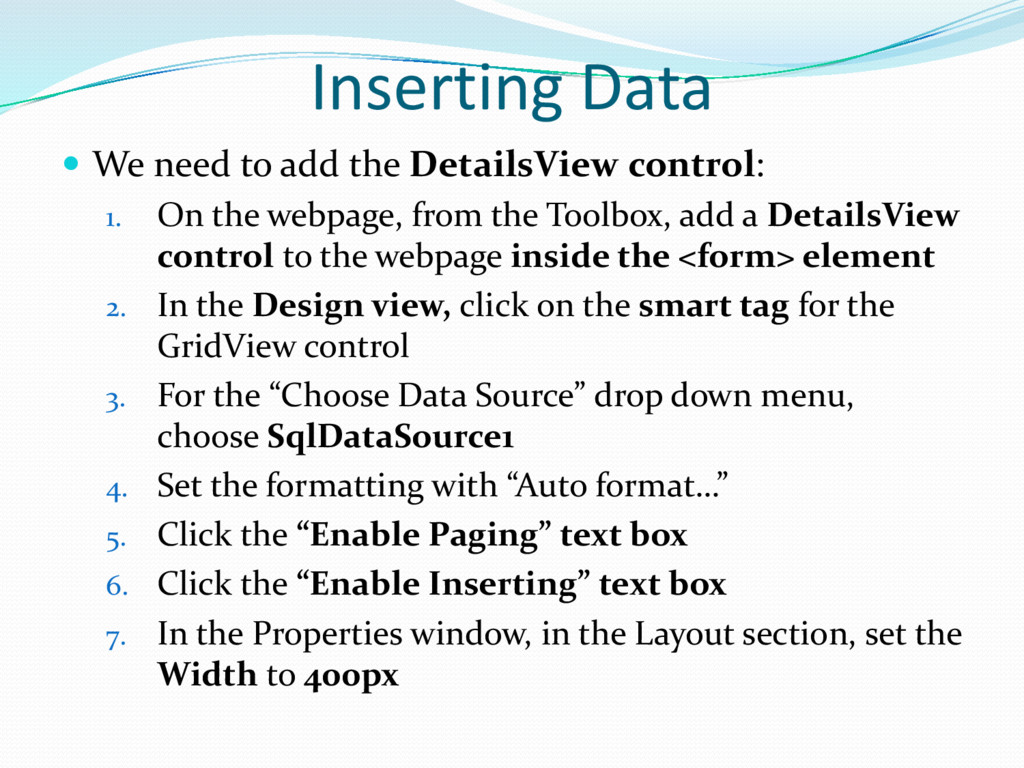
1. On the webpage, from the Toolbox, add a DetailsView control to the webpage inside the <form> element 2. In the Design view, click on the smart tag for the GridView control 3. For the “Choose Data Source” drop down menu, choose SqlDataSource1 4. Set the formatting with “Auto format…” 5. Click the “Enable Paging” text box 6. Click the “Enable Inserting” text box 7. In the Properties window, in the Layout section, set the Width to 400px
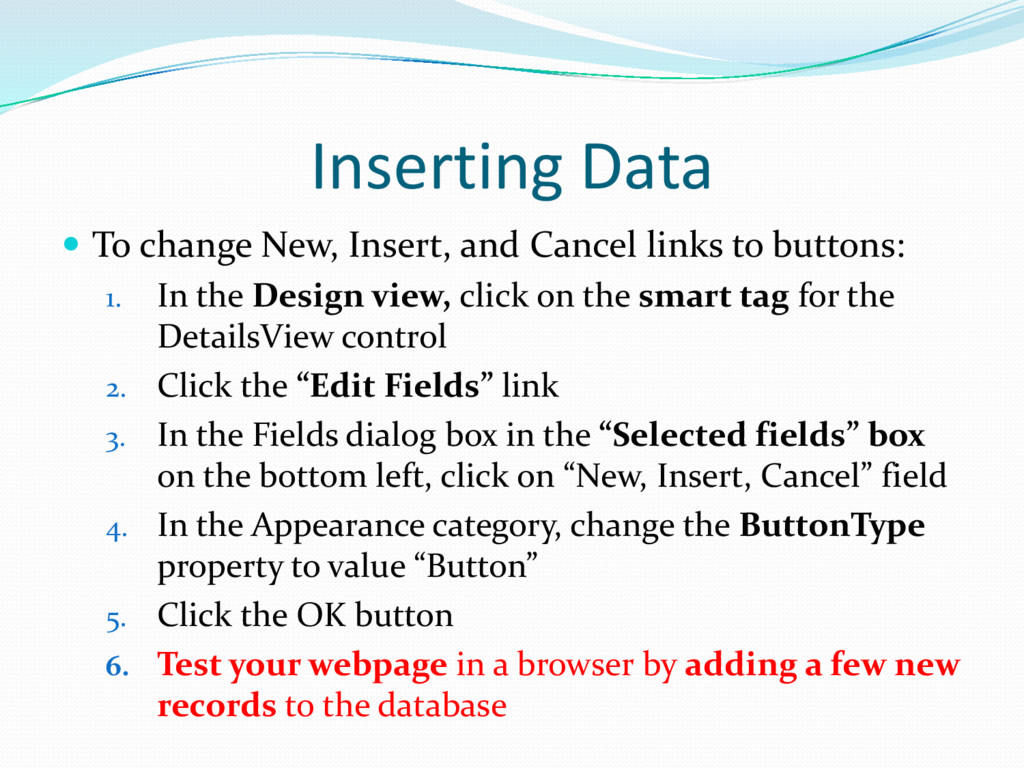
to buttons: 1. In the Design view, click on the smart tag for the DetailsView control 2. Click the “Edit Fields” link 3. In the Fields dialog box in the “Selected fields” box on the bottom left, click on “New, Insert, Cancel” field 4. In the Appearance category, change the ButtonType property to value “Button” 5. Click the OK button 6. Test your webpage in a browser by adding a few new records to the database
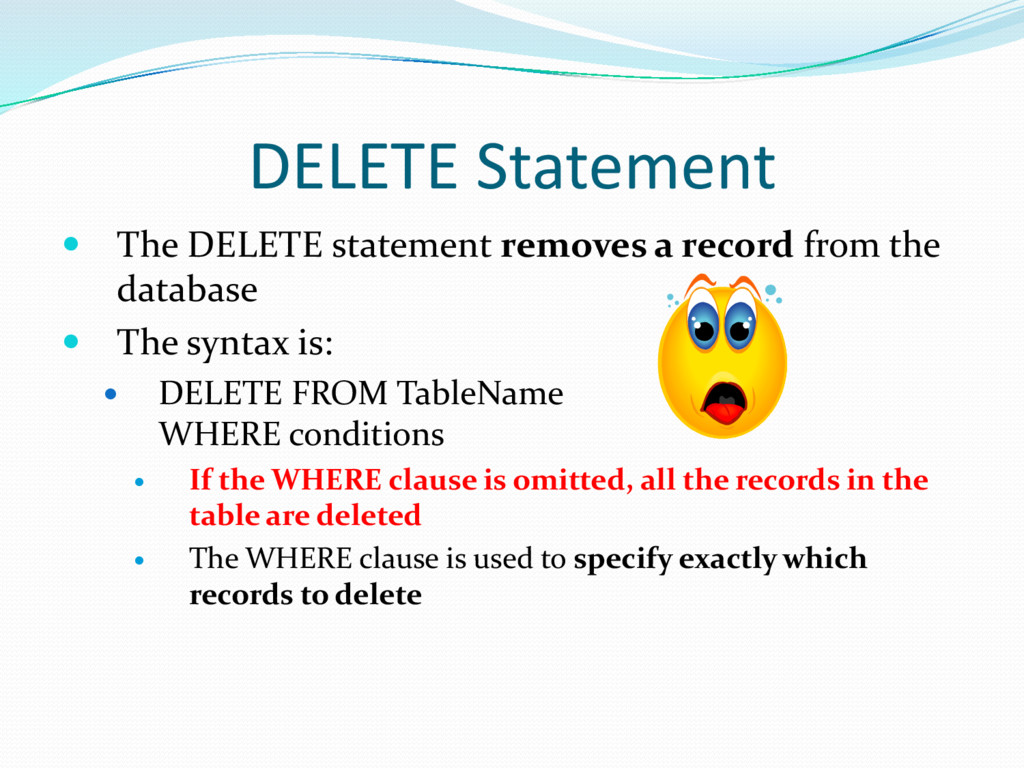
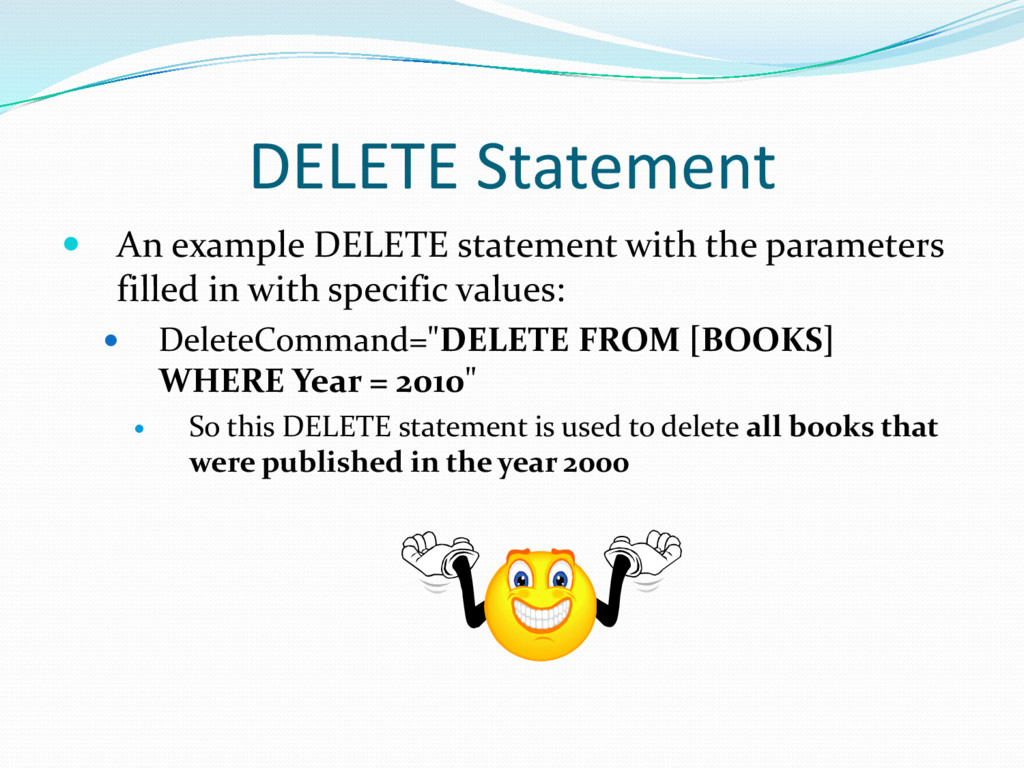
the database The syntax is: DELETE FROM TableName WHERE conditions If the WHERE clause is omitted, all the records in the table are deleted The WHERE clause is used to specify exactly which records to delete
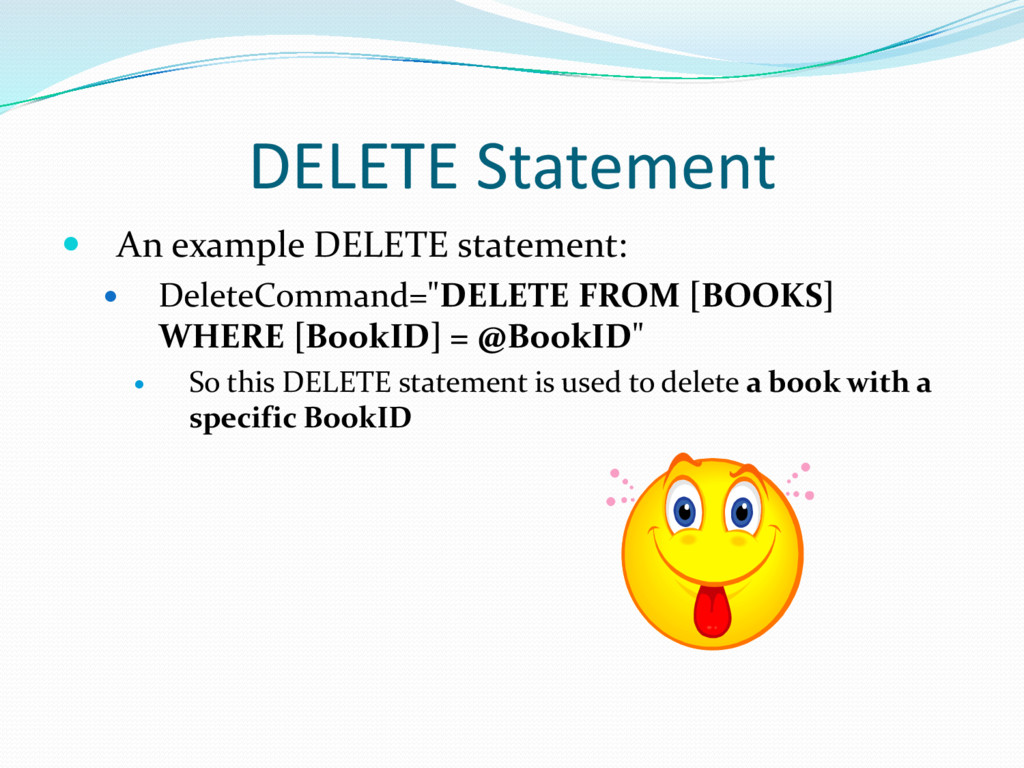
filled in with specific values: DeleteCommand="DELETE FROM [BOOKS] WHERE Year = 2010" So this DELETE statement is used to delete all books that were published in the year 2000
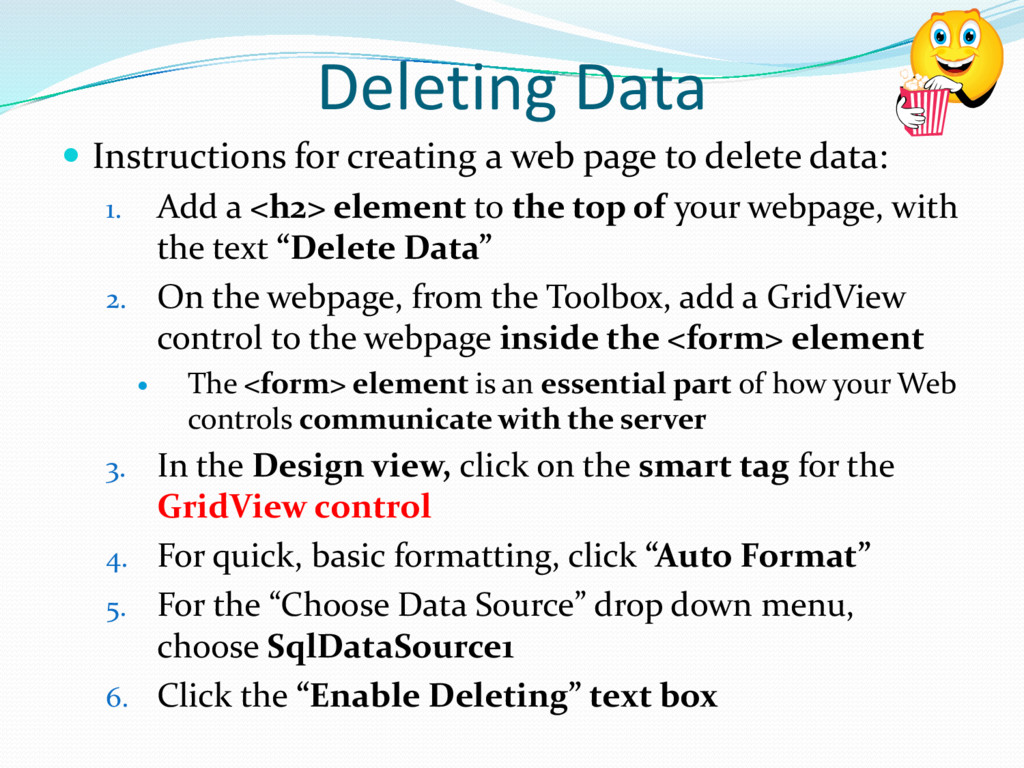
delete data: 1. Add a <h2> element to the top of your webpage, with the text “Delete Data” 2. On the webpage, from the Toolbox, add a GridView control to the webpage inside the <form> element The <form> element is an essential part of how your Web controls communicate with the server 3. In the Design view, click on the smart tag for the GridView control 4. For quick, basic formatting, click “Auto Format” 5. For the “Choose Data Source” drop down menu, choose SqlDataSource1 6. Click the “Enable Deleting” text box
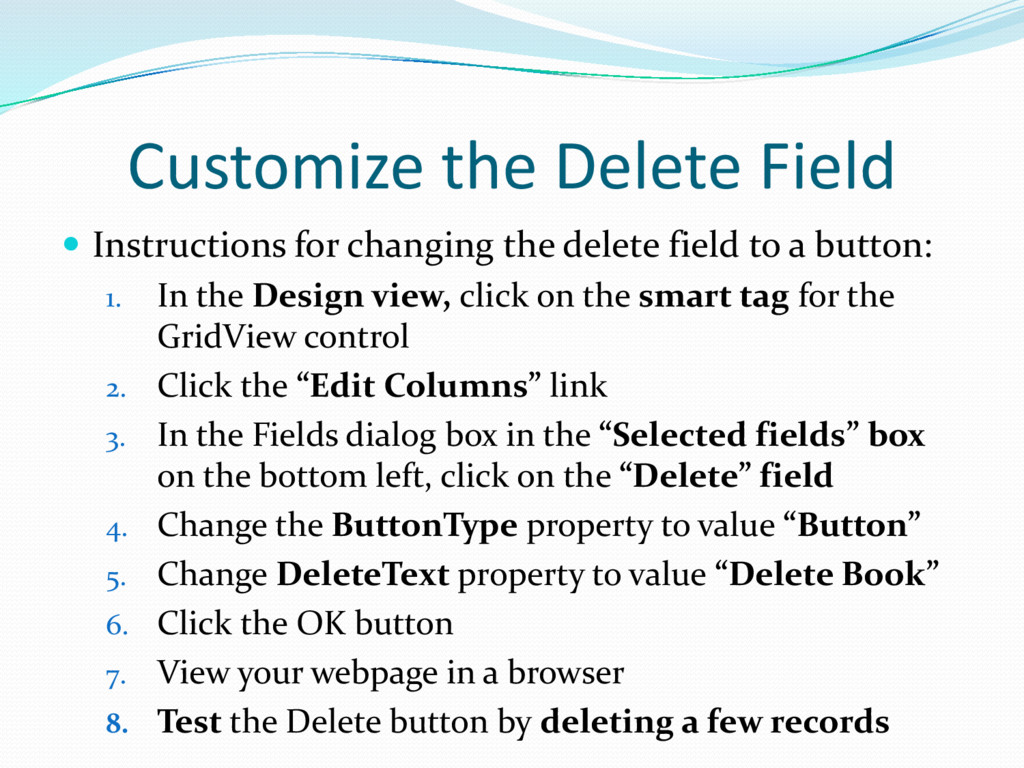
field to a button: 1. In the Design view, click on the smart tag for the GridView control 2. Click the “Edit Columns” link 3. In the Fields dialog box in the “Selected fields” box on the bottom left, click on the “Delete” field 4. Change the ButtonType property to value “Button” 5. Change DeleteText property to value “Delete Book” 6. Click the OK button 7. View your webpage in a browser 8. Test the Delete button by deleting a few records
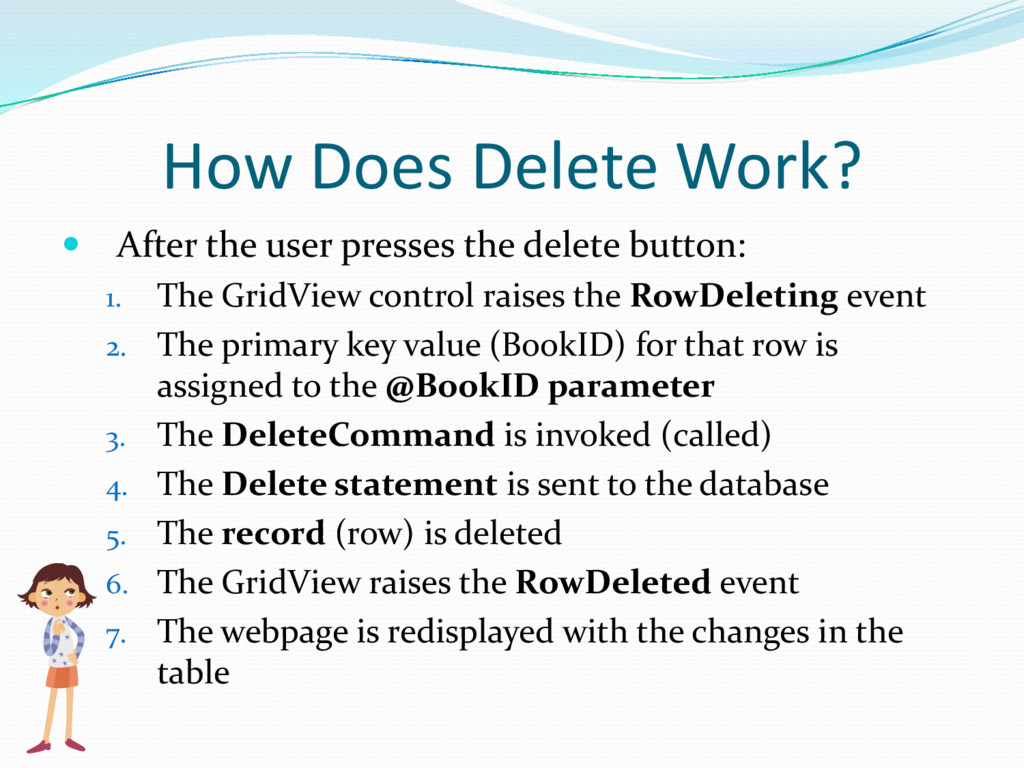
delete button: 1. The GridView control raises the RowDeleting event 2. The primary key value (BookID) for that row is assigned to the @BookID parameter 3. The DeleteCommand is invoked (called) 4. The Delete statement is sent to the database 5. The record (row) is deleted 6. The GridView raises the RowDeleted event 7. The webpage is redisplayed with the changes in the table
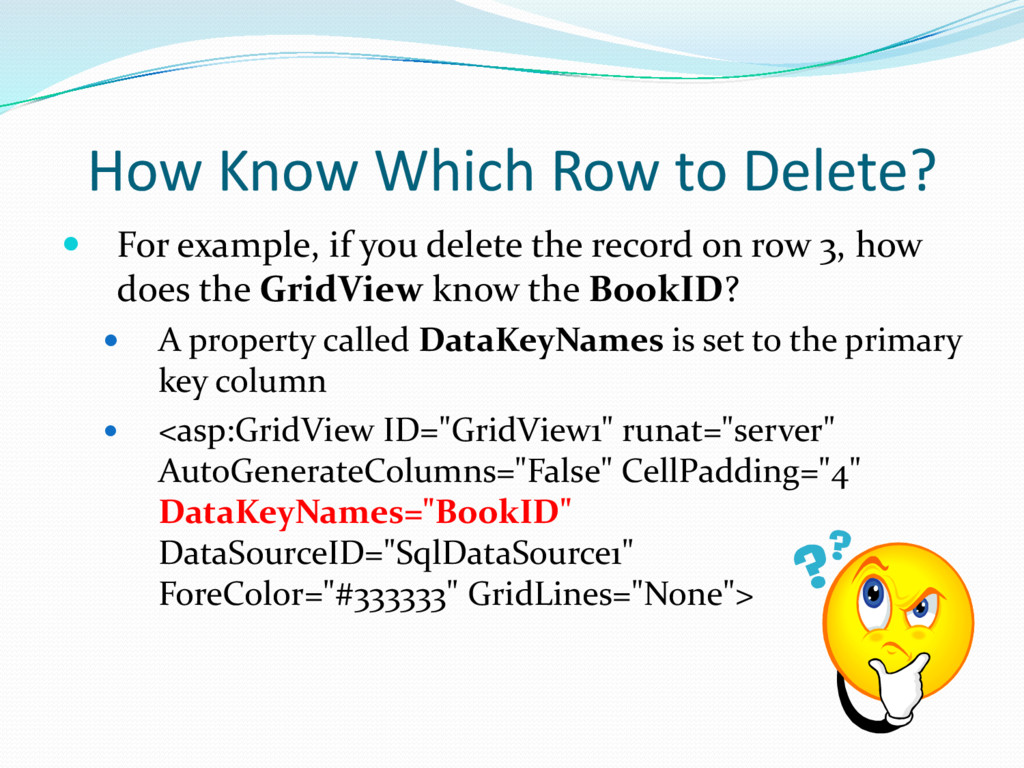
you delete the record on row 3, how does the GridView know the BookID? A property called DataKeyNames is set to the primary key column <asp:GridView ID="GridView1" runat="server" AutoGenerateColumns="False" CellPadding="4" DataKeyNames="BookID" DataSourceID="SqlDataSource1" ForeColor="#333333" GridLines="None">
operations with ASP.NET: 1. Retrieve data from the database 2. Insert data into the database 3. Delete data from the database We still have one more to cover: 4. Edit data in the database
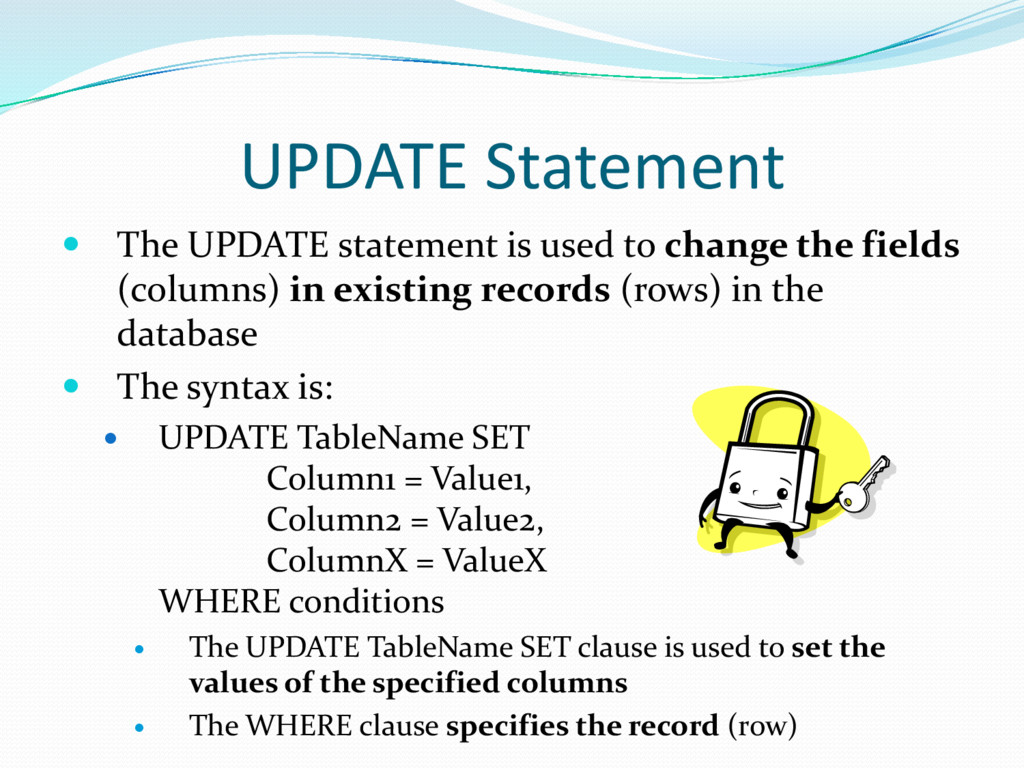
the fields (columns) in existing records (rows) in the database The syntax is: UPDATE TableName SET Column1 = Value1, Column2 = Value2, ColumnX = ValueX WHERE conditions The UPDATE TableName SET clause is used to set the values of the specified columns The WHERE clause specifies the record (r0w)
SET [Title] = @Title, [Author] = @Author, [Year] = @Year, [Price] = @Price, [LastRead] = @LastRead, [Pages] = @Pages WHERE [BookID] = @BookID" The WHERE clause is used to update a record (row) with a specific BookID
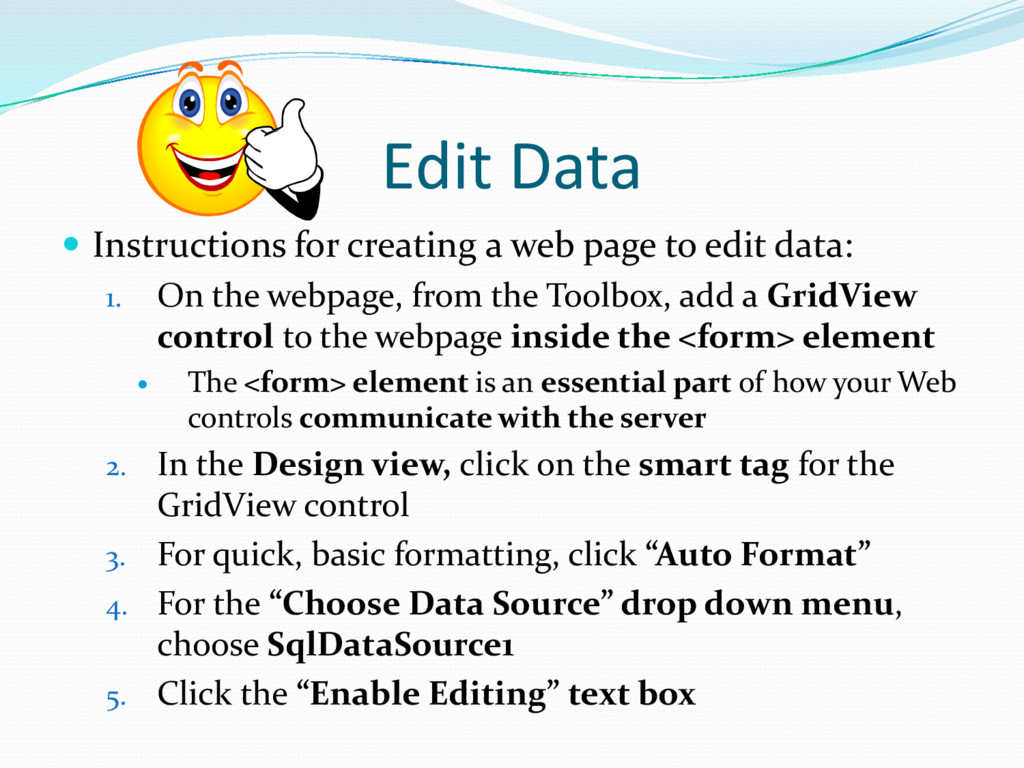
edit data: 1. On the webpage, from the Toolbox, add a GridView control to the webpage inside the <form> element The <form> element is an essential part of how your Web controls communicate with the server 2. In the Design view, click on the smart tag for the GridView control 3. For quick, basic formatting, click “Auto Format” 4. For the “Choose Data Source” drop down menu, choose SqlDataSource1 5. Click the “Enable Editing” text box
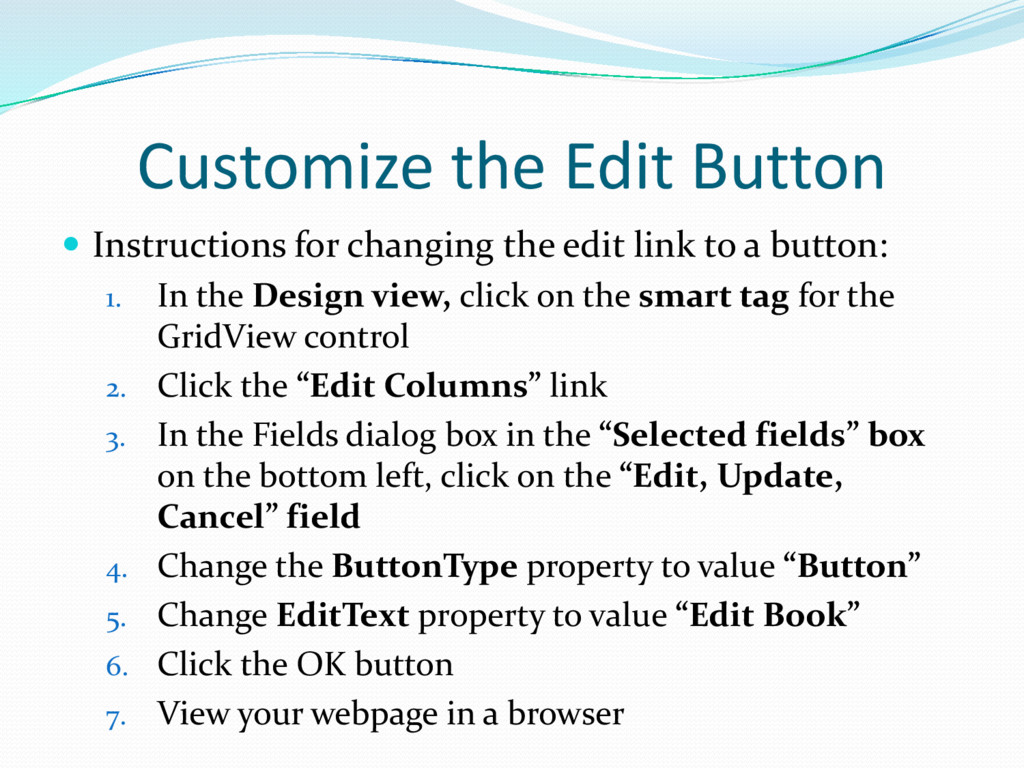
link to a button: 1. In the Design view, click on the smart tag for the GridView control 2. Click the “Edit Columns” link 3. In the Fields dialog box in the “Selected fields” box on the bottom left, click on the “Edit, Update, Cancel” field 4. Change the ButtonType property to value “Button” 5. Change EditText property to value “Edit Book” 6. Click the OK button 7. View your webpage in a browser
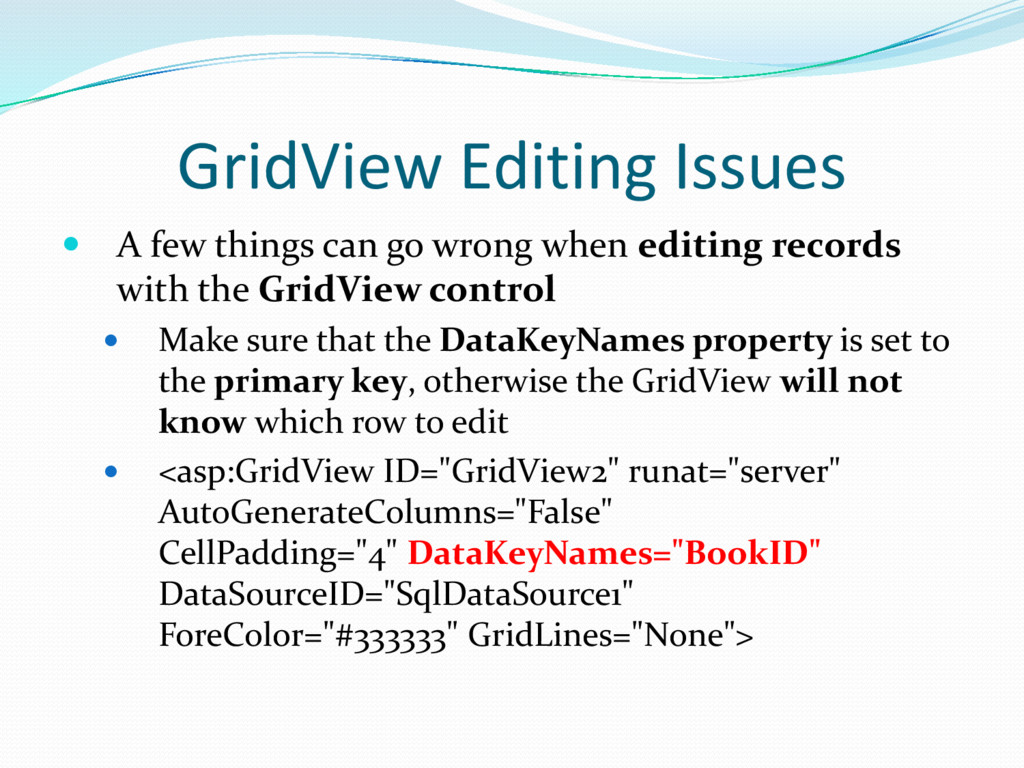
when editing records with the GridView control Make sure that the DataKeyNames property is set to the primary key, otherwise the GridView will not know which row to edit <asp:GridView ID="GridView2" runat="server" AutoGenerateColumns="False" CellPadding="4" DataKeyNames="BookID" DataSourceID="SqlDataSource1" ForeColor="#333333" GridLines="None">
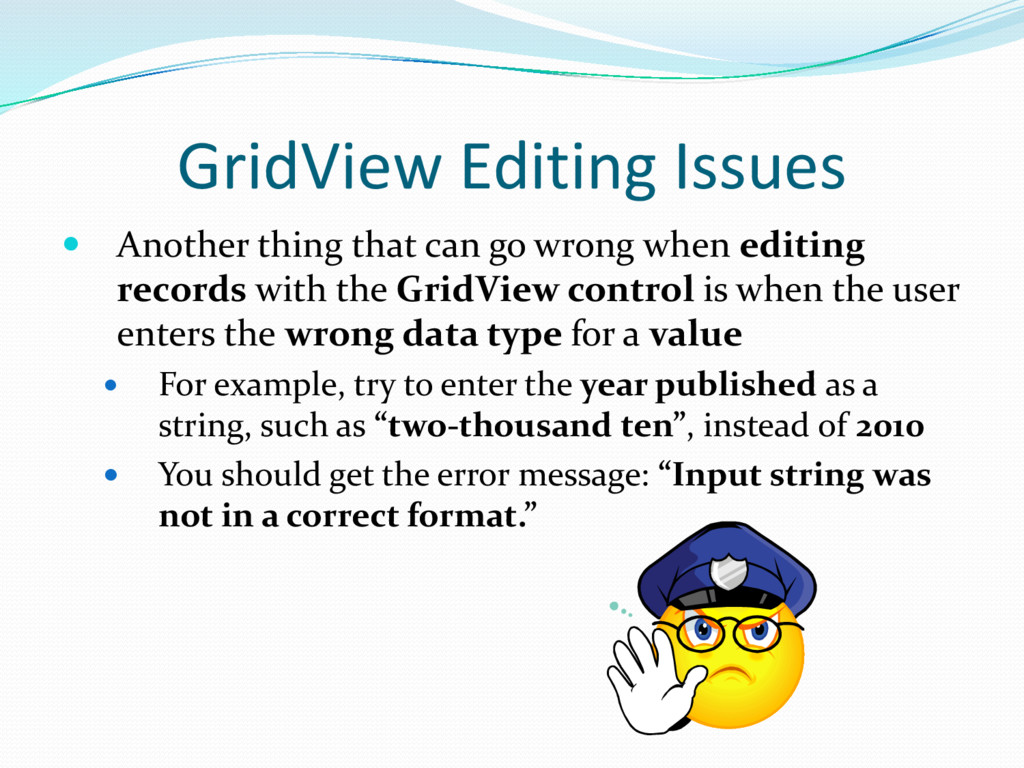
when editing records with the GridView control is when the user enters the wrong data type for a value For example, try to enter the year published as a string, such as “two-thousand ten”, instead of 2010 You should get the error message: “Input string was not in a correct format.”
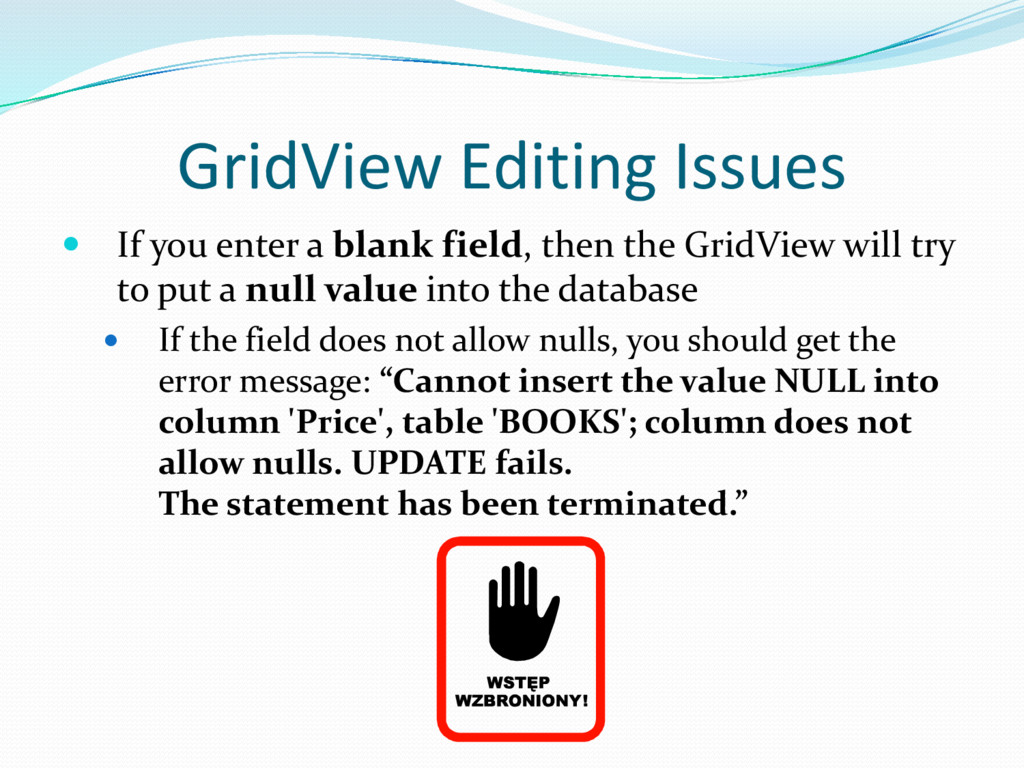
then the GridView will try to put a null value into the database If the field does not allow nulls, you should get the error message: “Cannot insert the value NULL into column 'Price', table 'BOOKS'; column does not allow nulls. UPDATE fails. The statement has been terminated.”
incorrect data into the database, and crash the website, when you use the GridView control for editing There are several steps we can take to prevent this
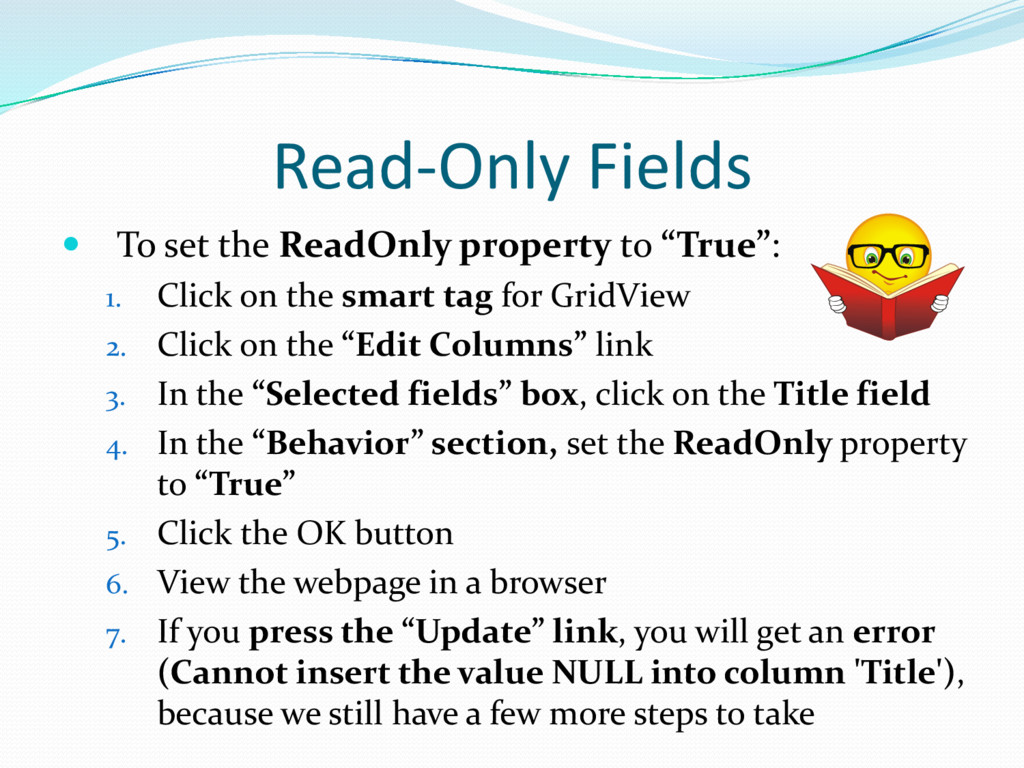
from changing some of the fields For example, the title of the book To make the Title field read-only is a two step process (see details in next few slides): 1. Set the ReadOnly property to “True” 2. Remove the read-only field from the SqlDataSource’s UpdateCommand and UpdateParameters properties
1. Click on the smart tag for GridView 2. Click on the “Edit Columns” link 3. In the “Selected fields” box, click on the Title field 4. In the “Behavior” section, set the ReadOnly property to “True” 5. Click the OK button 6. View the webpage in a browser 7. If you press the “Update” link, you will get an error (Cannot insert the value NULL into column 'Title'), because we still have a few more steps to take
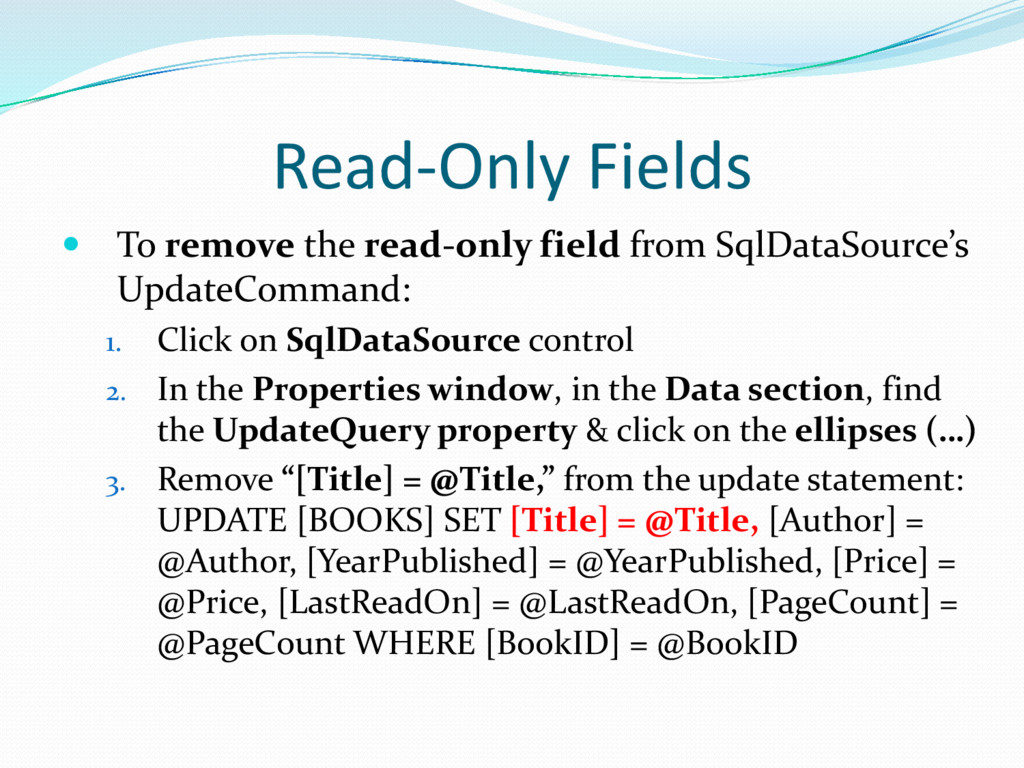
UpdateCommand: 1. Click on SqlDataSource control 2. In the Properties window, in the Data section, find the UpdateQuery property & click on the ellipses (…) 3. Remove “[Title] = @Title,” from the update statement: UPDATE [BOOKS] SET [Title] = @Title, [Author] = @Author, [YearPublished] = @YearPublished, [Price] = @Price, [LastReadOn] = @LastReadOn, [PageCount] = @PageCount WHERE [BookID] = @BookID
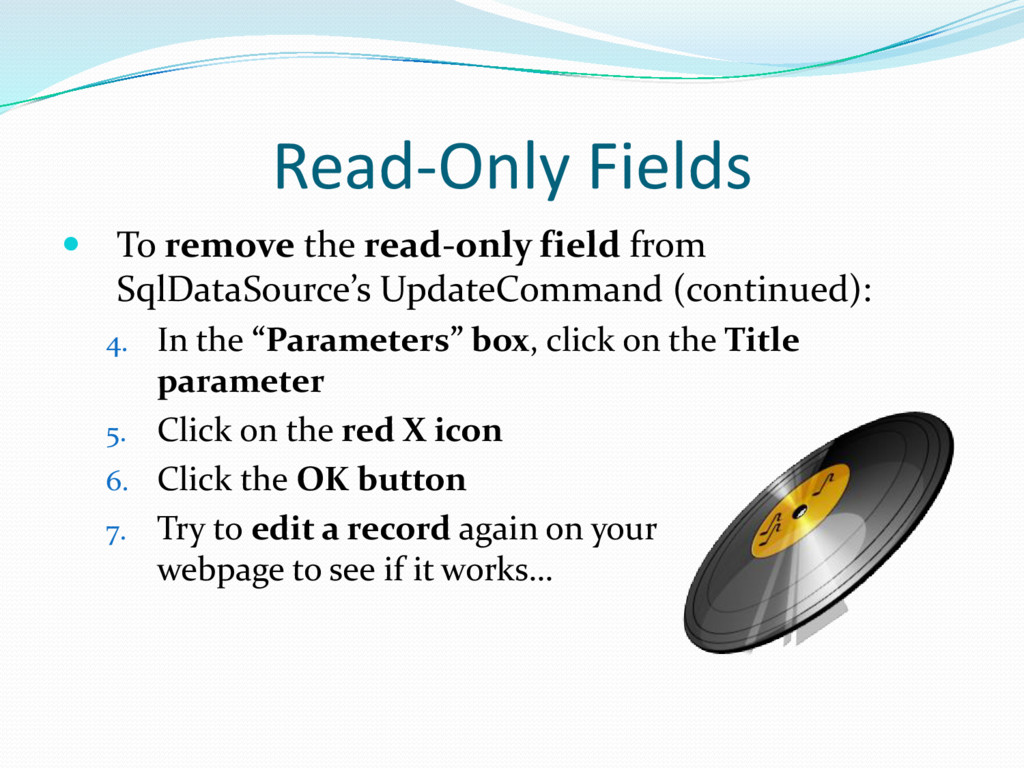
UpdateCommand (continued): 4. In the “Parameters” box, click on the Title parameter 5. Click on the red X icon 6. Click the OK button 7. Try to edit a record again on your webpage to see if it works…
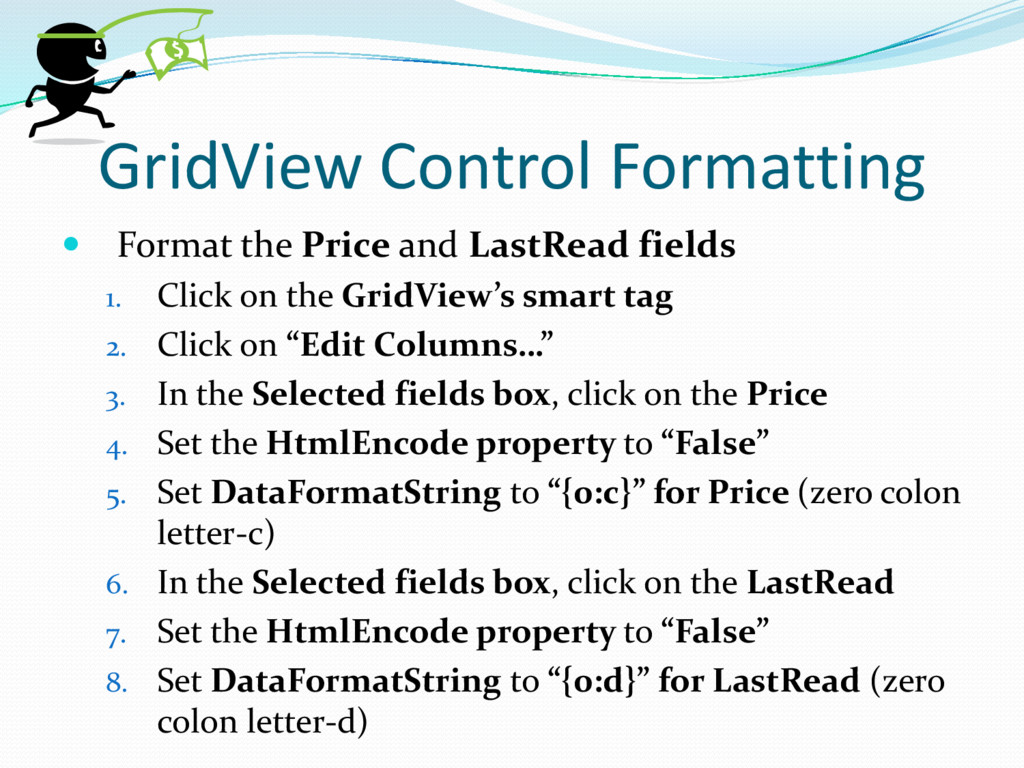
1. Click on the GridView’s smart tag 2. Click on “Edit Columns…” 3. In the Selected fields box, click on the Price 4. Set the HtmlEncode property to “False” 5. Set DataFormatString to “{0:c}” for Price (zero colon letter-c) 6. In the Selected fields box, click on the LastRead 7. Set the HtmlEncode property to “False” 8. Set DataFormatString to “{0:d}” for LastRead (zero colon letter-d)
a browser When you edit a record, note that the formatting is not fixed for the Price and LastRead fields To set the formatting for the LastRead field: 1. Click on the GridView’s smart tag 2. Click on the “Edit Columns…” link 3. In the “Selected fields” box, click on LastRead field 4. In the Behavior category, change the “ApplyFormatInEditMode” property to “True”
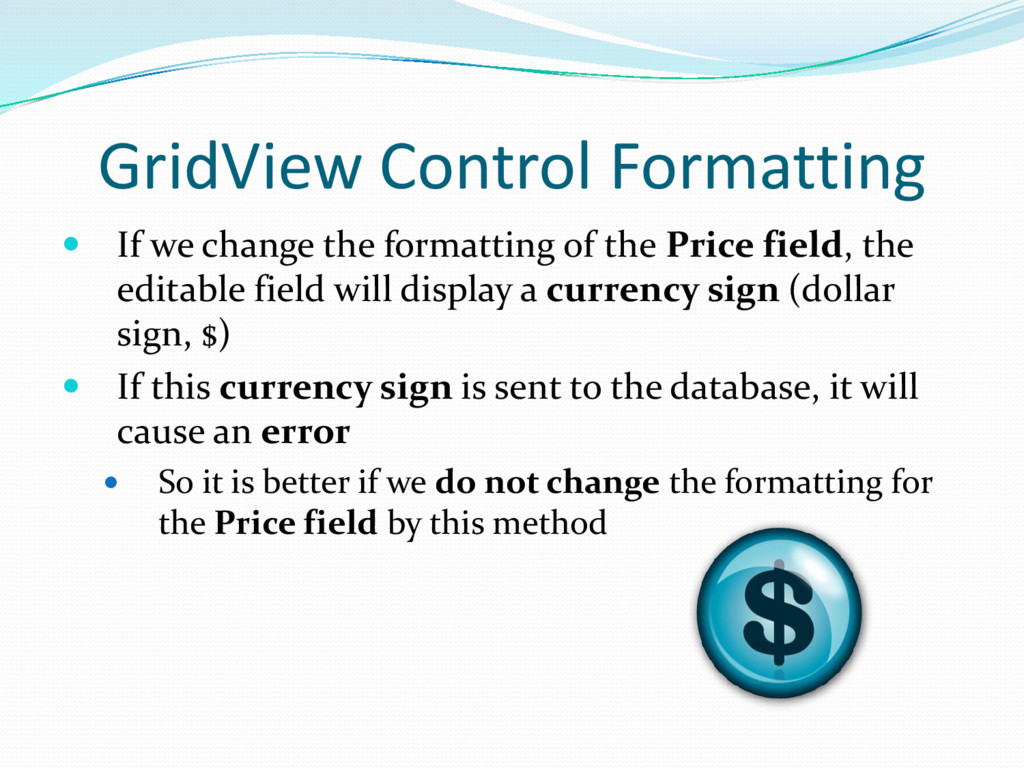
the Price field, the editable field will display a currency sign (dollar sign, $) If this currency sign is sent to the database, it will cause an error So it is better if we do not change the formatting for the Price field by this method
Price field, change the length of the text box, and add data validators, we need to use a TemplateField A TemplateField is a mix of Web controls and static HTML markup A template field allows us to specify exactly how to format editable and non-editable columns The default for GridView is a BoundField, which uses text for non-editable fields and textboxes for editable fields We will change this default to a TemplateField
on the GridView’s smart tag 2. Click on the “Edit Columns…” link 3. In the “Selected fields” list, click on the Price field 4. Click on the “Convert this field into a TemplateField” link on the bottom right 5. Click the OK button
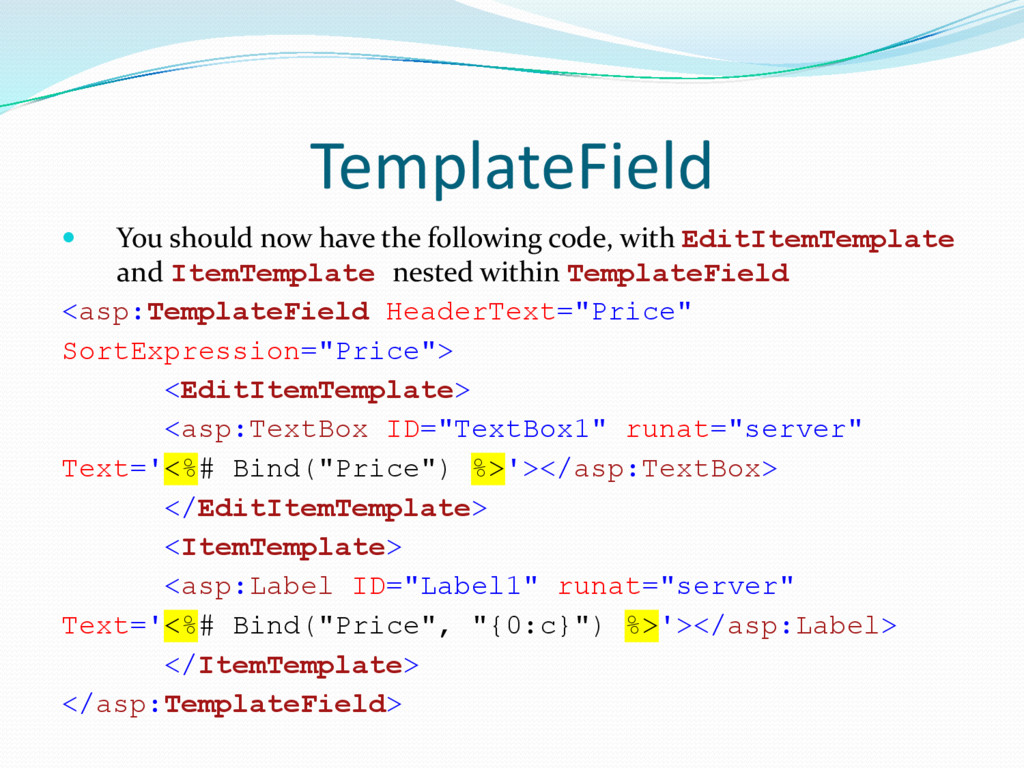
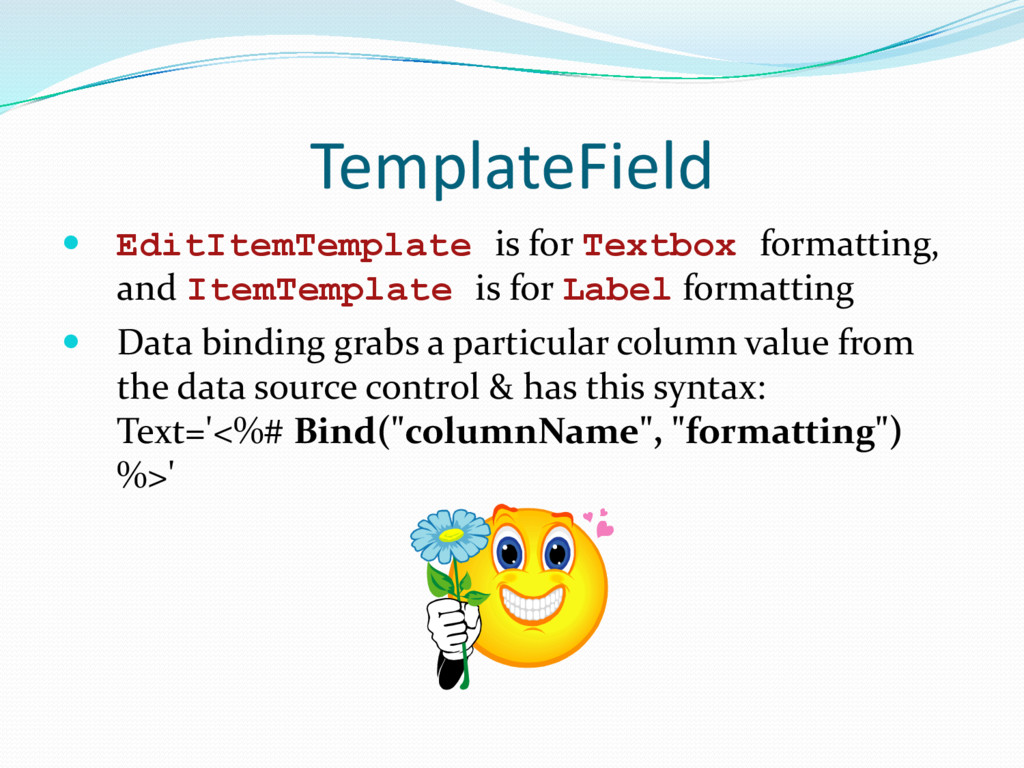
for Label formatting Data binding grabs a particular column value from the data source control & has this syntax: Text='<%# Bind("columnName", "formatting") %>'
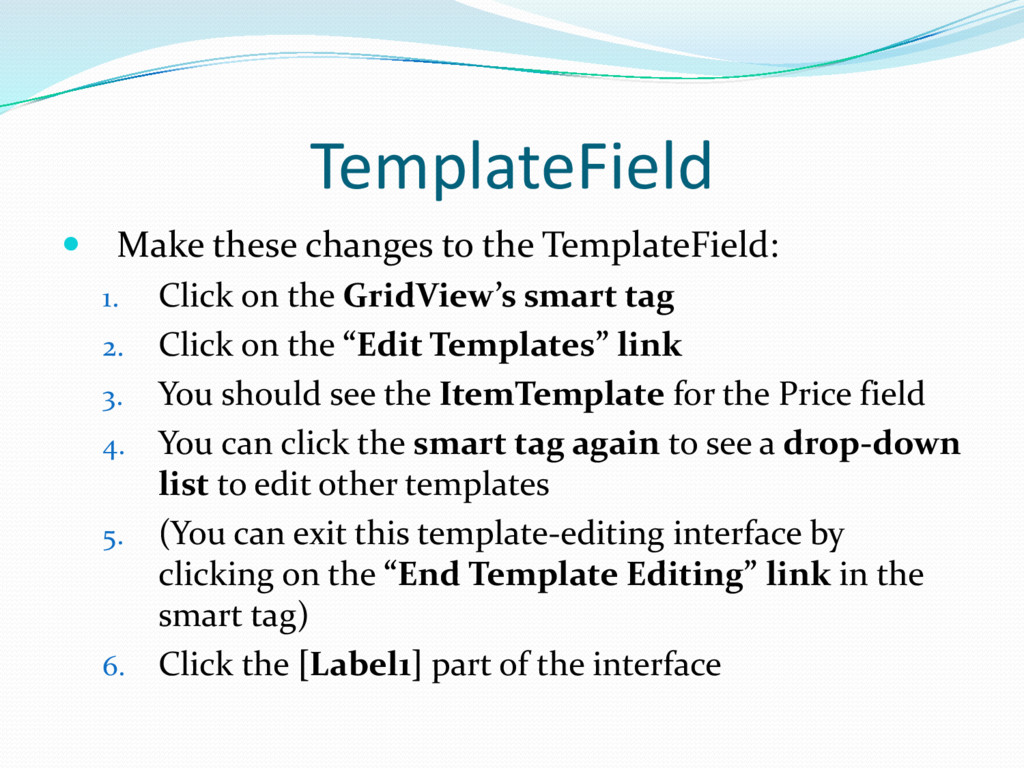
on the GridView’s smart tag 2. Click on the “Edit Templates” link 3. You should see the ItemTemplate for the Price field 4. You can click the smart tag again to see a drop-down list to edit other templates 5. (You can exit this template-editing interface by clicking on the “End Template Editing” link in the smart tag) 6. Click the [Label1] part of the interface
In the Properties window, you should see a little disc icon next to the Text property (in the Appearance category) to indicate that data binding is being used to assign a value to the Text property 8. Click on the GridView’s smart tag 9. Use the Display drop down menu to change from the ItemTemplate to the EditItemTemplate by clicking on EditItemTemplate 10. You should now see a text box
Add a dollar sign ($) in front of the text box by clicking on the area in front of the text box (or you might switch to the Source view to do this) 12. Click on the text box itself 13. In the Properties window, under the Appearance category, change the Columns property to 7 14. From the toolbox, drag the RequiredFieldValidator to the EditItemTemplate
In the Properties window, Appearances section, set the Display property to Dynamic 17. Set the ErrorMessage property to “You must enter a price” 18. In the Behavior section, Change ControlToValidate to the ID of the textbox (probably TextBox1, but you need to check your source code) 19. Drag a CompareValidator control to the EditItemTemplate and set the properties so the user has to enter a number greater then or equal to 0 (zero)
In the Properties window, set the Display property to Dynamic 21. Set the ErrorMessage property to “You must enter a price greater than zero (0)” 22. Set the ControlToValidate to the ID of the textbox (probably TextBox1, but you will have a drop down menu to choose from) 23. Set the Operator property to GreaterThanEqual 24. Set the Type property to Double 25. Set the ValueToCompare property to 0 (zero)
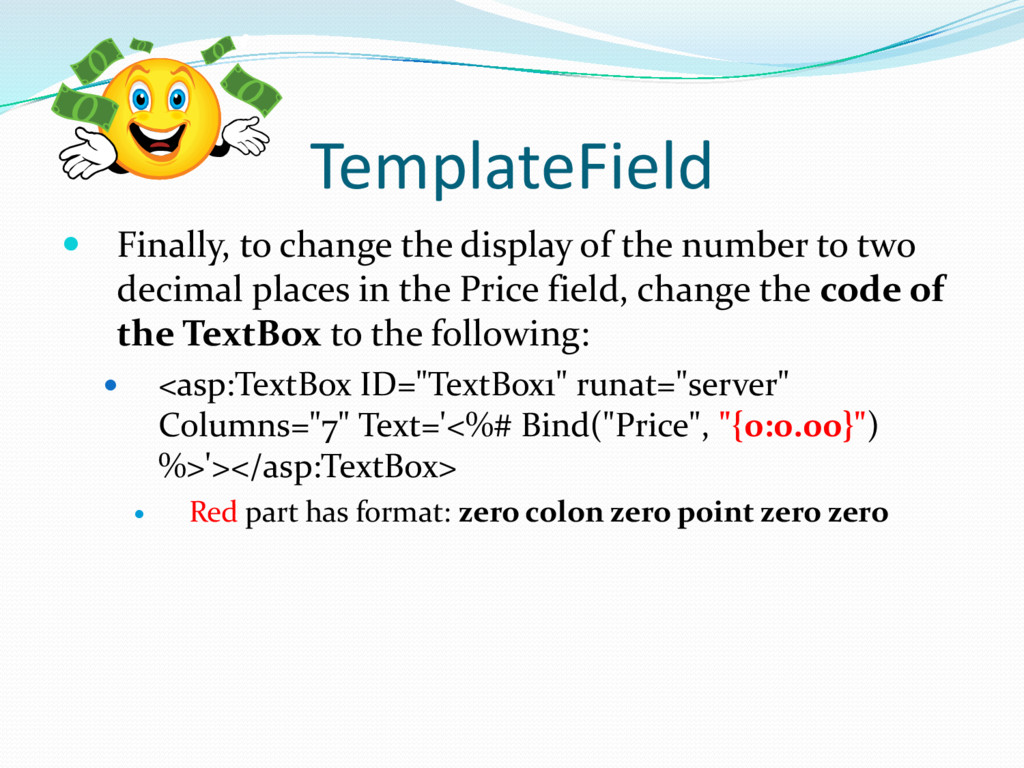
to two decimal places in the Price field, change the code of the TextBox to the following: <asp:TextBox ID="TextBox1" runat="server" Columns="7" Text='<%# Bind("Price", "{0:0.00}") %>'></asp:TextBox> Red part has format: zero colon zero point zero zero
![UPDATE Statement An example UPDATE statement: UpdateCommand="UPDATE [BOOKS]](https://files.speakerdeck.com/presentations/1cd21bca8892459b940a2aacd0c8b8cf/slide_25.jpg)