Upgrade to Pro — share decks privately, control downloads, hide ads and more …

Home Automation with Javascript

Home Automation with Javascript

Presentation at JsFoo 2015, Bangalore.

Arnav Gupta

October 19, 2015
Tweet

More Decks by Arnav Gupta

Other Decks in Programming

Transcript

  1. The Basics Components 1.A controller/driver (Power Electronic Switch) 2.Logic circuit

    for controller/driver 3.Software interface for logic circuit 4.Server-Client, or Socket based model (the API) 5.User Interface
  2. What we will use Controller : BeagleBone Black A microcomputer

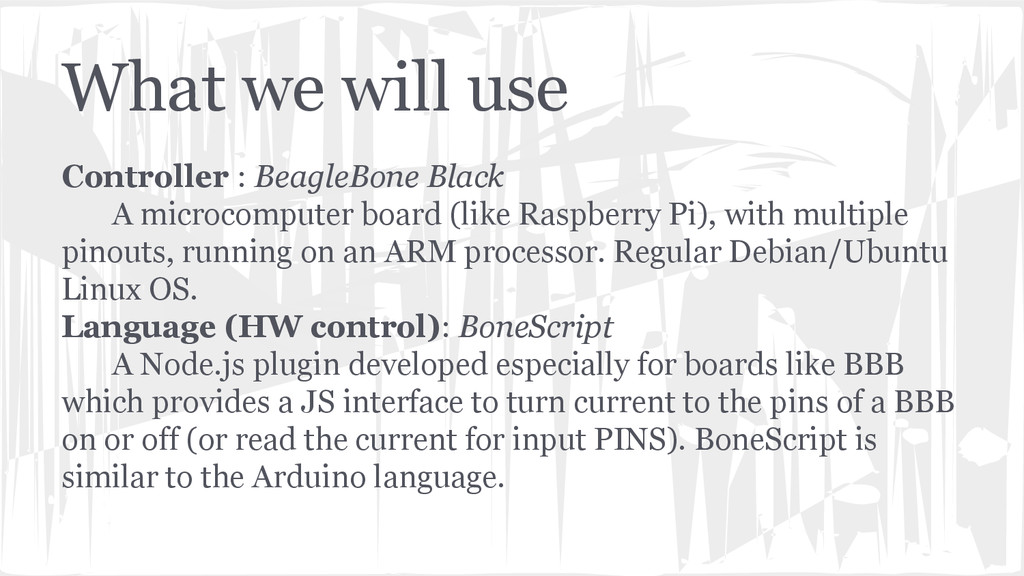
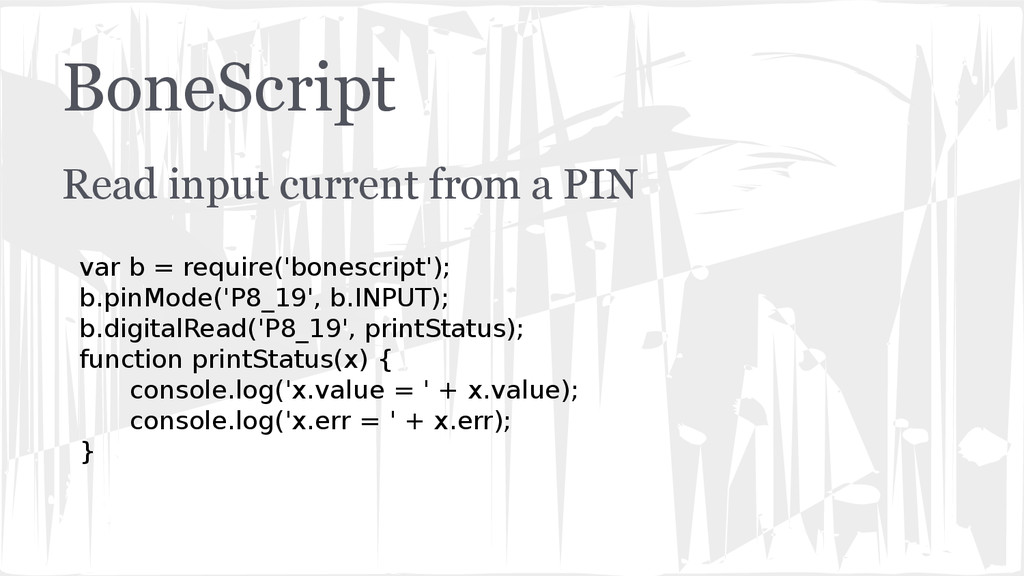
    board (like Raspberry Pi), with multiple pinouts, running on an ARM processor. Regular Debian/Ubuntu Linux OS. Language (HW control): BoneScript A Node.js plugin developed especially for boards like BBB which provides a JS interface to turn current to the pins of a BBB on or off (or read the current for input PINS). BoneScript is similar to the Arduino language.
  3. What we will use Language (API) : Socket.io or Node.js

    REST If we directly access a webpage hosted on the BBB, we can use socket.io, or we can create a RESTful API on the BBB. Language (UI): AngularJS We can use any MVC or pure JS too. This is the frontend for the given REST API on the BBB to control the states of the switches.
  4. How switching works  Power Electronics – Controlling Electrical appliances

    with Electronics  Common switches - BJT, MOSFET, TRIAC, DIAC  A 5V-1A cirtuit can control a 220V-15A circuit.
  5. BoneScript Setting a PIN output to high current var b

    = require('bonescript'); b.pinMode('USR0', b.OUTPUT); b.digitalWrite('USR0', b.HIGH);
  6. BoneScript Read input current from a PIN var b =

    require('bonescript'); b.pinMode('P8_19', b.INPUT); b.digitalRead('P8_19', printStatus); function printStatus(x) { console.log('x.value = ' + x.value); console.log('x.err = ' + x.err); }
  7. BoneScript Blink a LED var b = require('bonescript'); var led

    = "USR3"; var state = 0; b.pinMode(led, 'out'); toggleLED = function() { state = state ? 0 : 1; b.digitalWrite(led, state); }; timer = setInterval(toggleLED, 100); stopTimer = function() { clearInterval(timer); }; setTimeout(stopTimer, 3000);
  8. Basic home automation with Bonescript Connect LEDs on some of

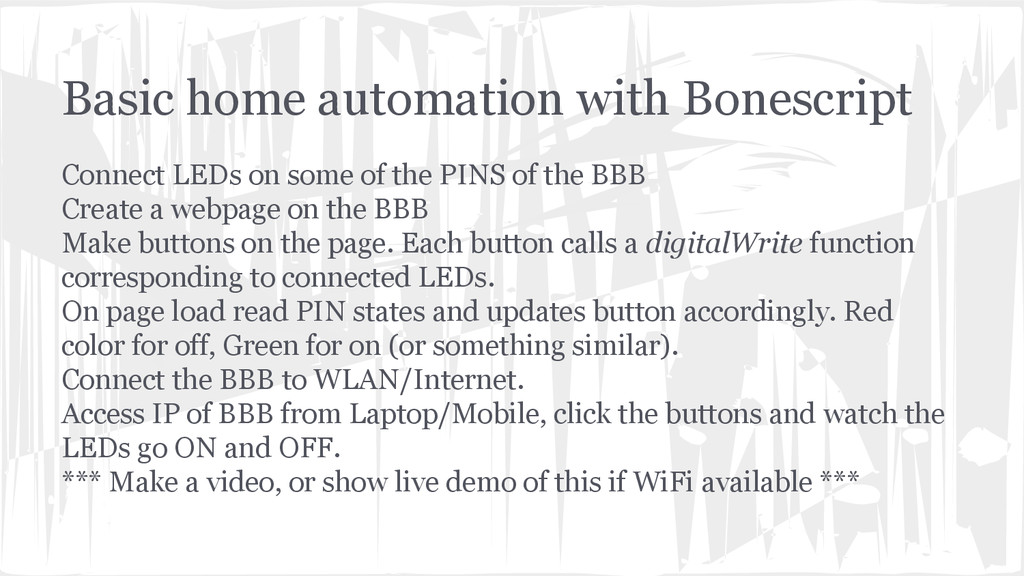
    the PINS of the BBB Create a webpage on the BBB Make buttons on the page. Each button calls a digitalWrite function corresponding to connected LEDs. On page load read PIN states and updates button accordingly. Red color for off, Green for on (or something similar). Connect the BBB to WLAN/Internet. Access IP of BBB from Laptop/Mobile, click the buttons and watch the LEDs go ON and OFF. *** Make a video, or show live demo of this if WiFi available ***
  9. Why this isn’t practically applicable ? HAVE TO open the

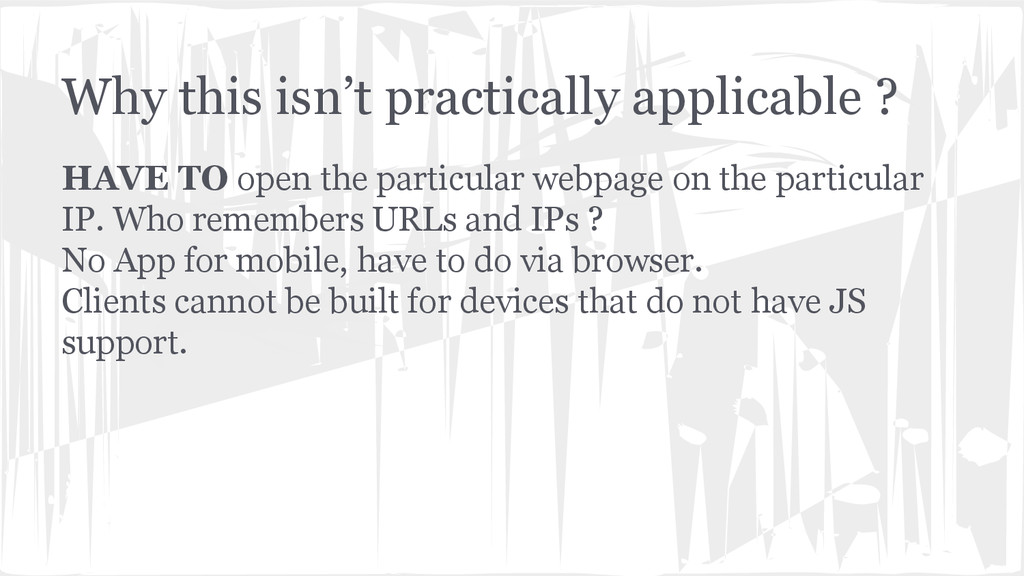
    particular webpage on the particular IP. Who remembers URLs and IPs ? No App for mobile, have to do via browser. Clients cannot be built for devices that do not have JS support.
  10. Solution : REST Api We will create a simple REST

    API using Node.js and Express 4. var express = require('express'); var app = express(); app.get('/switch/fan/:state', function(req, res) { if (req.params.state === 1) // digitalWrite high to the required PIN else // digitalWrite low to the required PIN }); app.listen(8080);
  11. Solution : REST Api We make REST calls from the

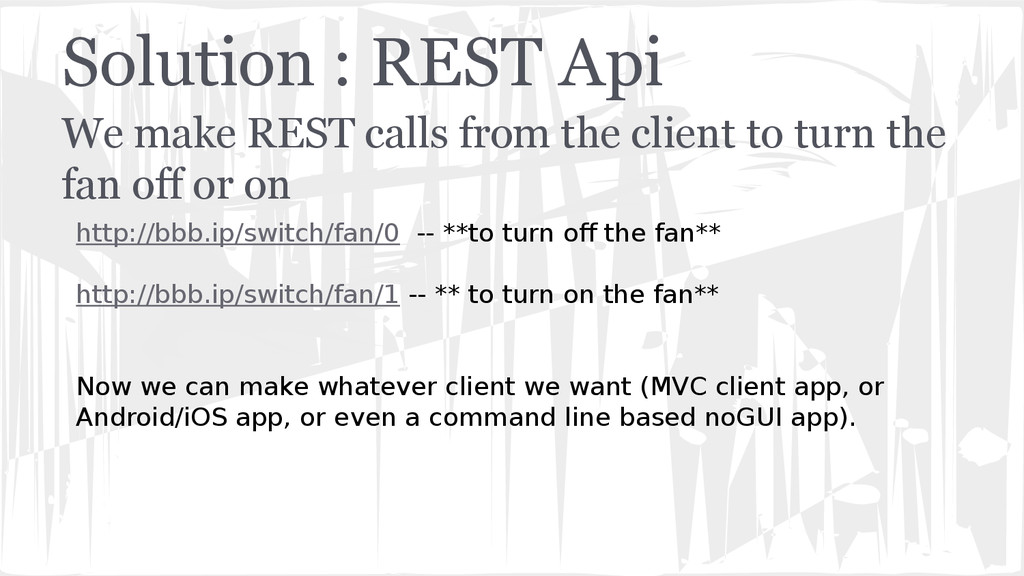
    client to turn the fan off or on http://bbb.ip/switch/fan/0 -- **to turn off the fan** http://bbb.ip/switch/fan/1 -- ** to turn on the fan** Now we can make whatever client we want (MVC client app, or Android/iOS app, or even a command line based noGUI app).
  12. AngularJS frontend  Create buttons with asynchronous calls to rest

    API  Responsive UI + Material/Bootstrap themes. Such design, much awesome.  Can also turn into Android/iOS clients using Ionic etc.
  13. GPIO/I2C run through  General Purpose I/O – Kernel interface

    to control currents over sysfs.  Some info on why using C/C++ or shell to actually control the currents is more efficient than Python/Node.