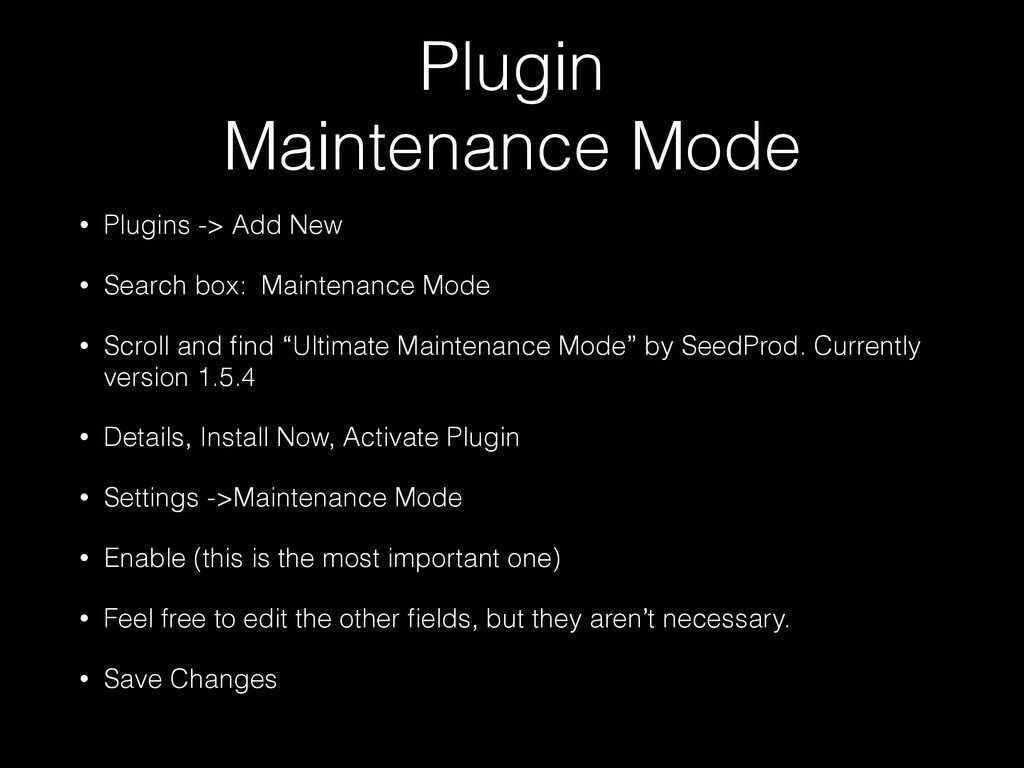
box: Maintenance Mode • Scroll and find “Ultimate Maintenance Mode” by SeedProd. Currently version 1.5.4 • Details, Install Now, Activate Plugin • Settings ->Maintenance Mode • Enable (this is the most important one) • Feel free to edit the other fields, but they aren’t necessary. • Save Changes
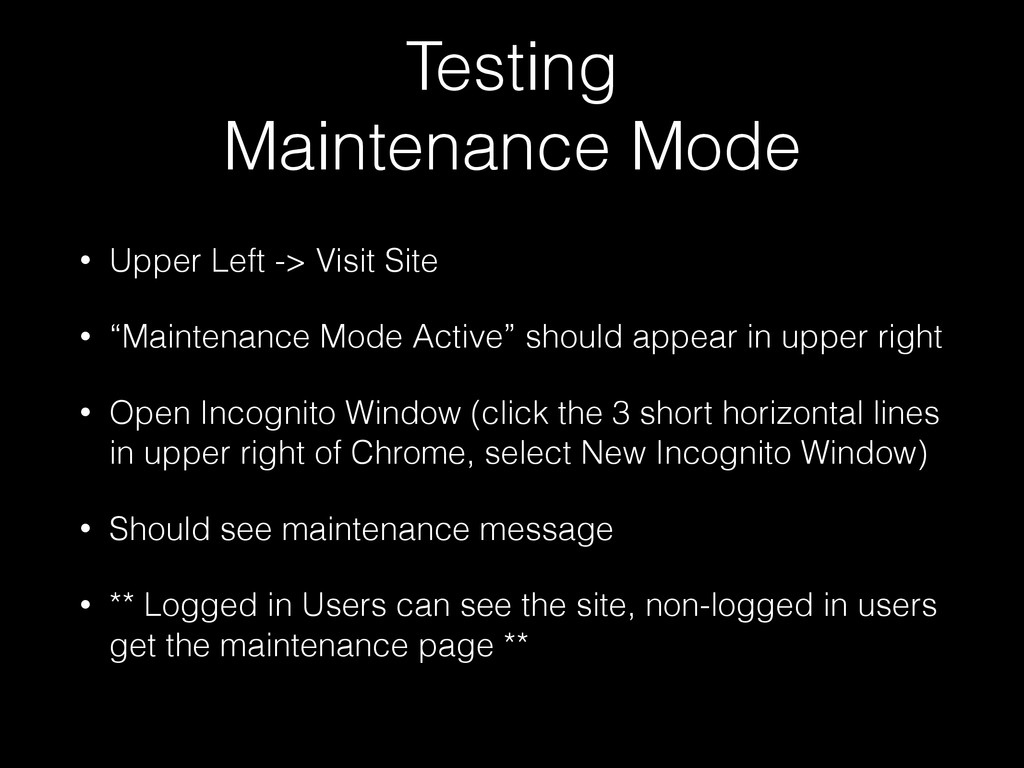
“Maintenance Mode Active” should appear in upper right • Open Incognito Window (click the 3 short horizontal lines in upper right of Chrome, select New Incognito Window) • Should see maintenance message • ** Logged in Users can see the site, non-logged in users get the maintenance page **
bottom • With selected: Enable - Click Update • If anything else is white (back at the top) select it • scroll to bottom • With selected: Disable - Click Update
Share plugins are active. • Decide which share buttons you prefer and disable the plugin that you don’t like. • Plugins -> Installed Plugins • Click Deactivate on the one you don’t like.
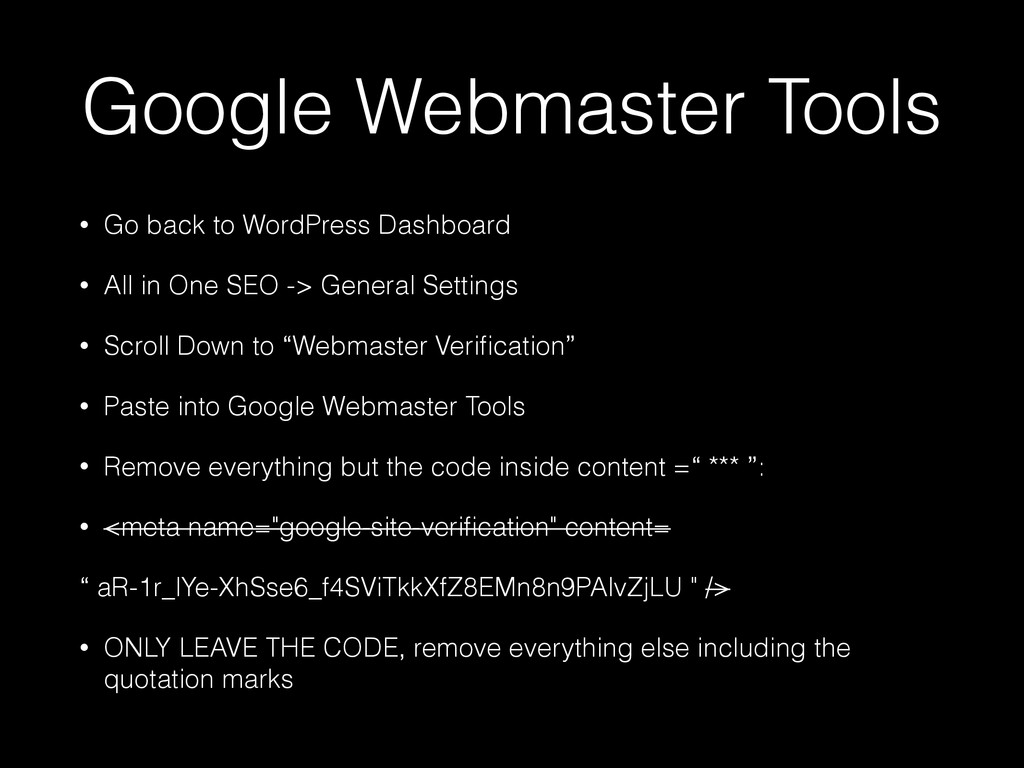
All in One SEO -> General Settings • Scroll Down to “Webmaster Verification” • Paste into Google Webmaster Tools • Remove everything but the code inside content =“ *** ”: • <meta name="google-site-verification" content= “ aR-1r_lYe-XhSse6_f4SViTkkXfZ8EMn8n9PAlvZjLU " /> • ONLY LEAVE THE CODE, remove everything else including the quotation marks
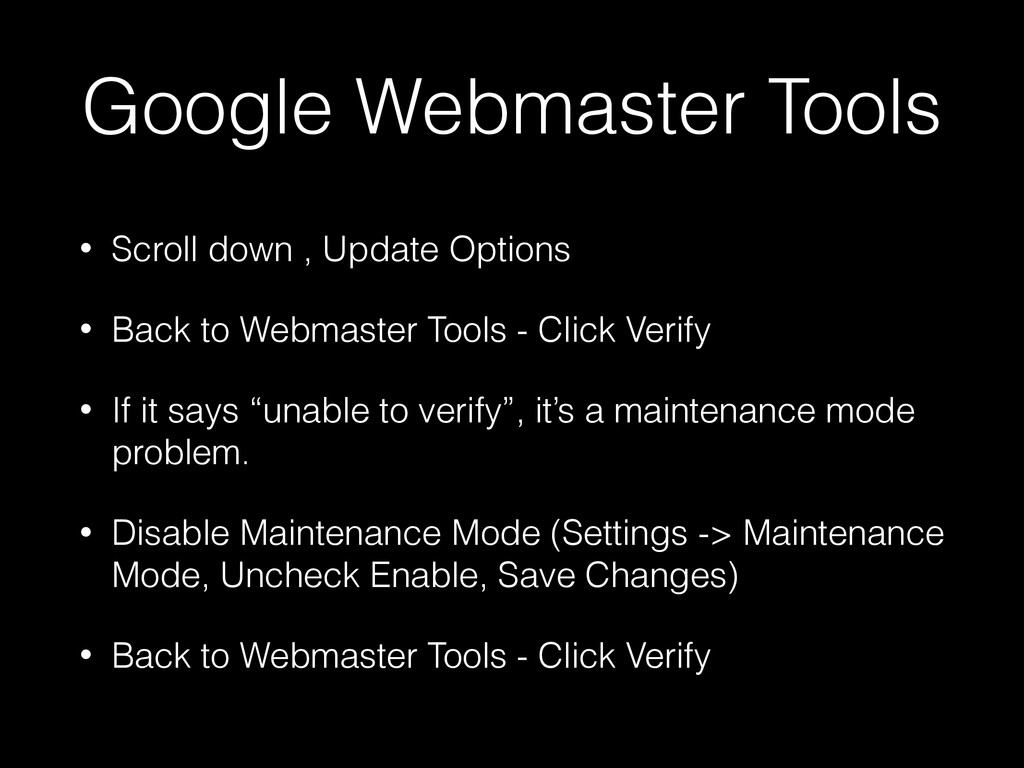
Back to Webmaster Tools - Click Verify • If it says “unable to verify”, it’s a maintenance mode problem. • Disable Maintenance Mode (Settings -> Maintenance Mode, Uncheck Enable, Save Changes) • Back to Webmaster Tools - Click Verify
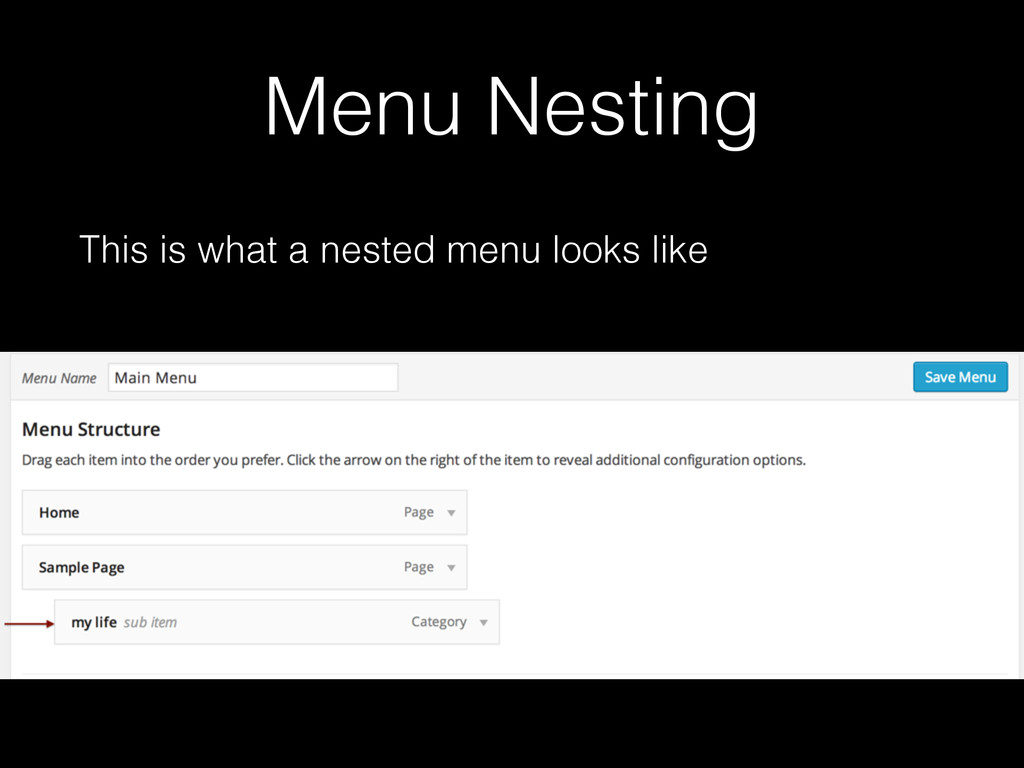
like included • Click Add To Menu • Expand Categories section by clicking on it • Select Categories to add as menu items • Click Add To Menu • Click Save Menu
of the word Page • In the Expanded Area you can adjust the navigation label without affecting the name of the page. • You can also change the position of the item without dragging and dropping by click “up one”, “down one”, “Under ***”, etc. • If you make changes click Save Menu
![More Information • YouTube - Search “WordPress Admin [FeatureName]” •](https://files.speakerdeck.com/presentations/0e2adf50fbc7013102b94a47441122ce/slide_17.jpg)