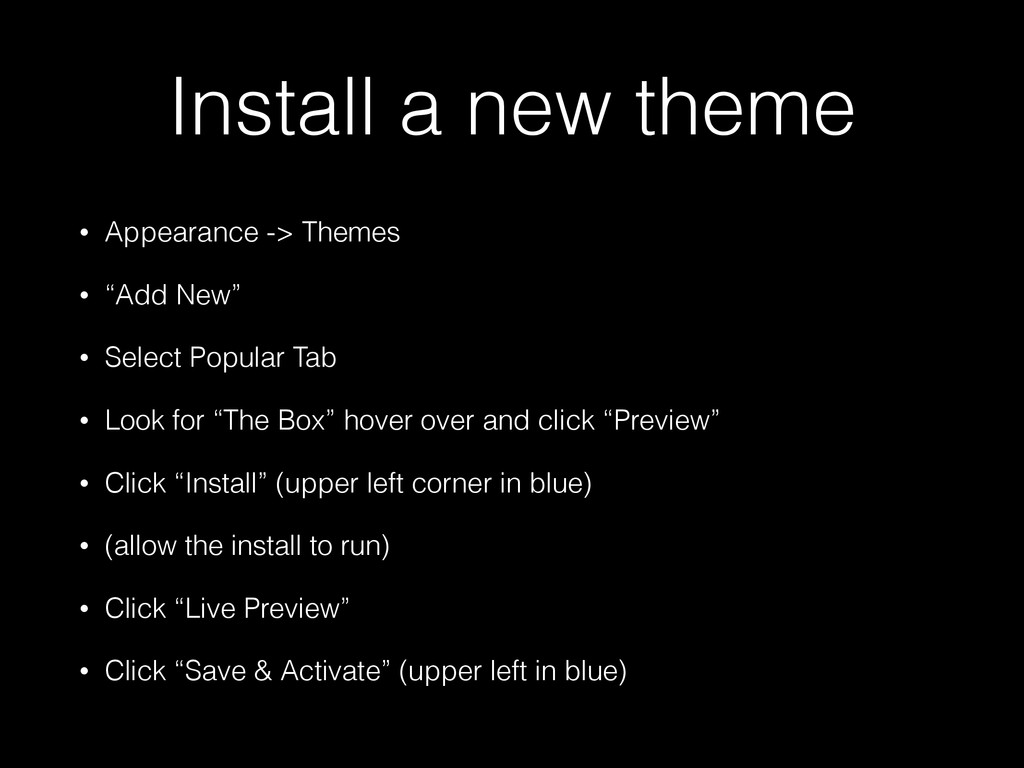
New” • Select Popular Tab • Look for “The Box” hover over and click “Preview” • Click “Install” (upper left corner in blue) • (allow the install to run) • Click “Live Preview” • Click “Save & Activate” (upper left in blue)
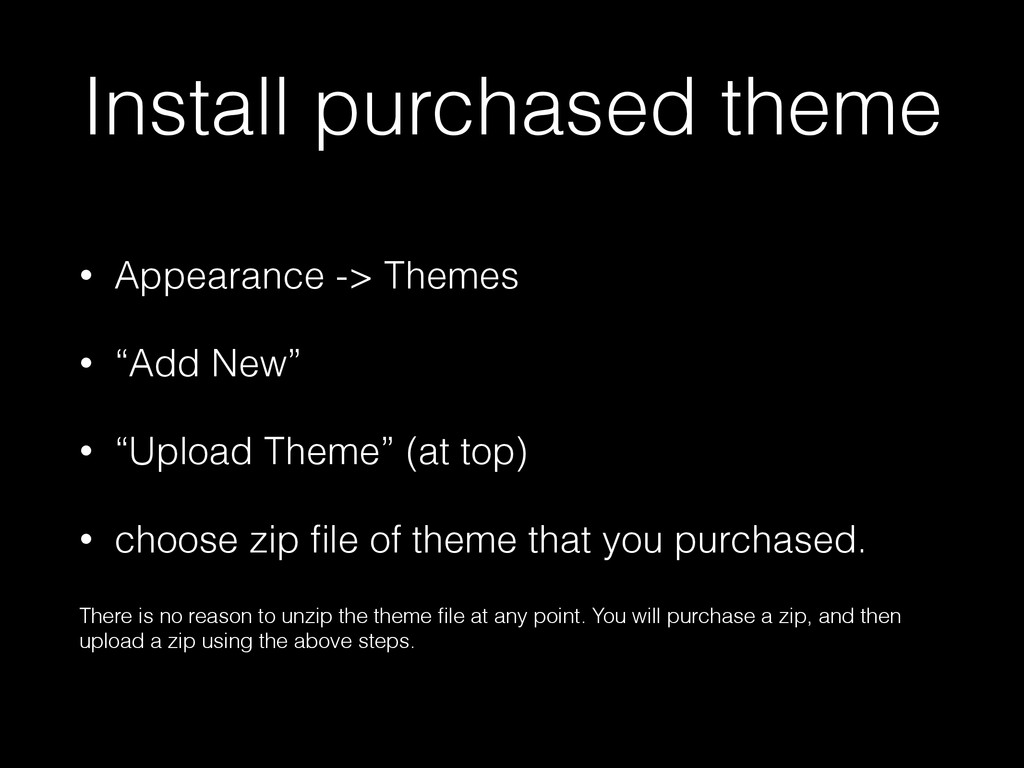
• “Upload Theme” (at top) • choose zip file of theme that you purchased. There is no reason to unzip the theme file at any point. You will purchase a zip, and then upload a zip using the above steps.
• Pages -> All Pages • Notice the new items in the quick view • Click pencil icon next to No Title under SEO Title • Update Page Title and click Green Check mark
edit) • Scroll down underneath content area to section titled “All in One SEO Pack” • Edit title and description • Notice Preview Snippet updates • Click the “?” icon to the left of “Robots Meta NOFOLLOW” • Generally all the boxes will be Unchecked.
search box type “Share”, click Search Plugins • Scroll to find “Share Buttons by AddToAny” click Details. • Don’t install this by clicking the X in the upper right • Scroll to find “Really simple Facebook Twitter share buttons” • click Details • Click Install Now
(Notice that different plugins configuration options are in different places sometimes) • IE: All In One SEO is by itself near the top, while this new one is under Settings • Scroll down. • Change Position to “only above the post” • Don’t make any changes to checkmarks but understand them. • Click Save Changes
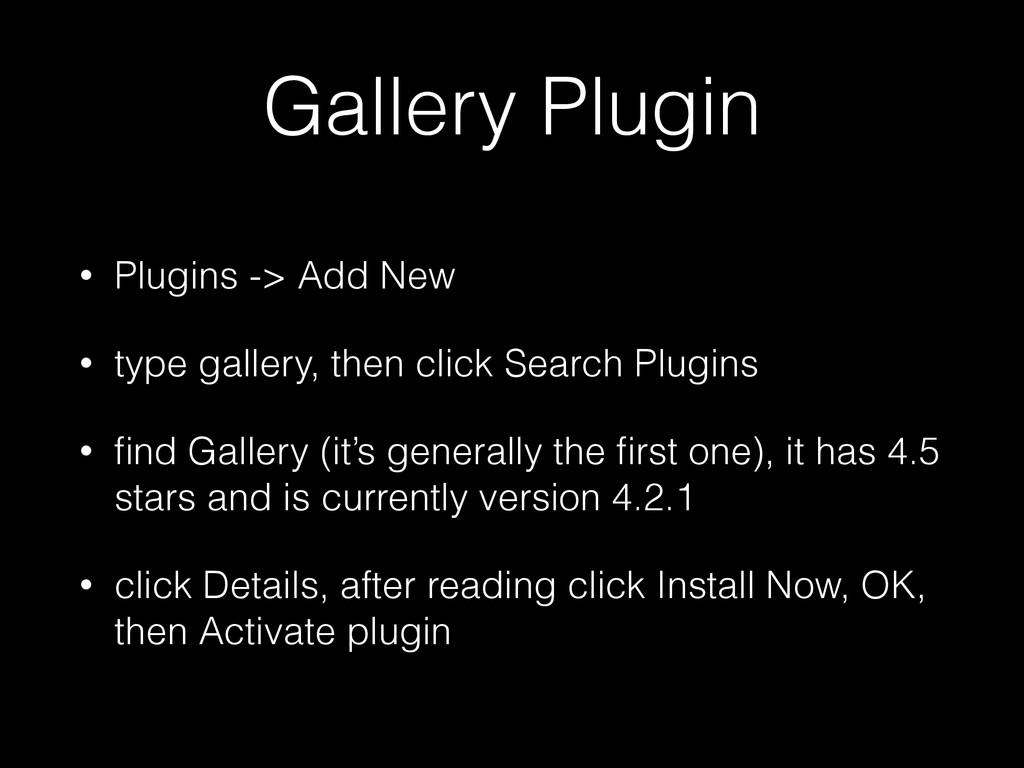
then click Search Plugins • find Gallery (it’s generally the first one), it has 4.5 stars and is currently version 4.2.1 • click Details, after reading click Install Now, OK, then Activate plugin
images click Update (right side of page) • The images should now appear in the main content and below the red Upload File button • Fill in Title below each image • click Update • Select image in MAIN CONTENT AREA and click X to remove it from the main content area (this will not remove it from the gallery)
: [print_gllr id=**] and highlight and copy • Posts -> All Posts • Hover and “edit” • somewhere in the content paste the code we copied (make sure it has the brackets!) • Click Update
few categories that you could make posts for (if you have unused categories they don’t show up anywhere, so don’t worry) • Write a few more posts related to different categories • Create a few more galleries, and add to pages and/or posts