to a smartphone of some kind have seen similar pop ups on apps asking for permissions to access your data ranging from contacts, images & files on device to more sensitive data like your location, financial information etc. With a simple click of that allow button, it is not difficult these days for an app to figure out most of the information about you. Now allowing these permissions is not whats the problem here - but the actual thing to think about is that the more access to data there is, the more probability of data breaches and security issues. And Since India is one of the largest markets of Smartphones - now is the crucial time to figure out and understand the risks that comes with giving indiscriminate access to your data and how to minimize these in the apps you develop. And hence today we are going to talk about what and how the new Android 11 release- enhancing upon the earlier OS versions has new features to ensure user security and give them more control over protection of their information.
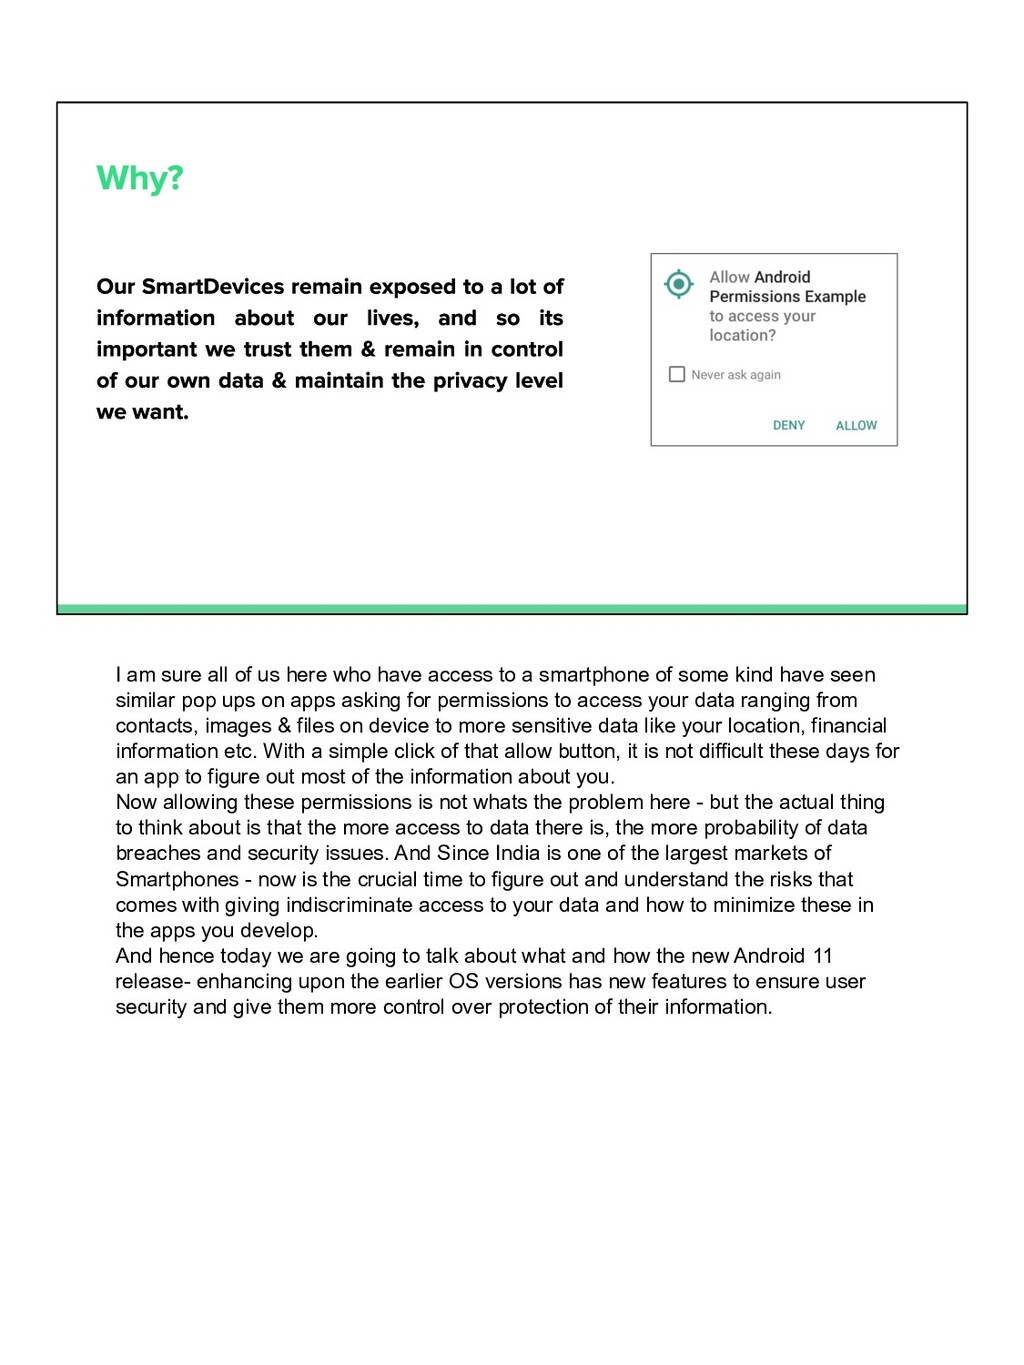
Package visibility Foreground Services This is a broad overview of these new features and updates in Android 11 that ensures that the OS is more resilient than before - allowing the users of your apps to have more control and transparency of their data. We will talk about each of these in detail and also look at whats the best way to ensure your app abides by these features to allow for no breaches or how to migrate and include these changes in your app.
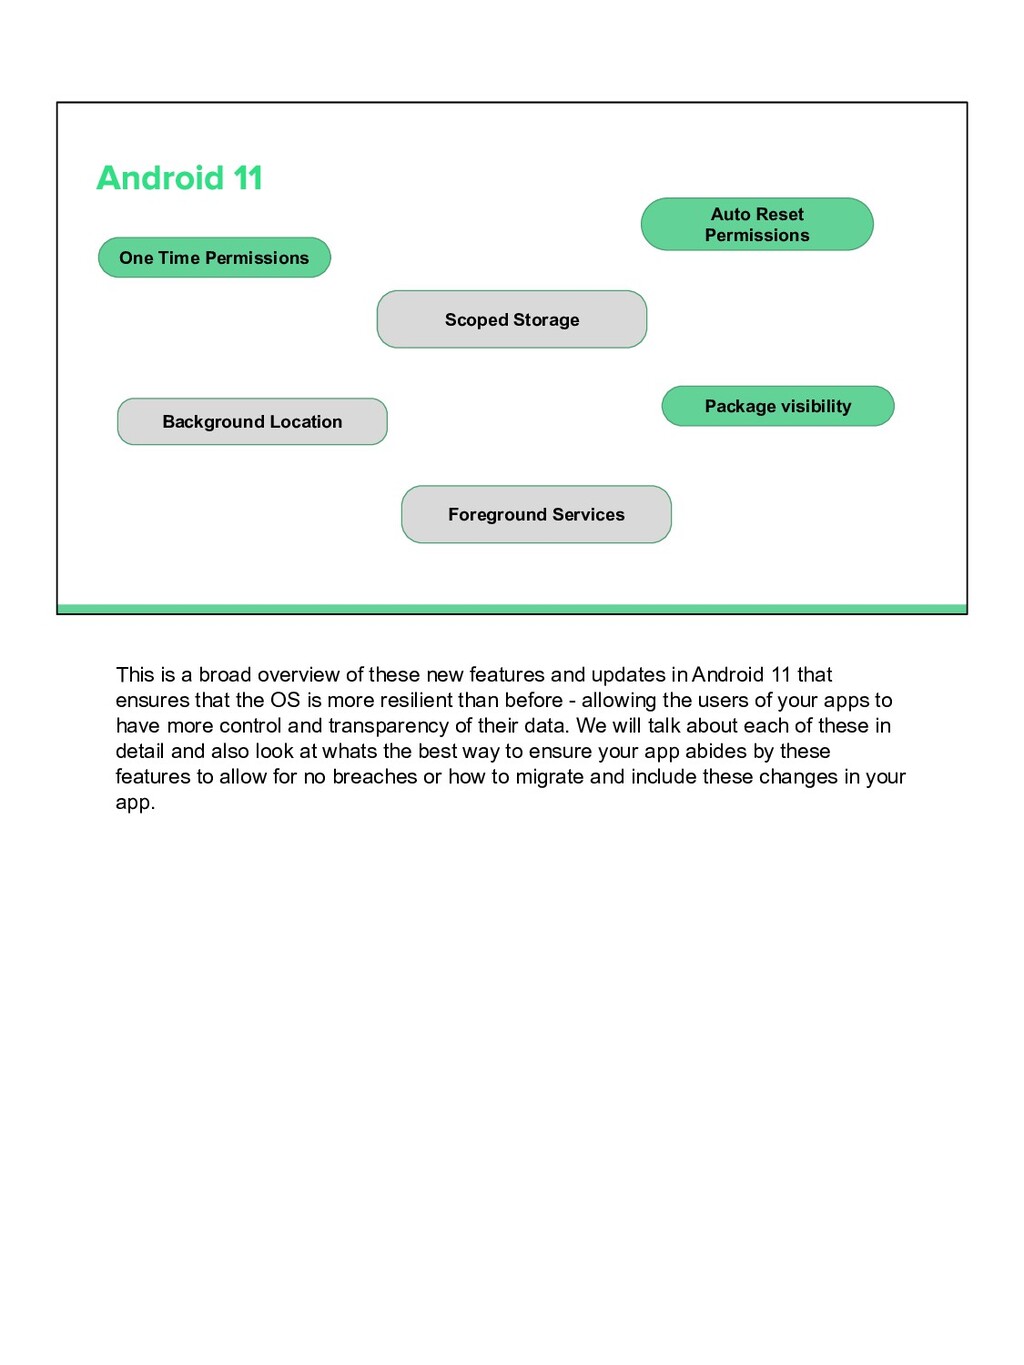
the major change that came about was that by targeting your app to Android 10 or higher - the app is by default given access to the external storage scope limited by app specific data. This ensures the users has more control over their files & limit the data that the app has access to in shared external storage instead of broad reading writing power. This also allowed for the apps to have unrestricted access to their own app related data without explicitly requiring storage permissions Android 11 further enhances the scoped storage performance by giving even better protection to user data in externally stored app data. Some of these enhancements include : 1. Updated UI for storage access framework that ensures users are more aware of where and how the data is stored. 2. Enable raw file paths for native libraries & media files. 3. Improved APIs to read & edit these media files in bulk Now if your app targets Android 10, you could set a flag called requestLegacyExternalStorage flag which let you opt out of the scoped extrernal storage system till you update the app based on the use case properly - but with targeting Android 11, this flag is ignored.
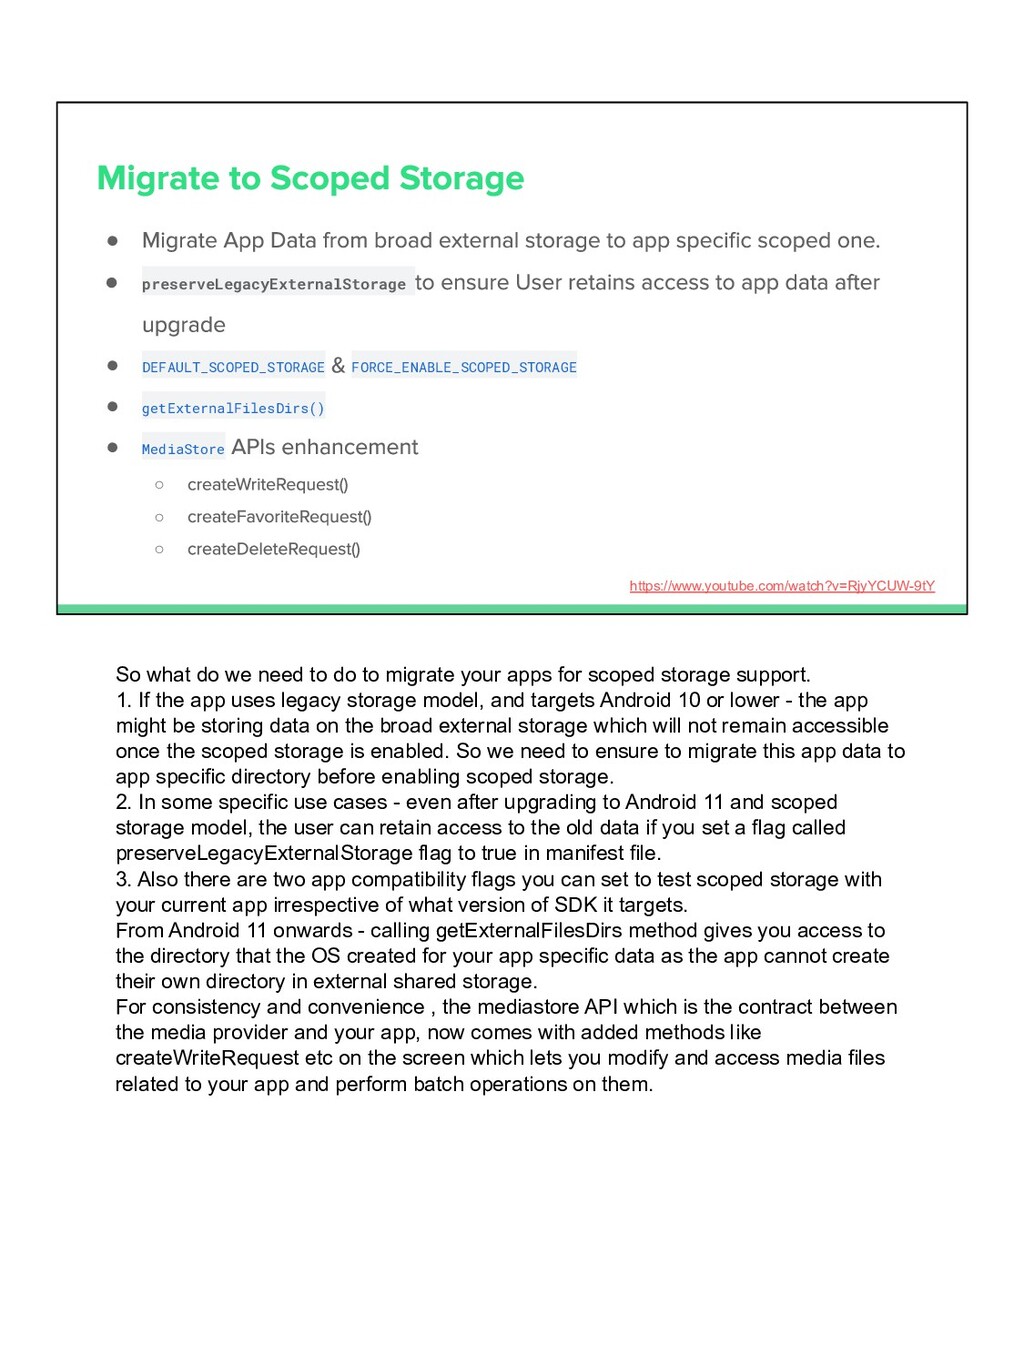
◦ ◦ ◦ https://www.youtube.com/watch?v=RjyYCUW-9tY So what do we need to do to migrate your apps for scoped storage support. 1. If the app uses legacy storage model, and targets Android 10 or lower - the app might be storing data on the broad external storage which will not remain accessible once the scoped storage is enabled. So we need to ensure to migrate this app data to app specific directory before enabling scoped storage. 2. In some specific use cases - even after upgrading to Android 11 and scoped storage model, the user can retain access to the old data if you set a flag called preserveLegacyExternalStorage flag to true in manifest file. 3. Also there are two app compatibility flags you can set to test scoped storage with your current app irrespective of what version of SDK it targets. From Android 11 onwards - calling getExternalFilesDirs method gives you access to the directory that the OS created for your app specific data as the app cannot create their own directory in external shared storage. For consistency and convenience , the mediastore API which is the contract between the media provider and your app, now comes with added methods like createWriteRequest etc on the screen which lets you modify and access media files related to your app and perform batch operations on them.
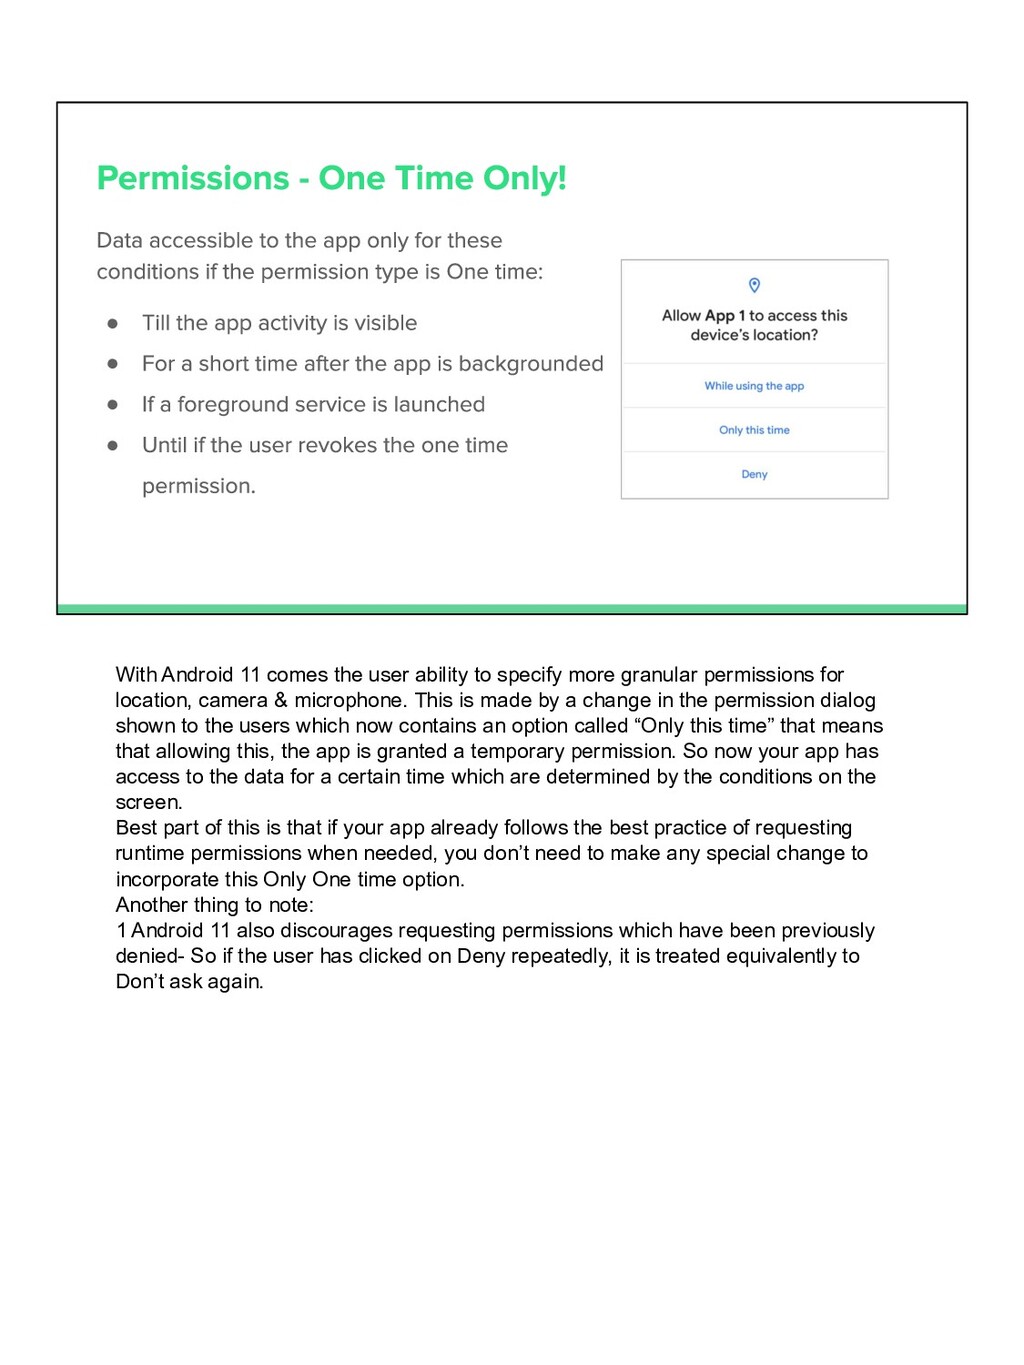
ability to specify more granular permissions for location, camera & microphone. This is made by a change in the permission dialog shown to the users which now contains an option called “Only this time” that means that allowing this, the app is granted a temporary permission. So now your app has access to the data for a certain time which are determined by the conditions on the screen. Best part of this is that if your app already follows the best practice of requesting runtime permissions when needed, you don’t need to make any special change to incorporate this Only One time option. Another thing to note: 1 Android 11 also discourages requesting permissions which have been previously denied- So if the user has clicked on Deny repeatedly, it is treated equivalently to Don’t ask again.
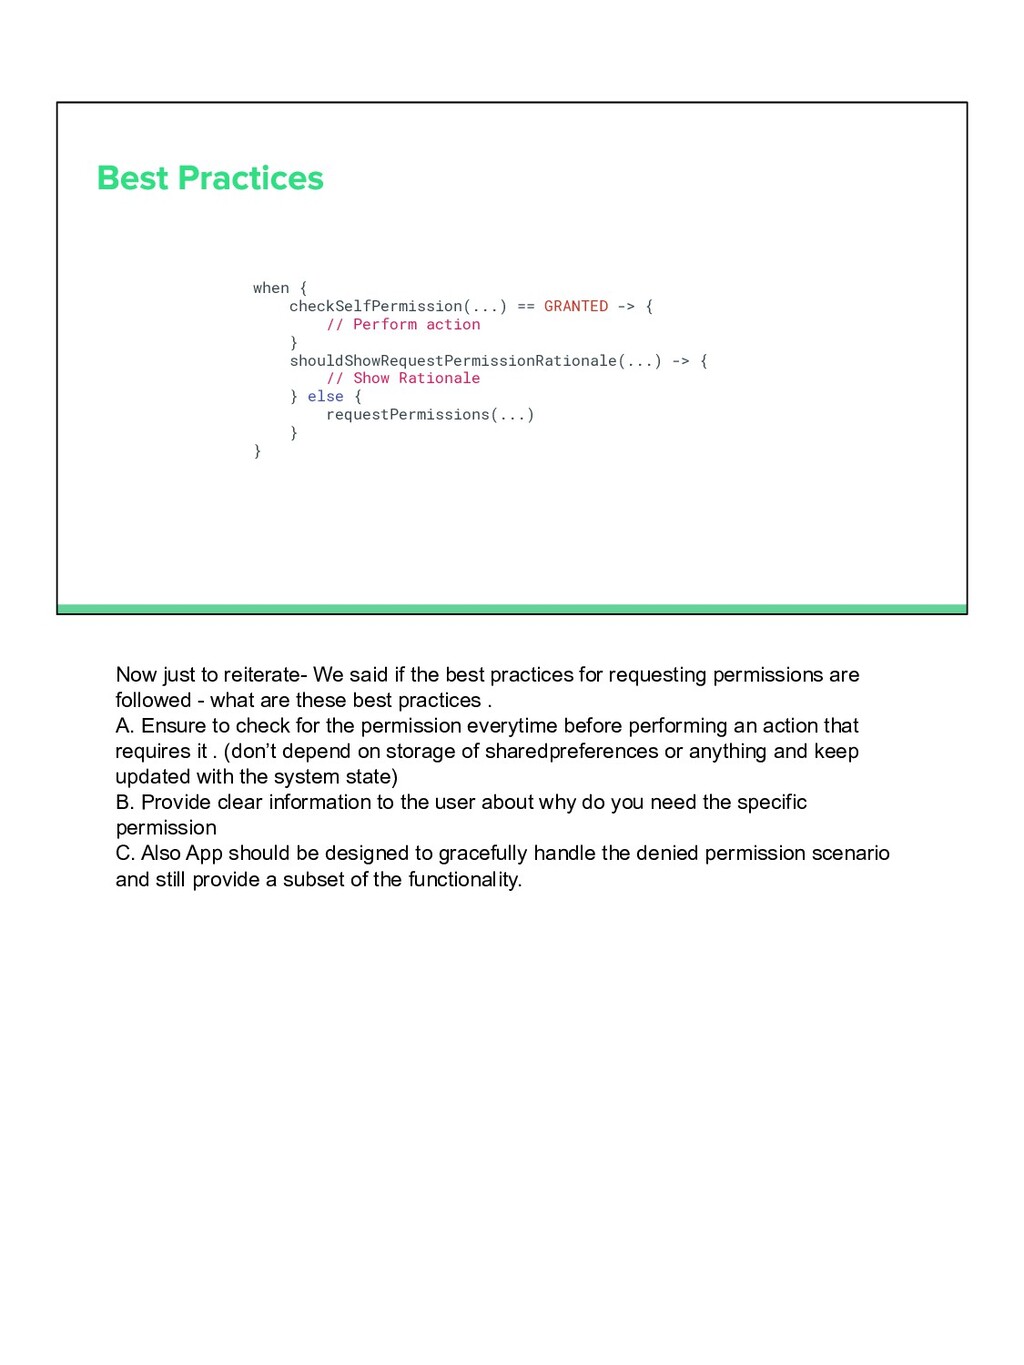
} shouldShowRequestPermissionRationale(...) -> { // Show Rationale } else { requestPermissions(...) } } Now just to reiterate- We said if the best practices for requesting permissions are followed - what are these best practices . A. Ensure to check for the permission everytime before performing an action that requires it . (don’t depend on storage of sharedpreferences or anything and keep updated with the system state) B. Provide clear information to the user about why do you need the specific permission C. Also App should be designed to gracefully handle the denied permission scenario and still provide a subset of the functionality.
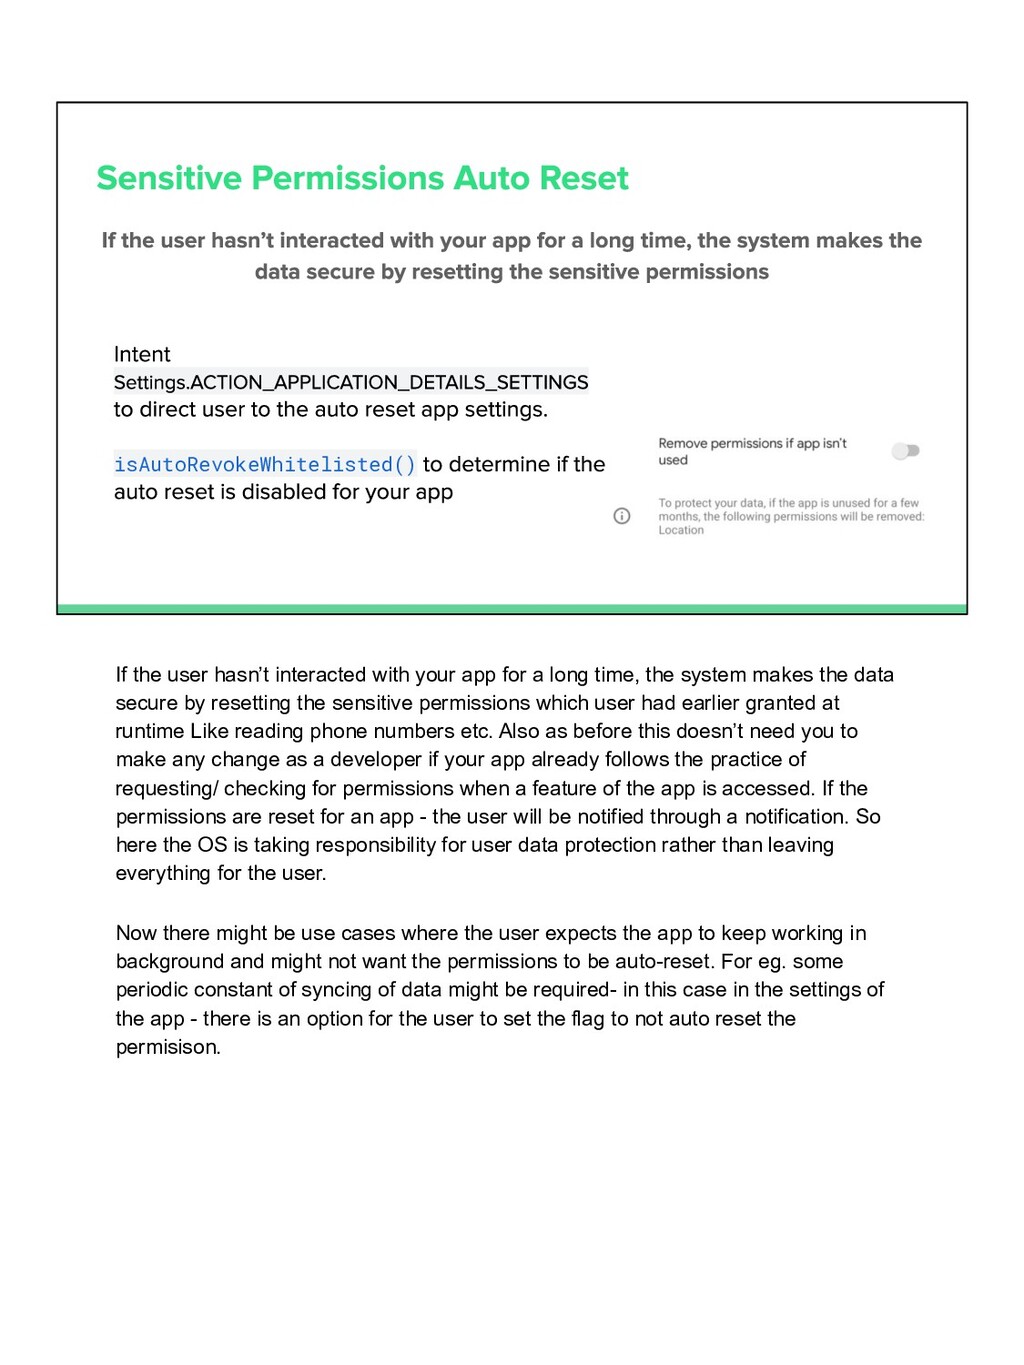
a long time, the system makes the data secure by resetting the sensitive permissions which user had earlier granted at runtime Like reading phone numbers etc. Also as before this doesn’t need you to make any change as a developer if your app already follows the practice of requesting/ checking for permissions when a feature of the app is accessed. If the permissions are reset for an app - the user will be notified through a notification. So here the OS is taking responsibility for user data protection rather than leaving everything for the user. Now there might be use cases where the user expects the app to keep working in background and might not want the permissions to be auto-reset. For eg. some periodic constant of syncing of data might be required- in this case in the settings of the app - there is an option for the user to set the flag to not auto reset the permisison.
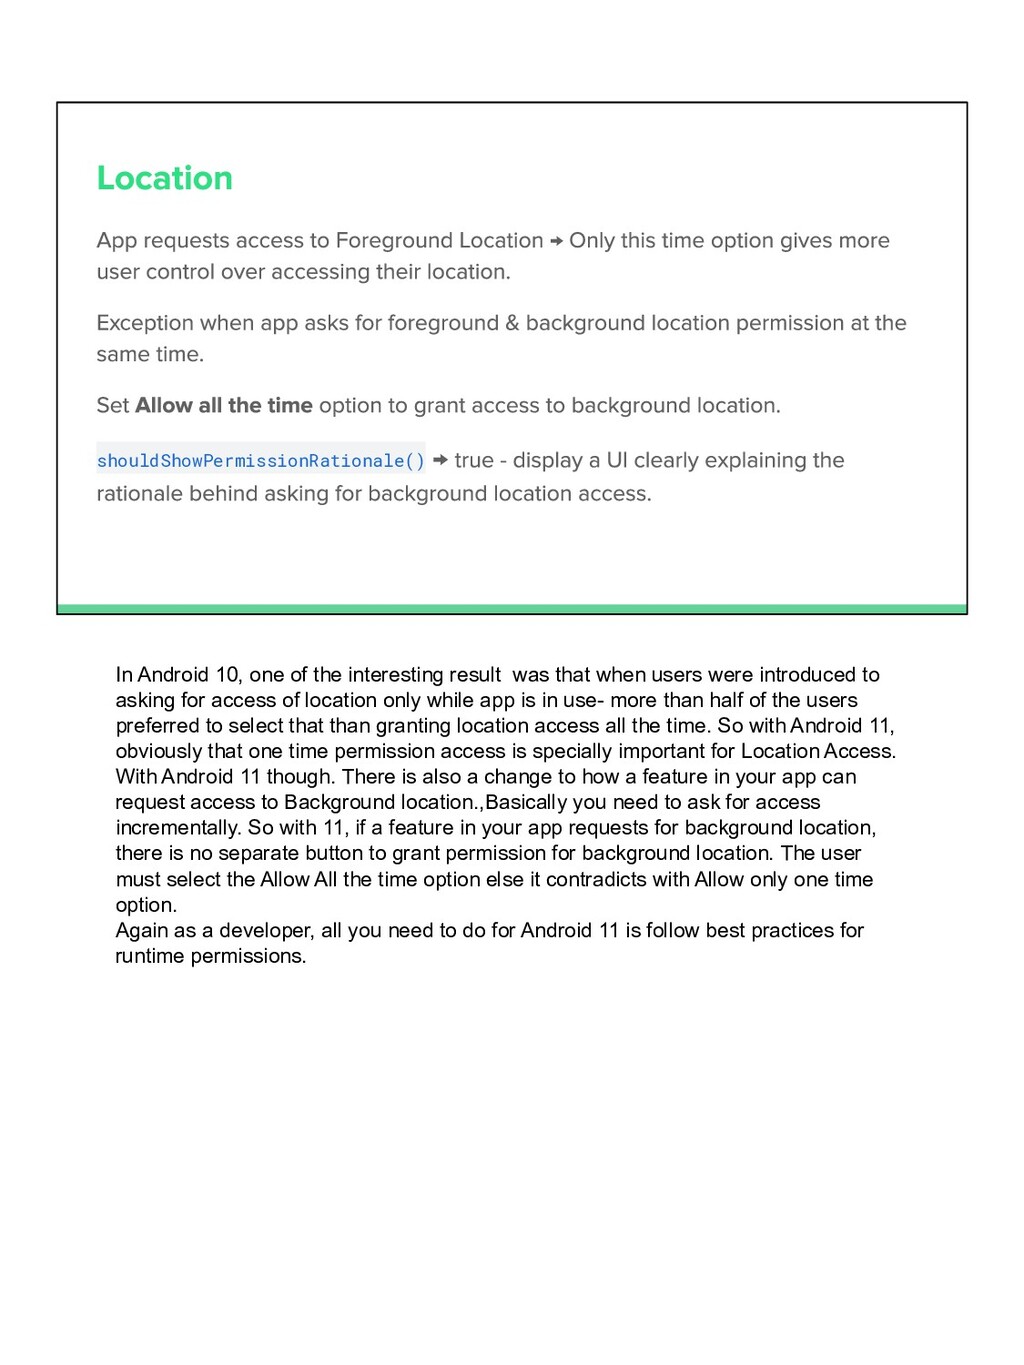
that when users were introduced to asking for access of location only while app is in use- more than half of the users preferred to select that than granting location access all the time. So with Android 11, obviously that one time permission access is specially important for Location Access. With Android 11 though. There is also a change to how a feature in your app can request access to Background location.,Basically you need to ask for access incrementally. So with 11, if a feature in your app requests for background location, there is no separate button to grant permission for background location. The user must select the Allow All the time option else it contradicts with Allow only one time option. Again as a developer, all you need to do for Android 11 is follow best practices for runtime permissions.
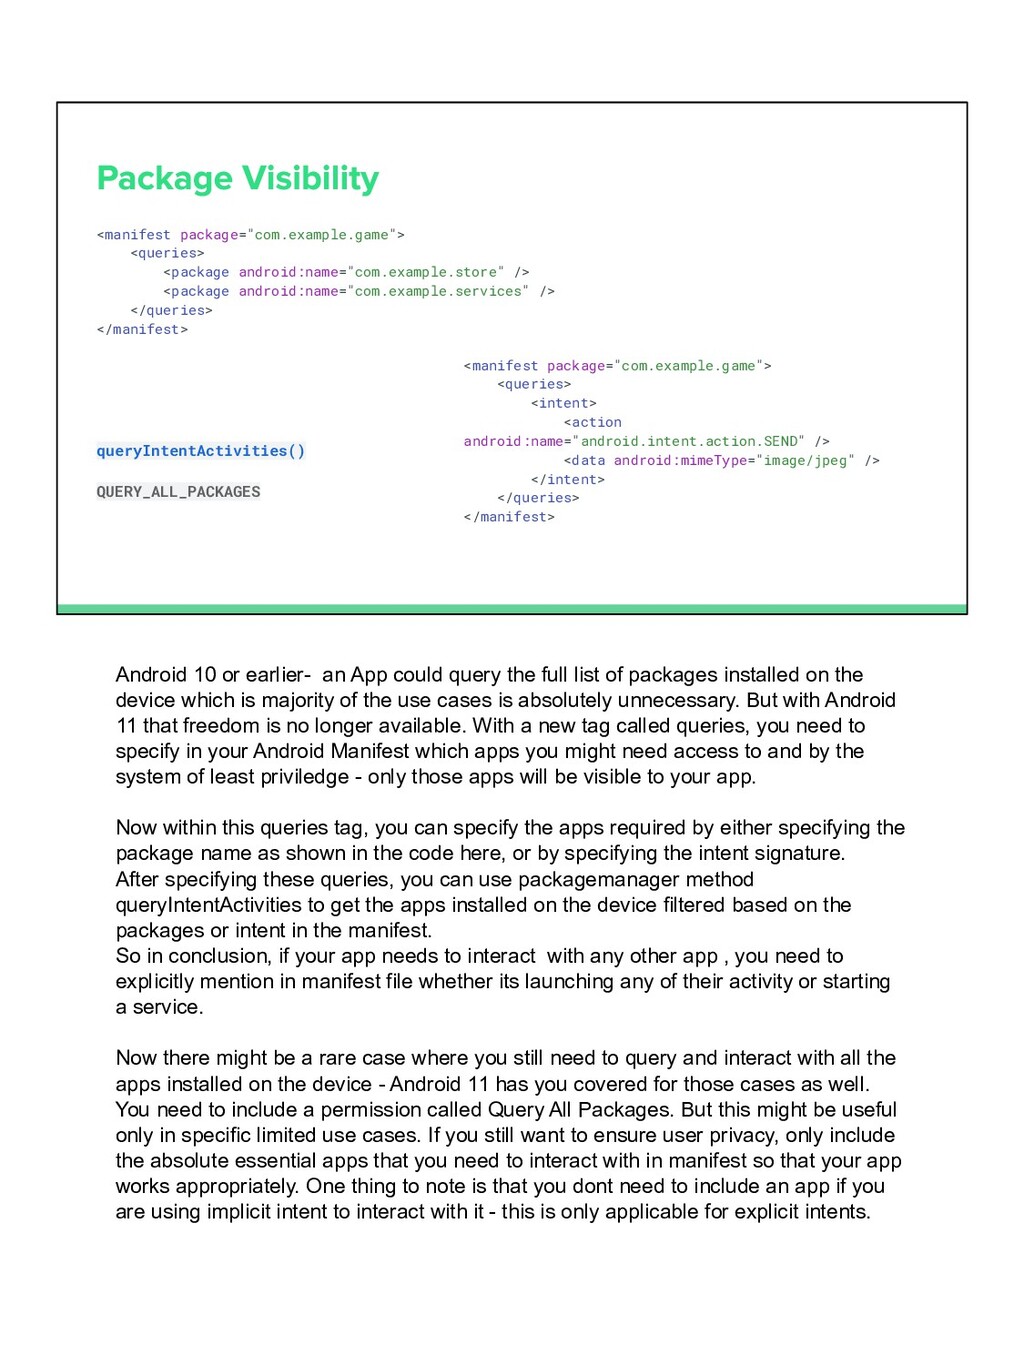
</manifest> queryIntentActivities() QUERY_ALL_PACKAGES <manifest package="com.example.game"> <queries> <intent> <action android:name="android.intent.action.SEND" /> <data android:mimeType="image/jpeg" /> </intent> </queries> </manifest> Android 10 or earlier- an App could query the full list of packages installed on the device which is majority of the use cases is absolutely unnecessary. But with Android 11 that freedom is no longer available. With a new tag called queries, you need to specify in your Android Manifest which apps you might need access to and by the system of least priviledge - only those apps will be visible to your app. Now within this queries tag, you can specify the apps required by either specifying the package name as shown in the code here, or by specifying the intent signature. After specifying these queries, you can use packagemanager method queryIntentActivities to get the apps installed on the device filtered based on the packages or intent in the manifest. So in conclusion, if your app needs to interact with any other app , you need to explicitly mention in manifest file whether its launching any of their activity or starting a service. Now there might be a rare case where you still need to query and interact with all the apps installed on the device - Android 11 has you covered for those cases as well. You need to include a permission called Query All Packages. But this might be useful only in specific limited use cases. If you still want to ensure user privacy, only include the absolute essential apps that you need to interact with in manifest so that your app works appropriately. One thing to note is that you dont need to include an app if you are using implicit intent to interact with it - this is only applicable for explicit intents.
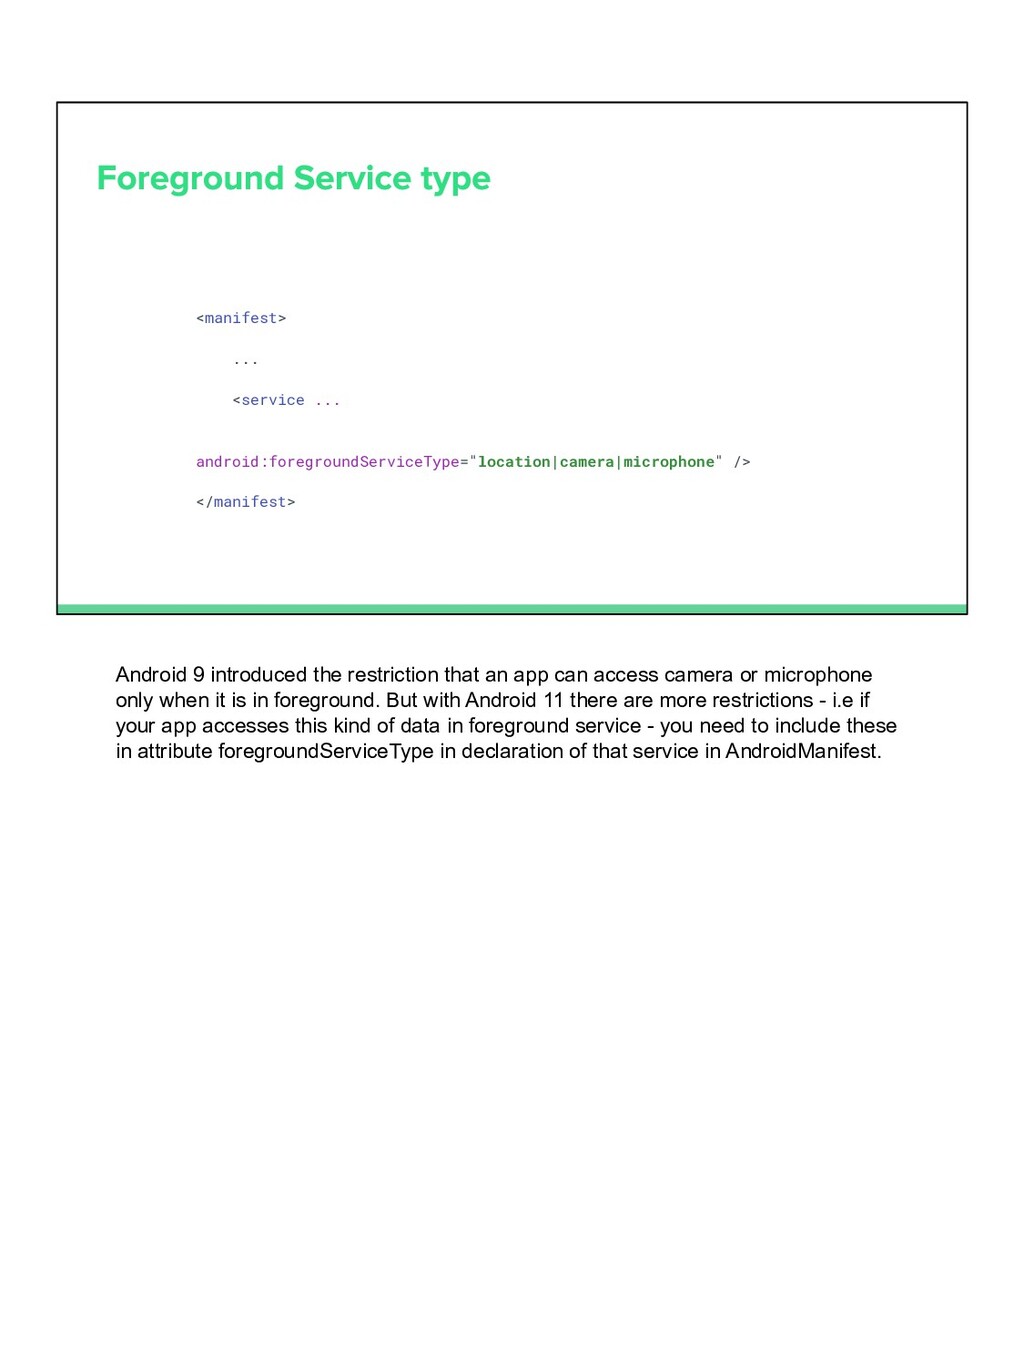
the restriction that an app can access camera or microphone only when it is in foreground. But with Android 11 there are more restrictions - i.e if your app accesses this kind of data in foreground service - you need to include these in attribute foregroundServiceType in declaration of that service in AndroidManifest.
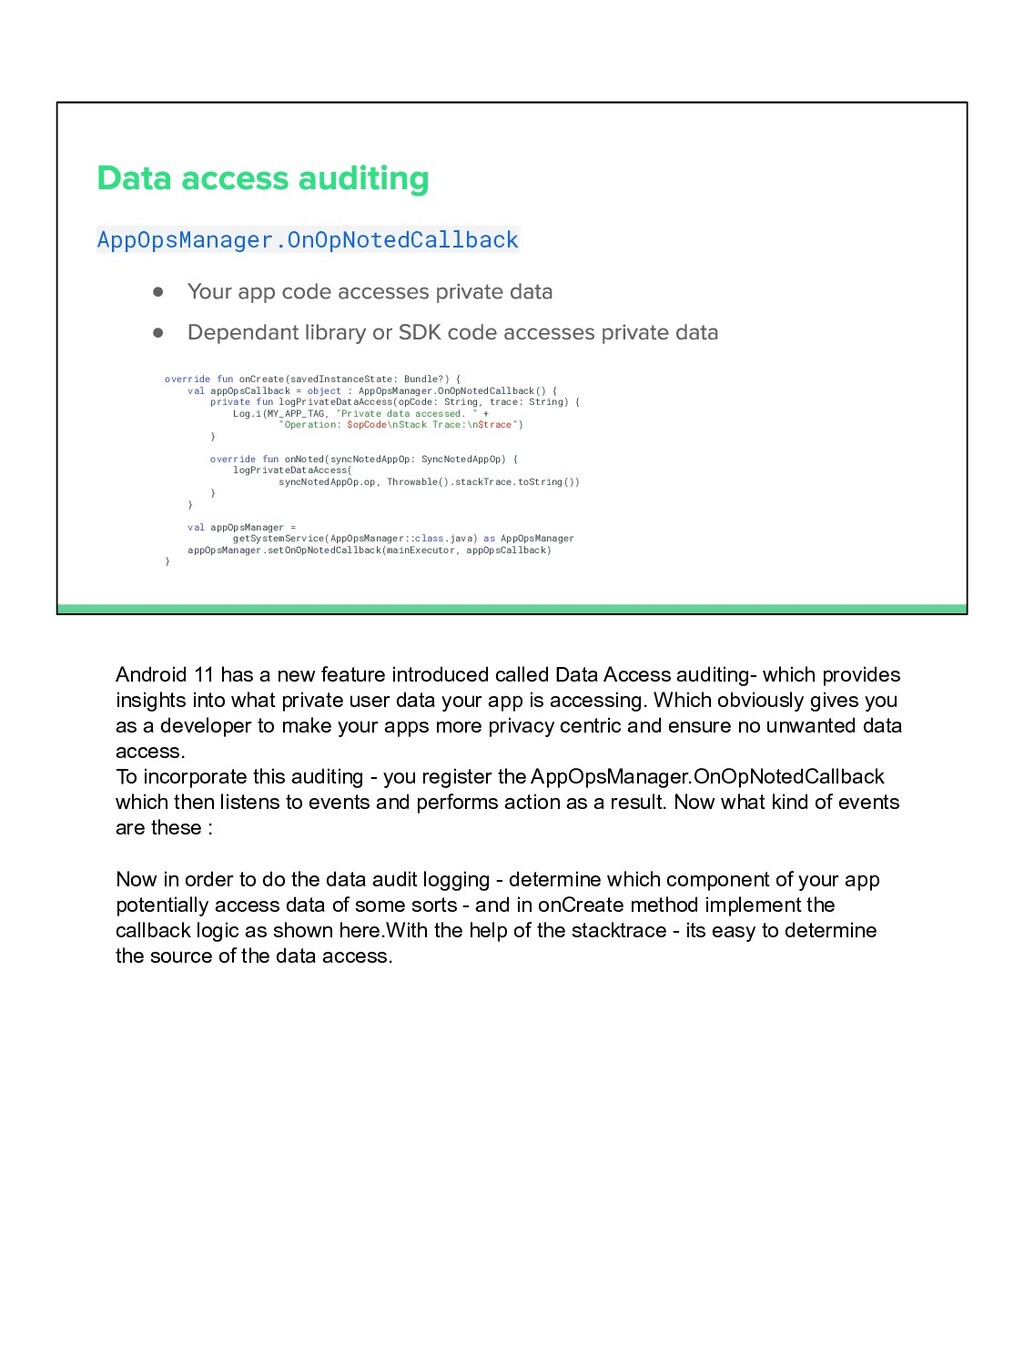
= object : AppOpsManager.OnOpNotedCallback() { private fun logPrivateDataAccess(opCode: String, trace: String) { Log.i(MY_APP_TAG, "Private data accessed. " + "Operation: $opCode\nStack Trace:\n$trace") } override fun onNoted(syncNotedAppOp: SyncNotedAppOp) { logPrivateDataAccess( syncNotedAppOp.op, Throwable().stackTrace.toString()) } } val appOpsManager = getSystemService(AppOpsManager::class.java) as AppOpsManager appOpsManager.setOnOpNotedCallback(mainExecutor, appOpsCallback) } Android 11 has a new feature introduced called Data Access auditing- which provides insights into what private user data your app is accessing. Which obviously gives you as a developer to make your apps more privacy centric and ensure no unwanted data access. To incorporate this auditing - you register the AppOpsManager.OnOpNotedCallback which then listens to events and performs action as a result. Now what kind of events are these : Now in order to do the data audit logging - determine which component of your app potentially access data of some sorts - and in onCreate method implement the callback logic as shown here.With the help of the stacktrace - its easy to determine the source of the data access.
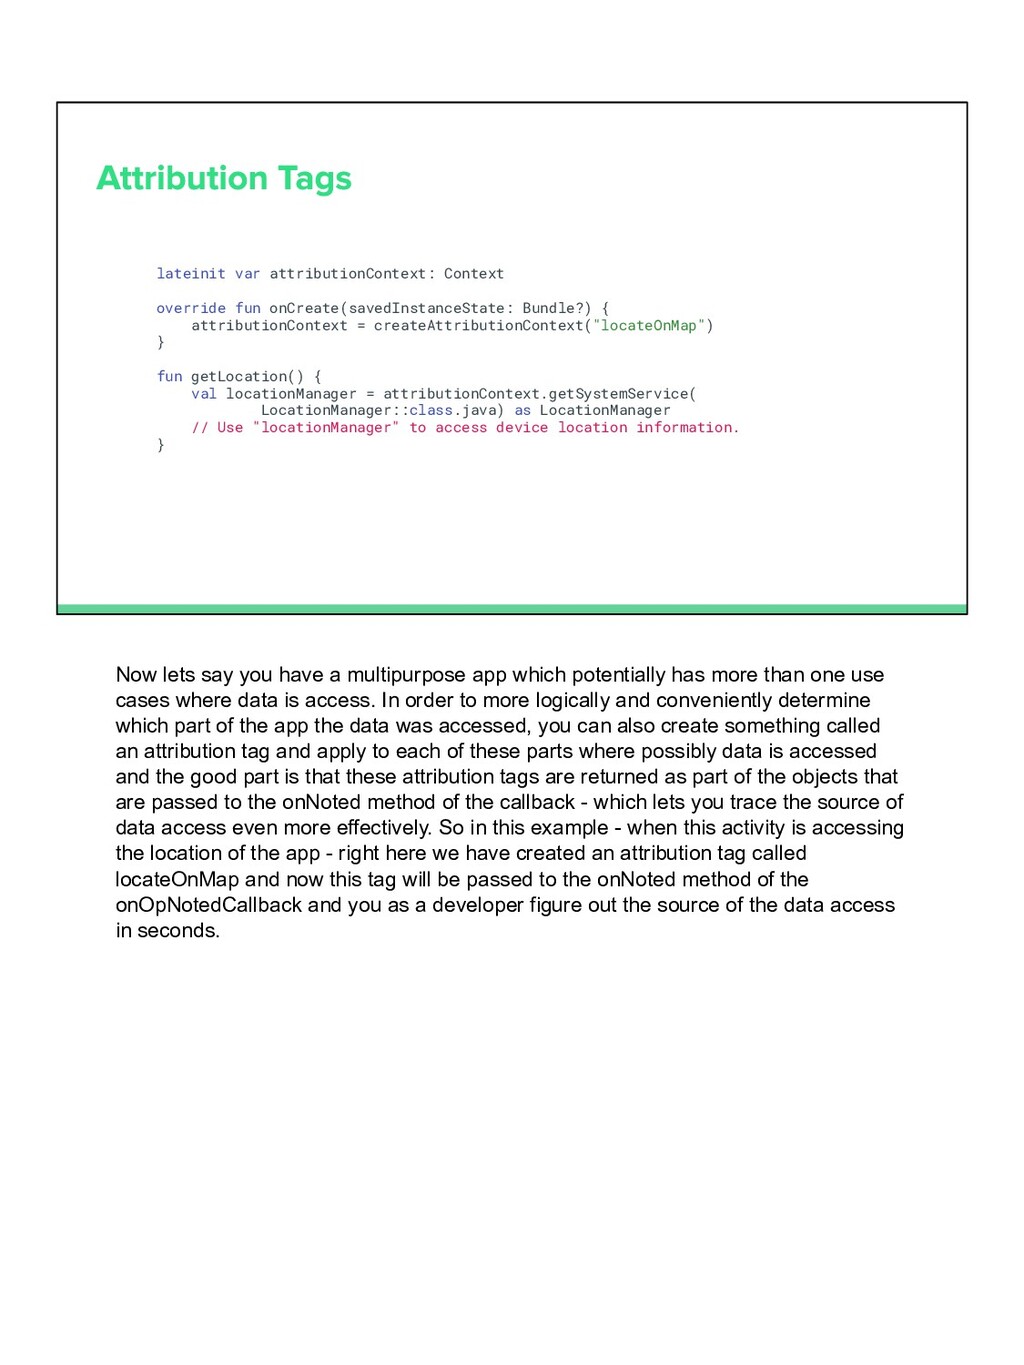
= createAttributionContext("locateOnMap") } fun getLocation() { val locationManager = attributionContext.getSystemService( LocationManager::class.java) as LocationManager // Use "locationManager" to access device location information. } Now lets say you have a multipurpose app which potentially has more than one use cases where data is access. In order to more logically and conveniently determine which part of the app the data was accessed, you can also create something called an attribution tag and apply to each of these parts where possibly data is accessed and the good part is that these attribution tags are returned as part of the objects that are passed to the onNoted method of the callback - which lets you trace the source of data access even more effectively. So in this example - when this activity is accessing the location of the app - right here we have created an attribution tag called locateOnMap and now this tag will be passed to the onNoted method of the onOpNotedCallback and you as a developer figure out the source of the data access in seconds.