Welcome to 3rd version of Elementor Meetup in Surat, India
We hope that you guys really enjoyed our first meetup. Here is a link of the slides if you haven't checked it before - https://speakerdeck.com/elementorsurat/10-questions-and-answers-august-2019-elementor-meetup
Session Points that we will cover today
---
1) Plugin structure
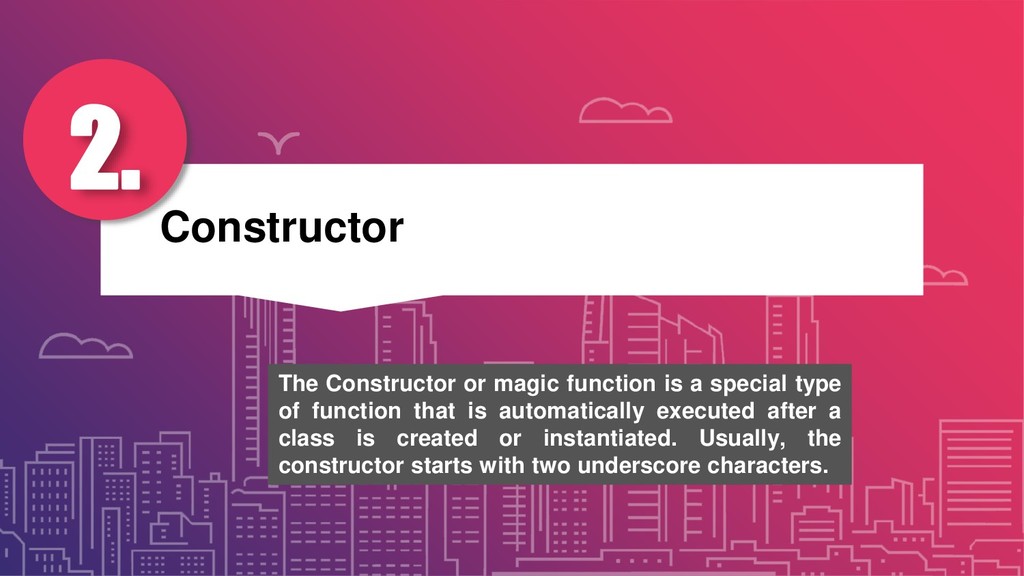
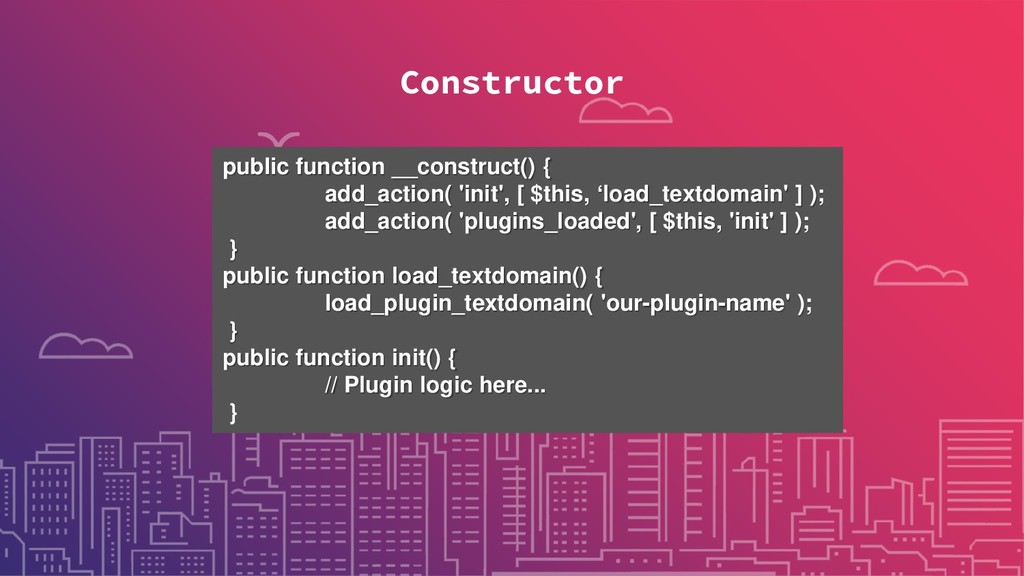
2) Constructor
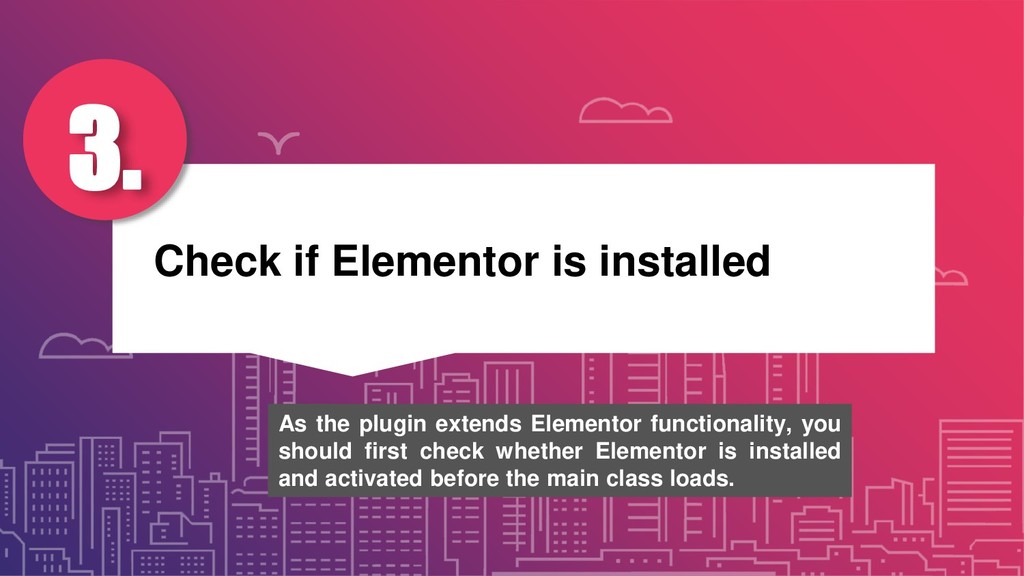
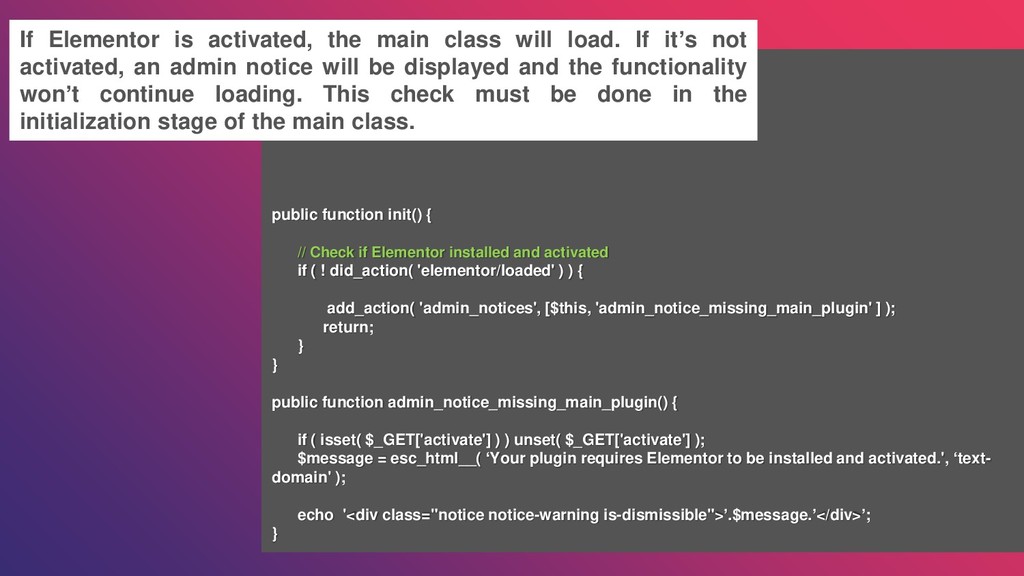
3) Check if Elementor is installed
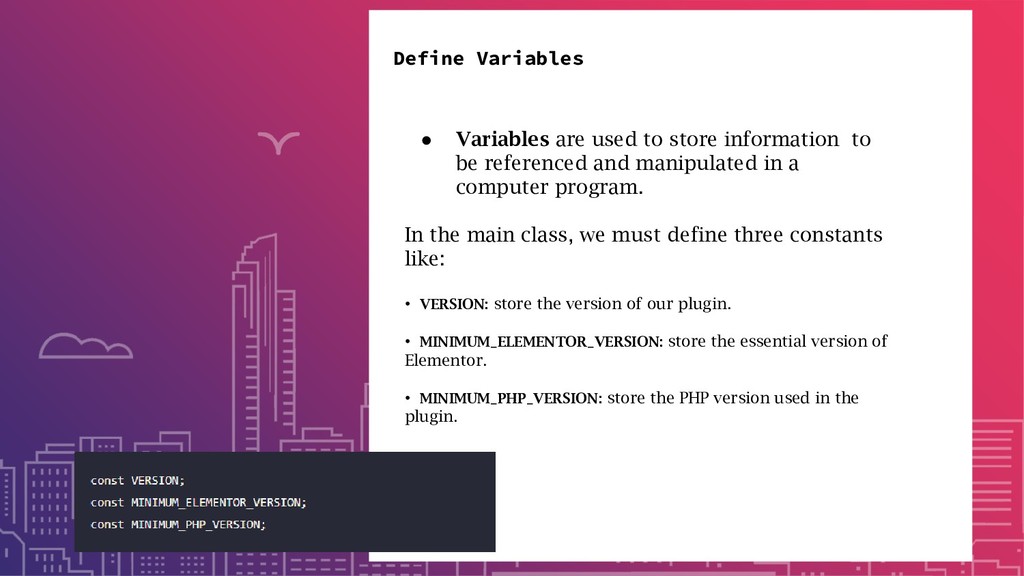
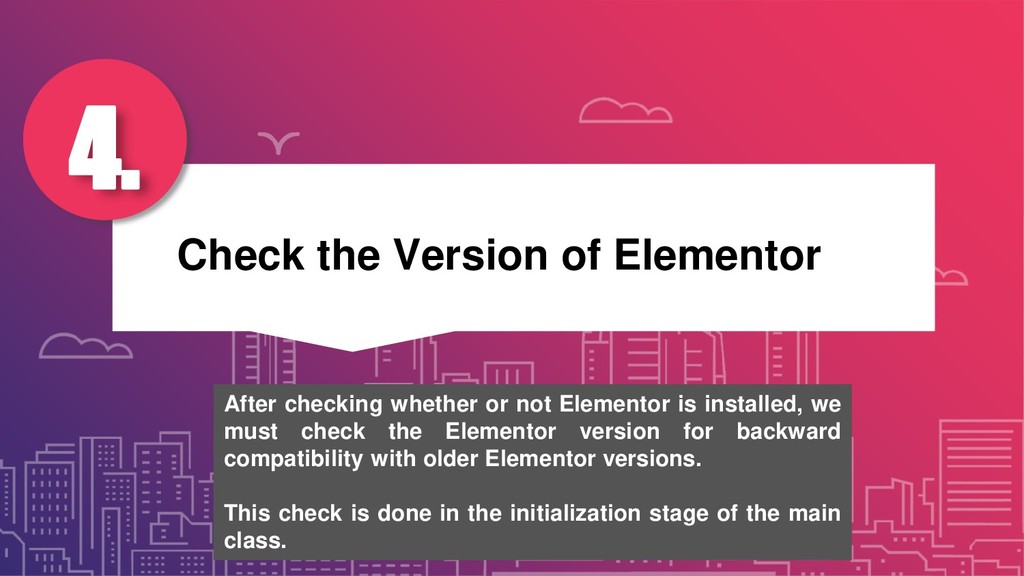
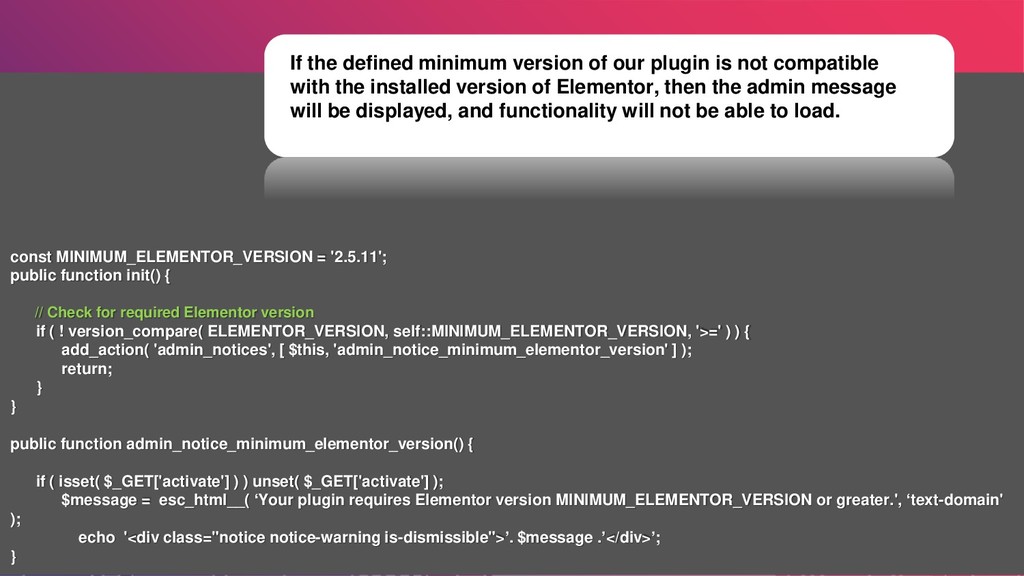
4) Check the version of Elementor
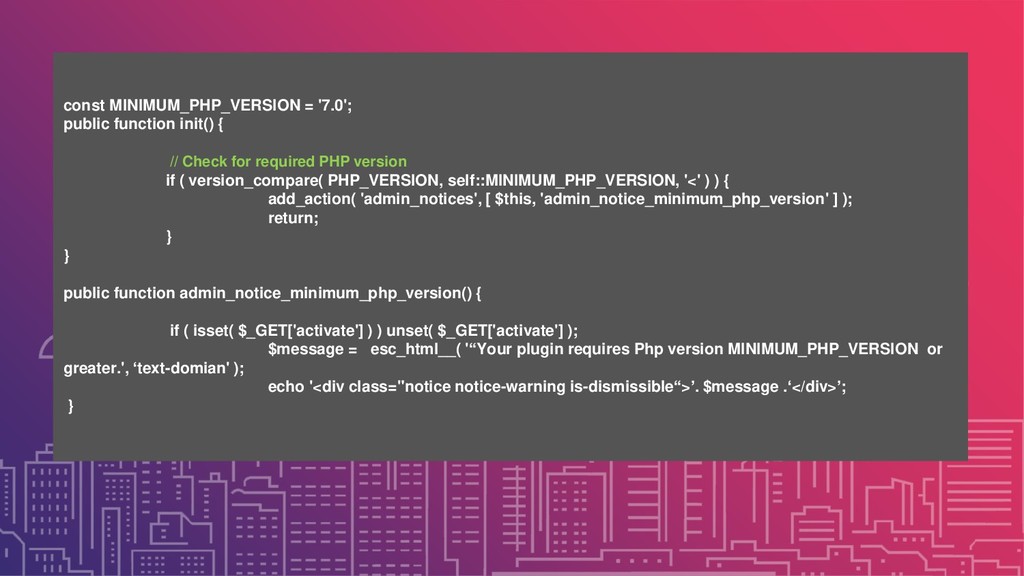
5) Check for the PHP version
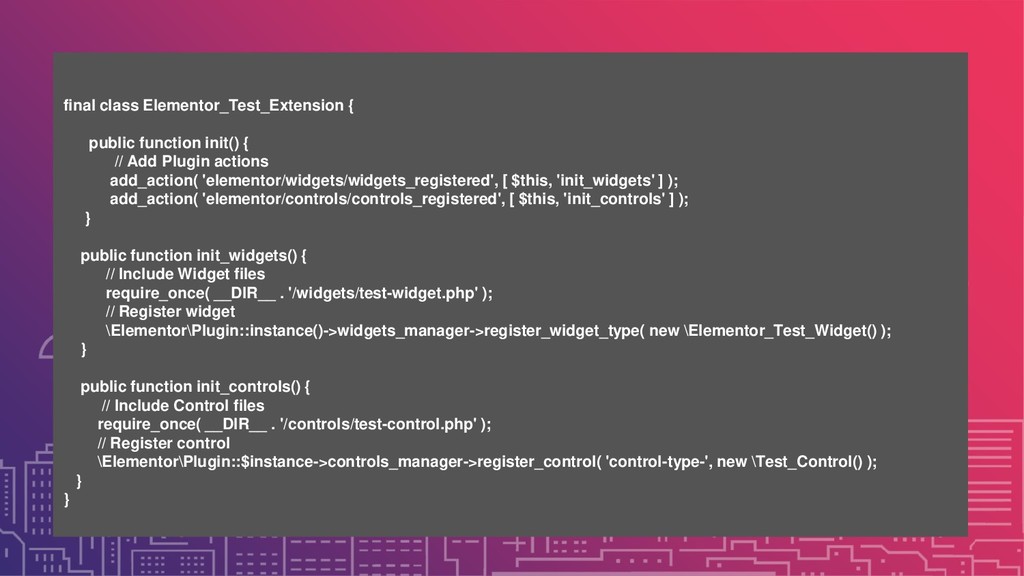
6) Including Essential Files to Correctly Create a New Extension
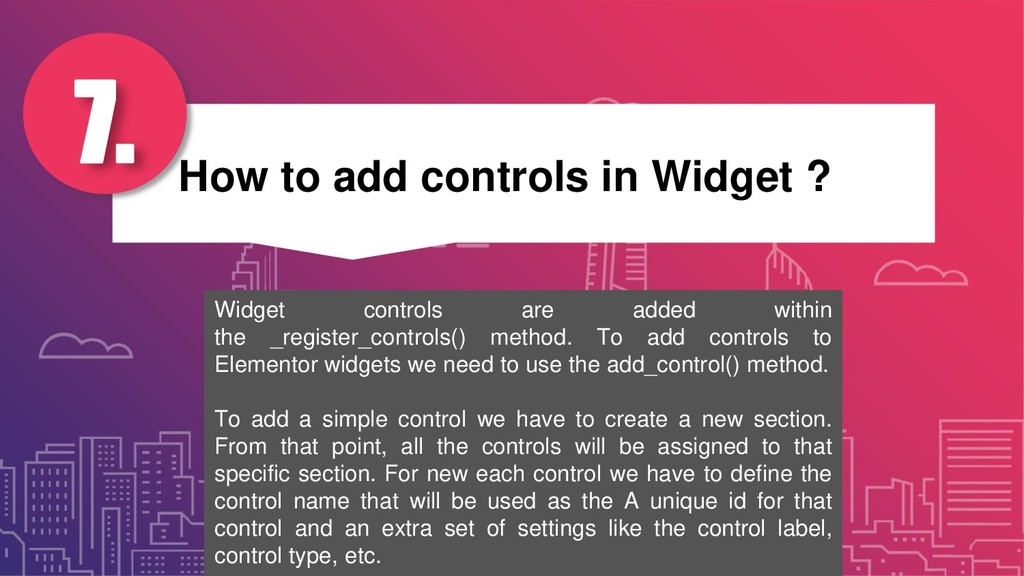
7) How to add controls in Widget?
8) How do you render content?
- Time for the Group Discussion or questions-answers
This session is presented by Mr. Nilesh Vastarpara (Elementor or Page Builder Guru) who has more than 8 years of experience in WordPress. He developed more than 5 Elementor Addons in the last 6 months.
![protected function render() { $setting = $this->get_settings_for_display(); $title = $setting[‘title'];](https://files.speakerdeck.com/presentations/43663c3dc40e4ceca4f6190e70f513ee/slide_23.jpg)