Upgrade to Pro — share decks privately, control downloads, hide ads and more …

Managing GCP Projects with Terraform (devfest Pisa 2018)

Managing GCP Projects with Terraform (devfest Pisa 2018)

Create and evolve simple and complex Google Cloud architectures with your text editor and Terraform.

Giovanni Toraldo

March 10, 2018
Tweet

More Decks by Giovanni Toraldo

Other Decks in Programming

Transcript

  1. Managing GCP Projects
    with Terraform
    GDG DevFest Pisa 0.1
    Giovanni Toraldo @gionn
    cloudesire.com

    View Slide

  2. About me
    Giovanni Toraldo
    Open Source Enthusiast, Java
    coder, writer of the OpenNebula
    book, lead developer &
    co-founder at @Cloudesire,
    shooting 2 euro coin at 36
    meters with crossbow
    2

    View Slide

  3. Monetization & Brokering
    Platform for immediate
    SaaSification and automated
    distribution of business
    applications and services.
    3

    View Slide

  4. 4

    View Slide

  5. Infrastructure as code?
    Design, implement, and deploy applications infrastructure with
    known software best practices:
    ● Code versioning
    ● Code reuse (modularization/abstraction)
    ● Code sharing
    In order to achieve:
    ● Repeatability
    ● Speed
    ● Reliability
    5

    View Slide

  6. Cloud services are
    easy?
    Complexity is
    increasing
    Composition is a
    must
    Velocity is the key
    of success
    6

    View Slide

  7. 7

    View Slide

  8. What is Terraform?
    Terraform is a tool for building, changing, 
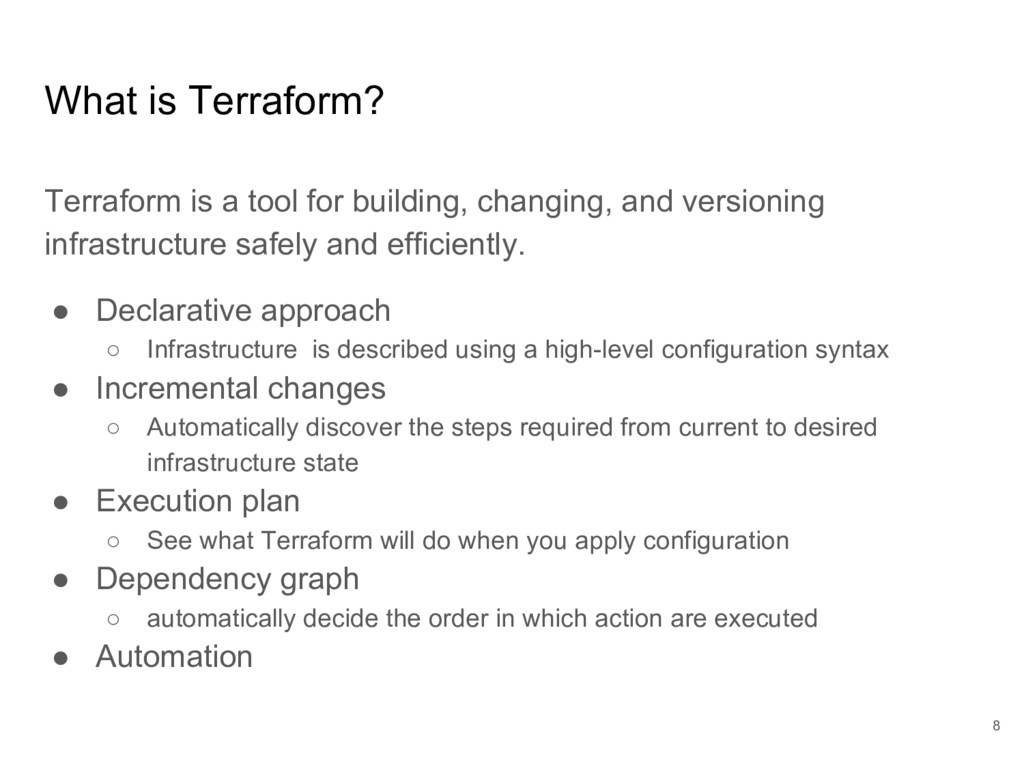
and versioning
    infrastructure safely and efficiently.
    ● Declarative approach
    ○ Infrastructure is described using a high-level configuration syntax
    ● Incremental changes
    ○ Automatically discover the steps required from current to desired
    infrastructure state
    ● Execution plan
    ○ See what Terraform will do when you apply configuration
    ● Dependency graph
    ○ automatically decide the order in which action are executed
    ● Automation
    8

    View Slide

  9. What is NOT Terraform?
    ● Configuration management tool
    ○ You 
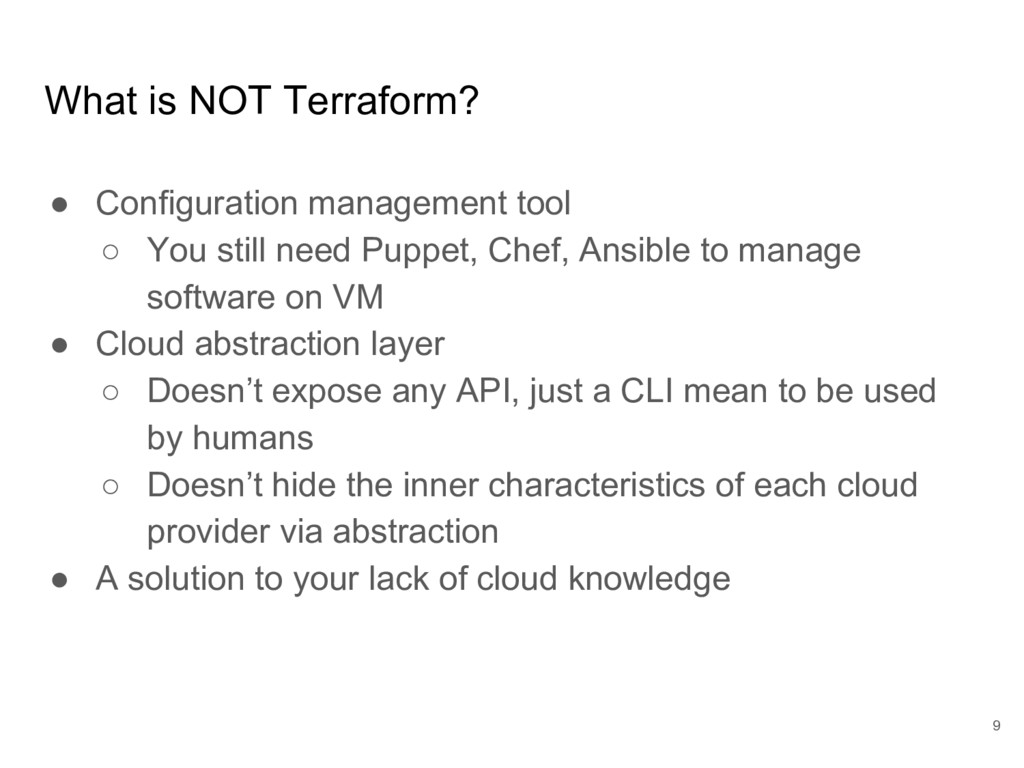
still need Puppet, Chef, Ansible to manage
    software on VM
    ● Cloud abstraction layer
    ○ Doesn’t expose any API, just a CLI mean to be used
    by humans
    ○ Doesn’t hide the inner characteristics of each cloud
    provider via abstraction
    ● A solution to your lack of cloud knowledge
    9

    View Slide

  10. Use cases
    ● Manage production environments by ops
    ● Manage disposable test/qa environments by dev
    ● Multi-tier (complex) infrastructures
    ● Setup demo environments
    ● Multi-cloud deployment
    10

    View Slide

  11. Install Terraform
    Terraform is distributed as a single
    Go binary without external
    dependencies.
    Download, unpack, execute.
    ● cd /tmp
    ● wget
    ● unzip || tar xvf
    ● sudo mv terraform /usr/local/bin
    ● sudo chmod +x
    /usr/local/bin/terraform
    11

    View Slide

  12. Create a Google Cloud Platform account
    12

    View Slide

  13. Create a new Google Cloud project
    13

    View Slide

  14. Navigate to Compute Engine to activate
    14

    View Slide

  15. Create Service account key and download
    15

    View Slide

  16. Create a new project
    Just create an empty folder with a file auth.tf:
    // Configure the Google Cloud provider
    provider "google" {
    credentials = "${file("account.json")}"
    project = "terraform-test-197317"
    region = "europe-west1 "
    }
    And run:
    $ terraform init
    16

    View Slide

  17. Initialize terraform project
    And run:
    $ terraform init
    17

    View Slide

  18. Apply changes to infrastructure
    Plan command to evaluate changes
    Apply command to modify infrastructure
    18

    View Slide

  19. Terraform project files structure
    There isn’t any enforcement on how 
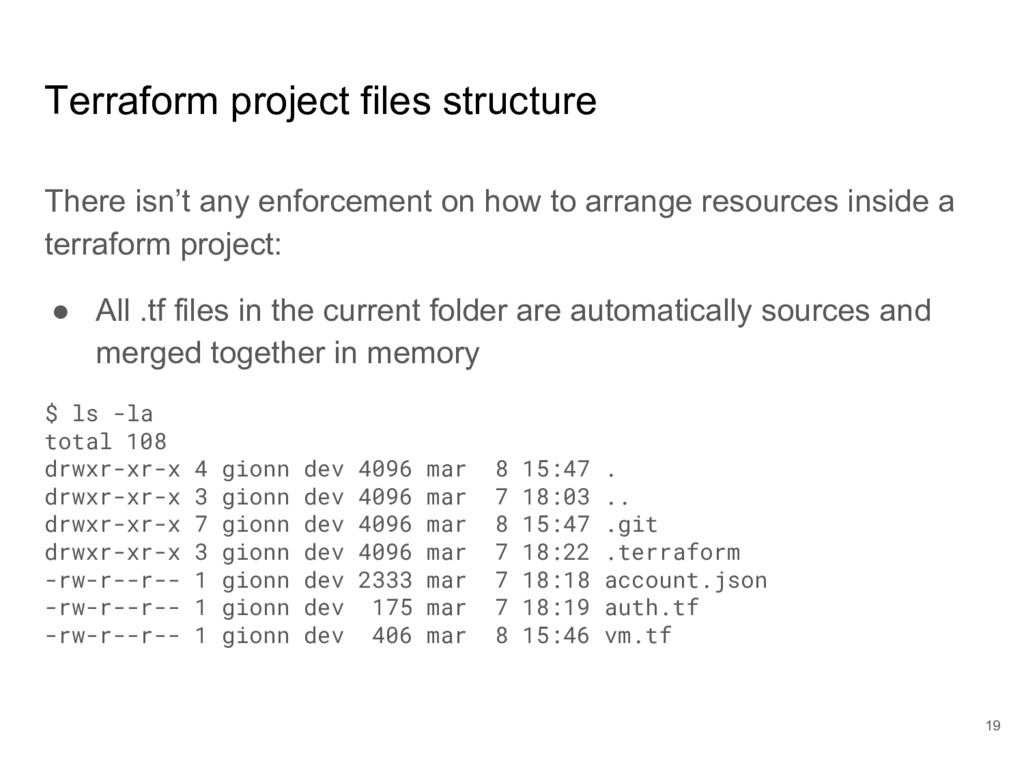
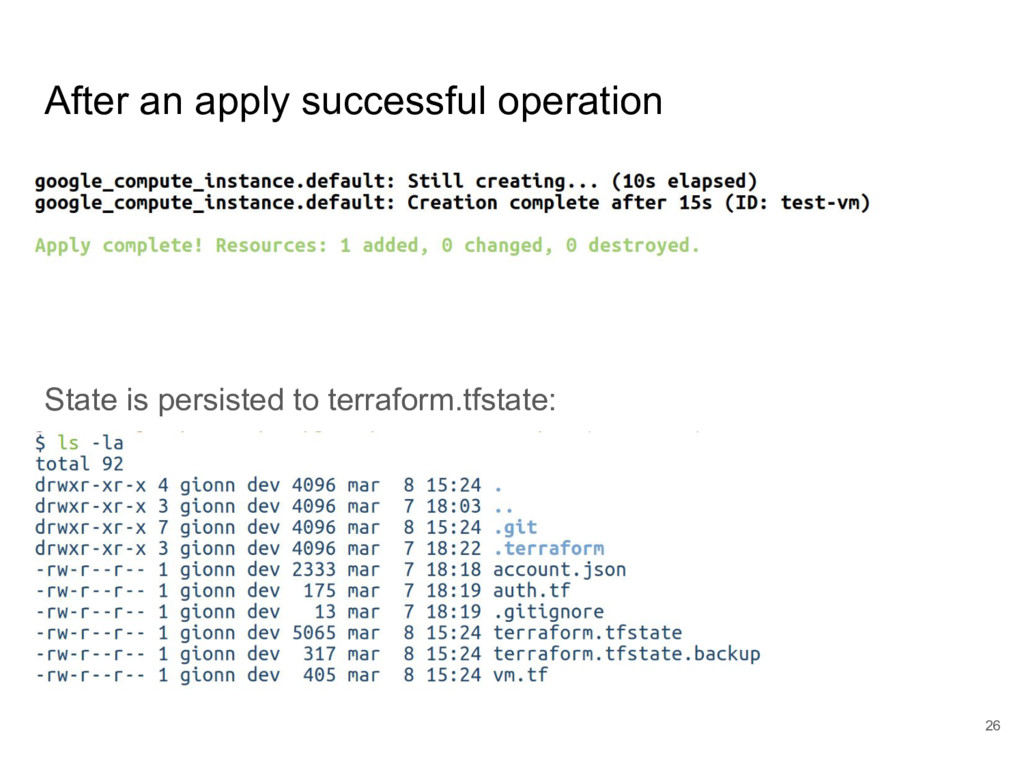
to arrange resources inside a
    terraform project:
    ● All .tf files in the current folder are automatically sources and
    merged together in memory
    $ ls -la
    total 108
    drwxr-xr-x 4 gionn dev 4096 mar 8 15:47 .
    drwxr-xr-x 3 gionn dev 4096 mar 7 18:03 ..
    drwxr-xr-x 7 gionn dev 4096 mar 8 15:47 .git
    drwxr-xr-x 3 gionn dev 4096 mar 7 18:22 .terraform
    -rw-r--r-- 1 gionn dev 2333 mar 7 18:18 account.json
    -rw-r--r-- 1 gionn dev 175 mar 7 18:19 auth.tf
    -rw-r--r-- 1 gionn dev 406 mar 8 15:46 vm.tf
    19

    View Slide

  20. Create a new VM
    20

    View Slide

  21. Plan output
    $ terraform plan
    Refreshing Terraform state in-memory prior 
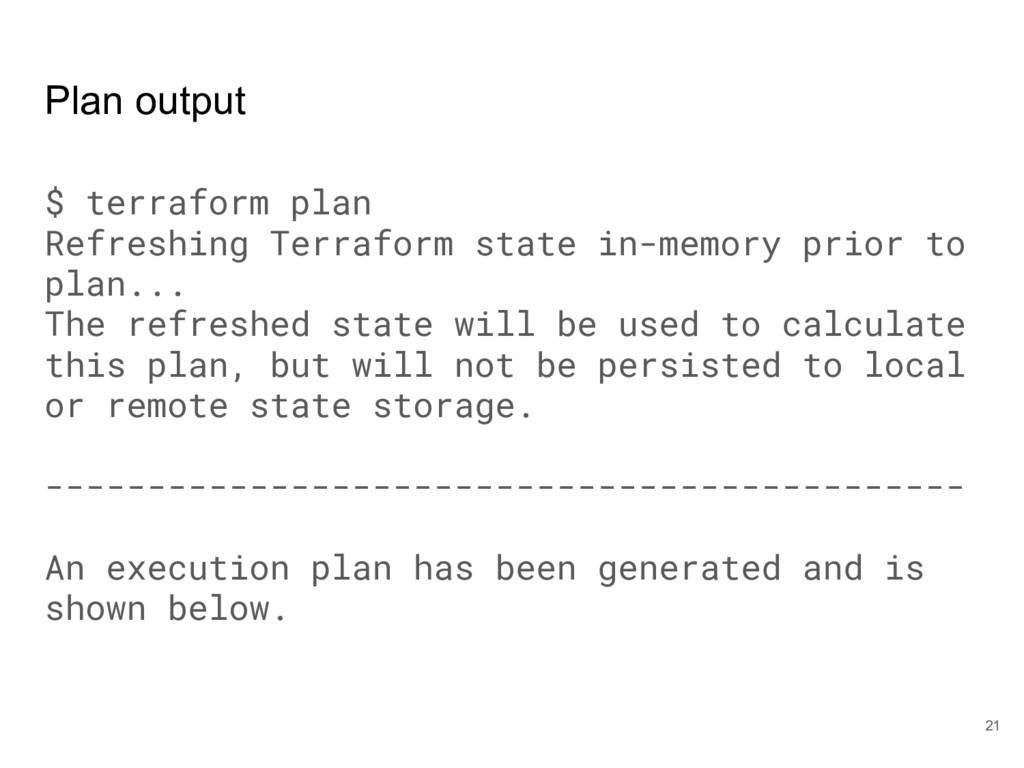
to
    plan...
    The refreshed state will be used to calculate
    this plan, but will not be persisted to local
    or remote state storage.
    ---------------------------------------------
    An execution plan has been generated and is
    shown below.
    21

    View Slide

  22. Plan output
    + create
    Terraform will perform the following actions:
    + google_compute_instance.default
    id:
    boot_disk.0.initialize_params.0.image:
    "debian-cloud/debian-8"
    cpu_platform:
    instance_id:
    label_fingerprint:
    machine_type: "n1-standard-1"
    metadata.%: "1"
    metadata.ssh-keys: "debian:ssh-rsa
    AAAAB3NzaC1yc2EAAAADAQABAAABAQDDnX70/3FB4j7UvewR3T...
    22

    View Slide

  23. Plan output
    Plan: 1 to add, 0 to change, 0 to destroy.
    -------------------------------------------------
    -
    Note: You didn't specify an "-out" parameter to
    save this plan, so Terraform can't guarantee that
    exactly these actions will be performed if
    "terraform apply" is subsequently run.
    23

    View Slide

  24. Apply output
    $ terraform apply
    An execution plan has been 
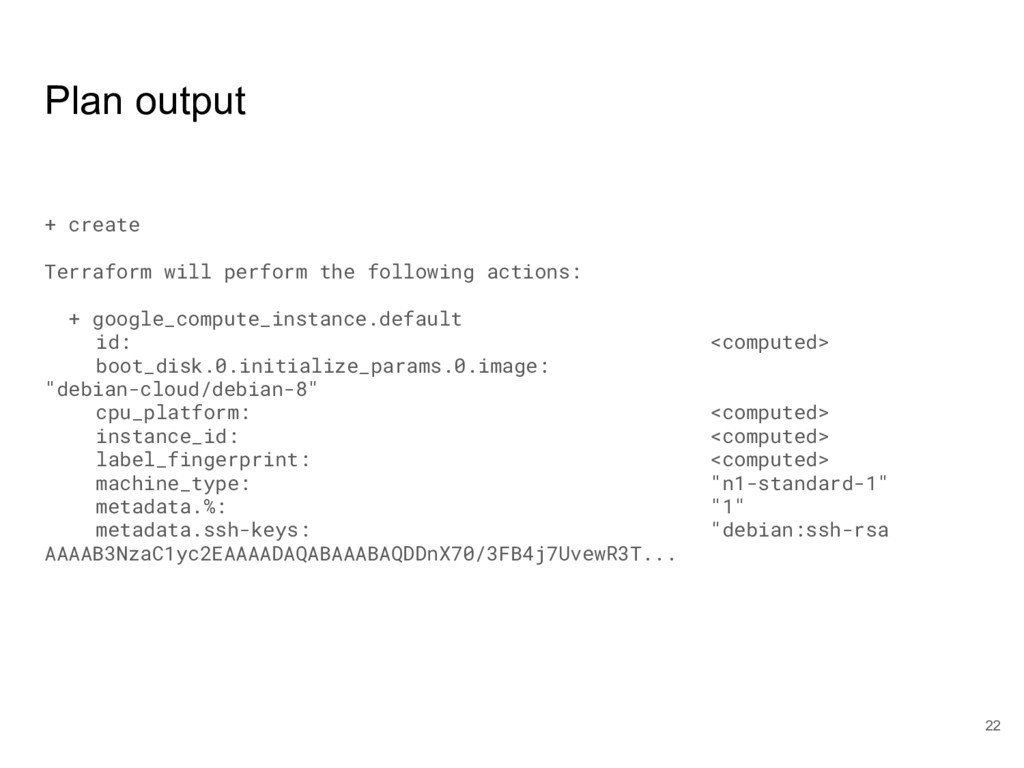
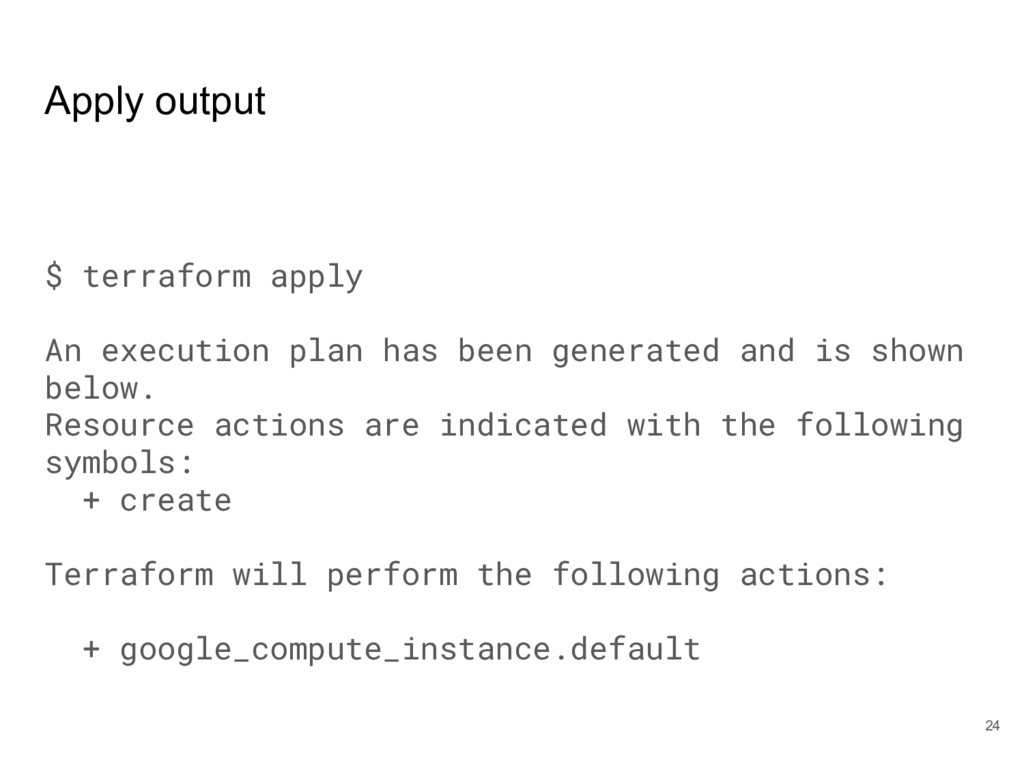
generated and is shown
    below.
    Resource actions are indicated with the following
    symbols:
    + create
    Terraform will perform the following actions:
    + google_compute_instance.default
    24

    View Slide

  25. Apply output
    Summary of the actions to perform, waiting for 
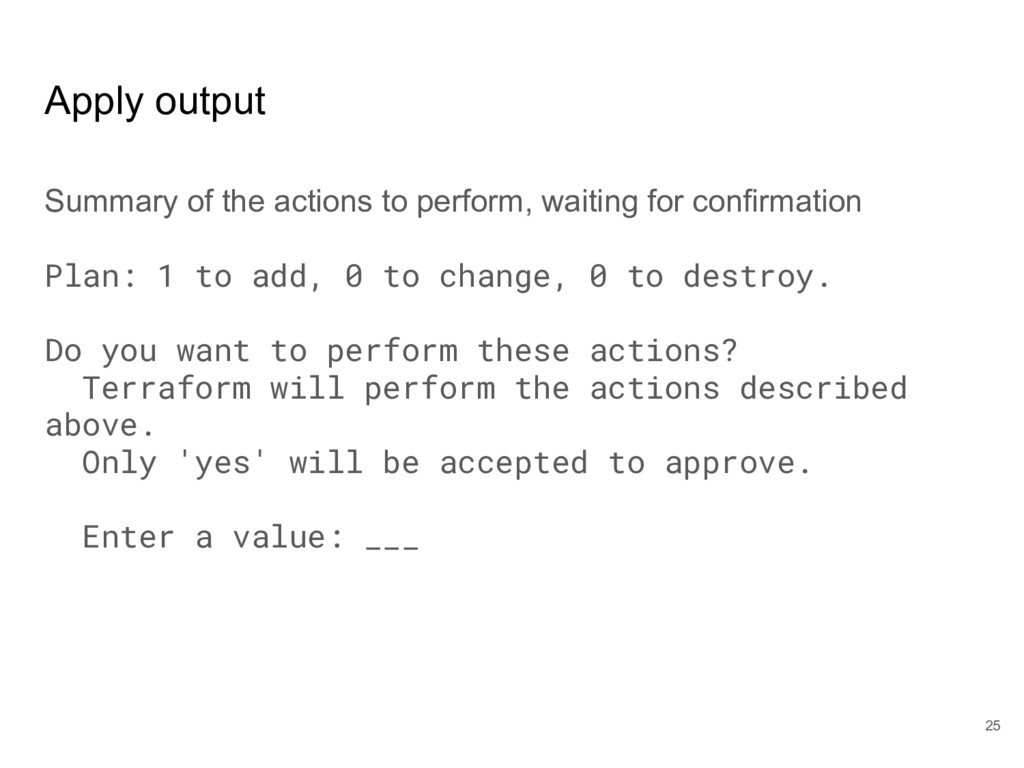
confirmation
    Plan: 1 to add, 0 to change, 0 to destroy.
    Do you want to perform these actions?
    Terraform will perform the actions described
    above.
    Only 'yes' will be accepted to approve.
    Enter a value: ___
    25

    View Slide

  26. After an apply successful operation
    State is persisted to terraform.tfstate:
    26

    View Slide

  27. 27

    View Slide

  28. terraform.tfstate
    A state file is required in order to:
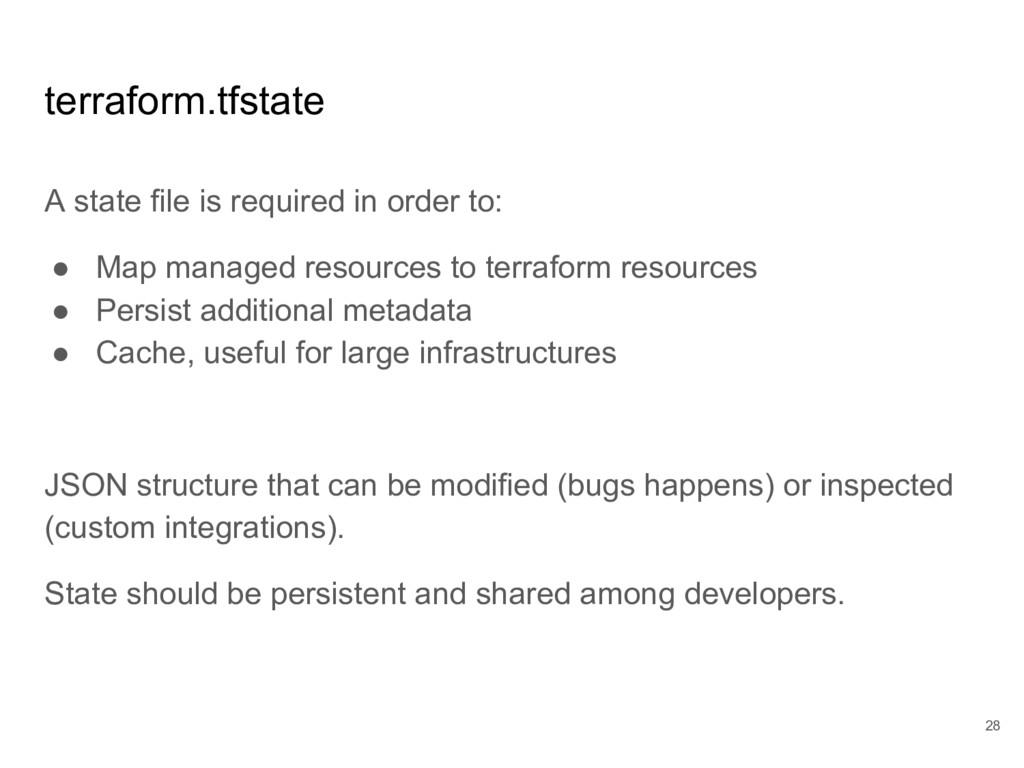
    ● Map managed resources to terraform resources
    ● Persist additional metadata
    ● Cache, useful for large infrastructures
    JSON structure that can be modified (bugs happens) or inspected
    (custom integrations).
    State should be persistent and shared among developers.
    28

    View Slide

  29. Terraform.tfstate sharing and locking
    For solo developers or small teams: 
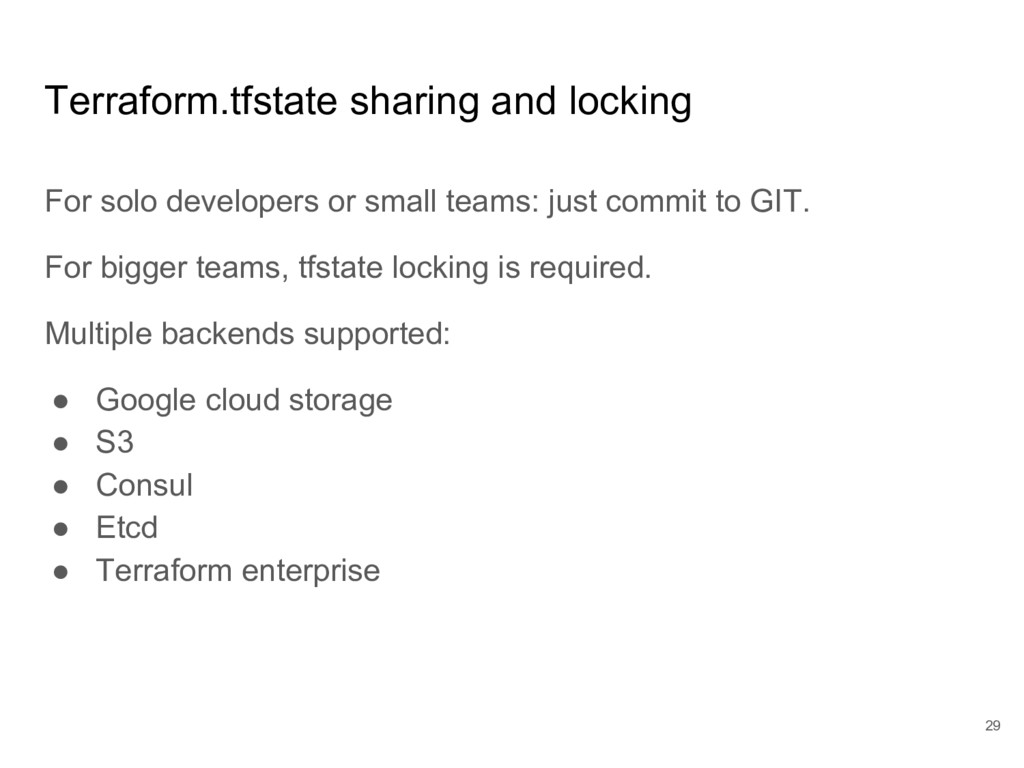
just commit to GIT.
    For bigger teams, tfstate locking is required.
    Multiple backends supported:
    ● Google cloud storage
    ● S3
    ● Consul
    ● Etcd
    ● Terraform enterprise
    29

    View Slide

  30. Terraform.tfstate sample output
    {
    "version": 3,
    "terraform_version": "0.11.3",
    "serial": 2,
    "lineage": "d495f1c0-3c8b-45c2-bda2-f40d28382f30",
    "modules": [
    {
    "path": [
    "root"
    ],
    "outputs": {},
    "resources": {
    "google_compute_instance.default": {
    "type": "google_compute_instance",
    "depends_on": [],
    "primary": {
    "id": "test-vm",
    "attributes": {
    "attached_disk.#": "0",
    "boot_disk.#": "1",
    "boot_disk.0.auto_delete": "true",
    "boot_disk.0.device_name": "persistent-disk-0",
    "boot_disk.0.disk_encryption_key_raw": "",
    "boot_disk.0.disk_encryption_key_sha256": "",
    30

    View Slide

  31. Terraform.tfstate: where is the IP address?
    "network_interface.#": "1",
    "network_interface.0.access_config.#": "1",
    "network_interface.0.access_config.0.assigned_nat_ip":
    "104.155.126.70",
    "network_interface.0.access_config.0.nat_ip": "104.155.126.70",
    "network_interface.0.address": "10.132.0.2",
    "network_interface.0.alias_ip_range.#": "0",
    "network_interface.0.name": "nic0",
    "network_interface.0.network":
    "https://www.googleapis.com/compute/v1/projects/terraform-test-19731
    7/global/networks/default",
    "network_interface.0.network_ip": "10.132.0.2",
    "network_interface.0.subnetwork":
    "https://www.googleapis.com/compute/v1/projects/terraform-test-19731
    7/regions/europe-west1/subnetworks/default",
    "network_interface.0.subnetwork_project":
    "terraform-test-197317",
    "project": "terraform-test-197317",
    31

    View Slide

  32. Automatically print VM ip address
    Add to output.tf:
    output "ip" {
    value = "${google_compute_instance.default.
    network_interface.0.access_config.0.nat_ip}"
    }
    And run terraform apply:
    Outputs:
    ip = 104.155.126.70
    32

    View Slide

  33. Change infrastructure example: VM upscale
    Just change the terraform attribute 
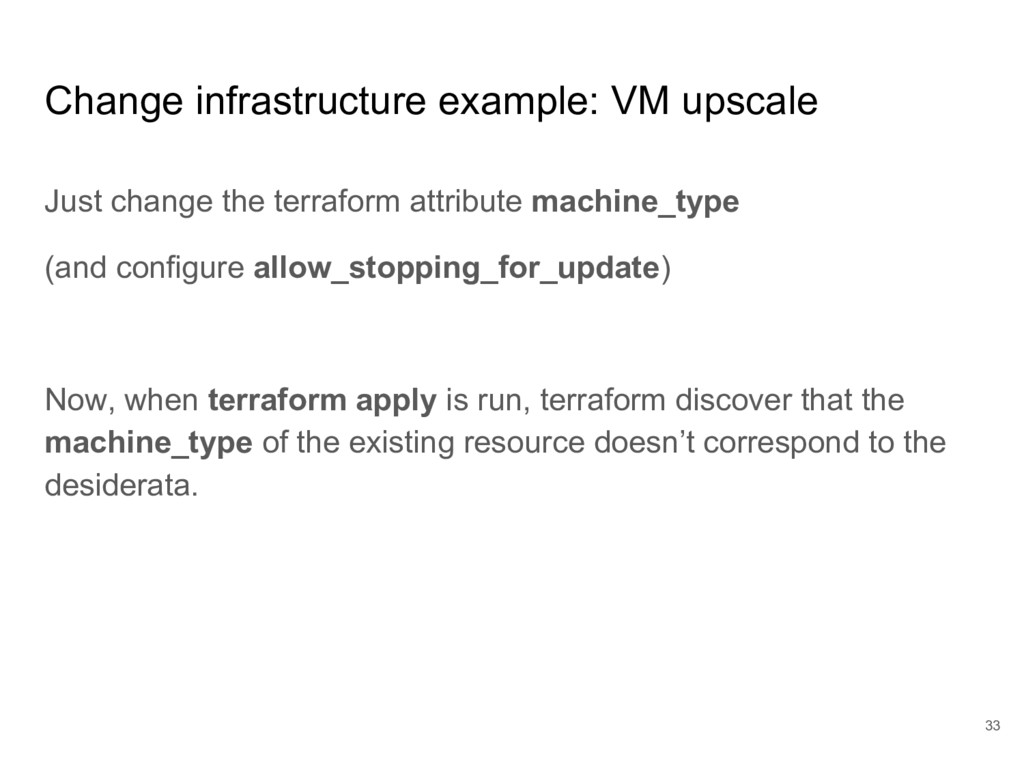
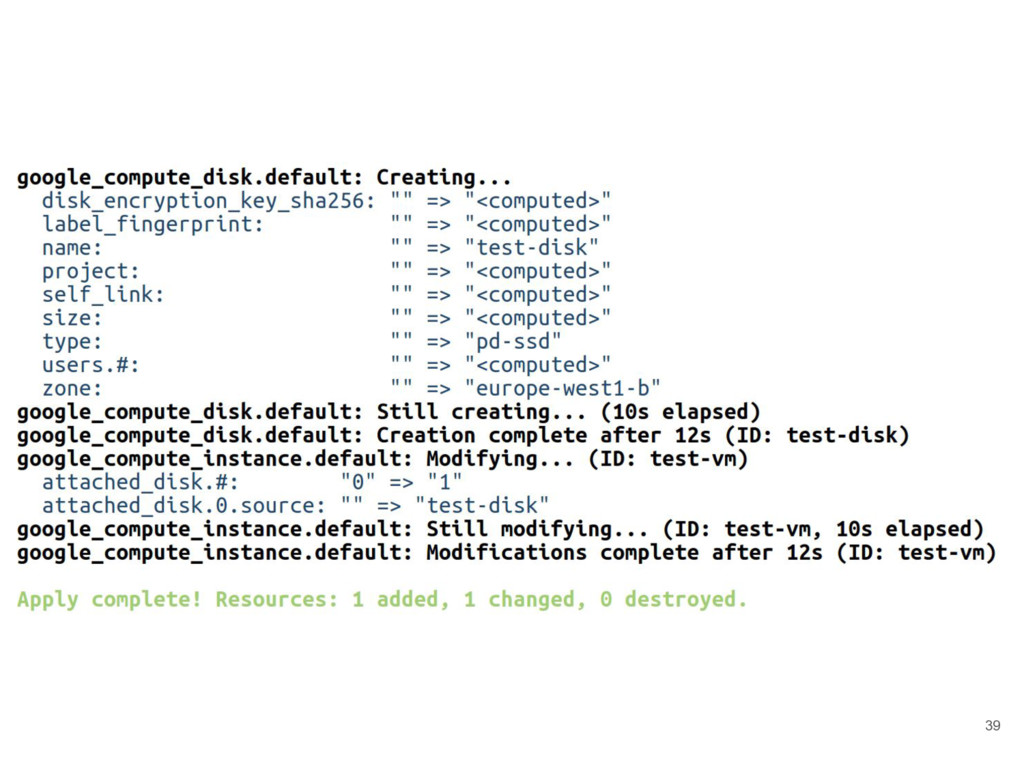
machine_type
    (and configure allow_stopping_for_update)
    Now, when terraform apply is run, terraform discover that the
    machine_type of the existing resource doesn’t correspond to the
    desiderata.
    33
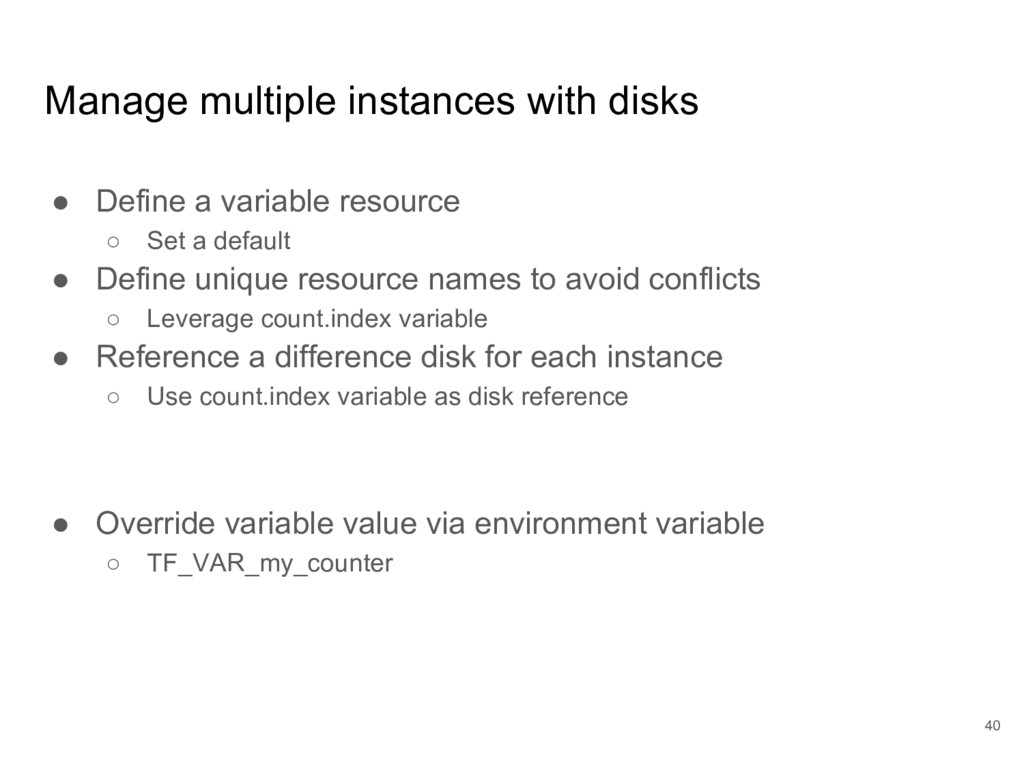
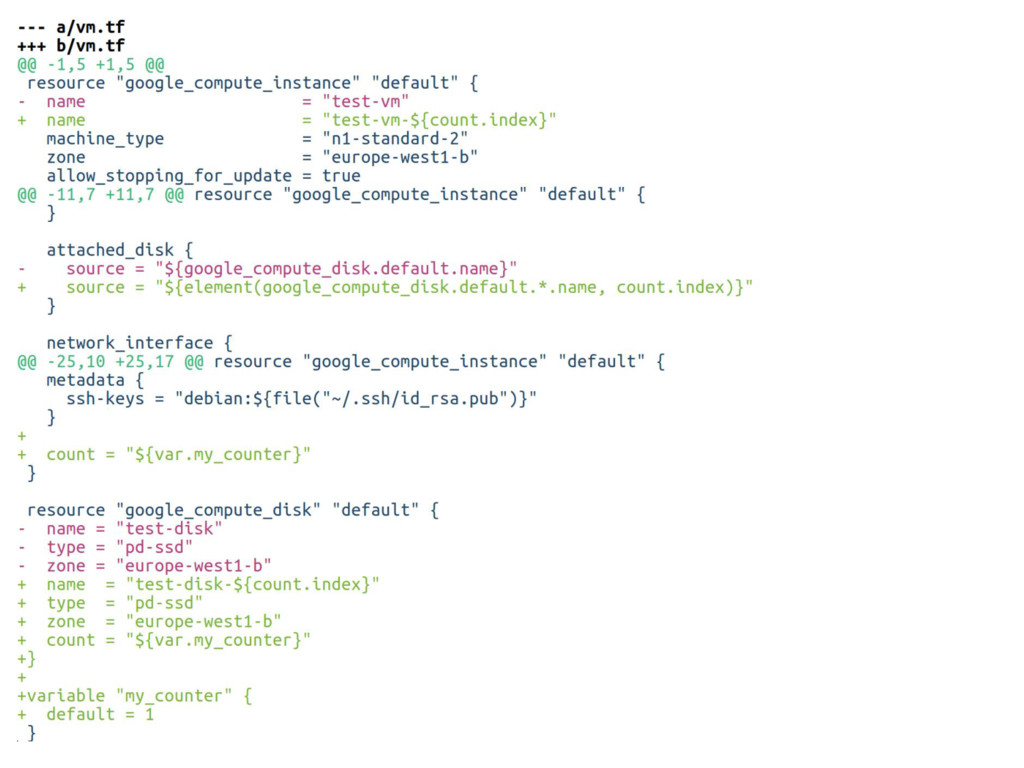
    View Slide

  34. 34

    View Slide

  35. 35

    View Slide

  36. Attach a new data disk
    We’ll create a new data disk resource, and reference it insiude the
    instance resource.
    36

    View Slide

  37. 37

    View Slide

  38. 38

    View Slide

  39. 39

    View Slide

  40. 40
    Manage multiple instances with disks
    ● Define a variable resource
    ○ Set a default
    ● Define unique resource names to avoid conflicts
    ○ Leverage count.index variable
    ● Reference a difference disk for each instance
    ○ Use count.index variable as disk reference
    ● Override variable value via environment variable
    ○ TF_VAR_my_counter

    View Slide

  41. 41

    View Slide

  42. 42
    github.com/
    gionn/terraform-example

    View Slide

  43. Questions?
    43

    View Slide