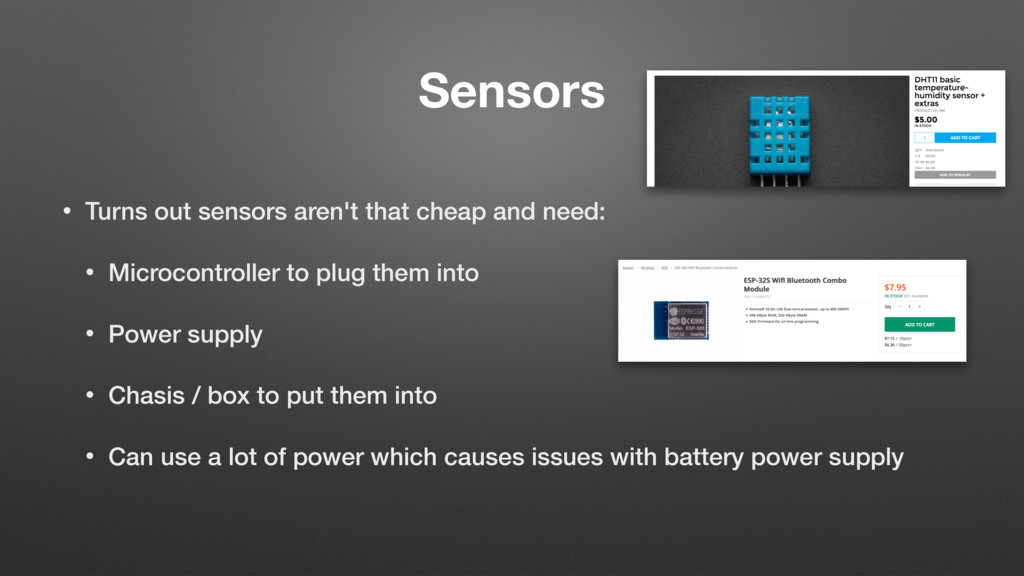
• Microcontroller to plug them into • Power supply • Chasis / box to put them into • Can use a lot of power which causes issues with battery power supply
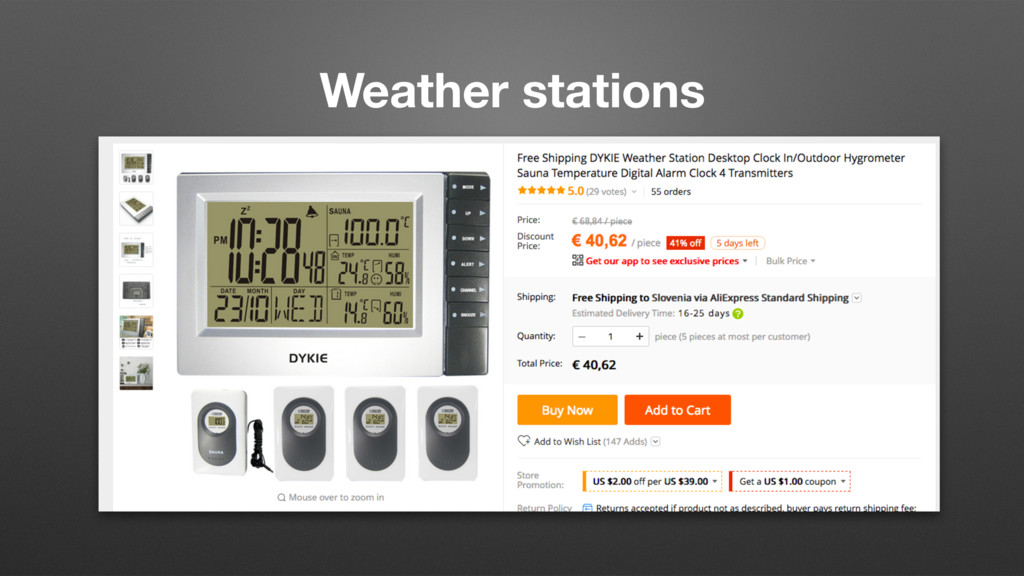
(running months on a pair of AAA batteries) • Protected against environment (can be used outdoor even in winter) • Standard 433MHz transcievers • Long range (15m+)
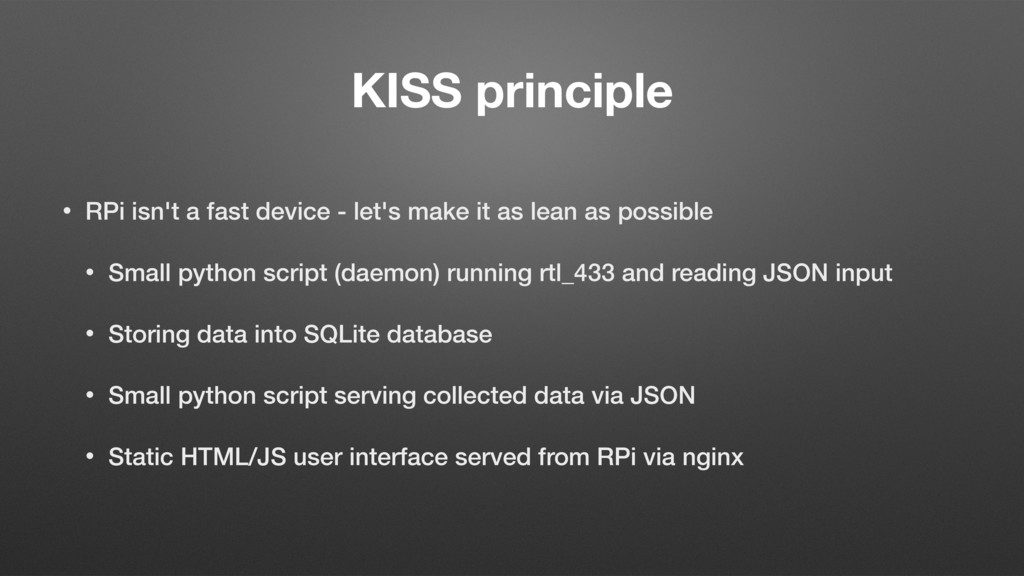
make it as lean as possible • Small python script (daemon) running rtl_433 and reading JSON input • Storing data into SQLite database • Small python script serving collected data via JSON • Static HTML/JS user interface served from RPi via nginx
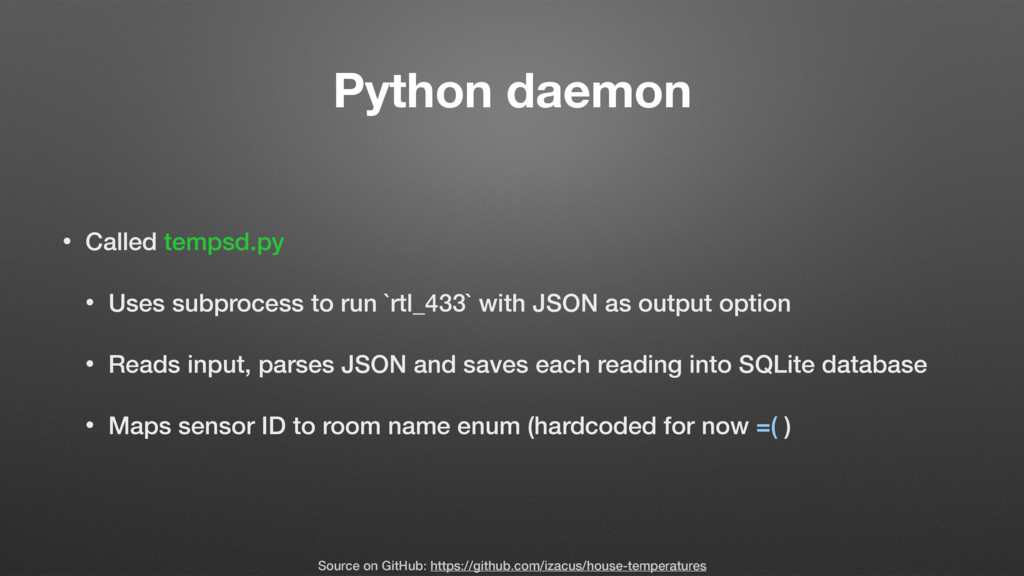
`rtl_433` with JSON as output option • Reads input, parses JSON and saves each reading into SQLite database • Maps sensor ID to room name enum (hardcoded for now =( ) Source on GitHub: https://github.com/izacus/house-temperatures
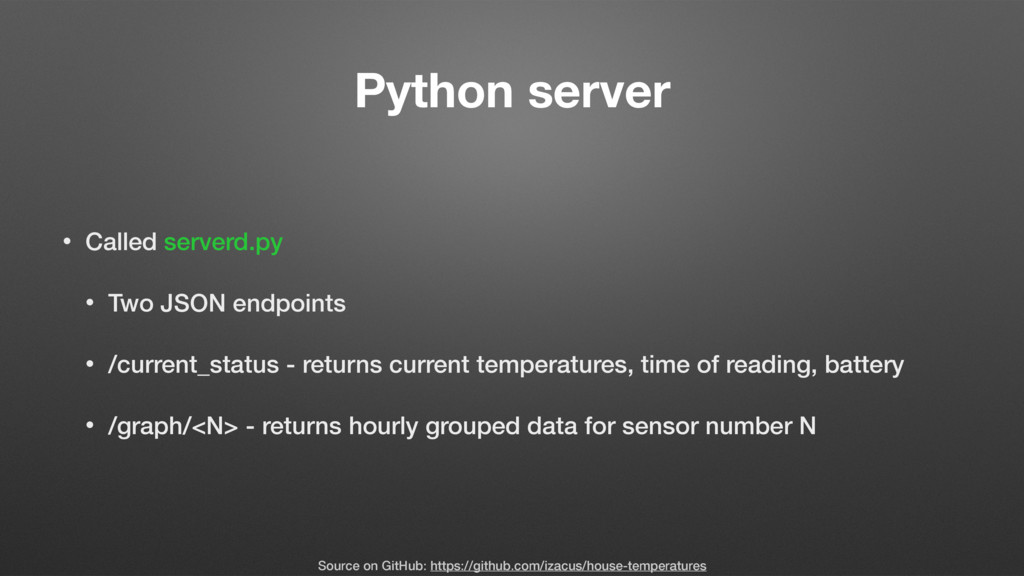
/current_status - returns current temperatures, time of reading, battery • /graph/<N> - returns hourly grouped data for sensor number N Source on GitHub: https://github.com/izacus/house-temperatures
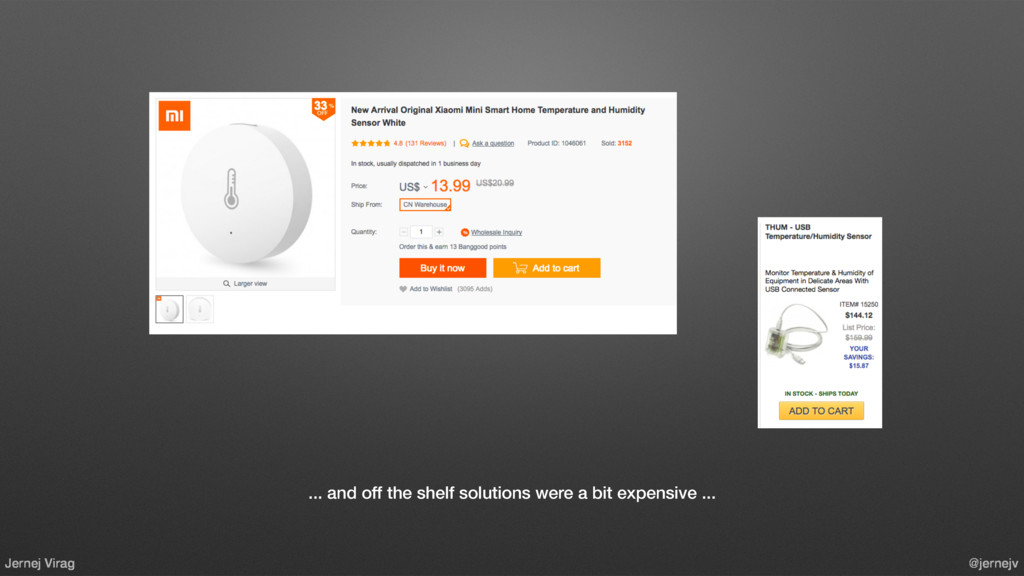
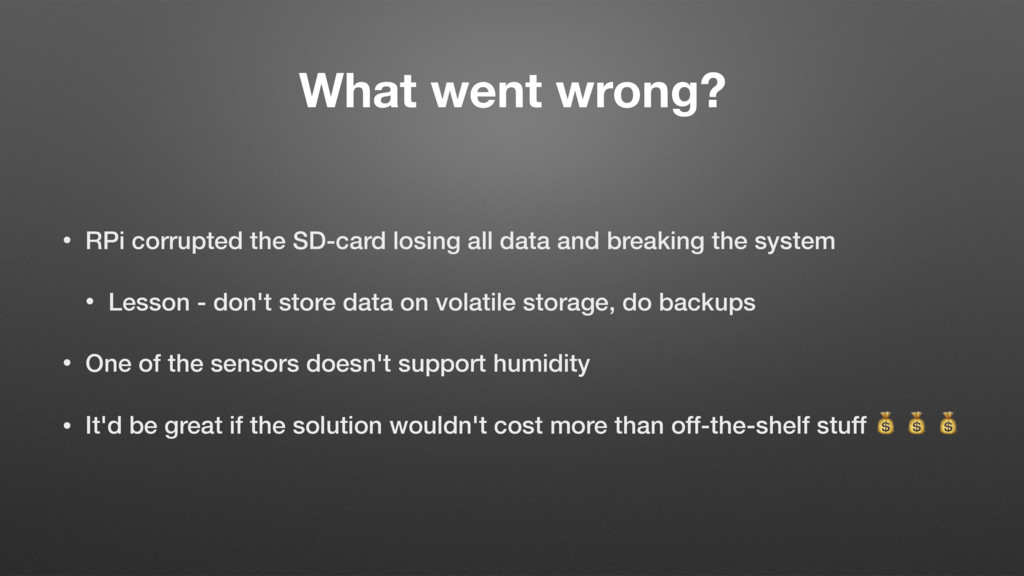
data and breaking the system • Lesson - don't store data on volatile storage, do backups • One of the sensors doesn't support humidity • It'd be great if the solution wouldn't cost more than off-the-shelf stuff
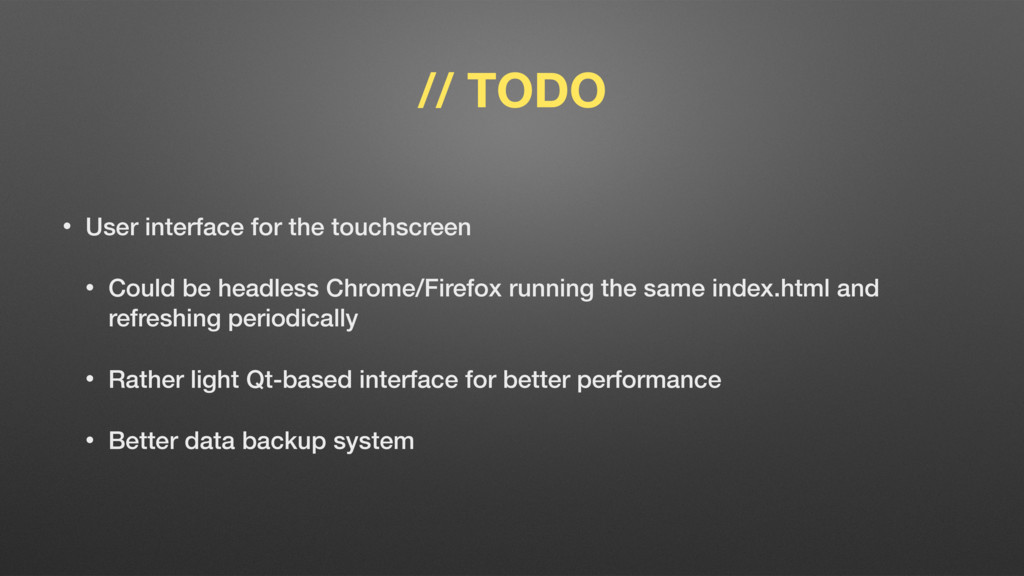
be headless Chrome/Firefox running the same index.html and refreshing periodically • Rather light Qt-based interface for better performance • Better data backup system
![Jernej Virag @jernejv ? @jernejv / [email protected] /](https://files.speakerdeck.com/presentations/021b42147b244076b0f1dd5aa2984f4c/slide_27.jpg)