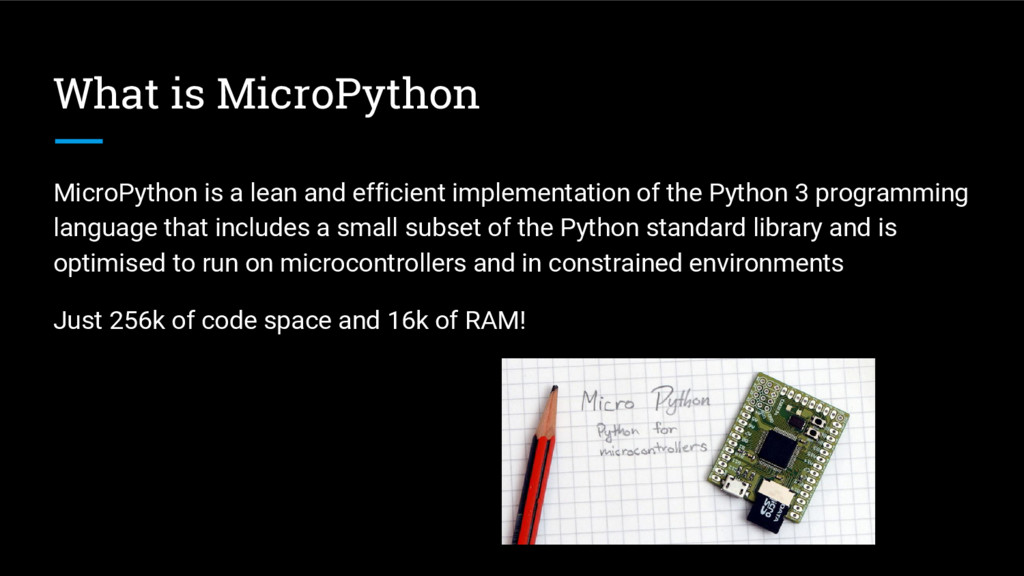
of the Python 3 programming language that includes a small subset of the Python standard library and is optimised to run on microcontrollers and in constrained environments Just 256k of code space and 16k of RAM!
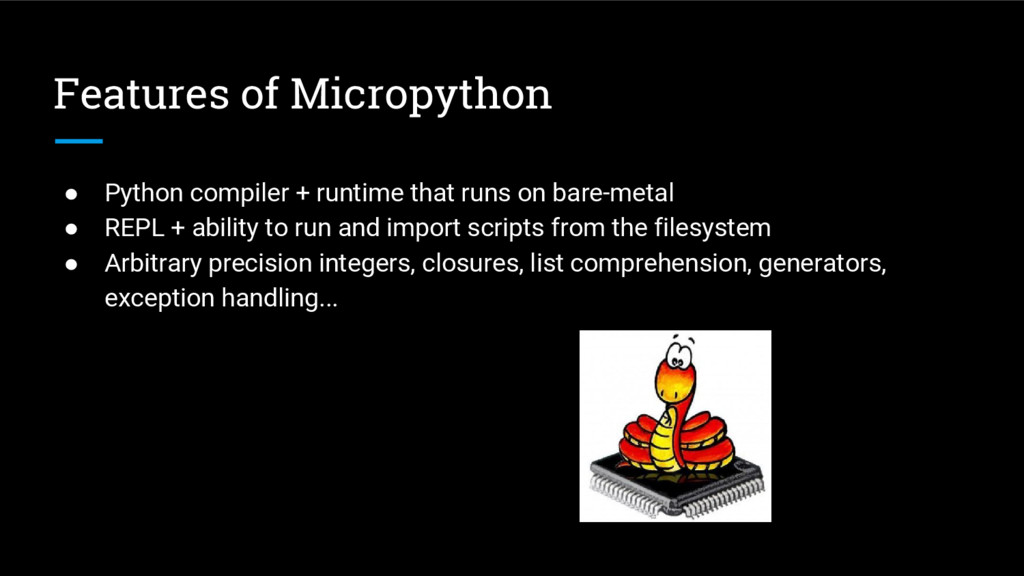
on bare-metal • REPL + ability to run and import scripts from the filesystem • Arbitrary precision integers, closures, list comprehension, generators, exception handling...
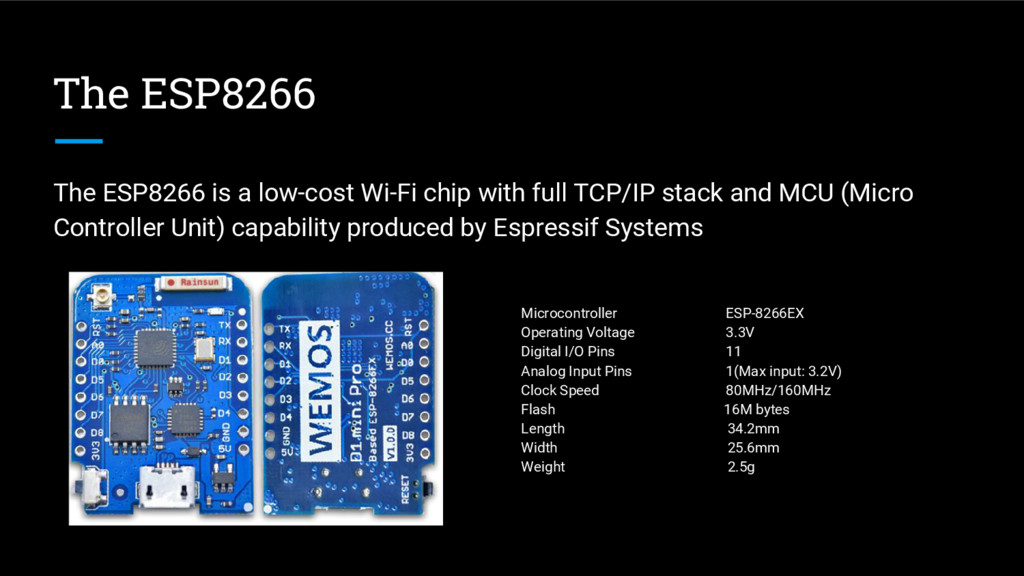
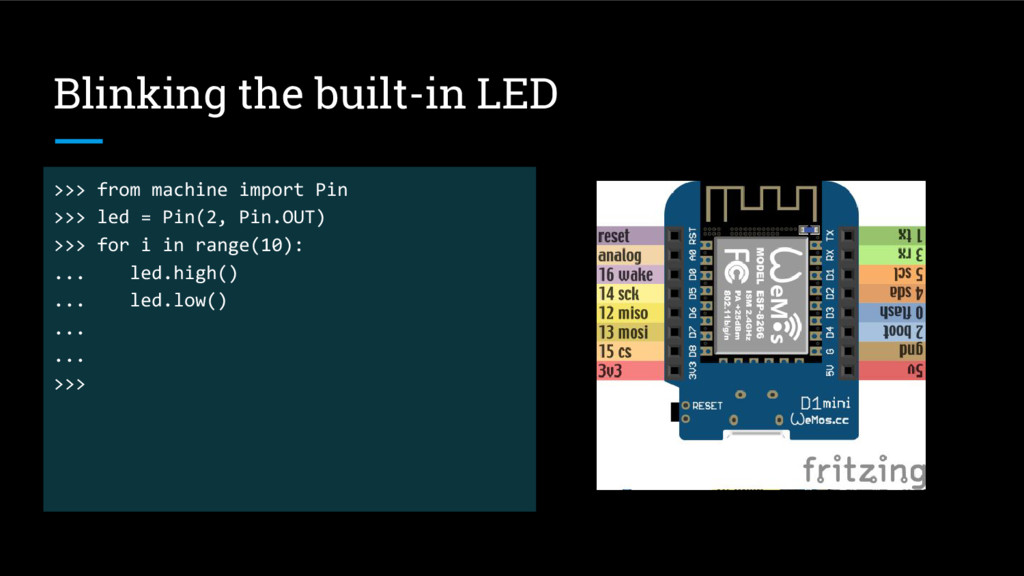
full TCP/IP stack and MCU (Micro Controller Unit) capability produced by Espressif Systems Microcontroller ESP-8266EX Operating Voltage 3.3V Digital I/O Pins 11 Analog Input Pins 1(Max input: 3.2V) Clock Speed 80MHz/160MHz Flash 16M bytes Length 34.2mm Width 25.6mm Weight 2.5g
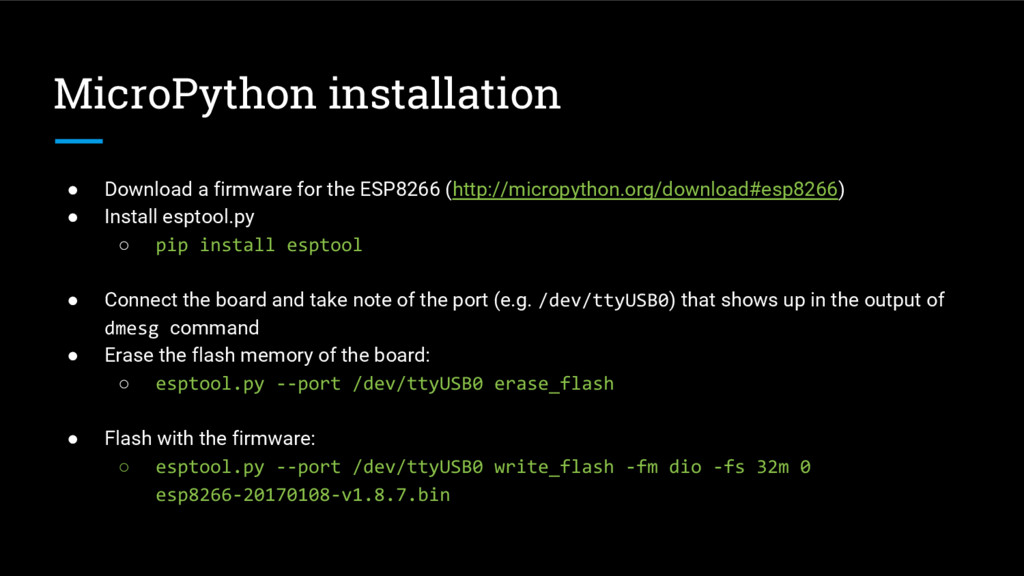
• Install esptool.py ◦ pip install esptool • Connect the board and take note of the port (e.g. /dev/ttyUSB0) that shows up in the output of dmesg command • Erase the flash memory of the board: ◦ esptool.py --port /dev/ttyUSB0 erase_flash • Flash with the firmware: ◦ esptool.py --port /dev/ttyUSB0 write_flash -fm dio -fs 32m 0 esp8266-20170108-v1.8.7.bin
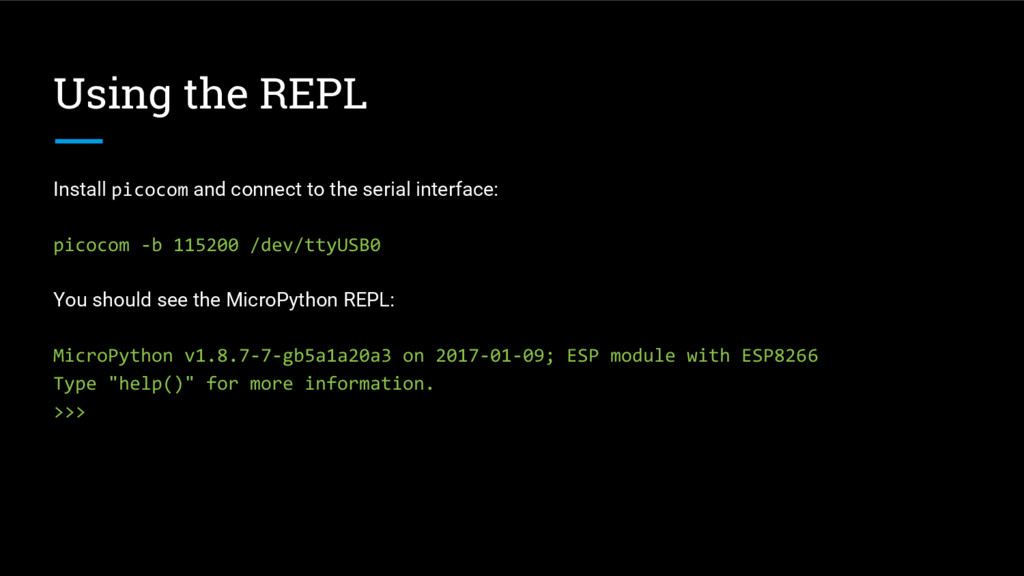
interface: picocom -b 115200 /dev/ttyUSB0 You should see the MicroPython REPL: MicroPython v1.8.7-7-gb5a1a20a3 on 2017-01-09; ESP module with ESP8266 Type "help()" for more information. >>>
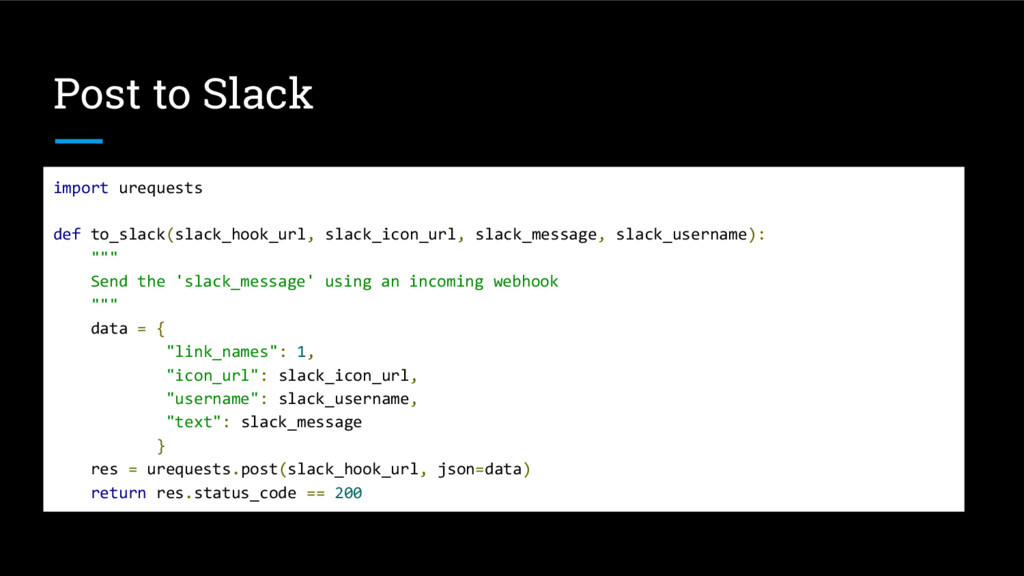
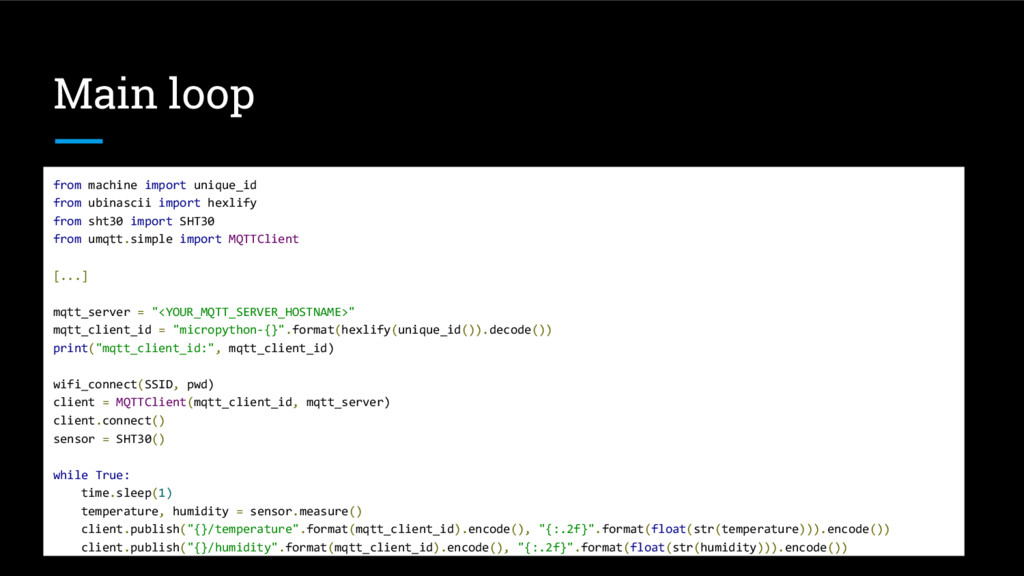
Connect to a wifi 'ssid' with password 'pwd' """ sta_if = network.WLAN(network.STA_IF) ap_if = network.WLAN(network.AP_IF) if ap_if.active(): ap_if.active(False) if not sta_if.isconnected(): print('connecting to network...') sta_if.active(True) sta_if.connect(ssid, pwd) while not sta_if.isconnected(): pass return 'IP address: %s' % sta_if.ifconfig()[0]
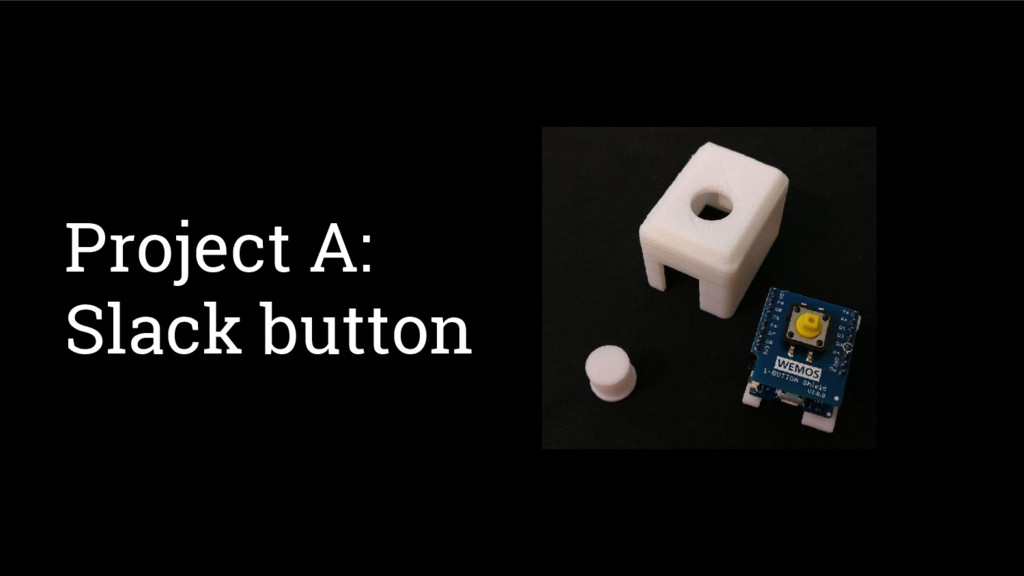
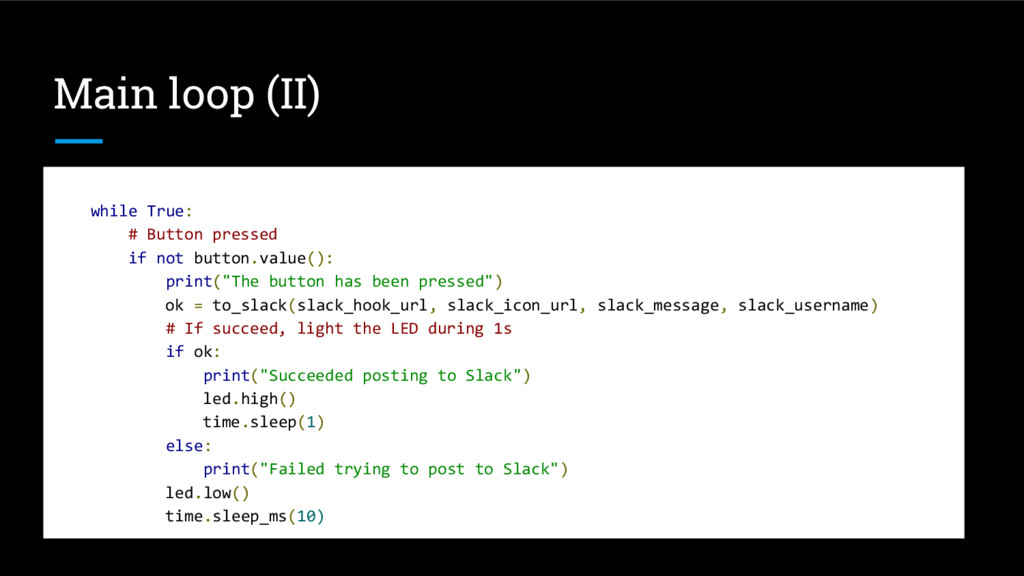
button.value(): print("The button has been pressed") ok = to_slack(slack_hook_url, slack_icon_url, slack_message, slack_username) # If succeed, light the LED during 1s if ok: print("Succeeded posting to Slack") led.high() time.sleep(1) else: print("Failed trying to post to Slack") led.low() time.sleep_ms(10)
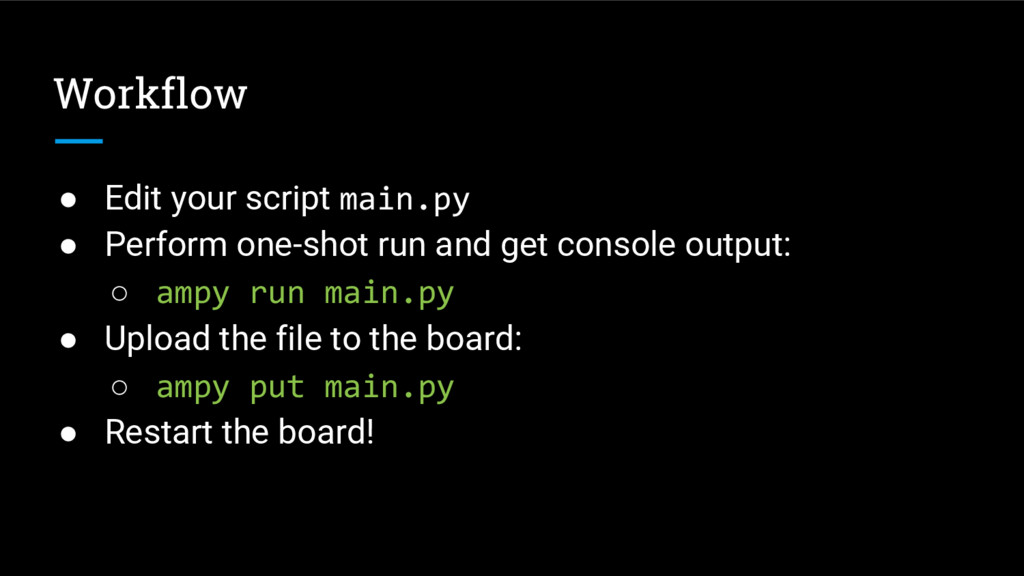
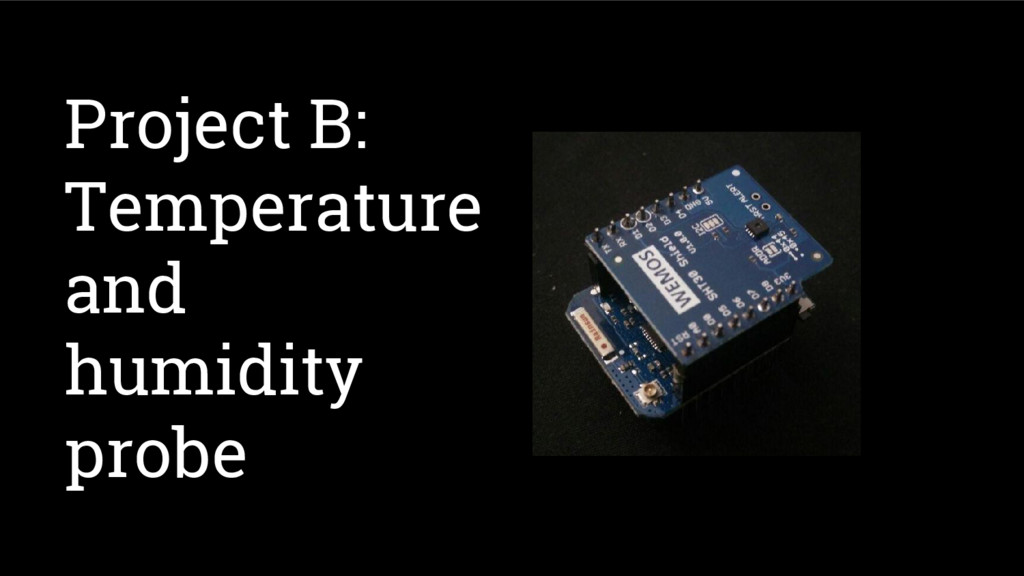
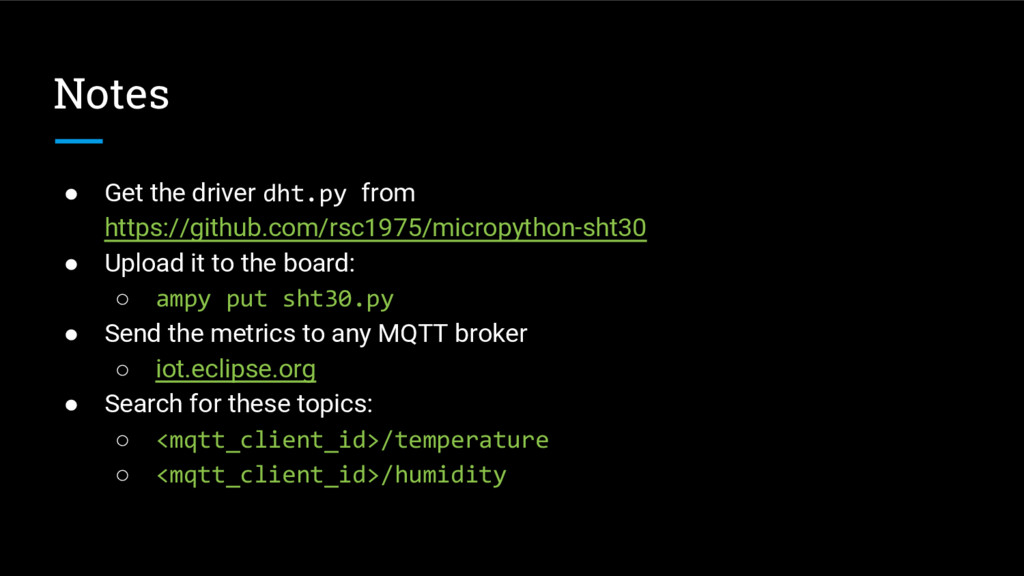
it to the board: ◦ ampy put sht30.py • Send the metrics to any MQTT broker ◦ iot.eclipse.org • Search for these topics: ◦ <mqtt_client_id>/temperature ◦ <mqtt_client_id>/humidity
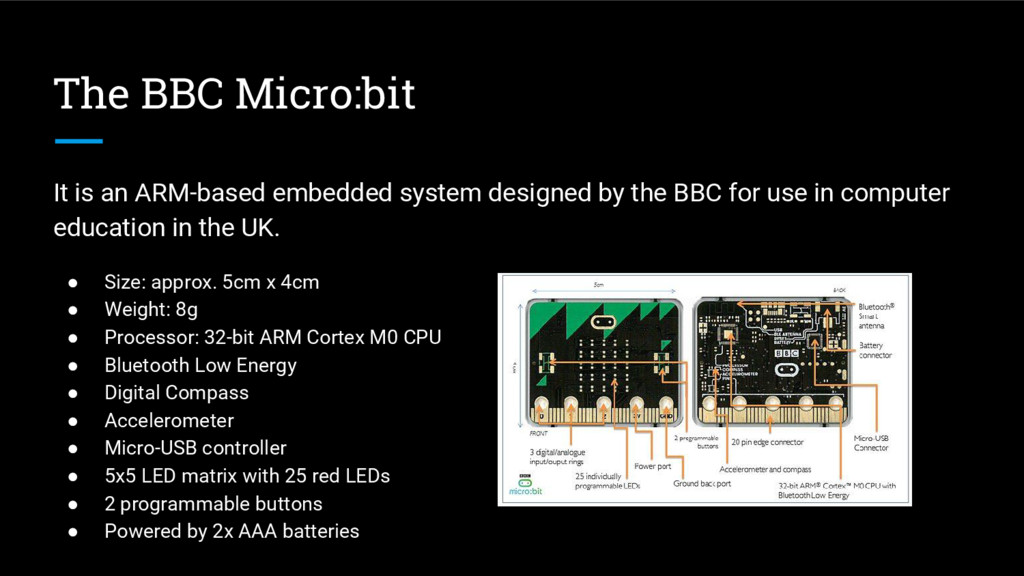
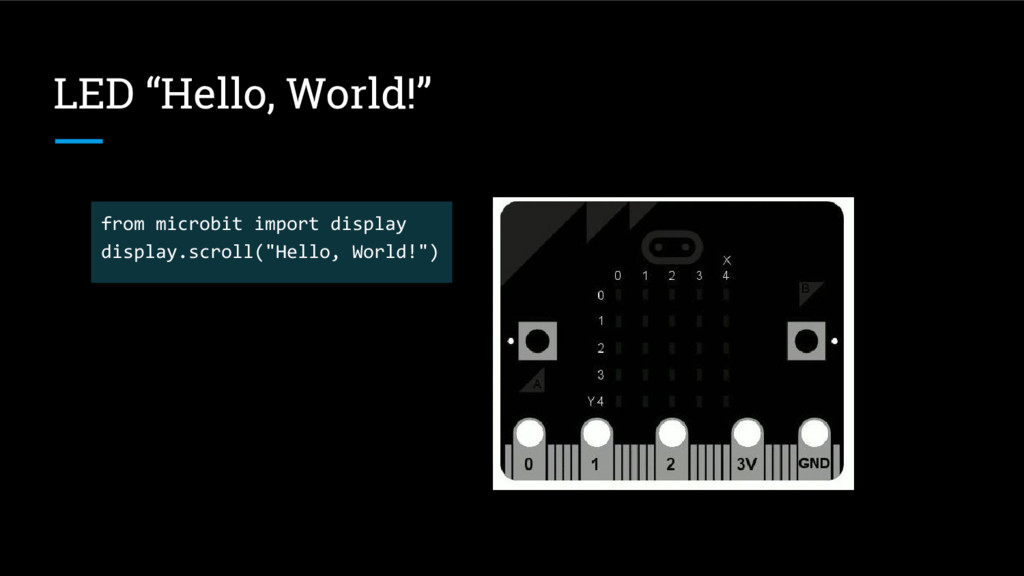
by the BBC for use in computer education in the UK. • Size: approx. 5cm x 4cm • Weight: 8g • Processor: 32-bit ARM Cortex M0 CPU • Bluetooth Low Energy • Digital Compass • Accelerometer • Micro-USB controller • 5x5 LED matrix with 25 red LEDs • 2 programmable buttons • Powered by 2x AAA batteries
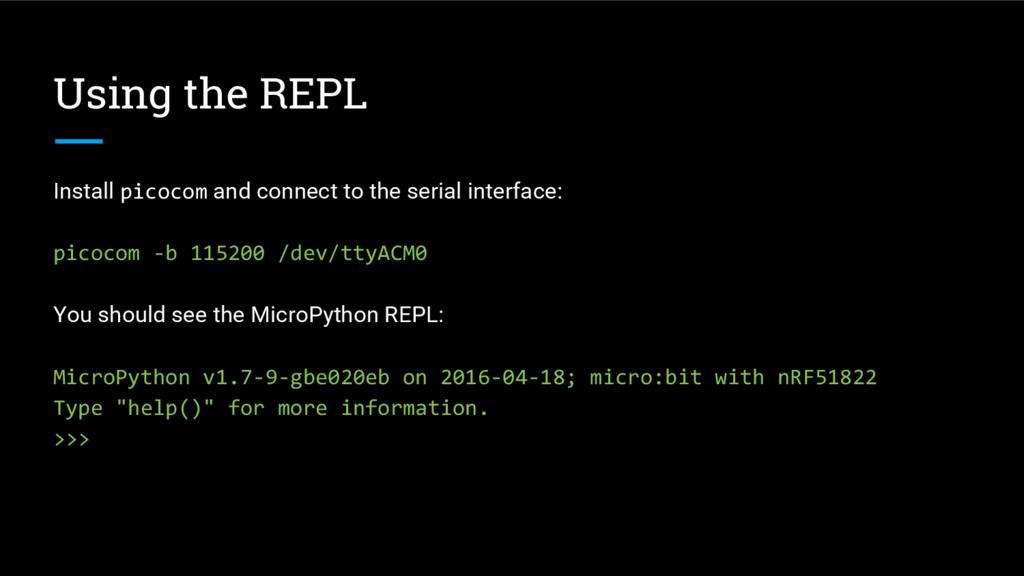
interface: picocom -b 115200 /dev/ttyACM0 You should see the MicroPython REPL: MicroPython v1.7-9-gbe020eb on 2016-04-18; micro:bit with nRF51822 Type "help()" for more information. >>>
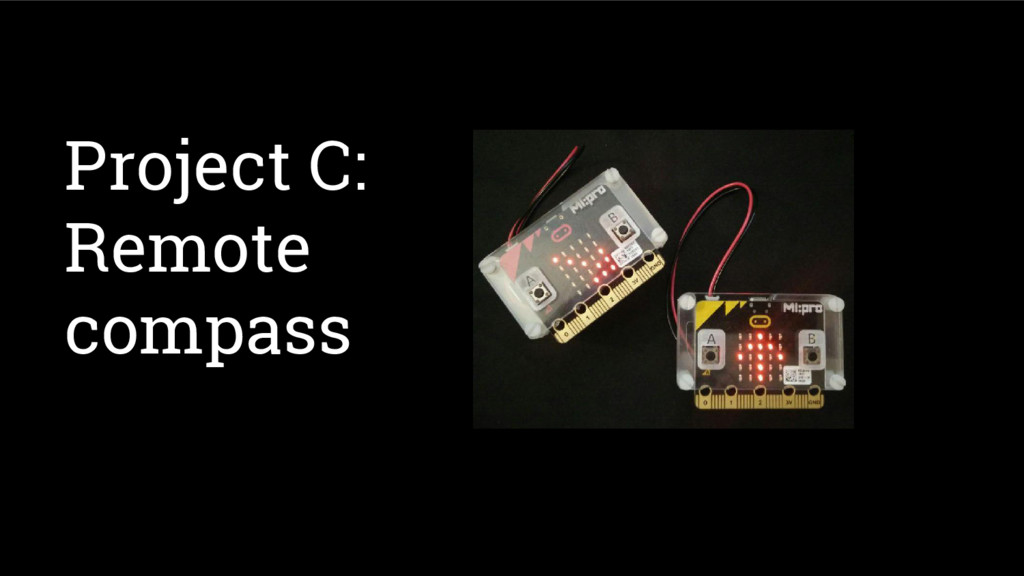
button_b, sleep def menu_mode(): """ Principal menu mode """ while True: display.show(Image.HAPPY) radio.send("ready") if button_a.is_pressed(): send_direction() if __name__ == "__main__": radio.on() compass.calibrate() menu_mode()
probe is pointing to: direction_N, direction_NE, direction_E... """ display.show(Image.ARROW_N) while True: sleep(100) if button_b.is_pressed(): break # Back to the menu mode heading = compass.heading() if (heading > 337) or (heading <= 22): needle = "N" elif 22 < heading <= 67: needle = "NE" elif 67 < heading <= 112: needle = "E" [...] radio.send("dir_{}".format(needle))
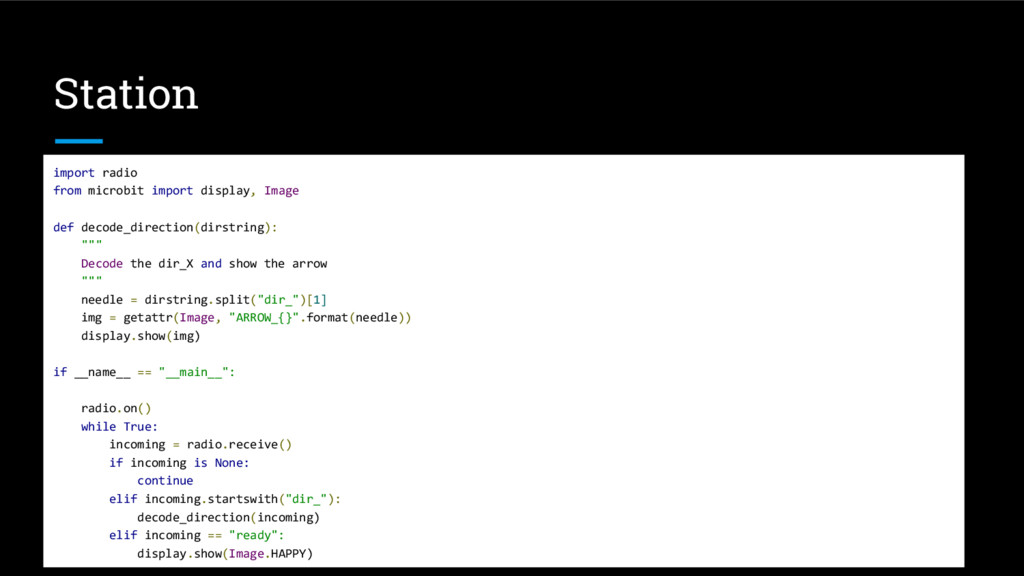
""" Decode the dir_X and show the arrow """ needle = dirstring.split("dir_")[1] img = getattr(Image, "ARROW_{}".format(needle)) display.show(img) if __name__ == "__main__": radio.on() while True: incoming = radio.receive() if incoming is None: continue elif incoming.startswith("dir_"): decode_direction(incoming) elif incoming == "ready": display.show(Image.HAPPY)
![Music import music music.play(music.NYAN) music.play([‘c4’, ‘f#’, ‘g’]) DADADADUM ENTERTAINER PRELUDE](https://files.speakerdeck.com/presentations/d1b5c506f6c245cda85a449d244f7ca3/slide_31.jpg)