a third-party website to host it • You have access to analytics that you want (for free) in many other tools • We shouldn't let the internet become the domain of a single corporation (Medium, LinkedIn... I am looking at you) • It is fun! More on a blog post: https://leportella.com/my-experience-with-blogs.html
MacOs) • Git • Ruby/Gem (Ruby package installer) • A Github account • Sublime (or any text editor) • A Disqus account (optional) • A google account (optional) • An imgur account (optional)
what I'm talking about, feel free to take the slides and go faster :) For non-engineers: We will use a lot of terminal. Some concepts might be tricky, so don't feel afraid of errors and you are encouraged to ask questions!
gave afterwards On the terminal, clone the repo locally using the same link git clone https://github.com/leportella/leportella.git Now let's see that the folder exists: ls
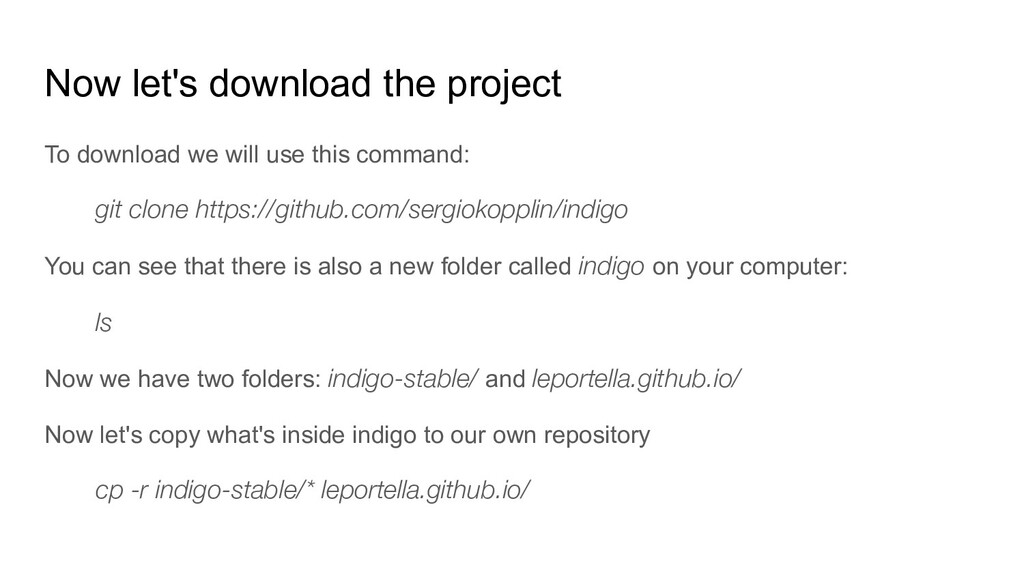
this command: git clone https://github.com/sergiokopplin/indigo You can see that there is also a new folder called indigo on your computer: ls Now we have two folders: indigo-stable/ and leportella.github.io/ Now let's copy what's inside indigo to our own repository cp -r indigo-stable/* leportella.github.io/
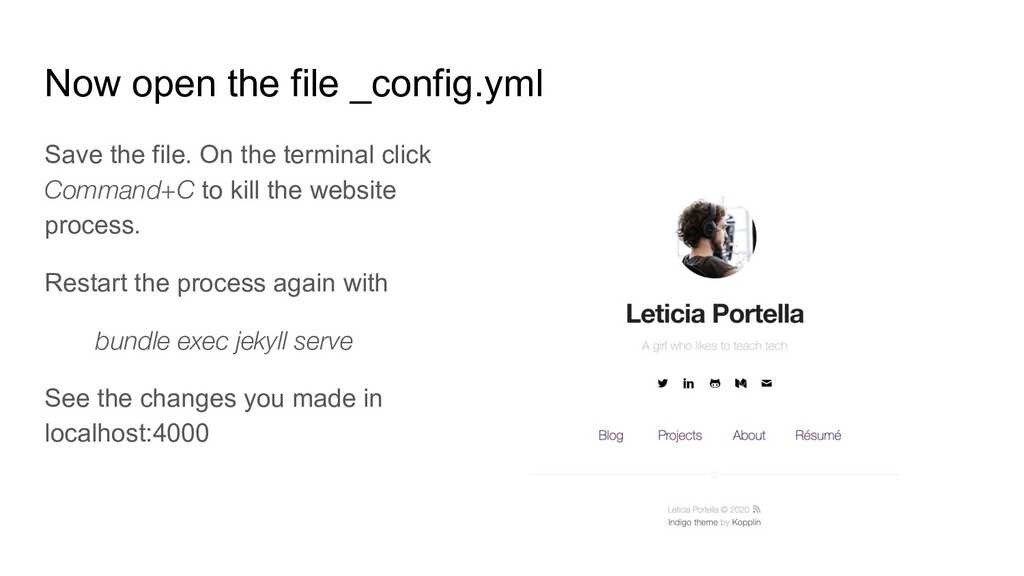
terminal click Command+C to kill the website process. Restart the process again with bundle exec jekyll serve See the changes you made in localhost:4000
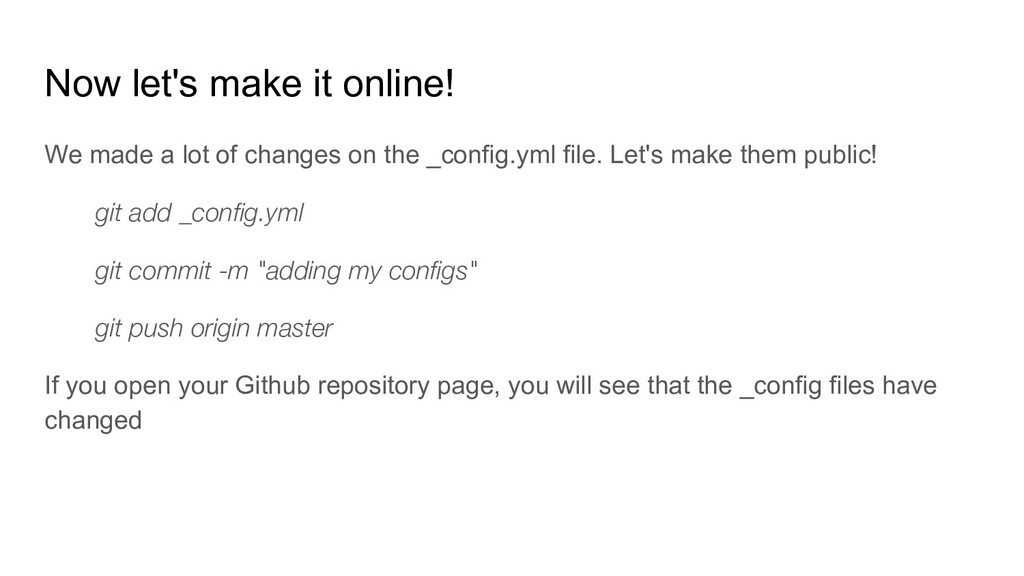
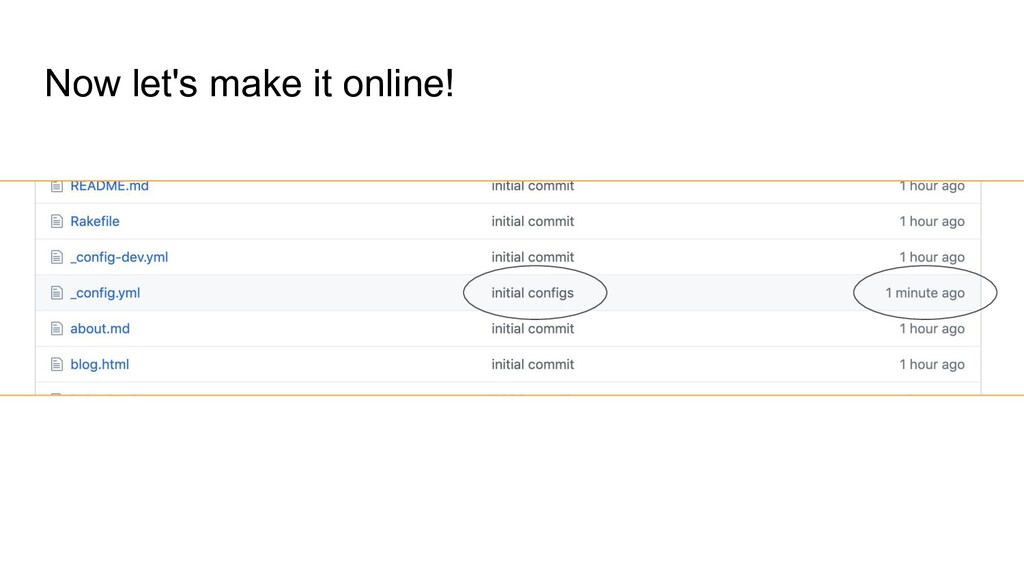
changes on the _config.yml file. Let's make them public! git add _config.yml git commit -m "adding my configs" git push origin master If you open your Github repository page, you will see that the _config files have changed
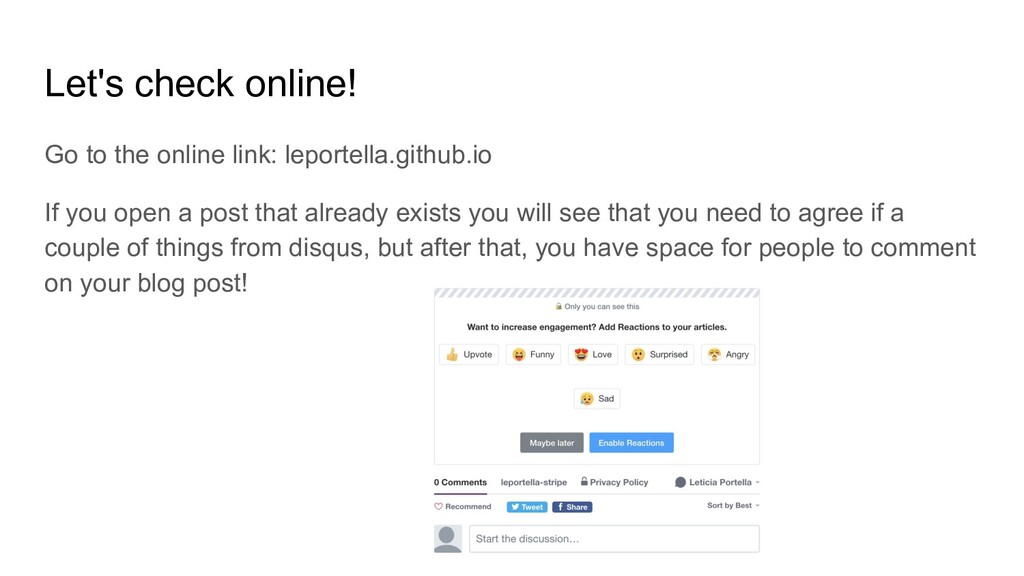
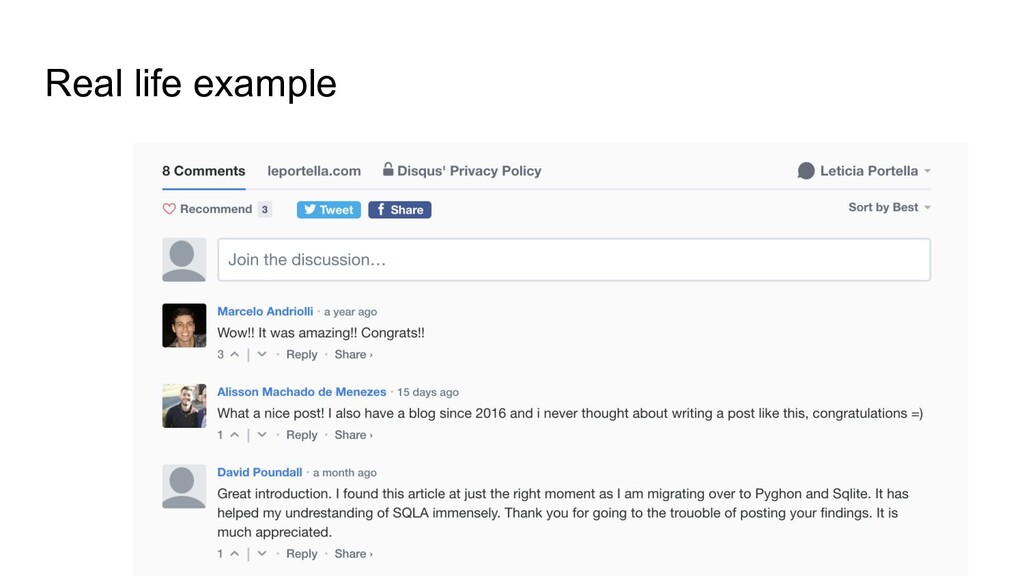
you open a post that already exists you will see that you need to agree if a couple of things from disqus, but after that, you have space for people to comment on your blog post!
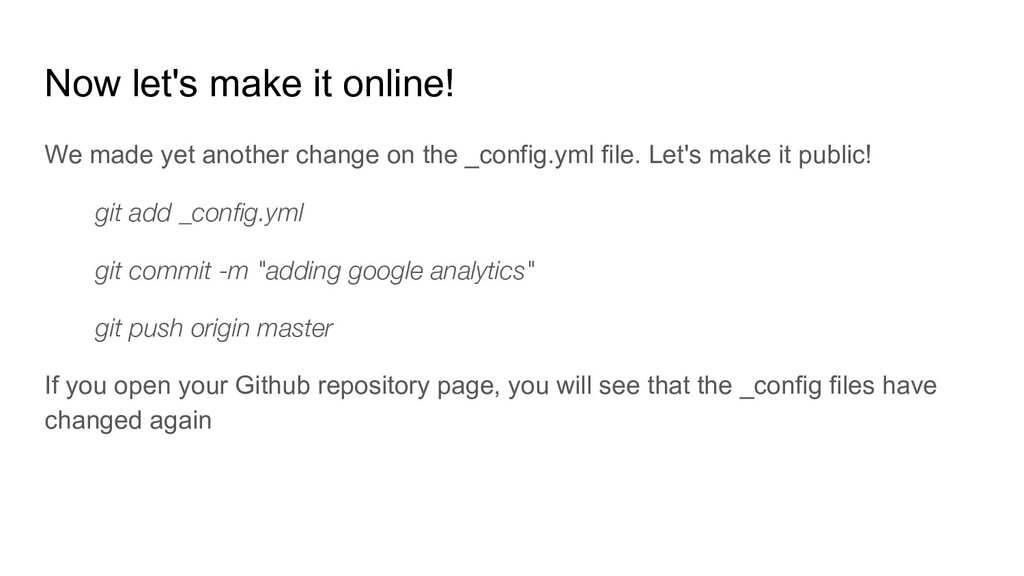
on the _config.yml file. Let's make it public! git add _config.yml git commit -m "adding google analytics" git push origin master If you open your Github repository page, you will see that the _config files have changed again
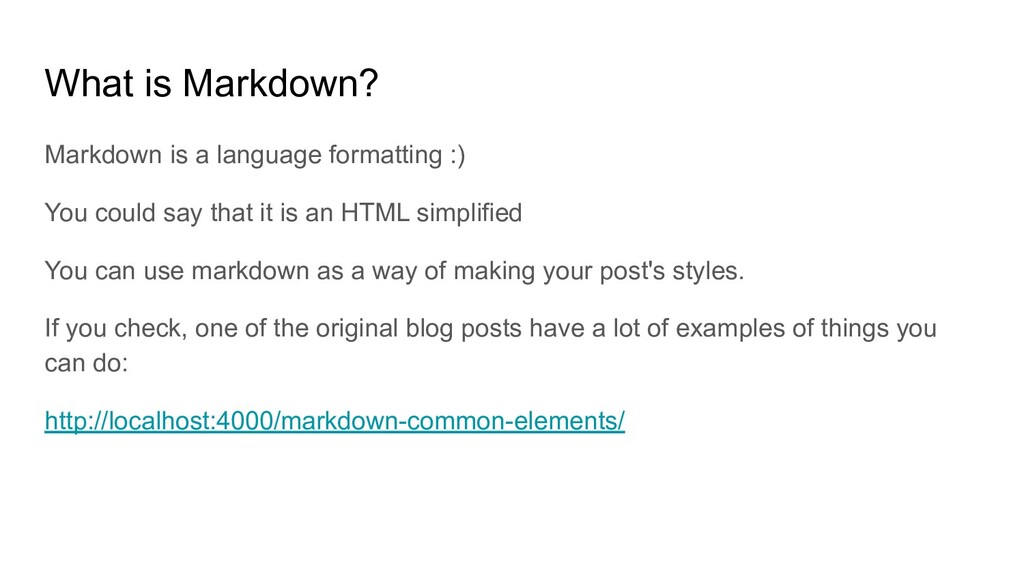
could say that it is an HTML simplified You can use markdown as a way of making your post's styles. If you check, one of the original blog posts have a lot of examples of things you can do: http://localhost:4000/markdown-common-elements/
smaller title *a phrase* Phrase will be italic **a phrase** Phrase will be bold  Add image [This is a link](https://link.com) Add link * Something Bullet point
◦ Example: https://leportella.com/new-eng-stripe.html • When you want to structure something you've learn ◦ Example: https://leportella.com/scala-I.html • When you want to share something about a experience you had: ◦ Example: https://leportella.com/from-oceanographer-to-programmer.html • When you saw a thread online that requires further things to be said ◦ Example: https://leportella.com/why-you-should-be-in-communities.html • When you answer someone and the answer took you more than 5 minutes to write it down ◦ Example: https://leportella.com/my-experience-with-blogs.html
marked as green • Check the markdown options you have • Publish your blog post on the online version of your blog! • Change the About page! • What's the difference between a project and a blog post? • Create a new author! • Change authors in your blog post • Delete the original posts