Upgrade to Pro — share decks privately, control downloads, hide ads and more …

Hosting Complex Web Applications on Webfaction Servers

Hosting Complex Web Applications on Webfaction Servers

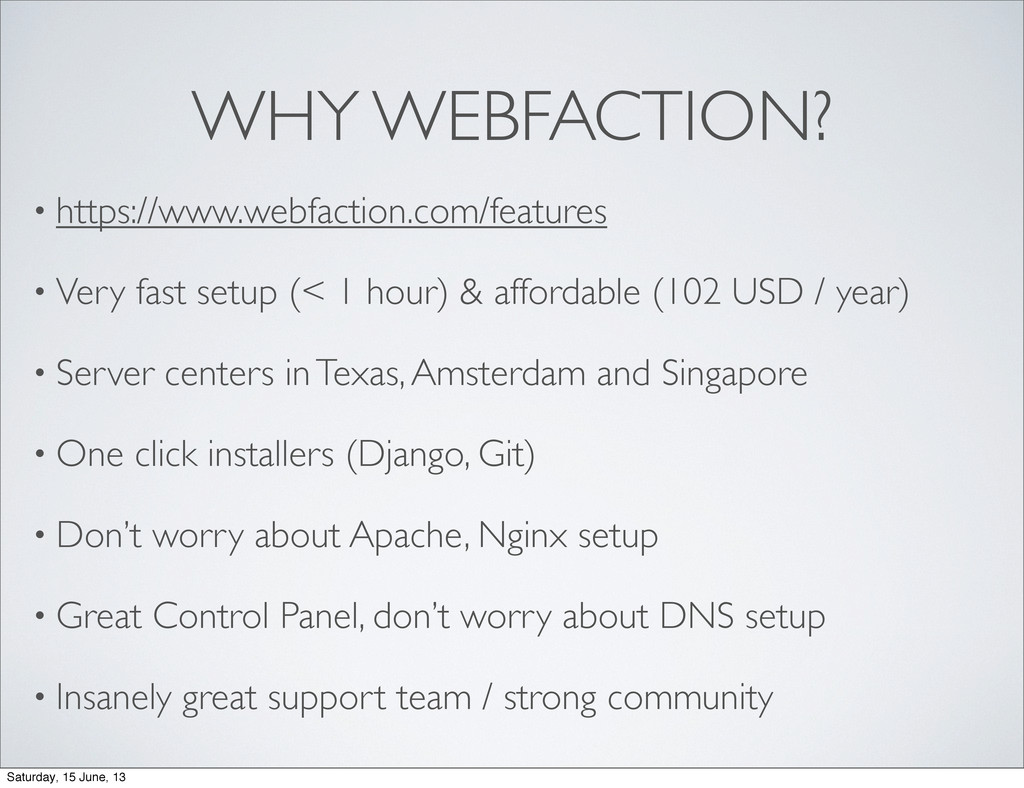
At Bitmazk we build Django based web applications exclusively and so far we have hosted more than 30 client projects and internal projects on Webfaction servers.

Setting up a full web stack is a complex and tedious undertaking and learning about all the different technologies involved took us hundreds of hours.

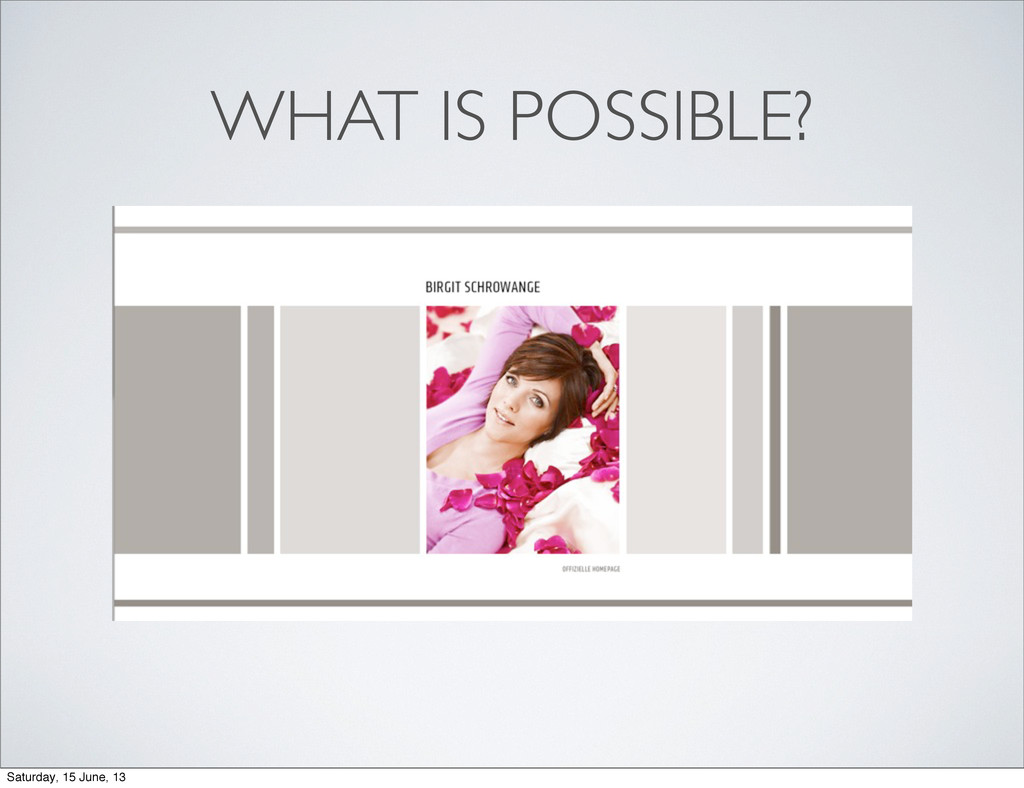
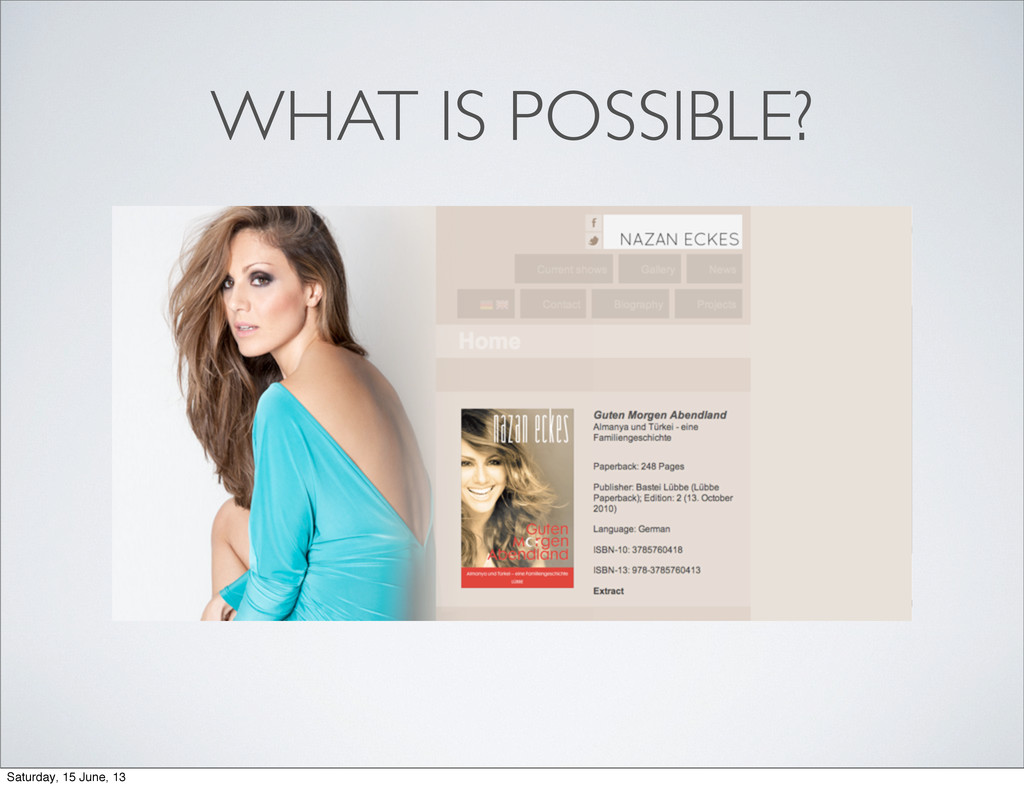
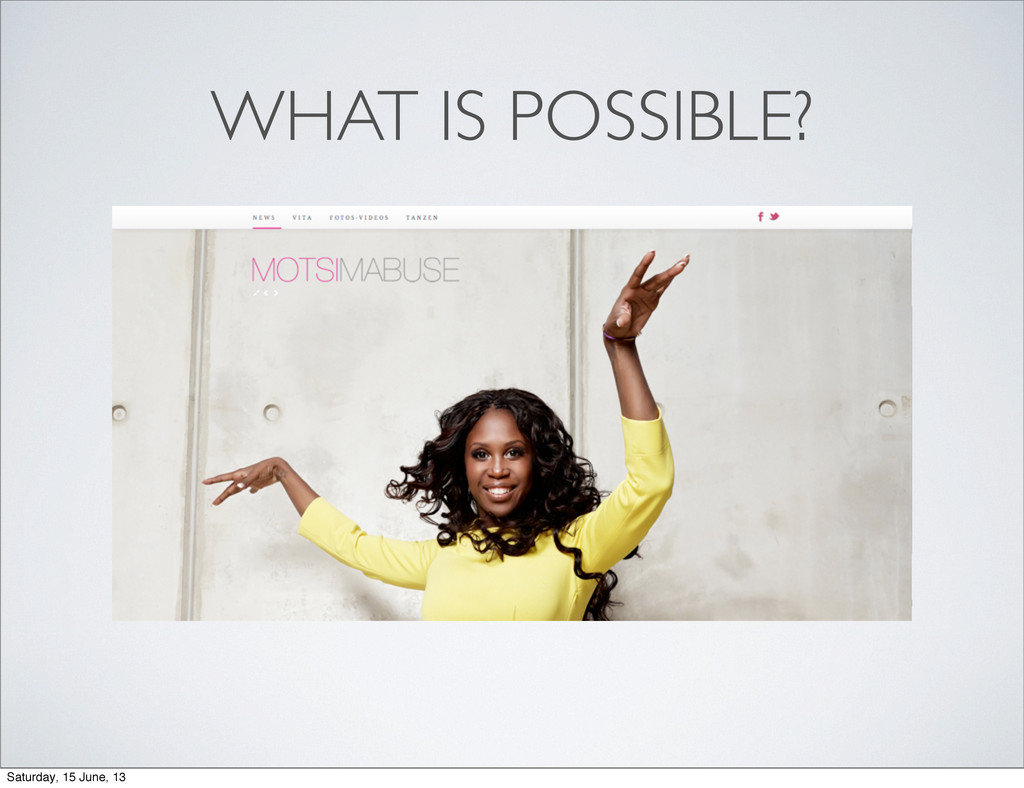
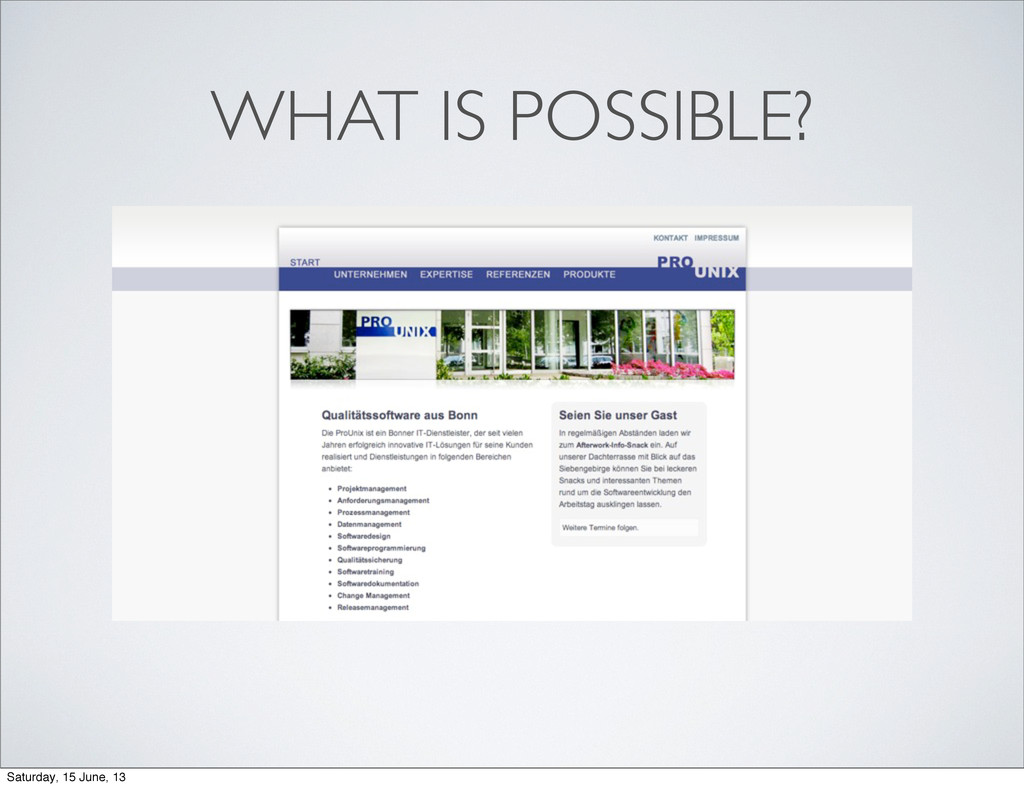
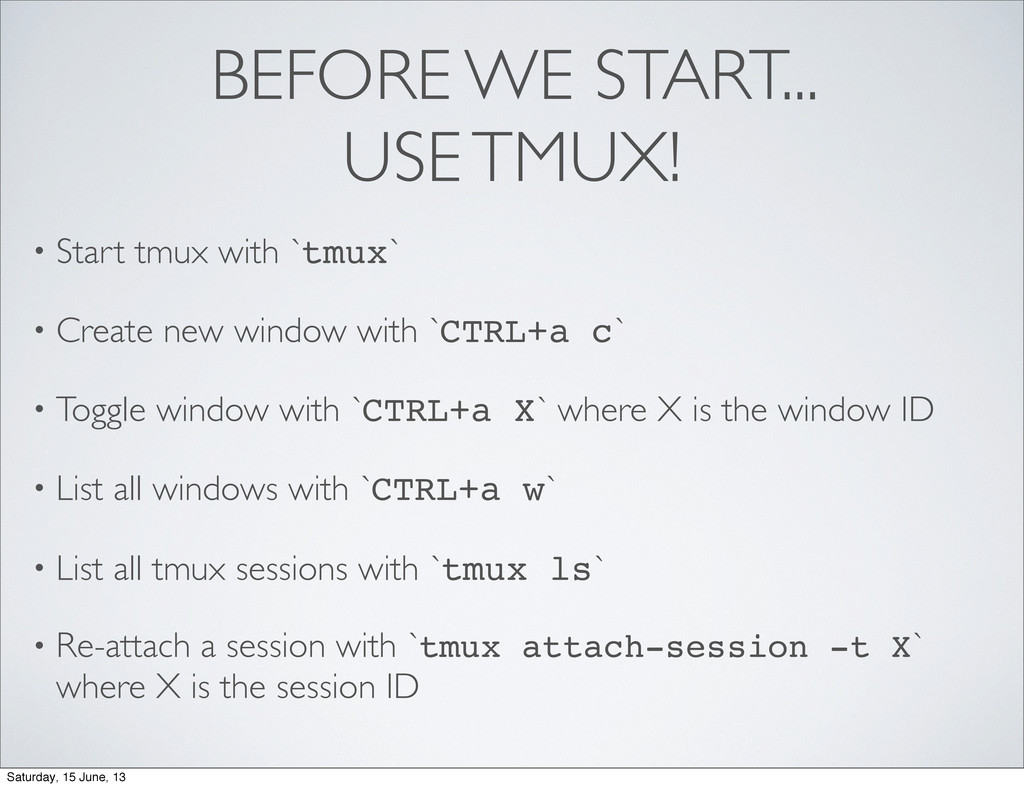
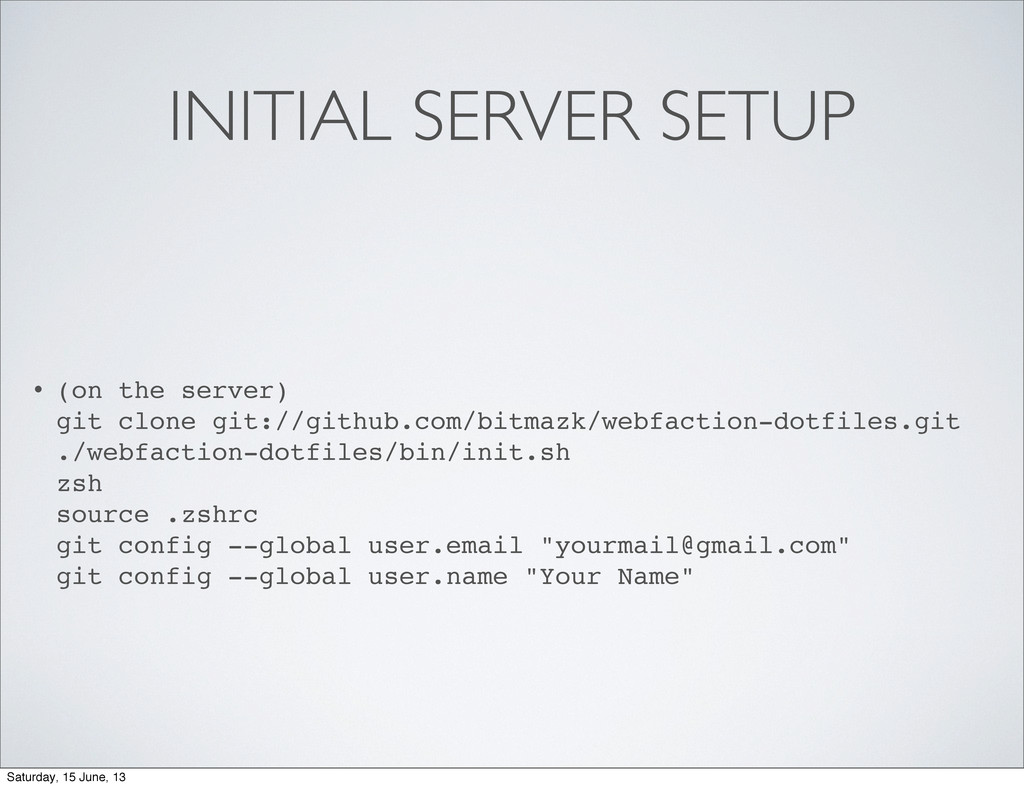
This talk gives step by step instructions on how to setup your account using the Webfaction Control Panel, how to install a great toolbelt on your new server (zsh, tmux, vim, supervisor) and how to kickstart a new Django project.

Presented as a 3.5 hour tutorial at PyCon Singapore 2013
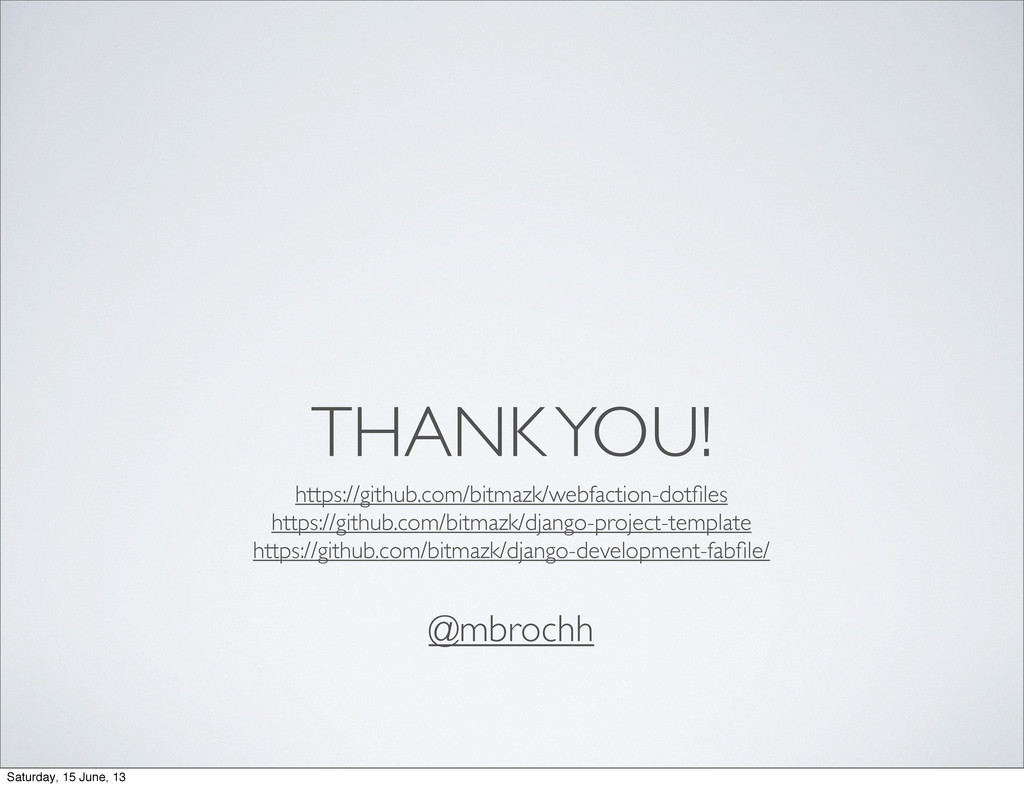
Server Toolbelt: https://github.com/bitmazk/webfaction-dotfiles
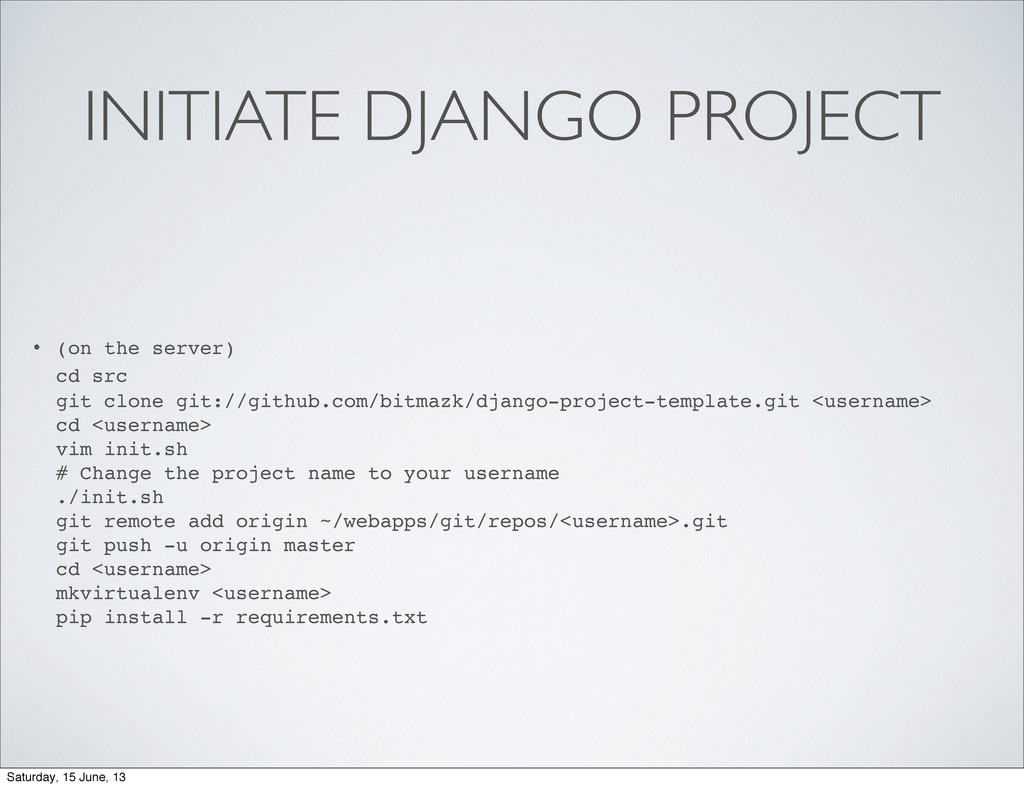
Django Project Kickstarter: https://github.com/bitmazk/django-project-template

Martin Brochhaus

June 13, 2013
Tweet

More Decks by Martin Brochhaus

Other Decks in Programming

Transcript

  1. WHY WEBFACTION? • https://www.webfaction.com/features • Very fast setup (< 1

    hour) & affordable (102 USD / year) • Server centers in Texas, Amsterdam and Singapore • One click installers (Django, Git) • Don’t worry about Apache, Nginx setup • Great Control Panel, don’t worry about DNS setup • Insanely great support team / strong community Saturday, 15 June, 13
  2. WHY NOT WEBFACTION? • Only 265 MB RAM (long running

    processes can be tricky) • Probably not the fastest CPUs? • No root access (obviously, because shared hosting) • Shared hosting (other users can slow down your instance) Saturday, 15 June, 13
  3. SIGNUP • https://www.webfaction.com/?affiliate=bitmazk • Server is usually ready in less

    than an hour • You will get an email with username and password • Let’s begin! Saturday, 15 June, 13
  4. CHANGE PASSWORDS • https://my.webfaction.com/password • Change Control Panel password (for

    now:pyconsgpw) • Change SSH password (for now: pyconsgpw) Saturday, 15 June, 13
  5. DEPLOY SSH KEY • Create your RSA-Key: ssh-keygen -t rsa

    • Deploy your RSA-Key ssh [email protected] mkdir .ssh touch .ssh/authorized_keys chmod 600 .ssh/authorized_keys chmod 700 .ssh/authorized_keys Saturday, 15 June, 13
  6. WEBSITES, APPS & DOMAINS WEBSITE (i.e. myproject) DOMAIN (i.e. www.example.com)

    Django App (/) Static App (/static/) Saturday, 15 June, 13
  7. SETUP YOUR DOMAINS • https://my.webfaction.com/domains • For our testing purpose

    just add www.username.webfactional.com Saturday, 15 June, 13
  8. SETUP YOUR APPS • https://my.webfaction.com/applications • Delete htdocs • Add

    git (Latest git) • Add username_django (Latest Django) • Add username_static (Static / Static only / expires max) • Add username_media (Static / Static only / expires max) • Add username_www (Static / Static/CGI/PHP-5.4) • Add username_no_ssl (Static / Static/CGI/PHP-5.4) Saturday, 15 June, 13
  9. SETUP YOUR WEBSITES • https://my.webfaction.com/websites • Edit the existing one

    • Enable HTTPS • Add django / media / static apps • Create new one (username_nossl) • Add all domains • Add no_ssl app • Create new one (username_www) • Enable HTTPS • Add www domains • Add www app Saturday, 15 June, 13
  10. SETUP MAILBOX • https://my.webfaction.com/mailboxes • Name it <username> (i.e. pyconsg001)

    • Note down the password (for now: emailpw) Saturday, 15 June, 13
  11. SETUP DATABASE • https://my.webfaction.com/databases • Name it <username> (i.e. pyconsg001)

    • Select PostgreSQL • Create User (<username>) • Note down the password (for now: dbpw) Saturday, 15 June, 13
  12. BEFORE WE START... USE TMUX! • Start tmux with `tmux`

    • Create new window with `CTRL+a c` • Toggle window with `CTRL+a X` where X is the window ID • List all windows with `CTRL+a w` • List all tmux sessions with `tmux ls` • Re-attach a session with `tmux attach-session -t X` where X is the session ID Saturday, 15 June, 13
  13. INITIAL SERVER SETUP • (on the server) git clone git://github.com/bitmazk/webfaction-dotfiles.git

    ./webfaction-dotfiles/bin/init.sh zsh source .zshrc git config --global user.email "[email protected]" git config --global user.name "Your Name" Saturday, 15 June, 13
  14. INITIATE GIT REPOSITORY • (on the server) cd webapps/git git

    init --bare repos/pyconsg001.git Saturday, 15 June, 13
  15. INITIATE DJANGO PROJECT • (on the server) cd src git

    clone git://github.com/bitmazk/django-project-template.git <username> cd <username> vim init.sh # Change the project name to your username ./init.sh git remote add origin ~/webapps/git/repos/<username>.git git push -u origin master cd <username> mkvirtualenv <username> pip install -r requirements.txt Saturday, 15 June, 13
  16. A WORD ABOUT VIRTUALENV Global packages: /usr/lib/python2.7/site- packages see Stackoverflow

    Local packages: $HOME/lib/python2.7/ Virtual Envs: $HOME/Envs/envname/lib/ python2.7/site-packages Saturday, 15 June, 13
  17. PREPARE FIRST DEPLOYMENT • (on the server) cp -rf ~/src/<username>

    ~/webapps/<username>_django/ cd ~/webapps/<username>_django rm -rf myproject rm -rf lib/python2.7/* vim apache2/conf/httpd.conf • Replace “myproject” with “<username>” • Replace .../python2.7 path with ~/Envs/<username>/lib/ python2.7/site-packages Saturday, 15 June, 13
  18. CREATE LOCAL_SETTINGS.PY • (on the server) cd ~/webapps/<username>_django/<username>/<username>settings cp local_settings.py.sample

    local_settings.py • Add yourself to admins • Replace database password • Uncomment email settings and set email password Saturday, 15 June, 13
  19. INITIALIZE DATABASE • (on the server) cd ~/webapps/<username>_django/<username> workon <username>

    ./manage.py syncdb --all ./manage.py migrate --fake Saturday, 15 June, 13
  20. CREATE .PGPASS FILE • (on the server) cd $HOME cp

    src/<username>/scripts/.pgpass . chmod 600 .pgpass vim .pgpass • Replace the values with your database credentials Saturday, 15 June, 13
  21. TEST SERVER SCRIPTS • (on the server) cd ~/bin ./pg-backup.sh

    ./locale-backup.sh ./media-backup.sh ./django-cleanup.sh ./django-retry-deferred.sh ./django-send-email.sh Saturday, 15 June, 13
  22. ADD CRONTAB • (on the server) cp ~/src/<username>/scripts/crontab.txt $HOME vim

    crontab.txt * crontab crontab.txt rm crontab.txt • * Replace MAILFROM and MAILTO in crontab.txt Saturday, 15 June, 13
  23. DEPLOY WEBSITE • (on the server) cd ~/src/<username>/<username> workon <username>

    fab prod run_deploy_website • Browse to https://<username>.webfactional.com/p/home.html • See https://github.com/bitmazk/django-development-fabfile Saturday, 15 June, 13
  24. TRY THE REDIRECTS • They are already copied into webapps/username_www

    and webapps/username_no_ssl • Open http://username.webfactional.com • Open https://www.username.webfactional.com • Open http://www.username.webfactional.com Saturday, 15 June, 13
  25. TEST ADMIN HONEYPOT & EMAIL SENDING • Your admin url

    is set to `/admin-XXXX/` • Visit `/admin-1234/` and try to login • You should get an email warning • You should not be able to login :) Saturday, 15 June, 13
  26. EMERGENCY DEBUGGING • django_settings.py has a file system logger defined

    • use it like so, somewhere in your code: import logging logger = logging.getLogger('debugger') logger.debug('Some debug output') • don’t forget restart-apache or touch wsgi.py Saturday, 15 June, 13
  27. INSTALL SSL CERTIFICATE • Without SSL logging into your site

    is not secure • http://startssl.com/ • http://martinbrochhaus.com/ssl.html Saturday, 15 June, 13
  28. SETUP LOCAL DEV ENVIRONMENT • (on local machine) git clone

    [email protected]:/ home/username/webapps/git/repos/username.git • cd username/username mkvirtualenv -p python2.7 username pip install -r requirements.txt # create your local_settings.py fab create_db ./manage.py syncdb --all ./manage.py migrate --fake ./manage.py runserver Saturday, 15 June, 13