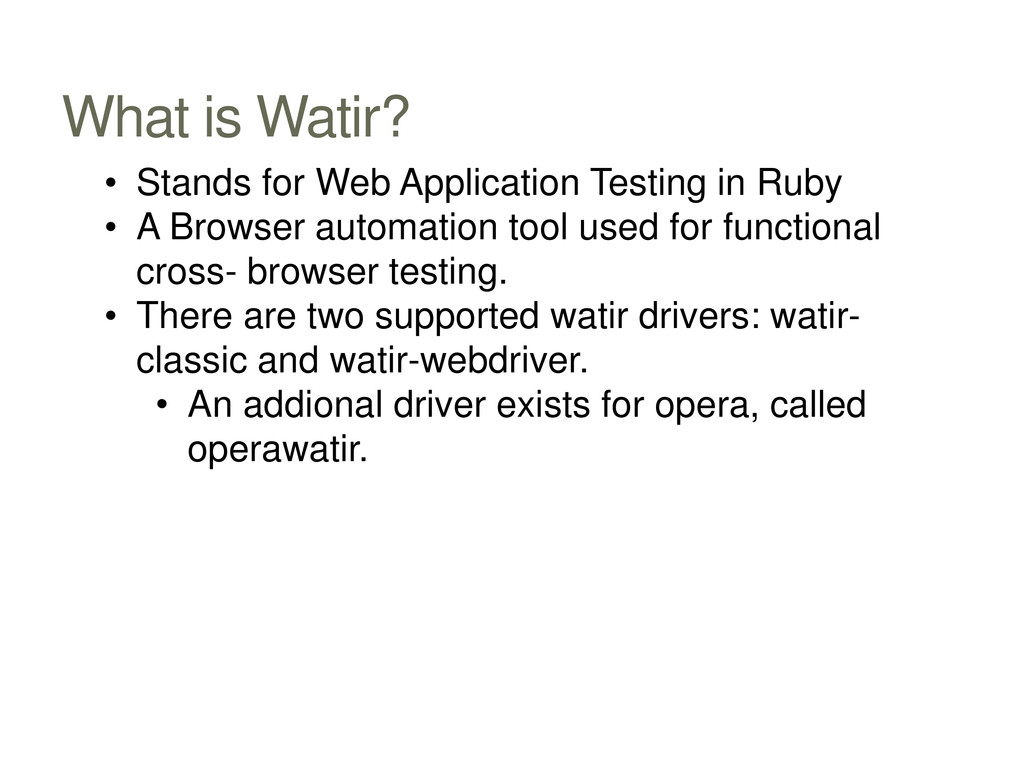
Ruby • A Browser automation tool used for functional cross- browser testing. • There are two supported watir drivers: watir- classic and watir-webdriver. • An addional driver exists for opera, called operawatir.
• Interacts directly through the DOM. It’s built on top of OLE. watir-webdriver • Windows/OSX/Linux • Supports the major browsers (IE, Firefox, Chrome, Safari), headless, and mobile. • Built on top of Selenium Webdriver’s ruby bindings. • Uses Native Events.
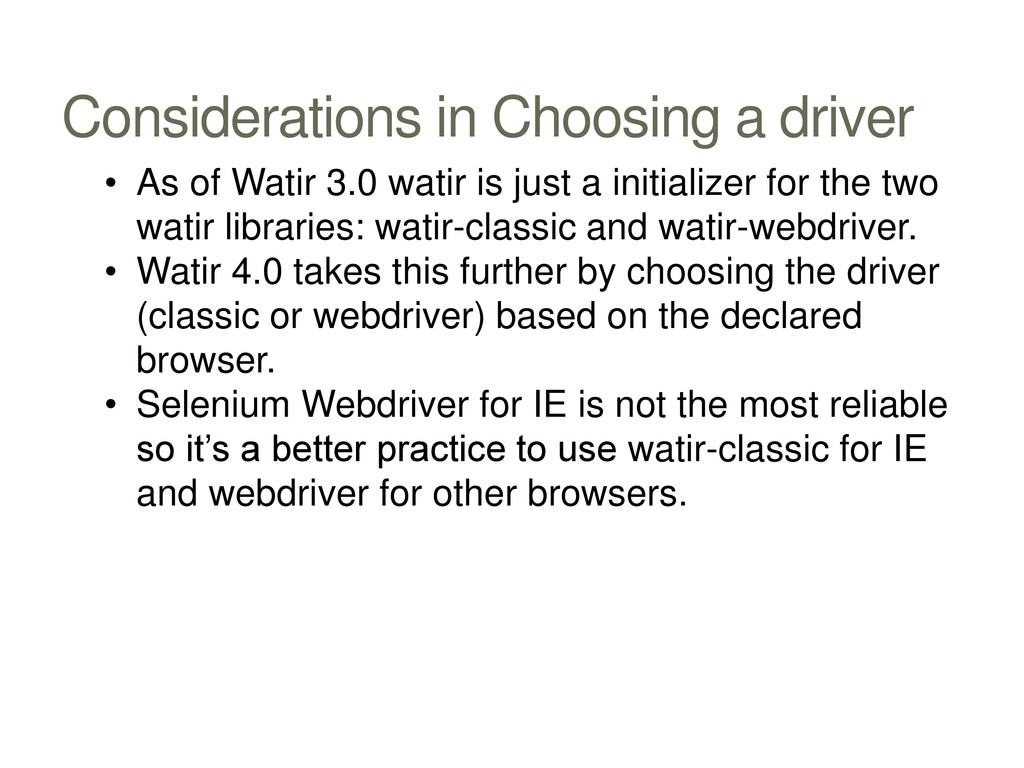
watir is just a initializer for the two watir libraries: watir-classic and watir-webdriver. • Watir 4.0 takes this further by choosing the driver (classic or webdriver) based on the declared browser. • Selenium Webdriver for IE is not the most reliable so it’s a better practice to use watir-classic for IE and webdriver for other browsers.
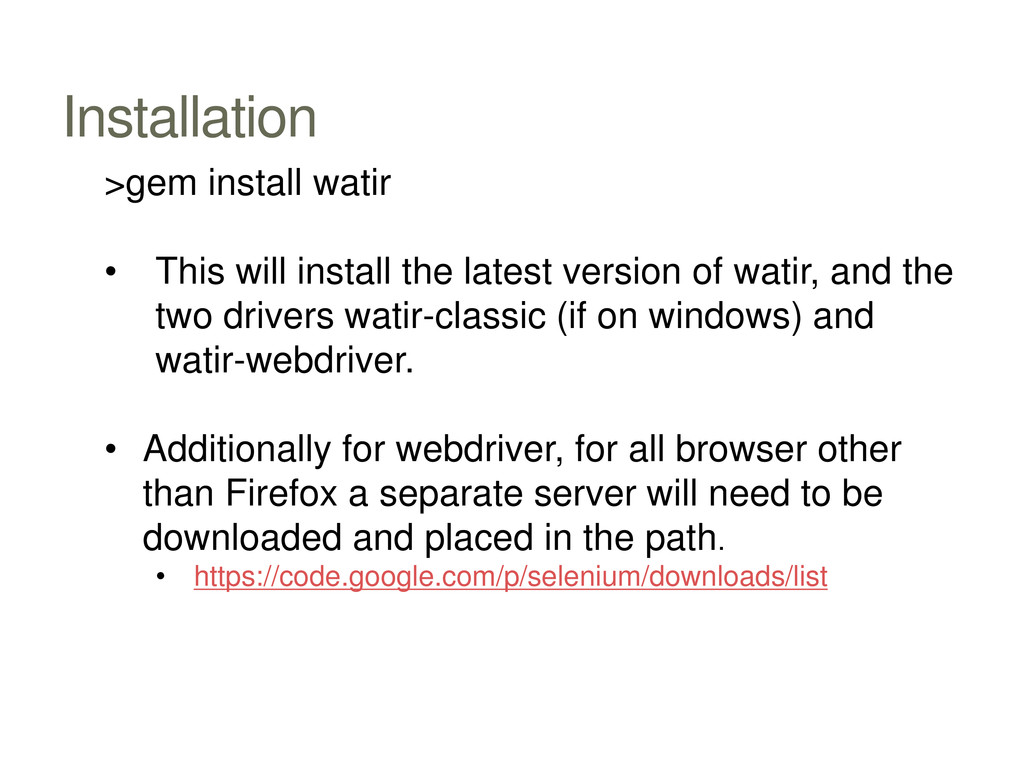
version of watir, and the two drivers watir-classic (if on windows) and watir-webdriver. • Additionally for webdriver, for all browser other than Firefox a separate server will need to be downloaded and placed in the path. • https://code.google.com/p/selenium/downloads/list
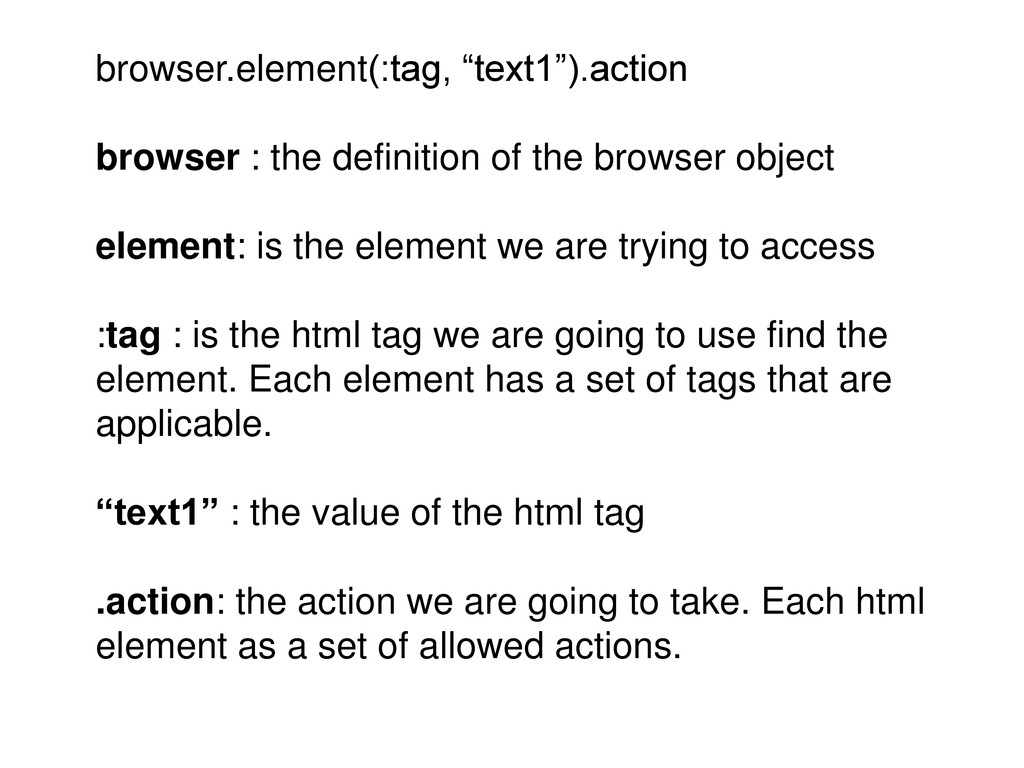
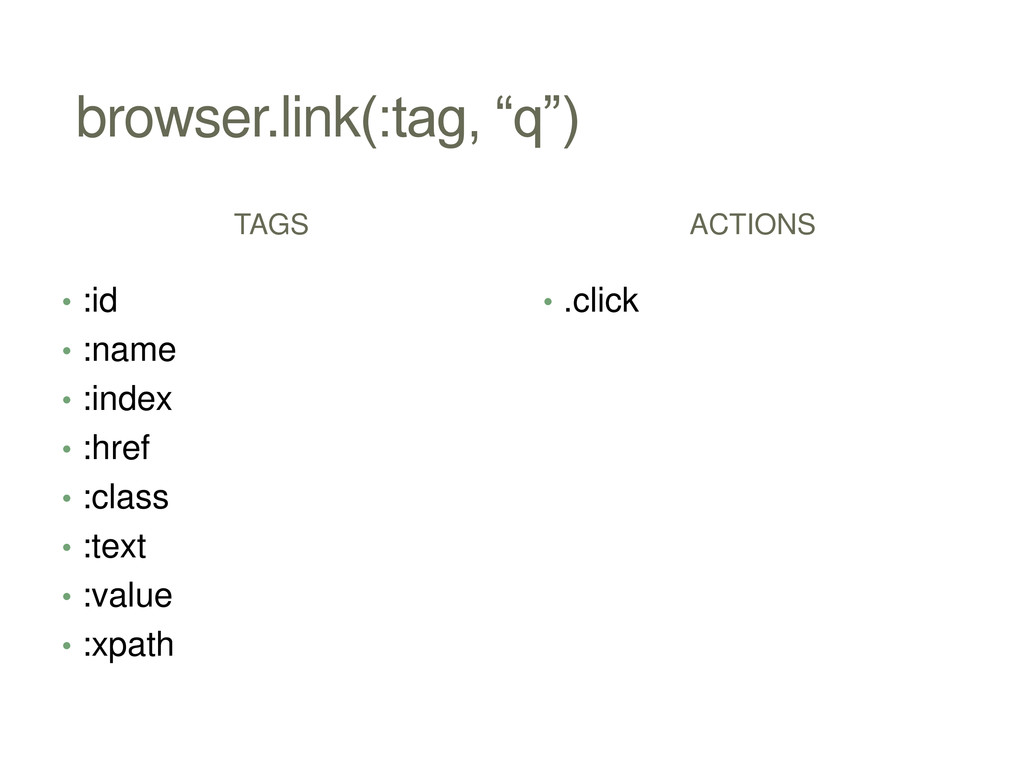
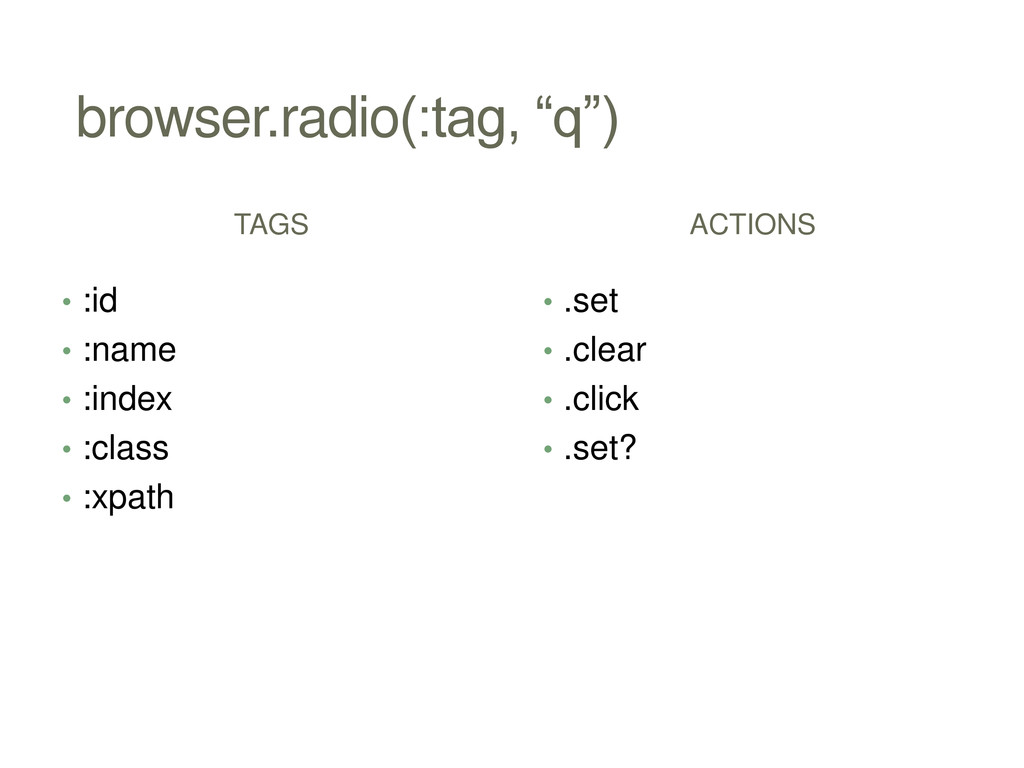
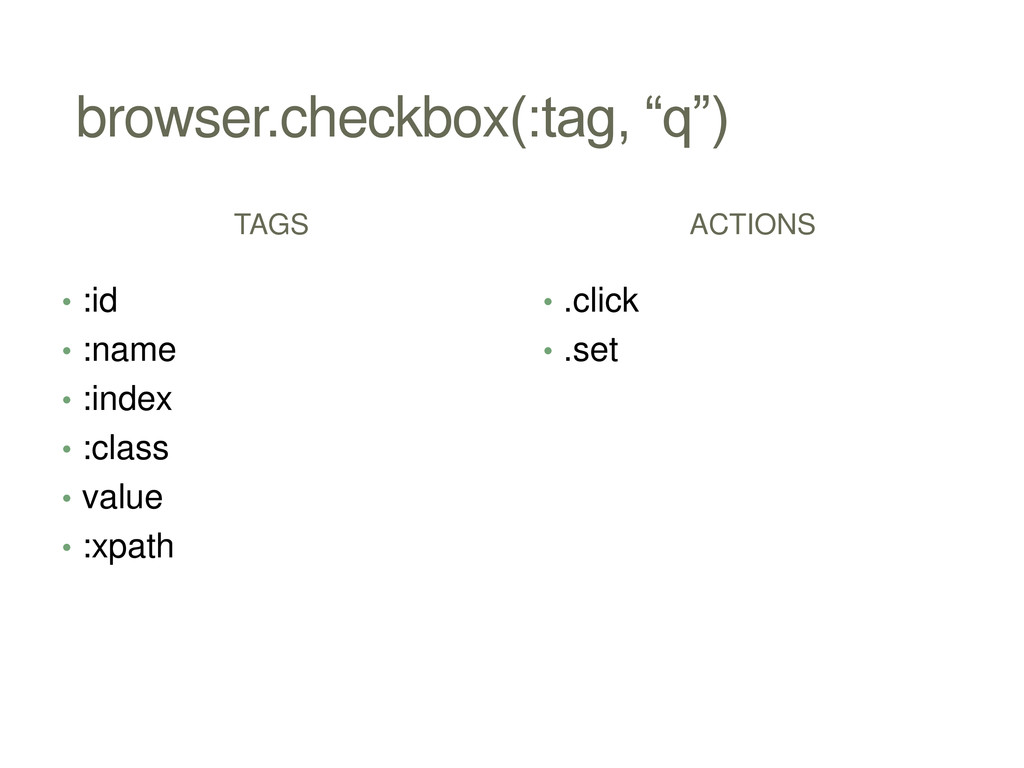
element: is the element we are trying to access :tag : is the html tag we are going to use find the element. Each element has a set of tags that are applicable. “text1” : the value of the html tag .action: the action we are going to take. Each html element as a set of allowed actions.
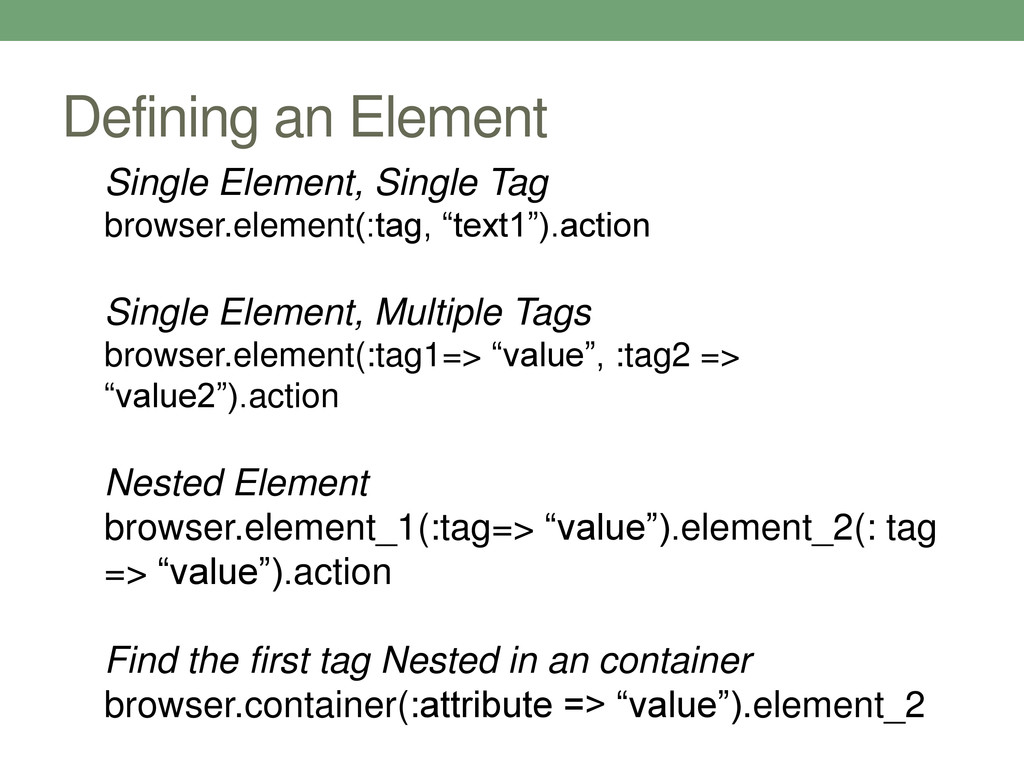
Element, Multiple Tags browser.element(:tag1=> “value”, :tag2 => “value2”).action Nested Element browser.element_1(:tag=> “value”).element_2(: tag => “value”).action Find the first tag Nested in an container browser.container(:attribute => “value”).element_2
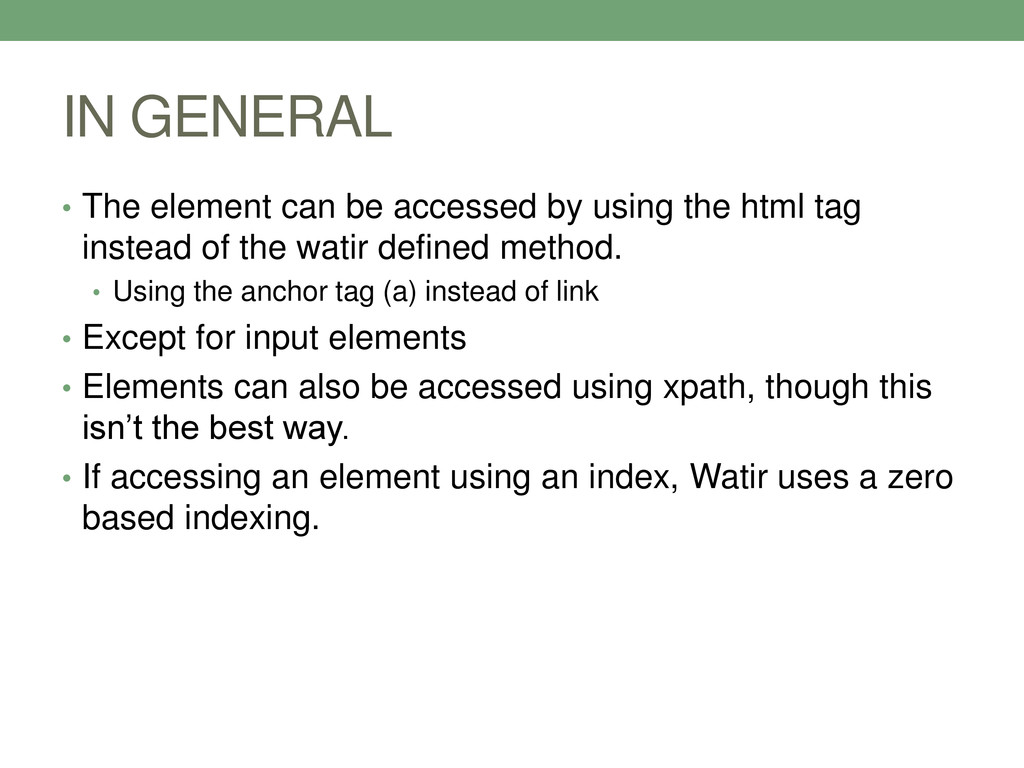
the html tag instead of the watir defined method. • Using the anchor tag (a) instead of link • Except for input elements • Elements can also be accessed using xpath, though this isn’t the best way. • If accessing an element using an index, Watir uses a zero based indexing.
is for the most part uniform. • Therefore it is possible to use watir-classic to drive IE and webdriver for other browsers. • If there are variances, both classic and webdriver are being developed to use the same syntax.
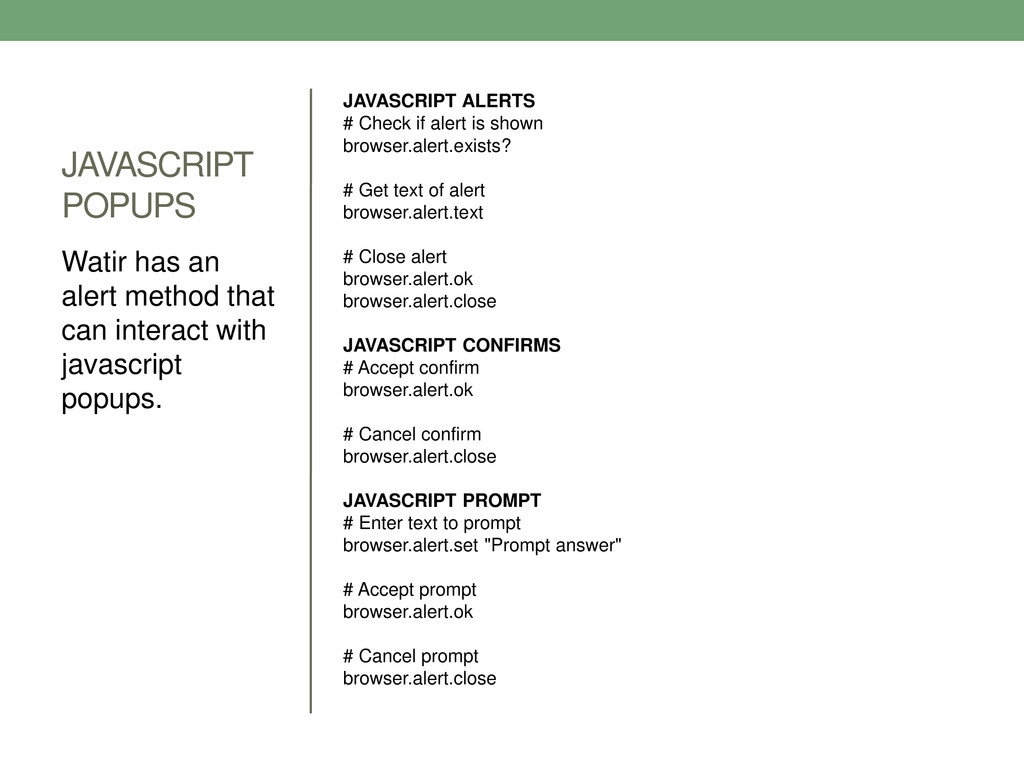
browser.alert.exists? # Get text of alert browser.alert.text # Close alert browser.alert.ok browser.alert.close JAVASCRIPT CONFIRMS # Accept confirm browser.alert.ok # Cancel confirm browser.alert.close JAVASCRIPT PROMPT # Enter text to prompt browser.alert.set "Prompt answer" # Accept prompt browser.alert.ok # Cancel prompt browser.alert.close Watir has an alert method that can interact with javascript popups.