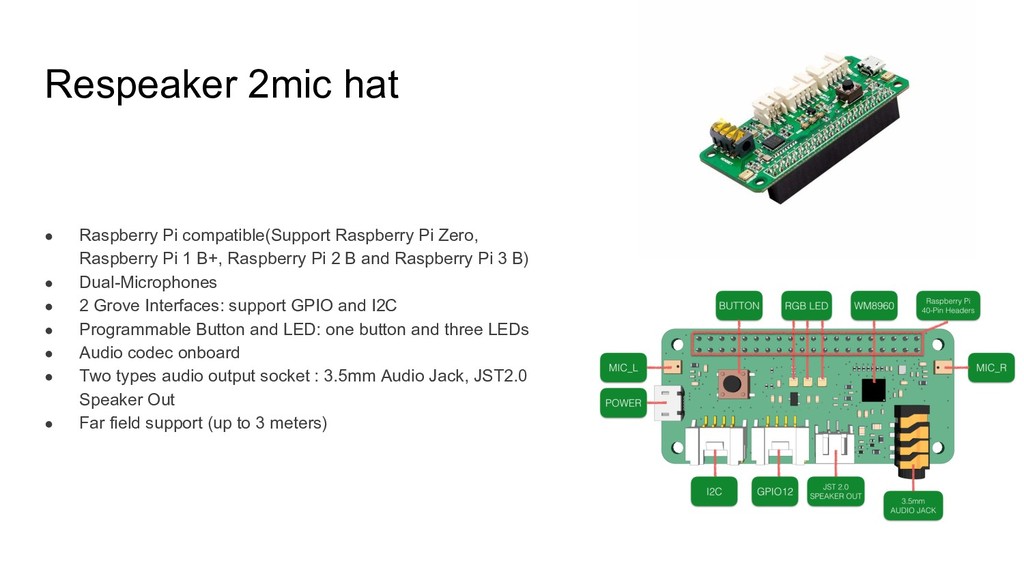
Raspberry Pi 1 B+, Raspberry Pi 2 B and Raspberry Pi 3 B) • Dual-Microphones • 2 Grove Interfaces: support GPIO and I2C • Programmable Button and LED: one button and three LEDs • Audio codec onboard • Two types audio output socket : 3.5mm Audio Jack, JST2.0 Speaker Out • Far field support (up to 3 meters)
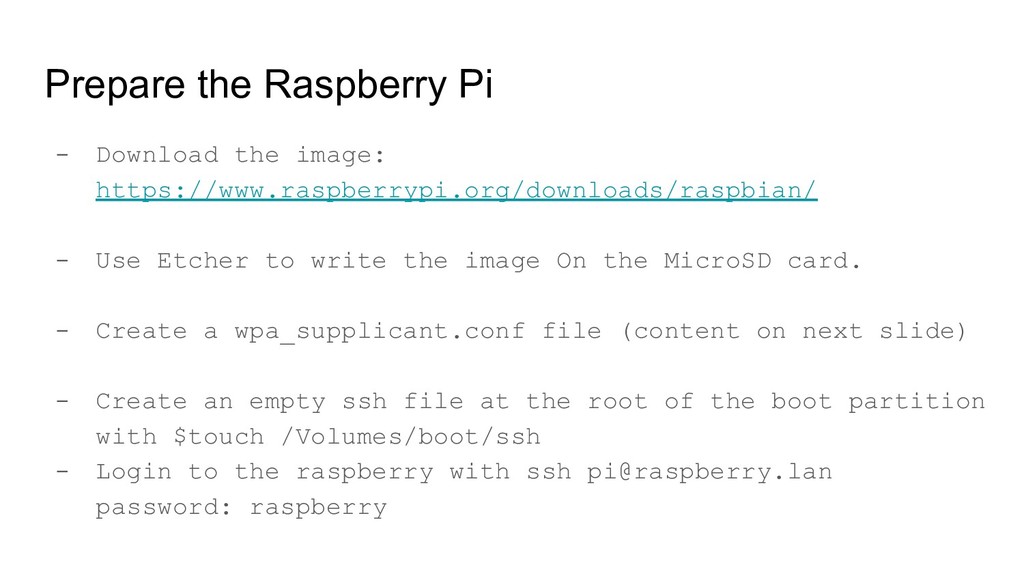
Use Etcher to write the image On the MicroSD card. - Create a wpa_supplicant.conf file (content on next slide) - Create an empty ssh file at the root of the boot partition with $touch /Volumes/boot/ssh - Login to the raspberry with ssh [email protected] password: raspberry
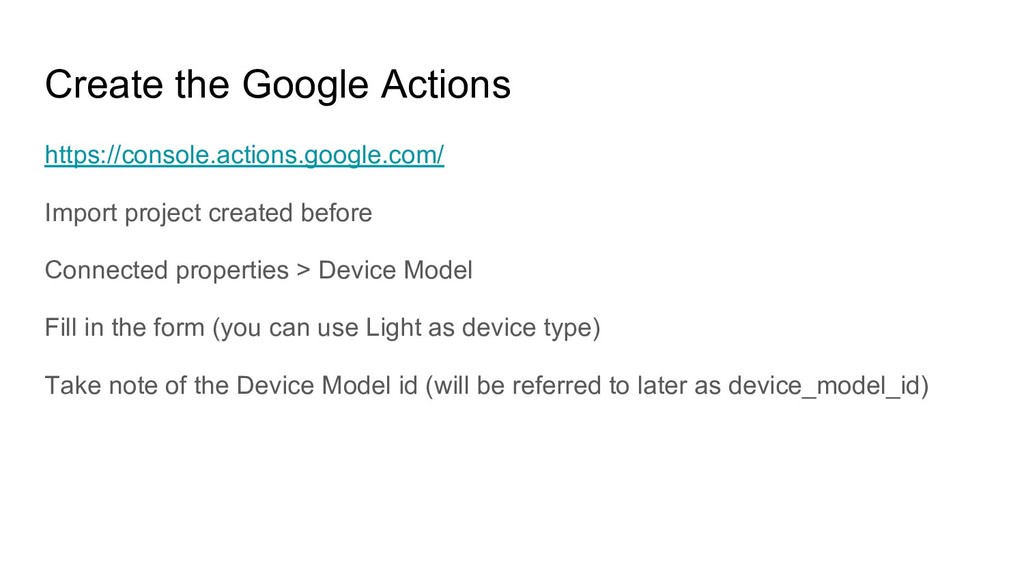
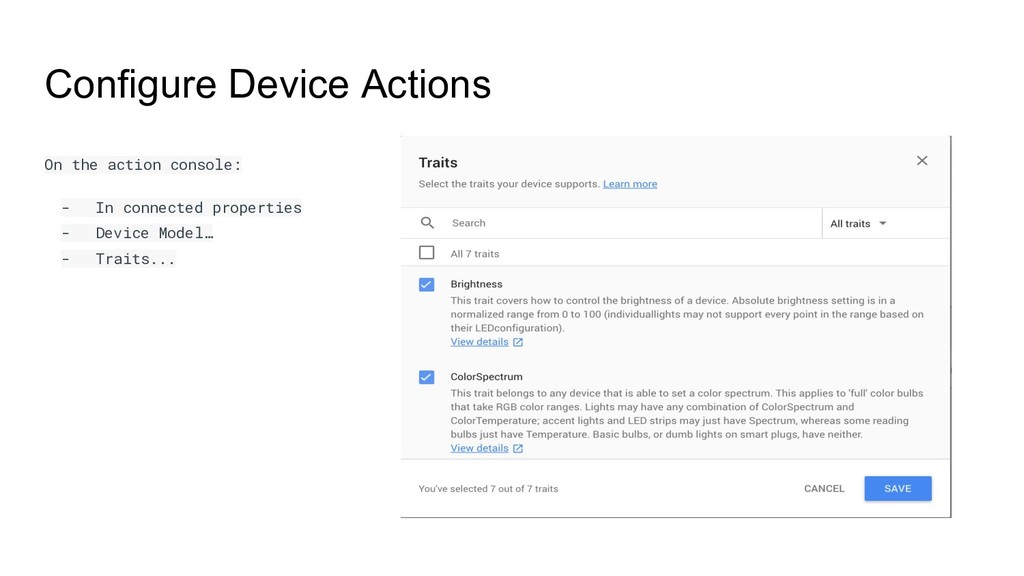
properties > Device Model Fill in the form (you can use Light as device type) Take note of the Device Model id (will be referred to later as device_model_id)
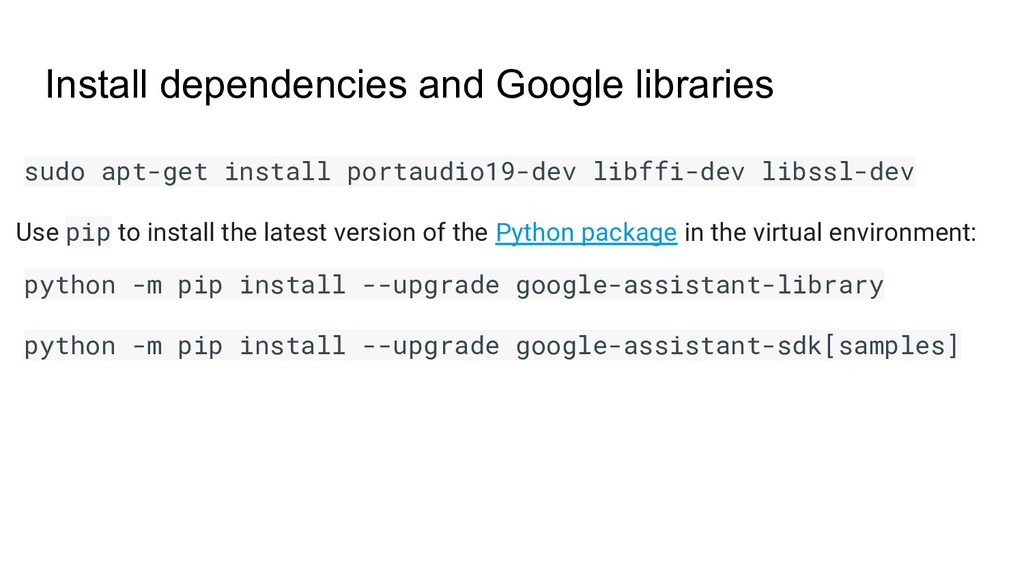
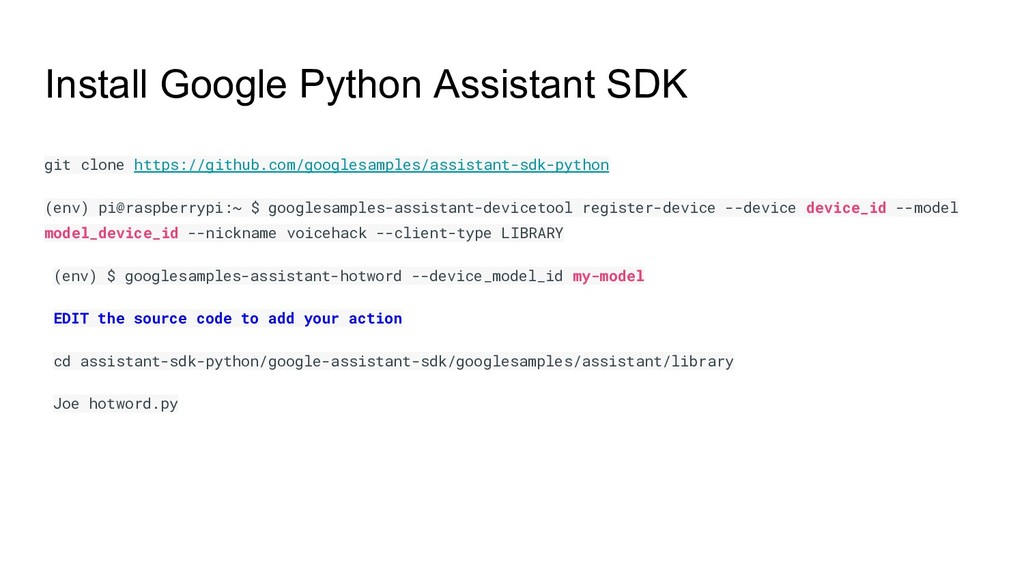
libssl-dev Use pip to install the latest version of the Python package in the virtual environment: python -m pip install --upgrade google-assistant-library python -m pip install --upgrade google-assistant-sdk[samples]
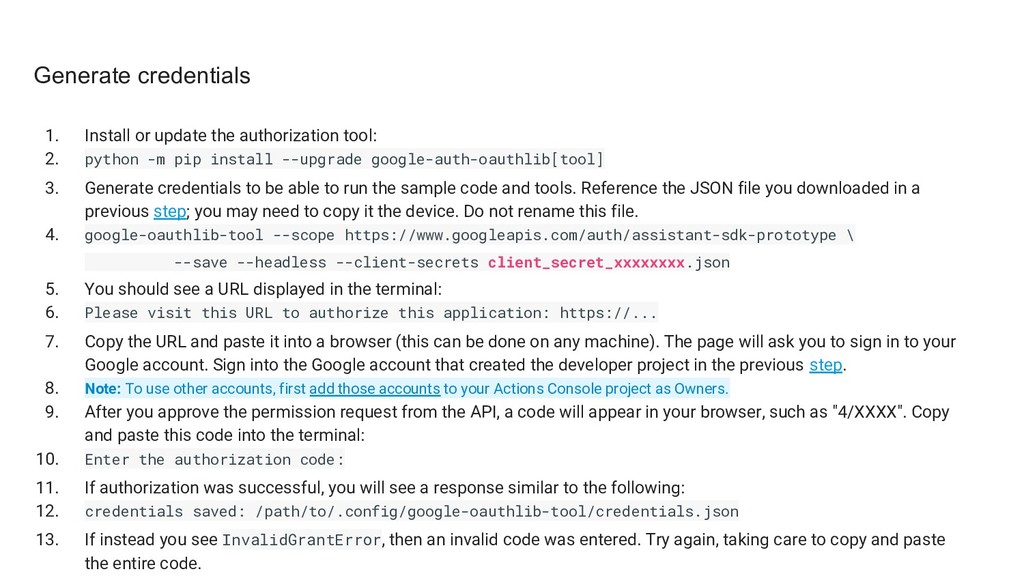
python -m pip install --upgrade google-auth-oauthlib[tool] 3. Generate credentials to be able to run the sample code and tools. Reference the JSON file you downloaded in a previous step; you may need to copy it the device. Do not rename this file. 4. google-oauthlib-tool --scope https://www.googleapis.com/auth/assistant-sdk-prototype \ --save --headless --client-secrets client_secret_xxxxxxxx.json 5. You should see a URL displayed in the terminal: 6. Please visit this URL to authorize this application: https://... 7. Copy the URL and paste it into a browser (this can be done on any machine). The page will ask you to sign in to your Google account. Sign into the Google account that created the developer project in the previous step. 8. Note: To use other accounts, first add those accounts to your Actions Console project as Owners. 9. After you approve the permission request from the API, a code will appear in your browser, such as "4/XXXX". Copy and paste this code into the terminal: 10. Enter the authorization code: 11. If authorization was successful, you will see a response similar to the following: 12. credentials saved: /path/to/.config/google-oauthlib-tool/credentials.json 13. If instead you see InvalidGrantError, then an invalid code was entered. Try again, taking care to copy and paste the entire code.
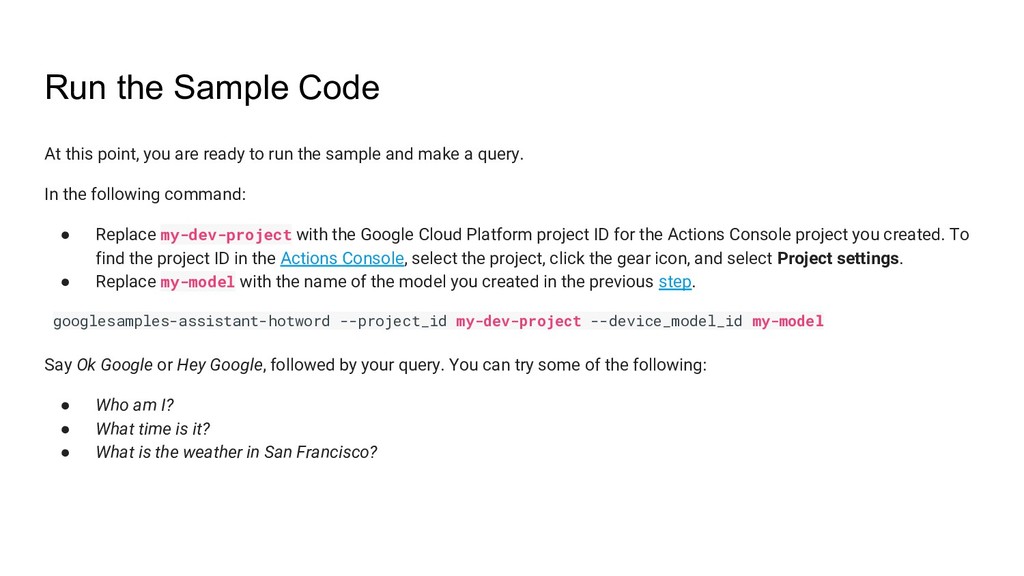
to run the sample and make a query. In the following command: • Replace my-dev-project with the Google Cloud Platform project ID for the Actions Console project you created. To find the project ID in the Actions Console, select the project, click the gear icon, and select Project settings. • Replace my-model with the name of the model you created in the previous step. googlesamples-assistant-hotword --project_id my-dev-project --device_model_id my-model Say Ok Google or Hey Google, followed by your query. You can try some of the following: • Who am I? • What time is it? • What is the weather in San Francisco?
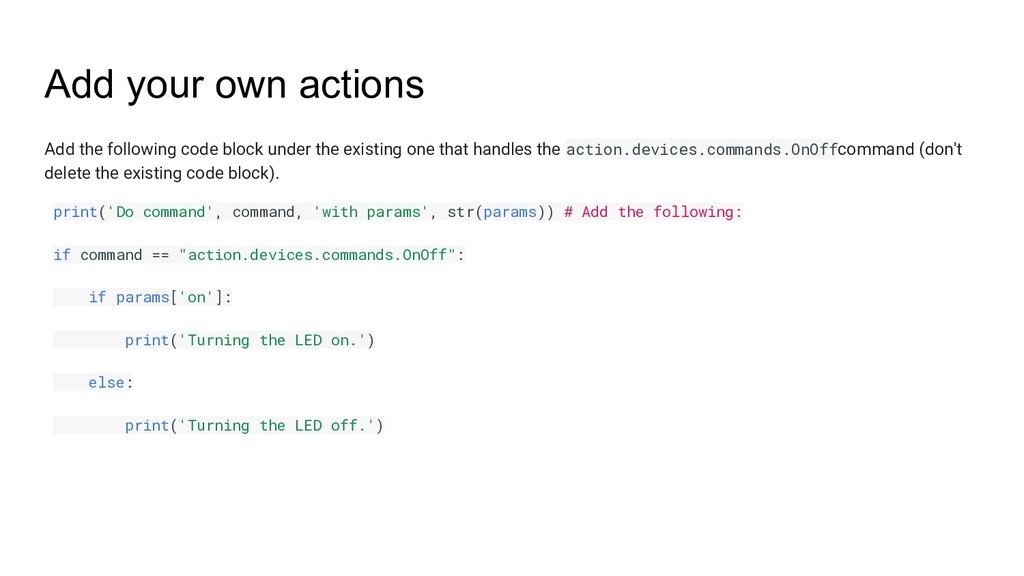
the existing one that handles the action.devices.commands.OnOffcommand (don't delete the existing code block). print('Do command', command, 'with params', str(params)) # Add the following: if command == "action.devices.commands.OnOff": if params['on']: print('Turning the LED on.') else: print('Turning the LED off.')
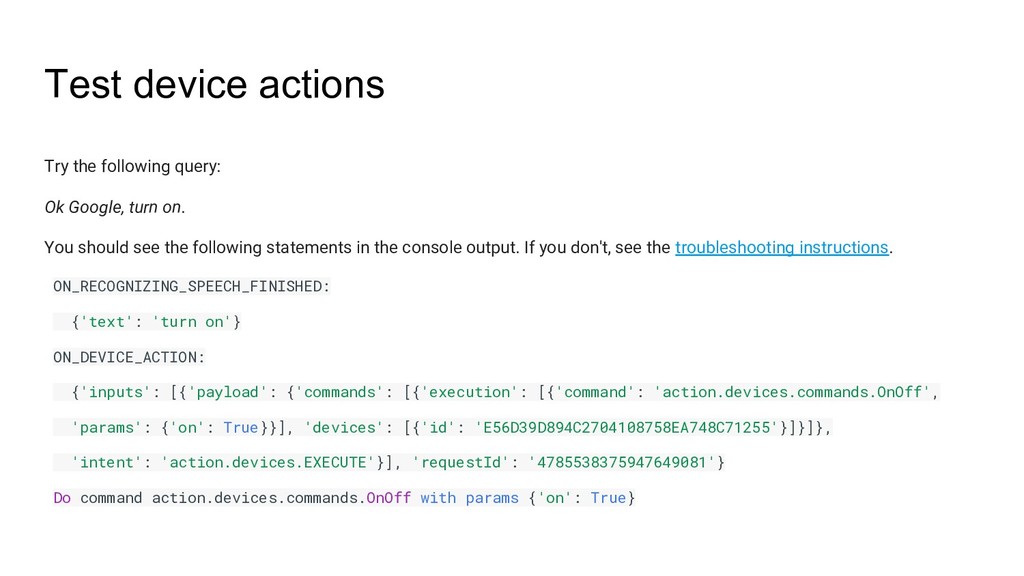
on. You should see the following statements in the console output. If you don't, see the troubleshooting instructions. ON_RECOGNIZING_SPEECH_FINISHED: {'text': 'turn on'} ON_DEVICE_ACTION: {'inputs': [{'payload': {'commands': [{'execution': [{'command': 'action.devices.commands.OnOff', 'params': {'on': True}}], 'devices': [{'id': 'E56D39D894C2704108758EA748C71255'}]}]}, 'intent': 'action.devices.EXECUTE'}], 'requestId': '4785538375947649081'} Do command action.devices.commands.OnOff with params {'on': True}