3. Add vector tile without any style.json 4. Add vector tile with style.json 5. Tips for advanced use Today, you will simply learn how you can read the vector tile with/without style in QGIS.
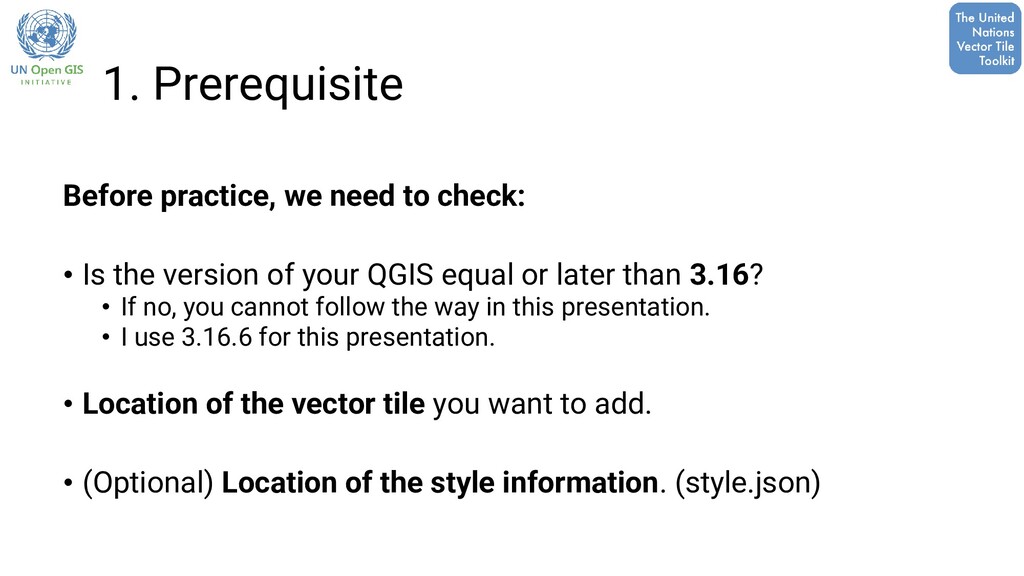
the version of your QGIS equal or later than 3.16? • If no, you cannot follow the way in this presentation. • I use 3.16.6 for this presentation. • Location of the vector tile you want to add. • (Optional) Location of the style information. (style.json)
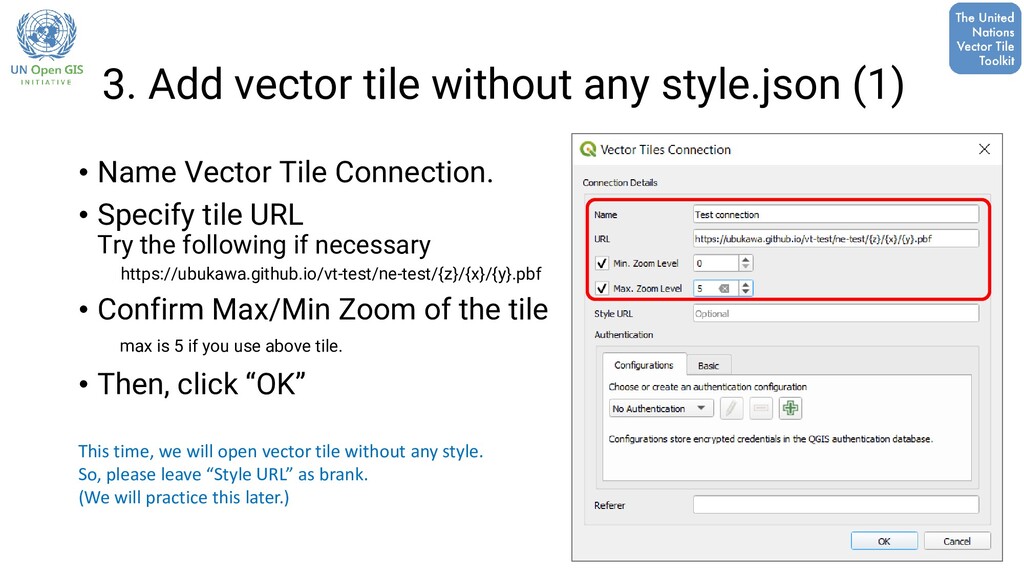
Vector Tile Connection. • Specify tile URL Try the following if necessary https://ubukawa.github.io/vt-test/ne-test/{z}/{x}/{y}.pbf • Confirm Max/Min Zoom of the tile max is 5 if you use above tile. • Then, click “OK” This time, we will open vector tile without any style. So, please leave “Style URL” as brank. (We will practice this later.)
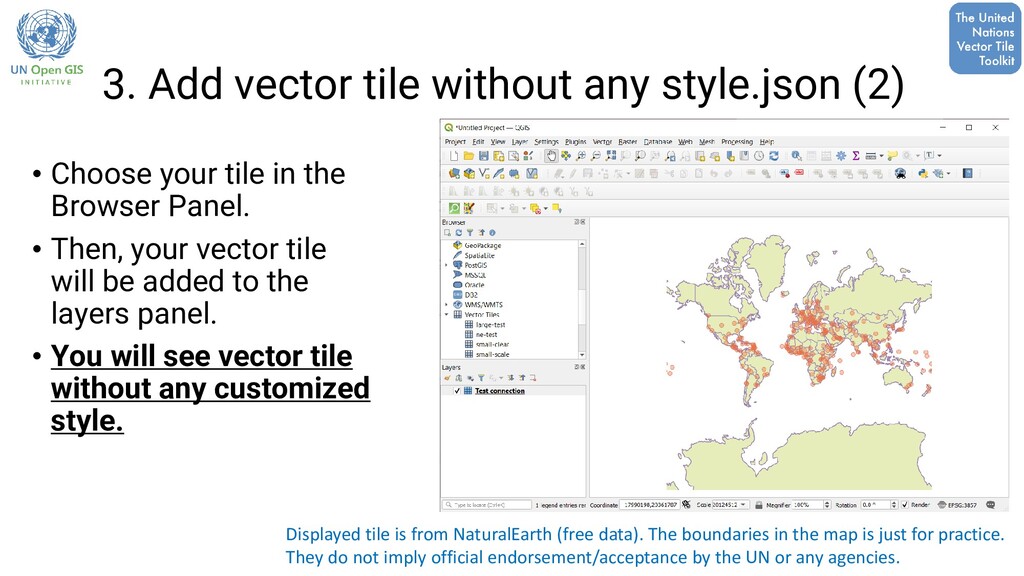
your tile in the Browser Panel. • Then, your vector tile will be added to the layers panel. • You will see vector tile without any customized style. Displayed tile is from NaturalEarth (free data). The boundaries in the map is just for practice. They do not imply official endorsement/acceptance by the UN or any agencies.
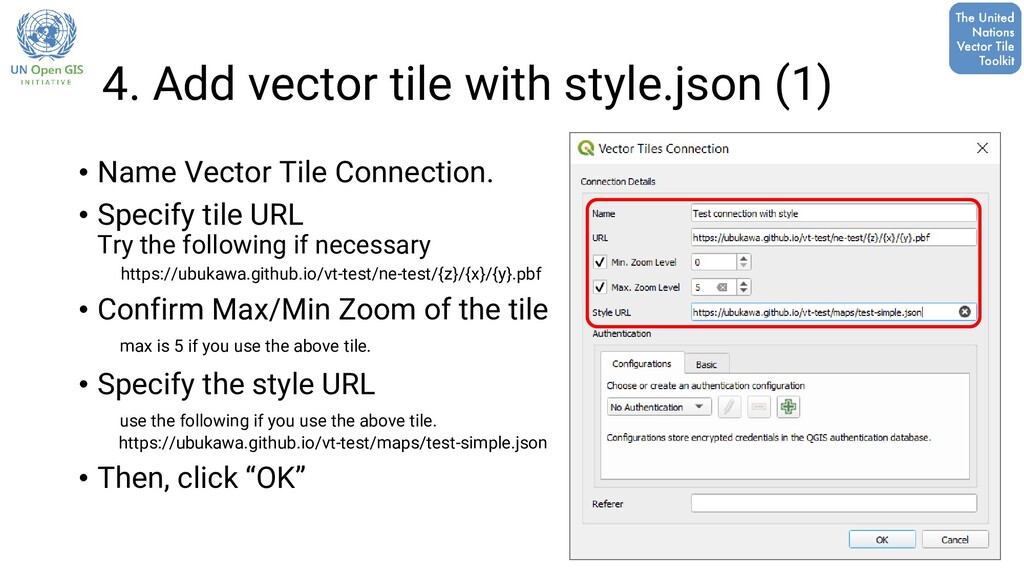
Tile Connection. • Specify tile URL Try the following if necessary https://ubukawa.github.io/vt-test/ne-test/{z}/{x}/{y}.pbf • Confirm Max/Min Zoom of the tile max is 5 if you use the above tile. • Specify the style URL use the following if you use the above tile. https://ubukawa.github.io/vt-test/maps/test-simple.json • Then, click “OK”
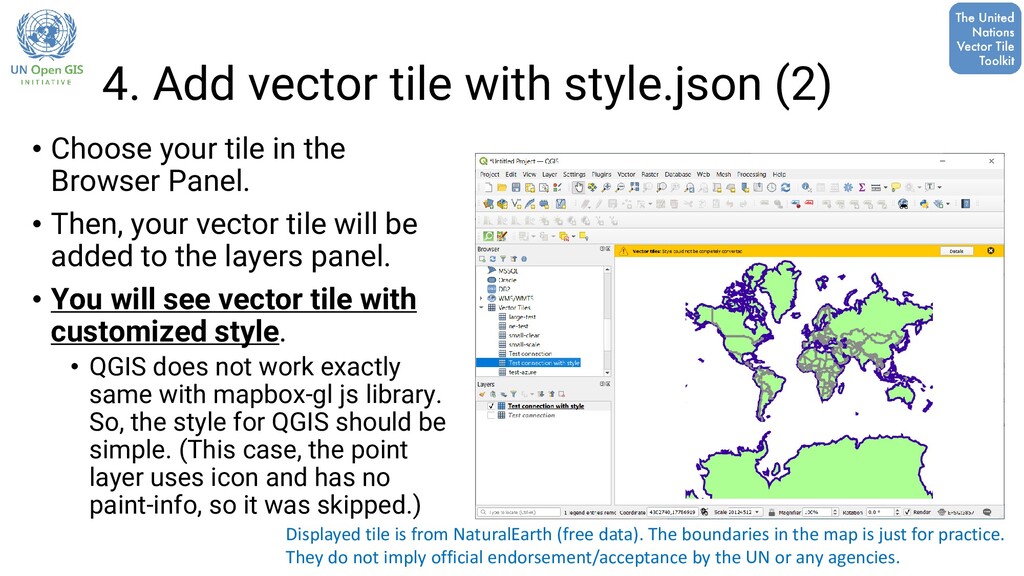
from NaturalEarth (free data). The boundaries in the map is just for practice. They do not imply official endorsement/acceptance by the UN or any agencies. • Choose your tile in the Browser Panel. • Then, your vector tile will be added to the layers panel. • You will see vector tile with customized style. • QGIS does not work exactly same with mapbox-gl js library. So, the style for QGIS should be simple. (This case, the point layer uses icon and has no paint-info, so it was skipped.)
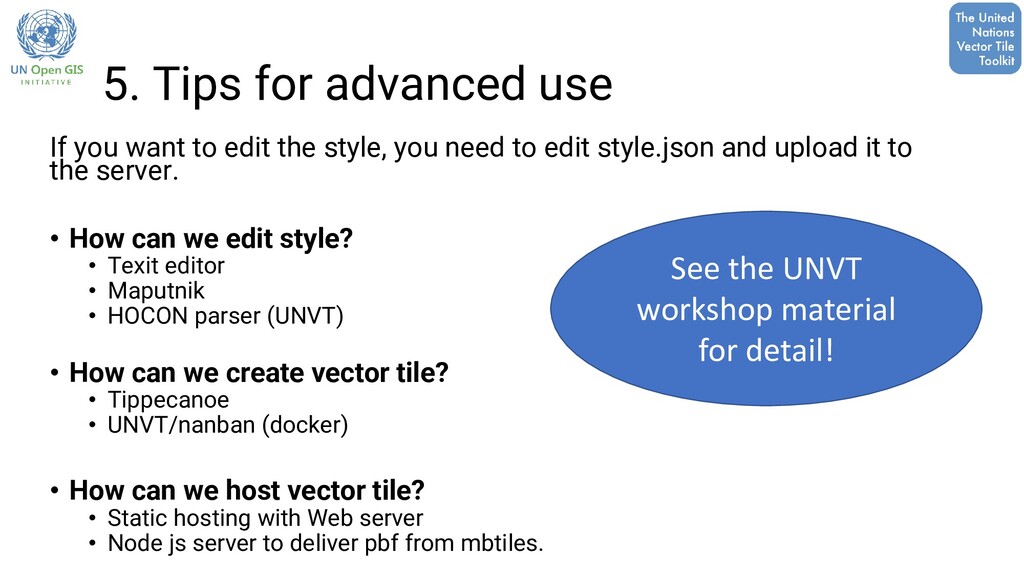
the style, you need to edit style.json and upload it to the server. • How can we edit style? • Texit editor • Maputnik • HOCON parser (UNVT) • How can we create vector tile? • Tippecanoe • UNVT/nanban (docker) • How can we host vector tile? • Static hosting with Web server • Node js server to deliver pbf from mbtiles. See the UNVT workshop material for detail!