Technical meeting 9 February 2023 Taro Ubukawa UN Geospatial Information Section Note: Some contents were removed to release this slid to the public. I am trying to be as much as accurate, but please understand that there is no warranty. Your use of this knowledge is solely at your own risk.
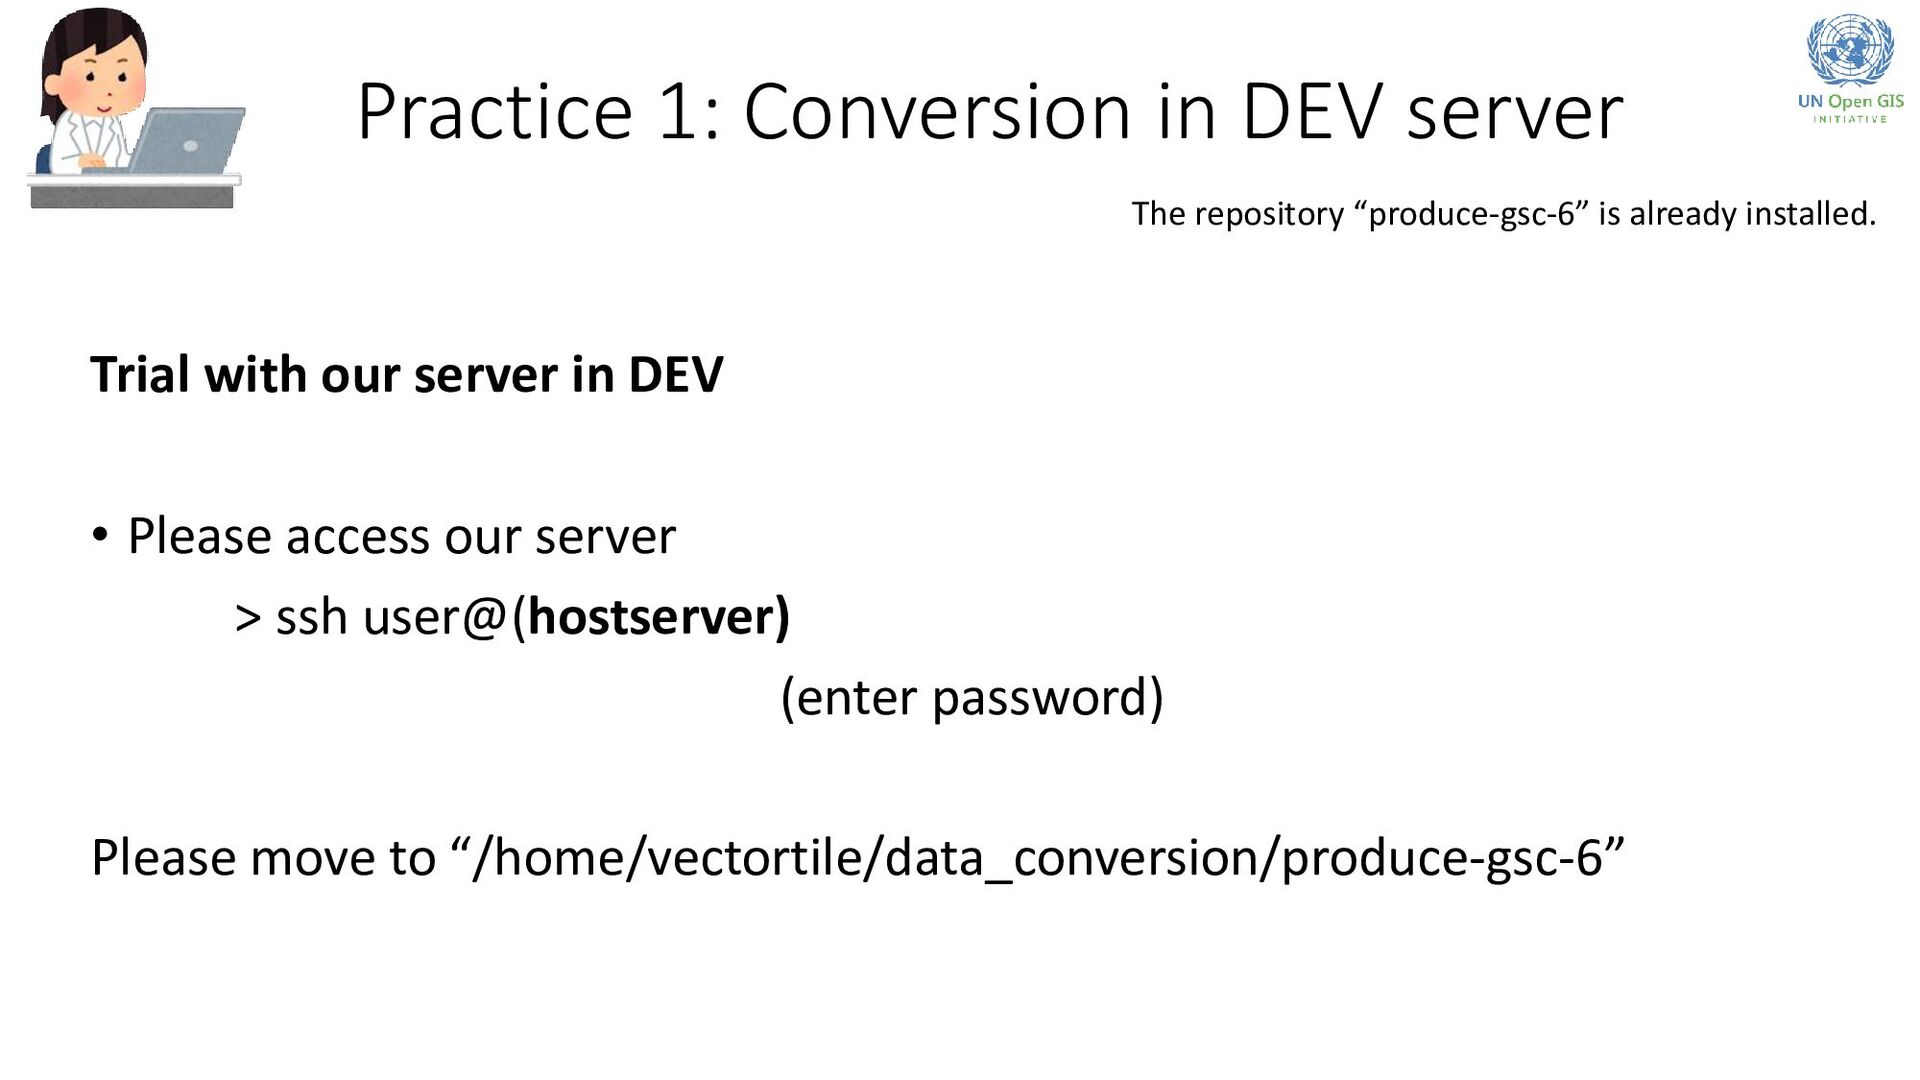
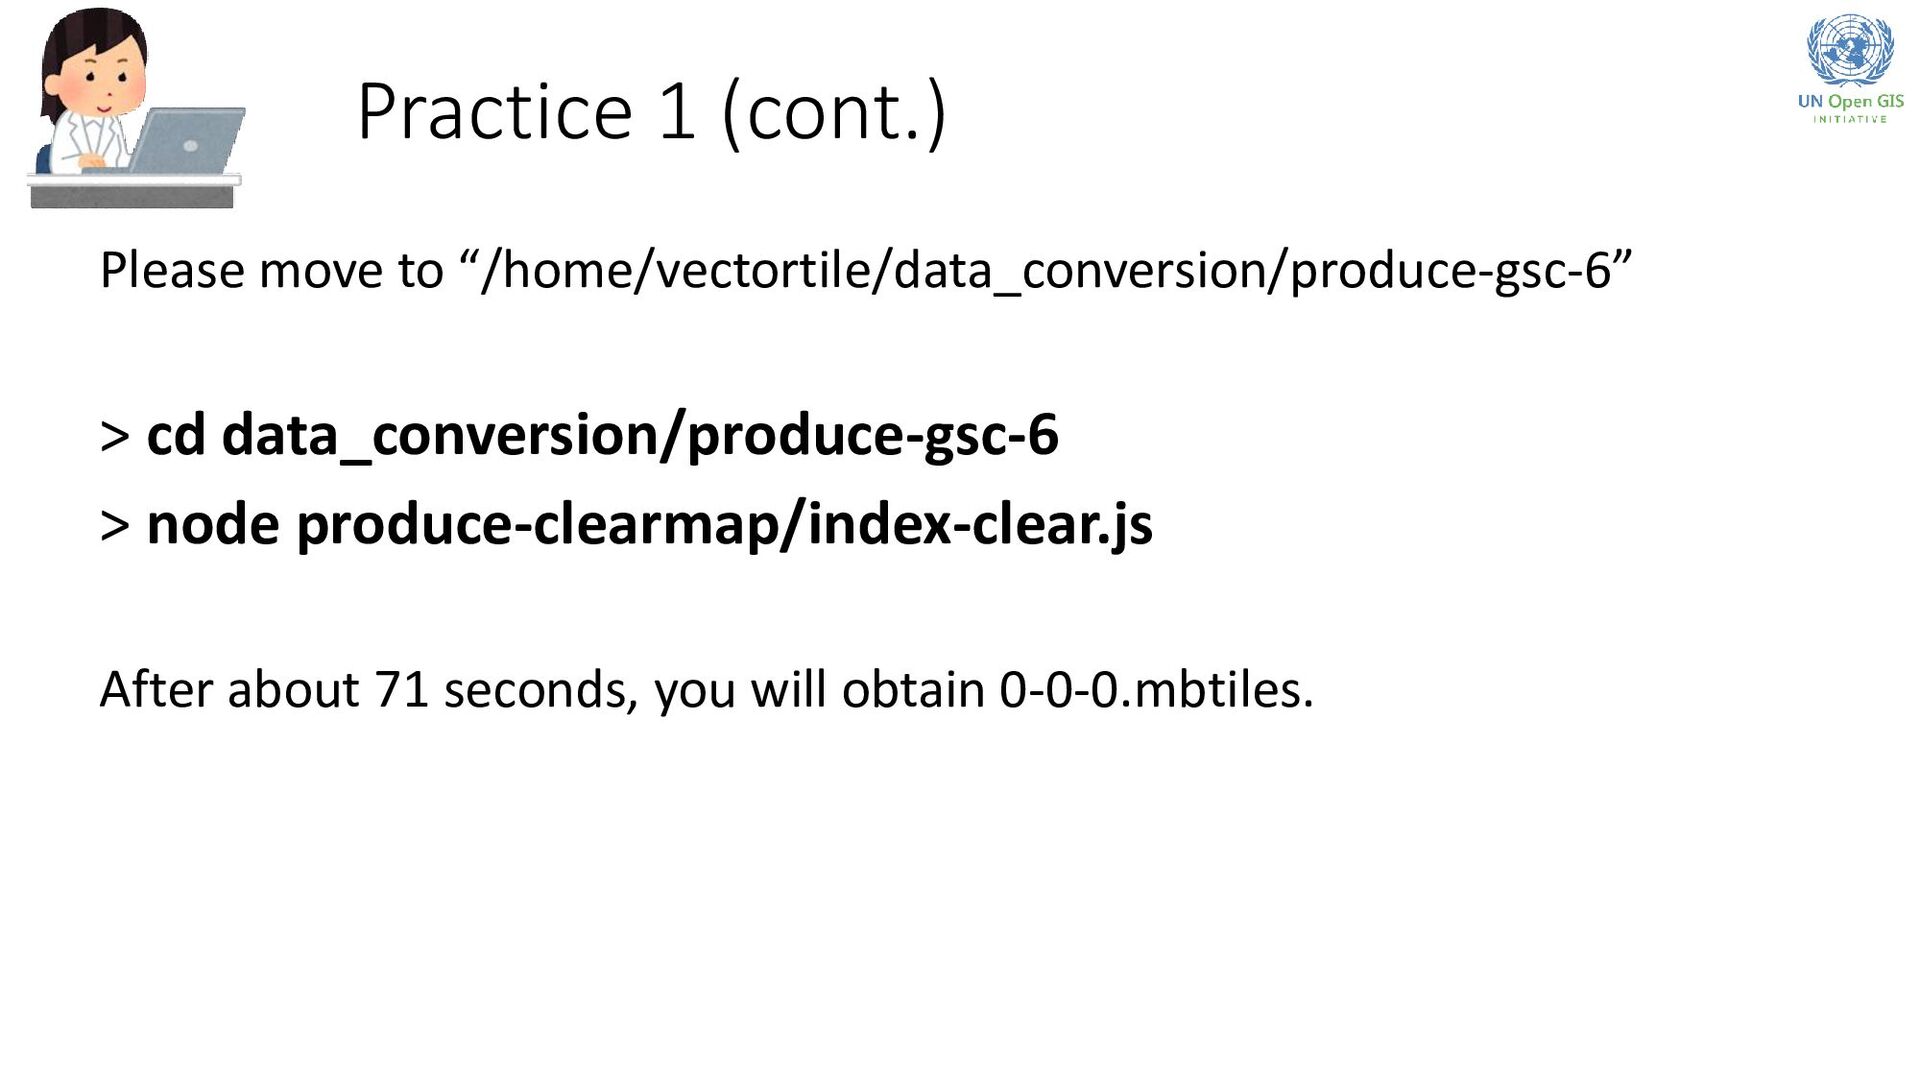
in DEV • Please access our server > ssh user@(hostserver) (enter password) Please move to “/home/vectortile/data_conversion/produce-gsc-6” The repository “produce-gsc-6” is already installed.
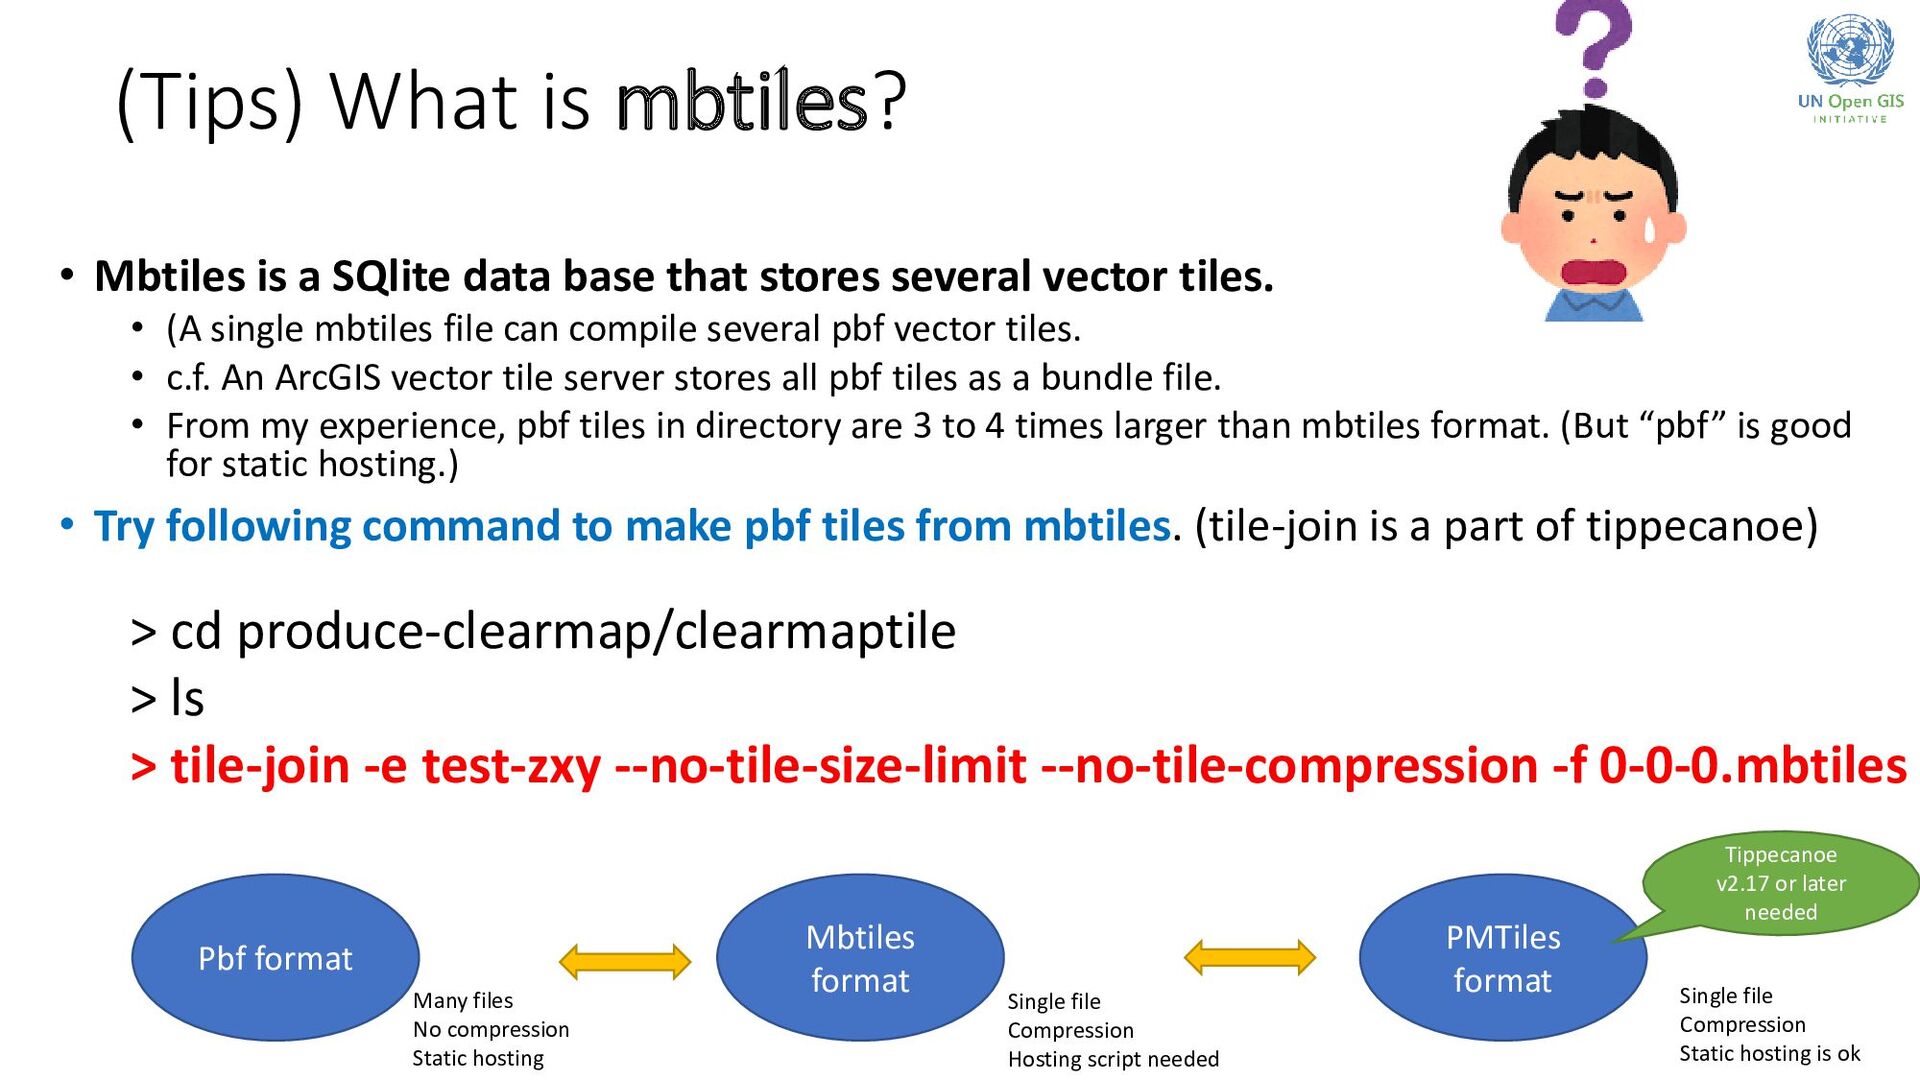
base that stores several vector tiles. • (A single mbtiles file can compile several pbf vector tiles. • c.f. An ArcGIS vector tile server stores all pbf tiles as a bundle file. • From my experience, pbf tiles in directory are 3 to 4 times larger than mbtiles format. (But “pbf” is good for static hosting.) • Try following command to make pbf tiles from mbtiles. (tile-join is a part of tippecanoe) > cd produce-clearmap/clearmaptile > ls > tile-join -e test-zxy --no-tile-size-limit --no-tile-compression -f 0-0-0.mbtiles Mbtiles format Pbf format PMTiles format Many files No compression Static hosting Single file Compression Hosting script needed Single file Compression Static hosting is ok Tippecanoe v2.17 or later needed
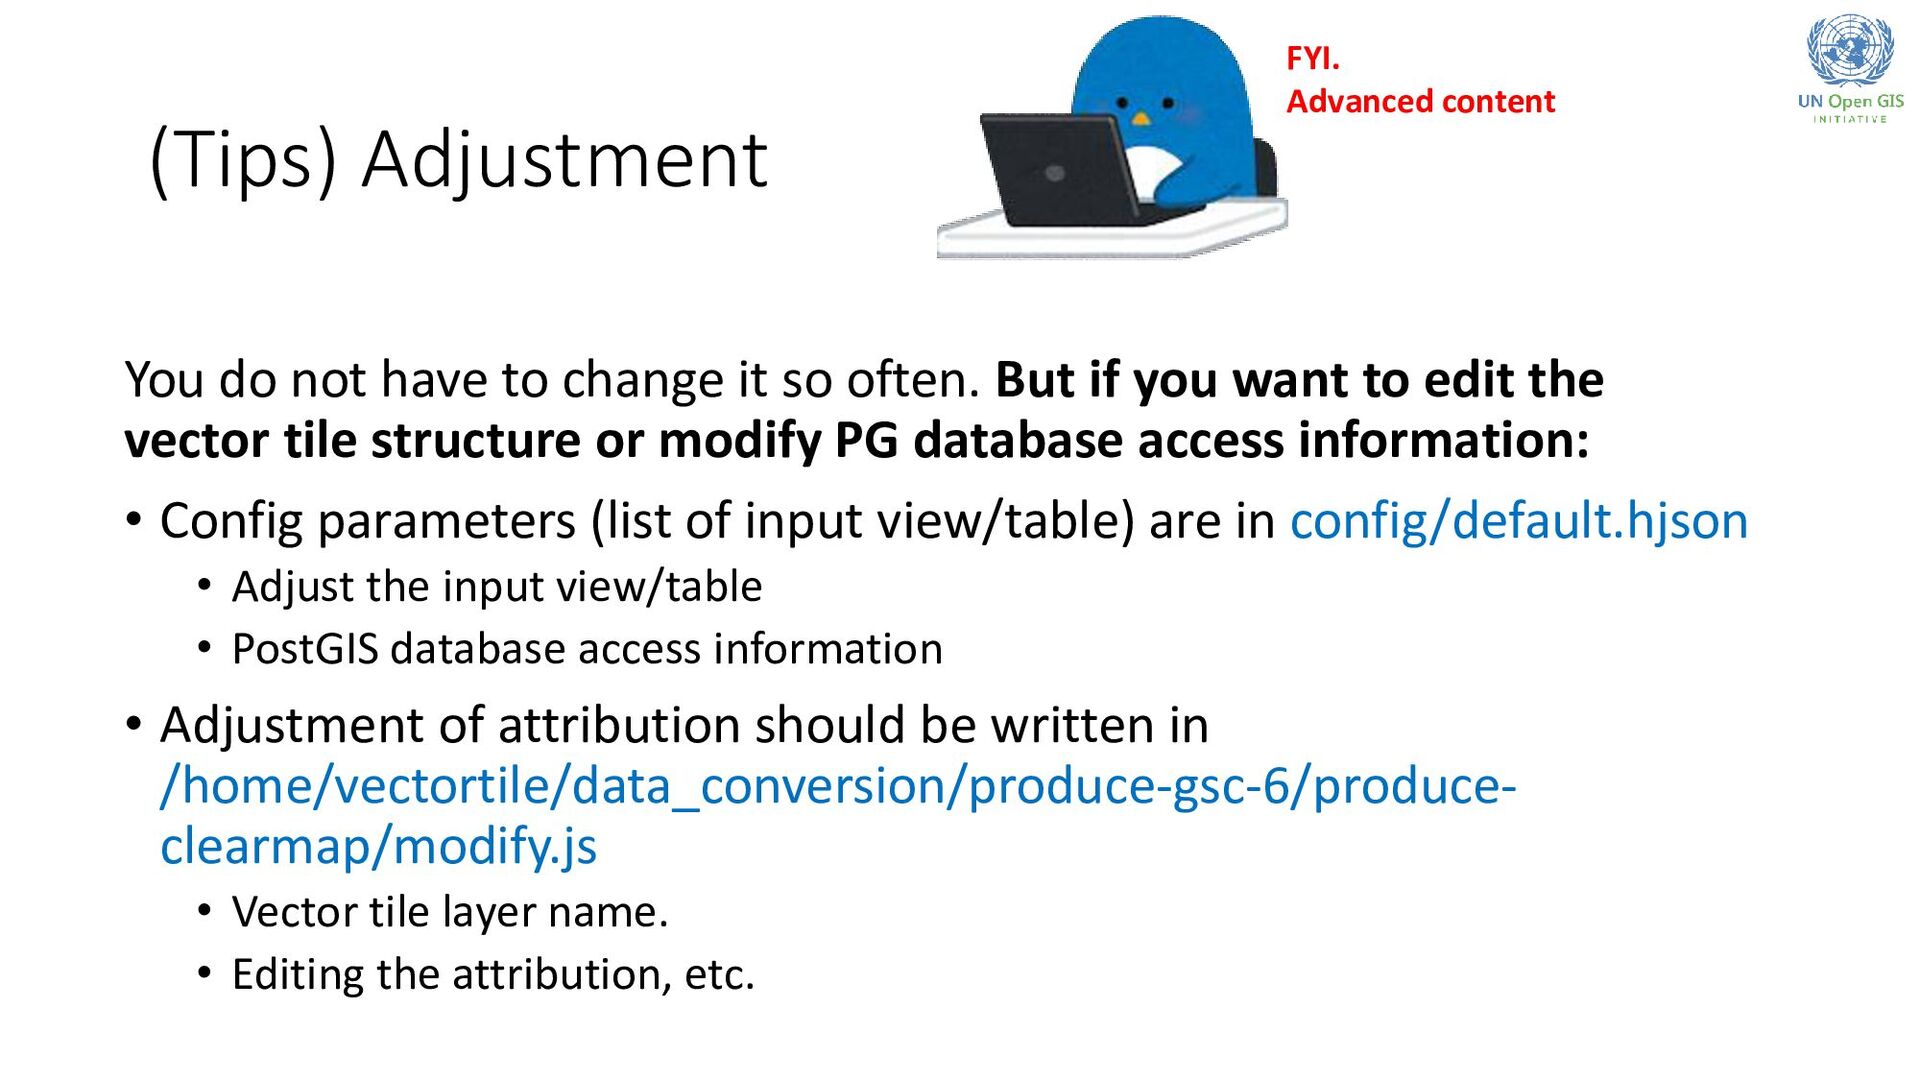
often. But if you want to edit the vector tile structure or modify PG database access information: • Config parameters (list of input view/table) are in config/default.hjson • Adjust the input view/table • PostGIS database access information • Adjustment of attribution should be written in /home/vectortile/data_conversion/produce-gsc-6/produce- clearmap/modify.js • Vector tile layer name. • Editing the attribution, etc. FYI. Advanced content
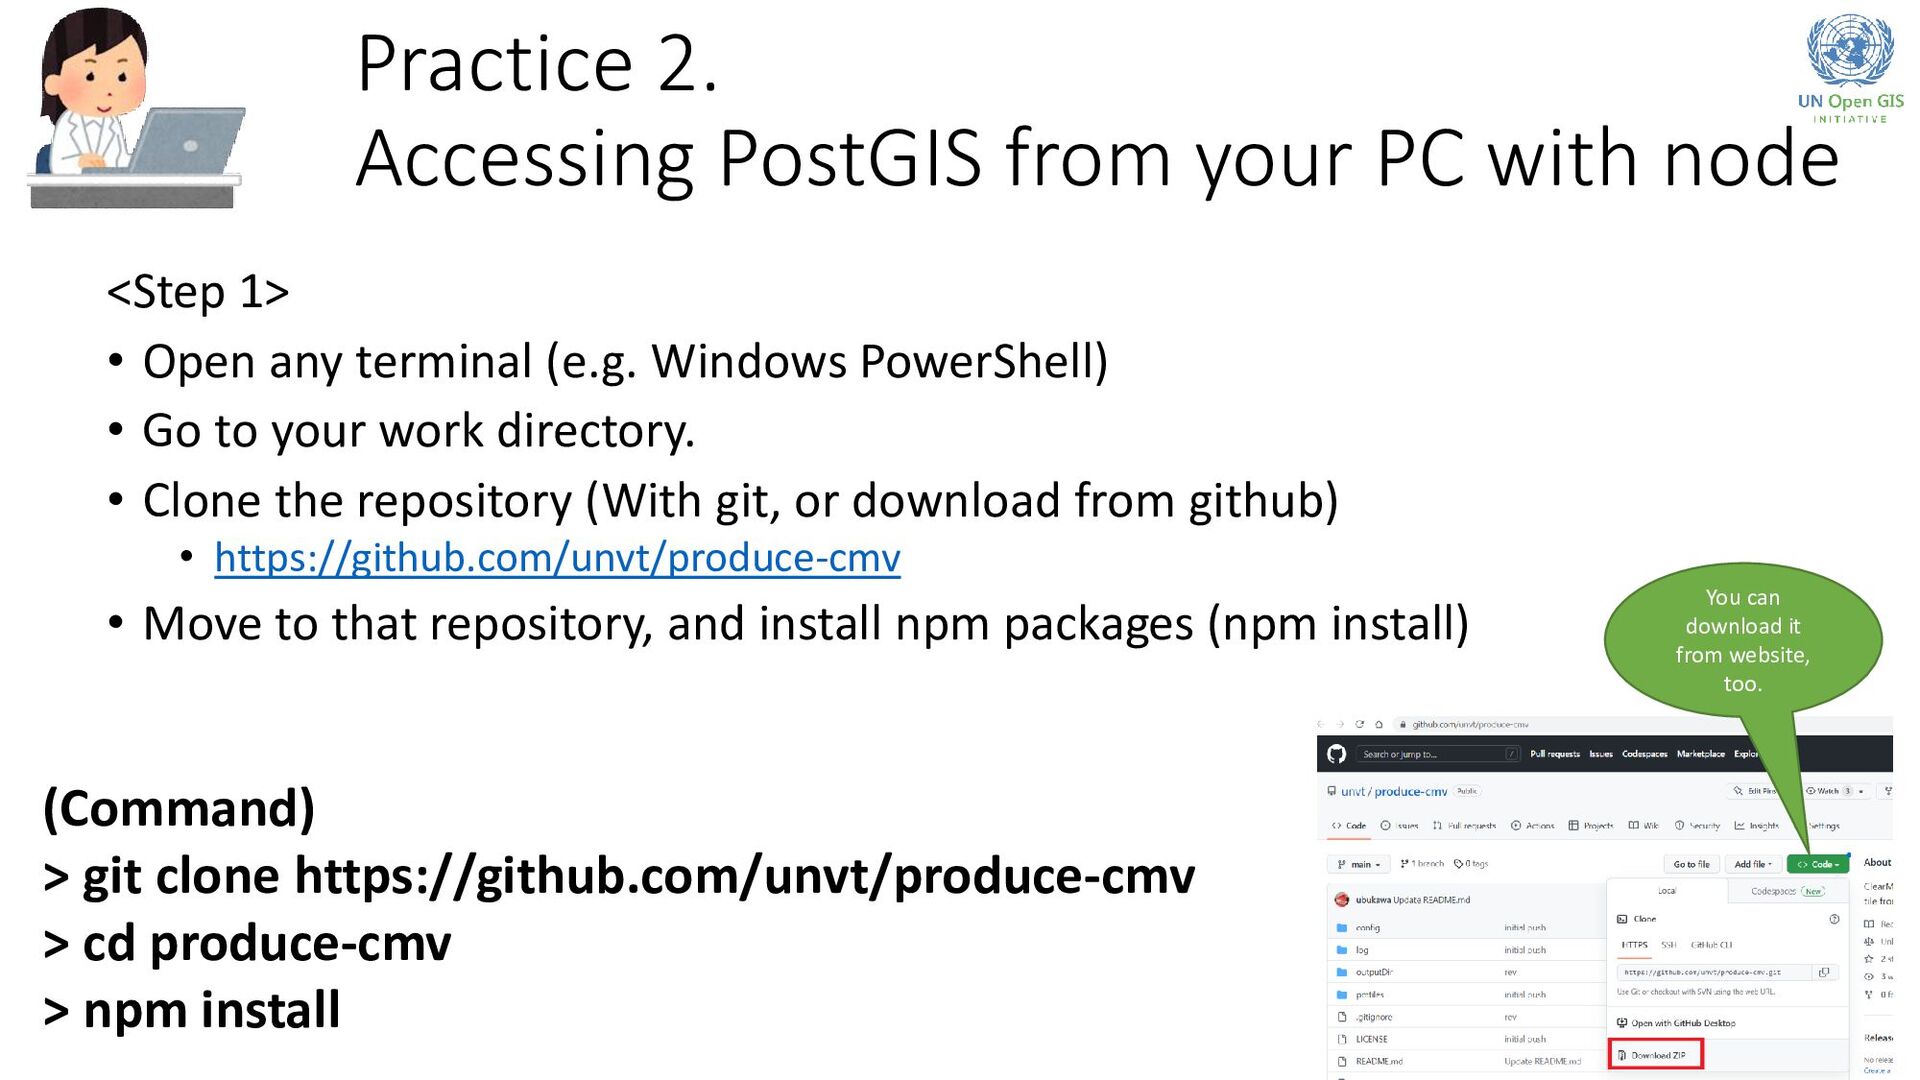
Go to your work directory. • Clone the repository (With git, or download from github) • https://github.com/unvt/produce-cmv • Move to that repository, and install npm packages (npm install) Practice 2. Accessing PostGIS from your PC with node (Command) > git clone https://github.com/unvt/produce-cmv > cd produce-cmv > npm install You can download it from website, too.
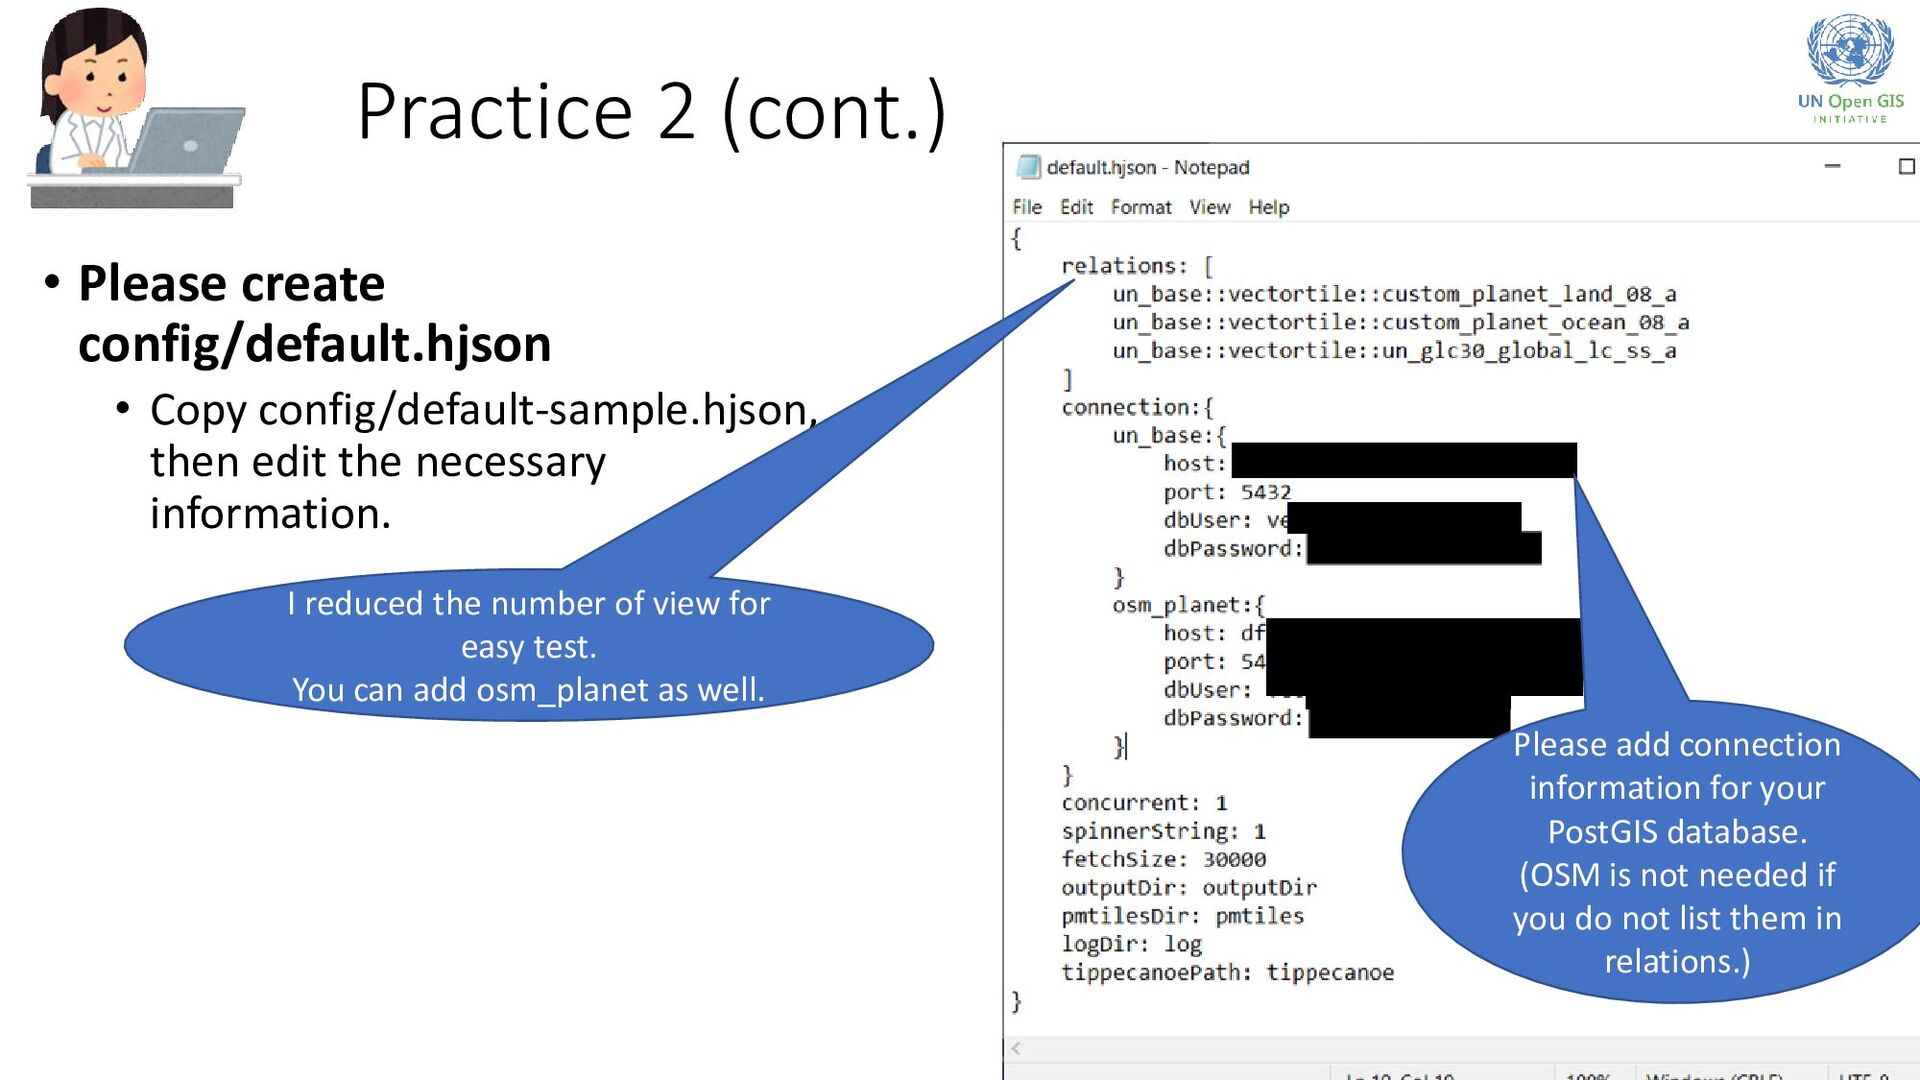
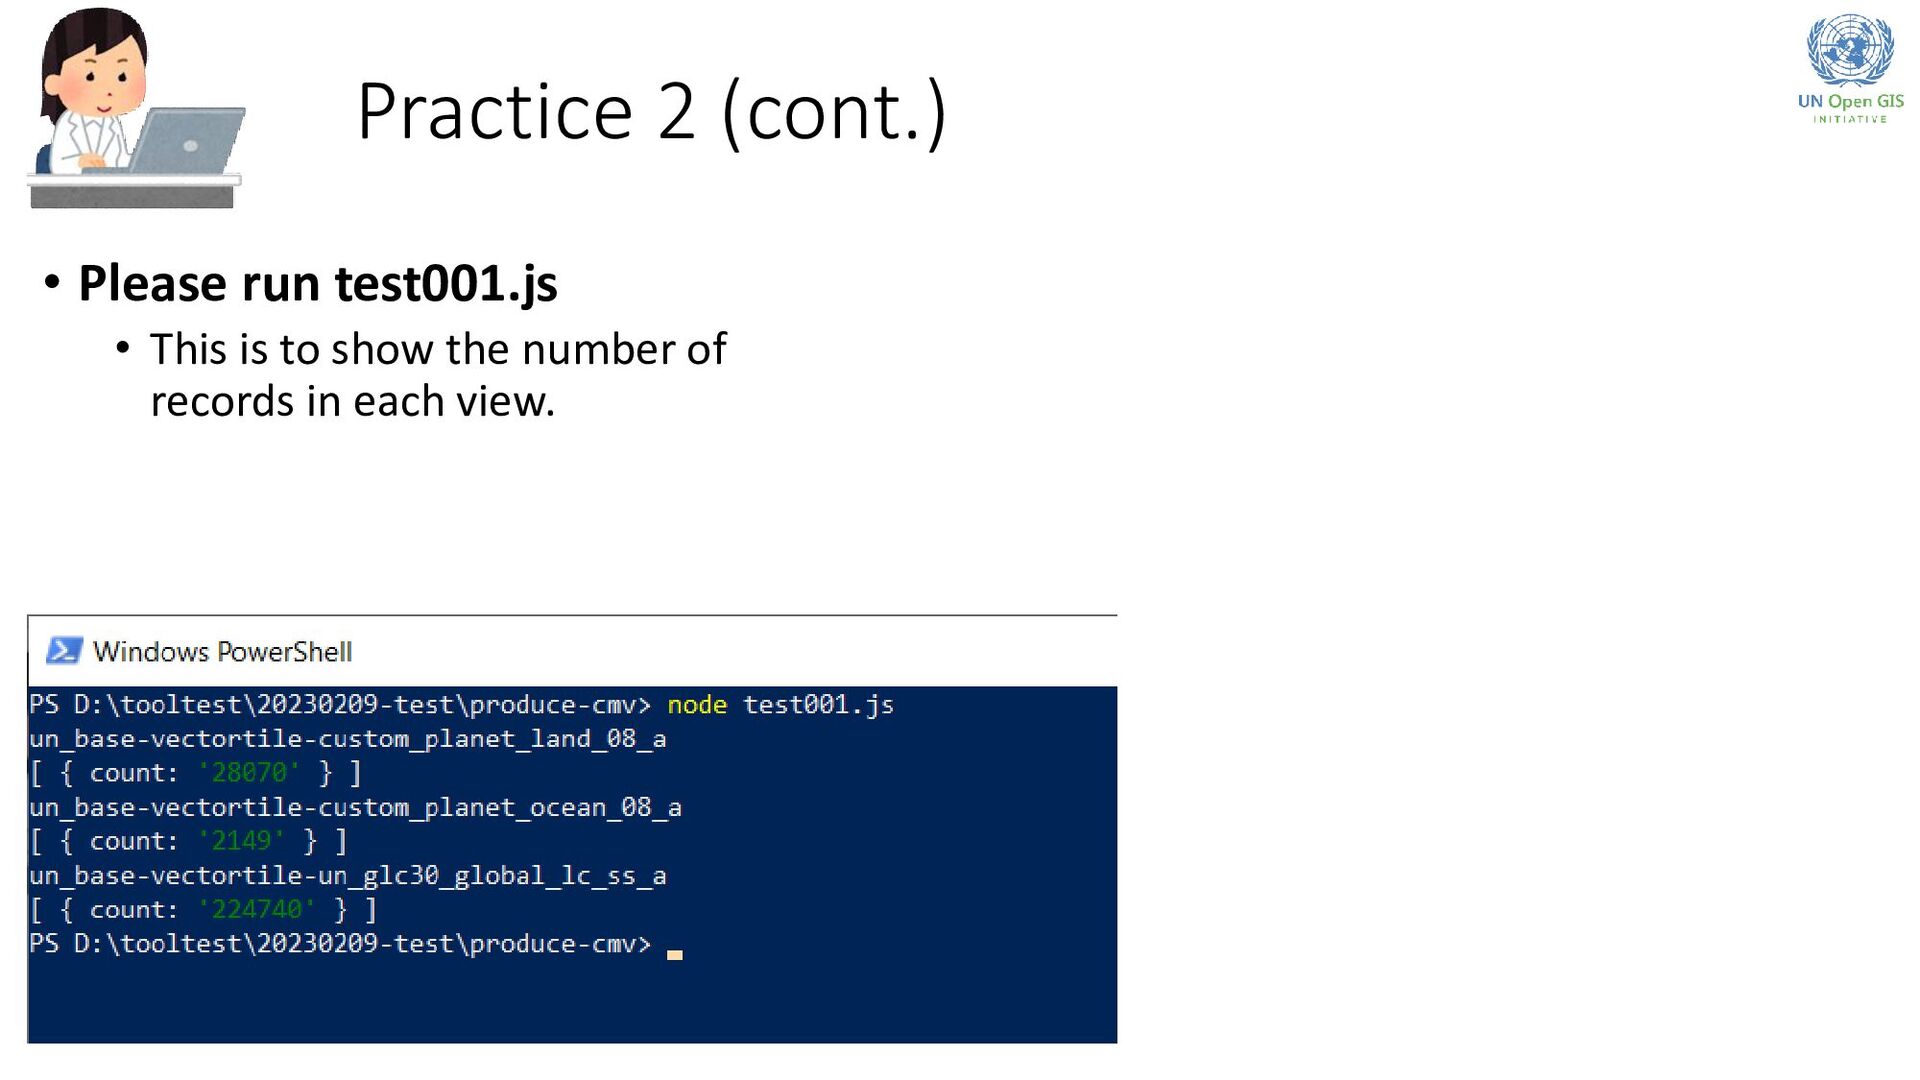
necessary information. Practice 2 (cont.) I reduced the number of view for easy test. You can add osm_planet as well. Please add connection information for your PostGIS database. (OSM is not needed if you do not list them in relations.)
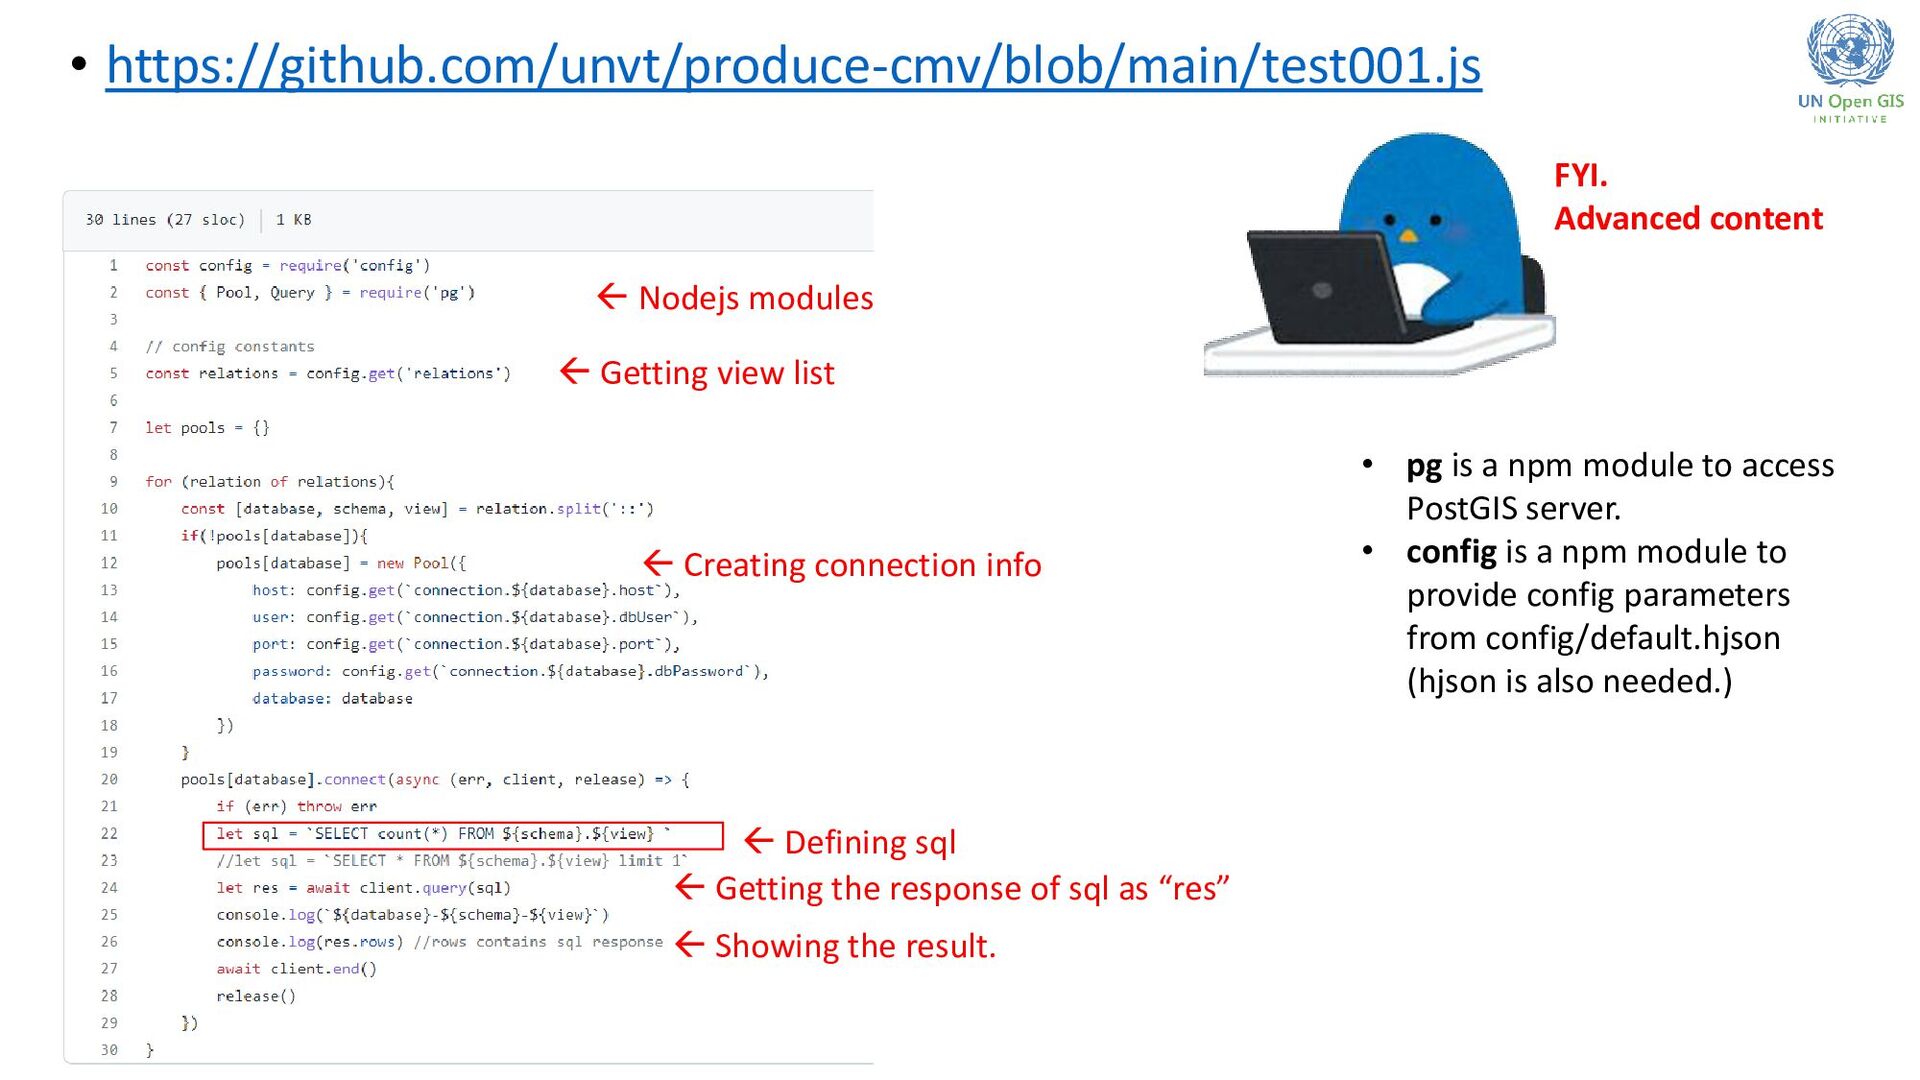
Nodejs modules Defining sql Getting view list Creating connection info Showing the result. FYI. Advanced content • pg is a npm module to access PostGIS server. • config is a npm module to provide config parameters from config/default.hjson (hjson is also needed.)
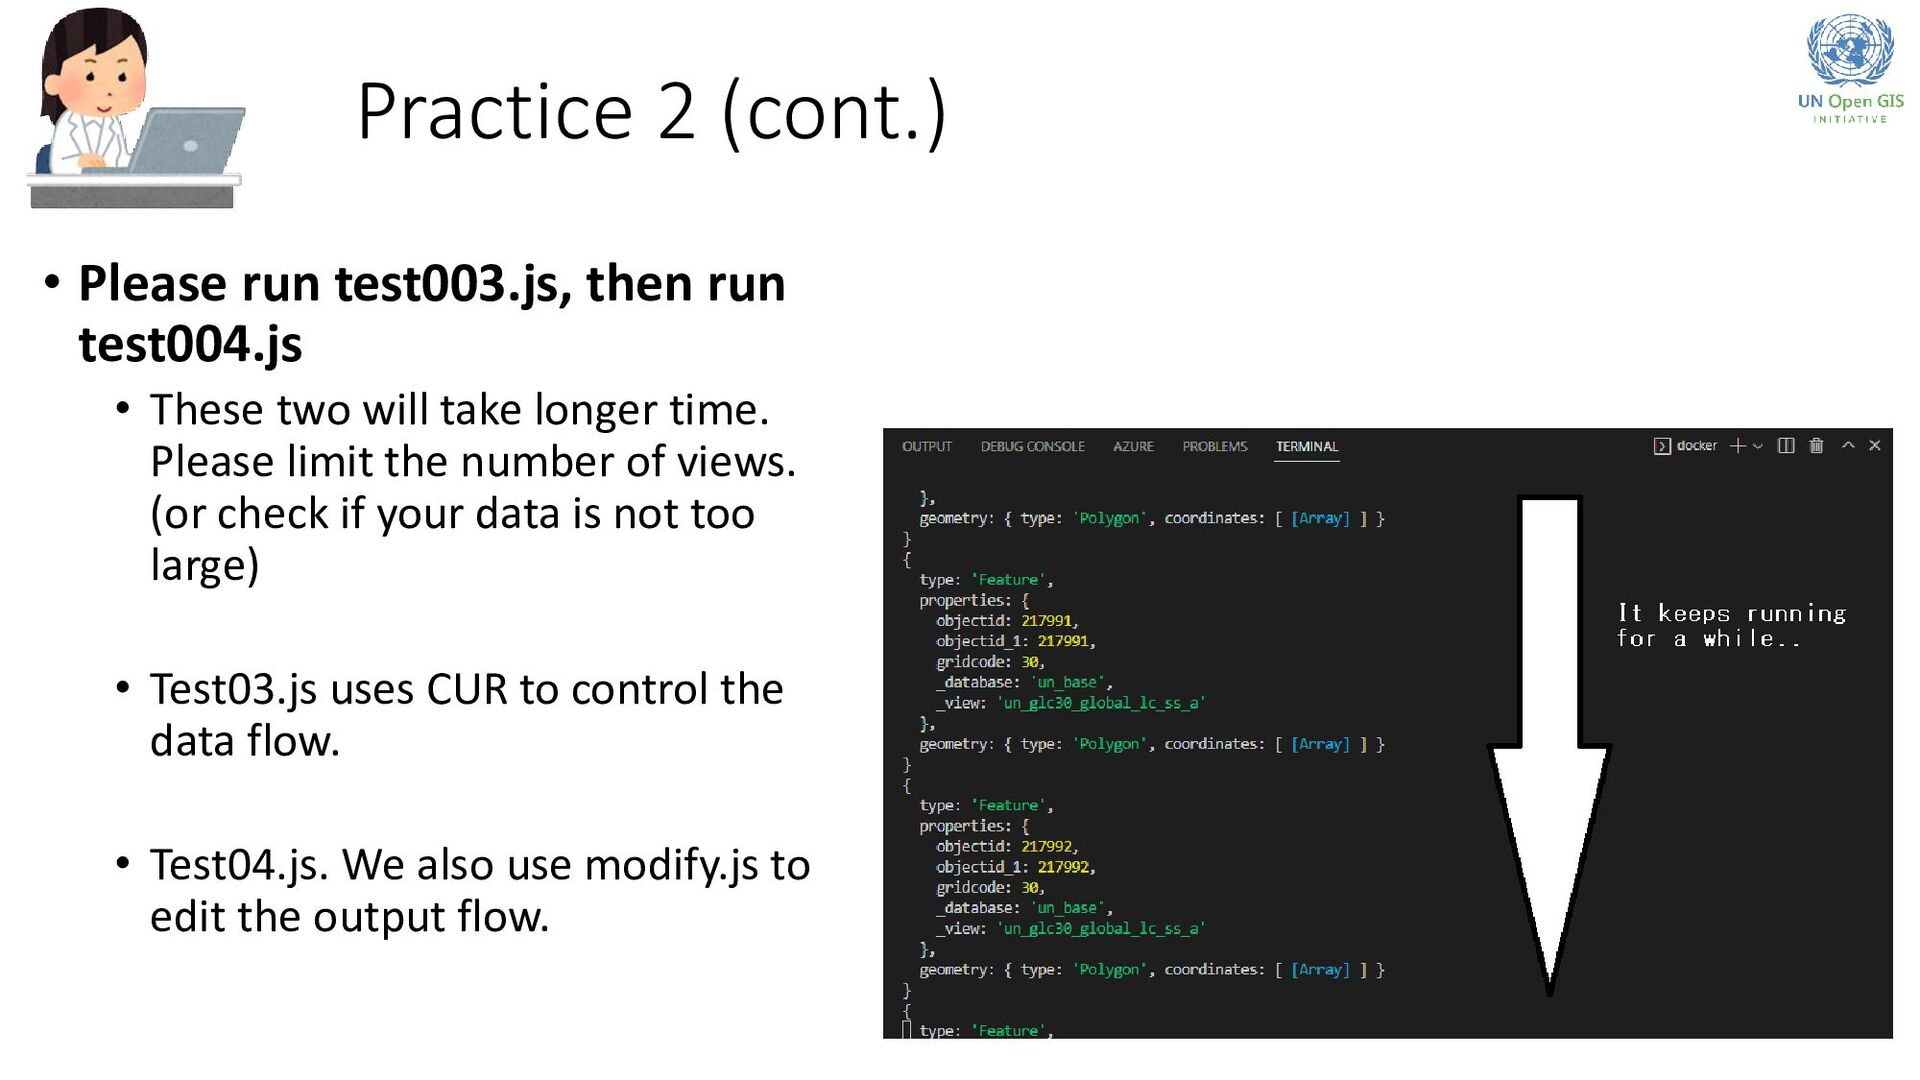
• These two will take longer time. Please limit the number of views. (or check if your data is not too large) • Test03.js uses CUR to control the data flow. • Test04.js. We also use modify.js to edit the output flow.
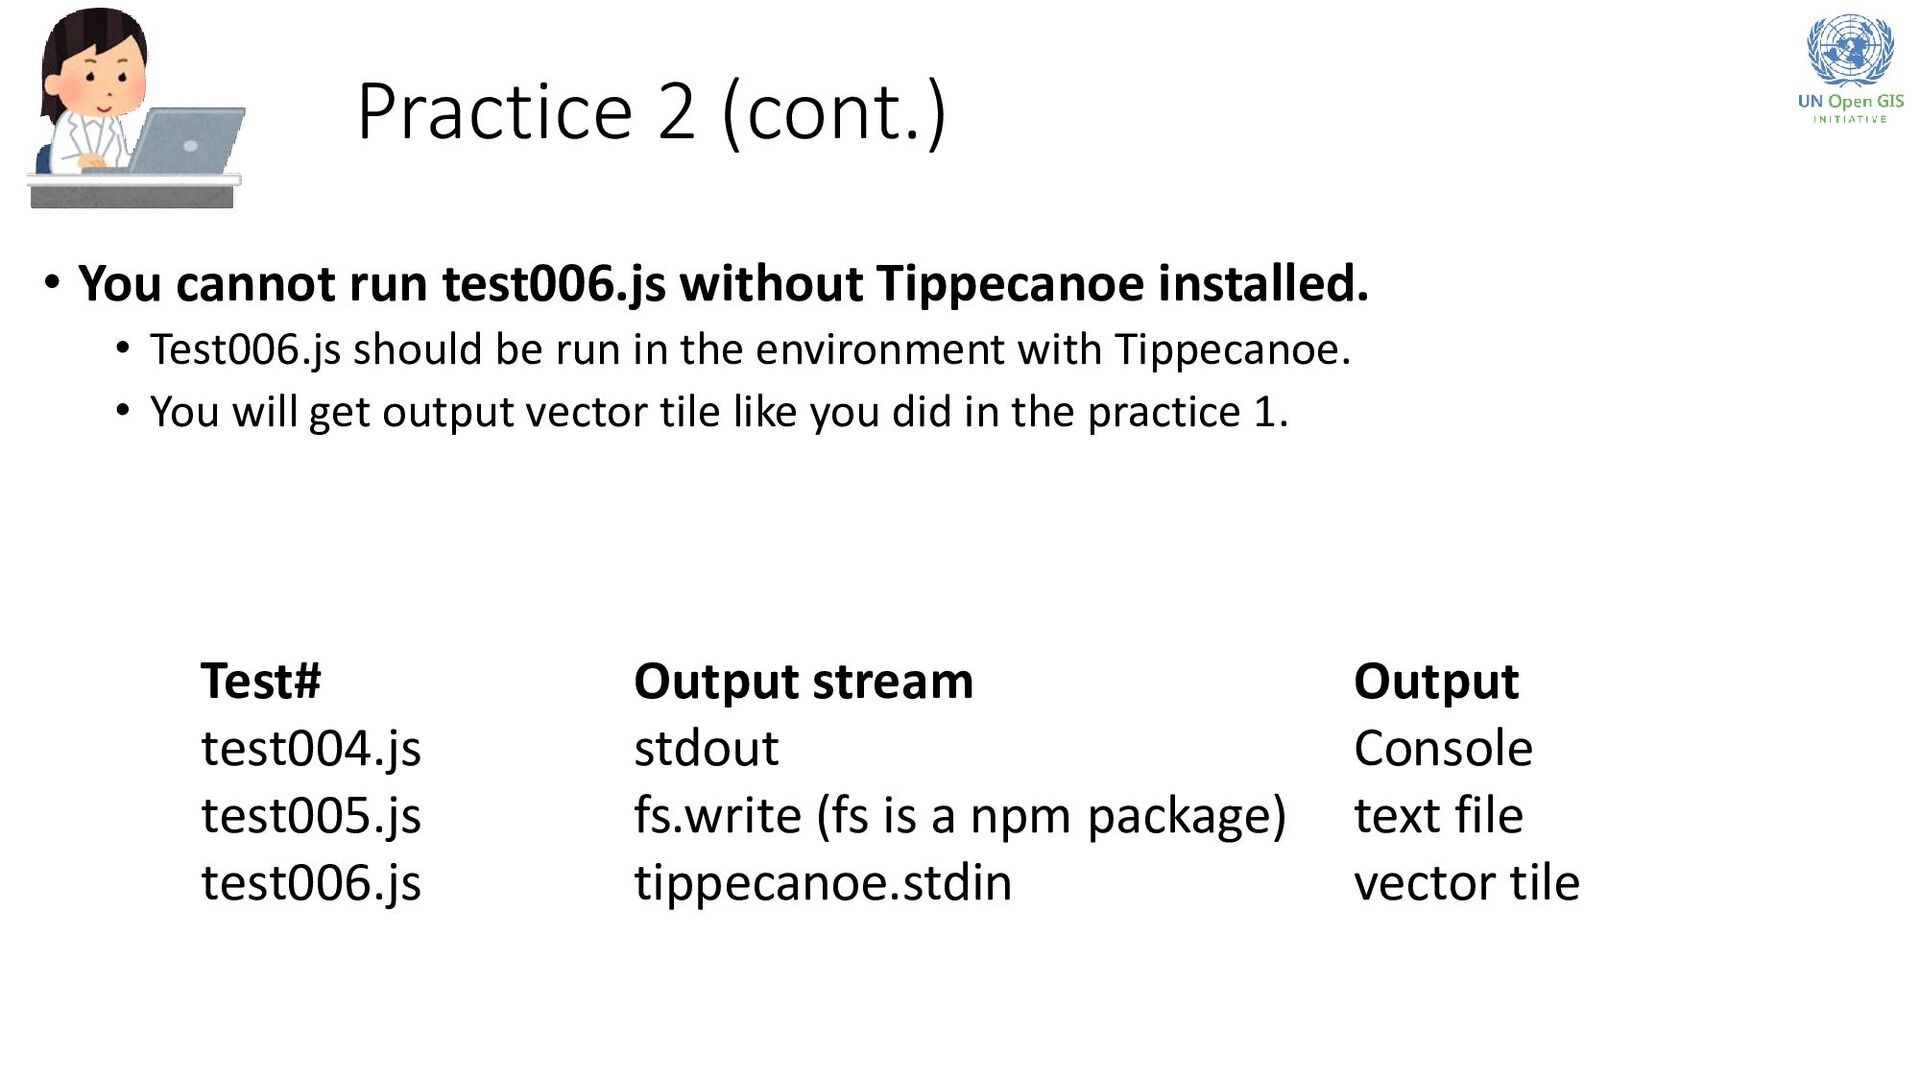
installed. • Test006.js should be run in the environment with Tippecanoe. • You will get output vector tile like you did in the practice 1. Test# Output stream Output test004.js stdout Console test005.js fs.write (fs is a npm package) text file test006.js tippecanoe.stdin vector tile
can create vector tile for small scale, i.e. for clearmap. • In our own PC, we tried accessing to PostgreSQL/PostGIS server with nodejs, and tried editing exported data sequence. • We cannot create vector tile in our own PC due to the lack of Tippecanoe access, but we can create vector tile in Linux, Docker or WSL environment, where we can use Tippecanoe. Output stream should be piped into Tippecanoe.stdin instead of stdout.
scale with a simple code, meaning one single spatial ranges. • For vector tile conversion in larger scale, we will have large amount of data and we, therefore, need to use spatial extents to efficiently create vector tile. These scripts are in https://github.com/unvt/produce-gsc-6