Upgrade to Pro — share decks privately, control downloads, hide ads and more …

Write your own Logstash plugin for fun and profit

Write your own Logstash plugin for fun and profit

An overview of the Logstash pipeline flow, and the basic steps and code necessary to create your own Logstash plugin.

Aaron Mildenstein

July 13, 2016
Tweet

More Decks by Aaron Mildenstein

Other Decks in Programming

Transcript

  1. ‹#›
    Aaron Mildenstein
    Logstash Developer
    Write your own Logstash
    plugin for fun and profit

    View Slide

  2. Logstash
    A brief history...
    2

    View Slide

  3. Logstash: Quick Review
    • Open Source data stream ETL tool with a pipeline
    • JRuby
    • Other Java languages coming
    • Plugin ecosystem
    3

    View Slide

  4. Logstash Pipeline
    4

    View Slide

  5. Logstash Configuration
    Inputs
    5
    input {

    plugin {

    setting_1 => "value"
    # comment

    array_2 => [ "value1", "value2" ]

    hash_3 => { key => "value" }

    }

    }

    View Slide

  6. Logstash Configuration
    Filters
    6
    filter {

    plugin {

    setting_1 => "value"
    # comment

    array_2 => [ "value1", "value2" ]

    hash_3 => { key => "value" }

    }

    }

    View Slide

  7. Logstash Configuration
    Outputs
    7
    output {

    plugin {

    setting_1 => "value"
    # comment

    array_2 => [ "value1", "value2" ]

    hash_3 => { key => "value" }

    }

    }

    View Slide

  8. Logstash Configuration
    Conditionals – Only in filter and output blocks!
    8
    if EXPRESSION {
    ...
    } else if EXPRESSION {
    ...
    } else {
    ...
    }

    View Slide

  9. The Ws of Logstash Plugins
    • Why?
    • What?
    • Who?
    • Where?
    • When?
    • Bonus: How?
    • That's why you're here, right?
    9

    View Slide

  10. Why?
    • Extensibility
    • Flexibility
    • Community
    10

    View Slide

  11. What?
    • JRuby
    • Ruby code that can be run by a Java interpreter
    • Input
    • Filter
    • Output
    • Codec
    11

    View Slide

  12. Who?
    • Who owns plugins?
    • Who can make plugins?
    • Who determines whether they are included with Logstash?
    12

    View Slide

  13. Where?
    • rubygems.org
    13

    View Slide

  14. When?
    • Anytime, of course!
    14

    View Slide

  15. Things to consider
    15
    Design Phase

    View Slide

  16. Before you reinvent the wheel...
    • Is there an existing plugin?
    • Can I extend an existing plugin?
    • Has anyone (outside the Logstash community) solved this problem?
    • Can I piggy-back on that?
    • Depends on the license, of course
    • Is this going to be internal/private or shared/open-source?
    • Will this be better as a filter or a codec?
    • Am I reproducing existing functionality?
    16

    View Slide

  17. Examples
    • Dedicated plugins vs. codecs for Netflow
    • Add 
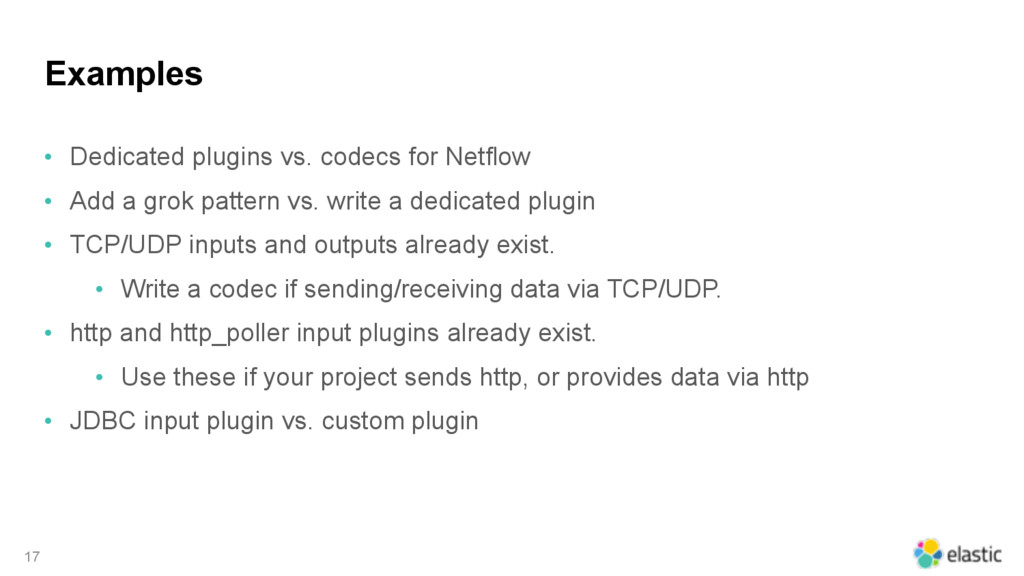
a grok pattern vs. write a dedicated plugin
    • TCP/UDP inputs and outputs already exist.
    • Write a codec if sending/receiving data via TCP/UDP.
    • http and http_poller input plugins already exist.
    • Use these if your project sends http, or provides data via http
    • JDBC input plugin vs. custom plugin
    17

    View Slide

  18. ‹#›
    To argue at length over a
    decision that is, in the end,
    arbitrary.
    aka "Parkinson's Law of Triviality"
    1957
    Bikeshedding...

    View Slide

  19. Simple things should be simple
    Not
    like this
    Like this

    View Slide

  20. Getting started
    20
    Code basics

    View Slide

  21. For a new plugin, start with the examples
    • One 
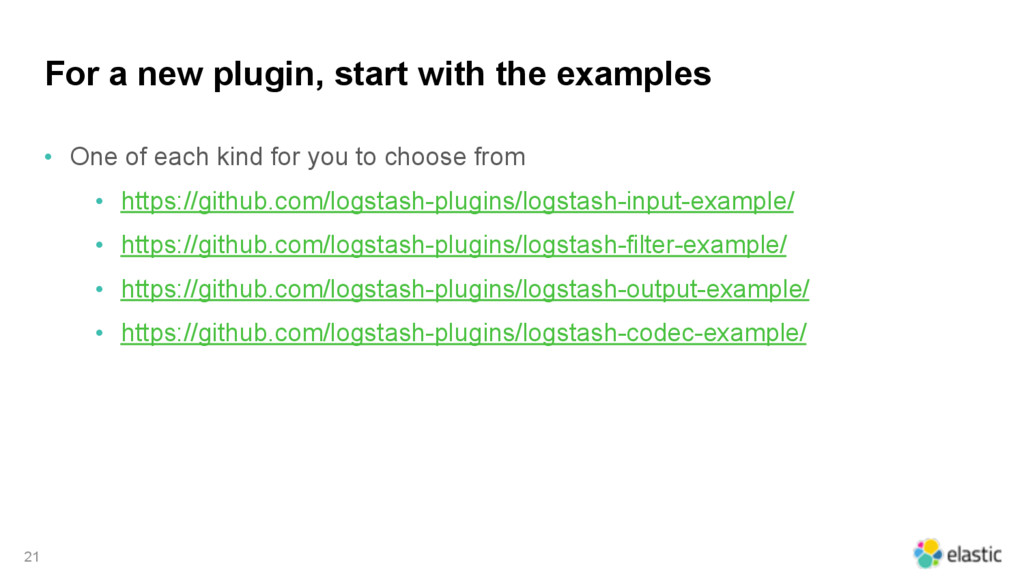
of each kind for you to choose from
    • https://github.com/logstash-plugins/logstash-input-example/
    • https://github.com/logstash-plugins/logstash-filter-example/
    • https://github.com/logstash-plugins/logstash-output-example/
    • https://github.com/logstash-plugins/logstash-codec-example/
    21

    View Slide

  22. Create a GitHub repo for your new plugin
    Each Logstash 
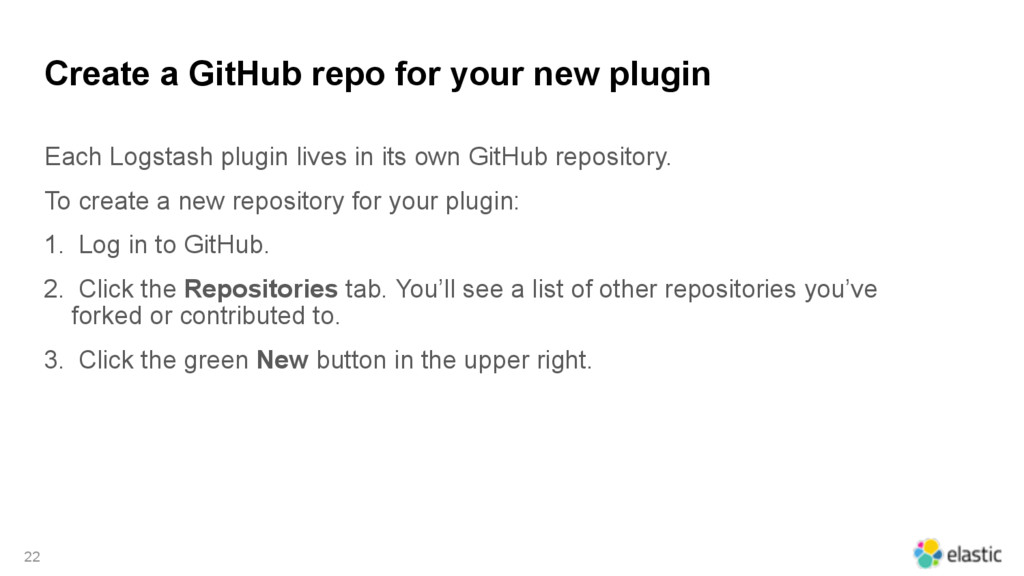
plugin lives in its own GitHub repository.
    To create a new repository for your plugin:
    1. Log in to GitHub.
    2. Click the Repositories tab. You’ll see a list of other repositories you’ve
    forked or contributed to.
    3. Click the green New button in the upper right.
    22

    View Slide

  23. Create a GitHub repo for your new plugin
    4. Specify the following settings for your new repo:
    • Repository name — a unique name of the form logstash-TYPE-
    pluginname.
    • Public or Private — your choice, but the repository must be Public if
    you want to submit it as an official plugin.
    • Initialize this repository with a README — enables you to
    immediately clone the repository to your computer.
    5. Click Create Repository.
    23

    View Slide

  24. More repository prep
    • Clone your repository
    • Clone the 
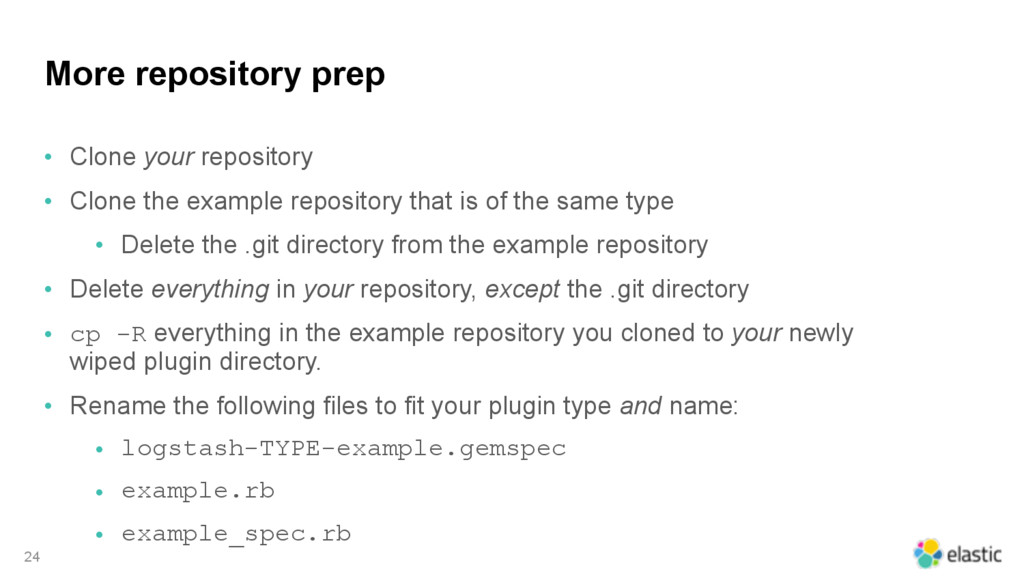
example repository that is of the same type
    • Delete the .git directory from the example repository
    • Delete everything in your repository, except the .git directory
    • cp -R everything in the example repository you cloned to your newly
    wiped plugin directory.
    • Rename the following files to fit your plugin type and name:
    • logstash-TYPE-example.gemspec
    • example.rb
    • example_spec.rb
    24

    View Slide

  25. It should look like this
    Matching your TYPE
    25
    $ tree logstash-TYPE-mypluginname
    !"" Gemfile
    !"" LICENSE
    !"" README.md
    !"" Rakefile
    !"" lib
    # $"" logstash
    # $"" TYPEs
    # $"" mypluginname.rb
    !"" logstash-TYPE-mypluginname.gemspec
    $"" spec
    $"" TYPEs
    $"" mypluginname_spec.rb

    View Slide

  26. Coming Soon: generate
    This will be much more simple...
    26
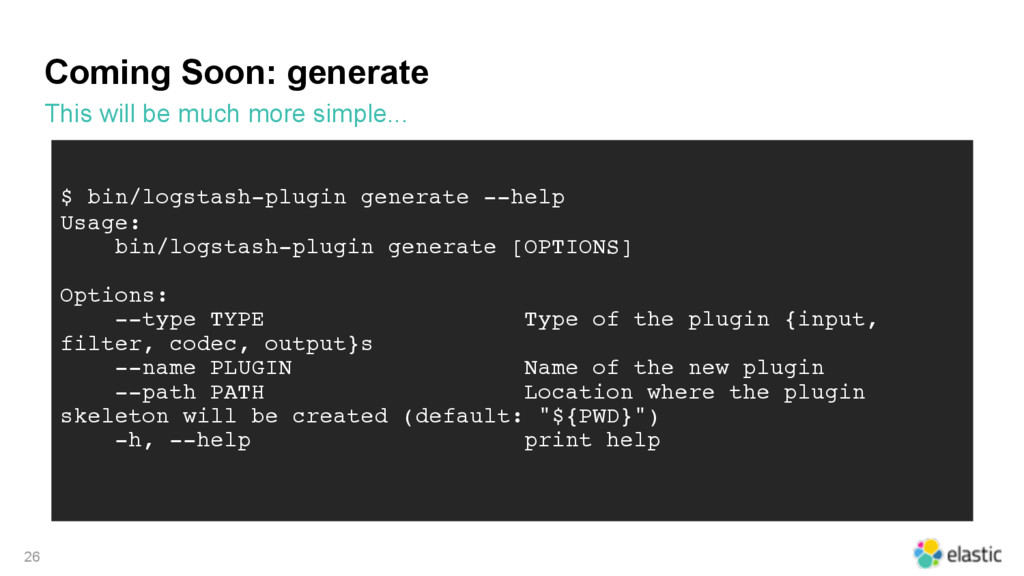
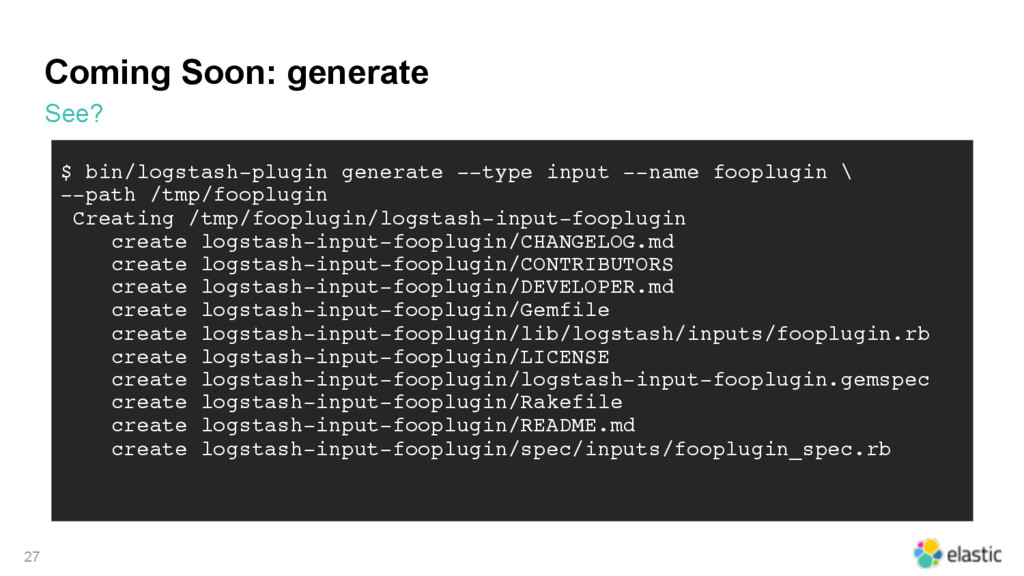
    $ bin/logstash-plugin generate --help
    Usage:
    bin/logstash-plugin generate [OPTIONS]
    Options:
    --type TYPE Type of the plugin {input,
    filter, codec, output}s
    --name PLUGIN Name of the new plugin
    --path PATH Location where the plugin
    skeleton will be created (default: "${PWD}")
    -h, --help print help

    View Slide

  27. Coming Soon: generate
    See?
    27
    $ bin/logstash-plugin generate --type input --name fooplugin \
    --path /tmp/fooplugin
    Creating /tmp/fooplugin/logstash-input-fooplugin
    create logstash-input-fooplugin/CHANGELOG.md
    create logstash-input-fooplugin/CONTRIBUTORS
    create logstash-input-fooplugin/DEVELOPER.md
    create logstash-input-fooplugin/Gemfile
    create logstash-input-fooplugin/lib/logstash/inputs/fooplugin.rb
    create logstash-input-fooplugin/LICENSE
    create logstash-input-fooplugin/logstash-input-fooplugin.gemspec
    create logstash-input-fooplugin/Rakefile
    create logstash-input-fooplugin/README.md
    create logstash-input-fooplugin/spec/inputs/fooplugin_spec.rb

    View Slide

  28. Plugin Anatomy
    The "bones"
    28
    # encoding: utf-8
    require "logstash/inputs/base"
    require "logstash/namespace"
    require "stud/interval"
    require "socket" # for Socket.gethostname
    # Add any asciidoc formatted documentation here
    # Generate a repeating message.
    #
    # This plugin is intended only as an example.
    class LogStash::Inputs::Example < LogStash::Inputs::Base

    View Slide

  29. Plugin Anatomy
    Configuration & Auto-documentation
    29
    # This is where your plugin name goes
    config_name "example"
    # If undefined, Logstash will complain, even if codec is unused.
    default :codec, "plain"
    # The message string to use in the event.
    config :message, :validate => :string, :default => "Hello
    World!"
    # Set how frequently messages should be sent.
    #
    # The default, `1`, means send a message every second.
    config :interval, :validate => :number, :default => 1

    View Slide

  30. Plugin Anatomy
    Register & set instance variables
    30
    public
    def register
    @host = Socket.gethostname
    end # def register

    View Slide

  31. Plugin Anatomy
    Input "run" block
    31
    def run(queue)
    Stud.interval(@interval) do
    event = LogStash::Event.new("message" => @message,
    "host" => @host)
    decorate(event)
    queue << event
    end # loop
    end # def run
    end # class LogStash::Inputs::Example

    View Slide

  32. Plugin Anatomy
    Filter config example
    32
    # Setting the config_name 
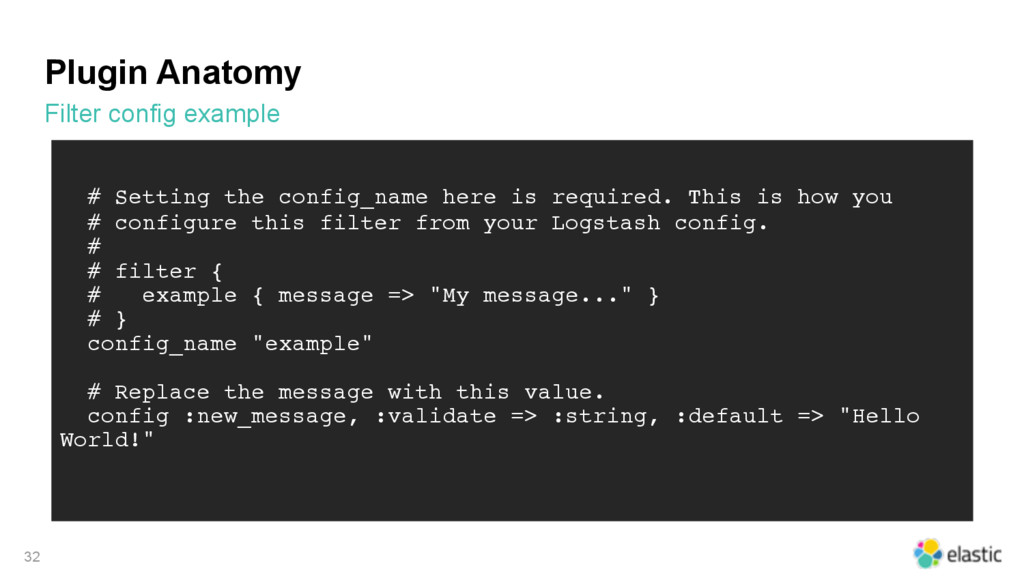
here is required. This is how you
    # configure this filter from your Logstash config.
    #
    # filter {
    # example { message => "My message..." }
    # }
    config_name "example"
    # Replace the message with this value.
    config :new_message, :validate => :string, :default => "Hello
    World!"

    View Slide

  33. Plugin Anatomy
    Filter method example
    33
    public
    def filter(event)
    if 
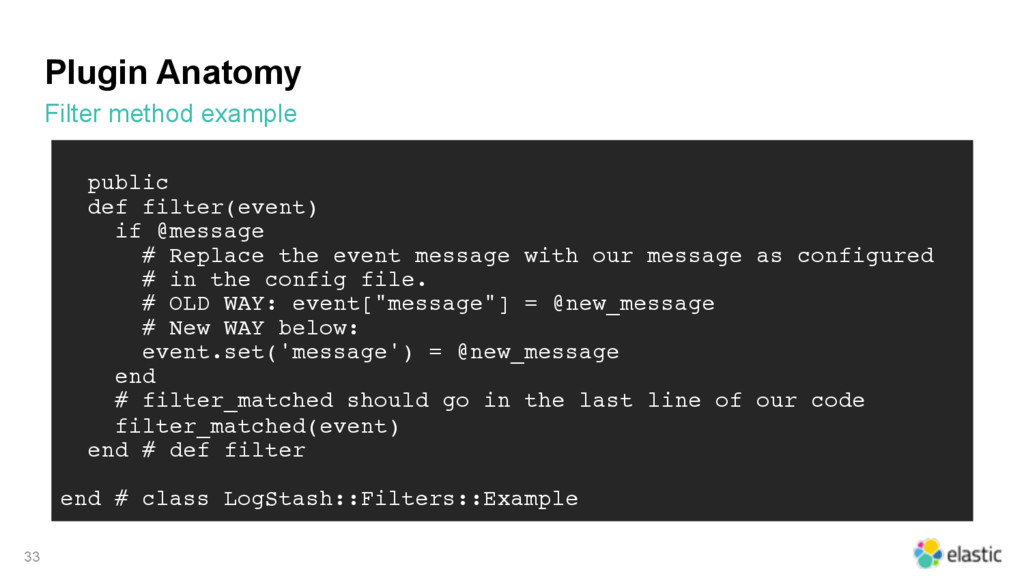
@message
    # Replace the event message with our message as configured
    # in the config file.
    # OLD WAY: event["message"] = @new_message
    # New WAY below:
    event.set('message') = @new_message
    end
    # filter_matched should go in the last line of our code
    filter_matched(event)
    end # def filter
    end # class LogStash::Filters::Example

    View Slide

  34. Plugin Anatomy
    Output method example
    34
    public
    # Takes an 
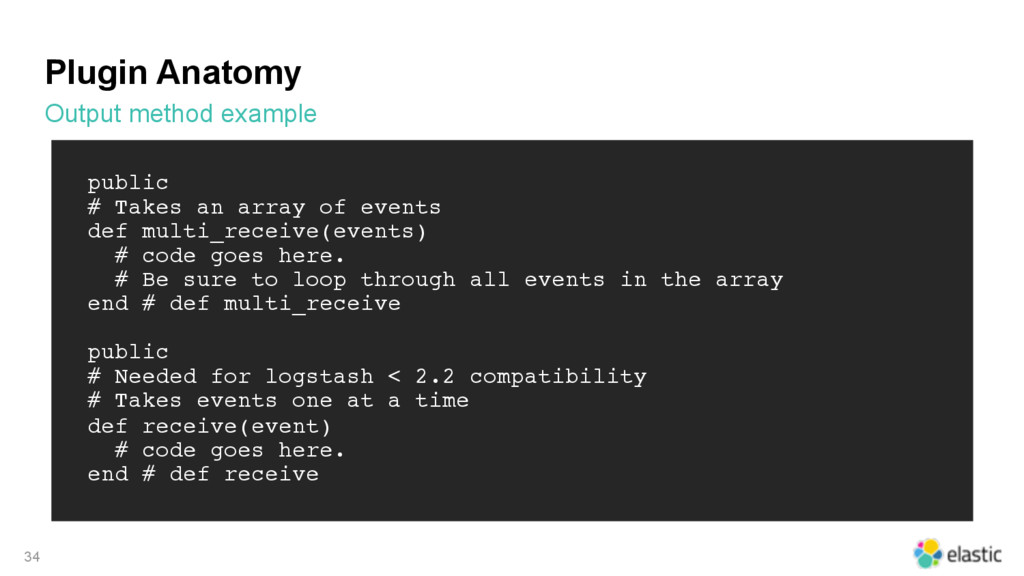
array of events
    def multi_receive(events)
    # code goes here.
    # Be sure to loop through all events in the array
    end # def multi_receive
    public
    # Needed for logstash < 2.2 compatibility
    # Takes events one at a time
    def receive(event)
    # code goes here.
    end # def receive

    View Slide

  35. Plugin Anatomy
    Output threading consideration
    35
    # If declared logstash will only allow a single instance of this plugin
    # to exist, regardless of how many CPU cores logstash detects. This is best
    # used in cases like the File output, where separate threads writing to a
    # single file would only cause problems.
    #
    # respond_to? check needed for backwards compatibility with < 2.2 Logstashes
    declare_workers_not_supported! if self.respond_to?
    (:declare_workers_not_supported!)

    View Slide

  36. Plugin Anatomy
    Output threading consideration
    36
    # If declared threadsafe 
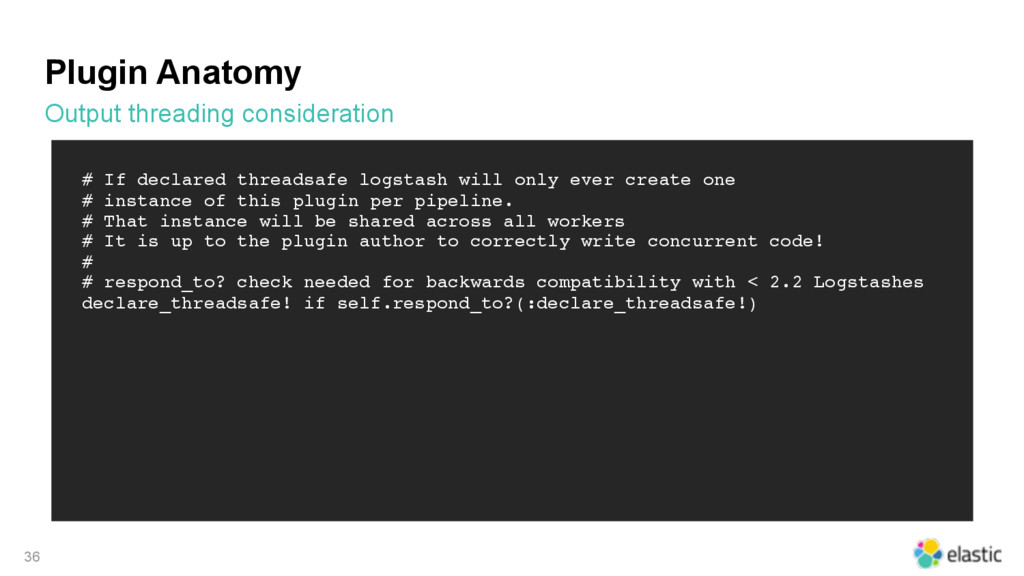
logstash will only ever create one
    # instance of this plugin per pipeline.
    # That instance will be shared across all workers
    # It is up to the plugin author to correctly write concurrent code!
    #
    # respond_to? check needed for backwards compatibility with < 2.2 Logstashes
    declare_threadsafe! if self.respond_to?(:declare_threadsafe!)

    View Slide

  37. Plugin Anatomy
    Codec register example
    37
    public
    def register
    @lines = LogStash::Codecs::Line.new
    @lines.charset = "UTF-8"
    end

    View Slide

  38. Plugin Anatomy
    Codec decode example
    38
    public
    def decode(data)
    @lines.decode(data) do |line|
    replace = { "message" => line["message"].to_s + @append }
    yield LogStash::Event.new(replace)
    end
    end # def decode
    # New way:
    # replace = { "message" => line.get('message').to_s + @append }

    View Slide

  39. Plugin Anatomy
    Codec encode example
    39
    public
    def encode(event)
    @on_event.call(event, event["message"].to_s + @append + NL)
    end # def encode
    # New way:
    # @on_event.call(event, event.get('message').to_s + @append + NL)

    View Slide

  40. GitHub time!
    40
    Examples
    (time permitting)

    View Slide

  41. Publish your plugin
    • https://www.elastic.co/guide/en/logstash/current/submitting-plugin.html
    • Go solo (self-publish to RubyGems), or
    • Submit to the logstash-plugins repository on GitHub
    • Acceptance Guidelines
    • Code Review
    • Must include tests
    • Submit an issue at https://github.com/elastic/logstash
    41

    View Slide

  42. ‹#›
    Questions?
    I'll be here all night…

    View Slide