Getting our development environment ready for the Django Girls Workshop in Bilbao for EuroPython 2016. Includes installation of Python 3.4, PIP, Virtualenv and Django for Mac OS X, GNU/Linux and Windows.
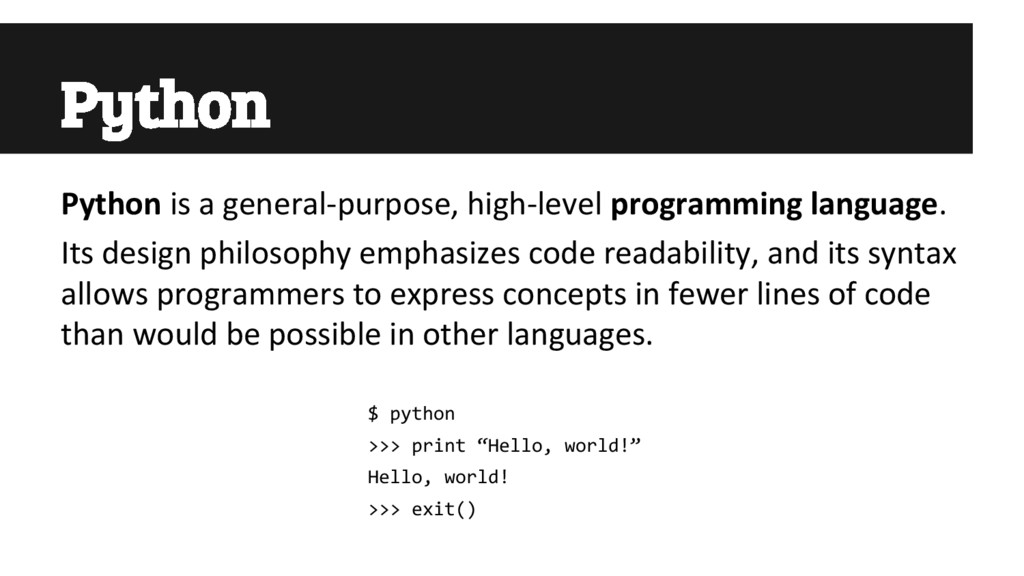
philosophy emphasizes code readability, and its syntax allows programmers to express concepts in fewer lines of code than would be possible in other languages. $ python >>> print “Hello, world!” Hello, world! >>> exit()
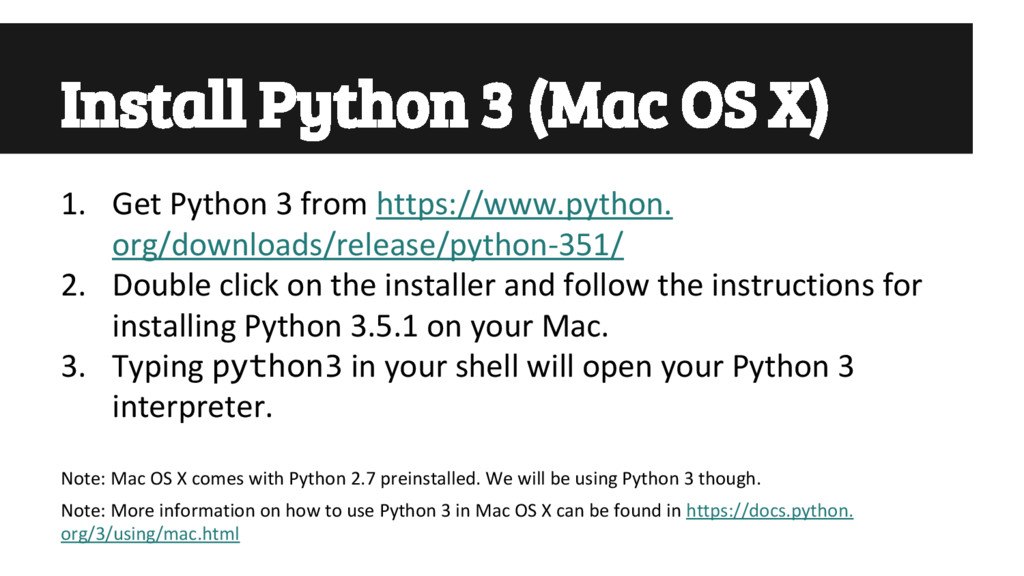
from https://www.python. org/downloads/release/python-351/ 2. Double click on the installer and follow the instructions for installing Python 3.5.1 on your Mac. 3. Typing python3 in your shell will open your Python 3 interpreter. Note: Mac OS X comes with Python 2.7 preinstalled. We will be using Python 3 though. Note: More information on how to use Python 3 in Mac OS X can be found in https://docs.python. org/3/using/mac.html
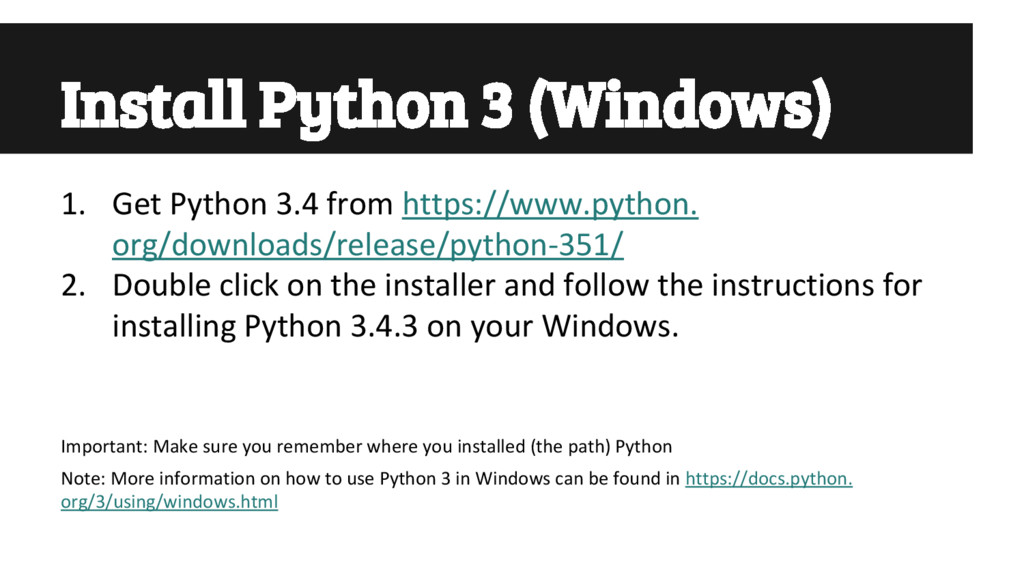
org/downloads/release/python-351/ 2. Double click on the installer and follow the instructions for installing Python 3.4.3 on your Windows. Important: Make sure you remember where you installed (the path) Python Note: More information on how to use Python 3 in Windows can be found in https://docs.python. org/3/using/windows.html
sure you scroll down to the "Add python.exe to the Path" option and select "Will be installed on local hard drive" 4. Typing python3 in your shell will open your Python 3 interpreter. Important: Make sure you remember where you installed (the path) Python Note: More information on how to use Python 3 in Windows can be found in https://docs.python. org/3/using/windows.html
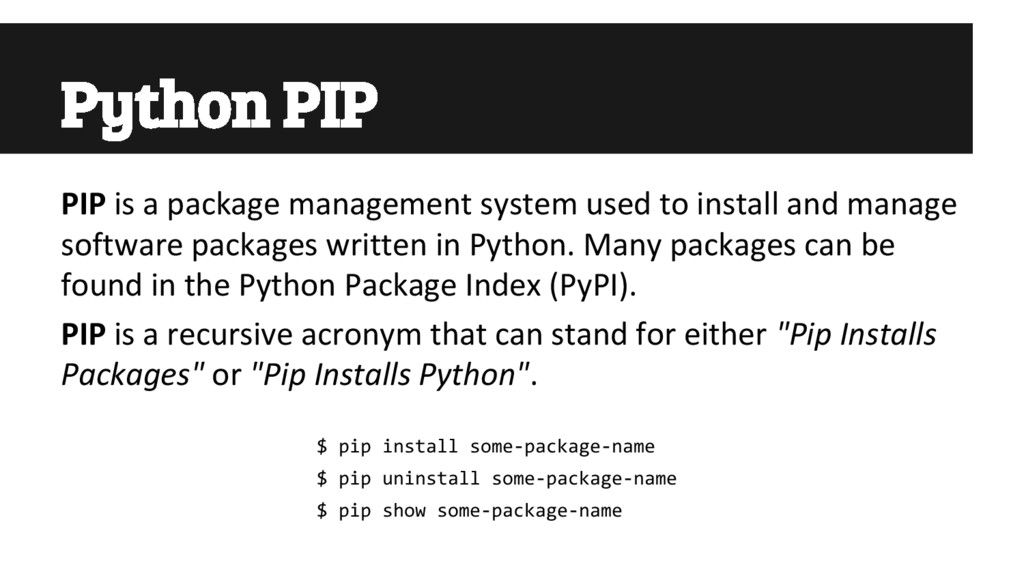
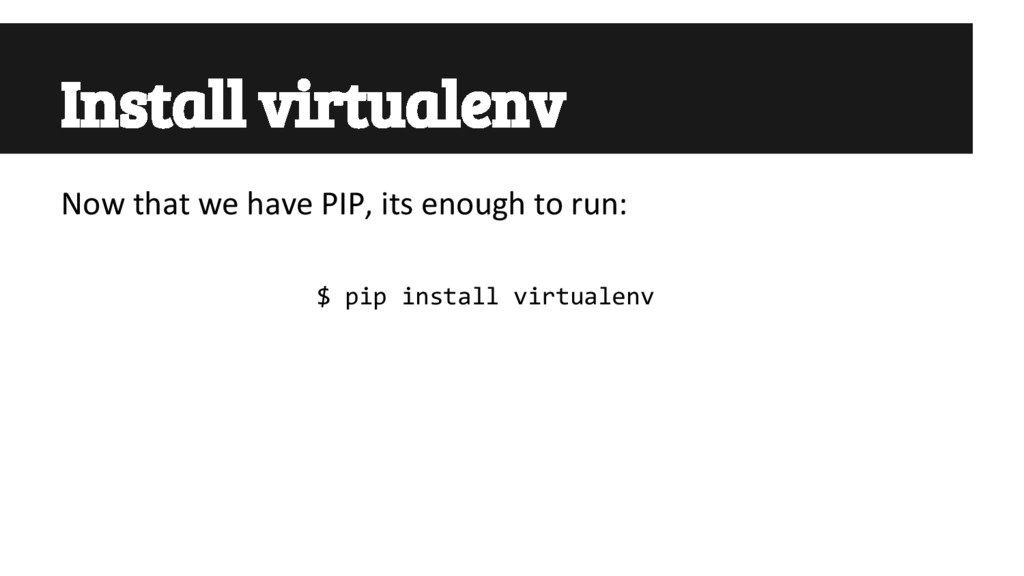
install and manage software packages written in Python. Many packages can be found in the Python Package Index (PyPI). PIP is a recursive acronym that can stand for either "Pip Installs Packages" or "Pip Installs Python". $ pip install some-package-name $ pip uninstall some-package-name $ pip show some-package-name
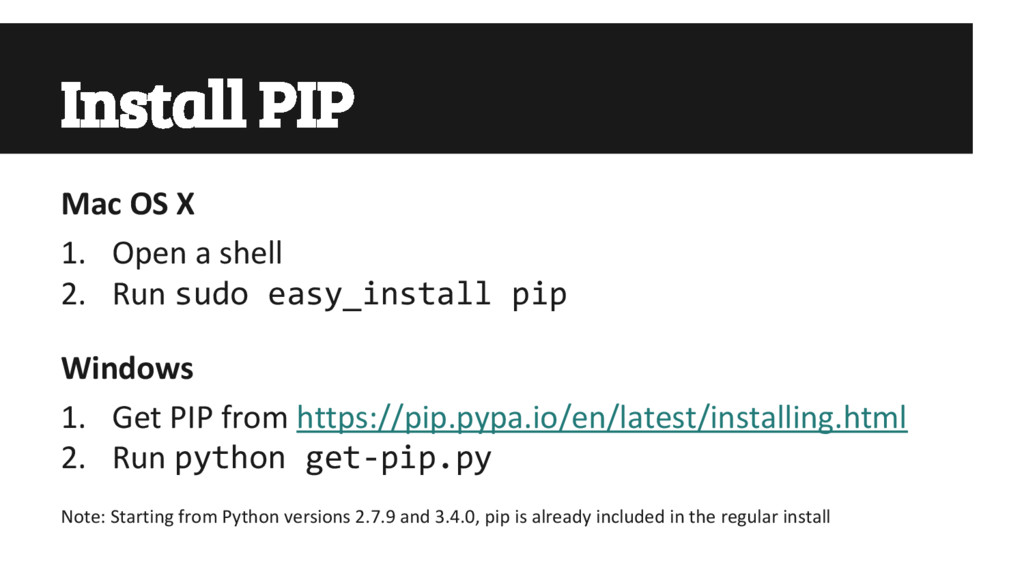
Run sudo easy_install pip Windows 1. Get PIP from https://pip.pypa.io/en/latest/installing.html 2. Run python get-pip.py Note: Starting from Python versions 2.7.9 and 3.4.0, pip is already included in the regular install
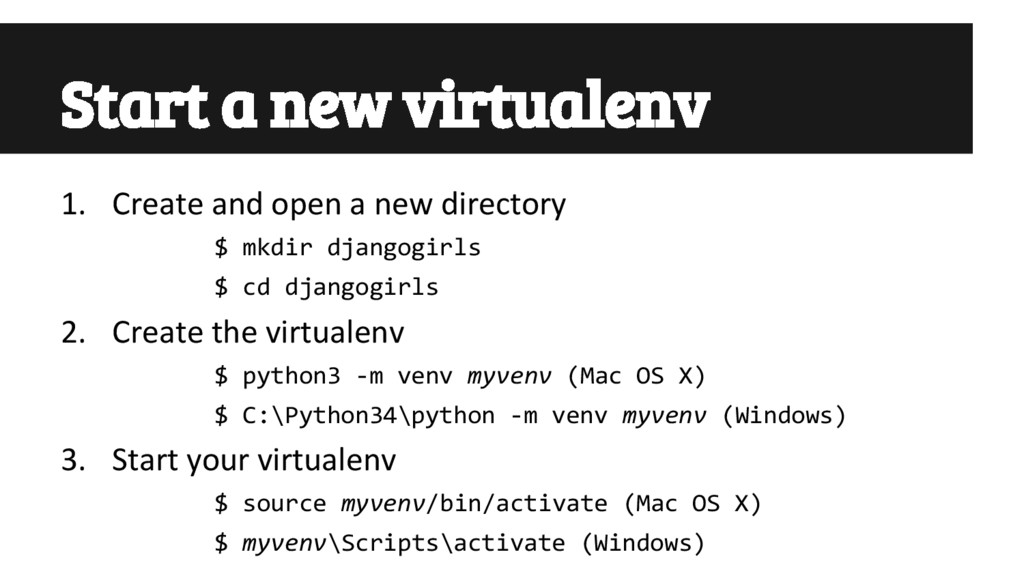
dependencies required by different projects in separate places, by creating virtual Python environments for them. Keeps your global site- packages directory clean and manageable. For example, you can work on a project which requires Django 1.3 while also maintaining a project which requires Django 1.0.
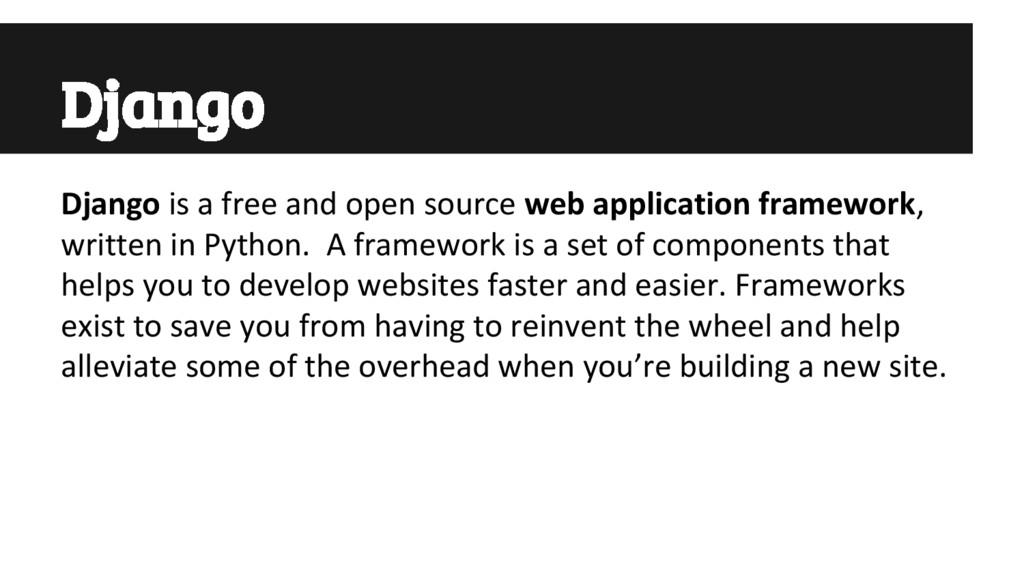
framework, written in Python. A framework is a set of components that helps you to develop websites faster and easier. Frameworks exist to save you from having to reinvent the wheel and help alleviate some of the overhead when you’re building a new site.
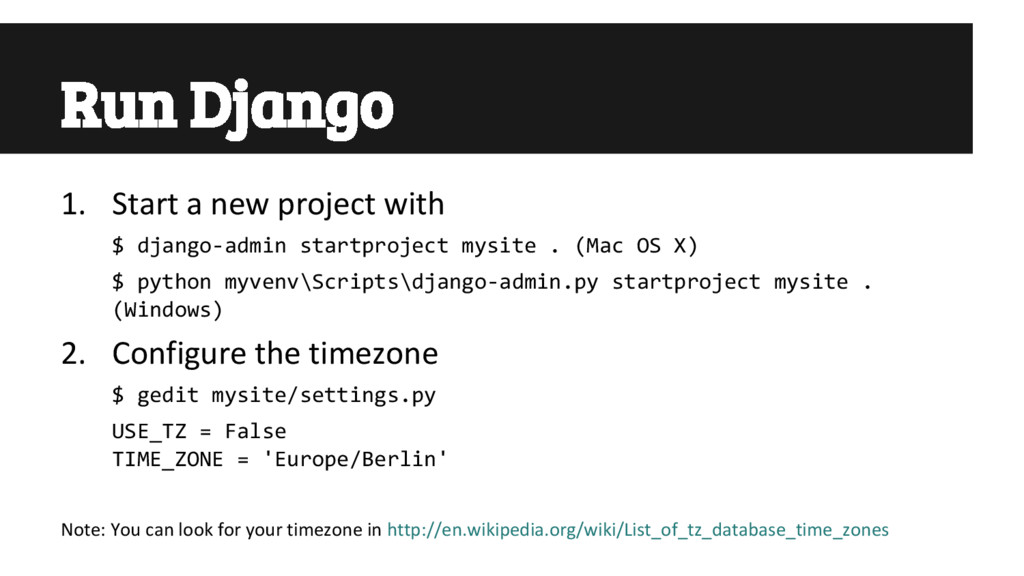
startproject mysite . (Mac OS X) $ python myvenv\Scripts\django-admin.py startproject mysite . (Windows) 2. Configure the timezone $ gedit mysite/settings.py USE_TZ = False TIME_ZONE = 'Europe/Berlin' Note: You can look for your timezone in http://en.wikipedia.org/wiki/List_of_tz_database_time_zones
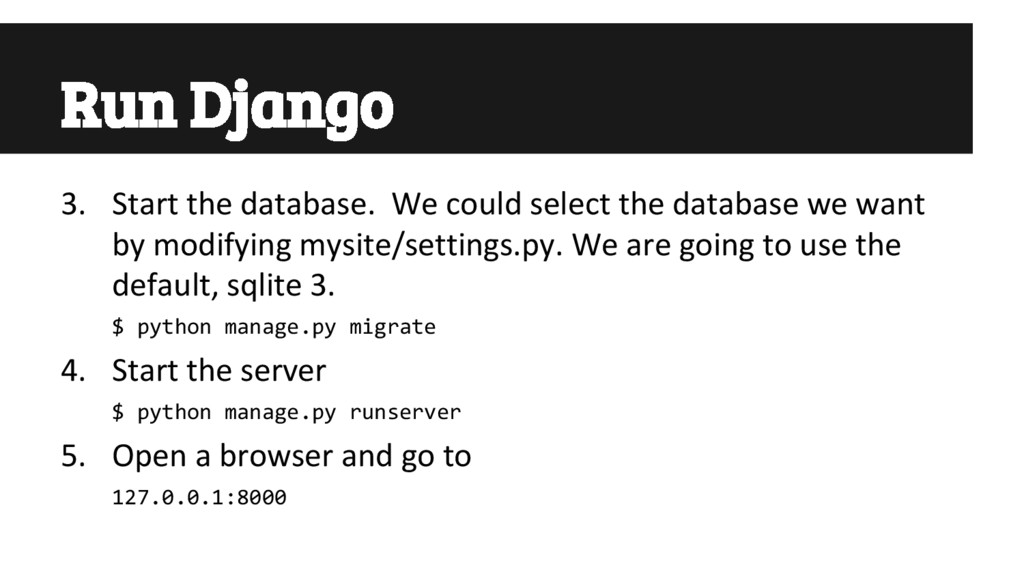
database we want by modifying mysite/settings.py. We are going to use the default, sqlite 3. $ python manage.py migrate 4. Start the server $ python manage.py runserver 5. Open a browser and go to 127.0.0.1:8000