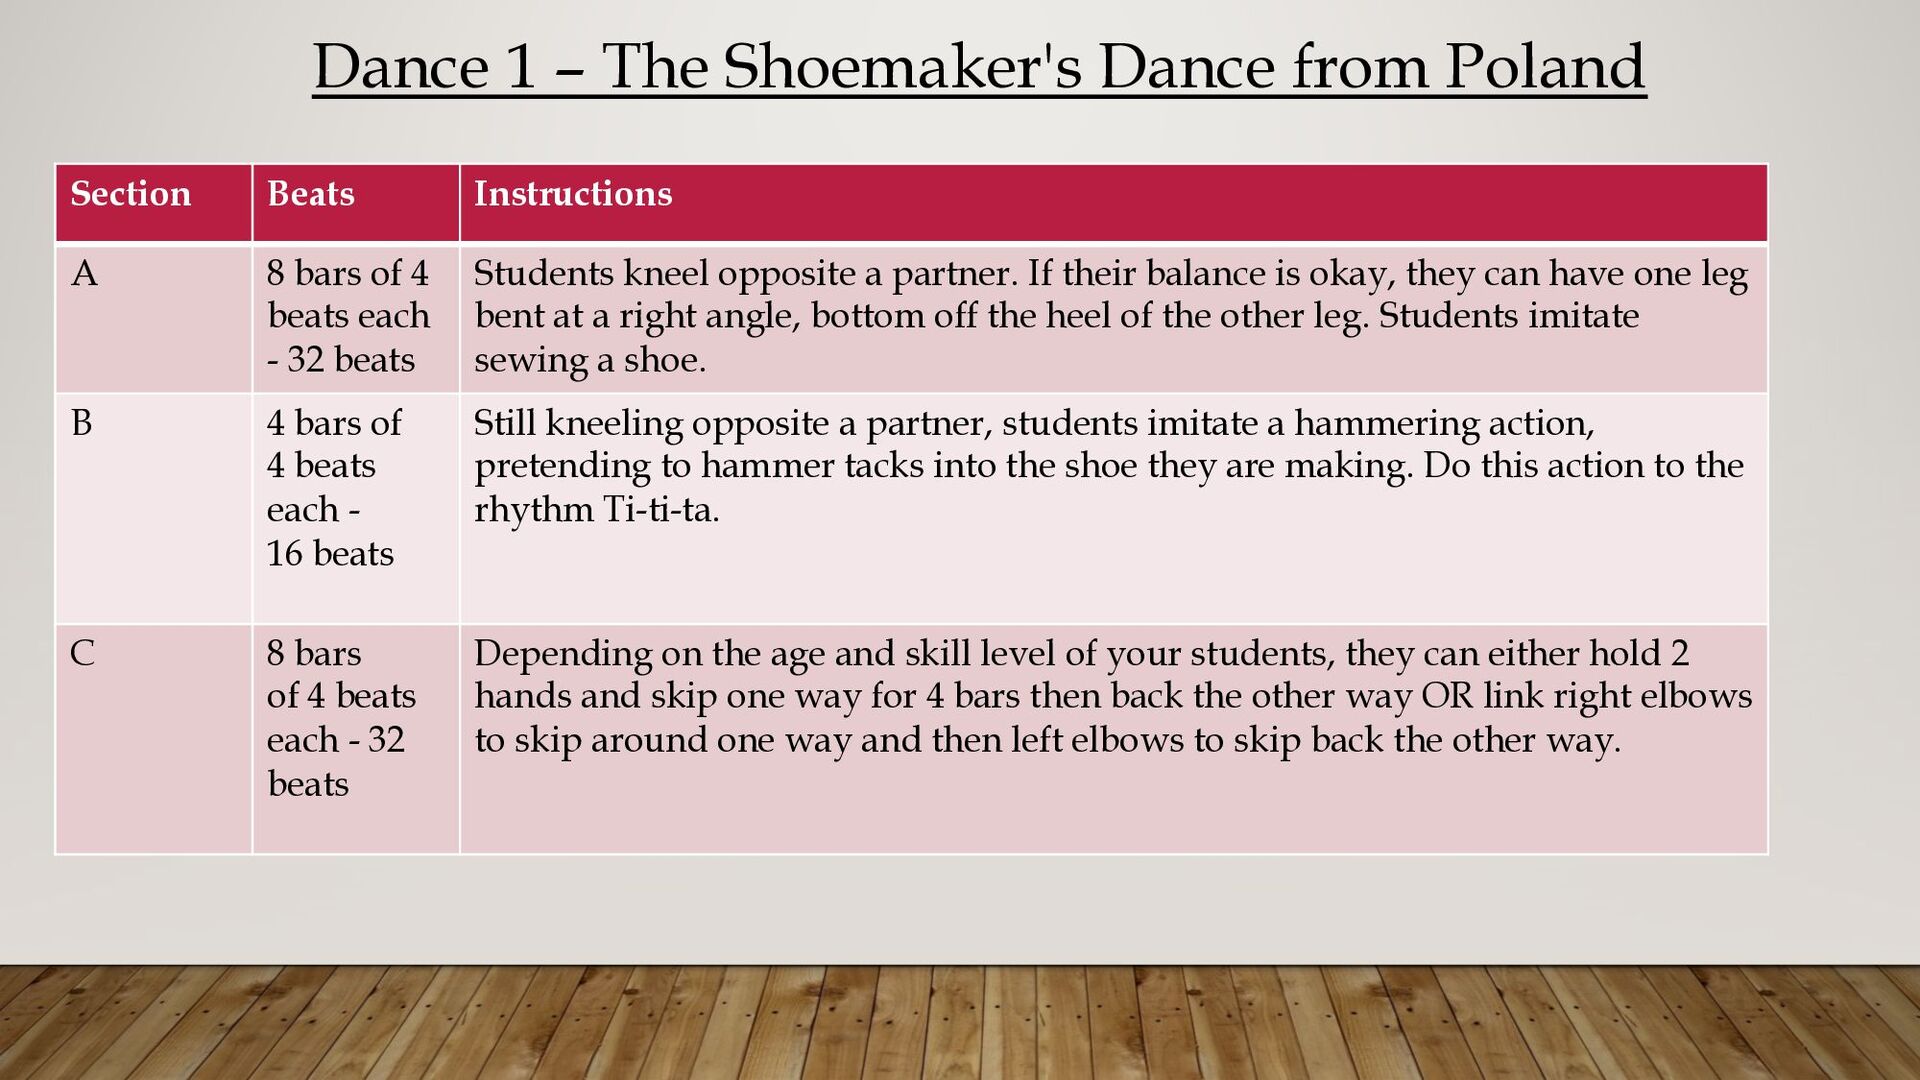
add text Section Beats Instructions A 8 bars of 4 beats each - 32 beats Students kneel opposite a partner. If their balance is okay, they can have one leg bent at a right angle, bottom off the heel of the other leg. Students imitate sewing a shoe. B 4 bars of 4 beats each - 16 beats Still kneeling opposite a partner, students imitate a hammering action, pretending to hammer tacks into the shoe they are making. Do this action to the rhythm Ti-ti-ta. C 8 bars of 4 beats each - 32 beats Depending on the age and skill level of your students, they can either hold 2 hands and skip one way for 4 bars then back the other way OR link right elbows to skip around one way and then left elbows to skip back the other way.
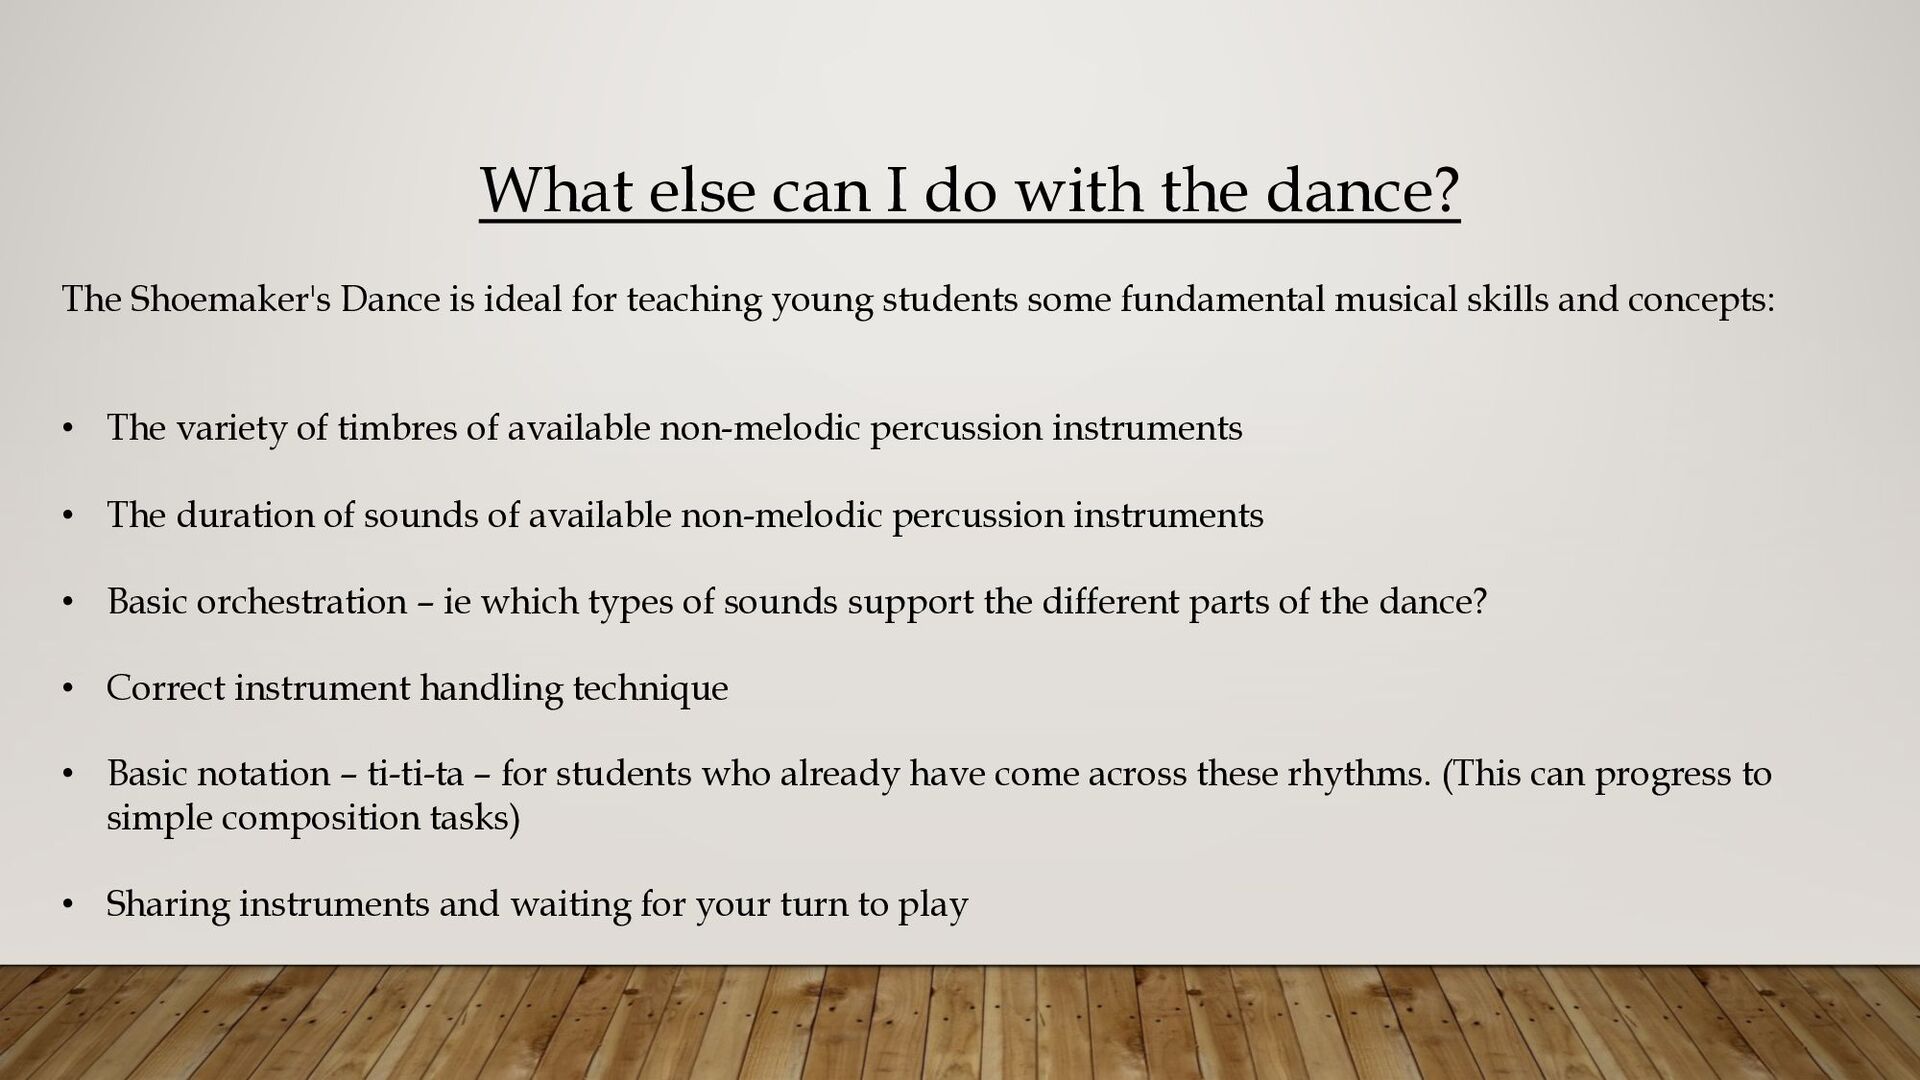
Dance is ideal for teaching young students some fundamental musical skills and concepts: • The variety of timbres of available non-melodic percussion instruments • The duration of sounds of available non-melodic percussion instruments • Basic orchestration – ie which types of sounds support the different parts of the dance? • Correct instrument handling technique • Basic notation – ti-ti-ta – for students who already have come across these rhythms. (This can progress to simple composition tasks) • Sharing instruments and waiting for your turn to play
in a circle, all holding hands Section beats Instructions A1 16 Walk around the circle, holding hands, standing straight A2 4 Still walking in the same direction, bend the body forward as the melody descends A3 4 Continue walking but straighten the body A4 8 Repeat A2 and A3 B1 16 Dance leader makes up a way of keeping the beat for everyone to copy, on the spot, facing the centre of the circle. B2 4 All dancers take 4 steps in to the centre of the circle, bending the upper body forward with the descending melody. B3 4 All dancers take 4 steps back out, straightening up the body B4 8 Repeat Sections B2 and B3 Start the dance again, with a new leader for section B1.
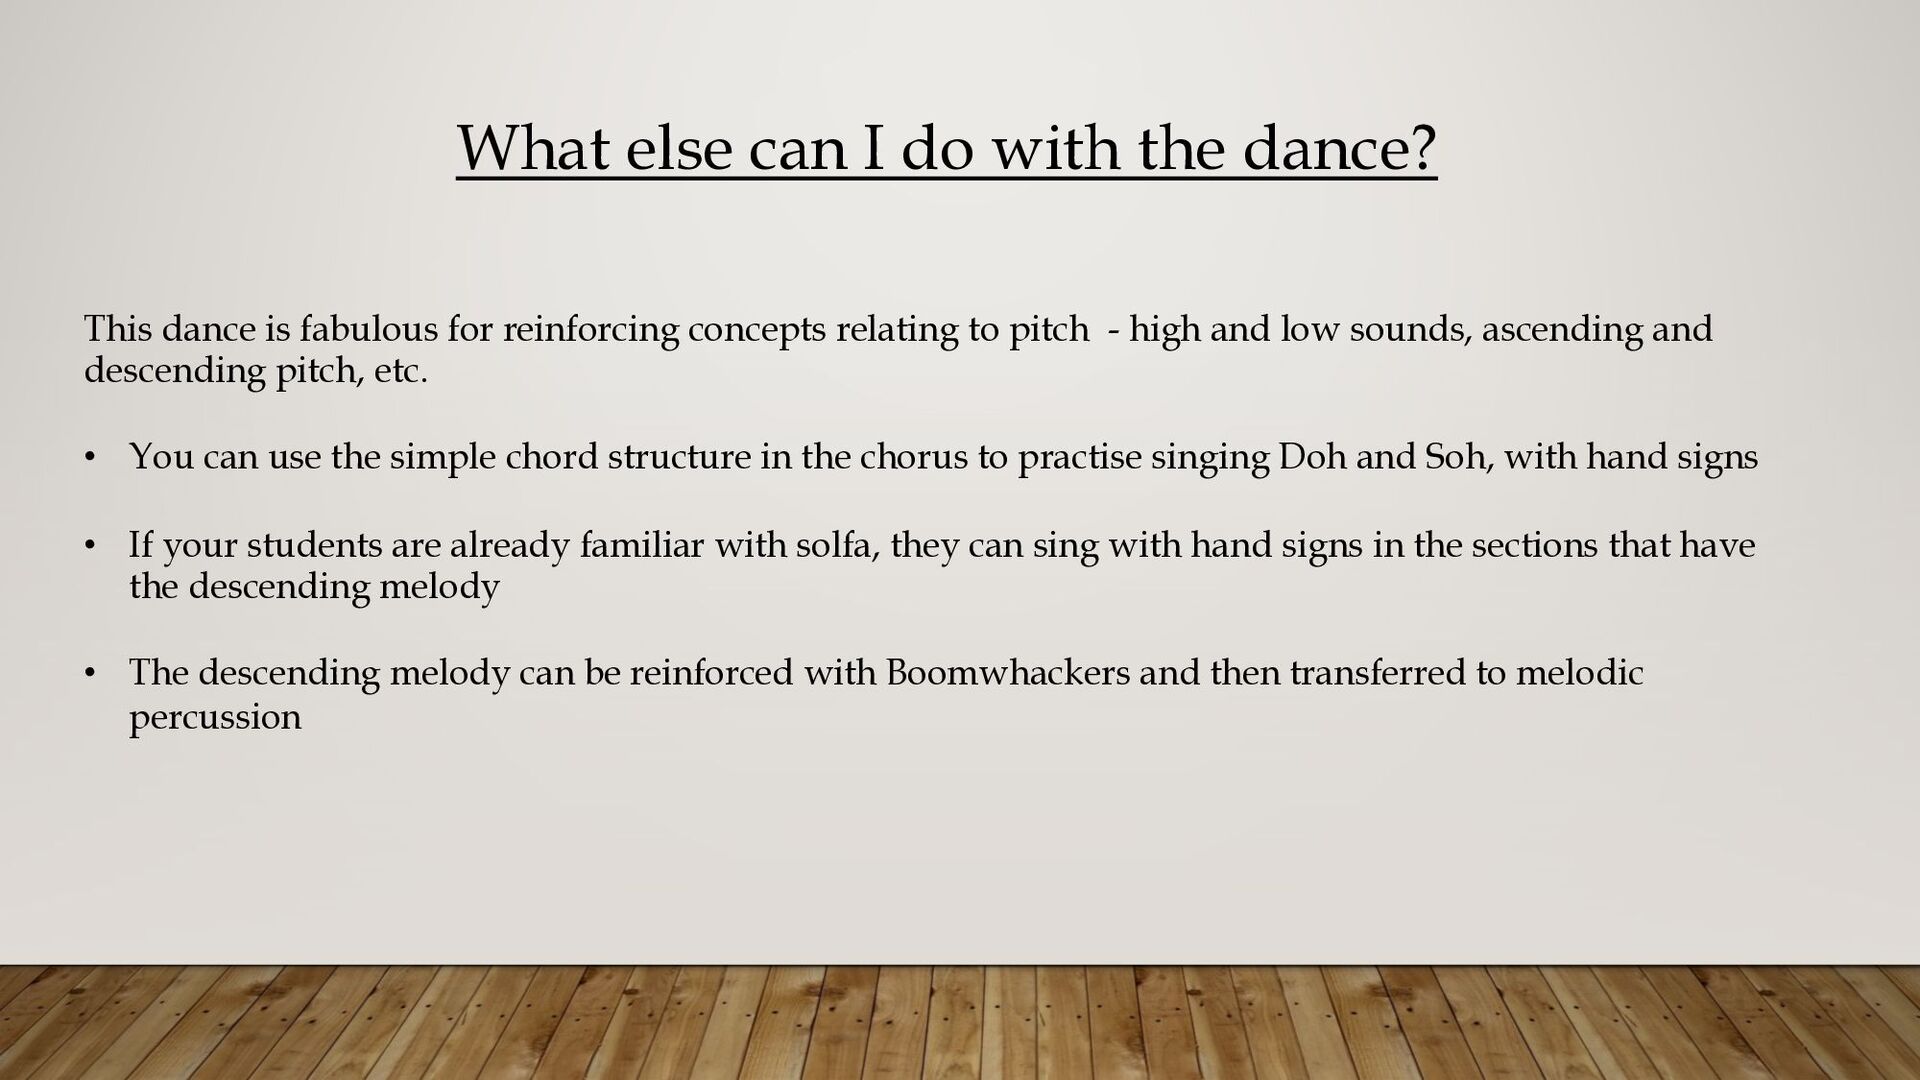
is fabulous for reinforcing concepts relating to pitch - high and low sounds, ascending and descending pitch, etc. • You can use the simple chord structure in the chorus to practise singing Doh and Soh, with hand signs • If your students are already familiar with solfa, they can sing with hand signs in the sections that have the descending melody • The descending melody can be reinforced with Boomwhackers and then transferred to melodic percussion
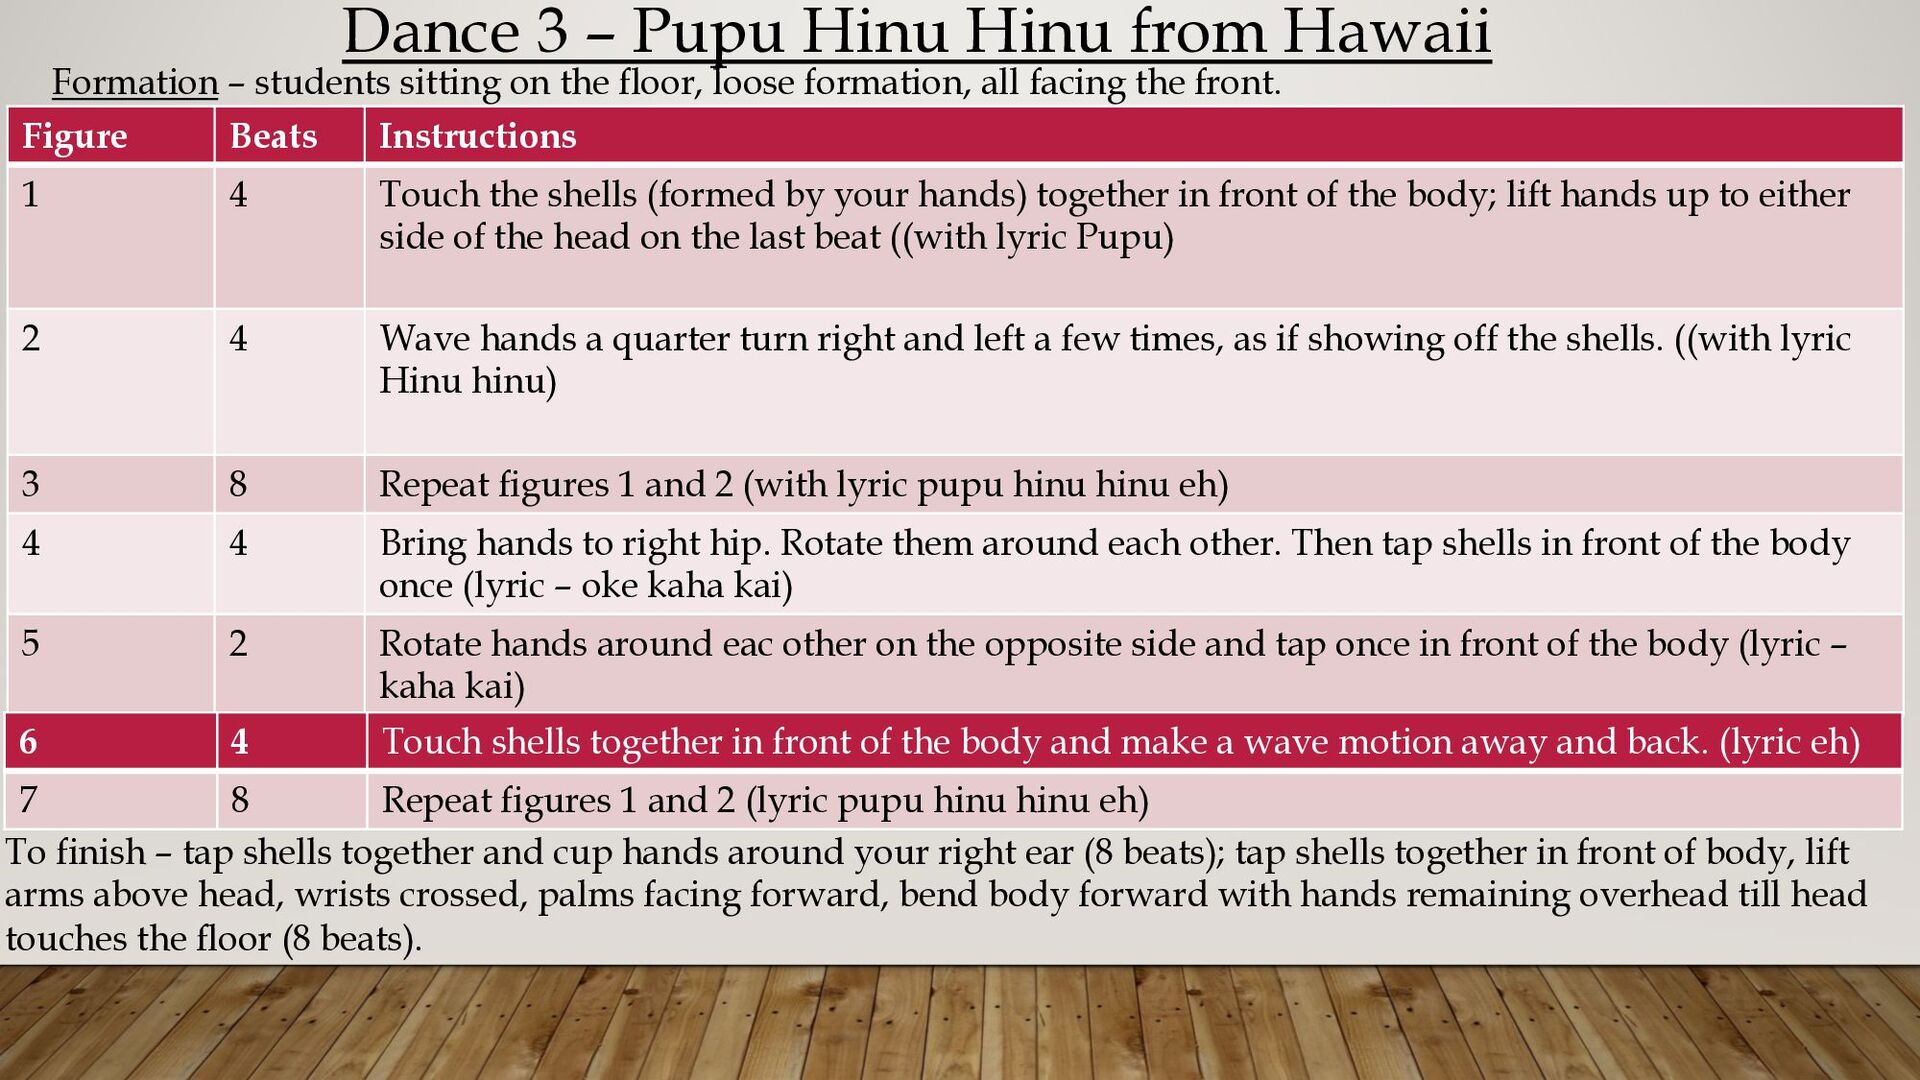
students sitting on the floor, loose formation, all facing the front. Figure Beats Instructions 1 4 Touch the shells (formed by your hands) together in front of the body; lift hands up to either side of the head on the last beat ((with lyric Pupu) 2 4 Wave hands a quarter turn right and left a few times, as if showing off the shells. ((with lyric Hinu hinu) 3 8 Repeat figures 1 and 2 (with lyric pupu hinu hinu eh) 4 4 Bring hands to right hip. Rotate them around each other. Then tap shells in front of the body once (lyric – oke kaha kai) 5 2 Rotate hands around eac other on the opposite side and tap once in front of the body (lyric – kaha kai) 6 4 Touch shells together in front of the body and make a wave motion away and back. (lyric eh) 7 8 Repeat figures 1 and 2 (lyric pupu hinu hinu eh) To finish – tap shells together and cup hands around your right ear (8 beats); tap shells together in front of body, lift arms above head, wrists crossed, palms facing forward, bend body forward with hands remaining overhead till head touches the floor (8 beats).
is very useful for a few different purposes: • Promoting awareness and appreciation of another culture • It is a quick, easy, effective item to have up your sleeve for a performance • It can be very useful to use as a group composition tool. You can use it purely to investigate timbres – ie create a seaside soundscape and/or use it to investigate graphic notation.
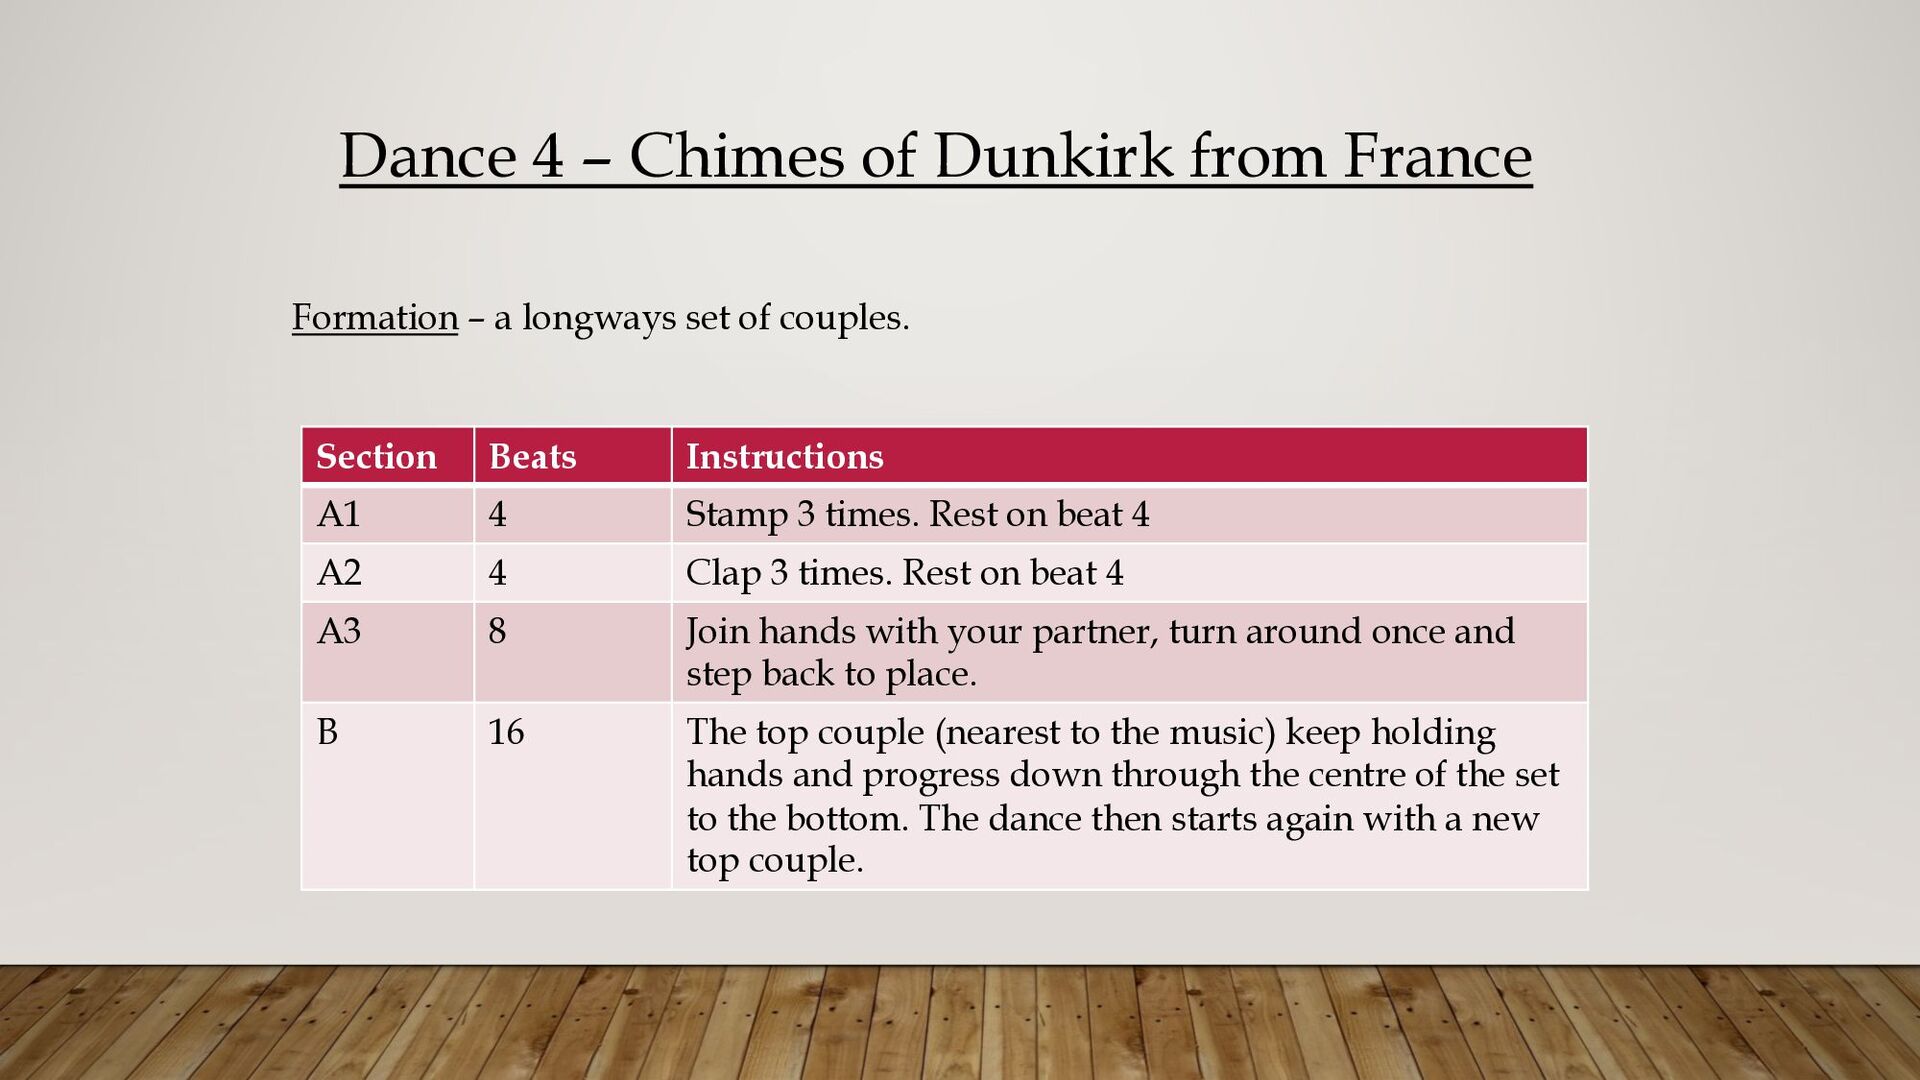
Instructions A1 4 Stamp 3 times. Rest on beat 4 A2 4 Clap 3 times. Rest on beat 4 A3 8 Join hands with your partner, turn around once and step back to place. B 16 The top couple (nearest to the music) keep holding hands and progress down through the centre of the set to the bottom. The dance then starts again with a new top couple. Formation – a longways set of couples.
is tremendously useful for introducing traditional Western notation to very young students. • Take the stamping pattern (ta, ta, ta, rest) and put it onto different parts of the body. Have half of the class doing the dance a few times through, while the other half perform this rhythm pattern. (Remember to swap over). • Play this pattern on non melodic percussion. • Put the instruments away and draw the rhythm on the board. Let students perform it while you point at the notation. • Jumble up the rhythms. • Play as a score • Learn to draw crotchet note and rest. • Each student draws their own pattern and shows it to a friend who performs it using body percussion only.