Copy into your project ◦ IInAppBillingService.aidl ◦ All Java files in trivialdrivesample/util • Add billing permission into your manifest <uses-permission android:name= "com.android.vending.BILLING" /> 1Step 2
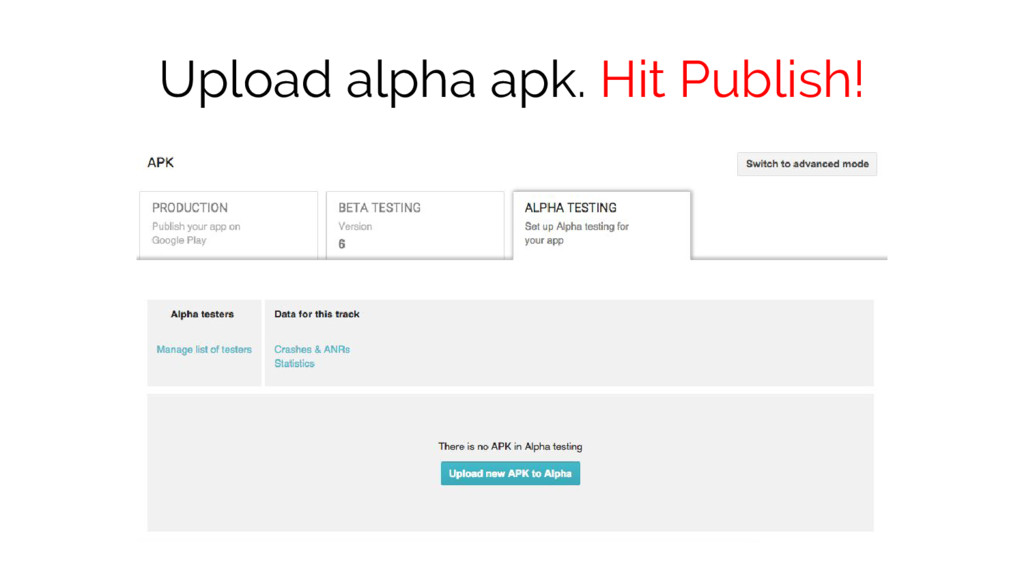
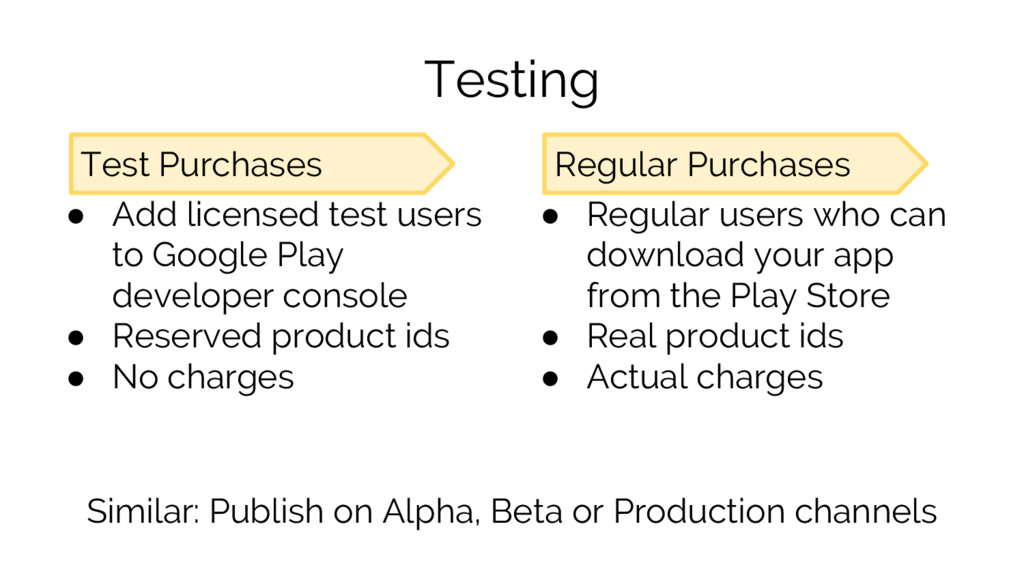
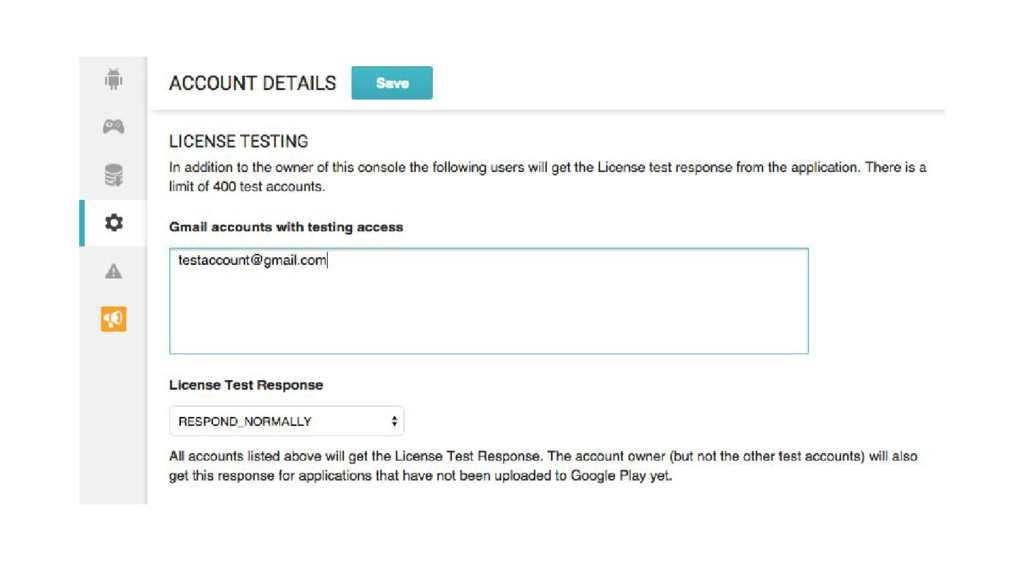
console • Reserved product ids • No charges • • Regular users who can download your app from the Play Store • Real product ids • Actual charges Similar: Publish on Alpha, Beta or Production channels Test Purchases Regular Purchases
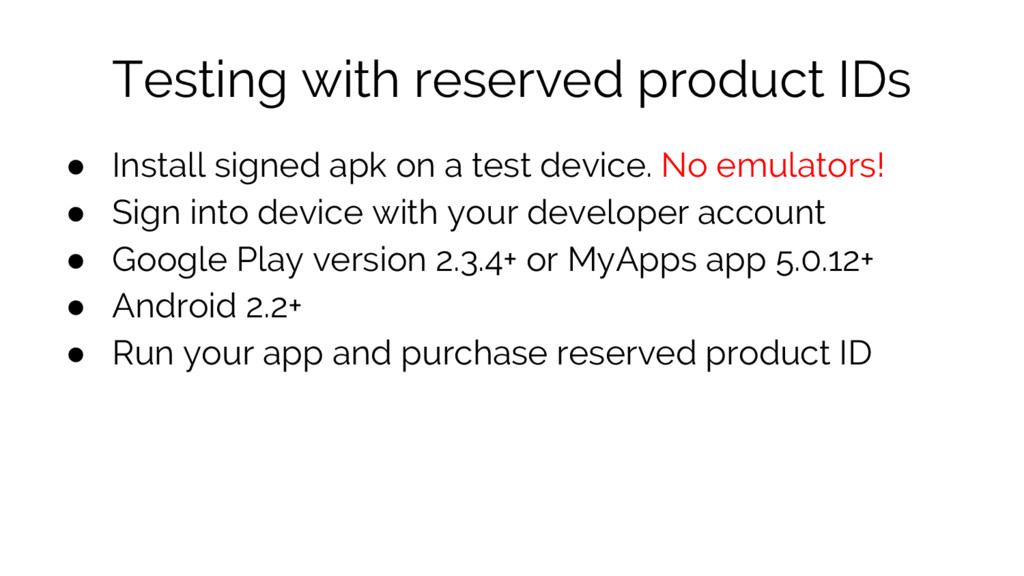
a test device. No emulators! • Sign into device with your developer account • Google Play version 2.3.4+ or MyApps app 5.0.12+ • Android 2.2+ • Run your app and purchase reserved product ID
signed apk to alpha/beta channel • Add a real managed product to Developer Console • Install signed apk on a test device. No emulators! • Google Play version 2.3.4+ or MyApps app 5.0.12+ • Android 2.2+ • Purchase the real product with a real credit card • Factory reset device for same product purchase!
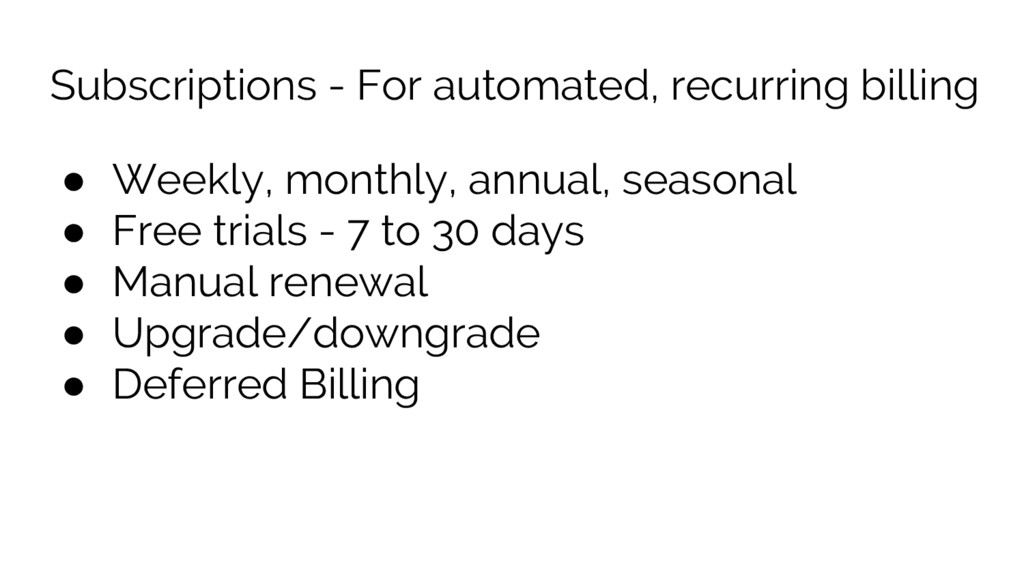
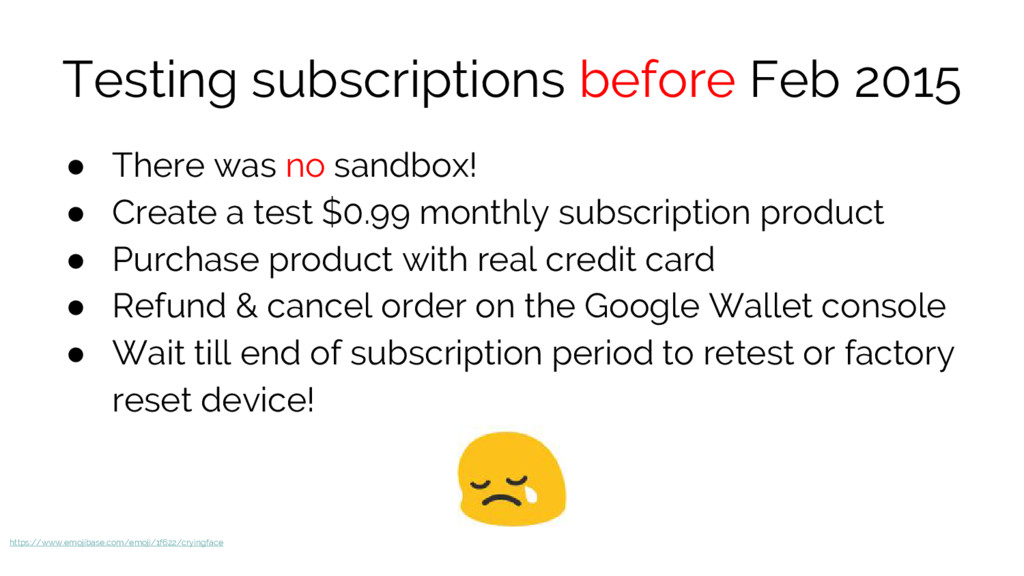
• Create a test $0.99 monthly subscription product • Purchase product with real credit card • Refund & cancel order on the Google Wallet console • Wait till end of subscription period to retest or factory reset device! https://www.emojibase.com/emoji/1f622/cryingface
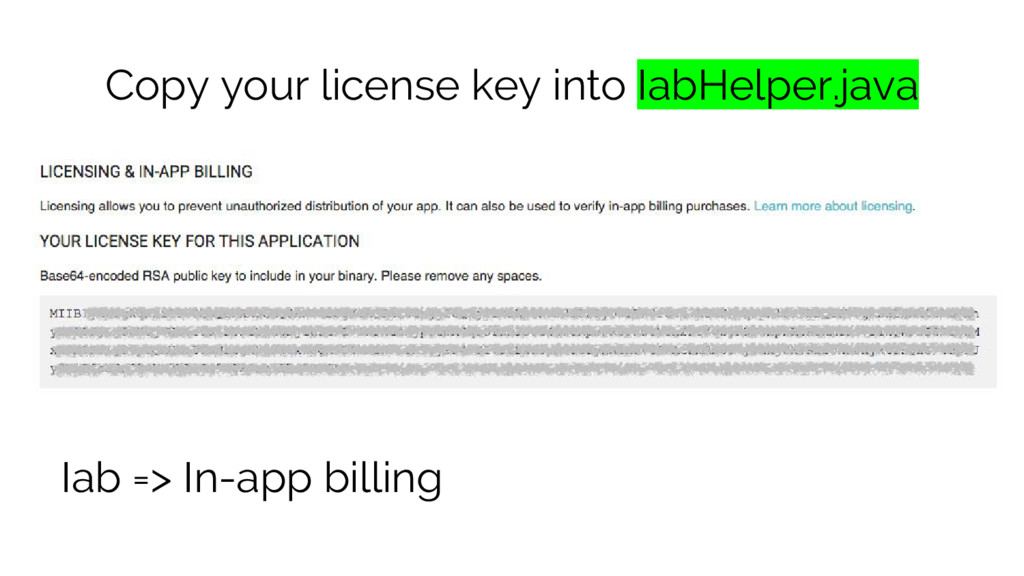
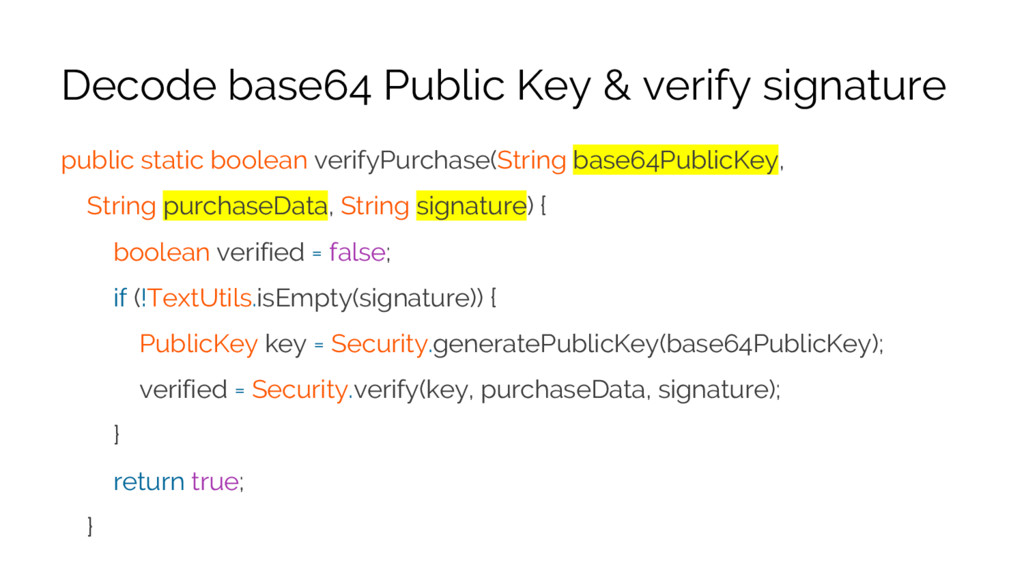
Protect unlocked/premium content • Protect your Google Play Public Key • Modify sample application code • Use developer payload to uniquely identify user • Signature verification on your client and server
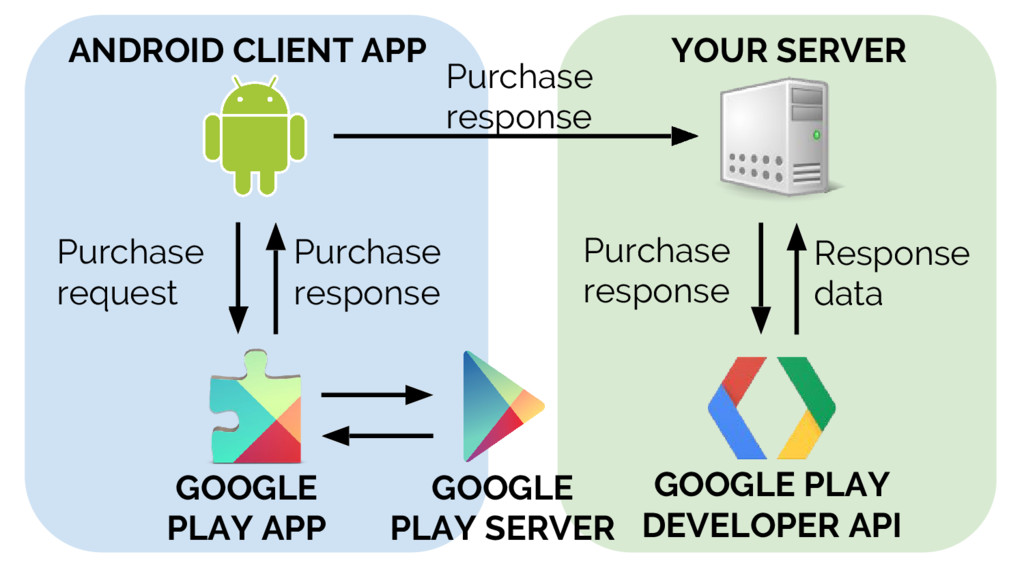
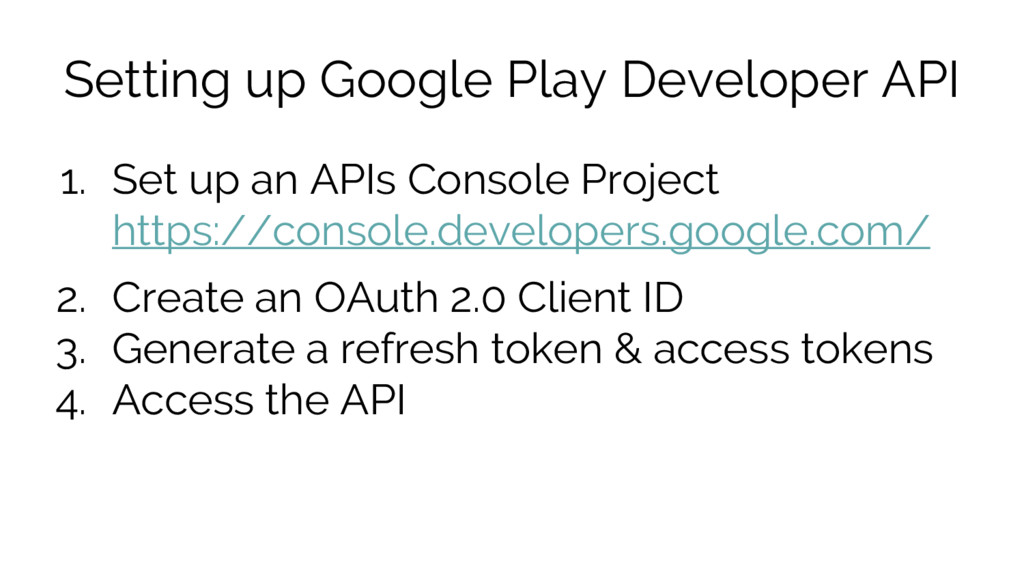
APIs Console Project https://console.developers.google.com/ 2. Create an OAuth 2.0 Client ID 3. Generate a refresh token & access tokens 4. Access the API
Play to Distribute and Monetize • Video: In-app Billing Version 3 (Google I/O 2013) • Using OAuth 2.0 to access Google Play APIs • Google API client libraries