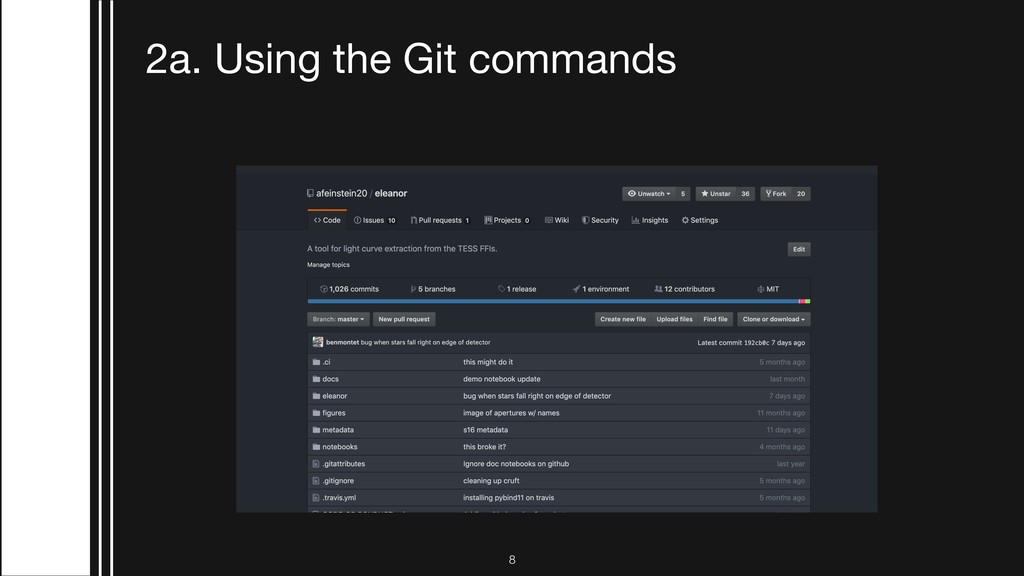
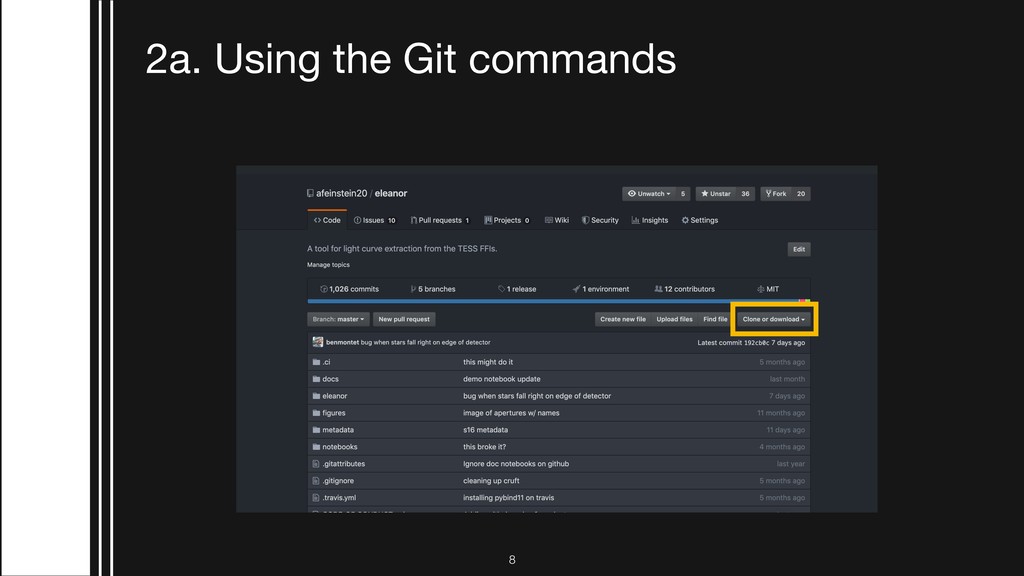
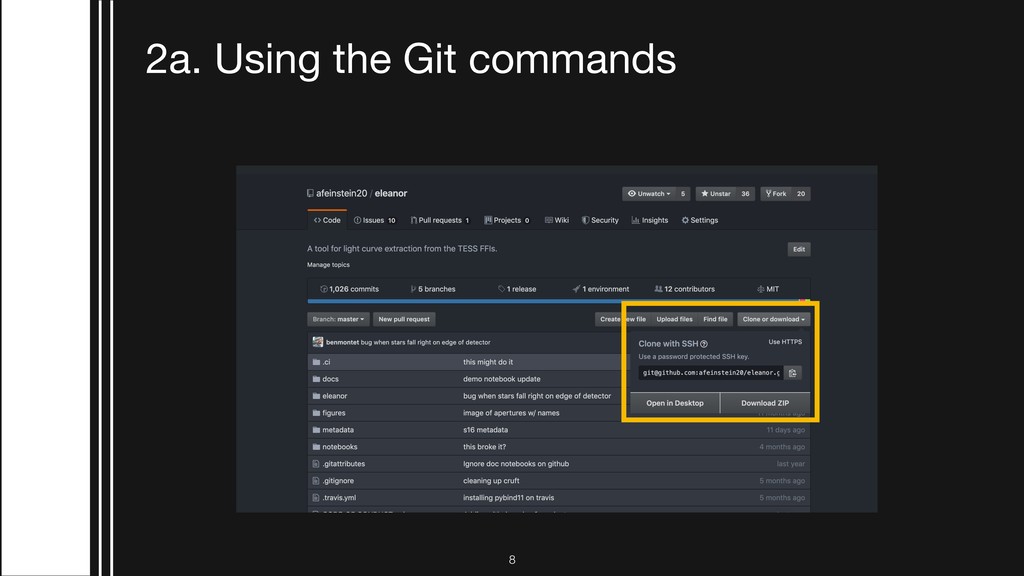
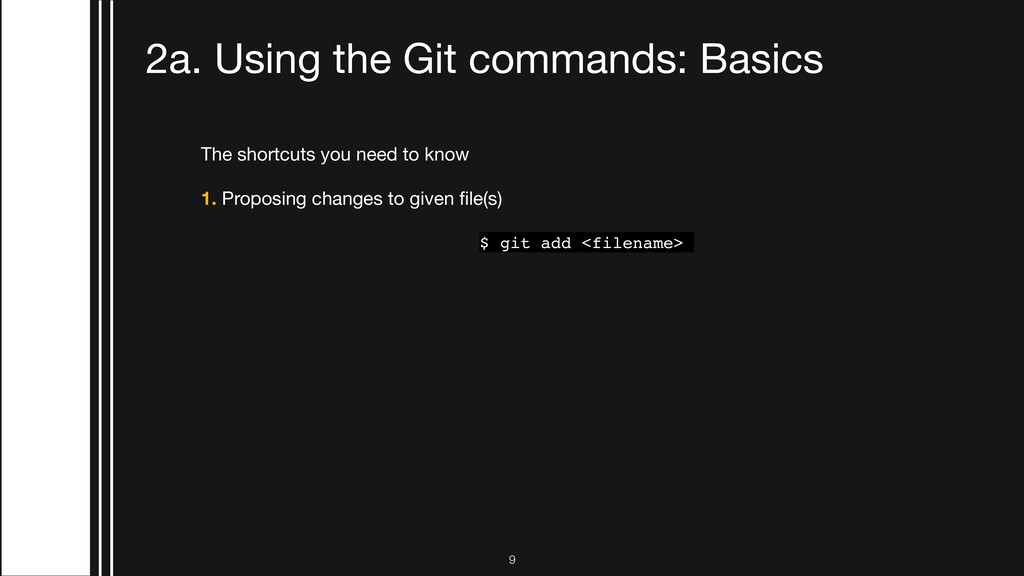
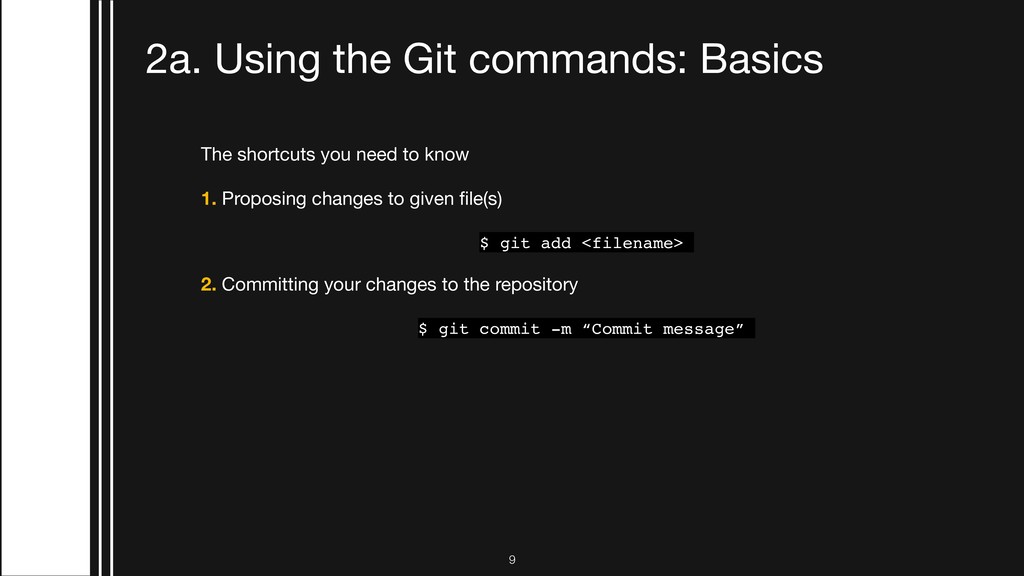
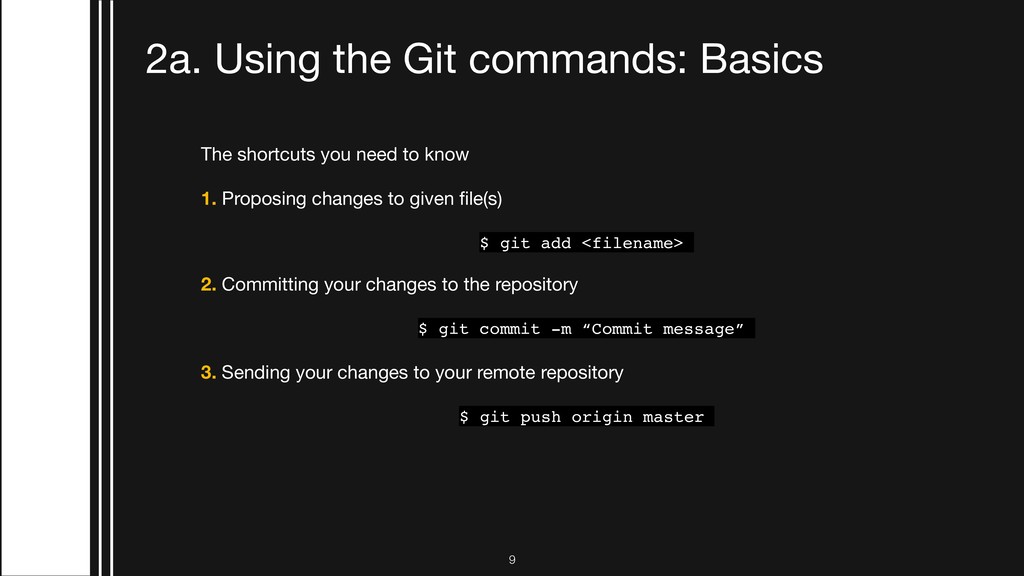
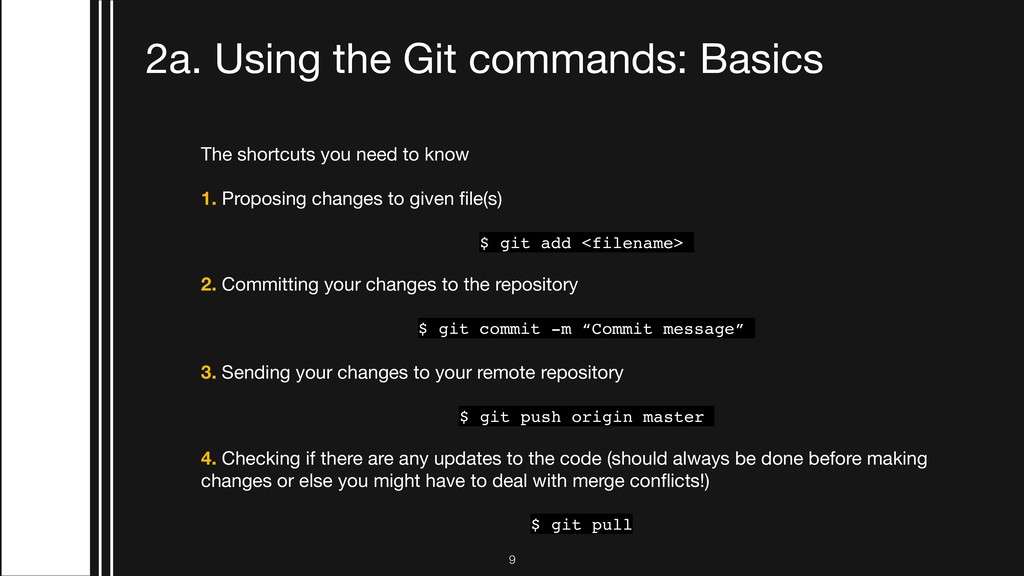
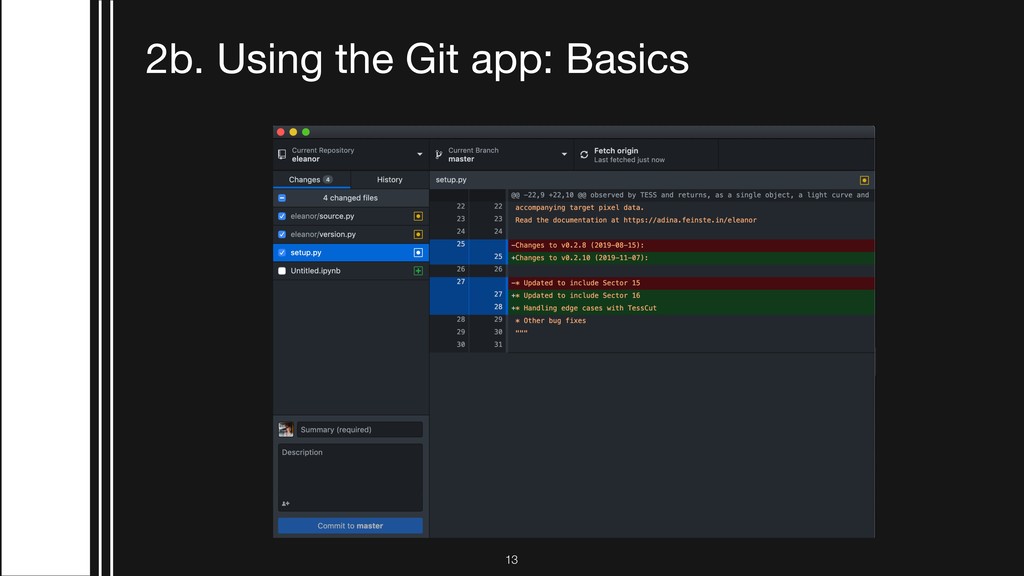
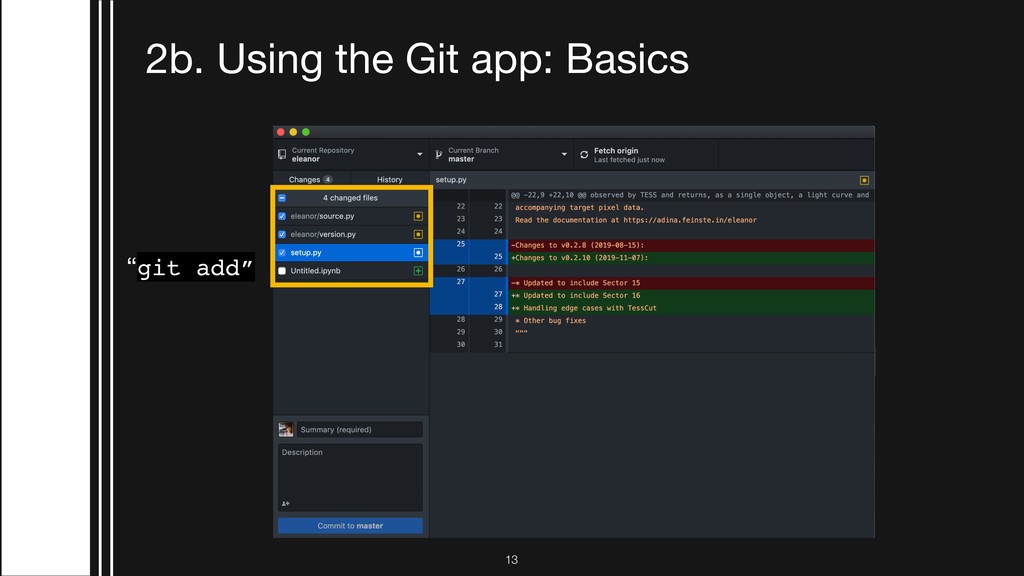
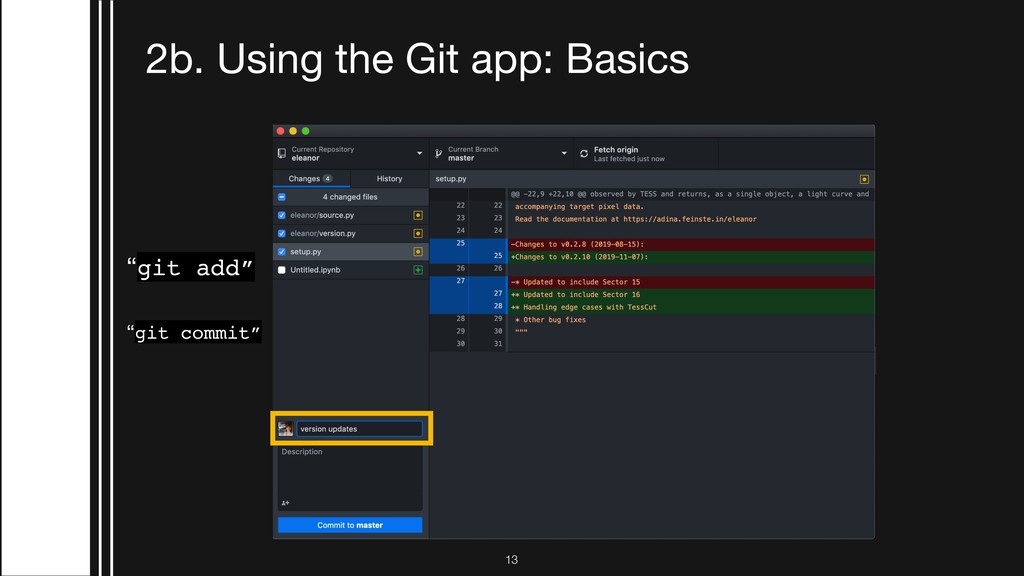
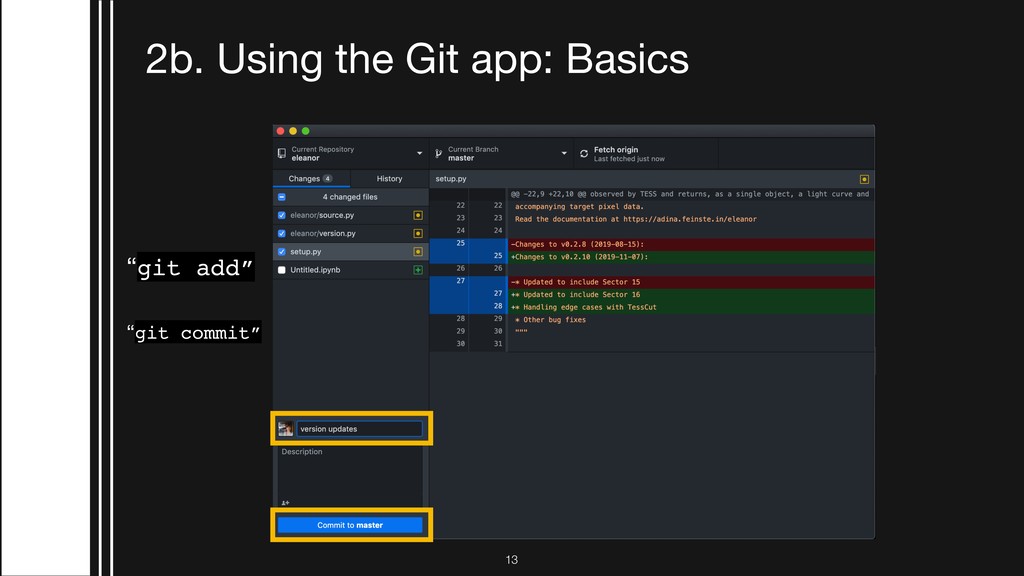
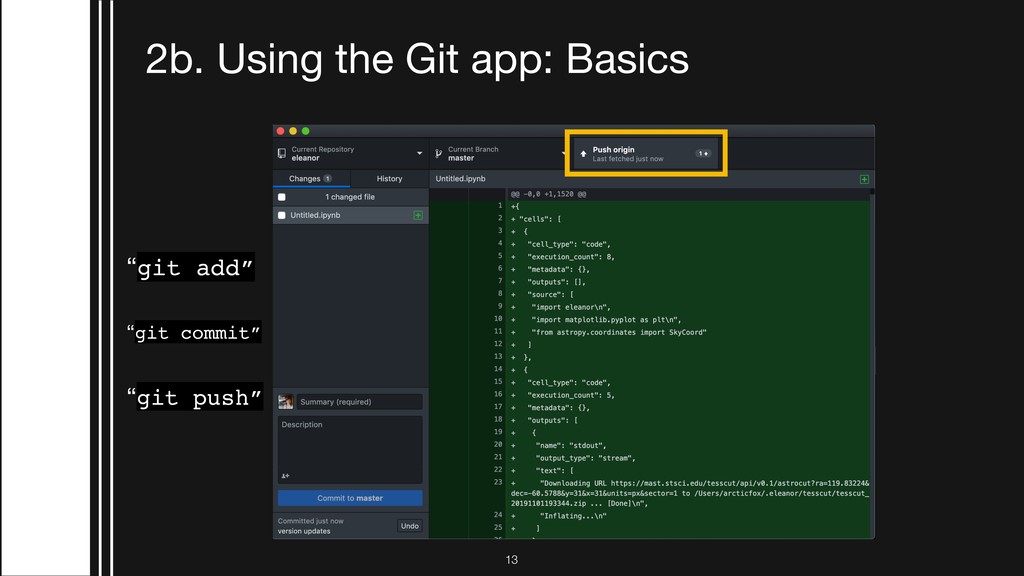
given file(s) $ git add <filename> 2. Committing your changes to the repository $ git commit -m “Commit message” 3. Sending your changes to your remote repository $ git push origin master 4. Checking if there are any updates to the code (should always be done before making changes or else you might have to deal with merge conflicts!) $ git pull 2a. Using the Git commands: Basics !9
given file(s) $ git add <filename> 2. Committing your changes to the repository $ git commit -m “Commit message” 3. Sending your changes to your remote repository $ git push origin master 4. Checking if there are any updates to the code (should always be done before making changes or else you might have to deal with merge conflicts!) $ git pull 2a. Using the Git commands: Basics !9
given file(s) $ git add <filename> 2. Committing your changes to the repository $ git commit -m “Commit message” 3. Sending your changes to your remote repository $ git push origin master 4. Checking if there are any updates to the code (should always be done before making changes or else you might have to deal with merge conflicts!) $ git pull 2a. Using the Git commands: Basics !9
given file(s) $ git add <filename> 2. Committing your changes to the repository $ git commit -m “Commit message” 3. Sending your changes to your remote repository $ git push origin master 4. Checking if there are any updates to the code (should always be done before making changes or else you might have to deal with merge conflicts!) $ git pull 2a. Using the Git commands: Basics !9
given file(s) $ git add <filename> 2. Committing your changes to the repository $ git commit -m “Commit message” 3. Sending your changes to your remote repository $ git push origin master 4. Checking if there are any updates to the code (should always be done before making changes or else you might have to deal with merge conflicts!) $ git pull 2a. Using the Git commands: Basics !9
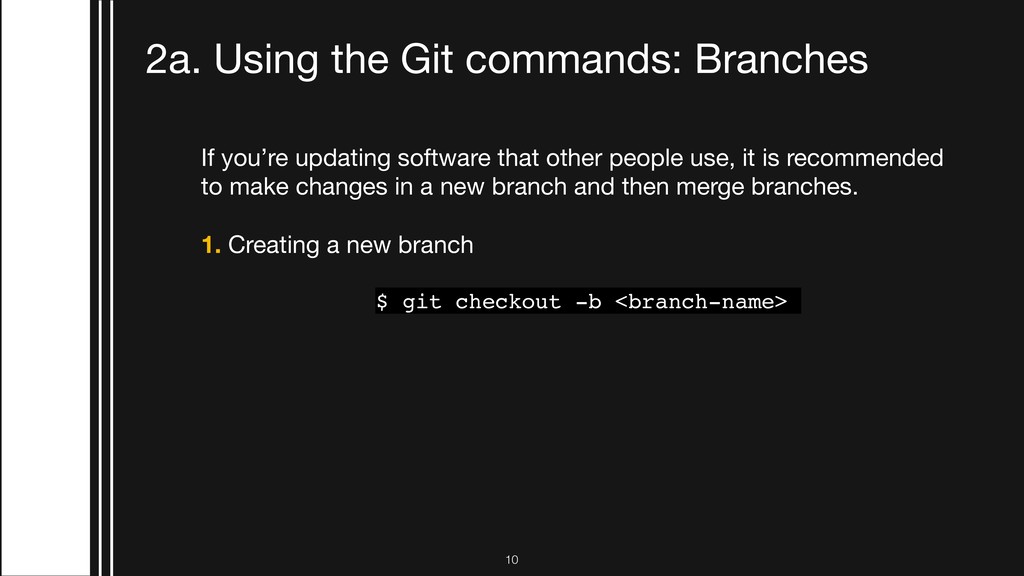
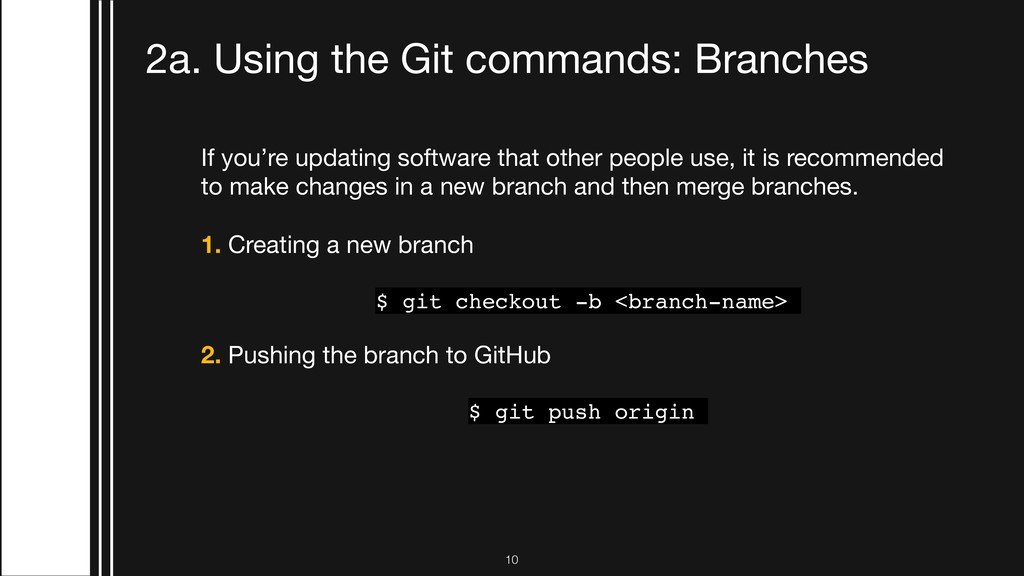
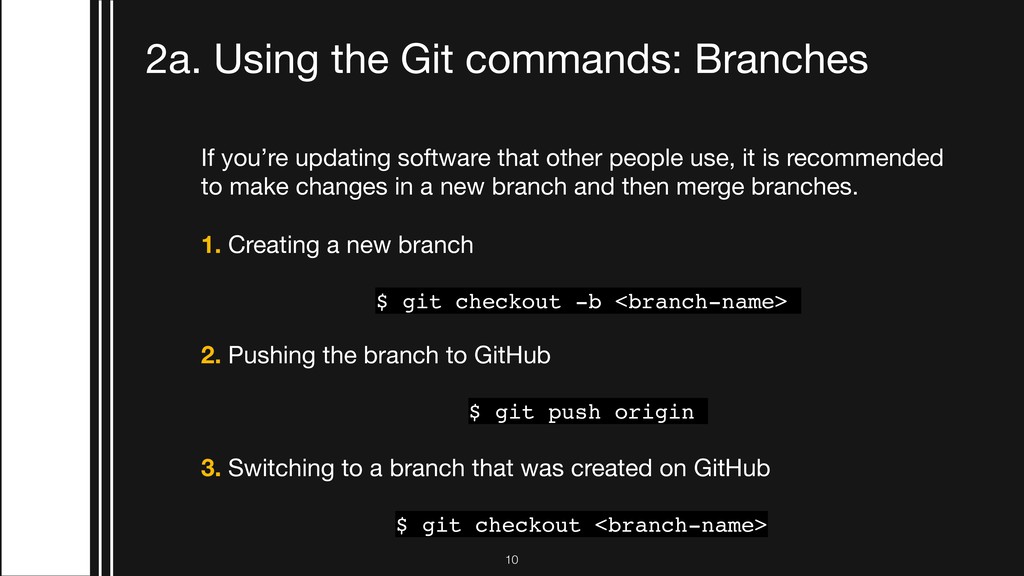
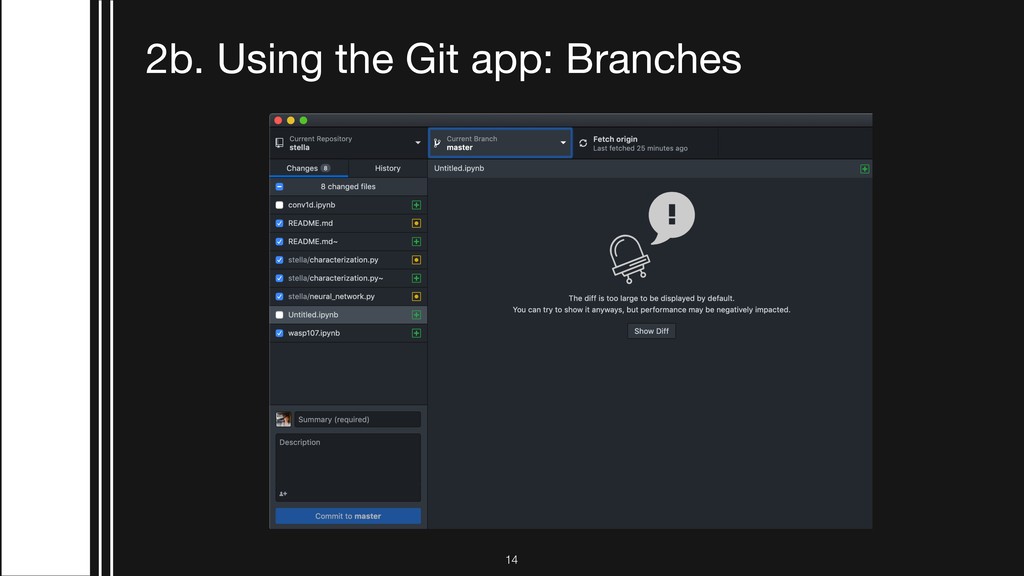
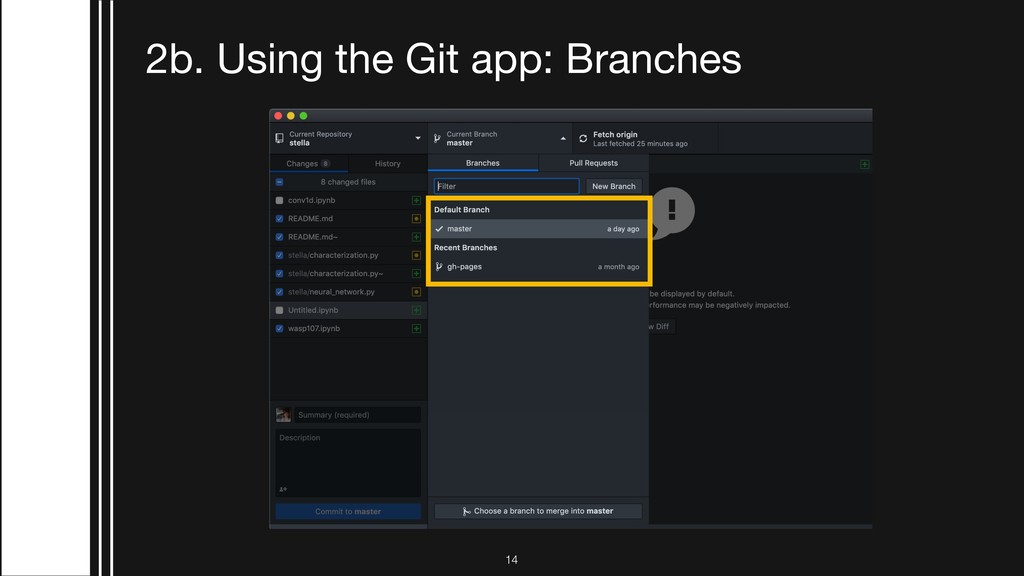
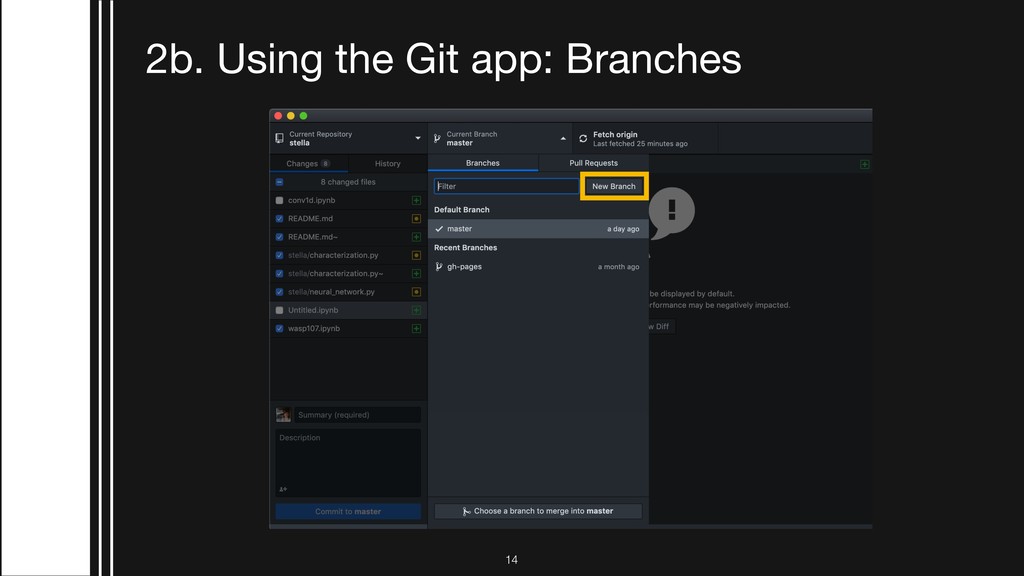
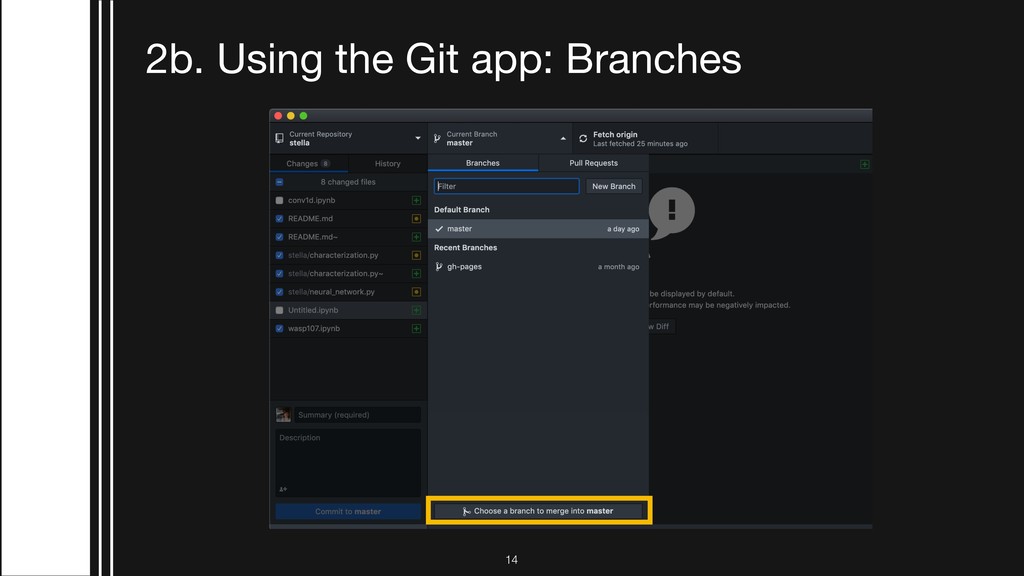
recommended to make changes in a new branch and then merge branches. 1. Creating a new branch $ git checkout -b <branch-name> 2. Pushing the branch to GitHub $ git push origin 3. Switching to a branch that was created on GitHub $ git checkout <branch-name> 2a. Using the Git commands: Branches !10
recommended to make changes in a new branch and then merge branches. 1. Creating a new branch $ git checkout -b <branch-name> 2. Pushing the branch to GitHub $ git push origin 3. Switching to a branch that was created on GitHub $ git checkout <branch-name> 2a. Using the Git commands: Branches !10
recommended to make changes in a new branch and then merge branches. 1. Creating a new branch $ git checkout -b <branch-name> 2. Pushing the branch to GitHub $ git push origin 3. Switching to a branch that was created on GitHub $ git checkout <branch-name> 2a. Using the Git commands: Branches !10
recommended to make changes in a new branch and then merge branches. 1. Creating a new branch $ git checkout -b <branch-name> 2. Pushing the branch to GitHub $ git push origin 3. Switching to a branch that was created on GitHub $ git checkout <branch-name> 2a. Using the Git commands: Branches !10
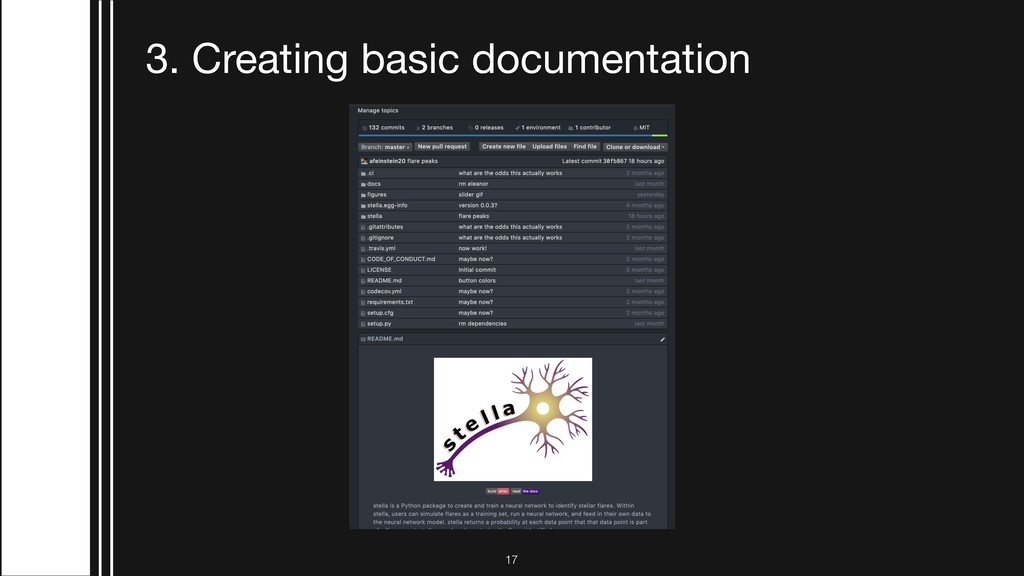
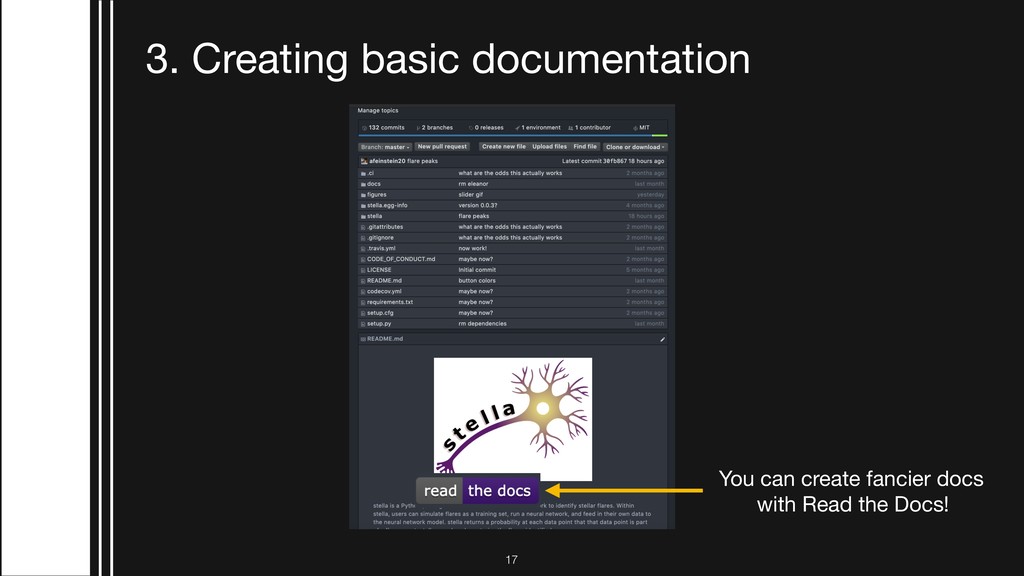
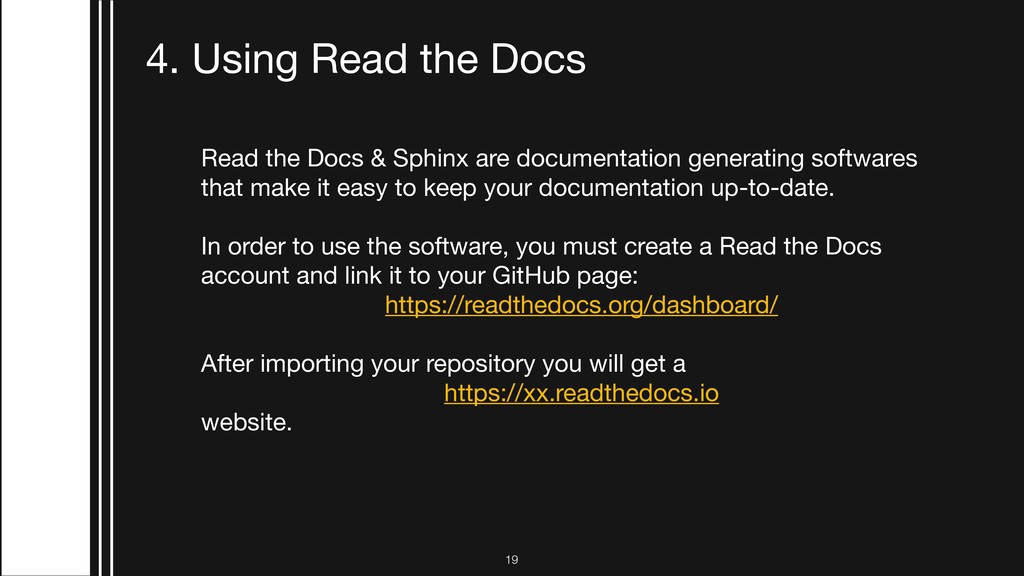
Sphinx are documentation generating softwares that make it easy to keep your documentation up-to-date. In order to use the software, you must create a Read the Docs account and link it to your GitHub page: https://readthedocs.org/dashboard/ After importing your repository you will get a https://xx.readthedocs.io website.
Sphinx to then build your documentation, you need a directory in your GitHub repository called docs and within docs you simply run the command $ sphinx-quickstart To see what your documentation looks like, you can run $ make html
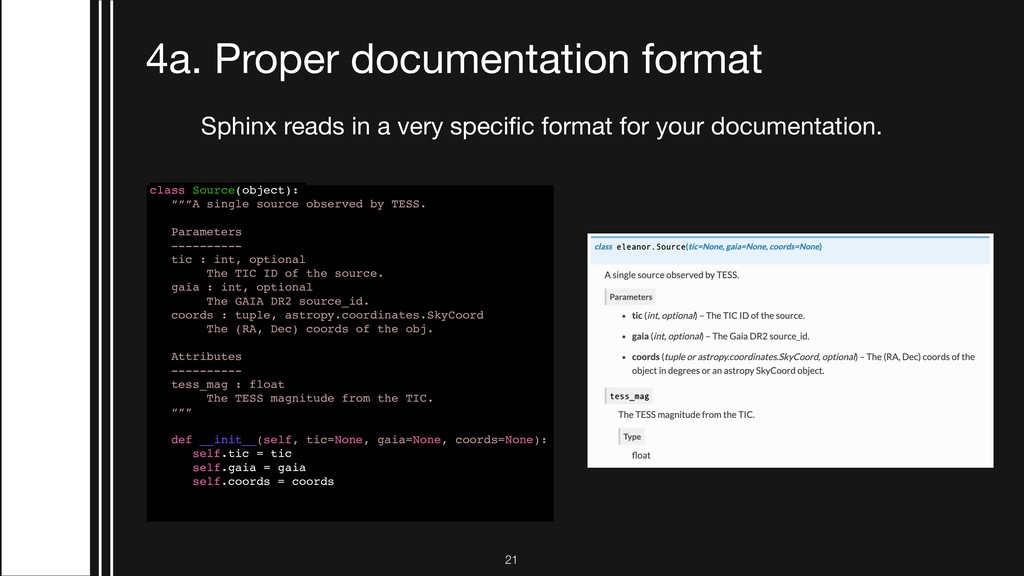
specific format for your documentation. class Source(object): ”””A single source observed by TESS. Parameters ---------- tic : int, optional The TIC ID of the source. gaia : int, optional The GAIA DR2 source_id. coords : tuple, astropy.coordinates.SkyCoord The (RA, Dec) coords of the obj. Attributes ---------- tess_mag : float The TESS magnitude from the TIC. “”” def __init__(self, tic=None, gaia=None, coords=None): self.tic = tic self.gaia = gaia self.coords = coords
specific format for your documentation. class Source(object): ”””A single source observed by TESS. Parameters ---------- tic : int, optional The TIC ID of the source. gaia : int, optional The GAIA DR2 source_id. coords : tuple, astropy.coordinates.SkyCoord The (RA, Dec) coords of the obj. Attributes ---------- tess_mag : float The TESS magnitude from the TIC. “”” def __init__(self, tic=None, gaia=None, coords=None): self.tic = tic self.gaia = gaia self.coords = coords )
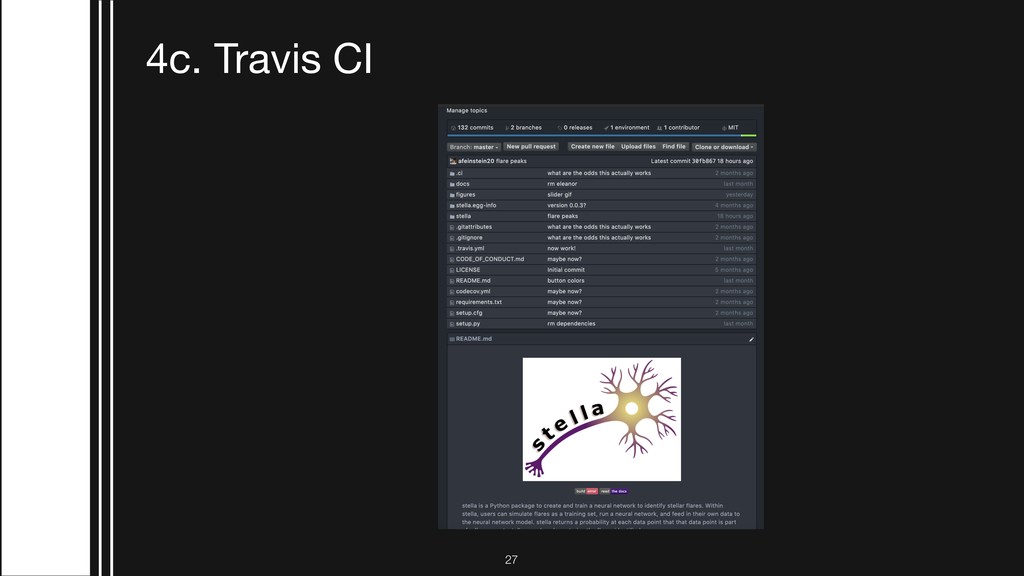
that are located in /<package-name>/<package-name>/tests You should have tests for every class in your package. With every GitHub push, Travis will build package and run all of your tests. The progress can be tracked on https://travis-ci.org You have to make an account with Travis CI and link it to your GitHub.
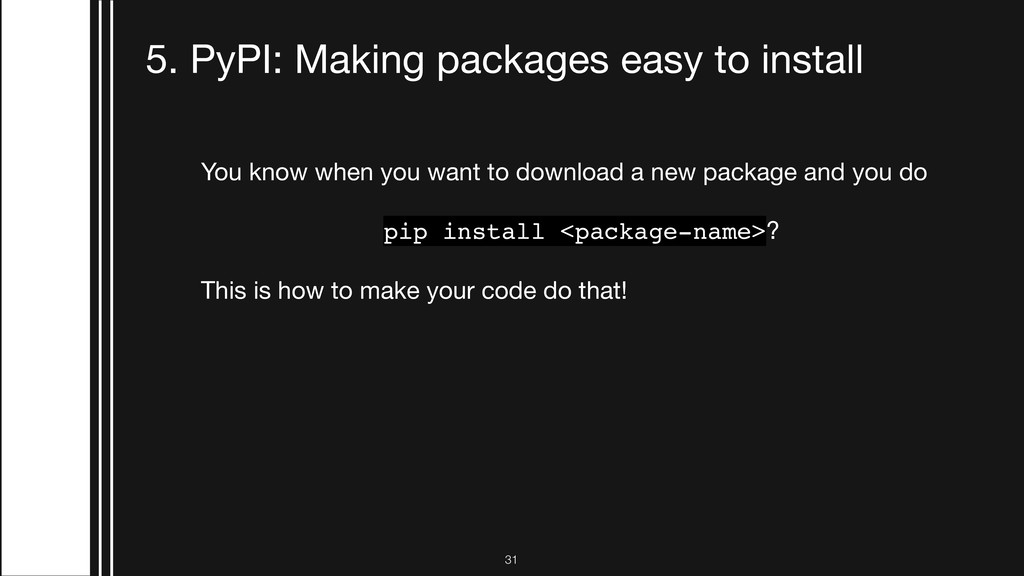
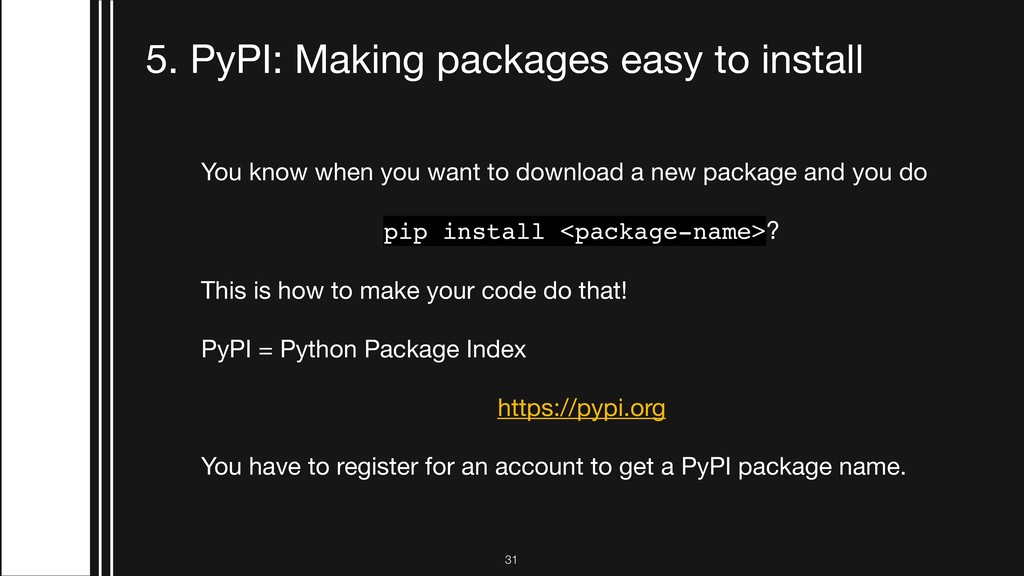
when you want to download a new package and you do pip install <package-name>? This is how to make your code do that! PyPI = Python Package Index https://pypi.org You have to register for an account to get a PyPI package name.
when you want to download a new package and you do pip install <package-name>? This is how to make your code do that! PyPI = Python Package Index https://pypi.org You have to register for an account to get a PyPI package name.
when you want to download a new package and you do pip install <package-name>? This is how to make your code do that! PyPI = Python Package Index https://pypi.org You have to register for an account to get a PyPI package name.
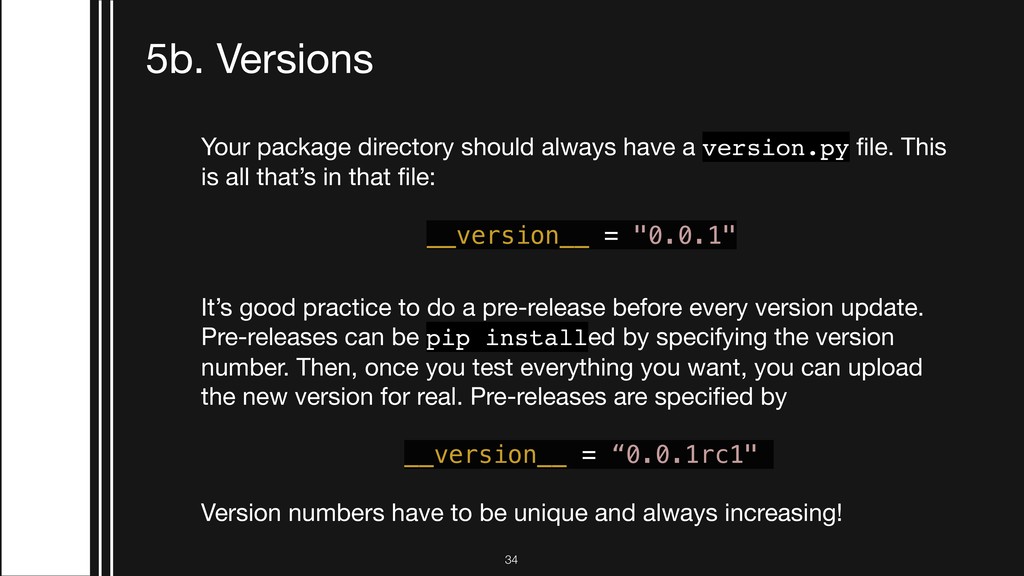
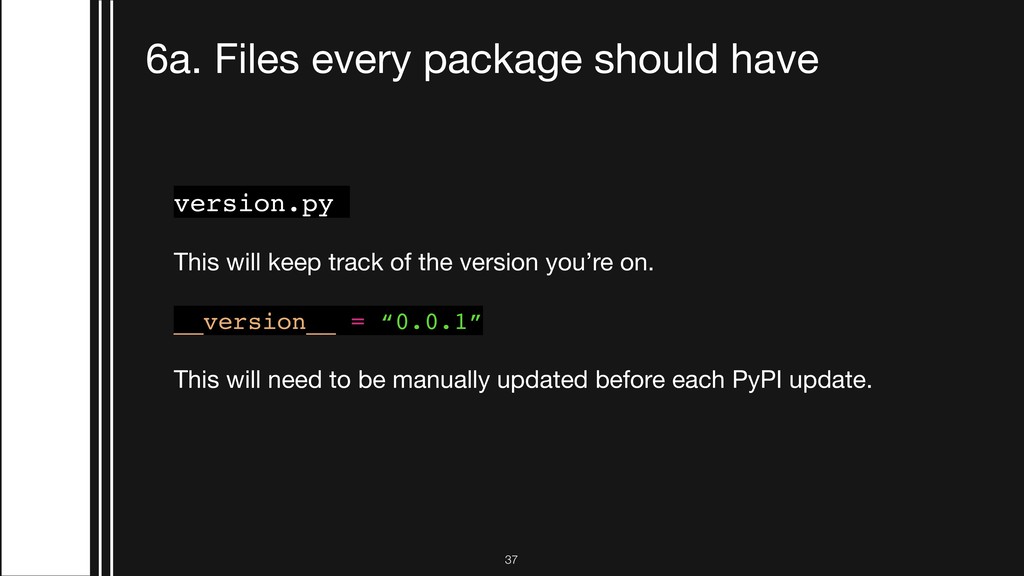
version.py file. This is all that’s in that file: __version__ = "0.0.1" It’s good practice to do a pre-release before every version update. Pre-releases can be pip installed by specifying the version number. Then, once you test everything you want, you can upload the new version for real. Pre-releases are specified by __version__ = “0.0.1rc1" Version numbers have to be unique and always increasing!
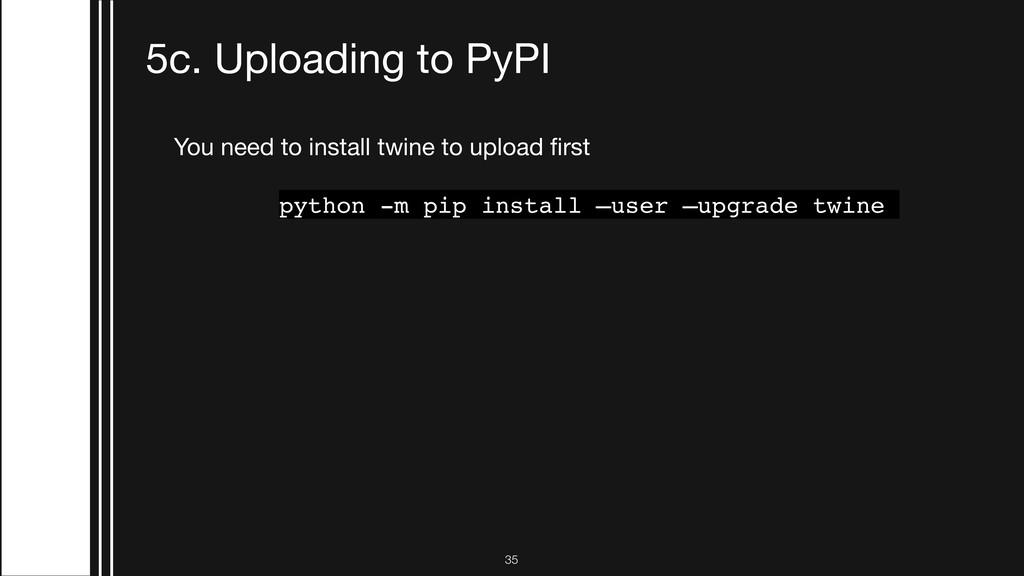
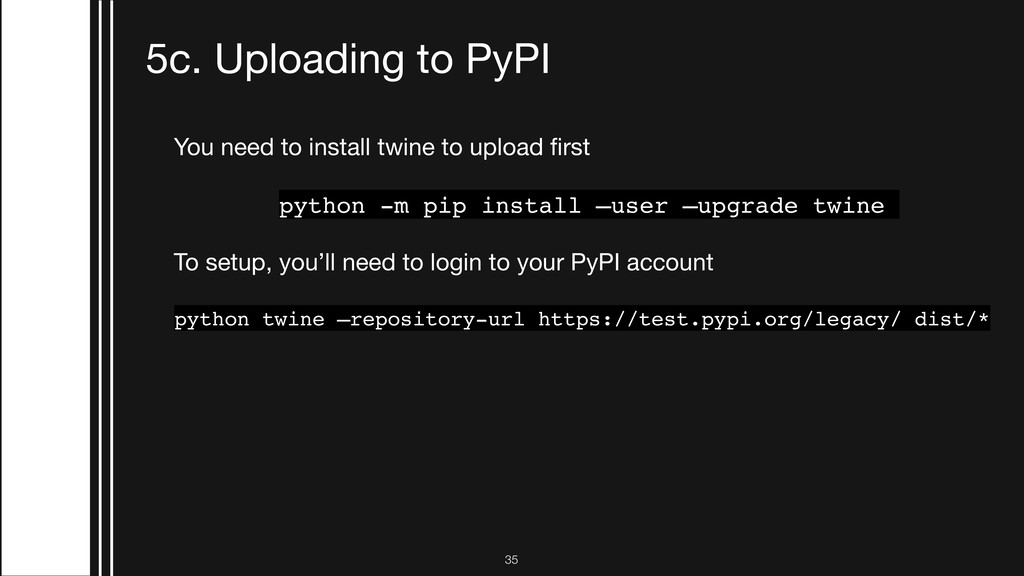
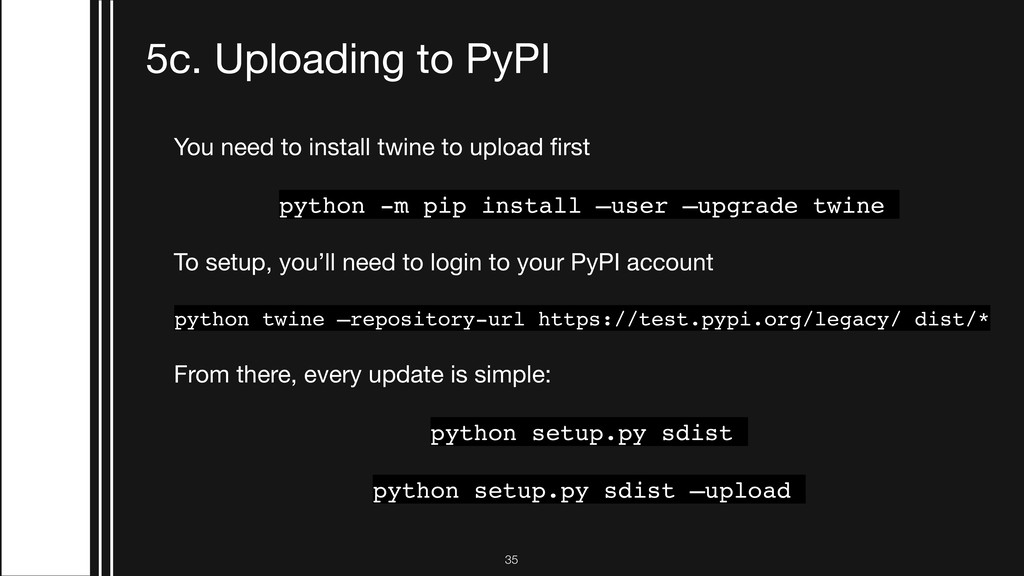
to upload first python -m pip install —user —upgrade twine To setup, you’ll need to login to your PyPI account python twine —repository-url https://test.pypi.org/legacy/ dist/* From there, every update is simple: python setup.py sdist python setup.py sdist —upload
to upload first python -m pip install —user —upgrade twine To setup, you’ll need to login to your PyPI account python twine —repository-url https://test.pypi.org/legacy/ dist/* From there, every update is simple: python setup.py sdist python setup.py sdist —upload
to upload first python -m pip install —user —upgrade twine To setup, you’ll need to login to your PyPI account python twine —repository-url https://test.pypi.org/legacy/ dist/* From there, every update is simple: python setup.py sdist python setup.py sdist —upload
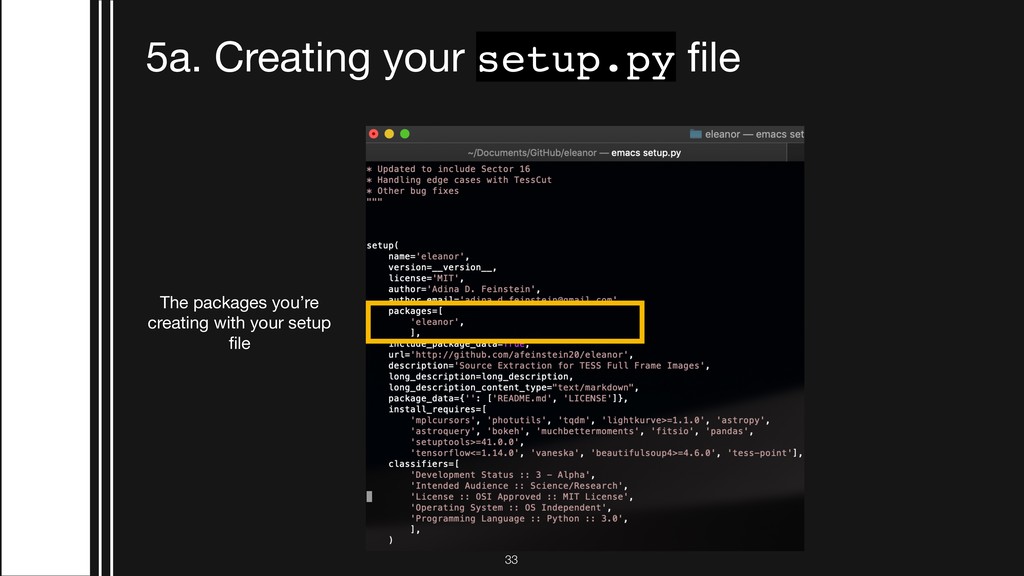
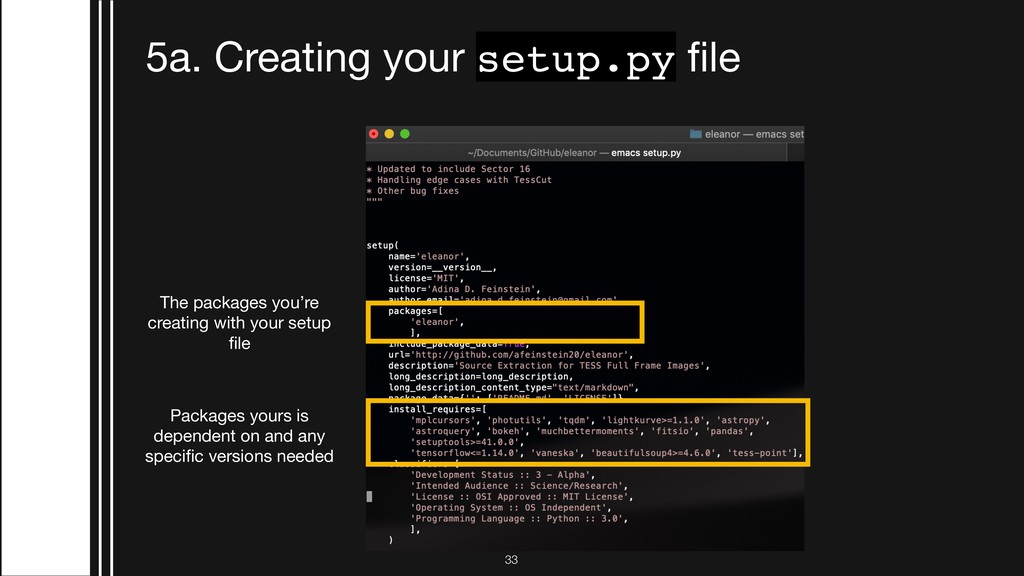
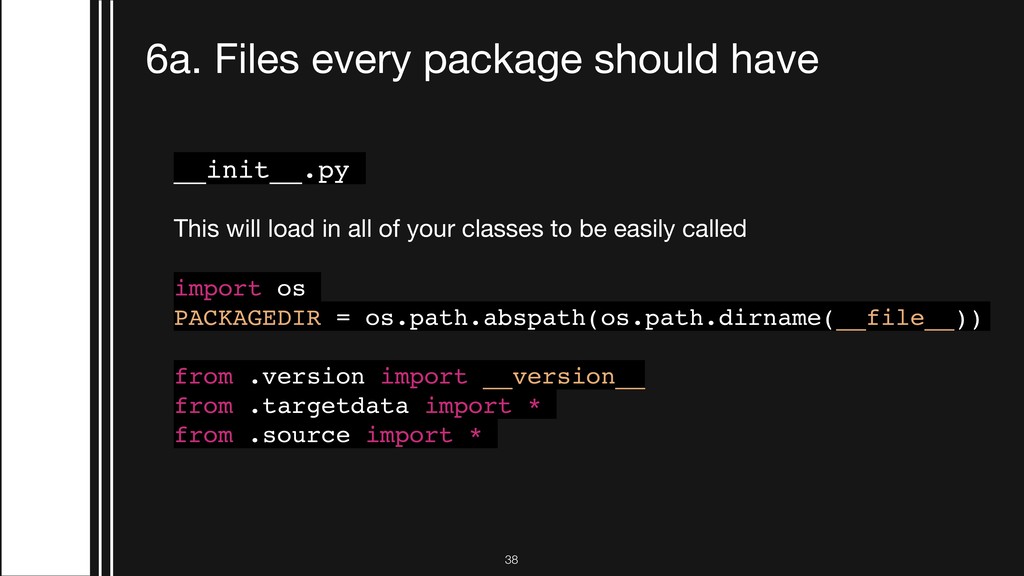
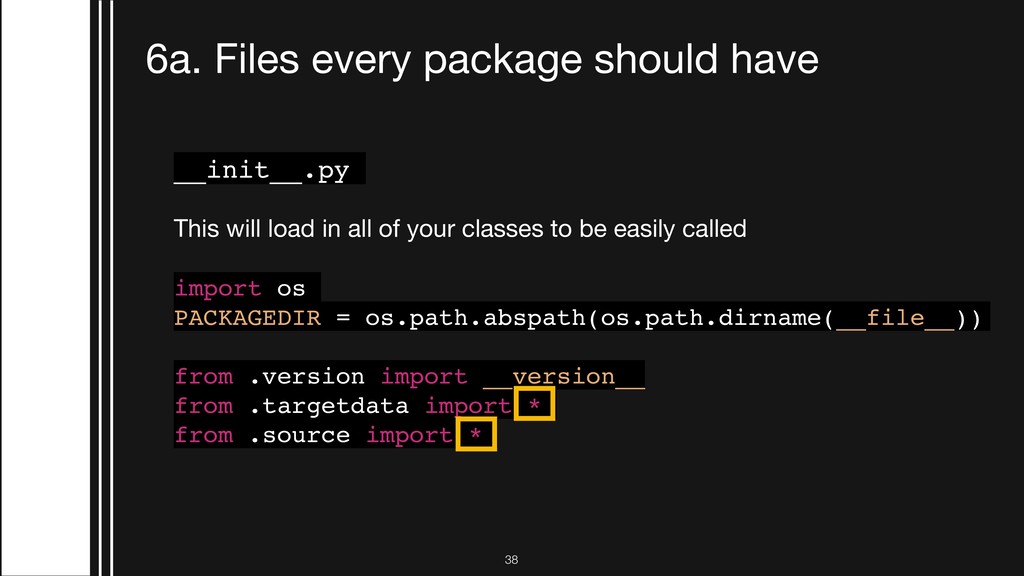
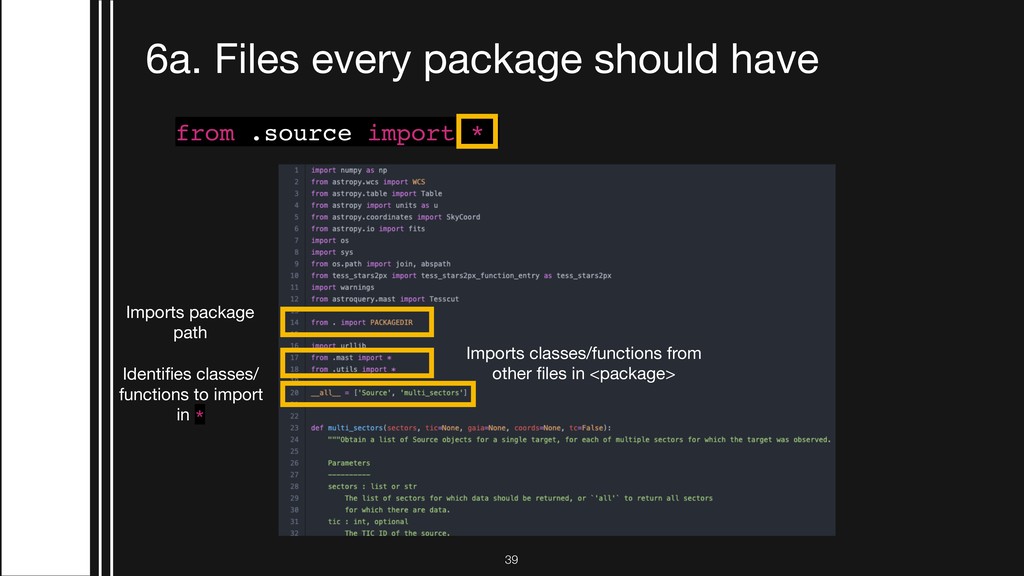
load in all of your classes to be easily called import os PACKAGEDIR = os.path.abspath(os.path.dirname(__file__)) from .version import __version__ from .targetdata import * from .source import *
load in all of your classes to be easily called import os PACKAGEDIR = os.path.abspath(os.path.dirname(__file__)) from .version import __version__ from .targetdata import * from .source import *