Upgrade to Pro — share decks privately, control downloads, hide ads and more …

How to develop a Cycle Network Tube Map

How to develop a Cycle Network Tube Map

Adam Reynolds

October 22, 2016
Tweet

More Decks by Adam Reynolds

Other Decks in How-to & DIY

Transcript

  1. Objectives • Audit of current network providing “ground truth” •

    Enable a vision of the future • Make public and council aware of problems • Facilitate council strategic planning • Enable Councillors to act • Help people get around
  2. Highlight problems through the Map Legend • Nodes = Inclusive

    cycling not possible • Nodes = Highlight communities and desire lines • Walking Link = Identify upgrade needed • Route colours + Schools = Safe cycling needed. • Educational Sites 11+ = Kids could be cycling to school from communities if safe routes provided. • Elevation = Create good networks at the same elevation. • Bike Hire = Need for more hire stations linked to bus routes • Highlight Hospitals and Railway Stations • Colour Blind Safe • Simple message “Turn the map blue!”
  3. Share Share Share • Creative Commons BY • Ensures as

    wide a usage as possible. • Allows councils and other organisations to use as they wish and EDIT as they wish.
  4. Street/Route Names • Helps people orientate themselves. • Helps people

    find new routes. • Gives Councillors ownership of a route.
  5. Node or Hub? • Node when simple connection and logical

    end point. • Hub when too many routes make map complex. • Hub when area is large (e.g. large parks)
  6. Distance Irrelevant • Do not focus on distance. • Guildhall

    to Pulteney Bridge 50m • Widcombe to Pulteney Bridge 1200m
  7. Direction important • Make sure things are on the “right”

    side of the road. • Nodes/Hubs should be in that “general direction” • Keep angles at 45 degrees.
  8. Plan wisely • Google Draw & draw.io allow EASY online

    collaboration • PDF export is vector pdf and scales to A0! • You will run out of space. • Make page A2 size at least. • Use different size fonts as needed. • For icons use PNG as it scales.
  9. Step 1: Agree your legend • Is height important? Delete

    if not. • What facilities do you want to highlight? Avoid cluttering the map. • What is your message?
  10. Step 3: Add destinations • Copy the Bath map https://

    goo.gl/vsqXIx or use the template https://goo.gl/ mheUGs • Accuracy initially not important. It will take days of tweaking. • Remember hubs solve dense connection issues. • Use polygon lines to ‘fix’ awkward angles. • Get to know your drawing tool.
  11. Step 4: Add schools, stations, hospitals, and bike stations. •

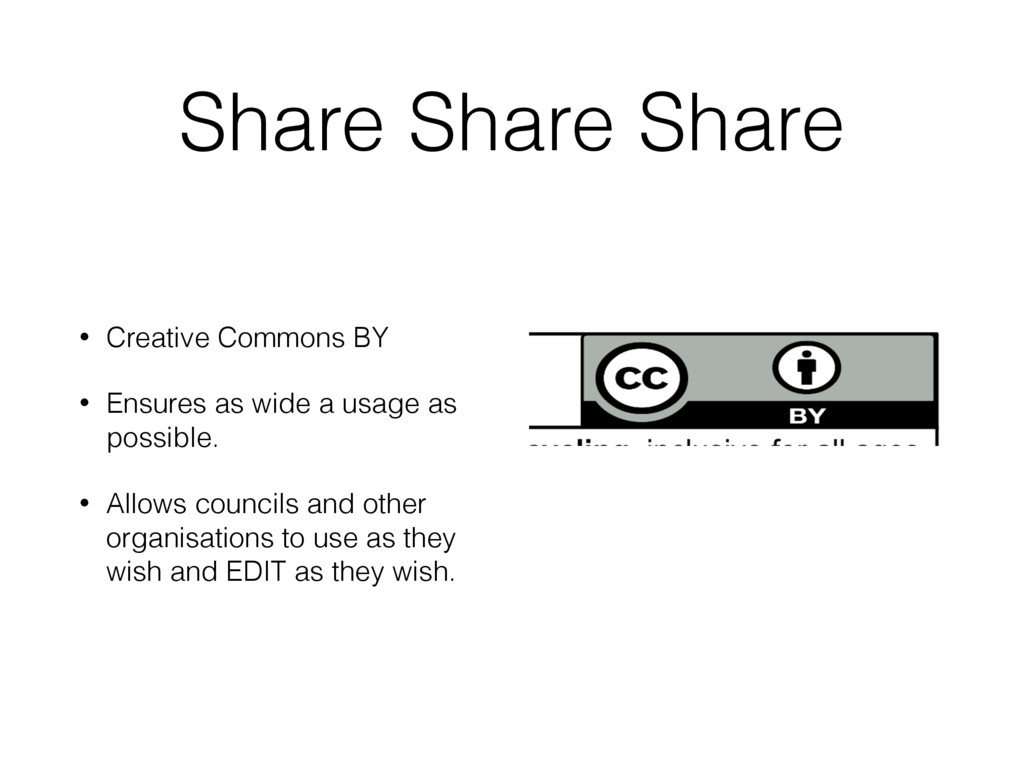
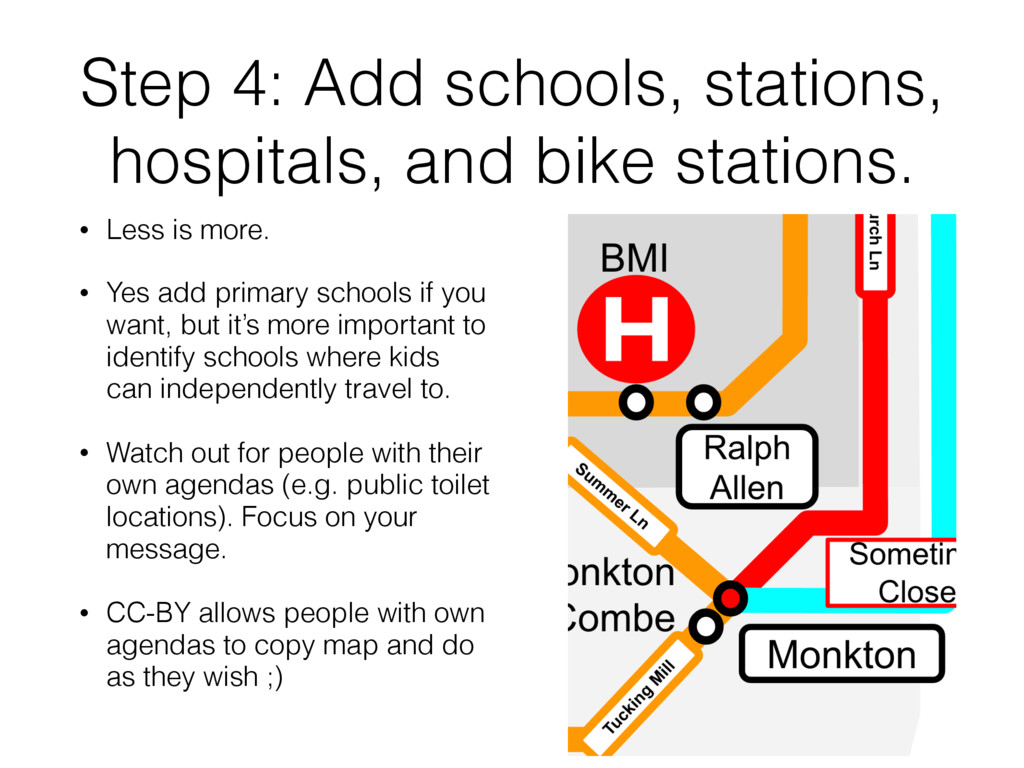
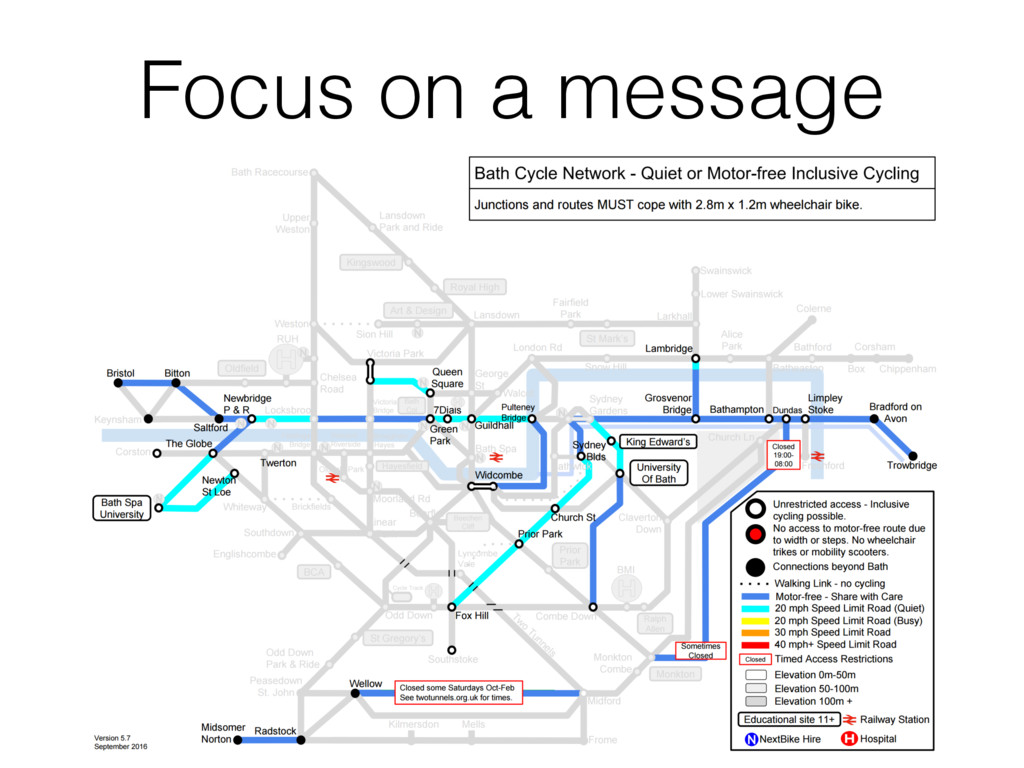
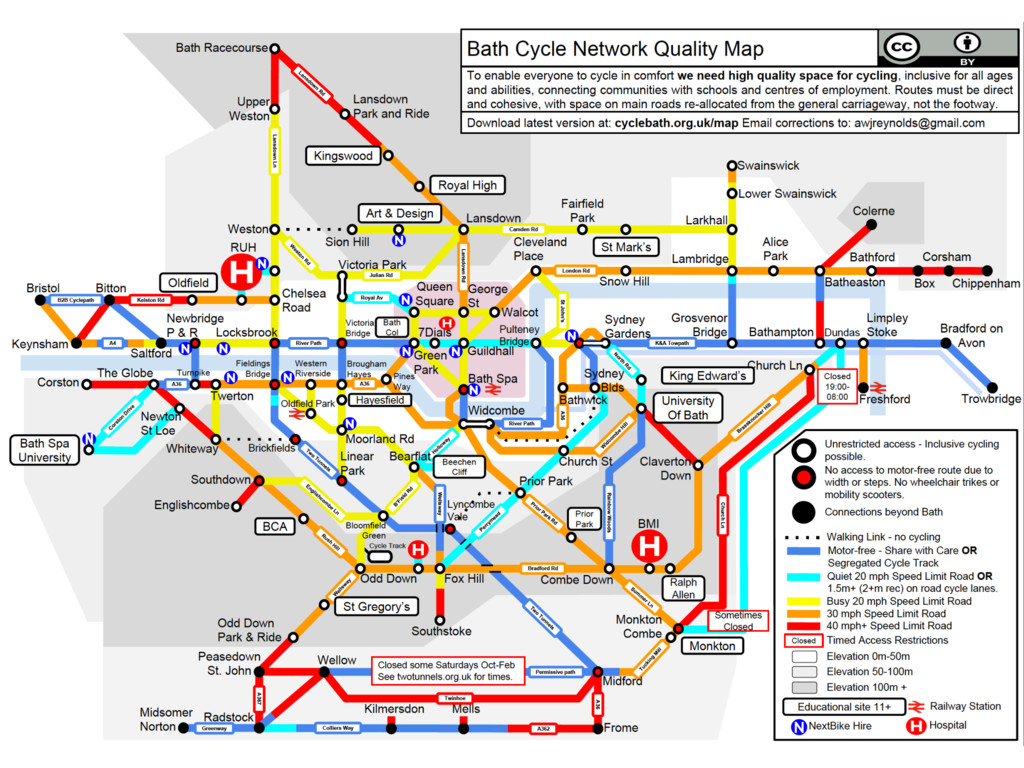
    Less is more. • Yes add primary schools if you want, but it’s more important to identify schools where kids can independently travel to. • Watch out for people with their own agendas (e.g. public toilet locations). Focus on your message. • CC-BY allows people with own agendas to copy map and do as they wish ;)
  12. Step 5: Add route names • Adding names helps you

    place nodes and hubs correctly on the map. • Helps people get around. • Helps others find inaccuracies
  13. Step 6.1: Engagement • Share your evolving map with ALL

    your Councillors • Share and talk with the public • Ask council officers for information • Ask people in your campaign group • Print and distribute around your city • Fix issue fast and don’t be afraid to break it.
  14. Successes • Council are using it as part of strategy

    planning and engagement • Working with Canal and River Trust to develop one for their towpath network to enable better strategic planning • Bath (DONE) & North East Somerset (NEXT) • 2017 Map print run planned sponsored by Local Bike Shops • Key messages are getting through! • Inclusive cycling • Safe routes to schools