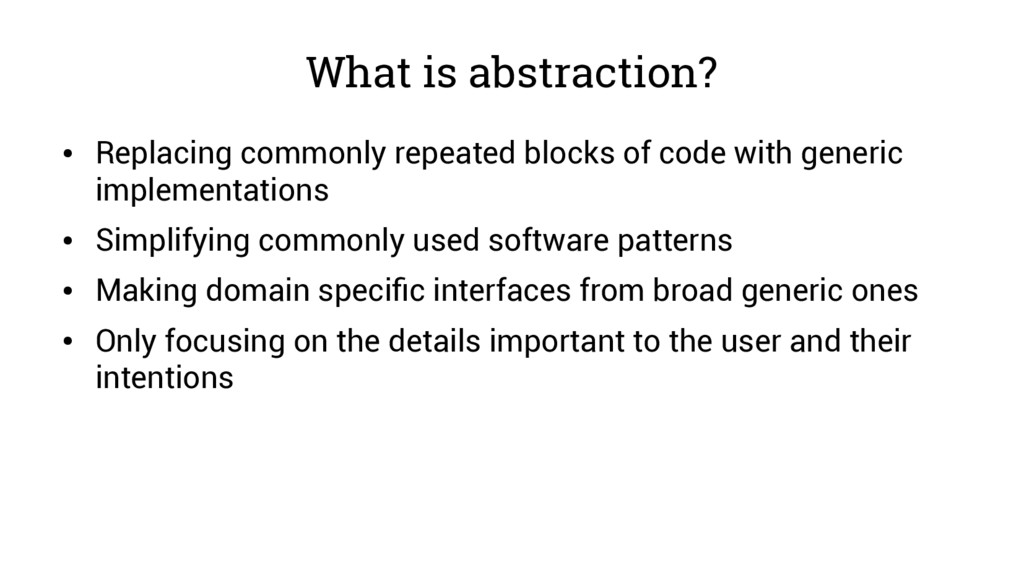
with generic implementations • Simplifying commonly used software patterns • Making domain specific interfaces from broad generic ones • Only focusing on the details important to the user and their intentions
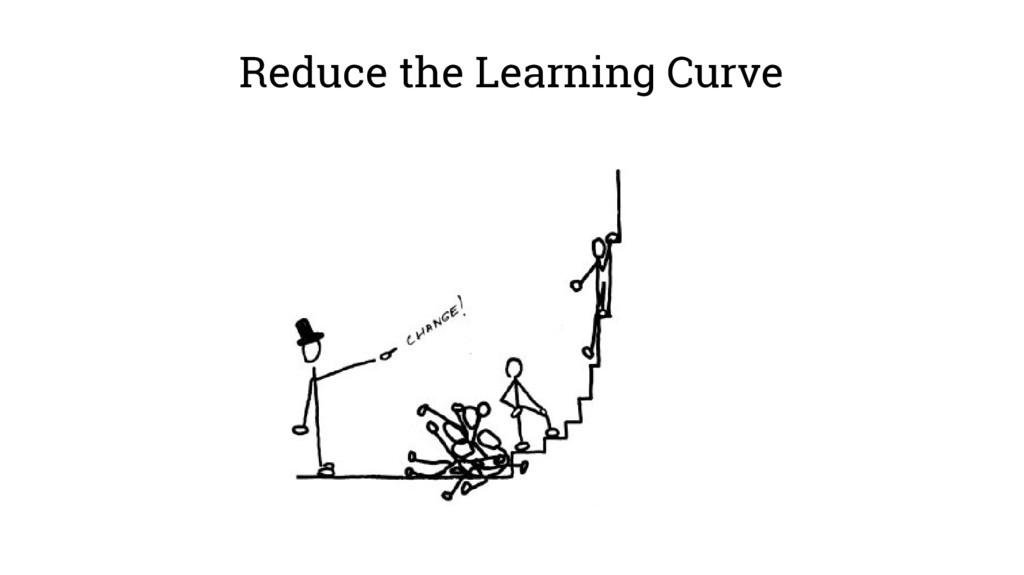
repeating code • Simpler, more readable and understandable code • Don't waste time reinventing the wheel (or googling how wheels work and copying it) • Reduce friction and opportunities to give up (or not start)
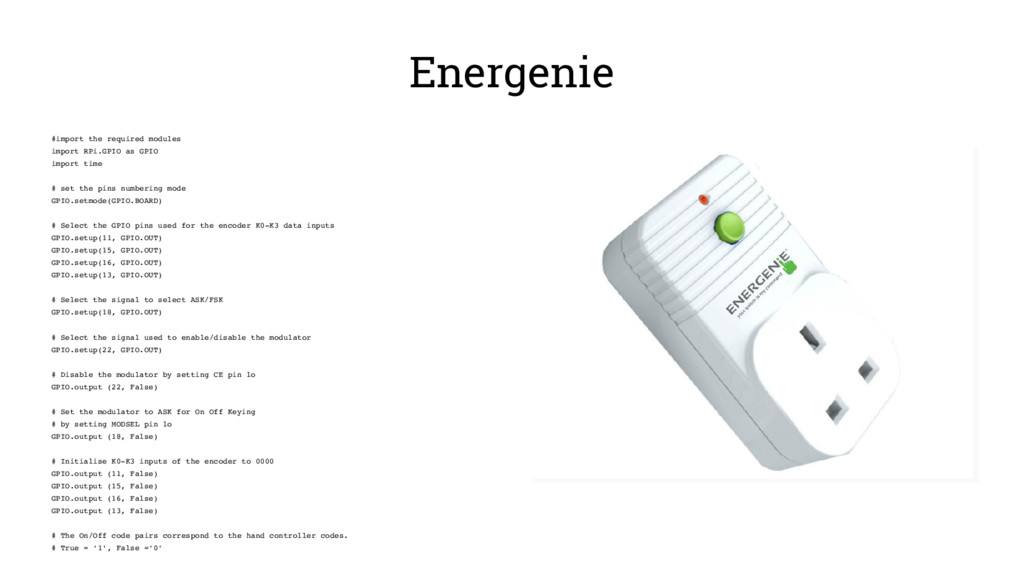
time # set the pins numbering mode GPIO.setmode(GPIO.BOARD) # Select the GPIO pins used for the encoder K0K3 data inputs GPIO.setup(11, GPIO.OUT) GPIO.setup(15, GPIO.OUT) GPIO.setup(16, GPIO.OUT) GPIO.setup(13, GPIO.OUT) # Select the signal to select ASK/FSK GPIO.setup(18, GPIO.OUT) # Select the signal used to enable/disable the modulator GPIO.setup(22, GPIO.OUT) # Disable the modulator by setting CE pin lo GPIO.output (22, False) # Set the modulator to ASK for On Off Keying # by setting MODSEL pin lo GPIO.output (18, False) # Initialise K0K3 inputs of the encoder to 0000 GPIO.output (11, False) GPIO.output (15, False) GPIO.output (16, False) GPIO.output (13, False) # The On/Off code pairs correspond to the hand controller codes. # True = '1', False ='0'
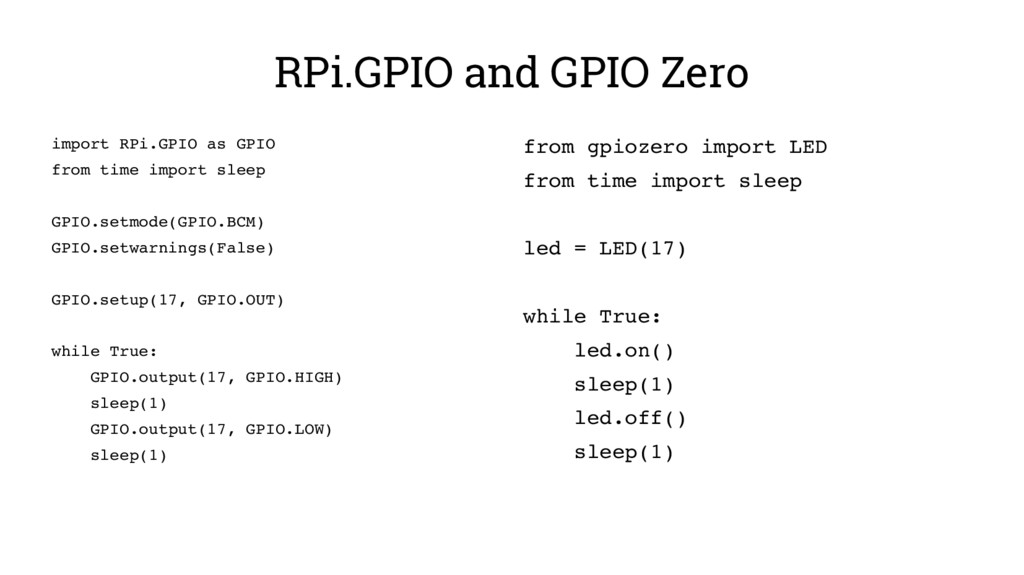
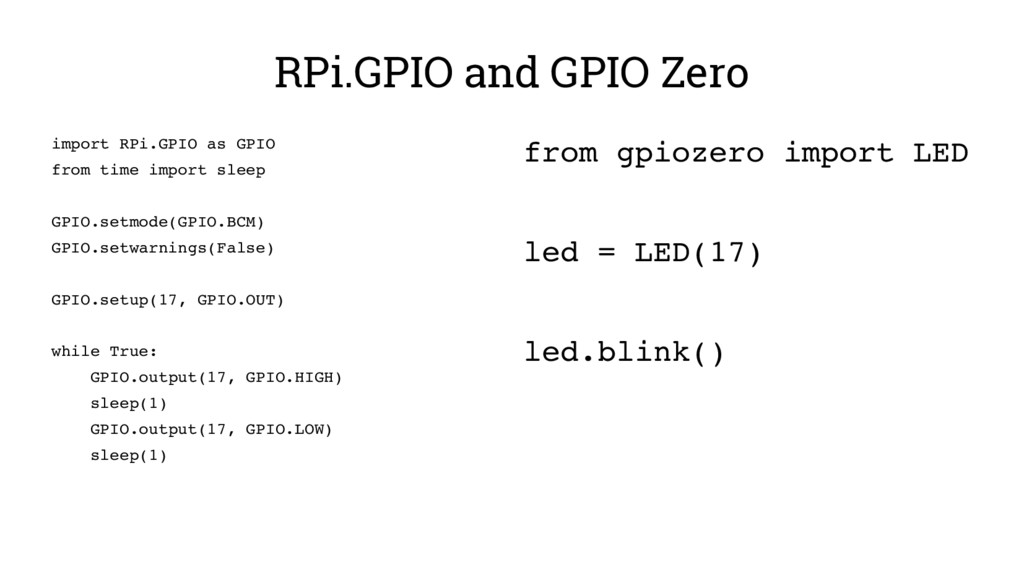
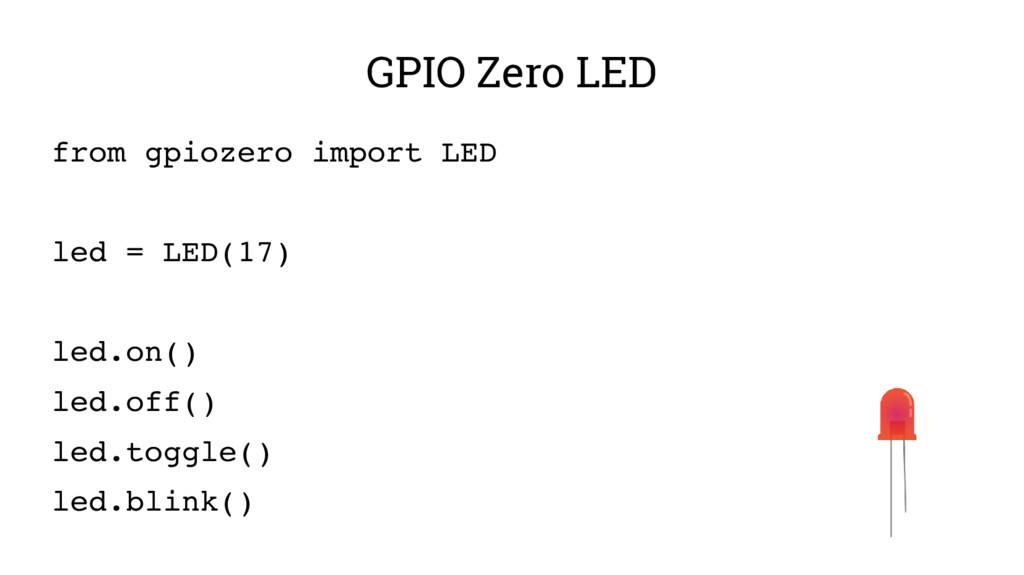
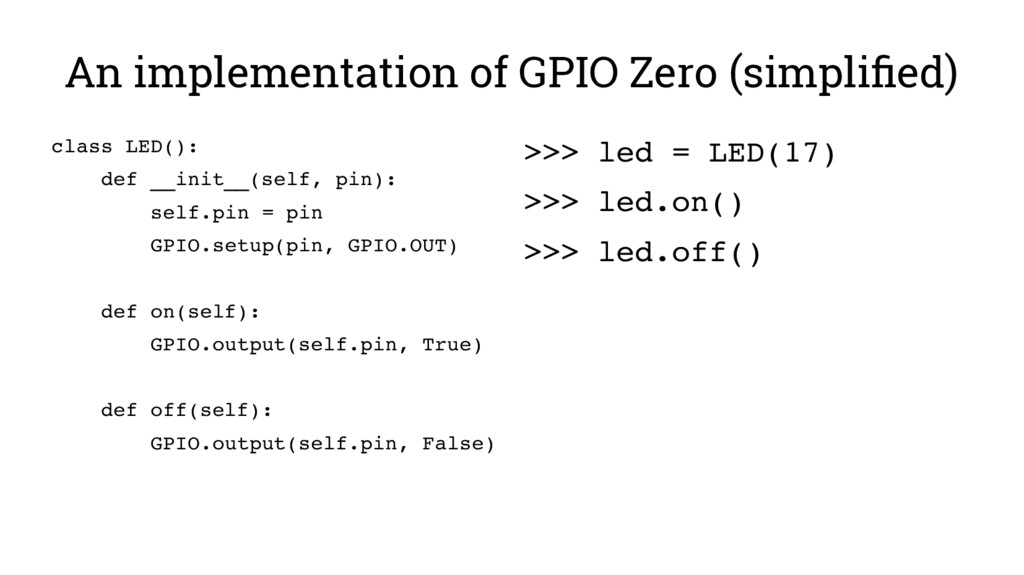
import sleep GPIO.setmode(GPIO.BCM) GPIO.setwarnings(False) GPIO.setup(17, GPIO.OUT) while True: GPIO.output(17, GPIO.HIGH) sleep(1) GPIO.output(17, GPIO.LOW) sleep(1) from gpiozero import LED from time import sleep led = LED(17) while True: led.on() sleep(1) led.off() sleep(1)
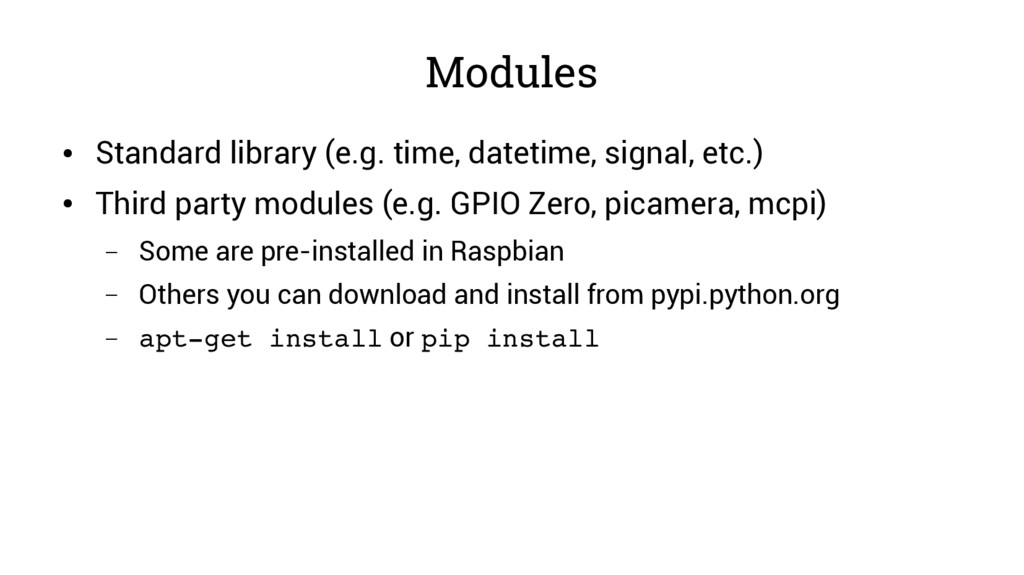
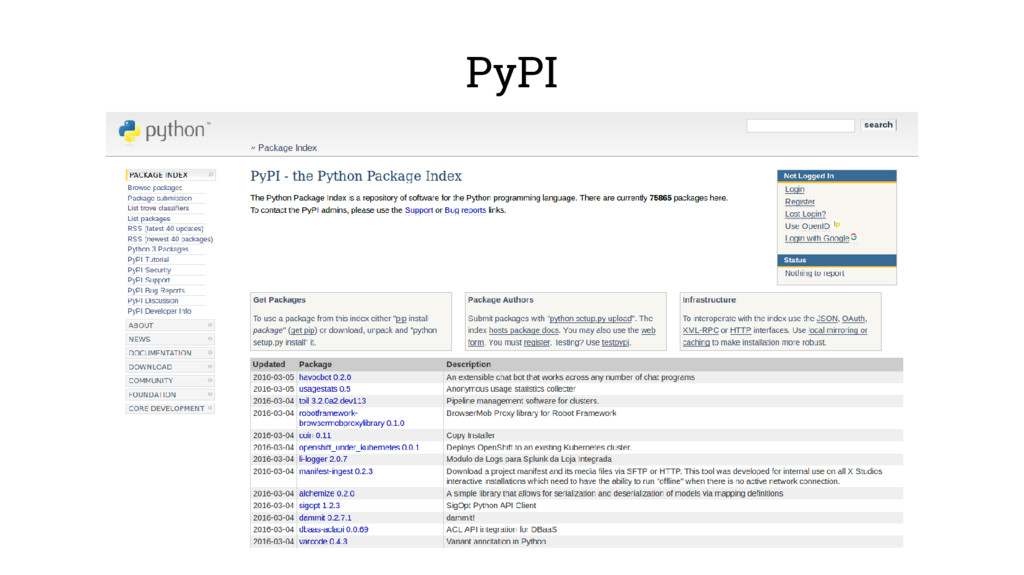
Third party modules (e.g. GPIO Zero, picamera, mcpi) – Some are pre-installed in Raspbian – Others you can download and install from pypi.python.org – aptget install or pip install
![Try it yourself! • Maplin Robot Arm – MoveArm(1,[0,2,0]) #Rotate](https://files.speakerdeck.com/presentations/a7d555e838c040b9a2fb0db000effb26/slide_31.jpg)