Upgrade to Pro
— share decks privately, control downloads, hide ads and more …
Speaker Deck
Features
Speaker Deck
PRO
Sign in
Sign up for free
Search
Search
Physical computing with Scratch and Python
Search
Ben Nuttall
March 21, 2016
Education
360
0
Share
Embed
Copy iframe code
Copy JS code
Copy link
Start on current slide
Physical computing with Scratch and Python
Physical computing with Raspberry Pi using Scratch and Python with GPIO Zero
Ben Nuttall
March 21, 2016
More Decks by Ben Nuttall
See All by Ben Nuttall
Numeronyms are obnoxious
bennuttall
0
510
Live Highlights in BBC iPlayer
bennuttall
0
160
Rapid prototyping in BBC News with Python and AWS
bennuttall
0
230
Rapid prototyping in BBC News with Python and AWS
bennuttall
0
170
Running a Python Package Index for Raspberry Pi
bennuttall
0
190
From Acorns to Raspberries
bennuttall
0
170
Innovation in the newsroom
bennuttall
0
220
Innovation in the newsroom - MOS Running Order Manager
bennuttall
0
250
How to market your open source project
bennuttall
0
290
Other Decks in Education
See All in Education
0506
cbtlibrary
0
220
モブ社員がモブエンジニアを名乗って得られたこと_20260413
masakiokuda
4
560
生成AI時代のエンジニア育成について考えてみた
akasan
0
180
Dashboards - Lecture 11 - Information Visualisation (4019538FNR)
signer
PRO
1
2.8k
輻射安全管理系統2.0暨輻防e++學園平台說明會
aecrp
0
1.8k
Modern Data Fetching Techniques in Angular
debug_mode
0
230
遊ぶかね欲しさの犯行(ルビ:労働)です
shirayanagiryuji
0
150
[2026前期火5] 論理学(京都大学文学部 前期 第1回)「ハルシネーションを外部世界との対応を考えずに見分ける方法」
yatabe
0
1.2k
Case Studies and Future Research - Lecture 12 - Next Generation User Interfaces (4018166FNR)
signer
PRO
0
200
[2026前期火5] 論理学(京都大学文学部 前期 第13回)「走って、止まって、積み上がる」
yatabe
0
110
2026年度春学期 統計学 第3回 クロス集計と感度・特異度,データの可視化 (2026. 4. 23)
akiraasano
PRO
0
200
2026年度春学期 統計学 第10回 分布の推測とは - 標本調査,度数分布と確率分布 (2026. 6. 4)
akiraasano
PRO
0
130
Featured
See All Featured
Lessons Learnt from Crawling 1000+ Websites
charlesmeaden
PRO
1
1.4k
Speed Design
sergeychernyshev
33
1.9k
[Rails World 2023 - Day 1 Closing Keynote] - The Magic of Rails
eileencodes
38
2.9k
Practical Tips for Bootstrapping Information Extraction Pipelines
honnibal
25
2k
Let's Do A Bunch of Simple Stuff to Make Websites Faster
chriscoyier
508
140k
How GitHub (no longer) Works
holman
316
150k
A Soul's Torment
seathinner
6
3.1k
Marketing to machines
jonoalderson
1
5.6k
State of Search Keynote: SEO is Dead Long Live SEO
ryanjones
0
220
The Curse of the Amulet
leimatthew05
2
13k
Fantastic passwords and where to find them - at NoRuKo
philnash
52
3.8k
4 Signs Your Business is Dying
shpigford
187
22k
Transcript
Physical Computing with Scratch and Python
None
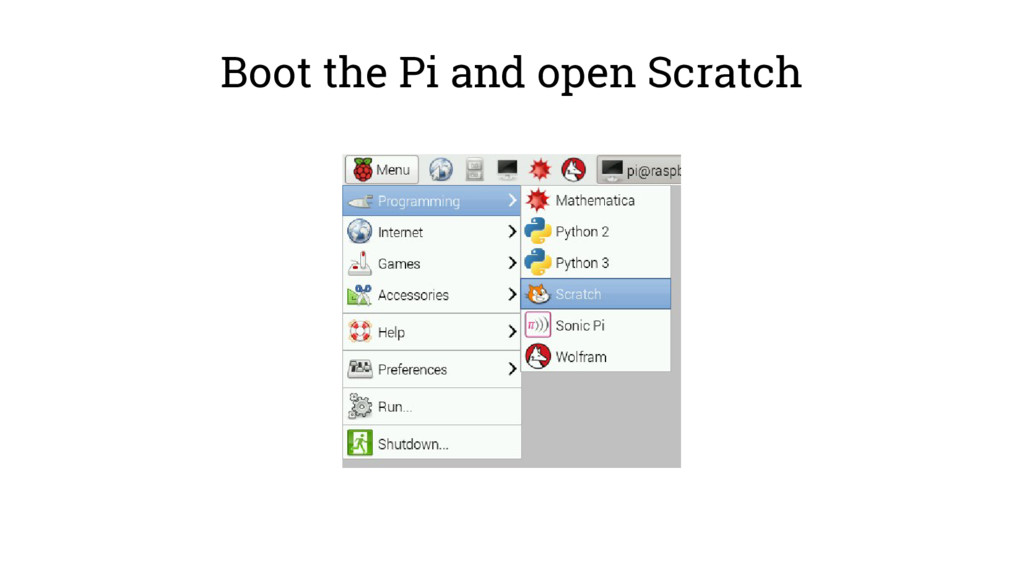
Boot the Pi and open Scratch
GPIO Server • GPIO Server On
Broadcast • configXout • gpioXon • gpioXoff • wait X
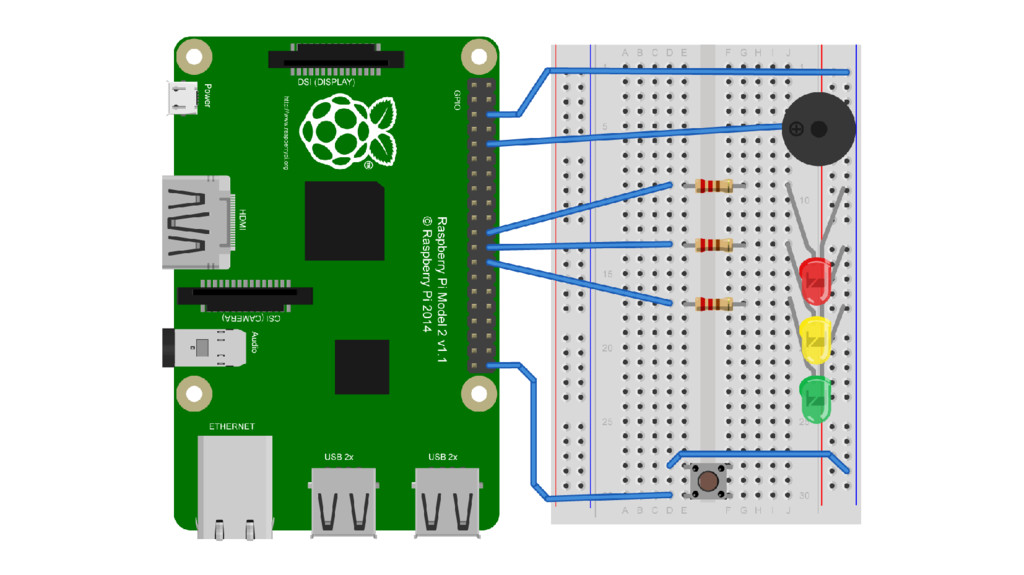
secs • forever Component GPIO pin Red LED 25 Amber LED 8 Green LED 7 Buzzer 15
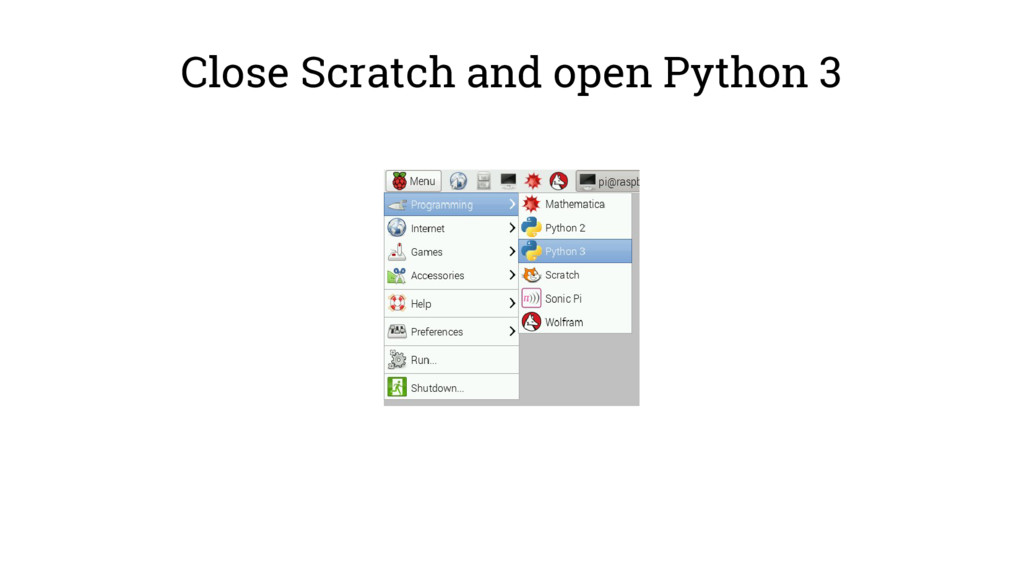
Close Scratch and open Python 3
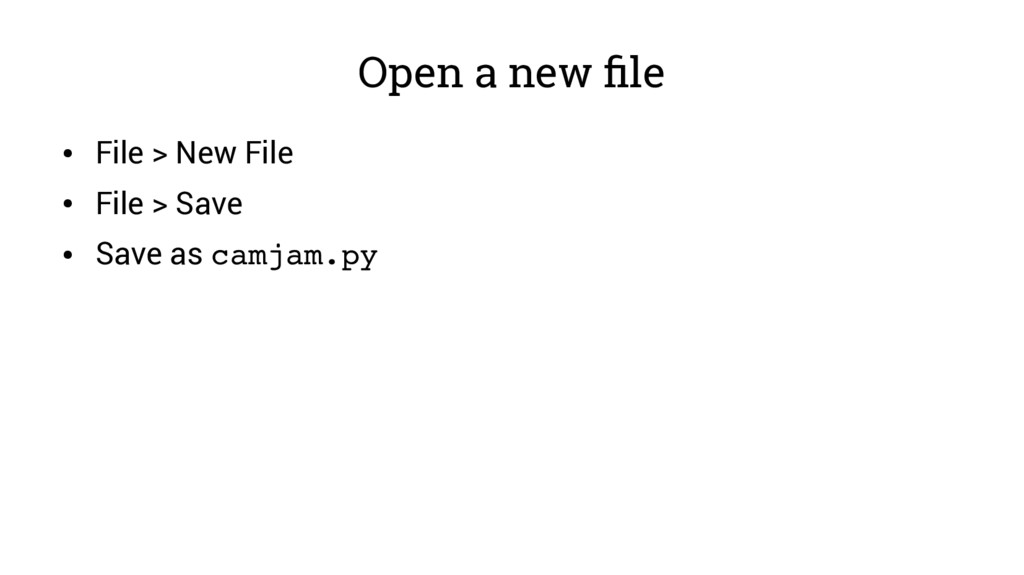
Open a new file • File > New File •
File > Save • Save as camjam.py
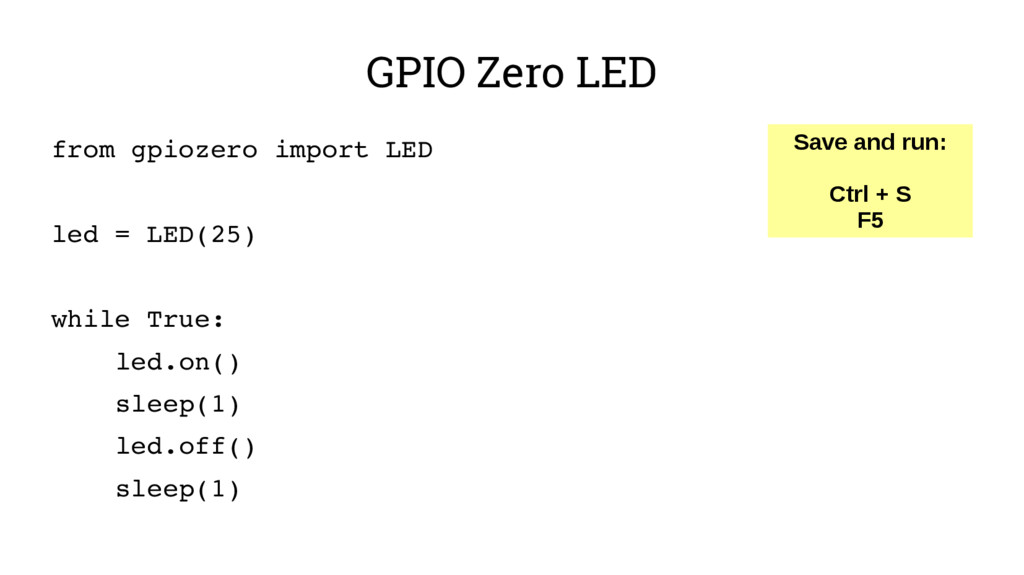
GPIO Zero LED from gpiozero import LED led = LED(25)
while True: led.on() sleep(1) led.off() sleep(1) Save and run: Ctrl + S F5
GPIO Zero LED from gpiozero import LED led = LED(25)
led.blink()
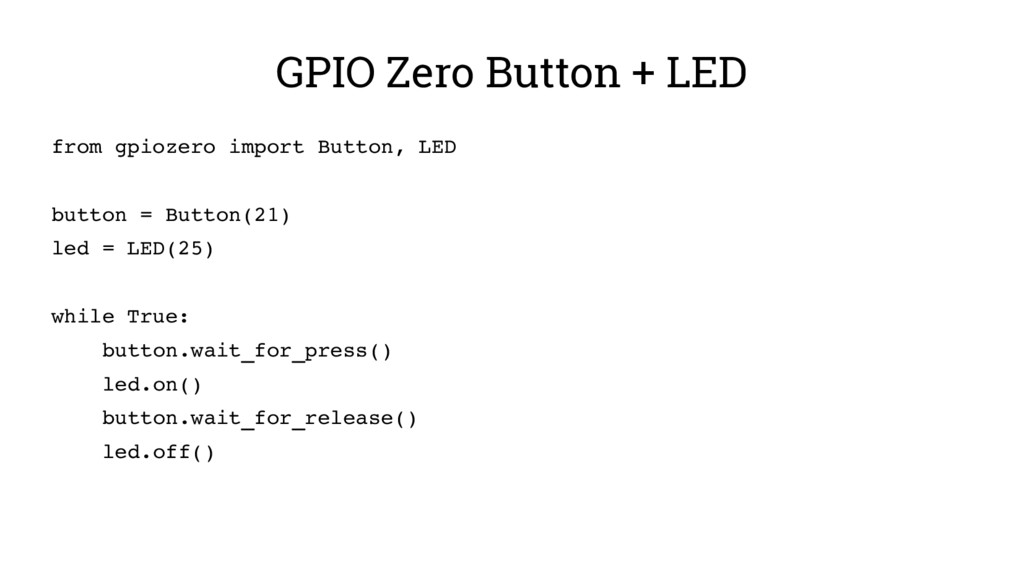
GPIO Zero Button + LED from gpiozero import Button, LED
button = Button(21) led = LED(25) while True: button.wait_for_press() led.on() button.wait_for_release() led.off()
GPIO Zero Button + LED from gpiozero import Button, LED
button = Button(21) led = LED(25) while True: led.on() button.wait_for_press() led.off() button.wait_for_release()
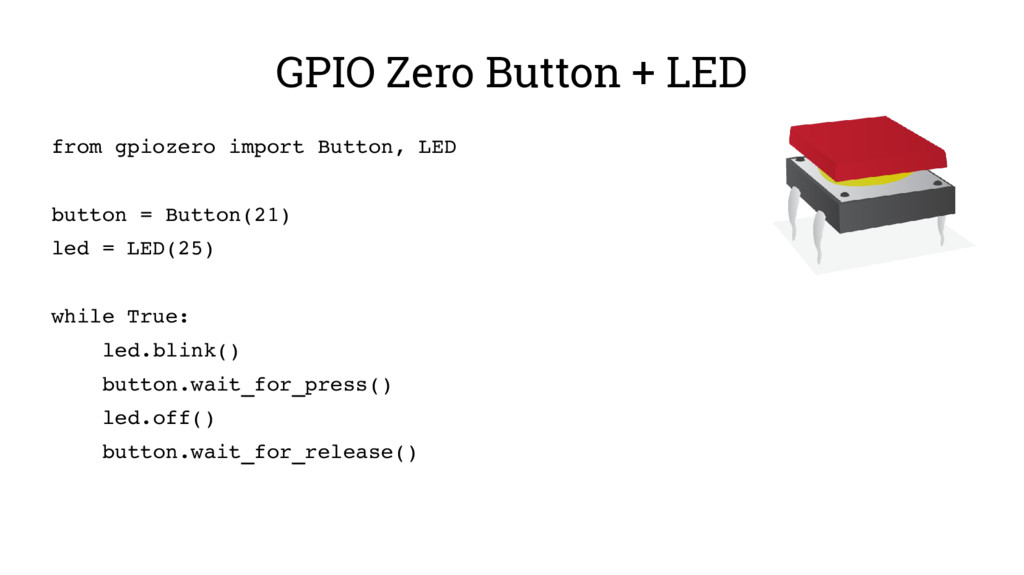
GPIO Zero Button + LED from gpiozero import Button, LED
button = Button(21) led = LED(25) while True: led.blink() button.wait_for_press() led.off() button.wait_for_release()
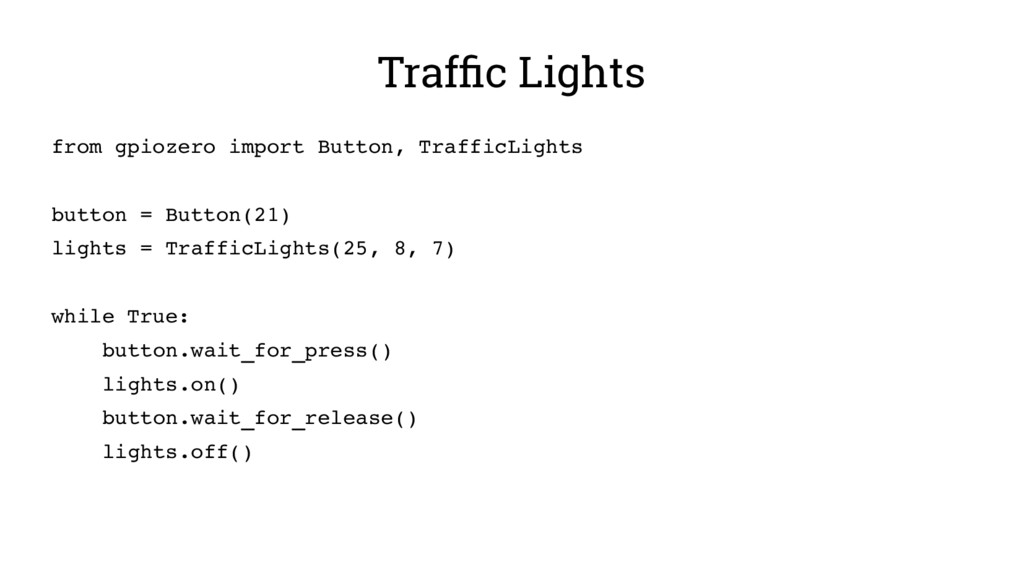
Traffic Lights from gpiozero import Button, TrafficLights button = Button(21)
lights = TrafficLights(25, 8, 7) while True: button.wait_for_press() lights.on() button.wait_for_release() lights.off()
Traffic Lights from gpiozero import Button, TrafficLights button = Button(21)
lights = TrafficLights(25, 8, 7) while True: lights.blink() button.wait_for_press() lights.on() button.wait_for_release()
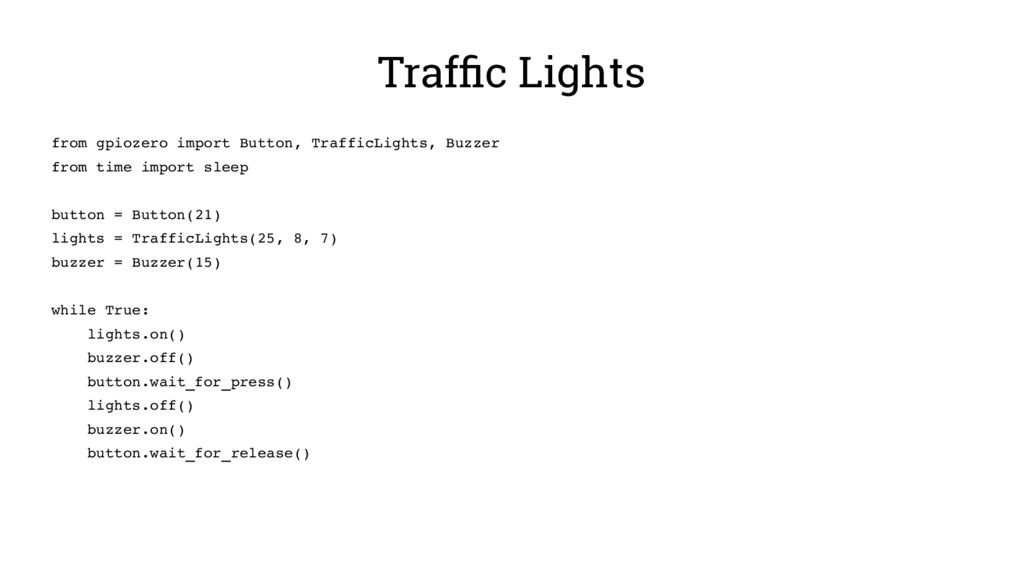
Traffic Lights from gpiozero import Button, TrafficLights, Buzzer from time
import sleep button = Button(21) lights = TrafficLights(25, 8, 7) buzzer = Buzzer(15) while True: lights.on() buzzer.off() button.wait_for_press() lights.off() buzzer.on() button.wait_for_release()
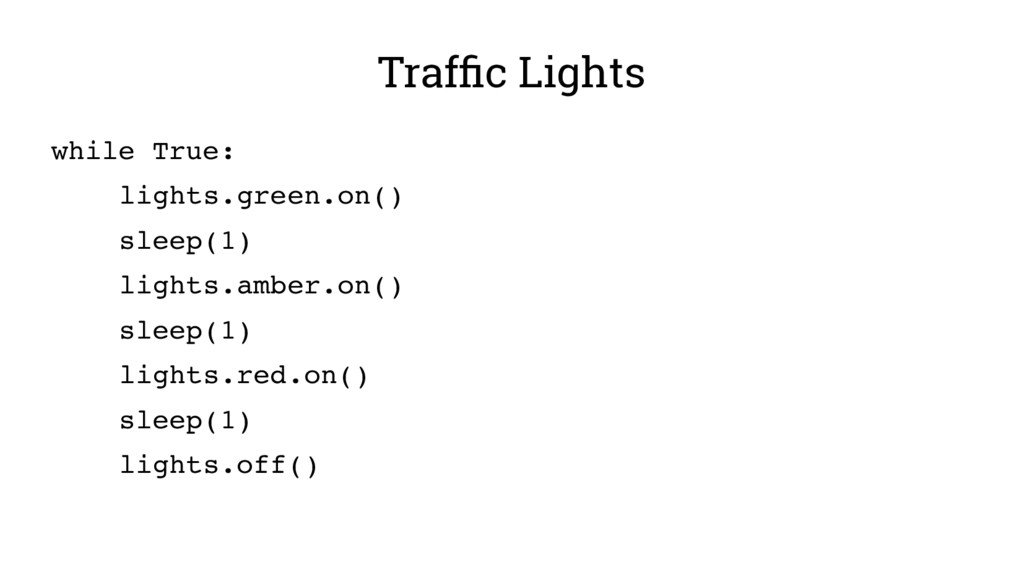
Traffic Lights while True: lights.green.on() sleep(1) lights.amber.on() sleep(1) lights.red.on() sleep(1)
lights.off()
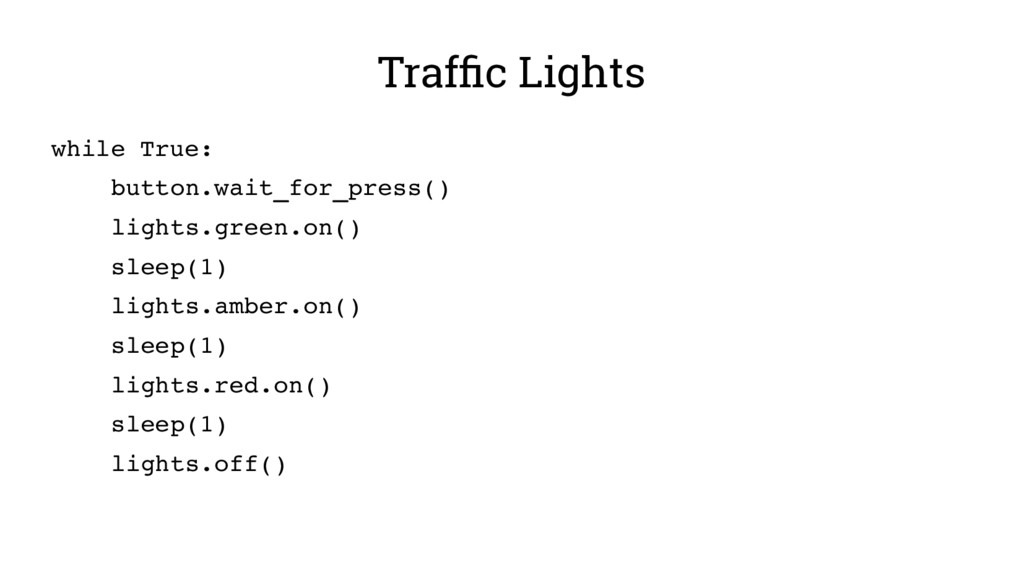
Traffic Lights while True: button.wait_for_press() lights.green.on() sleep(1) lights.amber.on() sleep(1) lights.red.on()
sleep(1) lights.off()
Traffic Lights Sequence • Can you make a full traffic
lights sequence? • Use the button for a pedestrian crossing • Use buzzer.beep() to indicate safe crossing
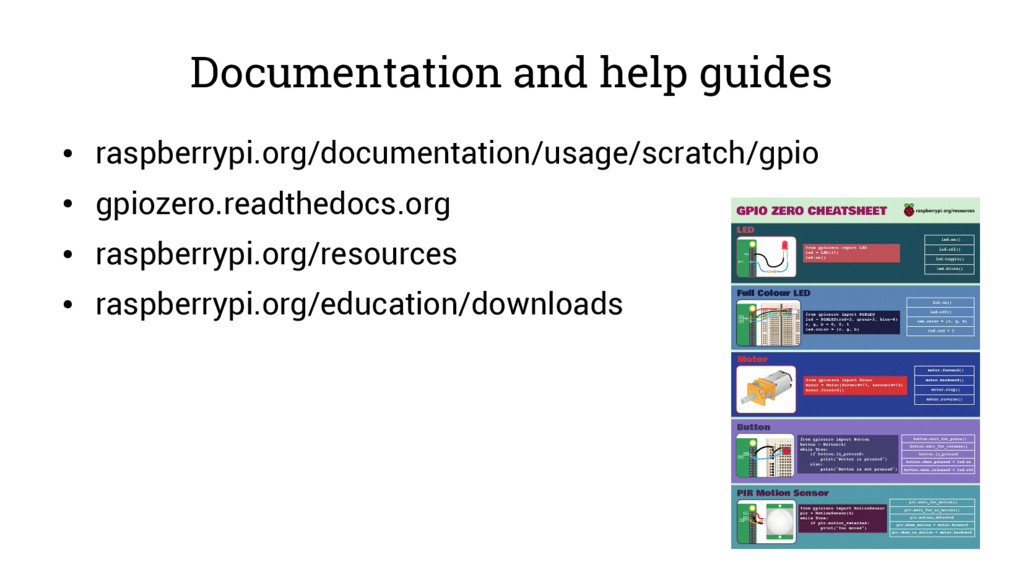
Documentation and help guides • raspberrypi.org/documentation/usage/scratch/gpio • gpiozero.readthedocs.org • raspberrypi.org/resources
• raspberrypi.org/education/downloads
Physical Computing with Scratch and Python