Upgrade to Pro — share decks privately, control downloads, hide ads and more …

Viteなし・Bunだけで作るHono+React最小構成ハンズオン

Avatar for hidao hidao
August 22, 2026

 Viteなし・Bunだけで作るHono+React最小構成ハンズオン

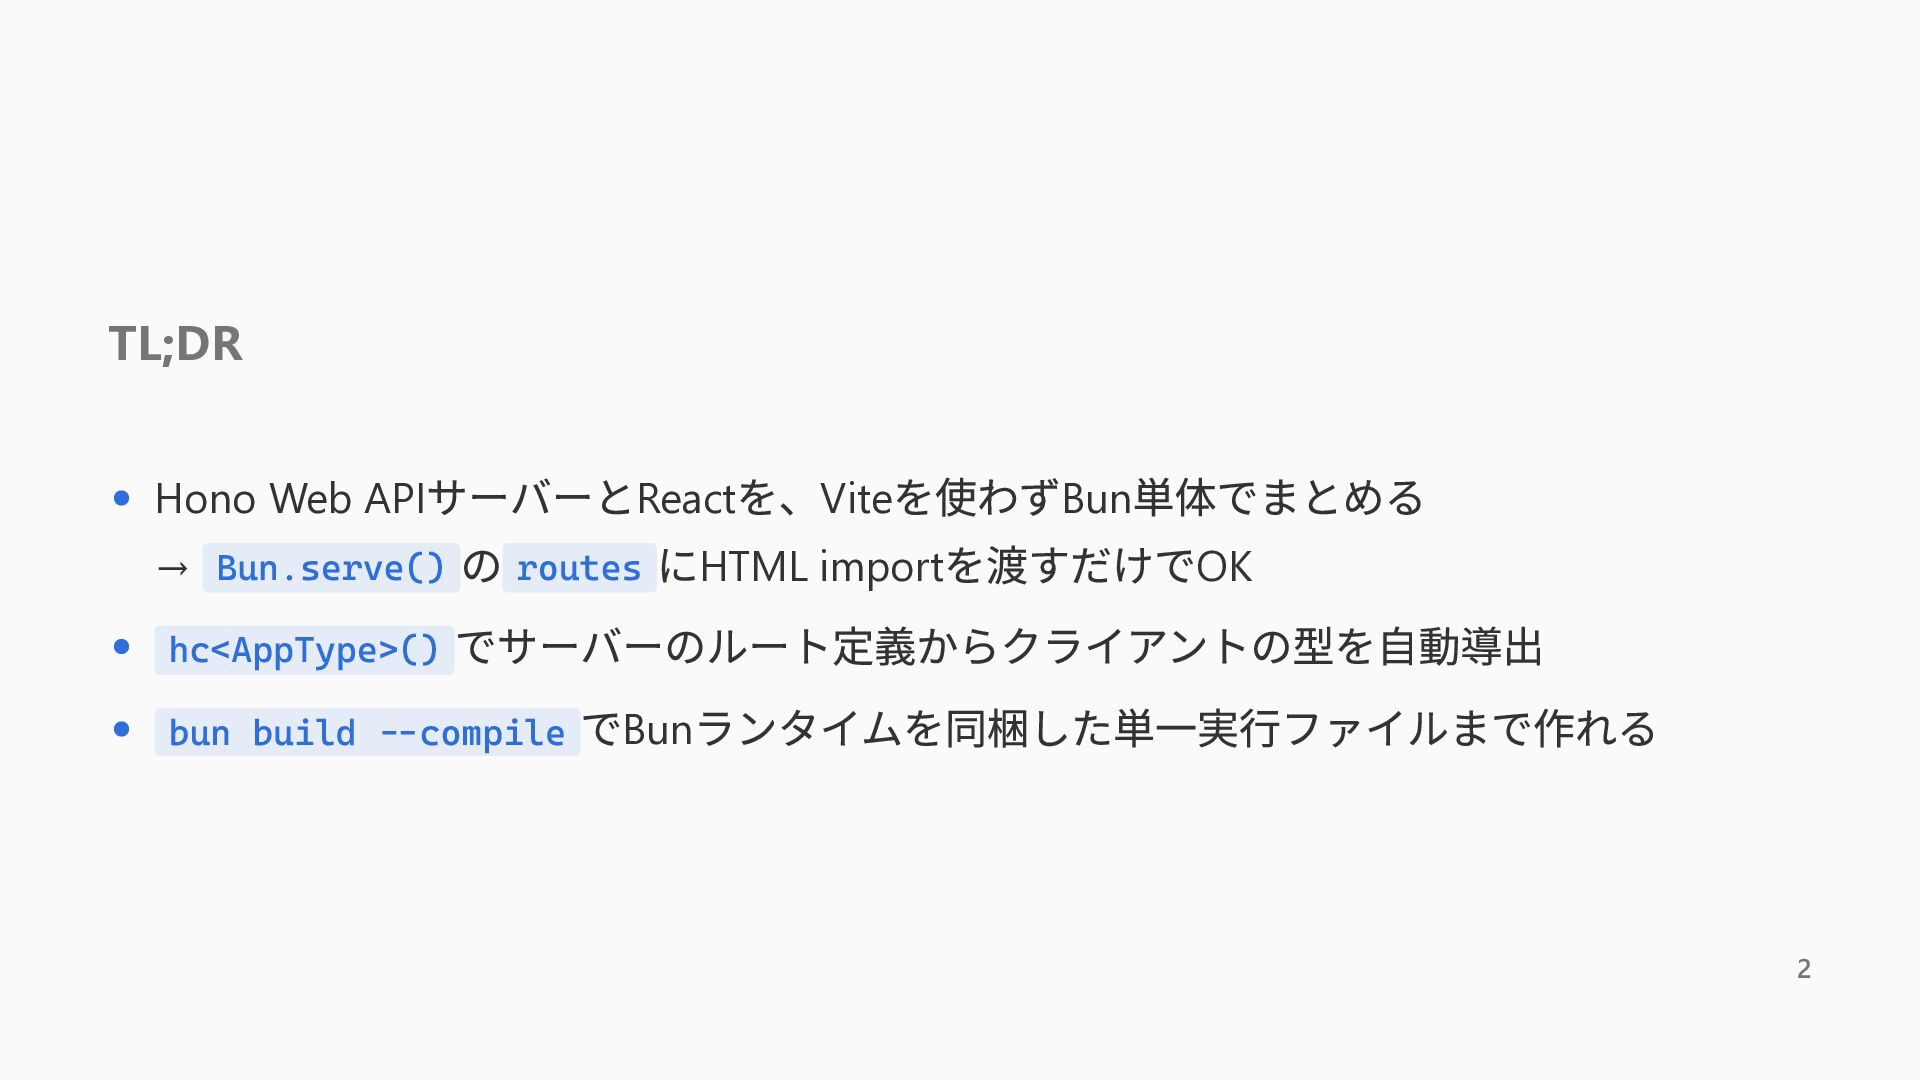
Hono + Reactの構成というと、フロントエンドのビルド・開発サーバーとしてViteを組み合わせるのが定番です。

BunにはBun.serve()のHTML importという機能があり、HTMLファイルをそのままサーバーのroutesに渡すだけで、JSX/TSXのトランスパイル・バンドル・開発時のホットリロードまで面倒を見てくれます。
本スライドでは、この機能を使ってHono Web APIサーバーとReactフロントエンドを1プロセス・Bunオンリーで動かす最小構成を組み立てます。

Avatar for hidao

hidao

August 22, 2026

More Decks by hidao

Other Decks in Programming

Transcript

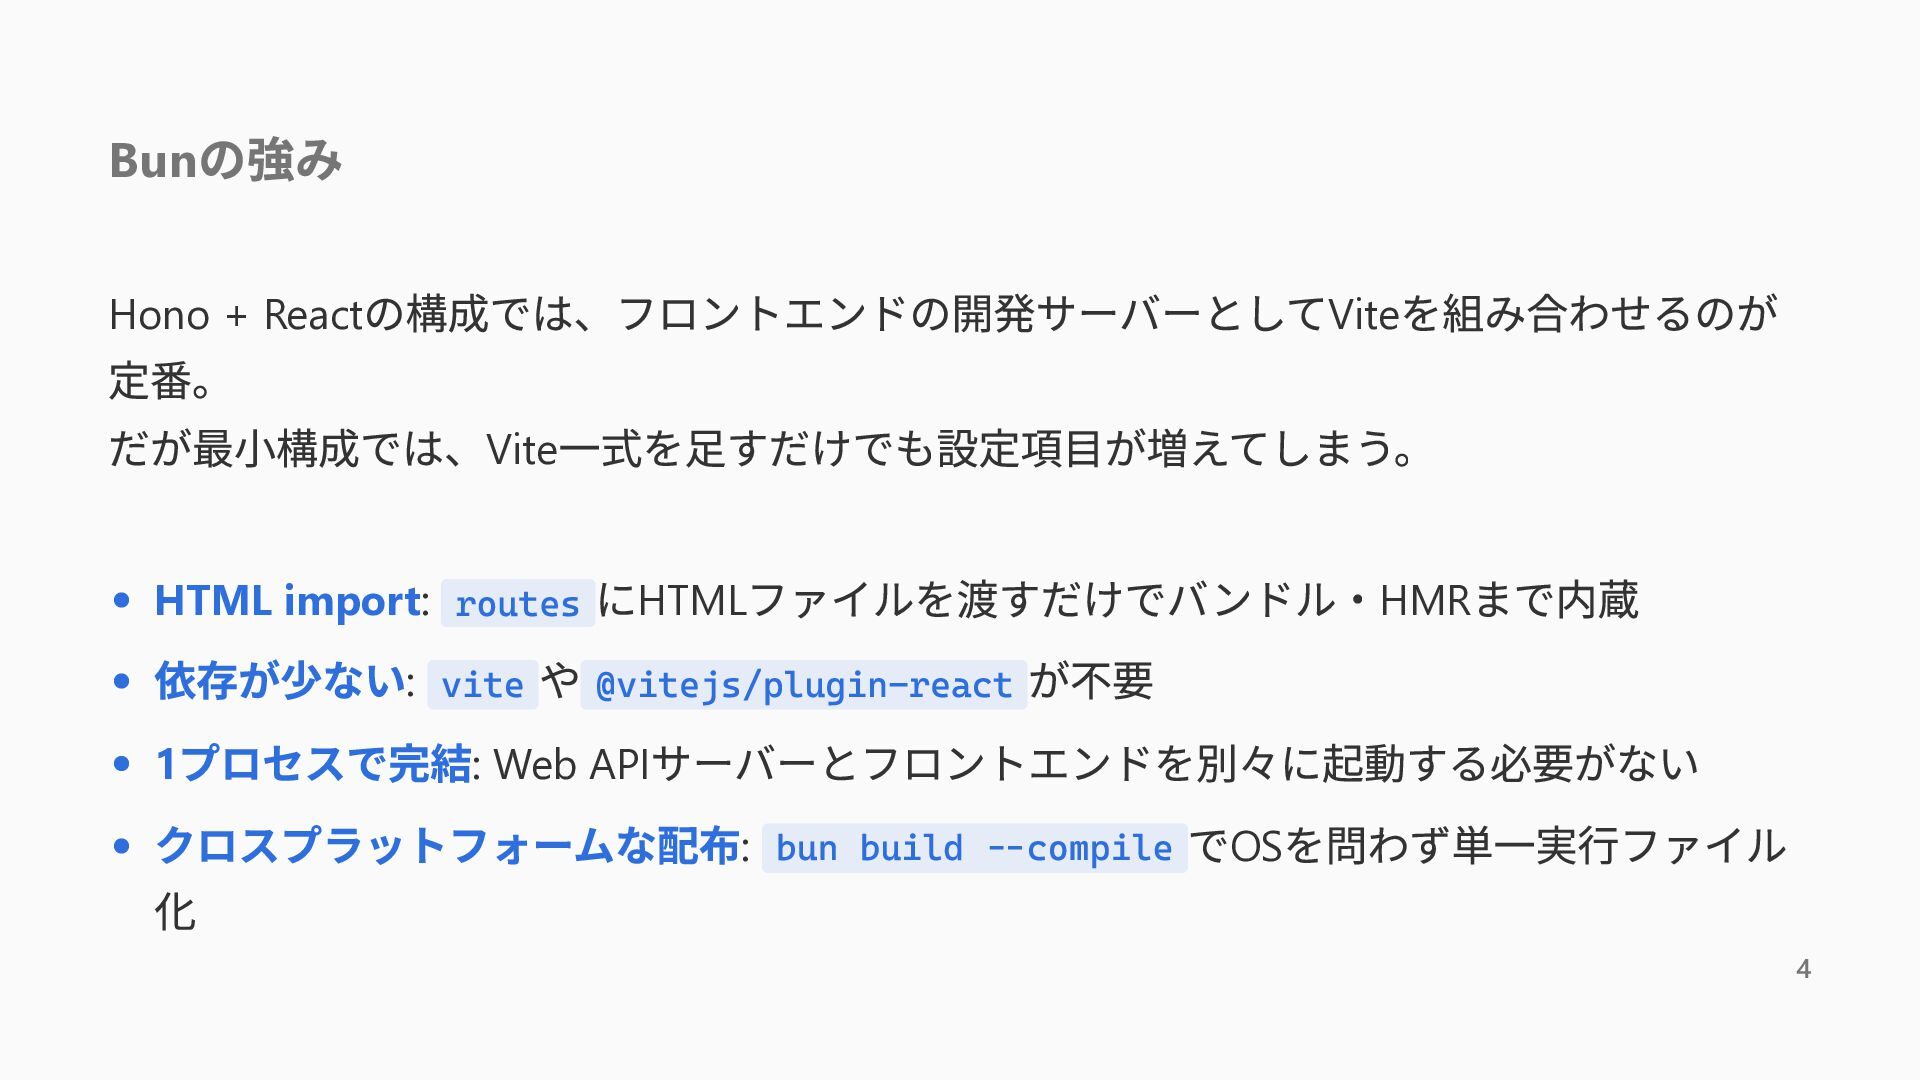
  1. Bun の強み の構成では、フロントエンドの開発サーバーとしてViteを組み合わせるのが Hono + React 定番。 だが最小構成では、Vite一式を足すだけでも設定項目が増えてしまう。 にHTMLファイルを渡すだけでバンドル・HMRまで内蔵 依存が少ない:

    vite や @vitejs/plugin-react が不要 1プロセスで完結: Web APIサーバーとフロントエンドを別々に起動する必要がない クロスプラットフォームな配布: bun build --compile でOSを問わず単一実行ファイル 化 HTML import: routes 4
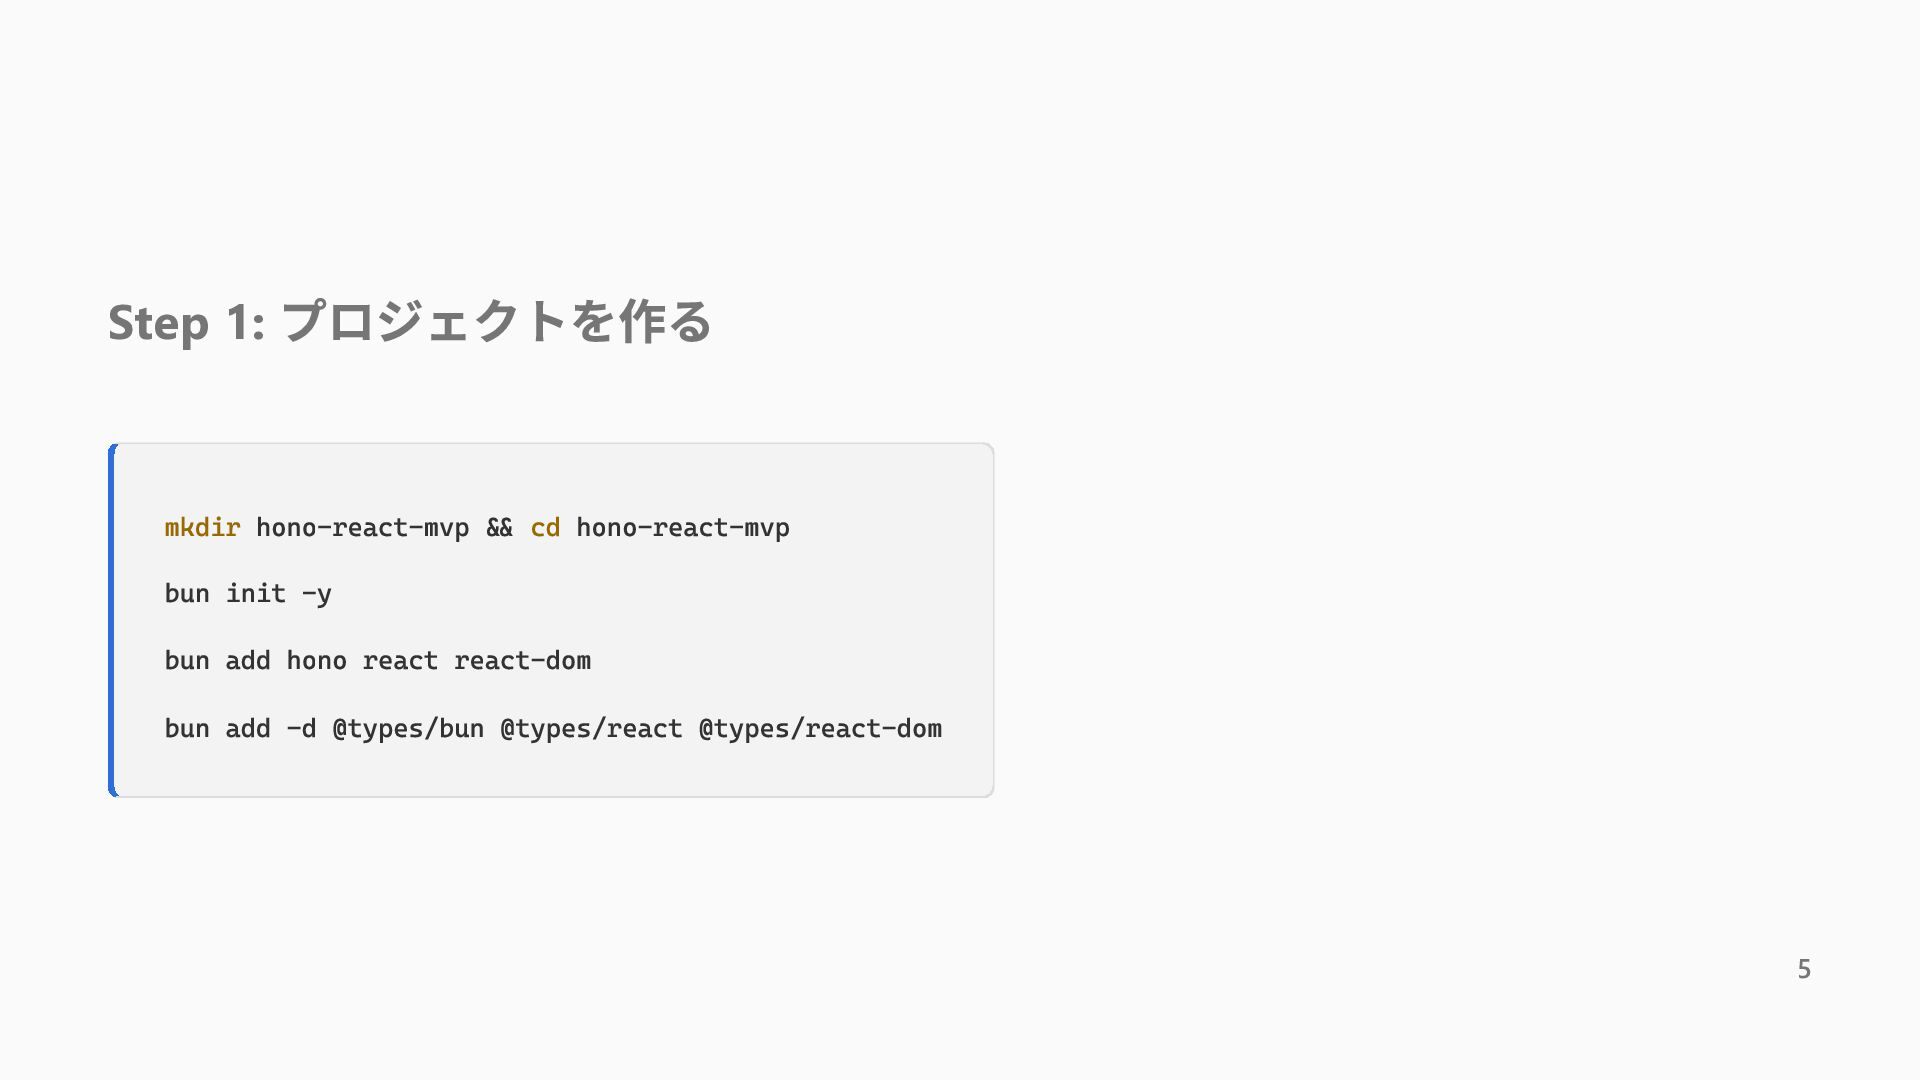
  2. Step 1: プロジェクトを作る mkdir hono-react-mvp && cd hono-react-mvp bun init

    -y bun add hono react react-dom bun add -d @types/bun @types/react @types/react-dom 5
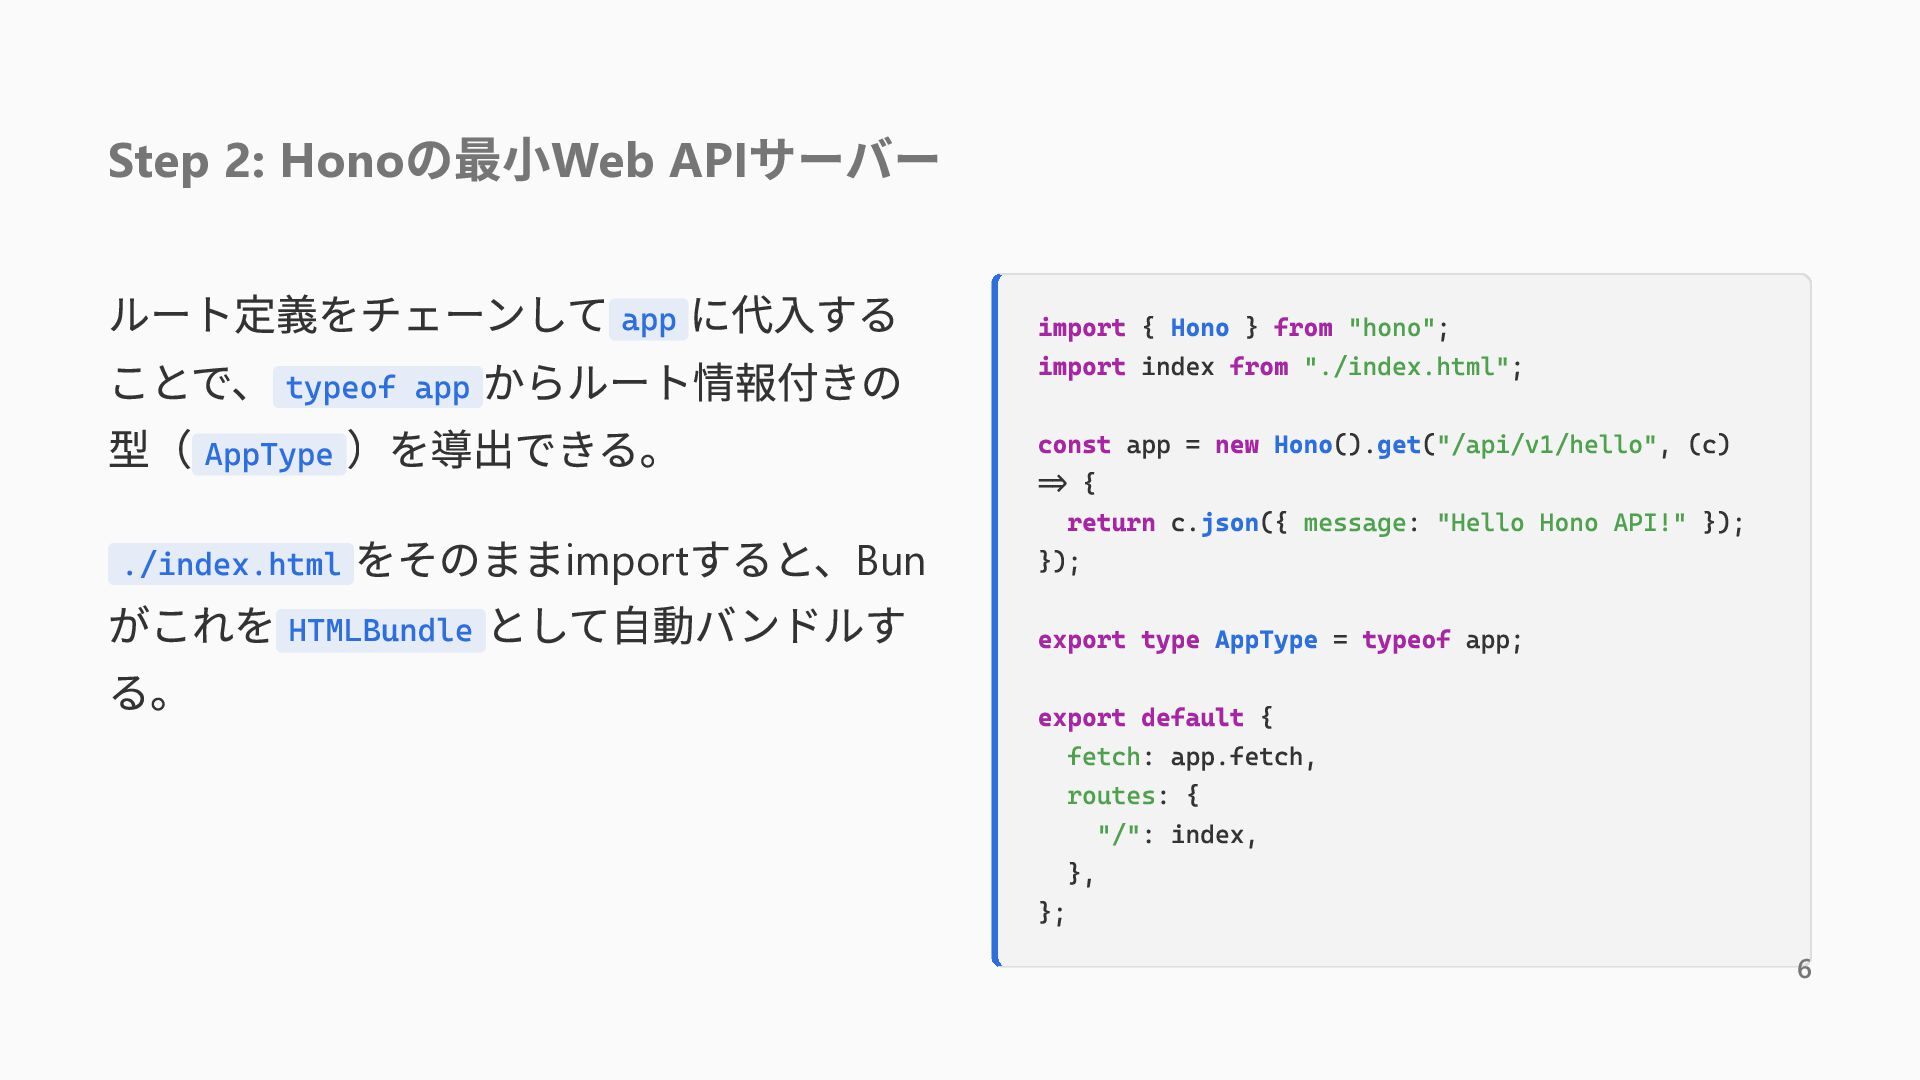
  3. Step 2: Hono の最小Web APIサーバー ルート定義をチェーンして app に代入する ことで、 typeof

    app からルート情報付きの 型( AppType )を導出できる。 ./index.html をそのままimportすると、Bun がこれを HTMLBundle として自動バンドルす る。 import { Hono } from "hono"; import index from "./index.html"; const app = new Hono().get("/api/v1/hello", (c) => { return c.json({ message: "Hello Hono API!" }); }); export type AppType = typeof app; export default { fetch: app.fetch, routes: { "/": index, }, }; 6
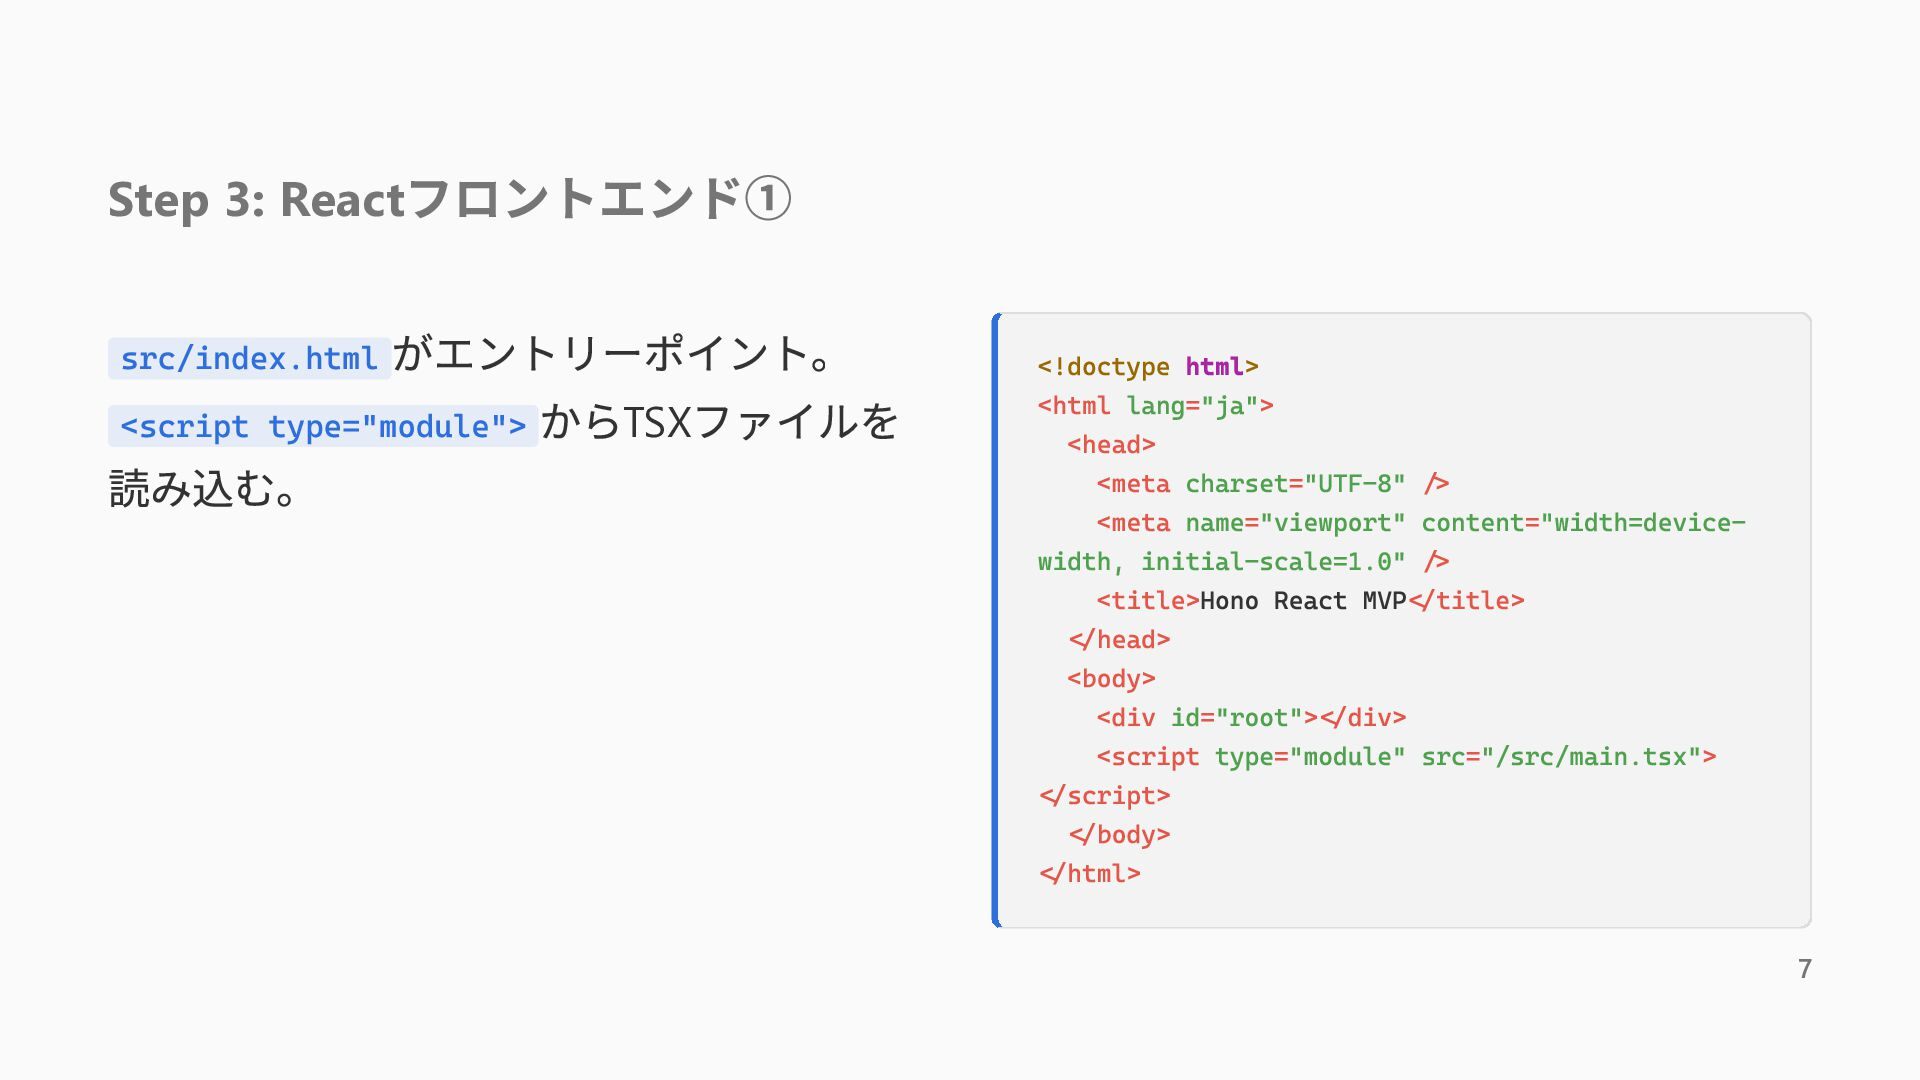
  4. Step 3: React フロントエンド① がエントリーポイント。 <script type="module"> からTSXファイルを 読み込む。 src/index.html

    <!doctype html> <html lang="ja"> <head> <meta charset="UTF-8" /> <meta name="viewport" content="width=devicewidth, initial-scale=1.0" /> <title>Hono React MVP</title> </head> <body> <div id="root"></div> <script type="module" src="/src/main.tsx"> </script> </body> </html> 7
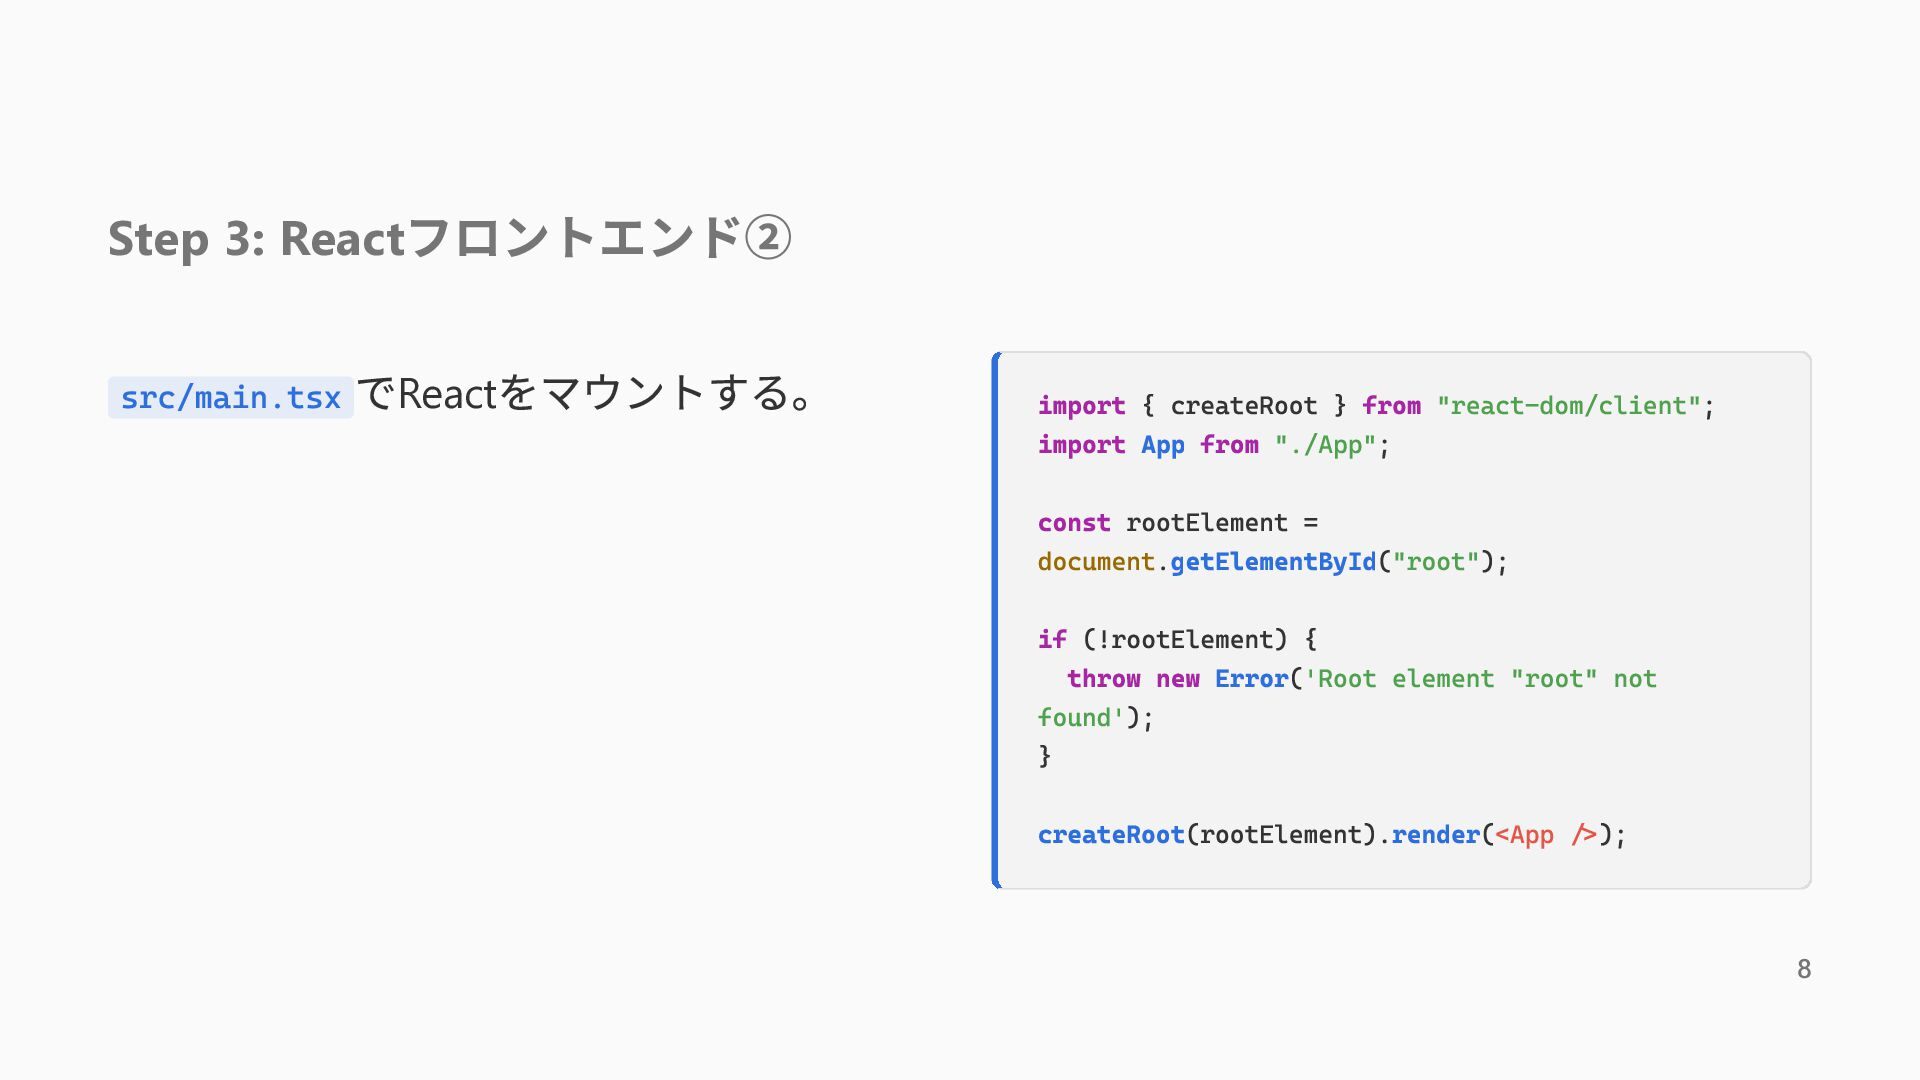
  5. Step 3: React src/main.tsx フロントエンド② でReactをマウントする。 import { createRoot }

    from "react-dom/client"; import App from "./App"; const rootElement = document.getElementById("root"); if (!rootElement) { throw new Error('Root element "root" not found'); } createRoot(rootElement).render(<App />); 8
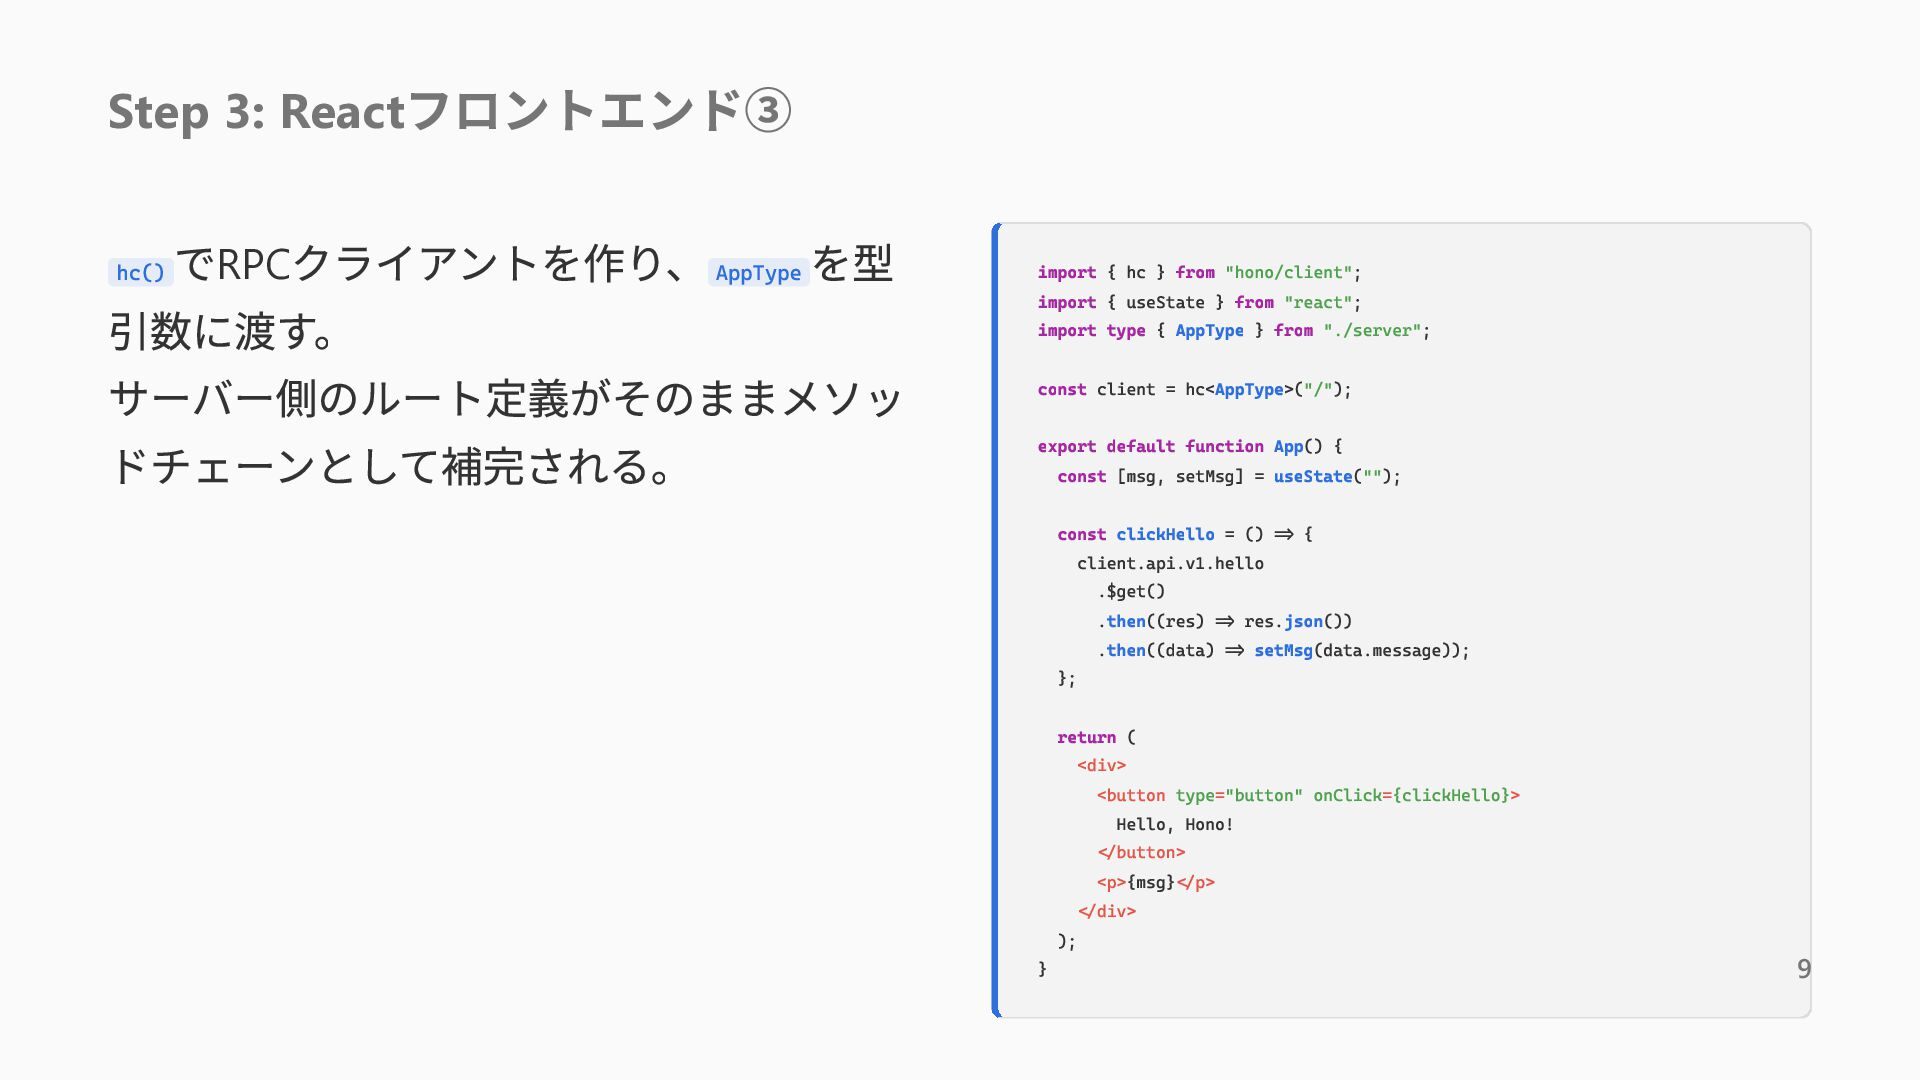
  6. Step 3: React フロントエンド③ でRPCクライアントを作り、 を型 引数に渡す。 サーバー側のルート定義がそのままメソッ ドチェーンとして補完される。 hc()

    AppType import { hc } from "hono/client"; import { useState } from "react"; import type { AppType } from "./server"; const client = hc<AppType>("/"); export default function App() { const [msg, setMsg] = useState(""); const clickHello = () => { client.api.v1.hello .$get() .then((res) => res.json()) .then((data) => setMsg(data.message)); }; return ( <div> <button type="button" onClick={clickHello}> Hello, Hono! </button> <p>{msg}</p> </div> ); } 9
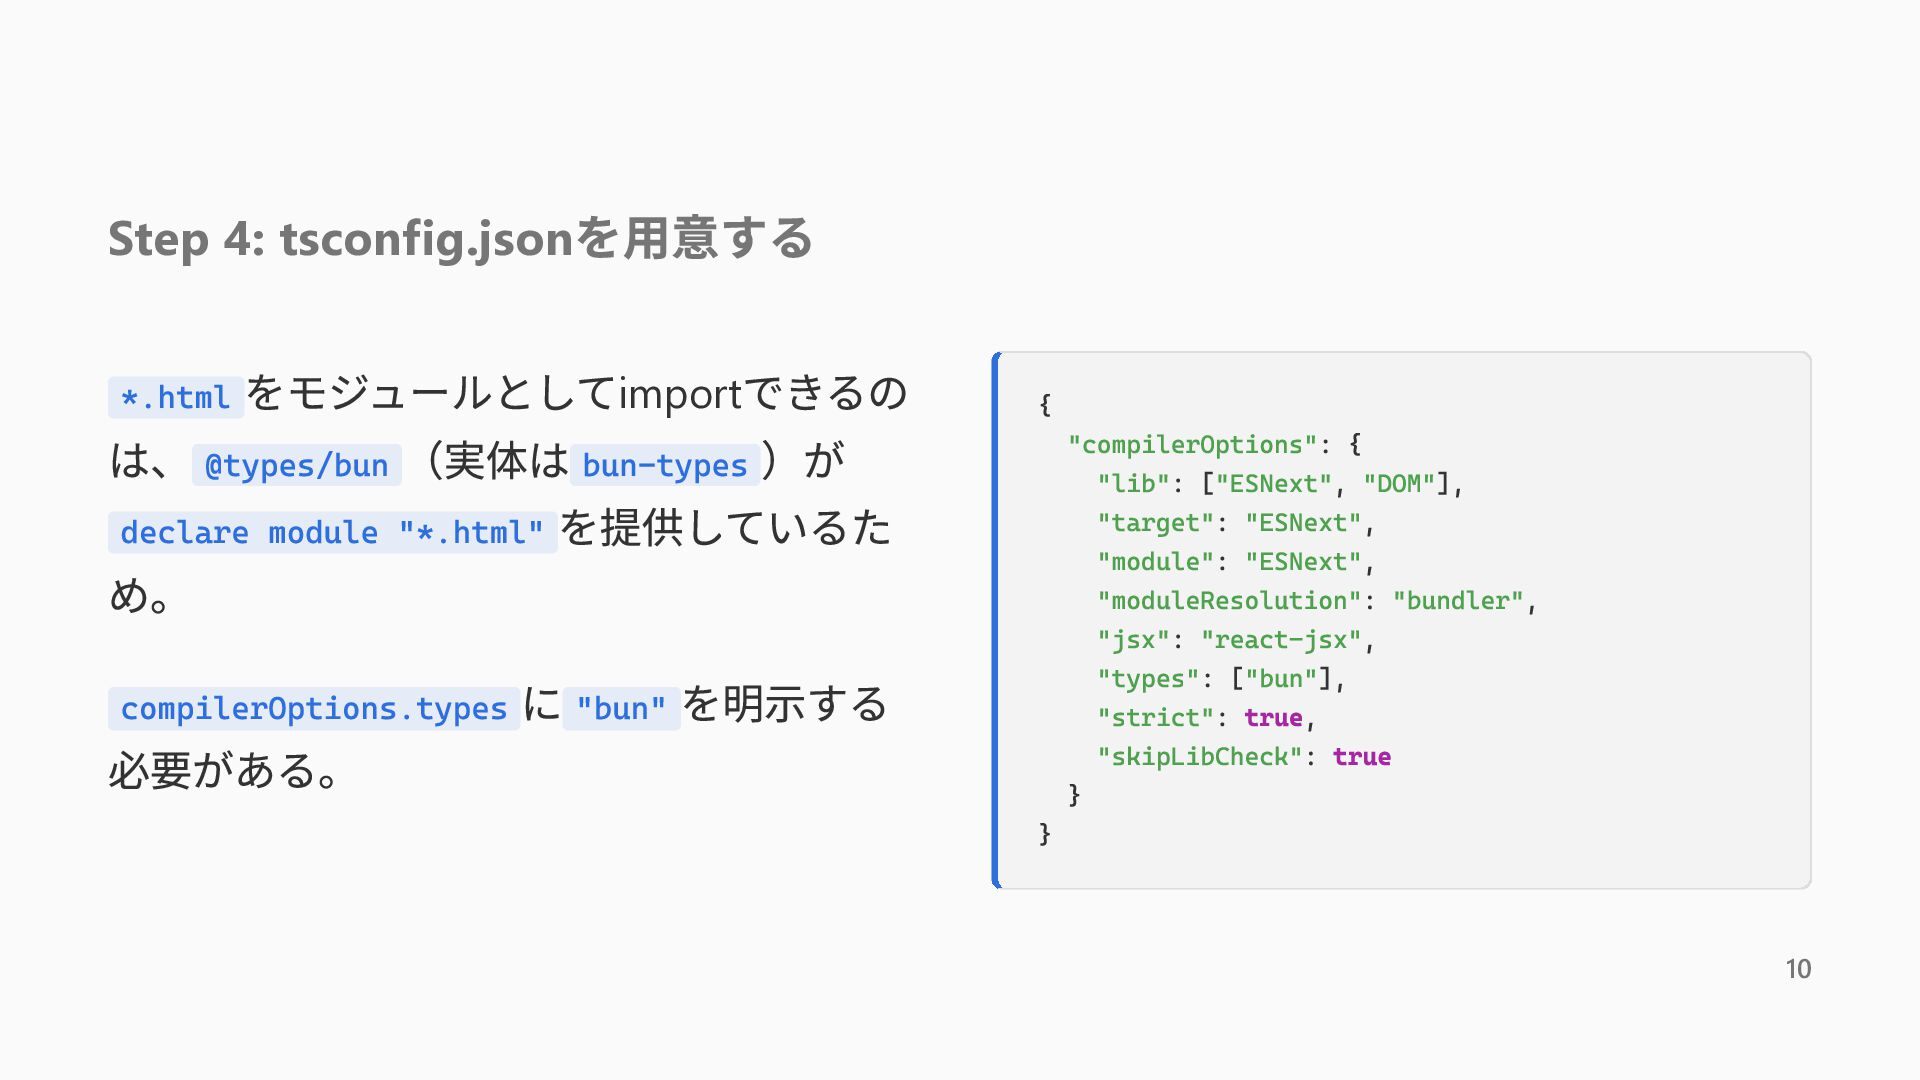
  7. Step 4: tsconfig.json を用意する をモジュールとしてimportできるの は、 @types/bun (実体は bun-types )が

    declare module "*.html" を提供しているた め。 compilerOptions.types に "bun" を明示する 必要がある。 *.html { "compilerOptions": { "lib": ["ESNext", "DOM"], "target": "ESNext", "module": "ESNext", "moduleResolution": "bundler", "jsx": "react-jsx", "types": ["bun"], "strict": true, "skipLibCheck": true } } 10
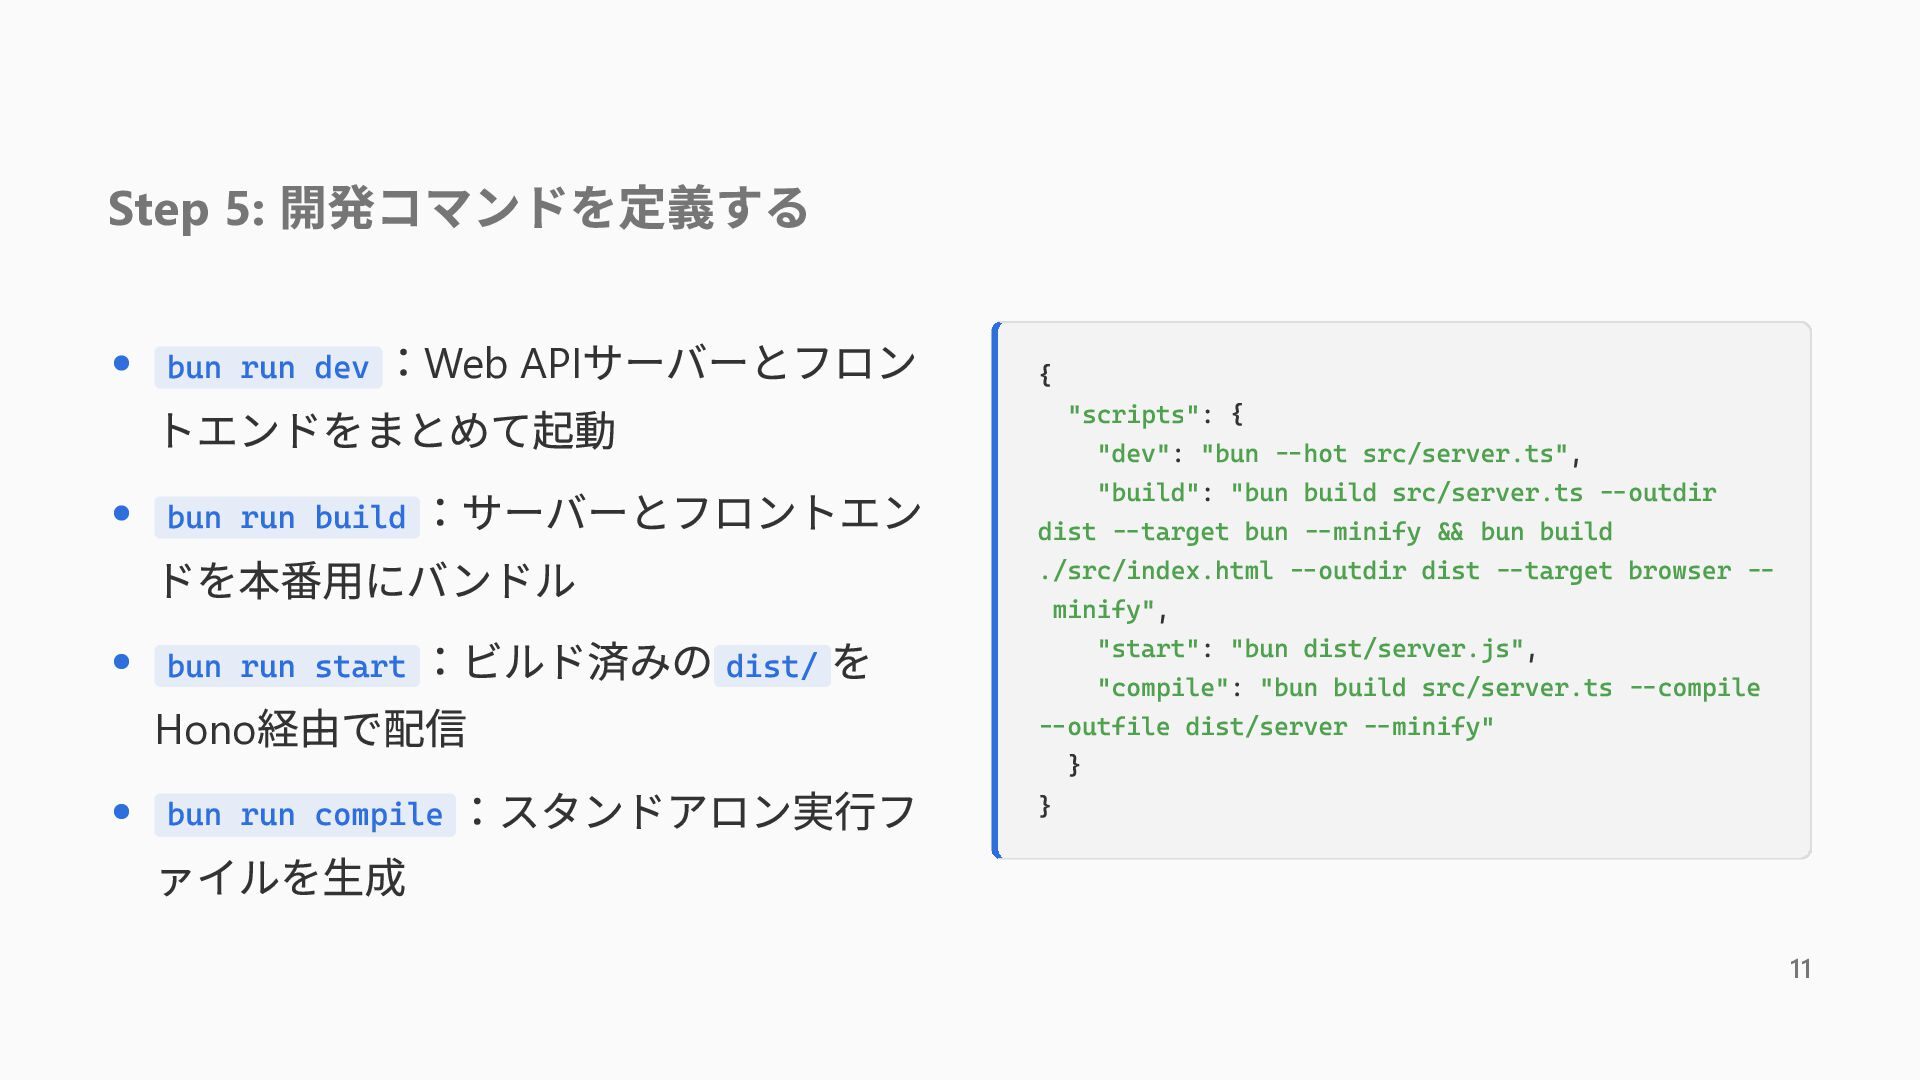
  8. Step 5: 開発コマンドを定義する :Web APIサーバーとフロン トエンドをまとめて起動 bun run build :サーバーとフロントエン

    ドを本番用にバンドル bun run start :ビルド済みの dist/ を Hono経由で配信 bun run compile :スタンドアロン実行フ ァイルを生成 bun run dev { "scripts": { "dev": "bun --hot src/server.ts", "build": "bun build src/server.ts --outdir dist --target bun --minify && bun build ./src/index.html --outdir dist --target browser -minify", "start": "bun dist/server.js", "compile": "bun build src/server.ts --compile --outfile dist/server --minify" } } 11
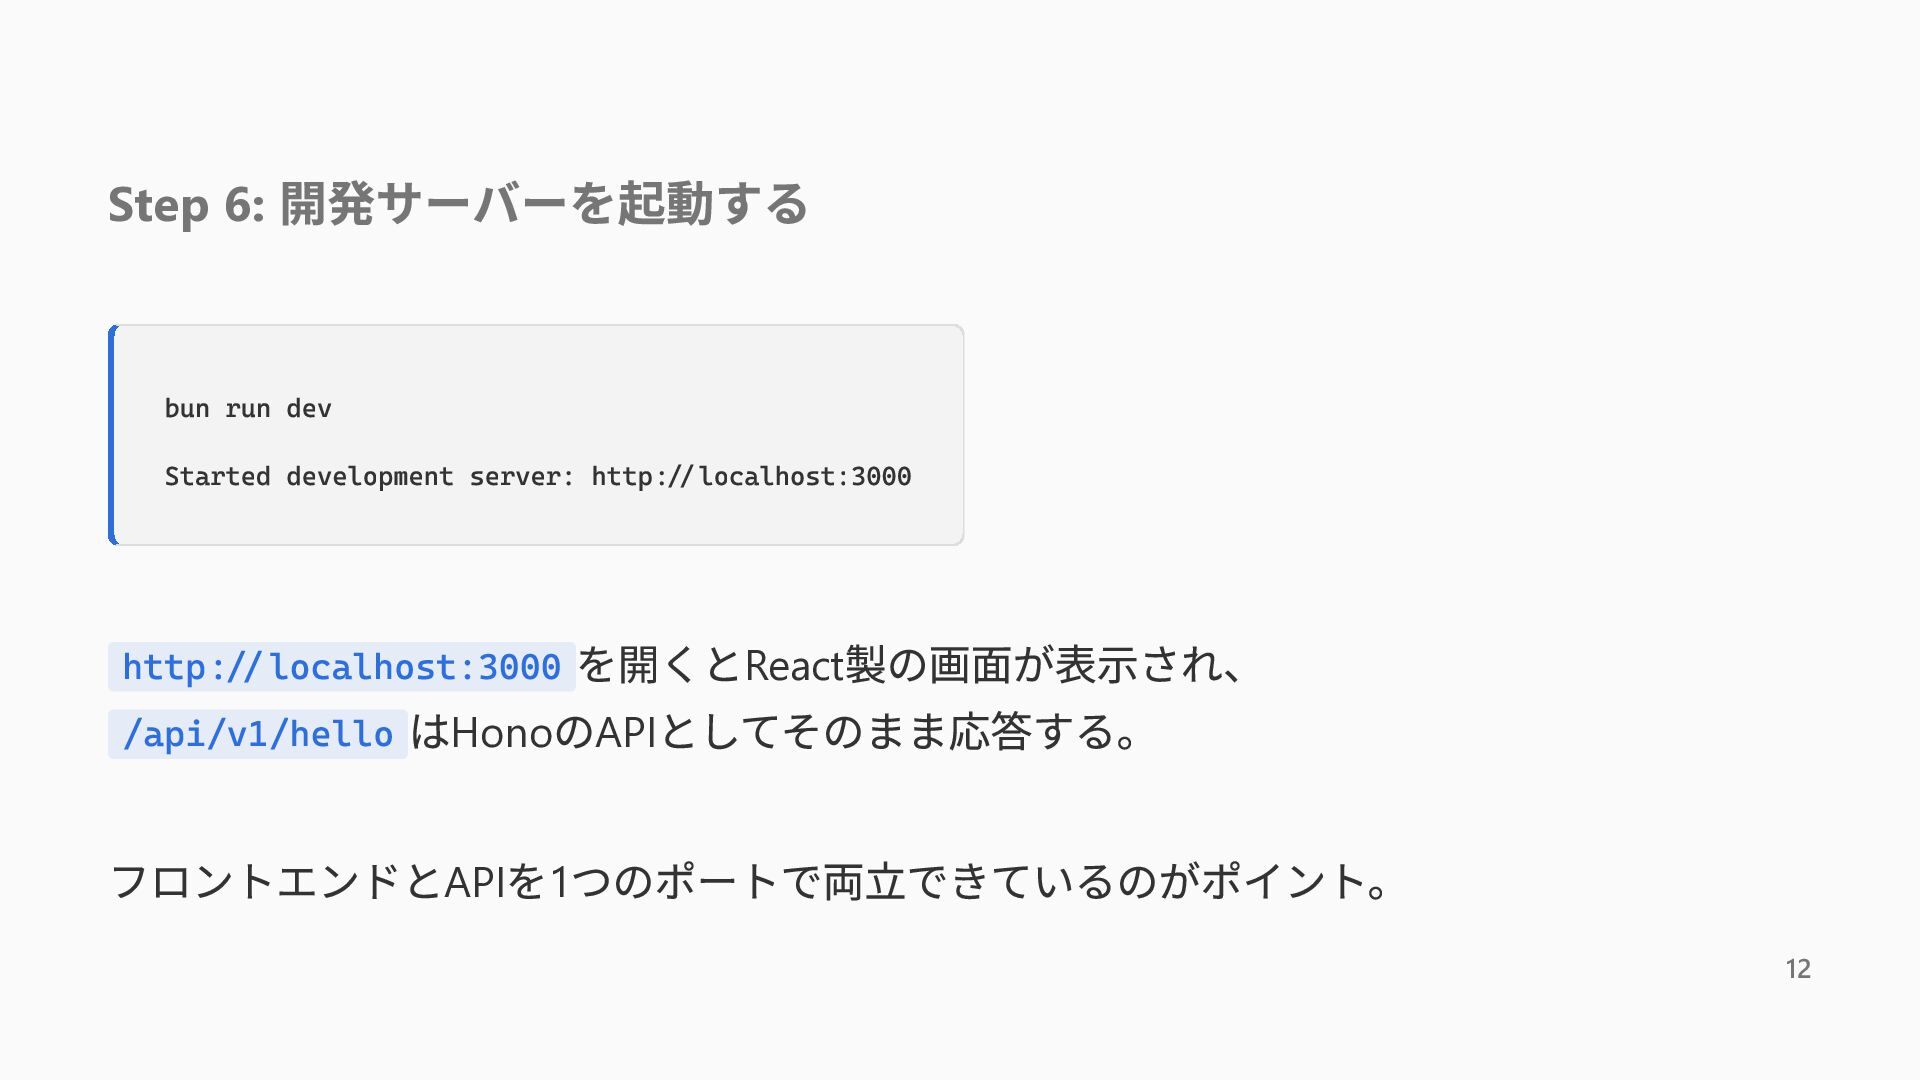
  9. Step 6: 開発サーバーを起動する bun run dev Started development server: http://localhost:3000

    を開くとReact製の画面が表示され、 /api/v1/hello はHonoのAPIとしてそのまま応答する。 http://localhost:3000 フロントエンドとAPIを1つのポートで両立できているのがポイント。 12
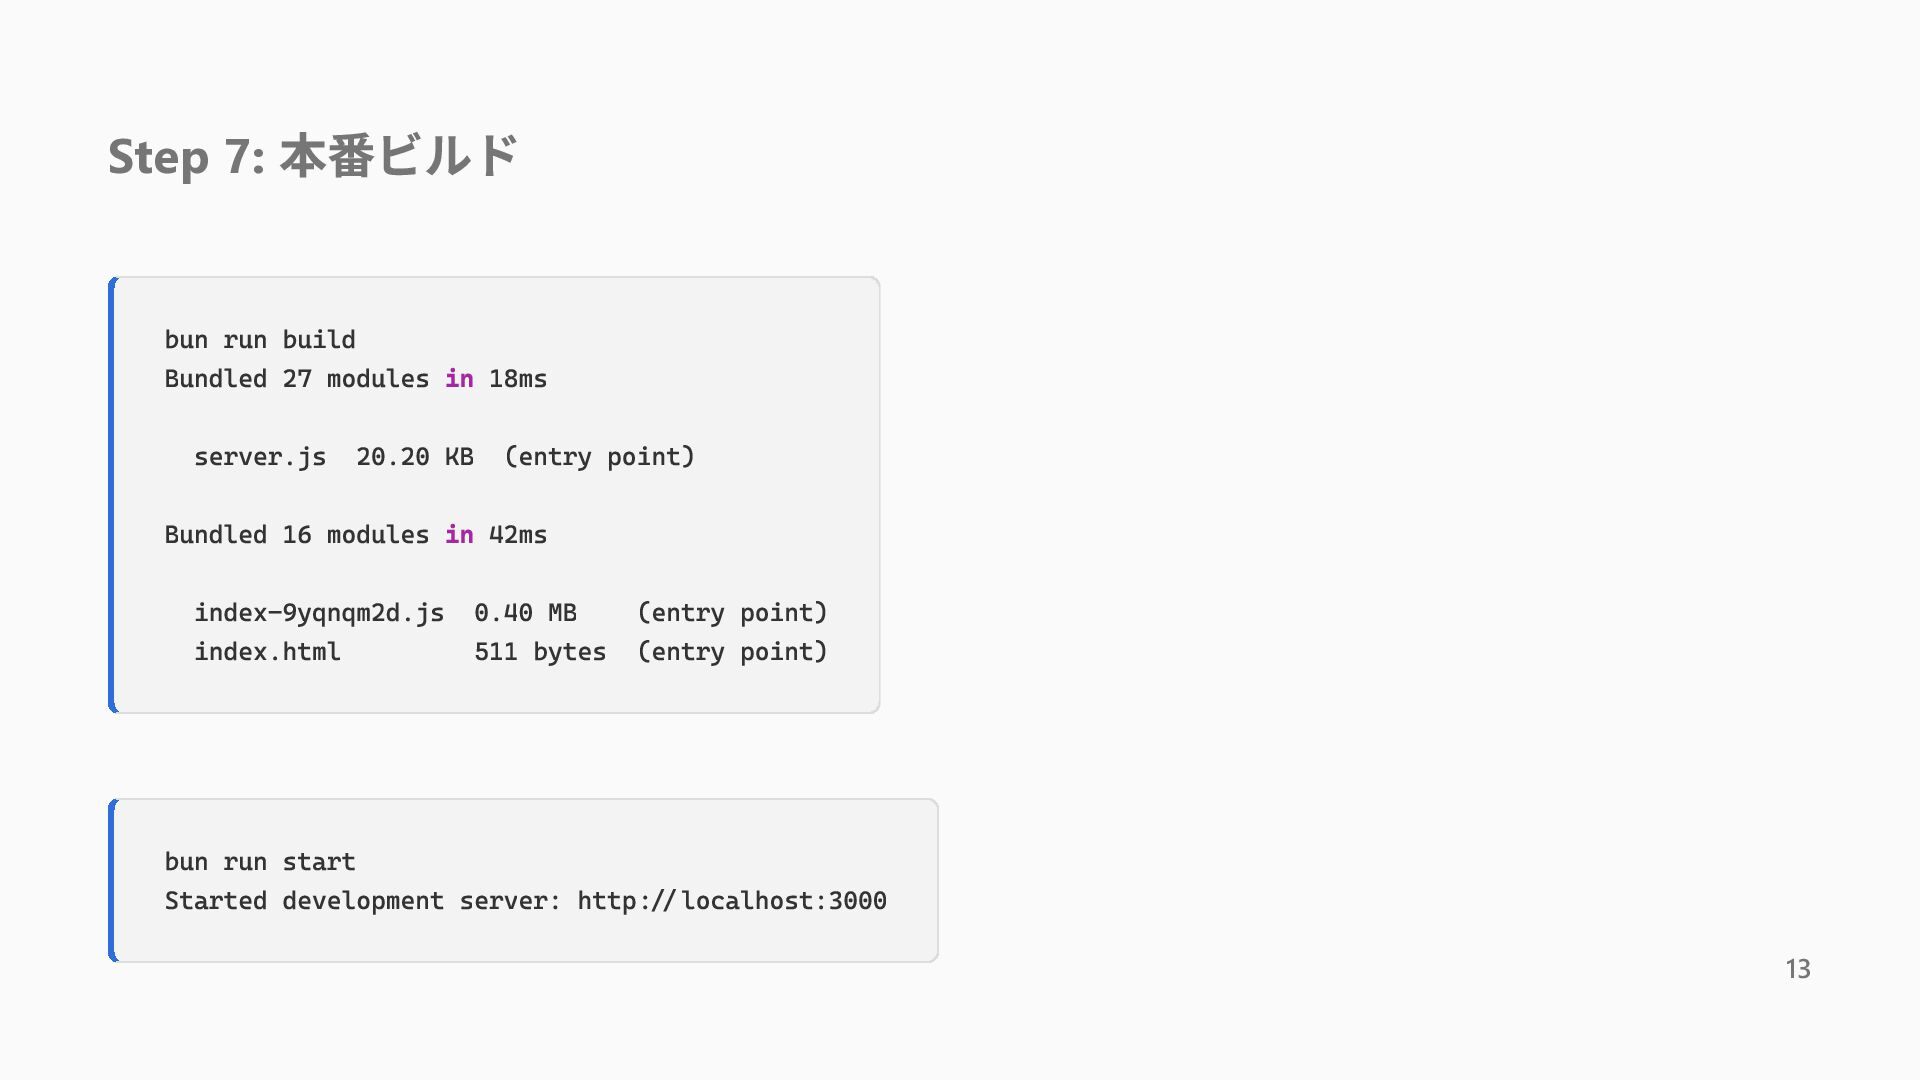
  10. Step 7: 本番ビルド bun run build Bundled 27 modules in

    18ms server.js 20.20 KB (entry point) Bundled 16 modules in 42ms index-9yqnqm2d.js 0.40 MB (entry point) index.html 511 bytes (entry point) bun run start Started development server: http://localhost:3000 13
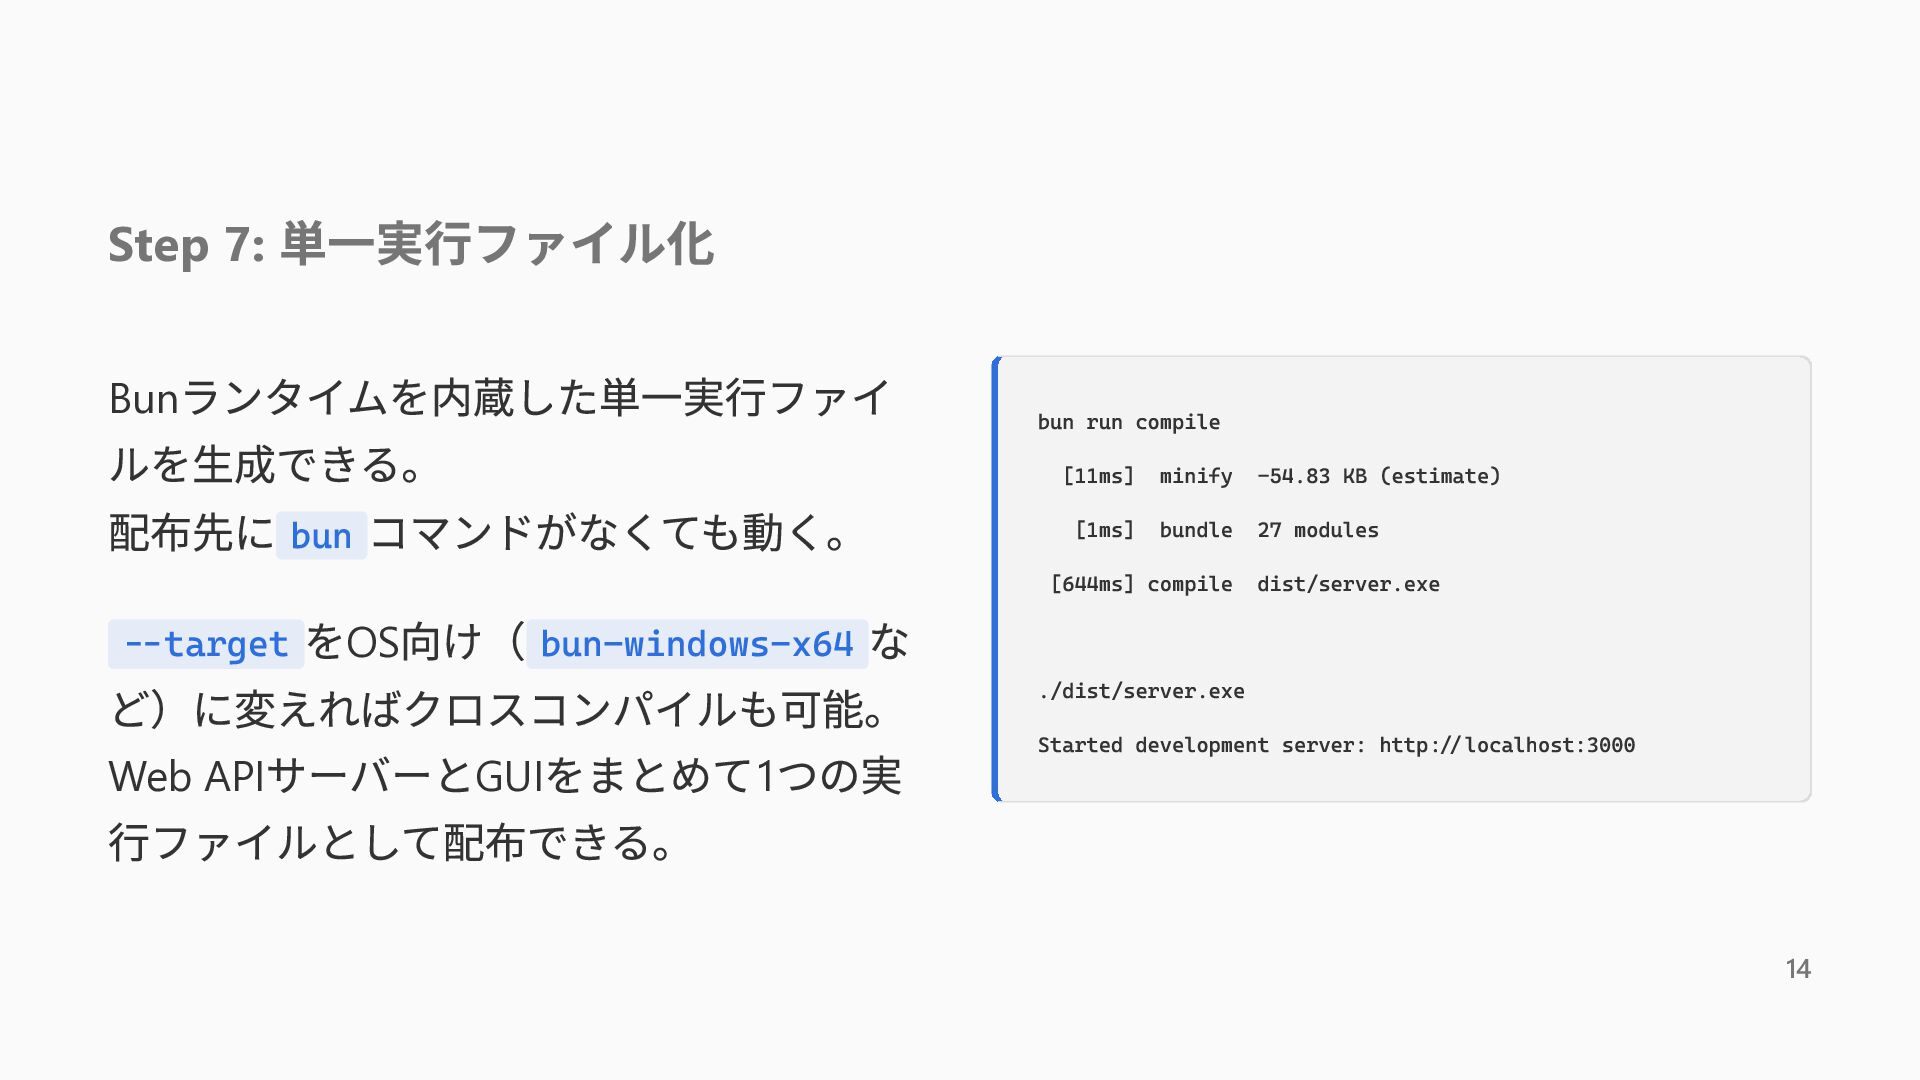
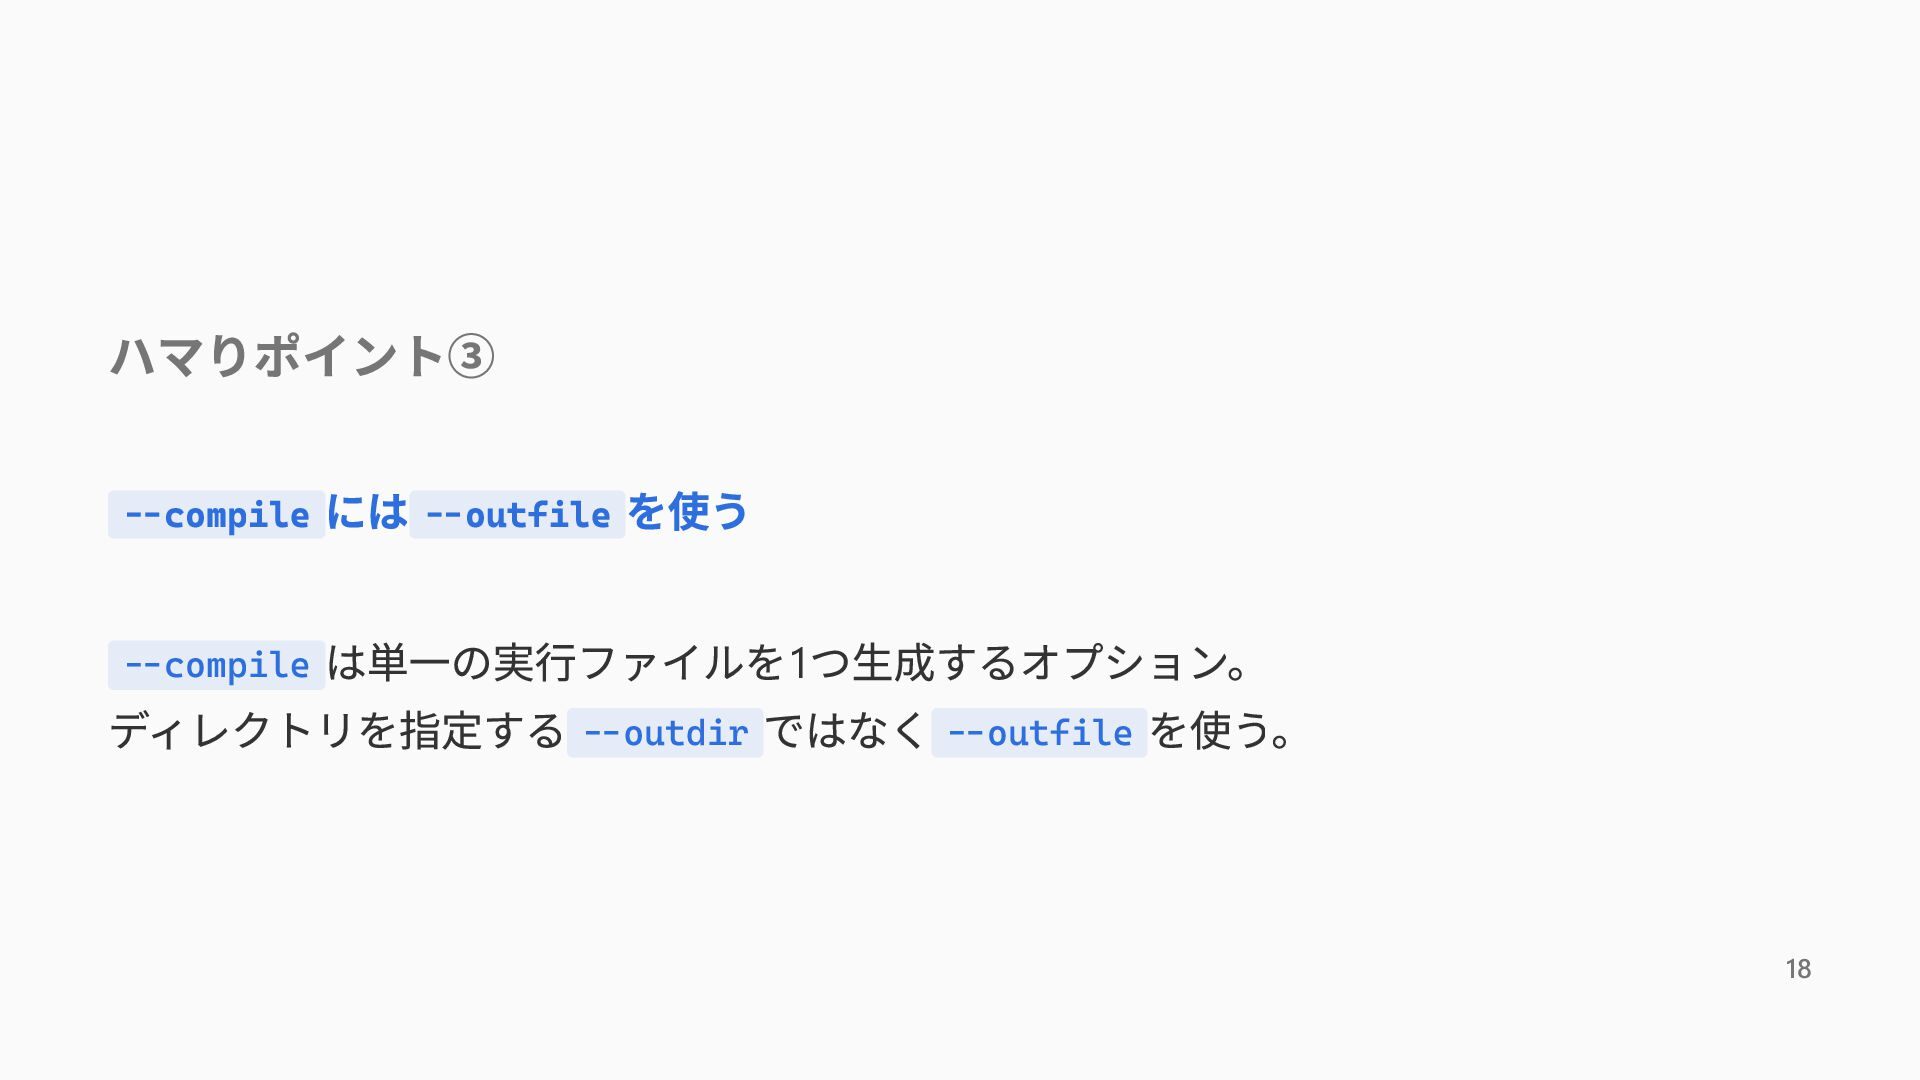
  11. Step 7: 単一実行ファイル化 ランタイムを内蔵した単一実行ファイ ルを生成できる。 配布先に bun コマンドがなくても動く。 --target をOS向け(

    bun-windows-x64 な ど)に変えればクロスコンパイルも可能。 Web APIサーバーとGUIをまとめて1つの実 行ファイルとして配布できる。 Bun bun run compile [11ms] minify -54.83 KB (estimate) [1ms] bundle 27 modules [644ms] compile dist/server.exe ./dist/server.exe Started development server: http://localhost:3000 14
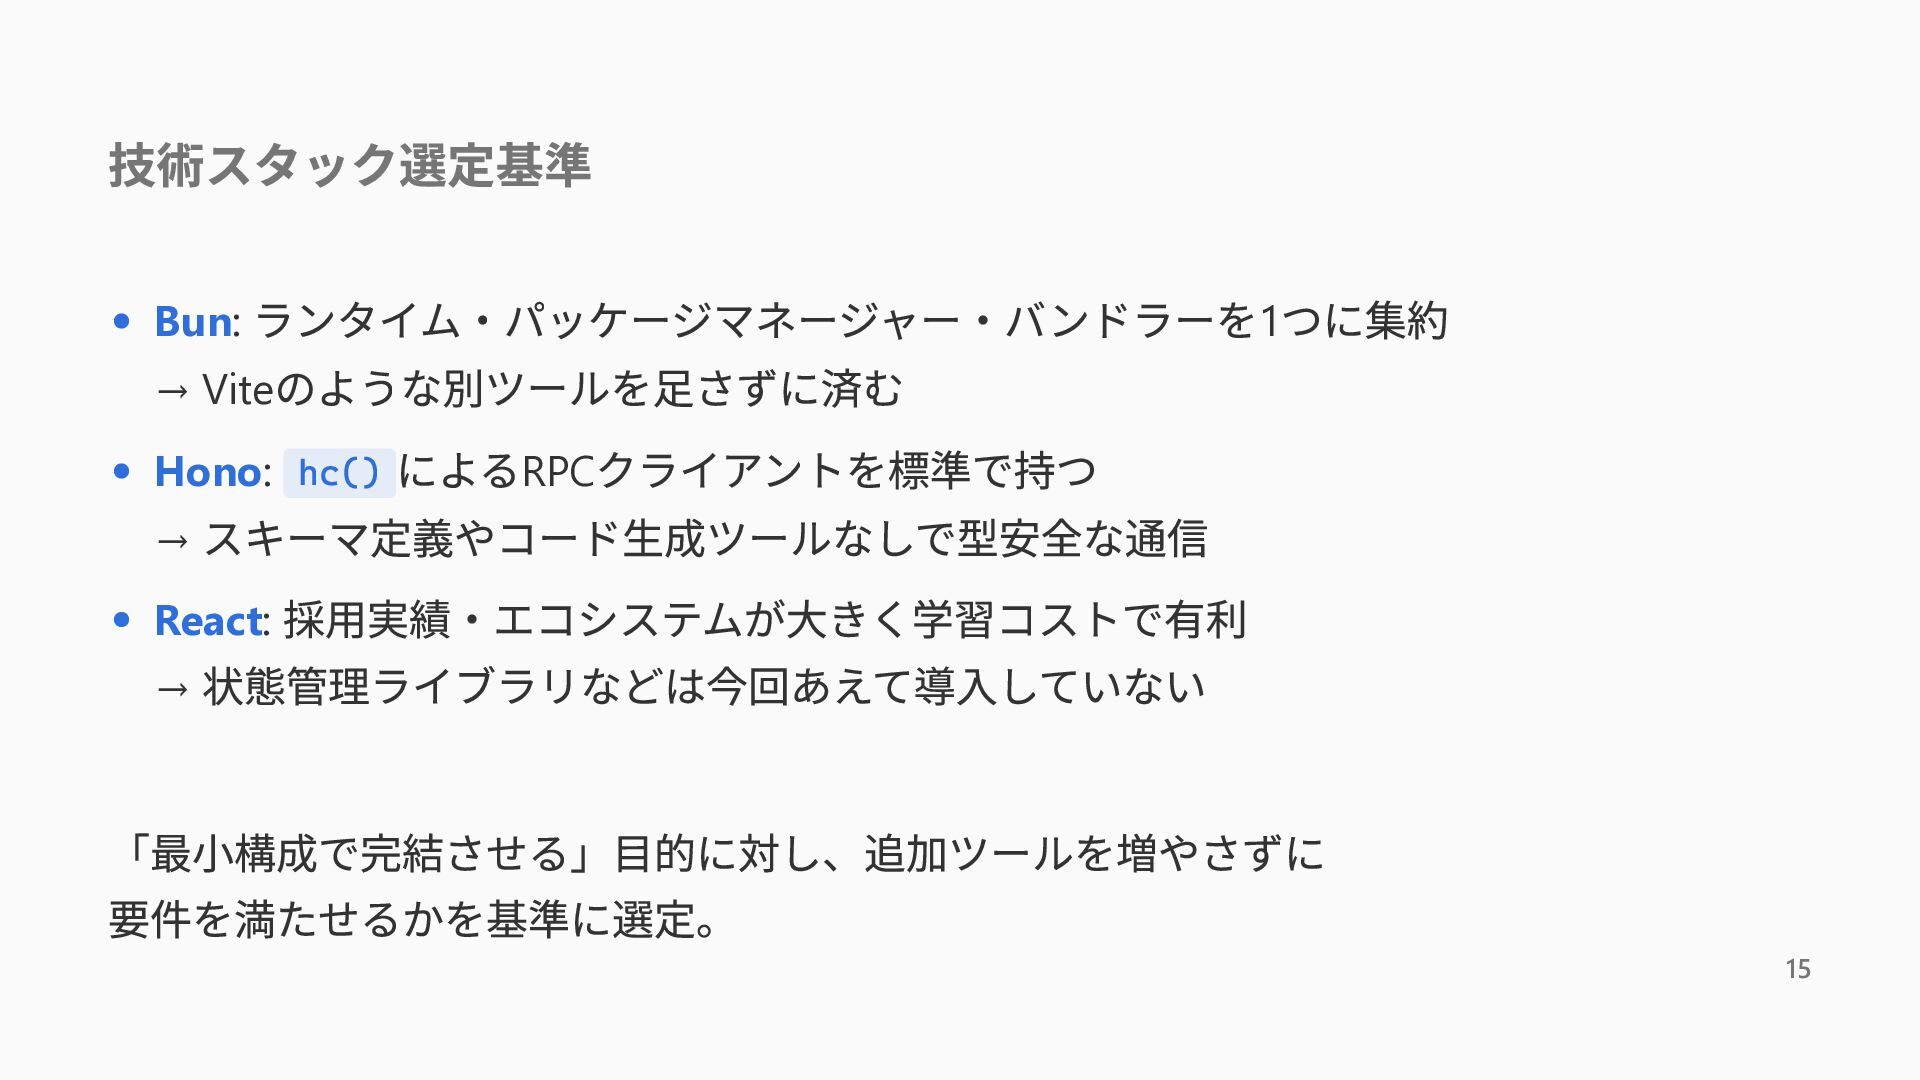
  12. 技術スタック選定基準 ランタイム・パッケージマネージャー・バンドラーを1つに集約 → Viteのような別ツールを足さずに済む Hono: hc() によるRPCクライアントを標準で持つ → スキーマ定義やコード生成ツールなしで型安全な通信 React:

    採用実績・エコシステムが大きく学習コストで有利 → 状態管理ライブラリなどは今回あえて導入していない Bun: 「最小構成で完結させる」目的に対し、追加ツールを増やさずに 要件を満たせるかを基準に選定。 15
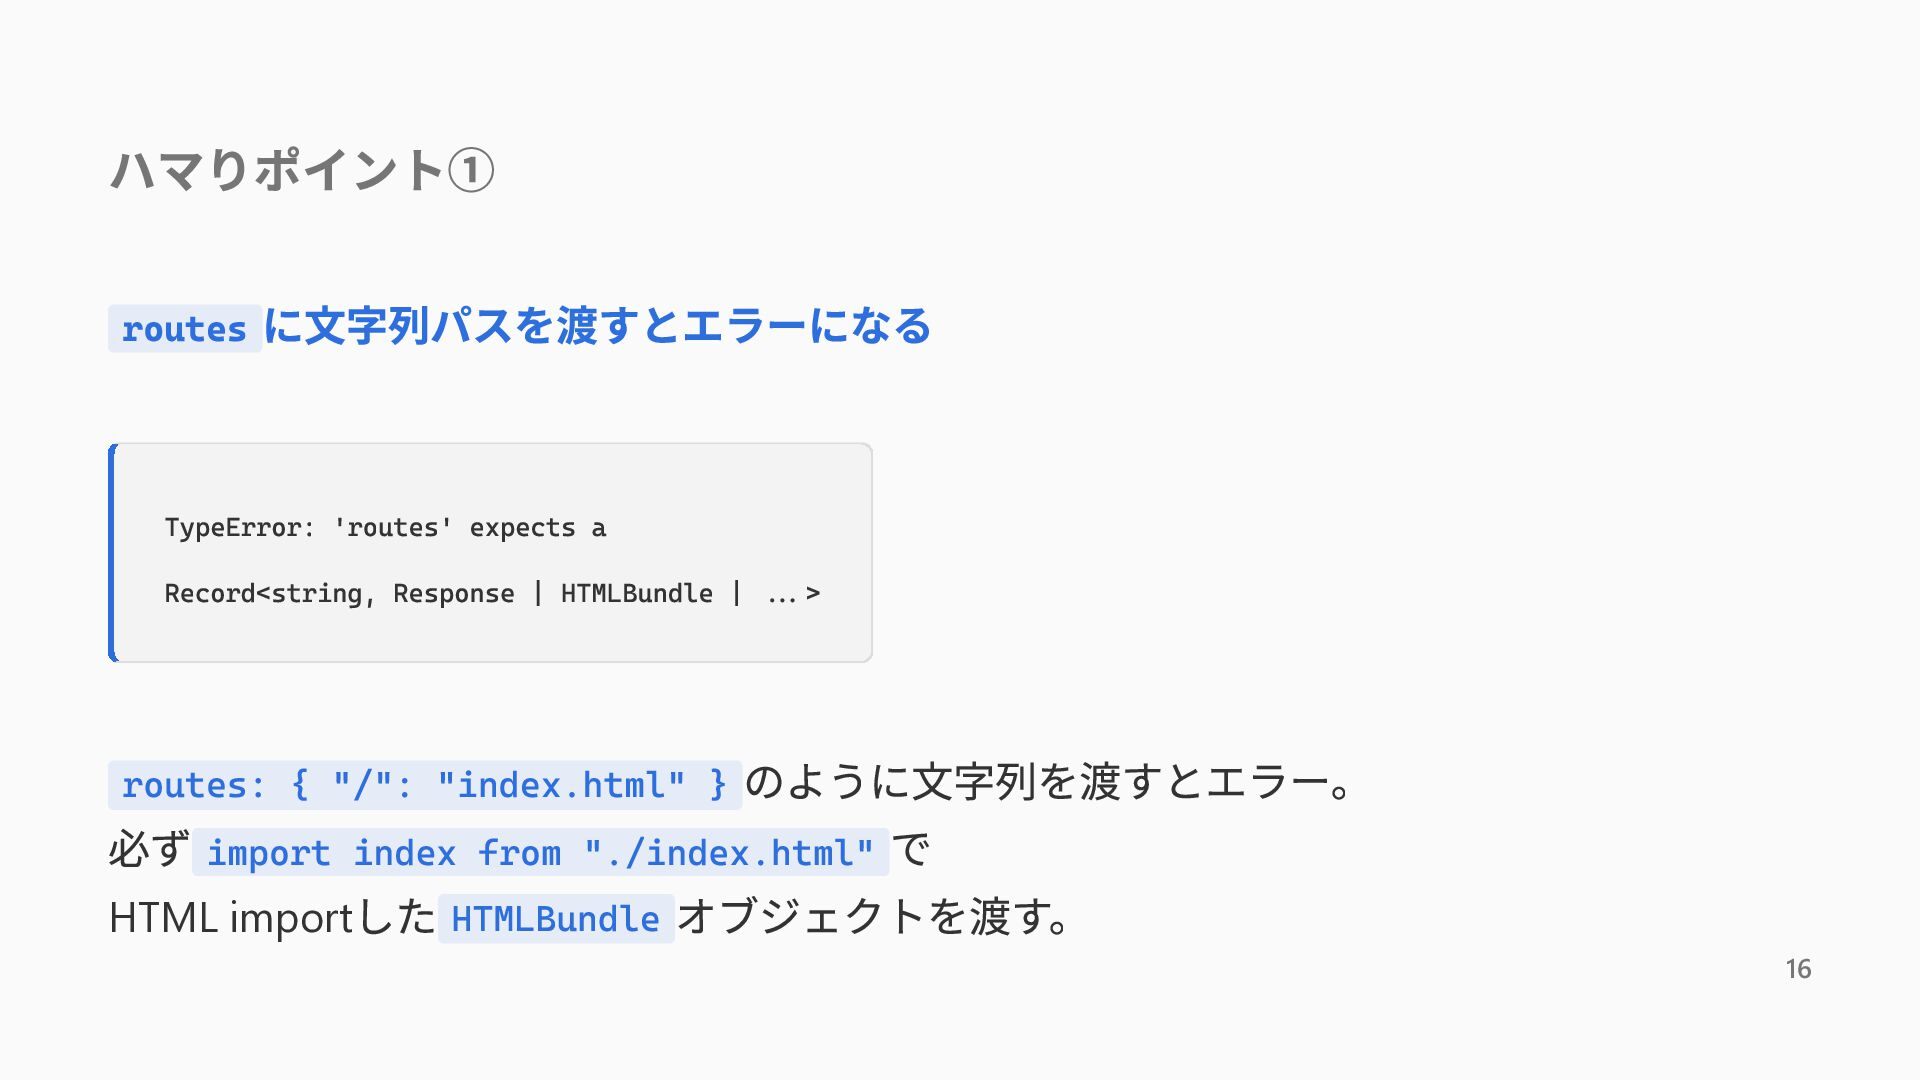
  13. ハマりポイント① routes に文字列パスを渡すとエラーになる TypeError: 'routes' expects a Record<string, Response |

    HTMLBundle | ...> のように文字列を渡すとエラー。 必ず import index from "./index.html" で HTML importした HTMLBundle オブジェクトを渡す。 routes: { "/": "index.html" } 16
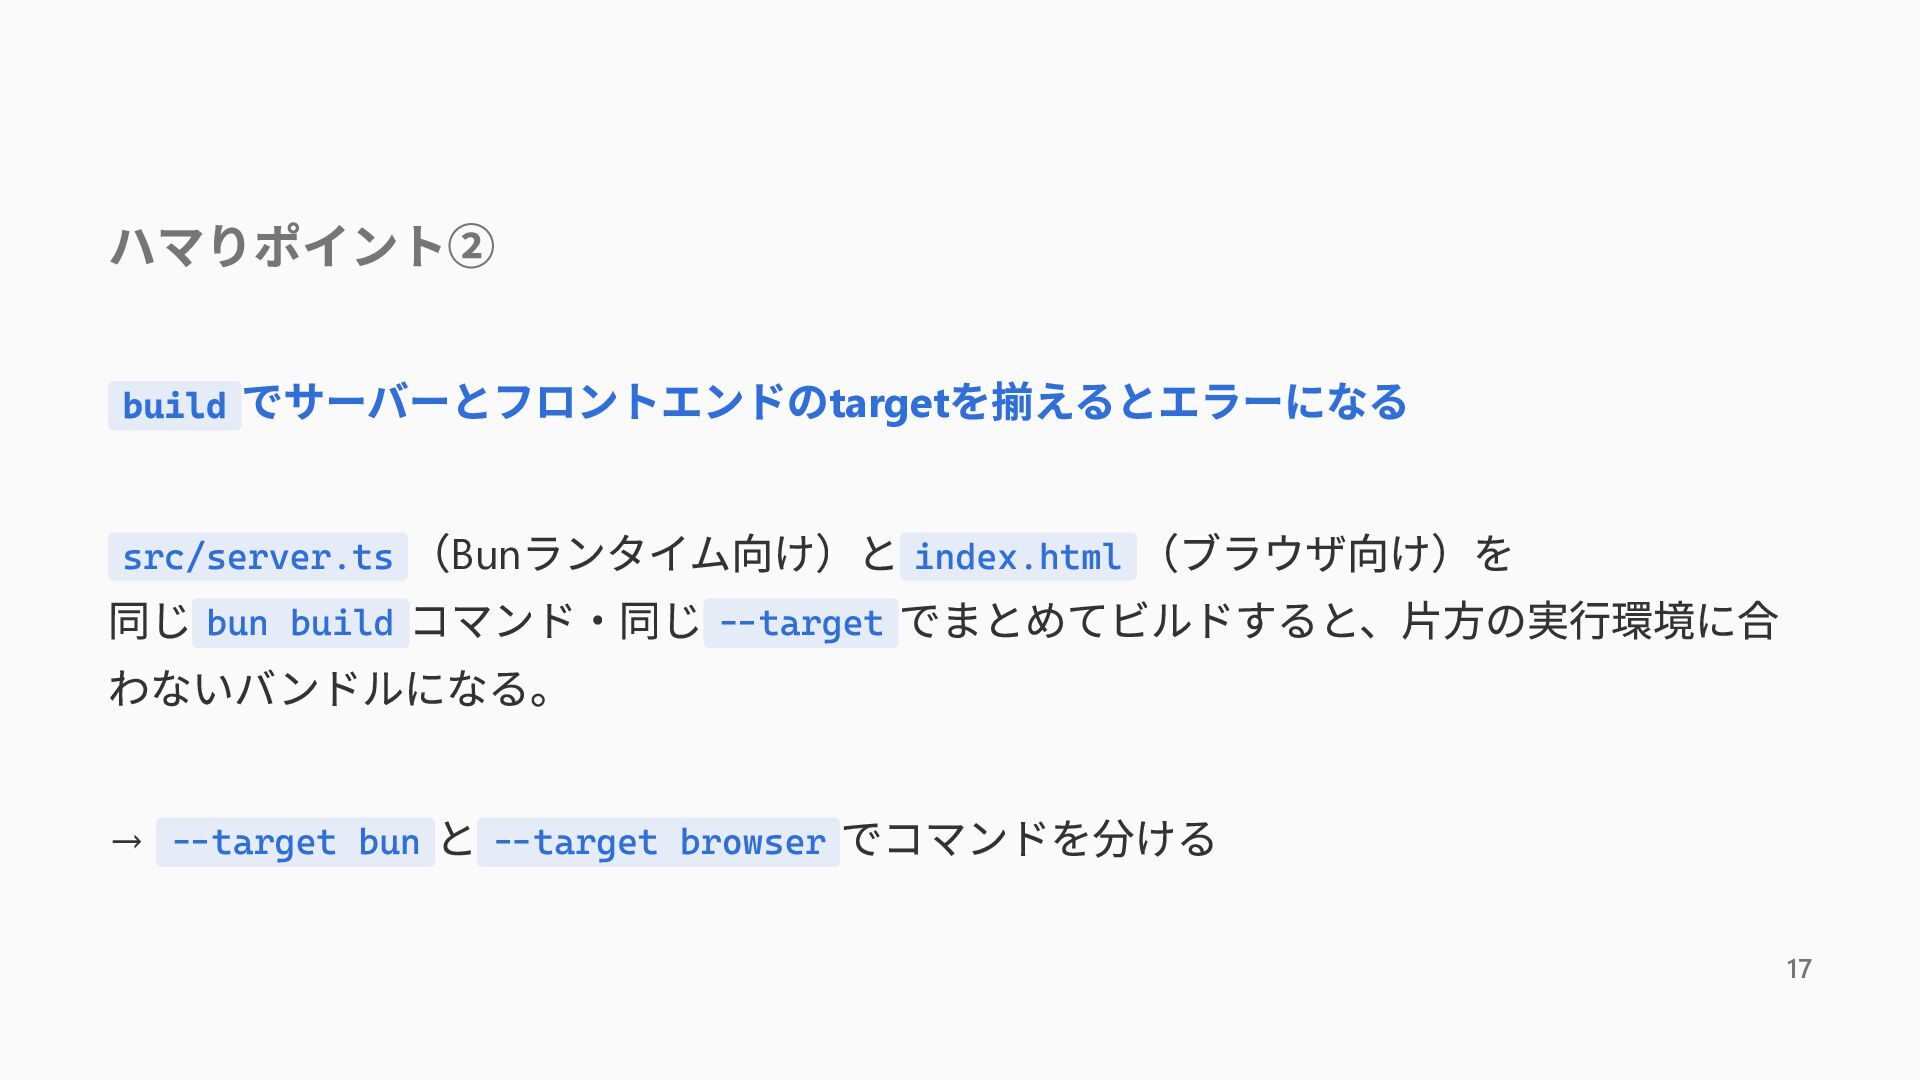
  14. ハマりポイント② build でサーバーとフロントエンドのtargetを揃えるとエラーになる (Bunランタイム向け)と index.html (ブラウザ向け)を 同じ bun build コマンド・同じ

    --target でまとめてビルドすると、片方の実行環境に合 わないバンドルになる。 src/server.ts → --target bun と --target browser でコマンドを分ける 17
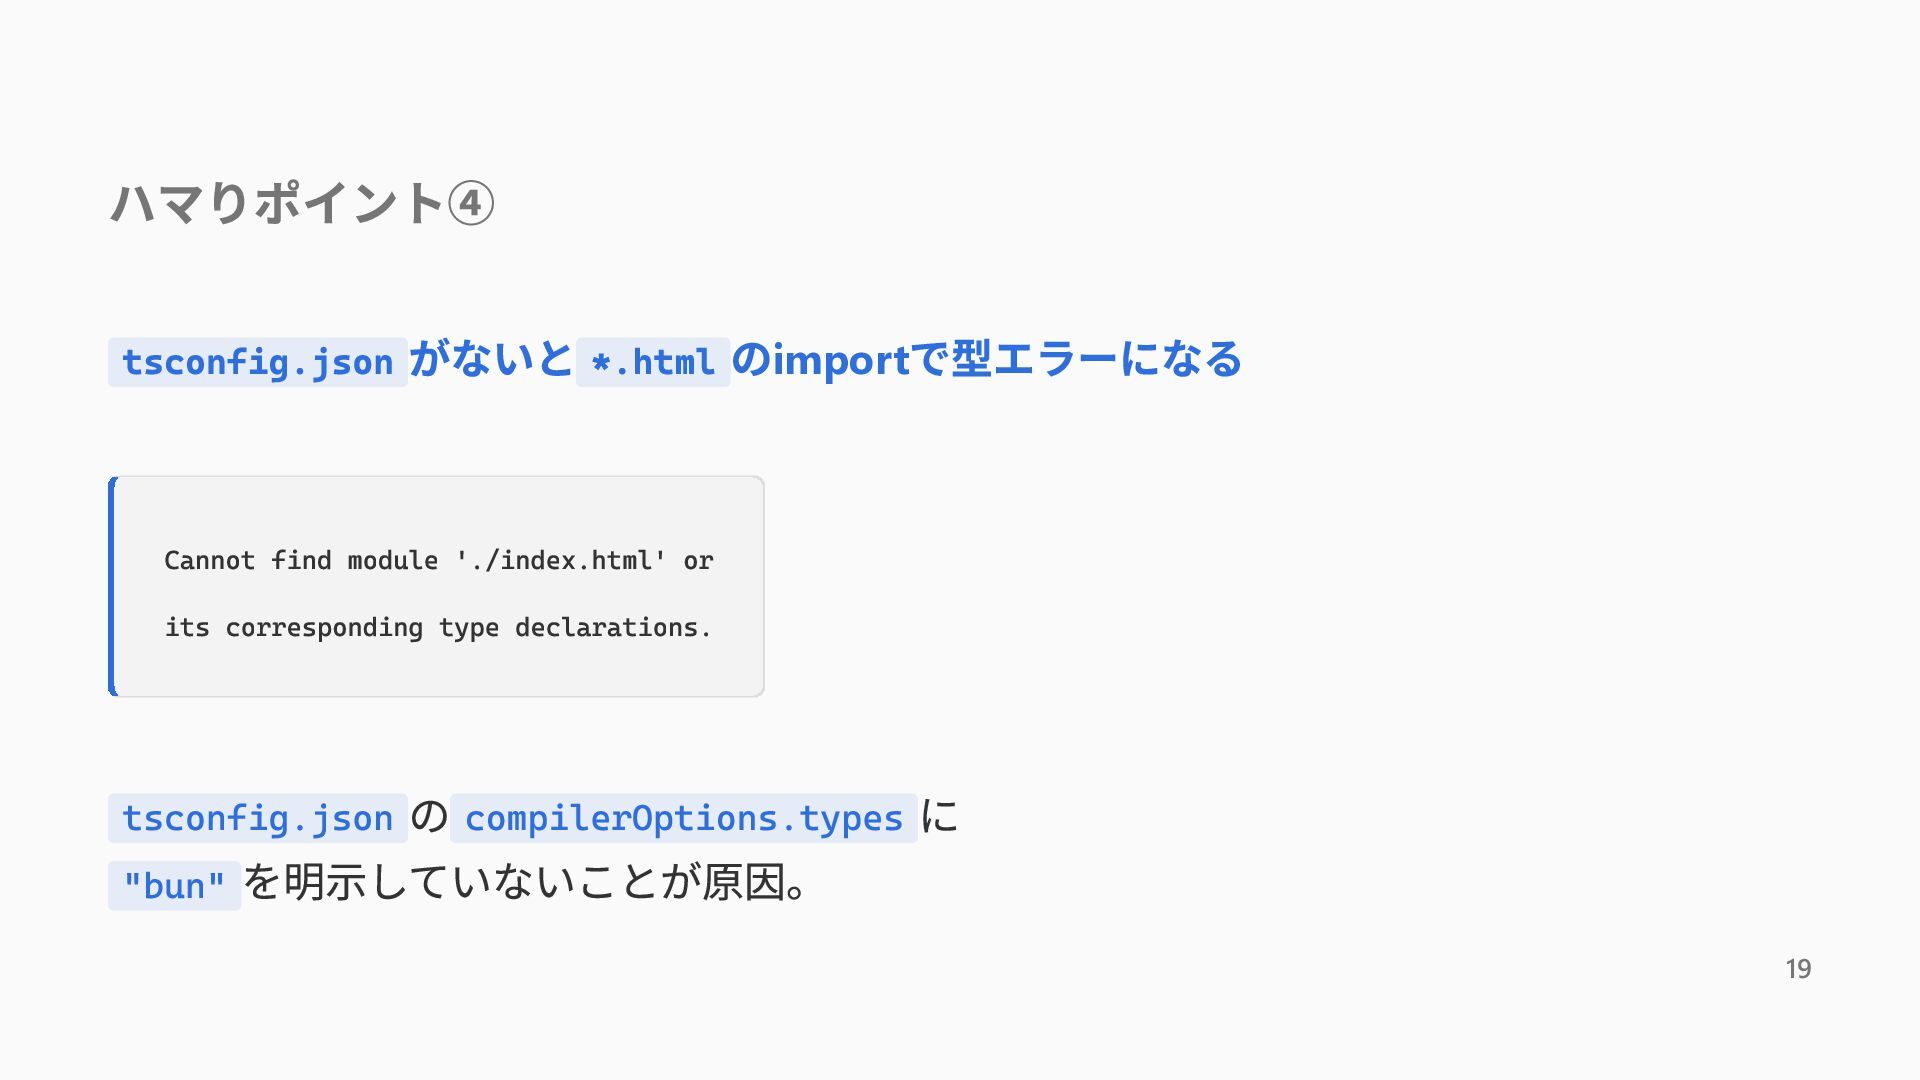
  15. ハマりポイント④ tsconfig.json がないと *.html のimportで型エラーになる Cannot find module './index.html' or

    its corresponding type declarations. の compilerOptions.types に "bun" を明示していないことが原因。 tsconfig.json 19
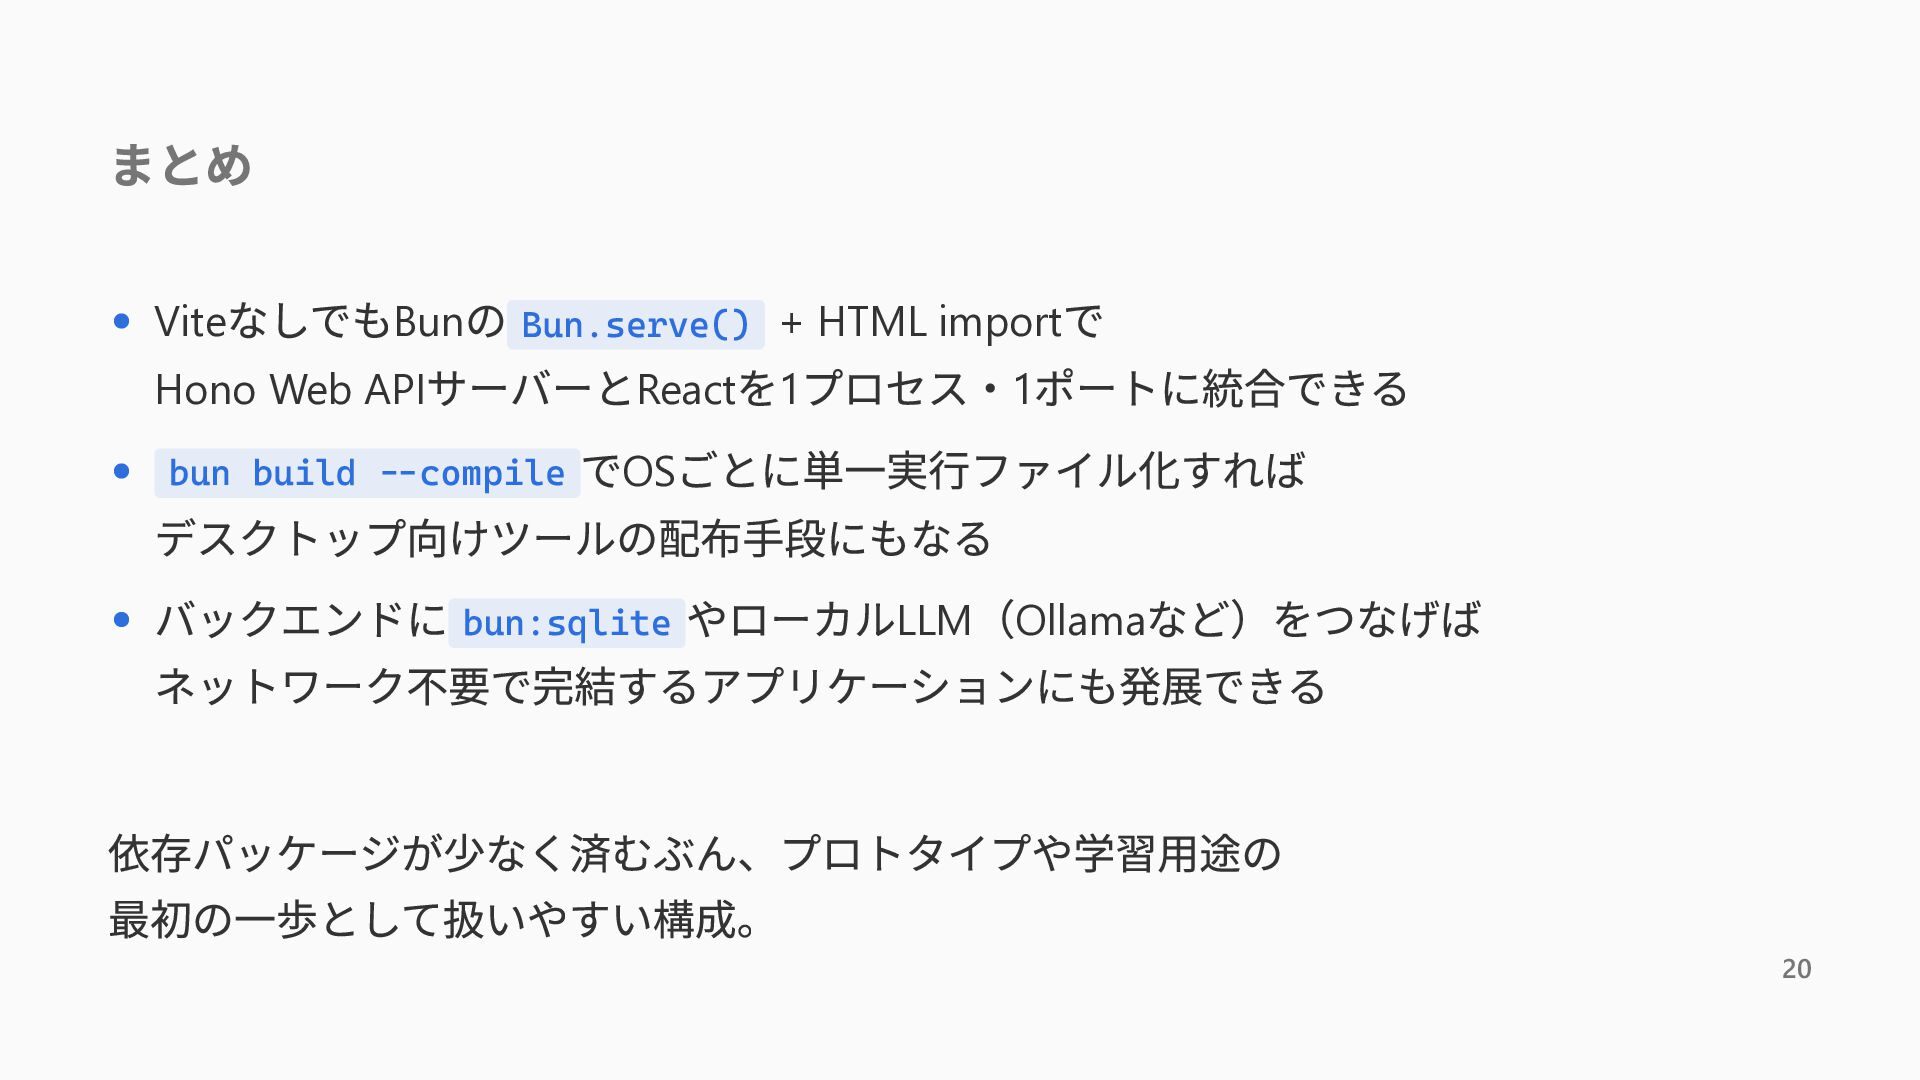
  16. まとめ なしでもBunの Bun.serve() + HTML importで Hono Web APIサーバーとReactを1プロセス・1ポートに統合できる bun

    build --compile でOSごとに単一実行ファイル化すれば デスクトップ向けツールの配布手段にもなる バックエンドに bun:sqlite やローカルLLM(Ollamaなど)をつなげば ネットワーク不要で完結するアプリケーションにも発展できる Vite 依存パッケージが少なく済むぶん、プロトタイプや学習用途の 最初の一歩として扱いやすい構成。 20