Upgrade to Pro — share decks privately, control downloads, hide ads and more …

Denoで作るはじめてのCLI実行ファイルハンズオン

Avatar for hidao hidao
August 08, 2026

 Denoで作るはじめてのCLI実行ファイルハンズオン

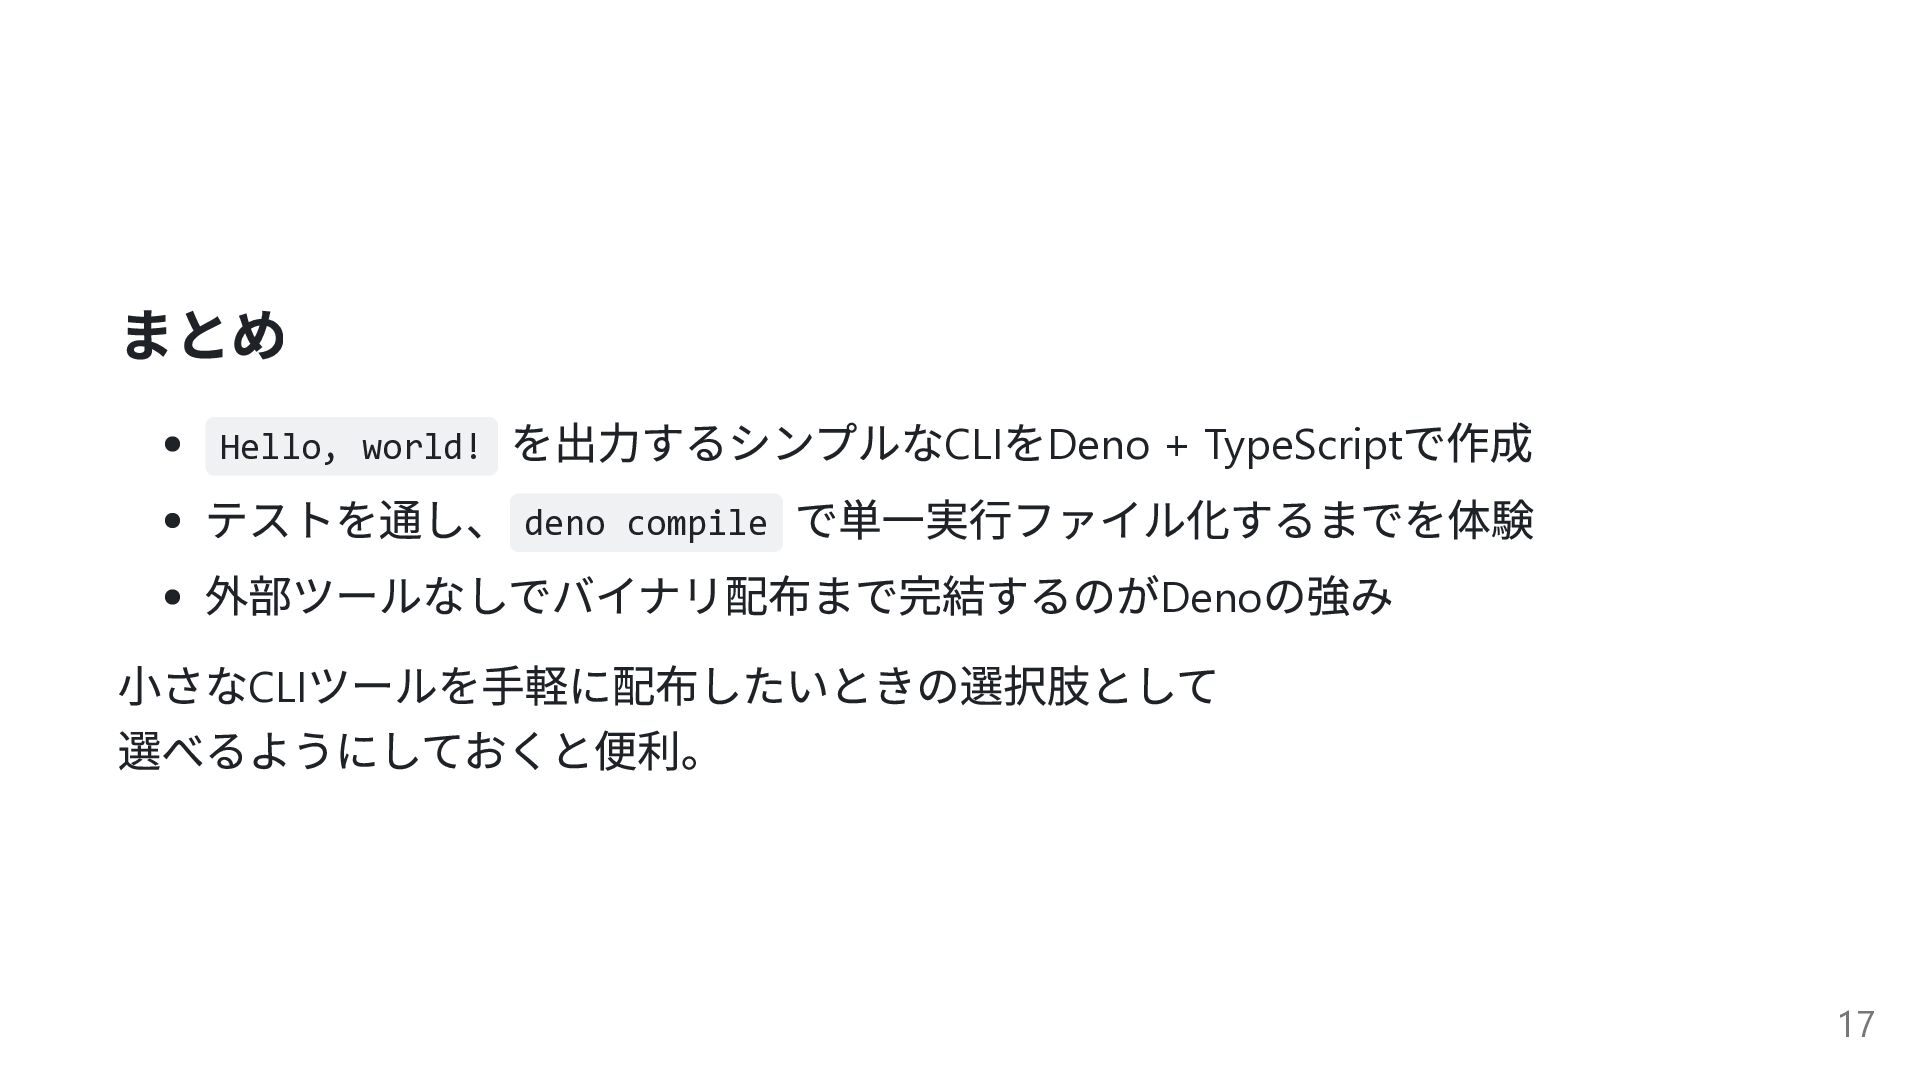
Denoに標準搭載されているdeno compileを使い、外部ツールなしでTypeScriptを単一実行ファイルにする方法を解説するハンズオン資料です。

main.tsの作成からlint・fmt・テスト・タスク定義・バイナリビルドまでを最短ルートで体験し、importパスのずれや初回コンパイル時間などのハマりポイントも紹介します。

対象読者はDenoを触ったことがない、または触り始めたばかりの方。TypeScriptの基本文法とシェル操作ができれば読み進められます。

2026-08-08 北海道もくもく会 vol.11 発表資料

リポジトリ: https://github.com/hidao80/deno-cli-handson

Avatar for hidao

hidao

August 08, 2026

More Decks by hidao

Other Decks in Programming

Transcript

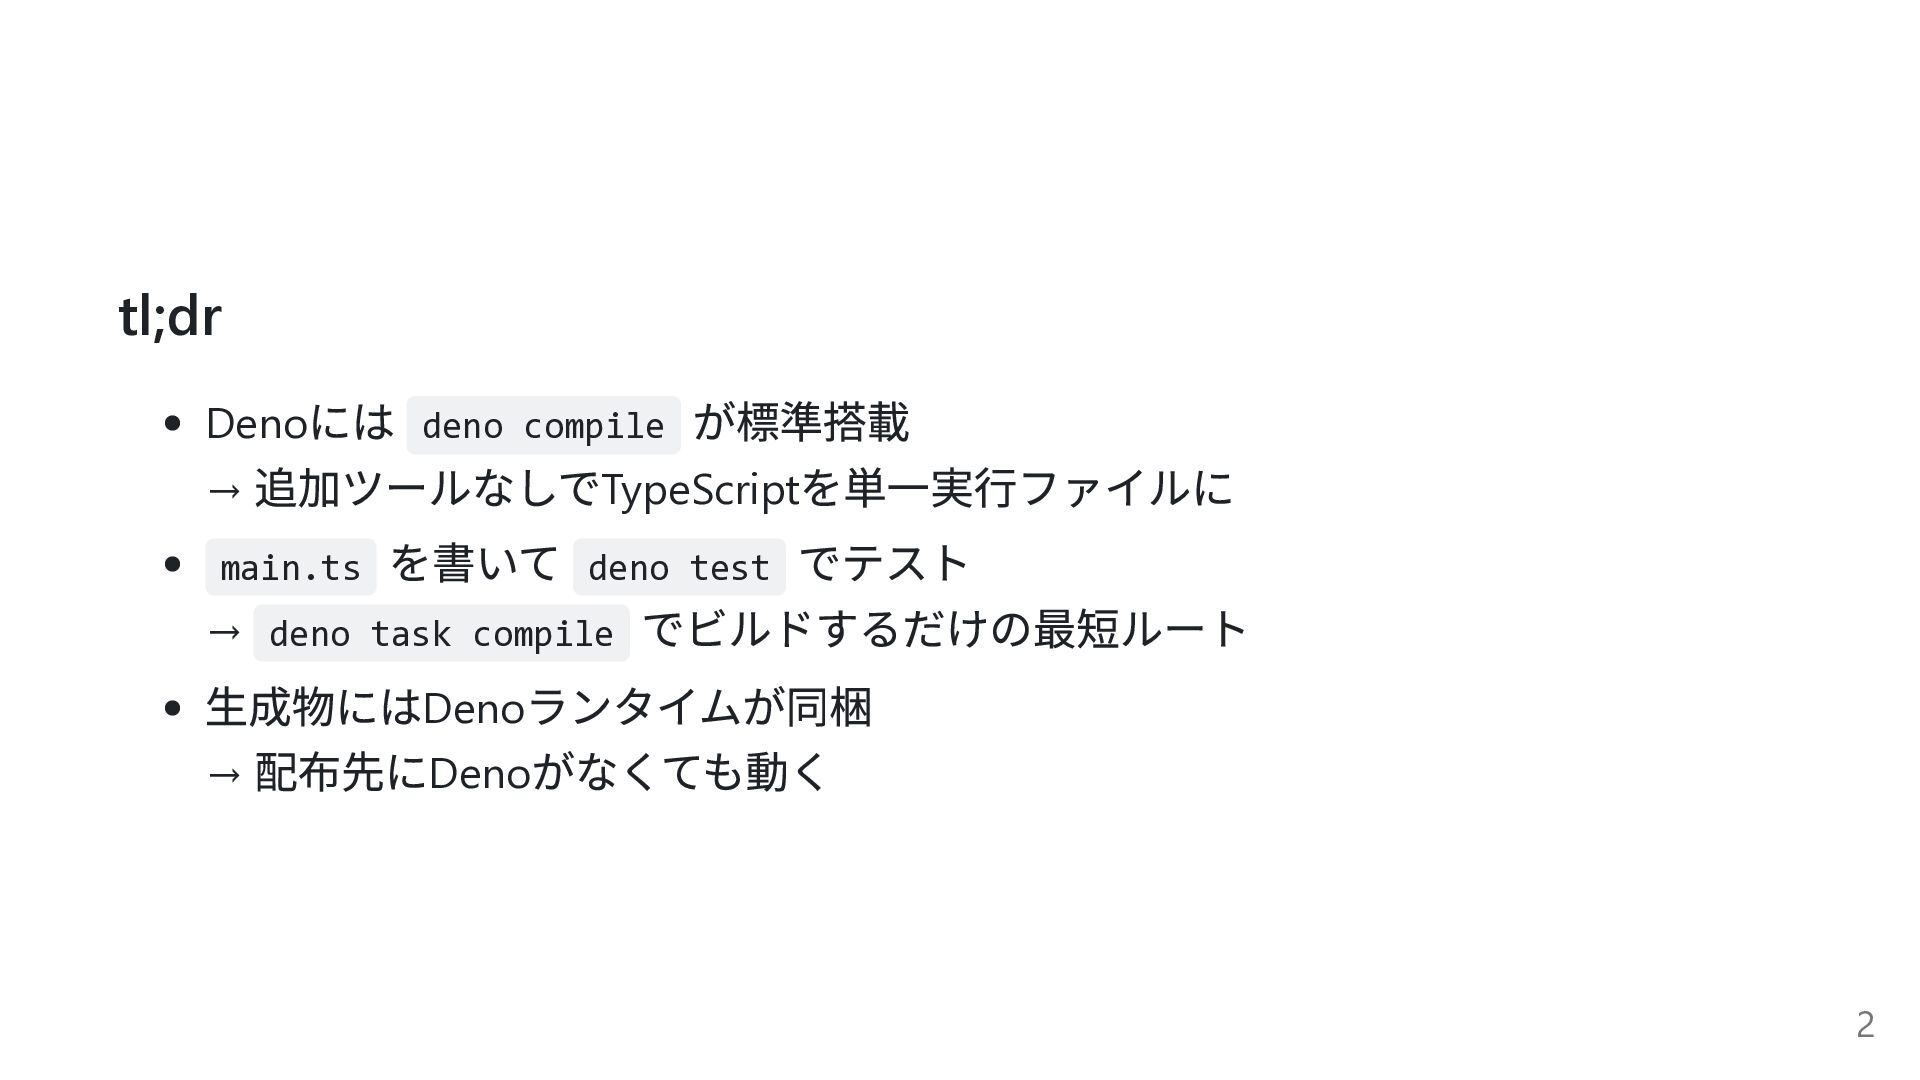
  1. tl;dr には deno compile が標準搭載 → 追加ツールなしでTypeScriptを単一実行ファイルに main.ts を書いて deno

    test でテスト → deno task compile でビルドするだけの最短ルート 生成物にはDenoランタイムが同梱 → 配布先にDenoがなくても動く Deno 2
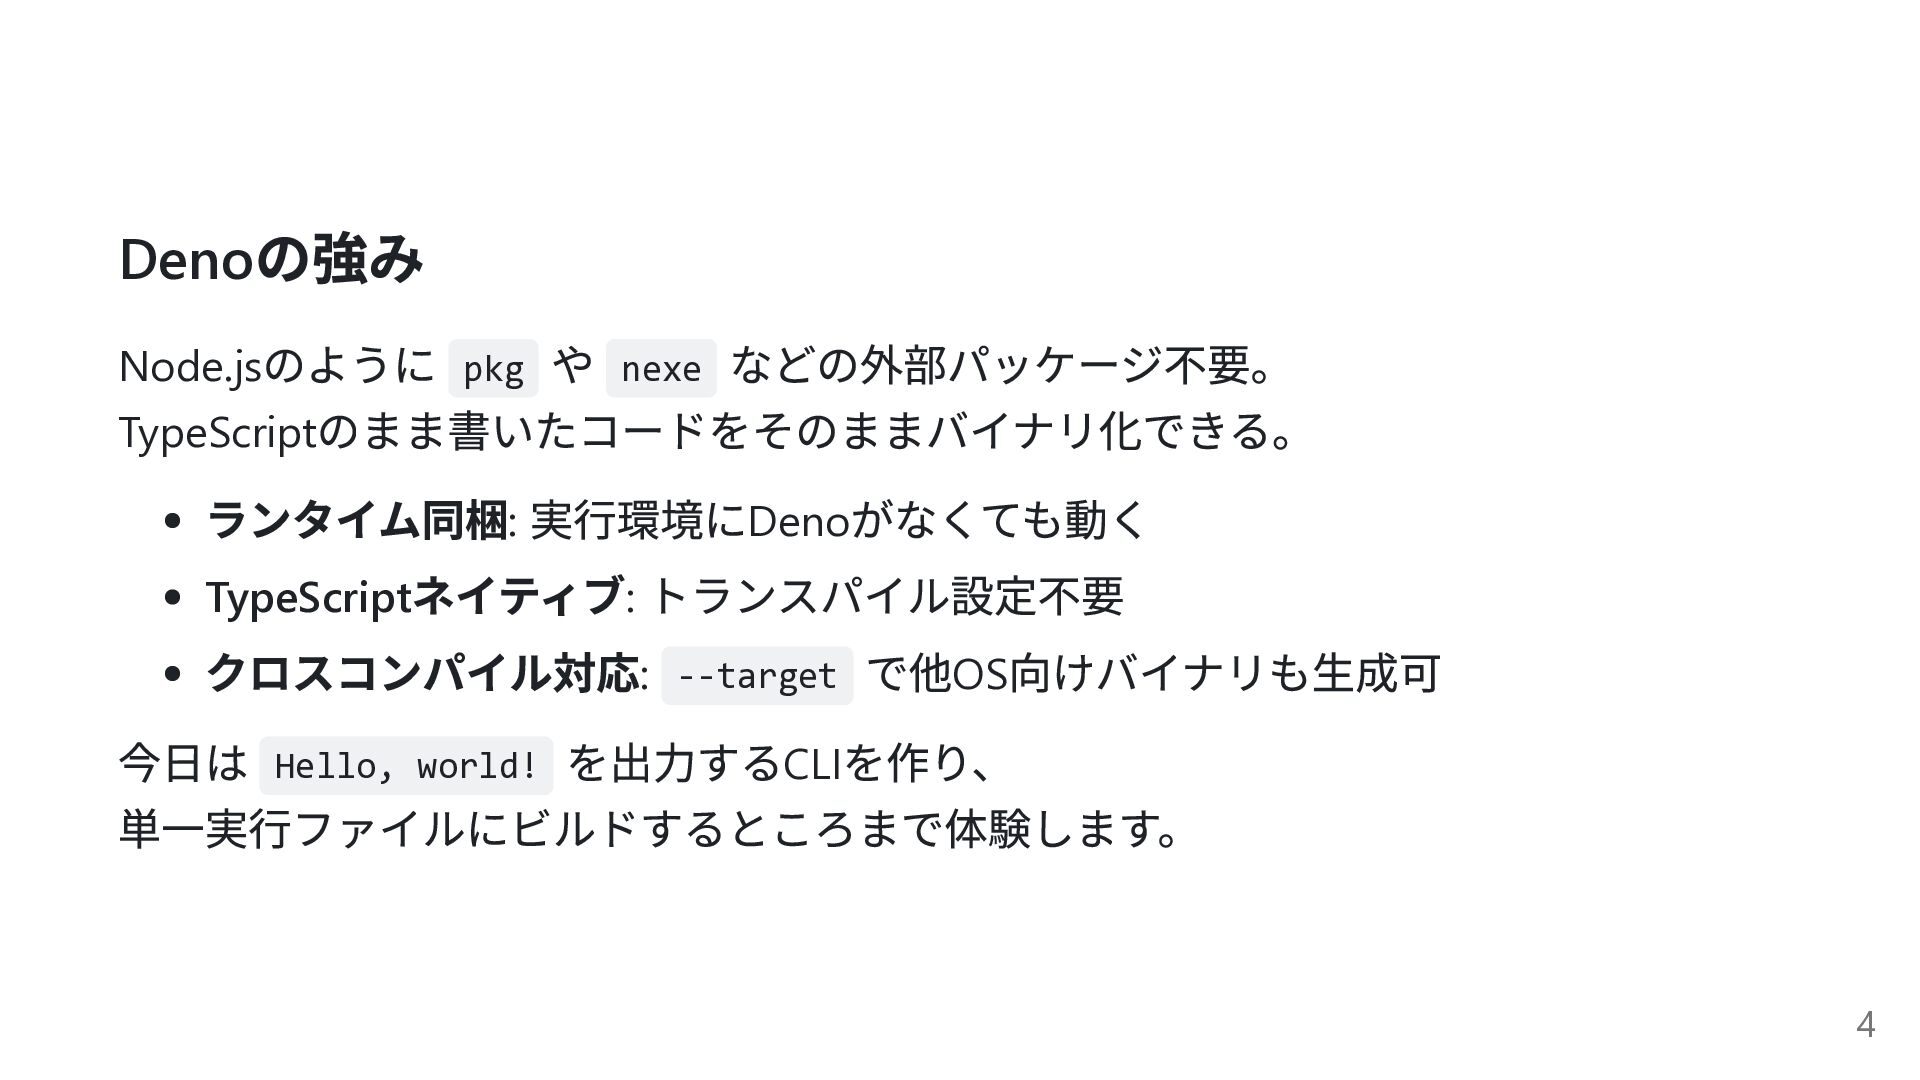
  2. の強み Deno のように pkg や nexe などの外部パッケージ不要。 TypeScriptのまま書いたコードをそのままバイナリ化できる。 ランタイム同梱: 実行環境にDenoがなくても動く

    TypeScriptネイティブ: トランスパイル設定不要 クロスコンパイル対応: --target で他OS向けバイナリも生成可 今日は Hello, world! を出力するCLIを作り、 単一実行ファイルにビルドするところまで体験します。 Node.js 4
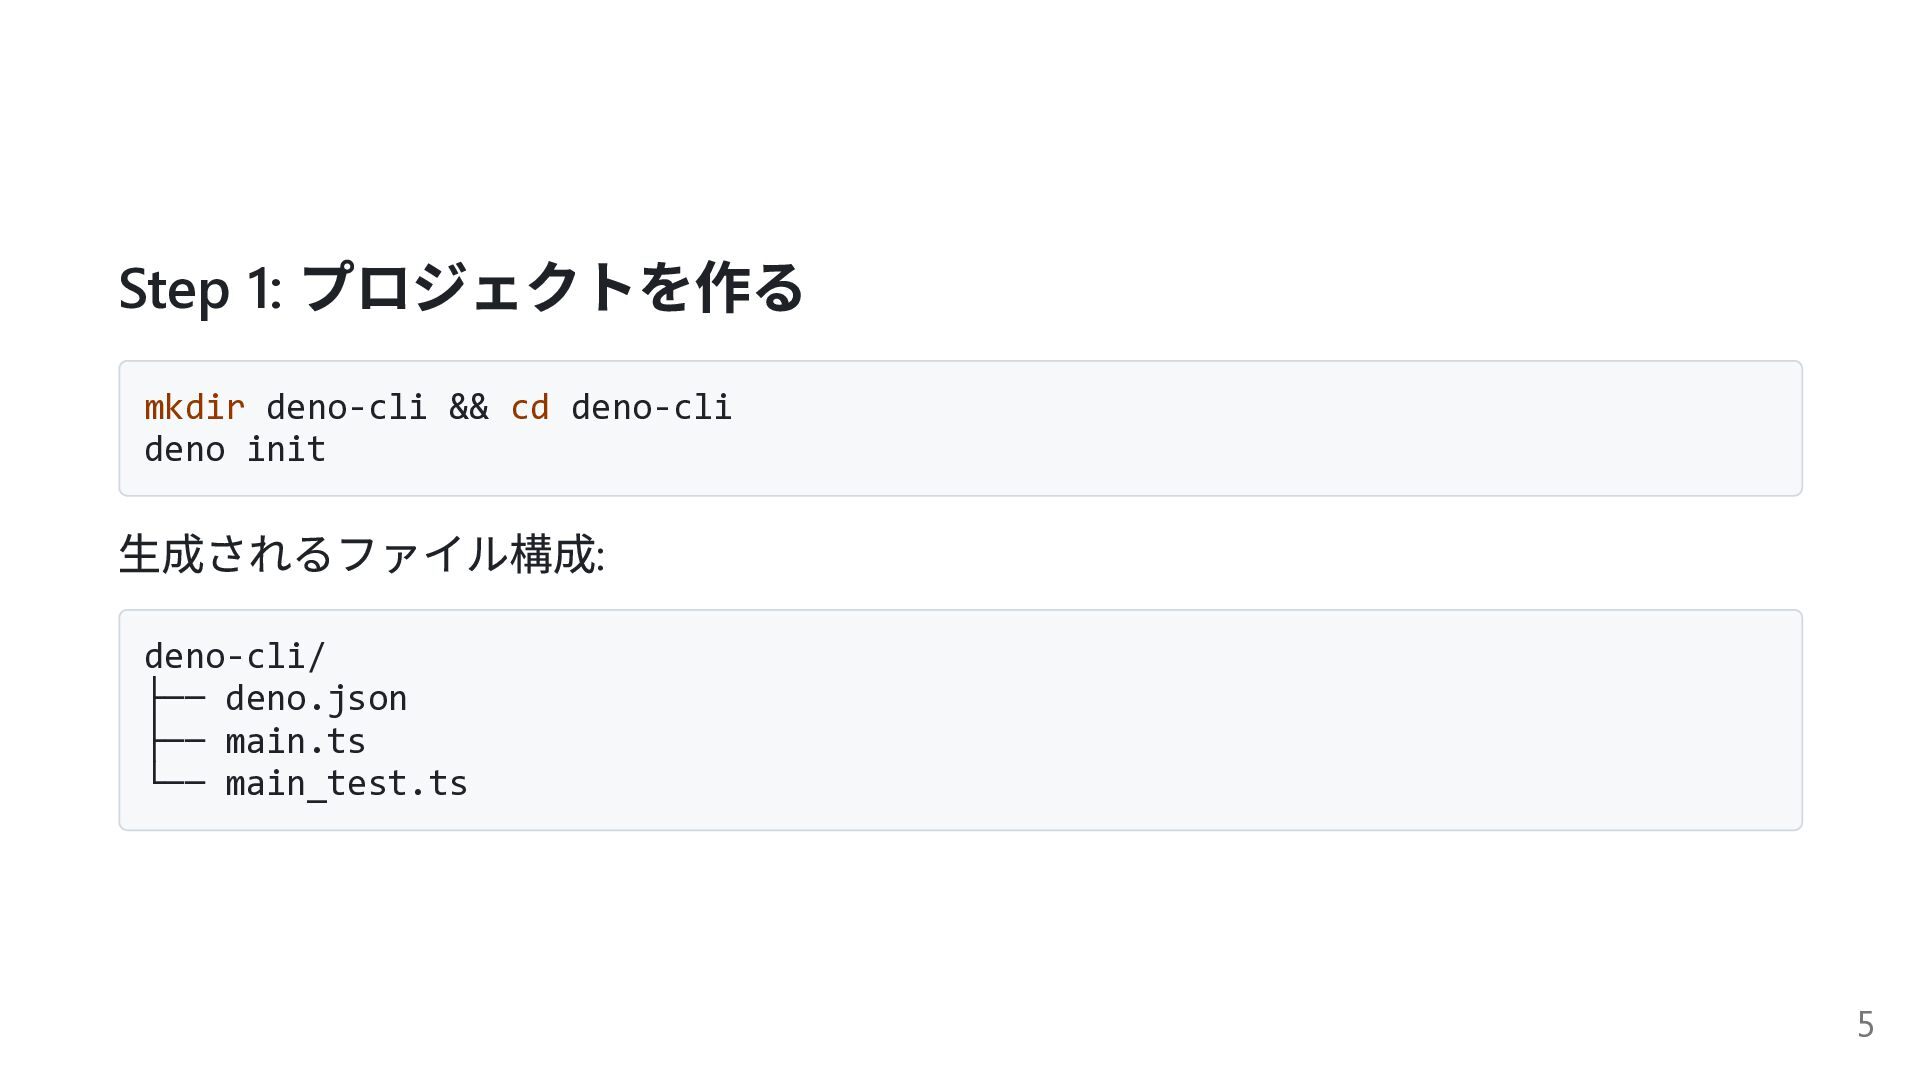
  3. Step 1: プロジェクトを作る mkdir deno-cli && cd deno-cli deno init

    生成されるファイル構成: deno-cli/ ├── deno.json ├── main.ts └── main_test.ts 5
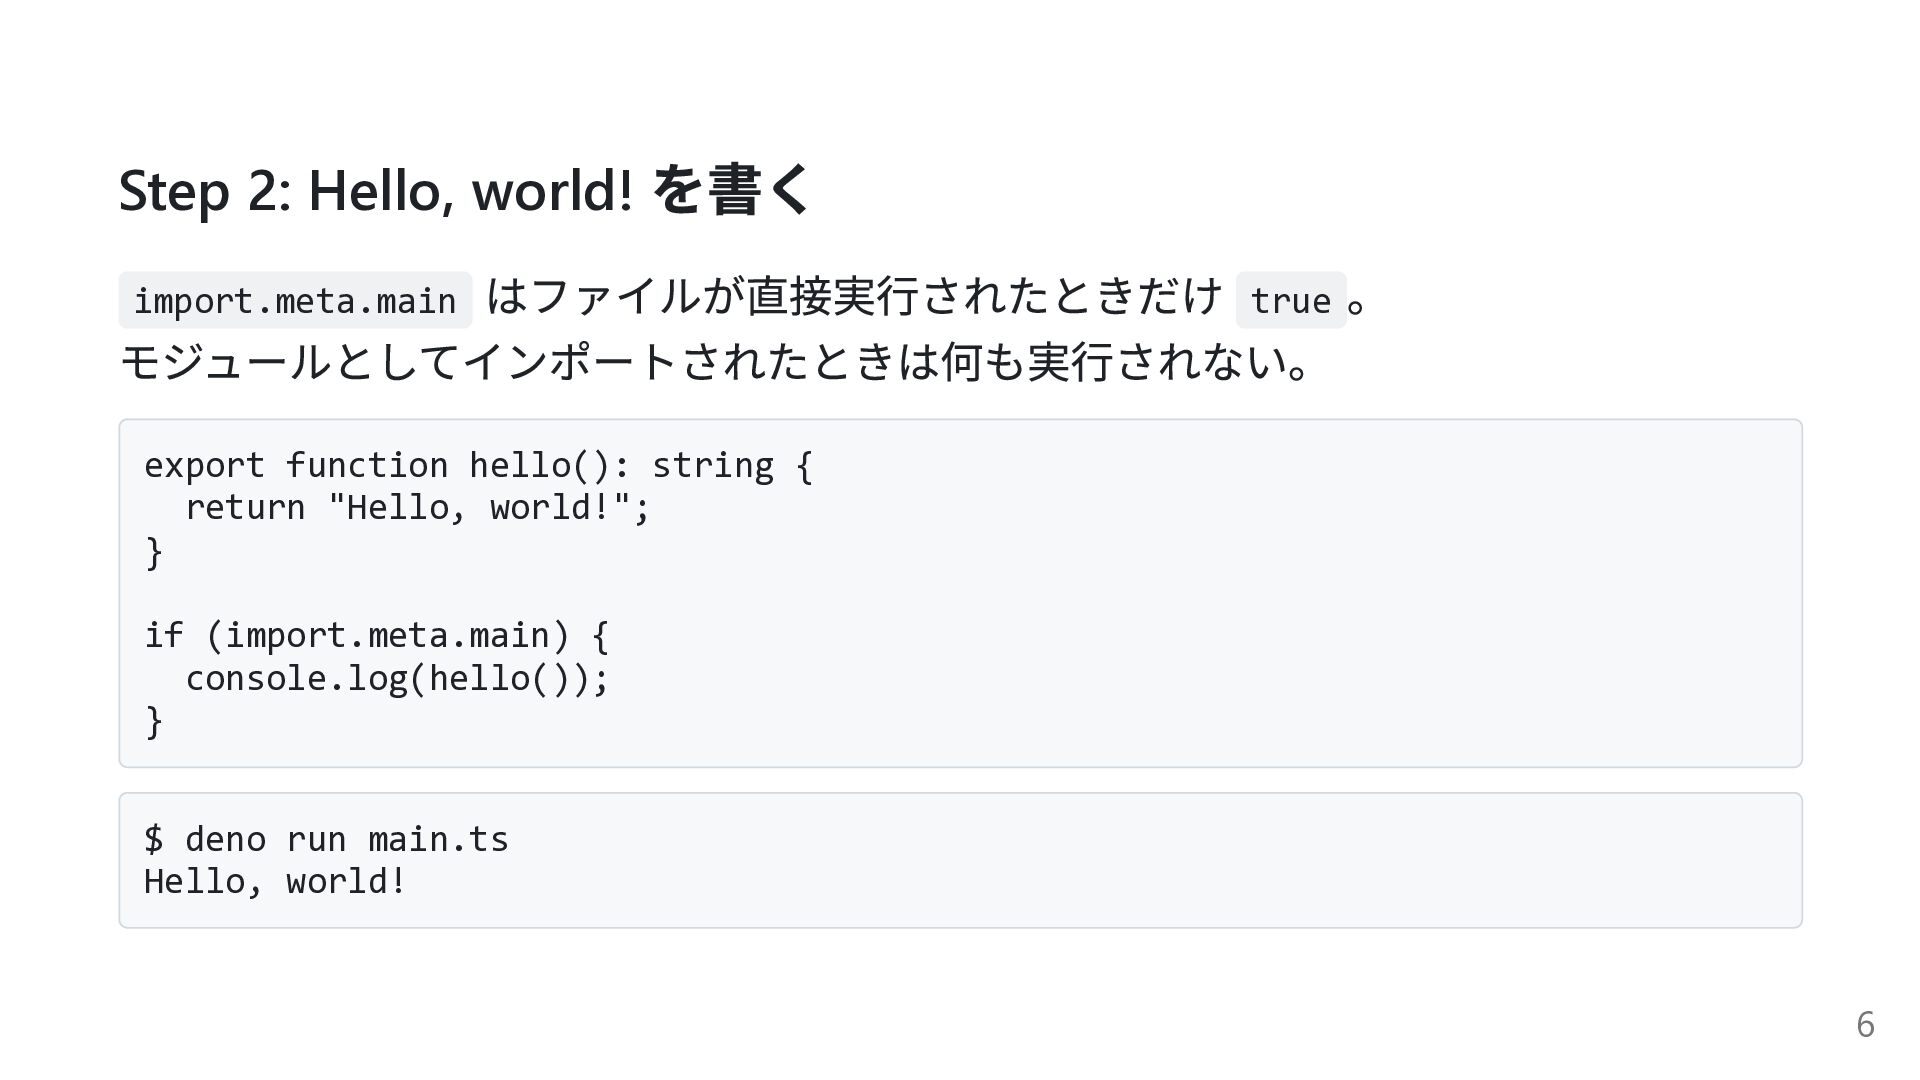
  4. Step 2: Hello, world! を書く はファイルが直接実行されたときだけ true 。 モジュールとしてインポートされたときは何も実行されない。 import.meta.main

    export function hello(): string { return "Hello, world!"; } if (import.meta.main) { console.log(hello()); } $ deno run main.ts Hello, world! 6
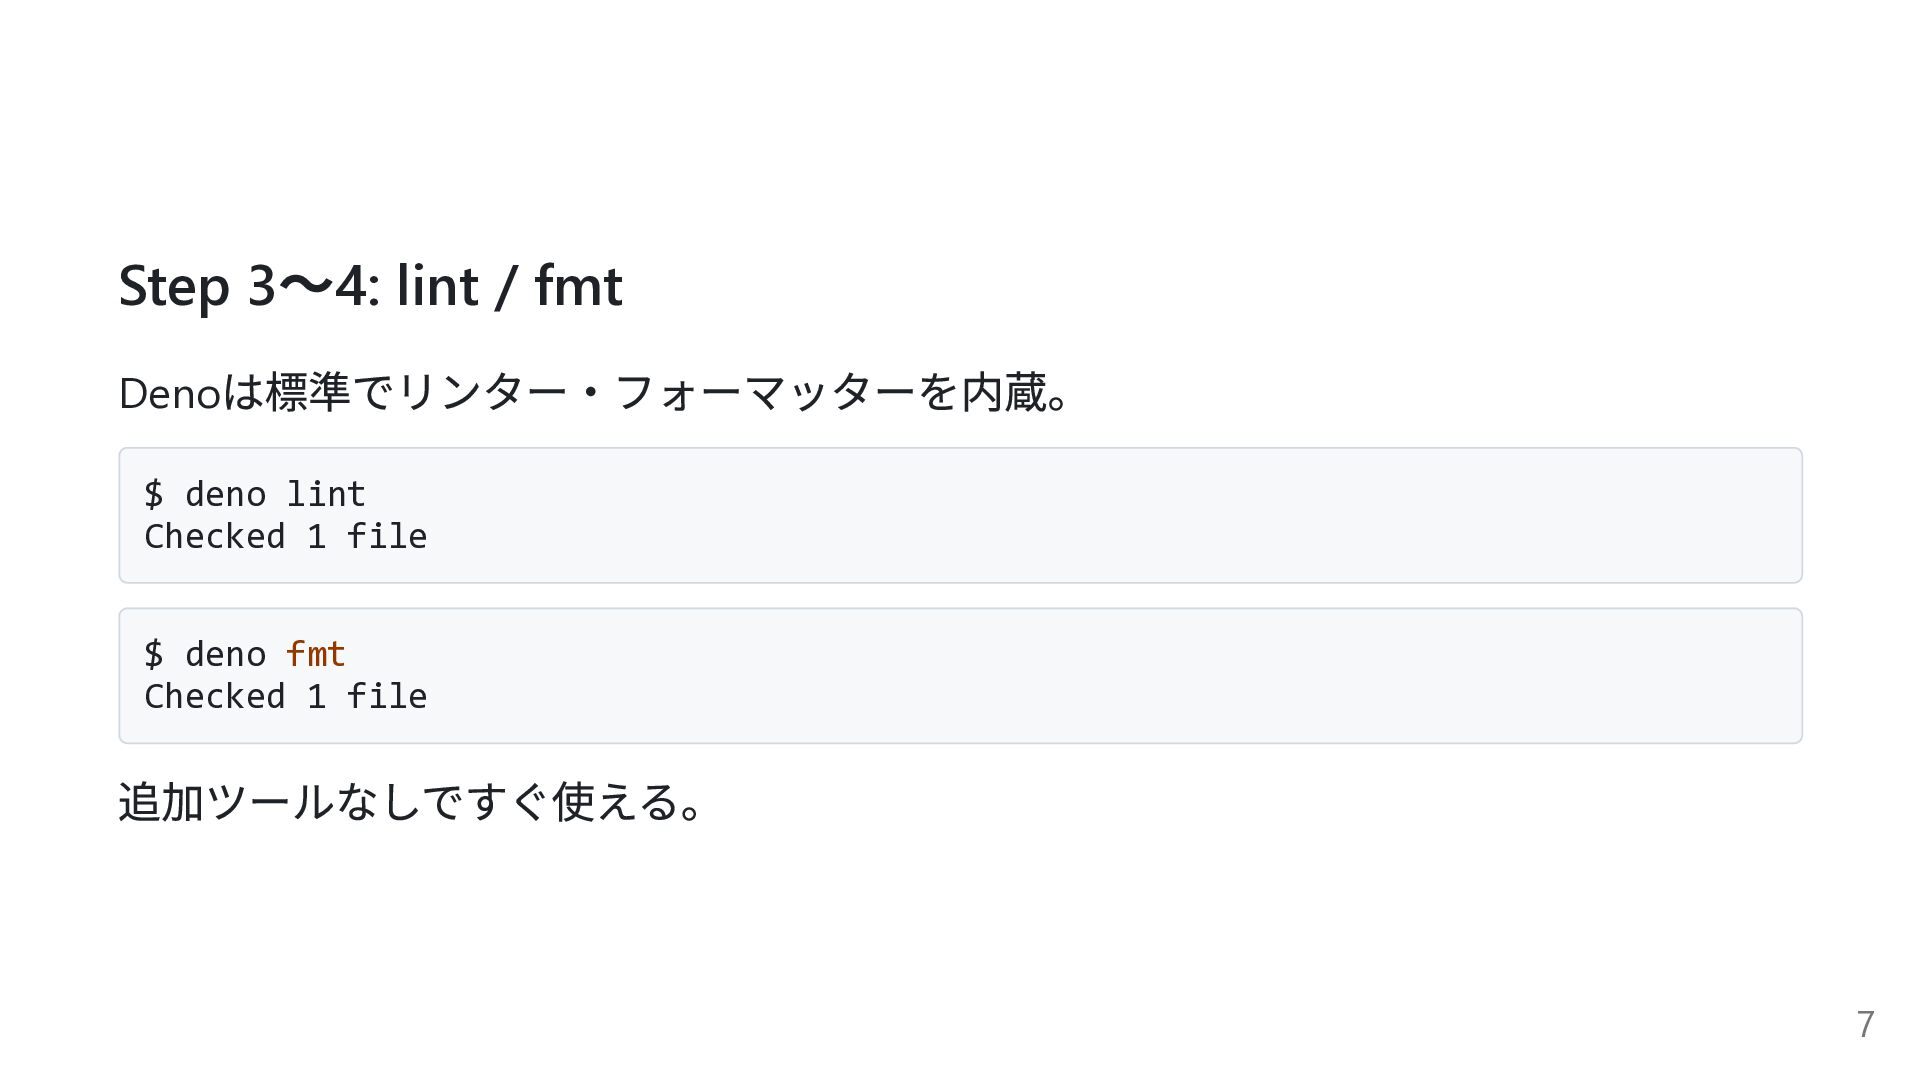
  5. 〜 Step 3 4: lint / fmt は標準でリンター・フォーマッターを内蔵。 Deno $

    deno lint Checked 1 file $ deno fmt Checked 1 file 追加ツールなしですぐ使える。 7
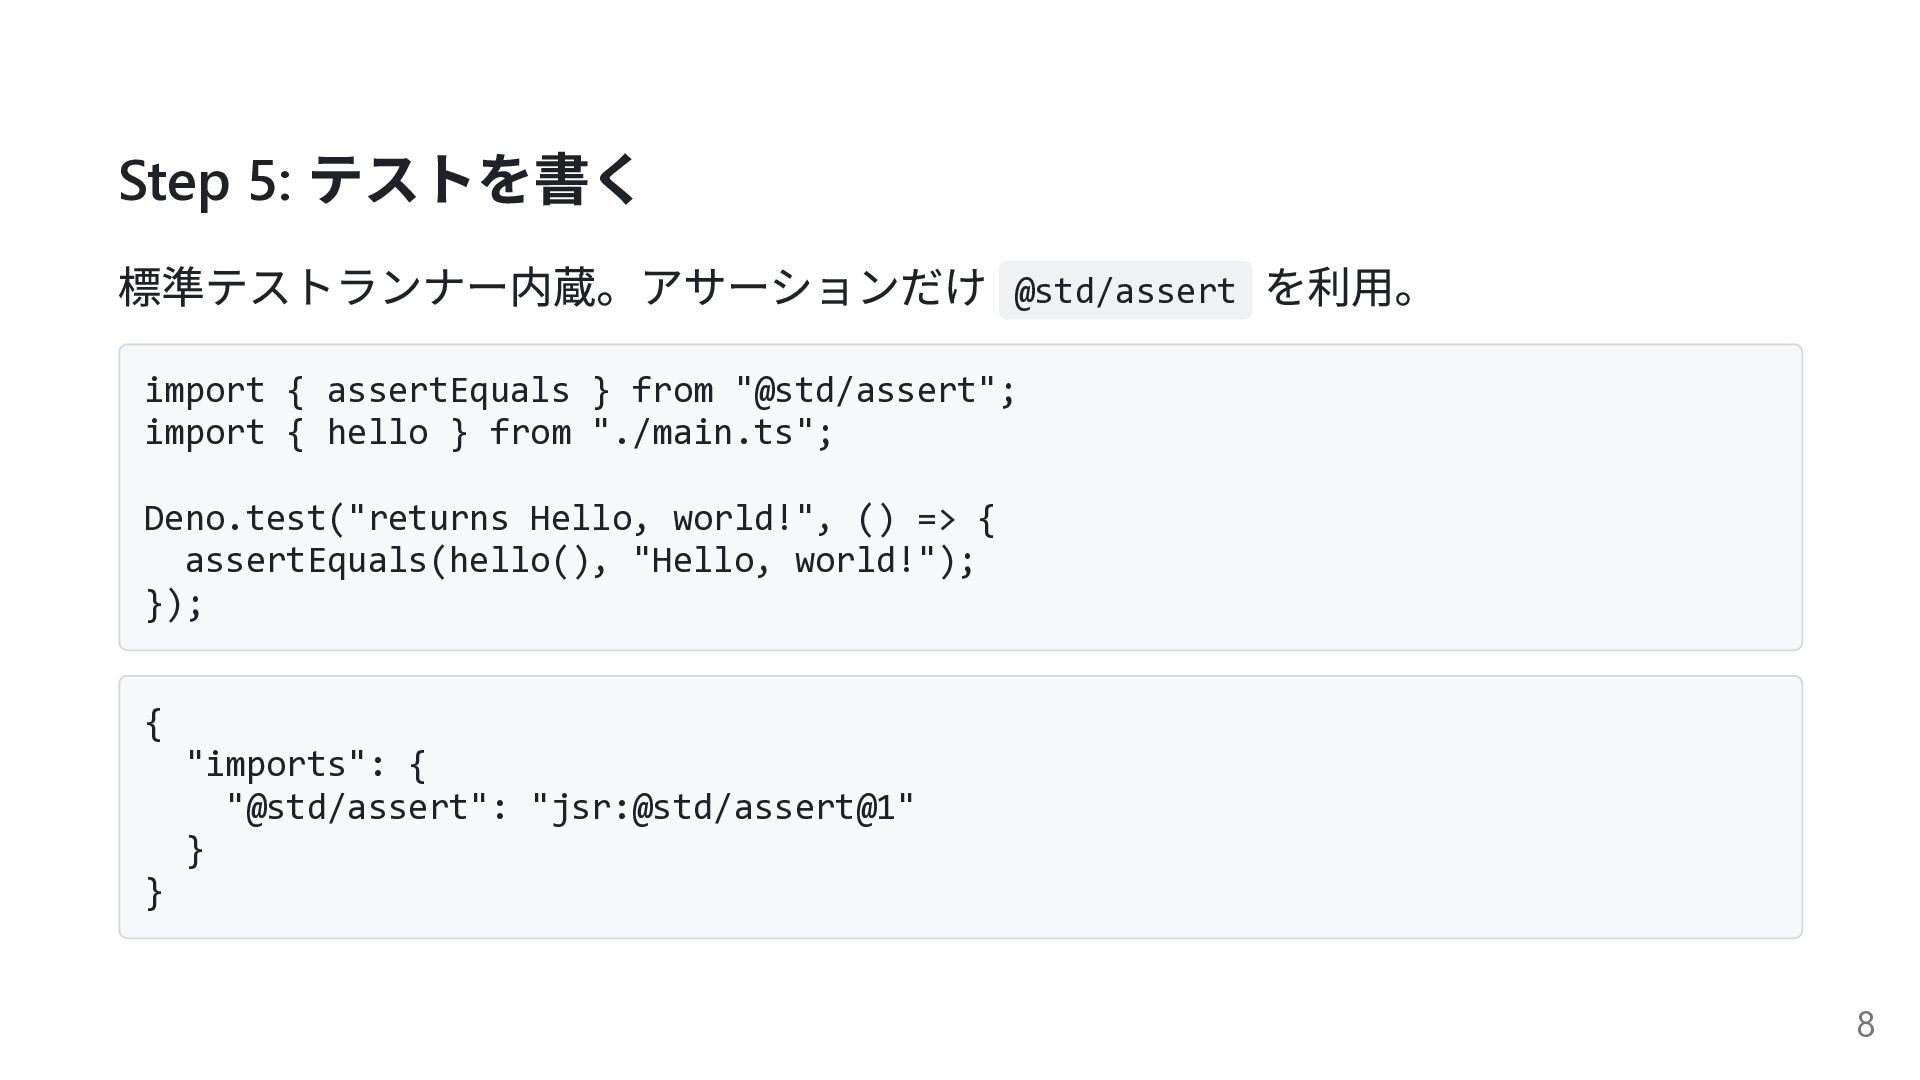
  6. Step 5: テストを書く 標準テストランナー内蔵。アサーションだけ @std/assert を利用。 import { assertEquals }

    from "@std/assert"; import { hello } from "./main.ts"; Deno.test("returns Hello, world!", () => { assertEquals(hello(), "Hello, world!"); }); { } "imports": { "@std/assert": "jsr:@std/assert@1" } 8
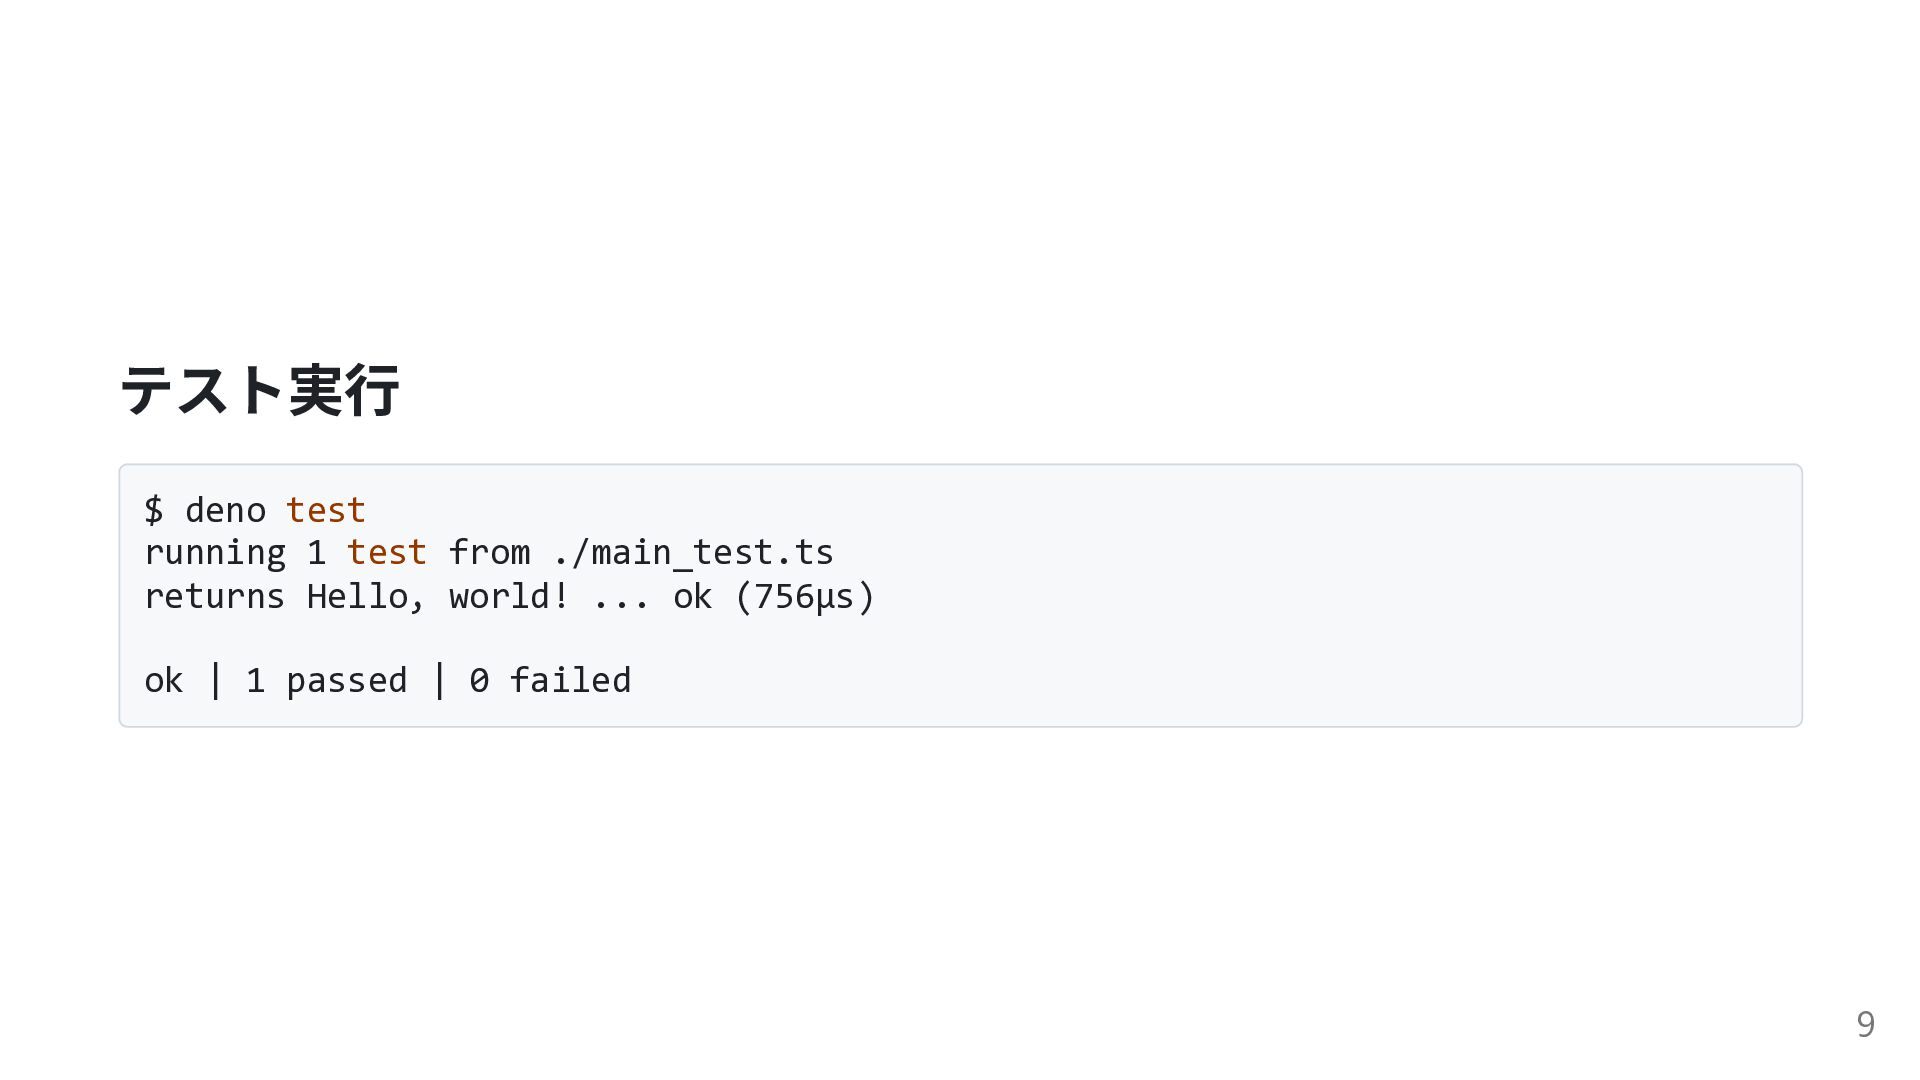
  7. テスト実行 $ deno test running 1 test from ./main_test.ts returns

    Hello, world! ... ok (756µs) ok | 1 passed | 0 failed 9
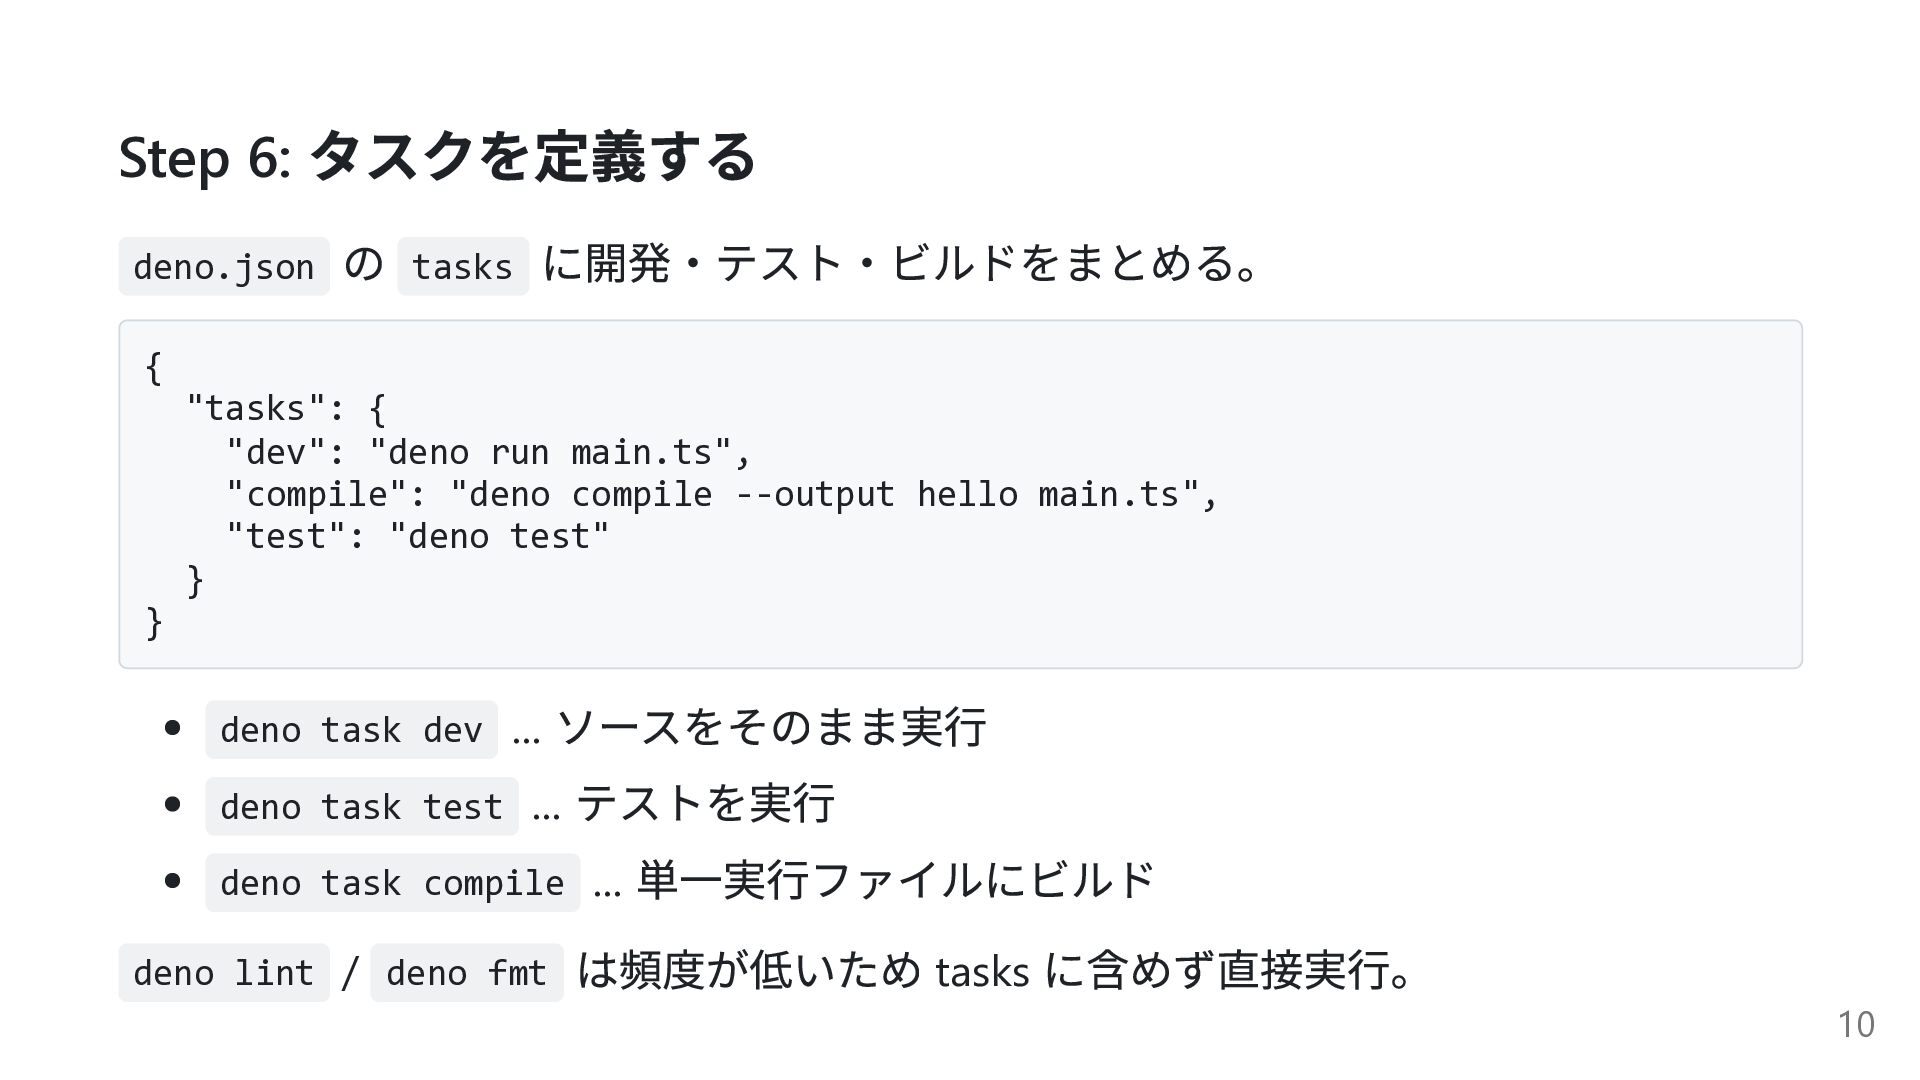
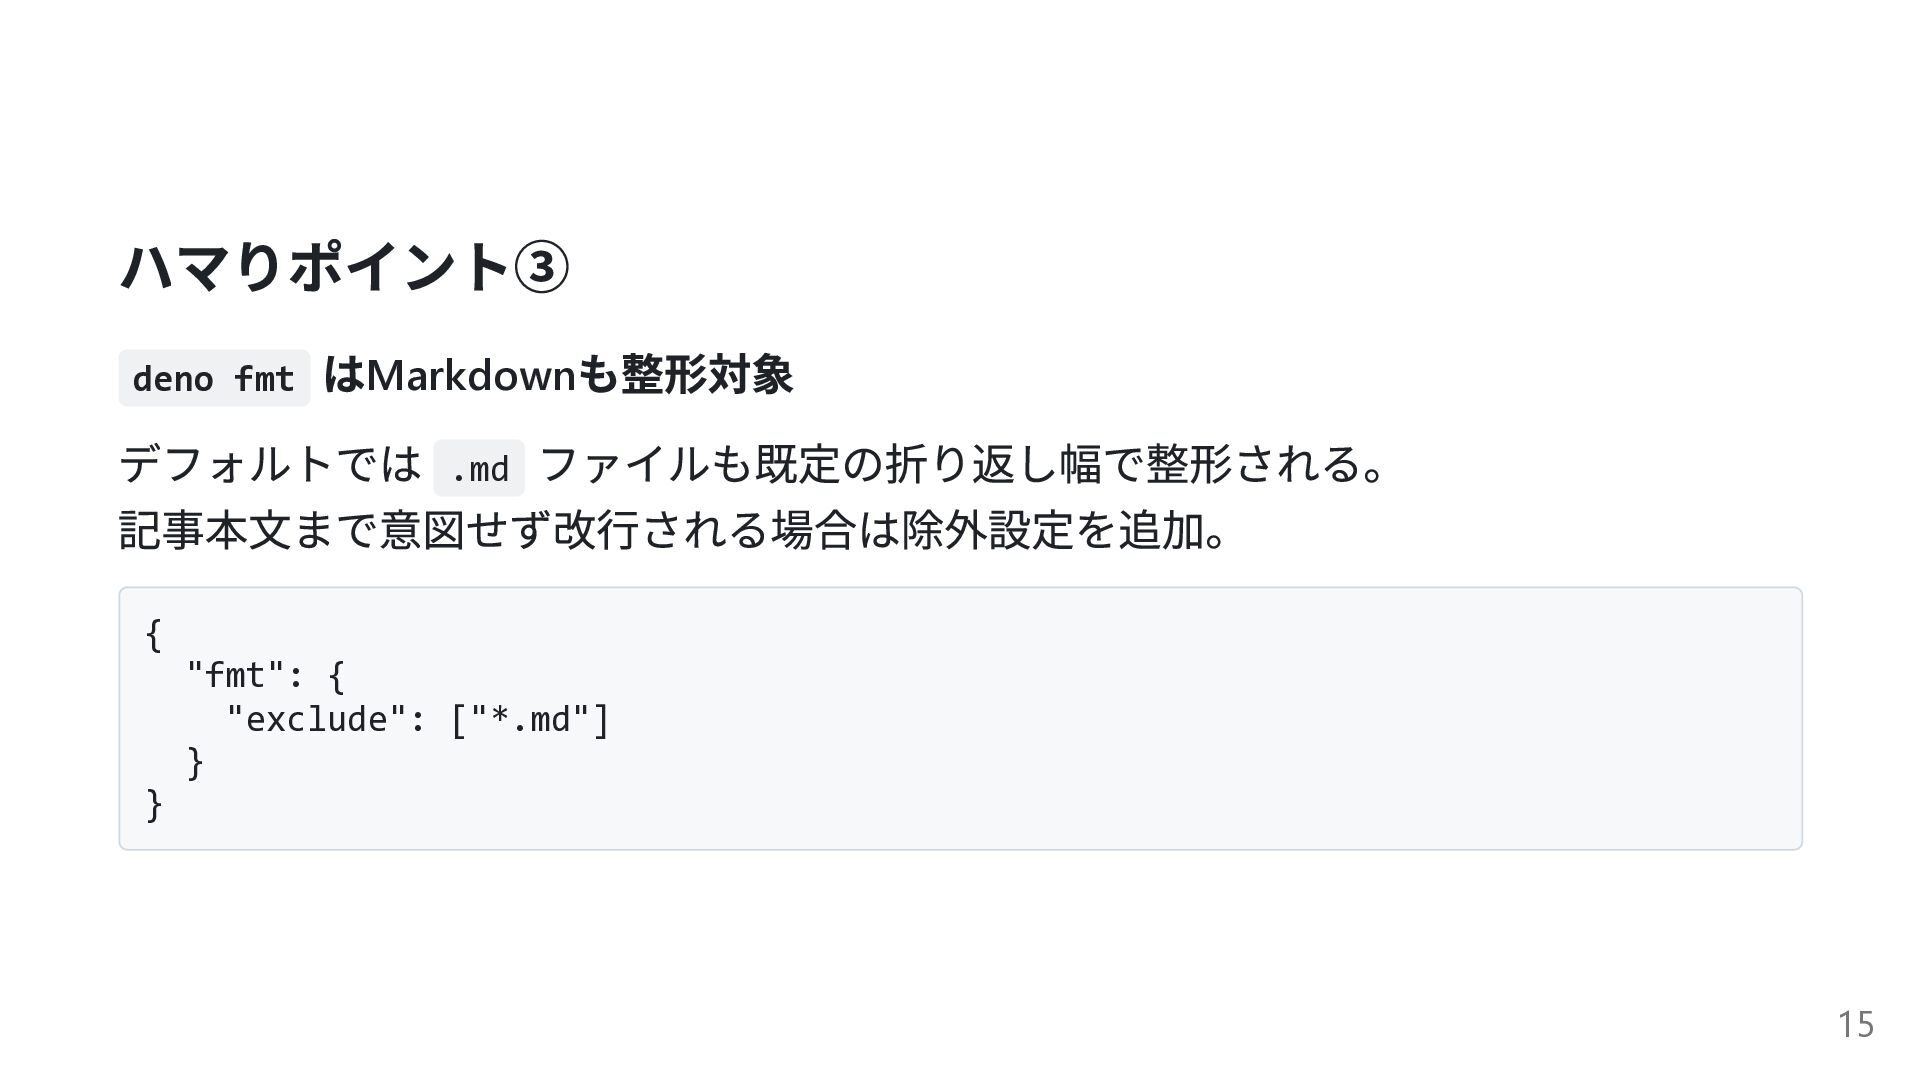
  8. Step 6: タスクを定義する deno.json { } の tasks に開発・テスト・ビルドをまとめる。 "tasks":

    { "dev": "deno run main.ts", "compile": "deno compile --output hello main.ts", "test": "deno test" } ソースをそのまま実行 deno task test … テストを実行 deno task compile … 単一実行ファイルにビルド deno lint / deno fmt は頻度が低いため tasks に含めず直接実行。 deno task dev … 10
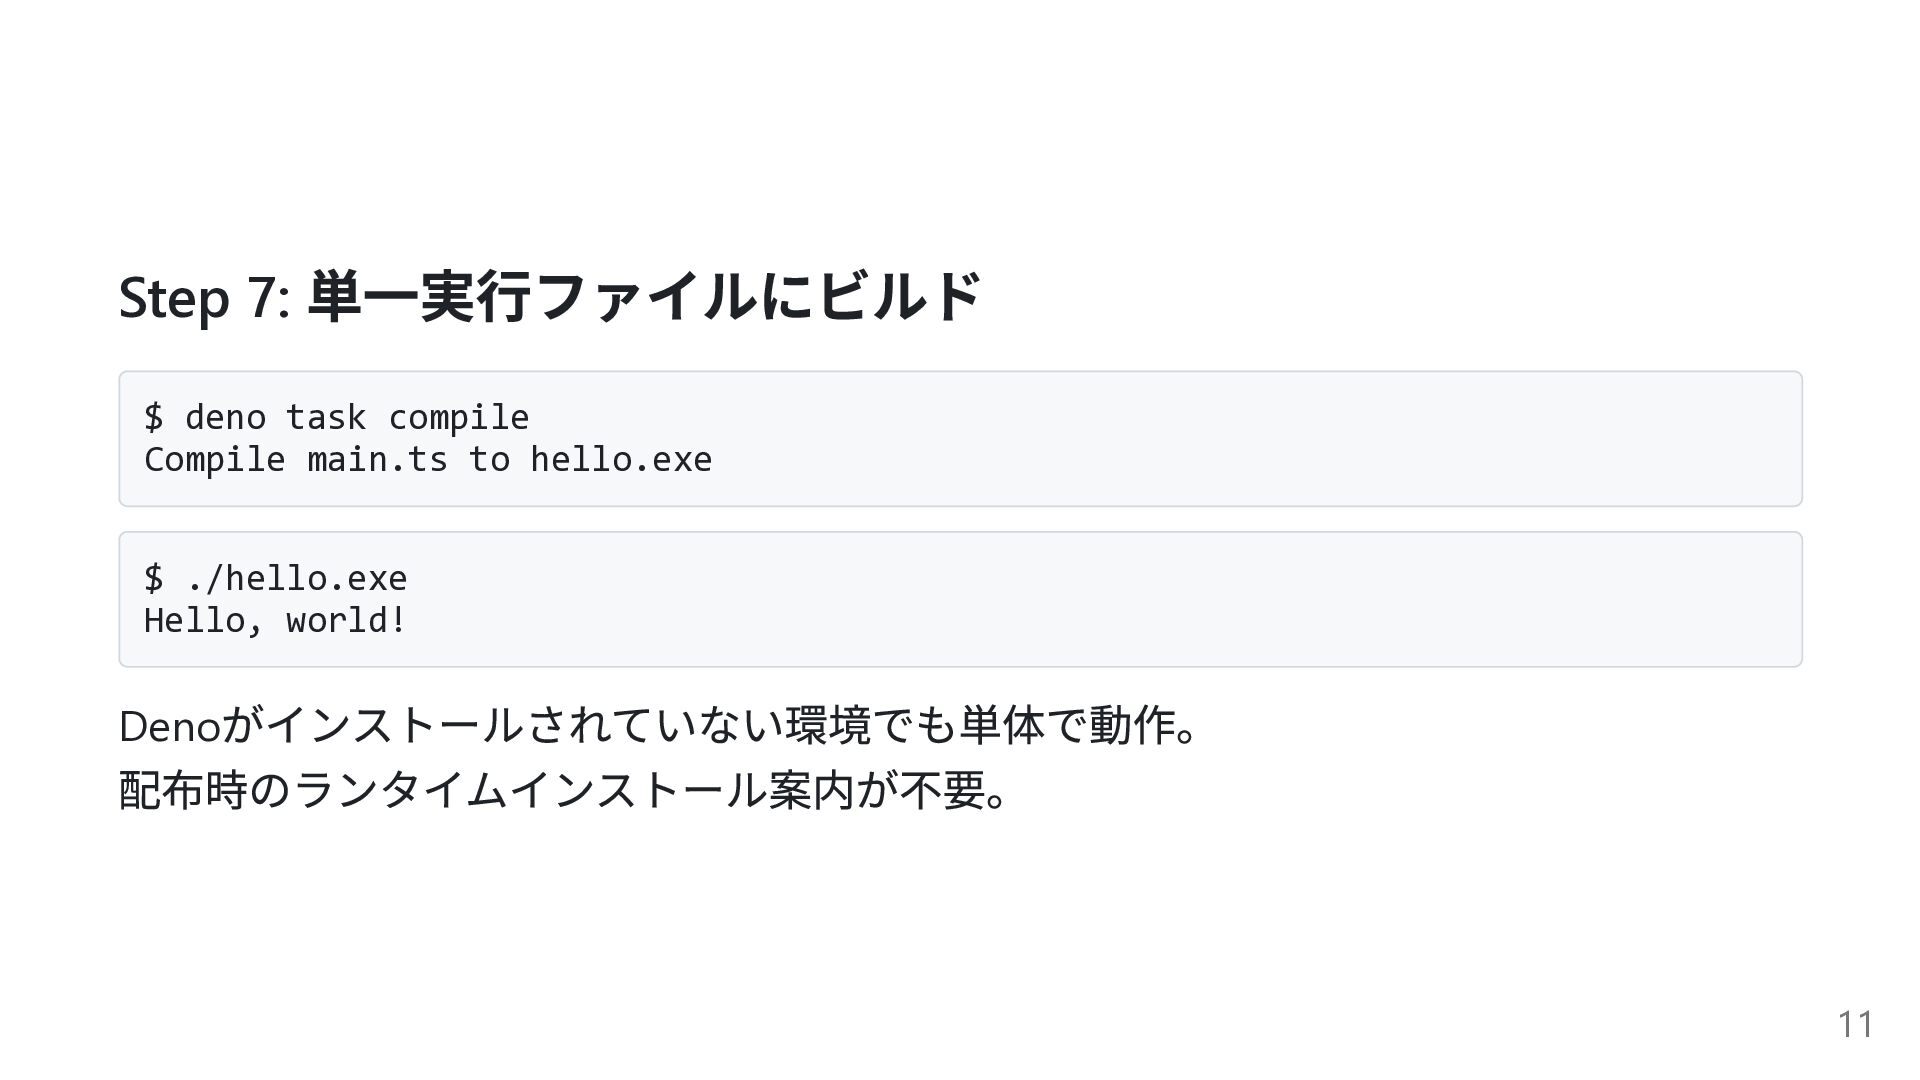
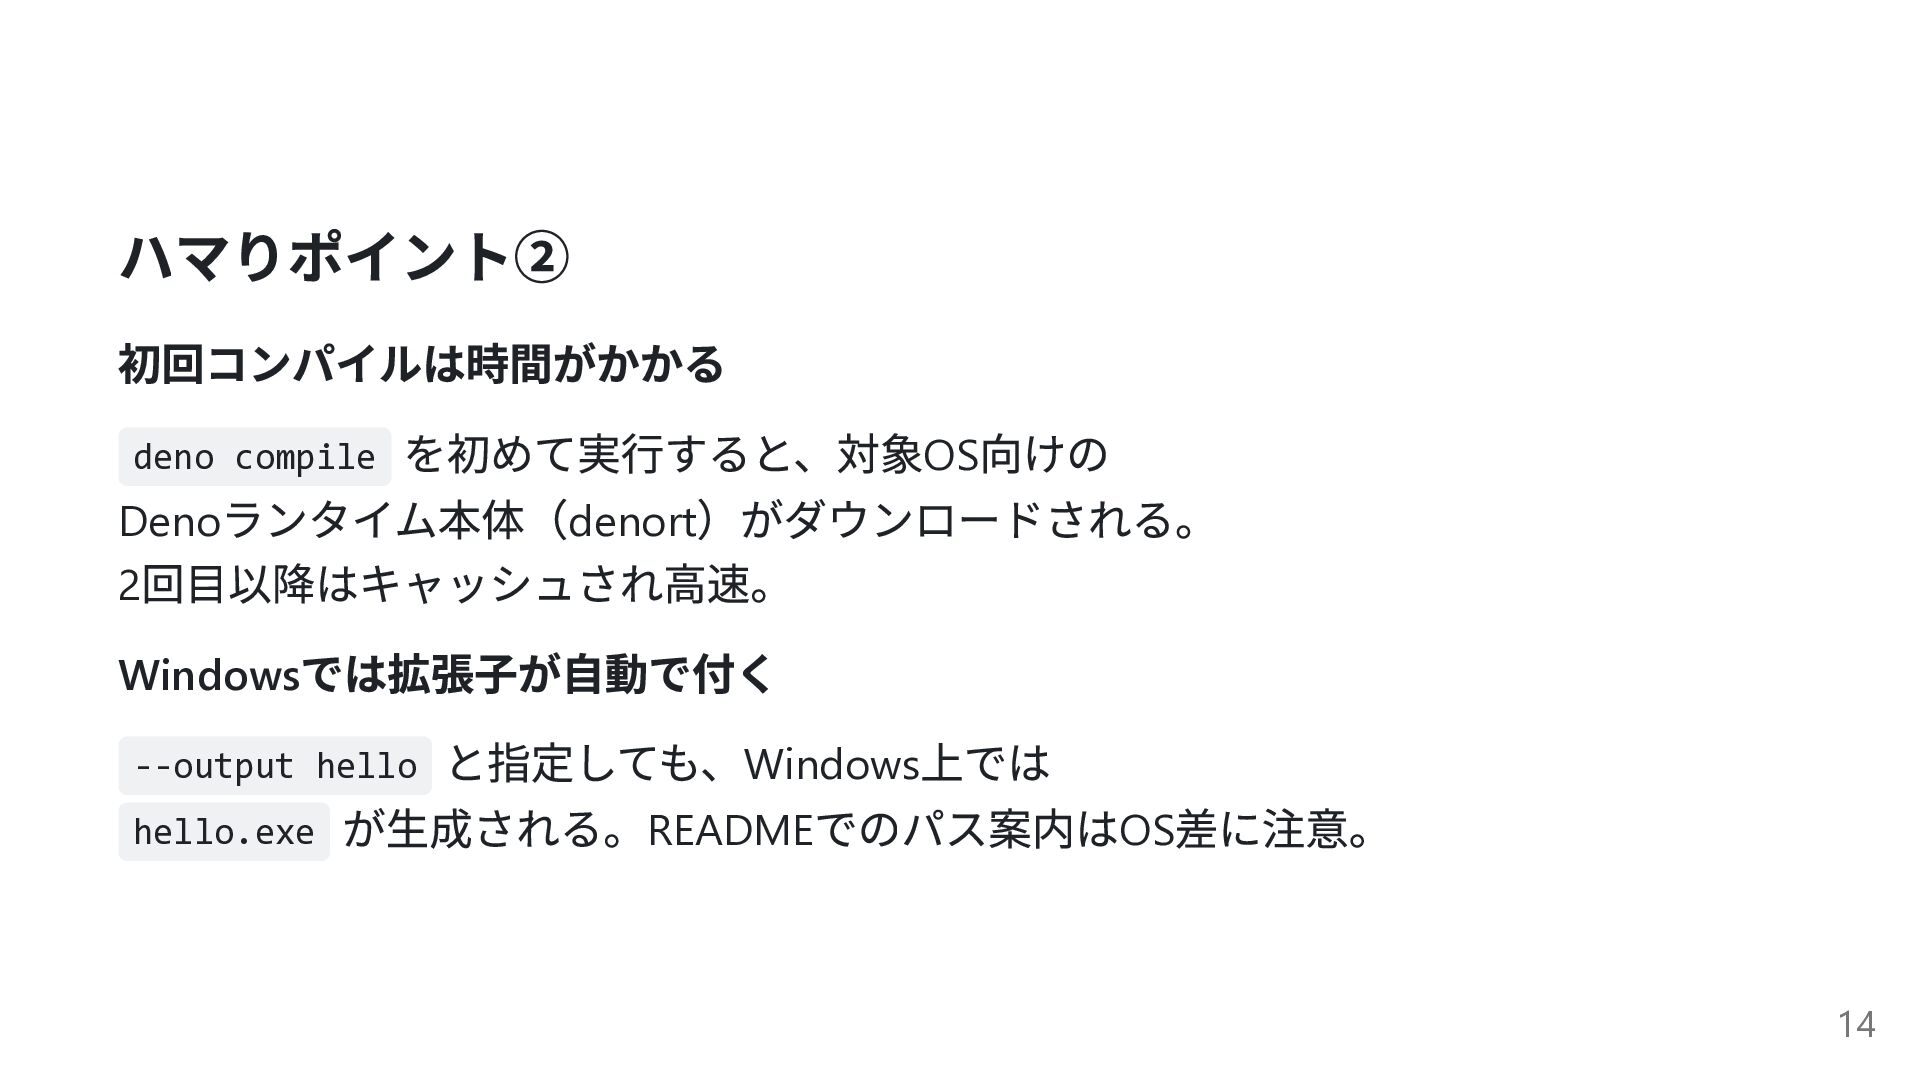
  9. Step 7: 単一実行ファイルにビルド $ deno task compile Compile main.ts to

    hello.exe $ ./hello.exe Hello, world! がインストールされていない環境でも単体で動作。 配布時のランタイムインストール案内が不要。 Deno 11
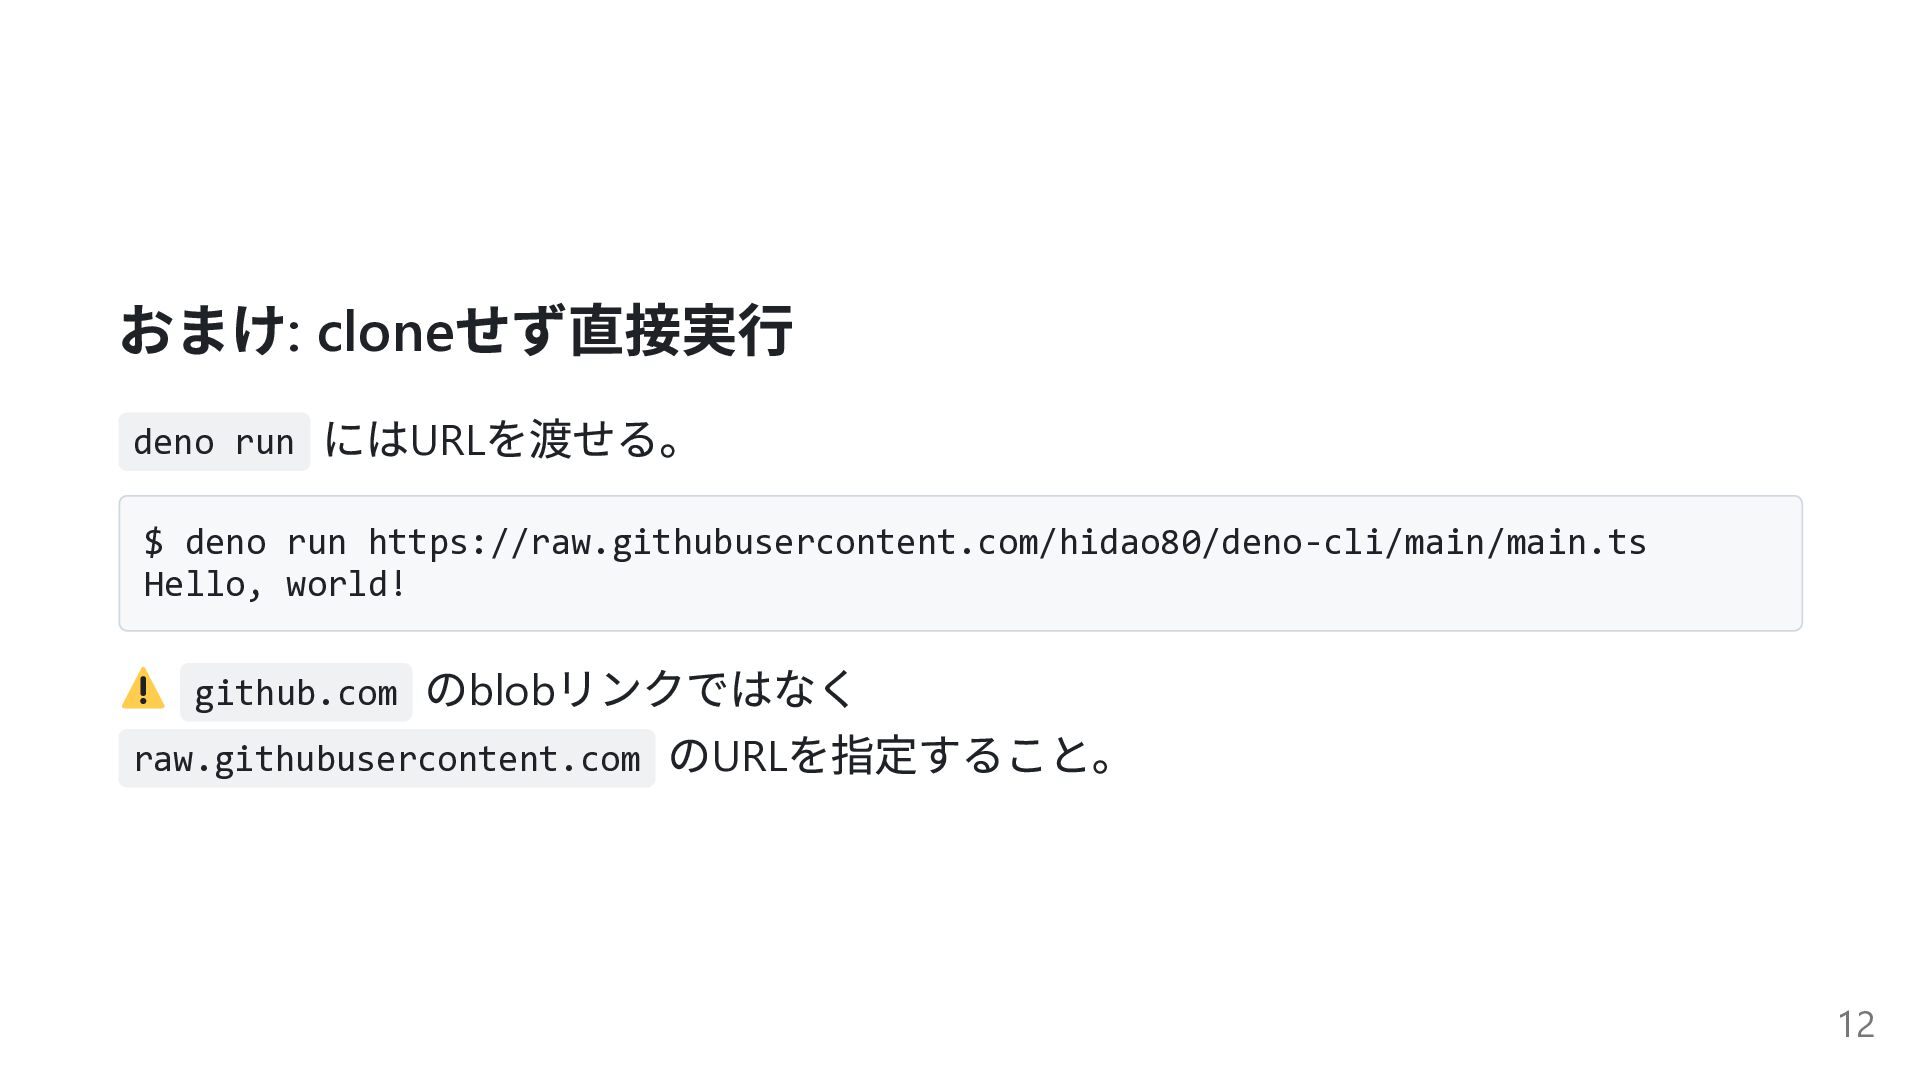
  10. おまけ: cloneせず直接実行 deno run にはURLを渡せる。 $ deno run https://raw.githubusercontent.com/hidao80/deno-cli/main/main.ts Hello,

    world! のblobリンクではなく raw.githubusercontent.com のURLを指定すること。 github.com 12
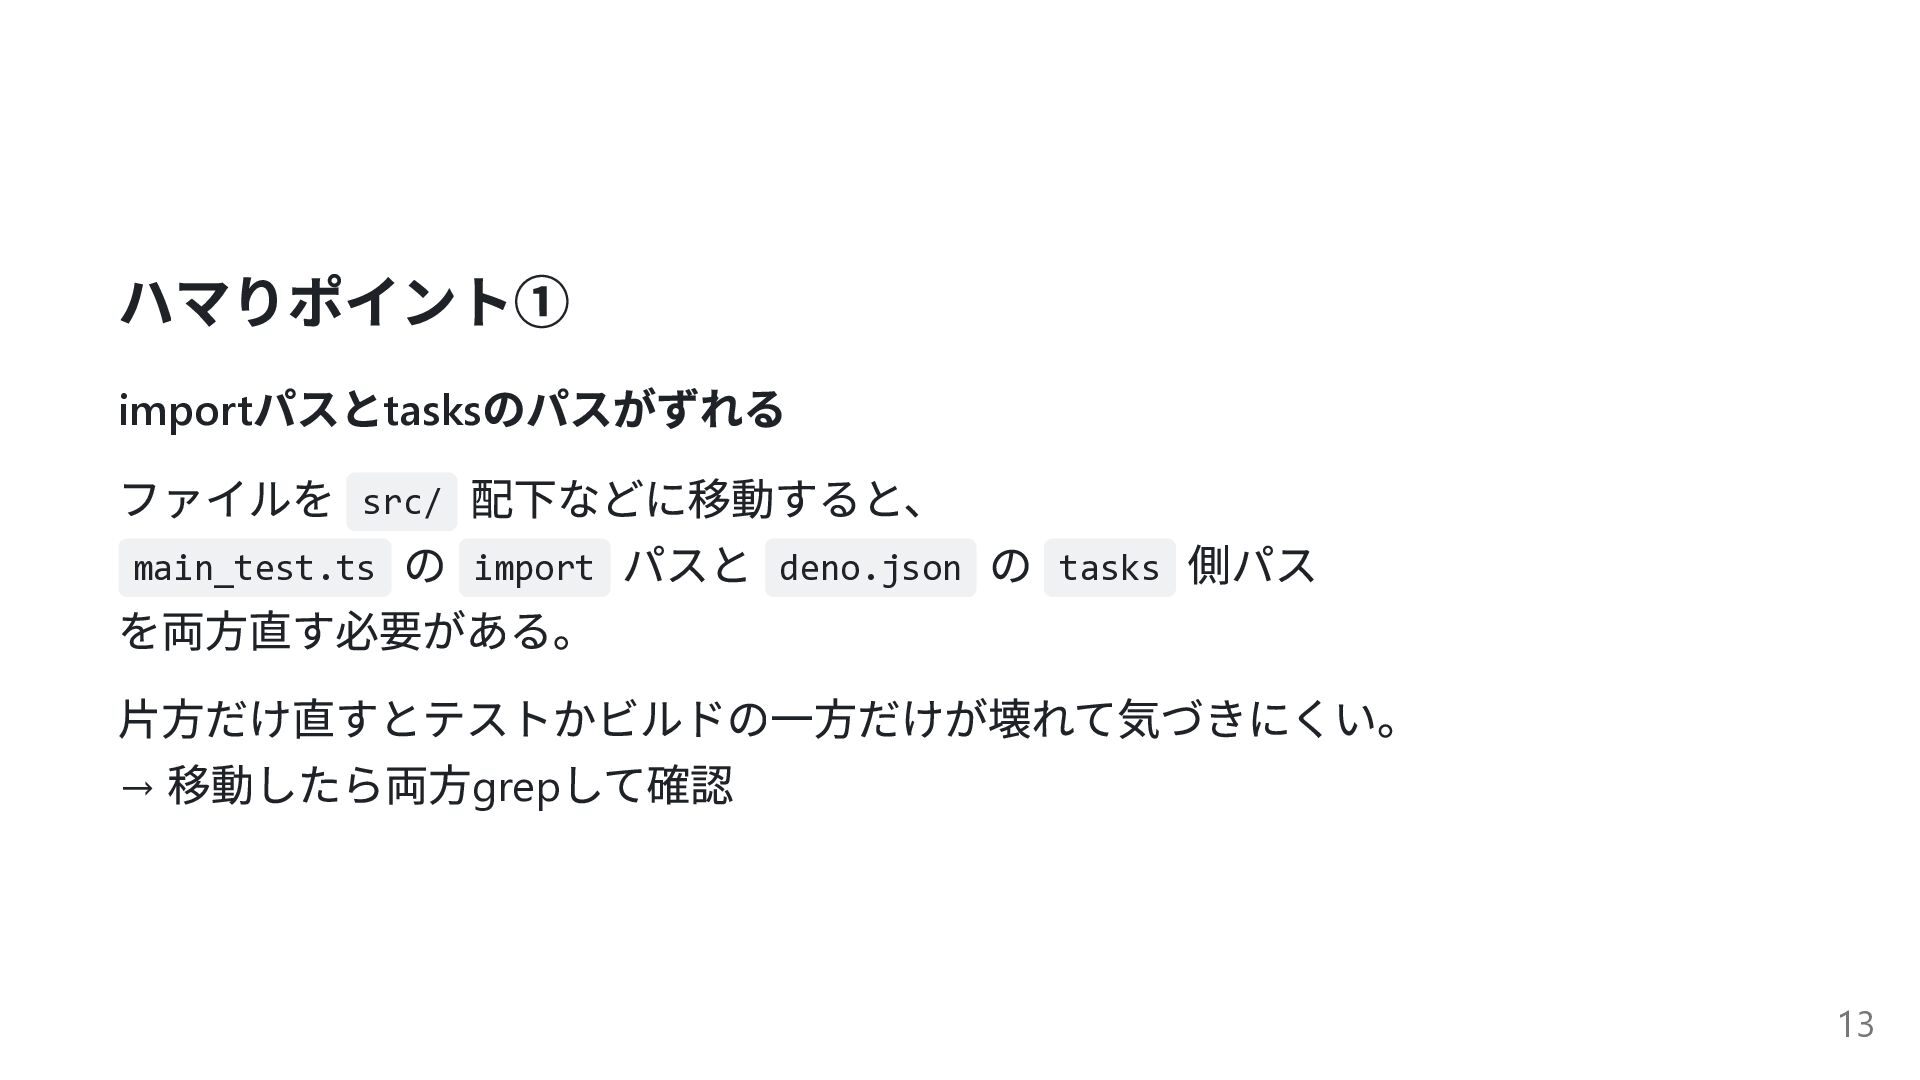
  11. ハマりポイント① パスとtasksのパスがずれる ファイルを src/ 配下などに移動すると、 main_test.ts の import パスと deno.json

    の tasks 側パス を両方直す必要がある。 片方だけ直すとテストかビルドの一方だけが壊れて気づきにくい。 → 移動したら両方grepして確認 import 13