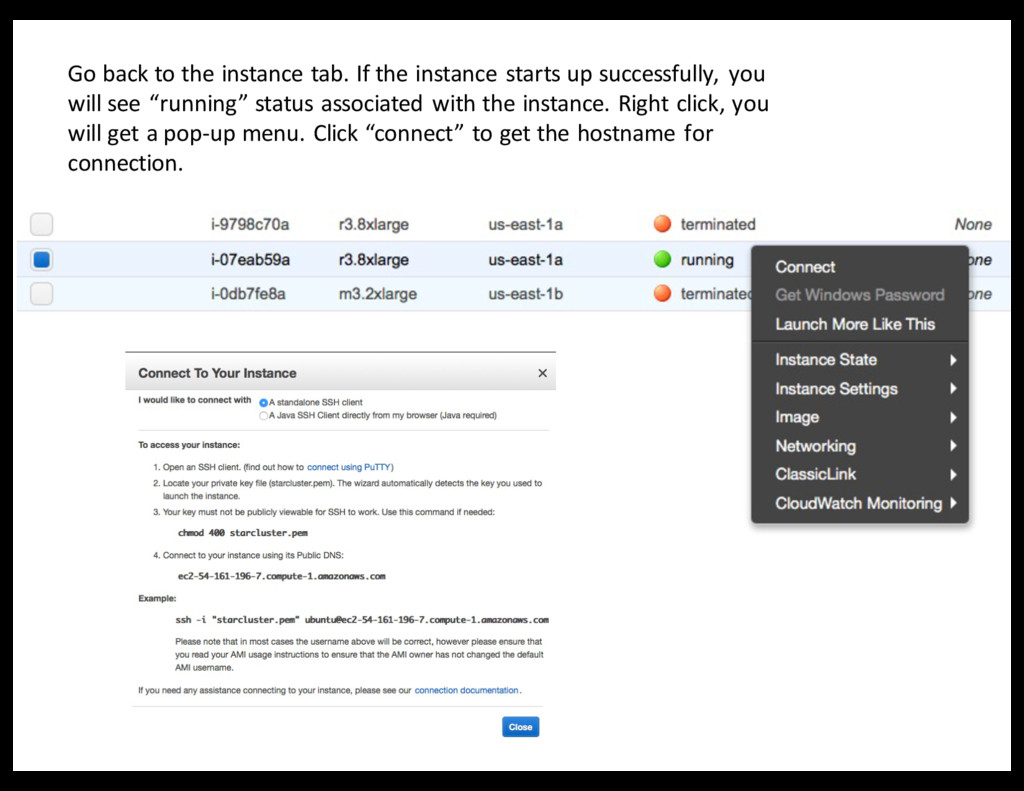
up successfully, you will see “running” status associated with the instance. Right click, you will get a pop-up menu. Click “connect” to get the hostname for connection.
instruction. After you login, the vanilla Ubuntu box needs some quick configuration. We need to: (1) Mount a new EBS volume generated based on the snapshot that has the data to /EBS (2) It is best to use the instance’s SSD for processing the data. We need to format the storage. (3) Copy configuration and run the assembly.
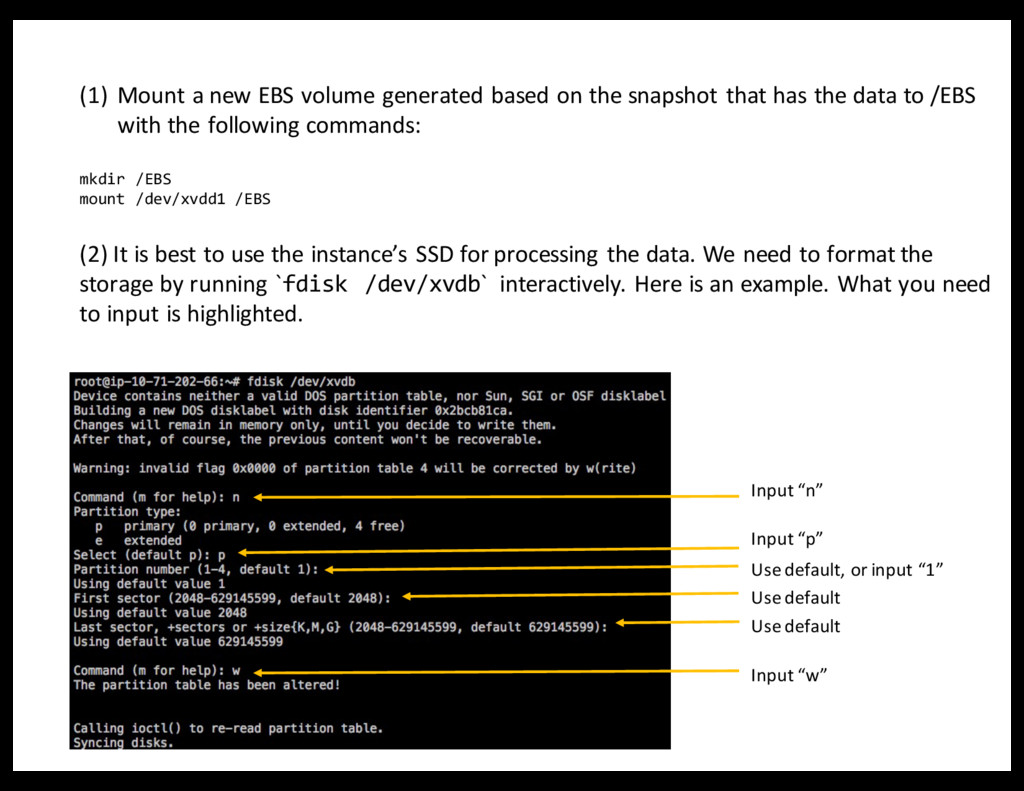
snapshot that has the data to /EBS with the following commands: mkdir /EBS mount /dev/xvdd1 /EBS (2) It is best to use the instance’s SSD for processing the data. We need to format the storage by running `fdisk /dev/xvdb` interactively. Here is an example. What you need to input is highlighted. Input “n” Input “p” Use default, or input “1” Use default Use default Input “w”
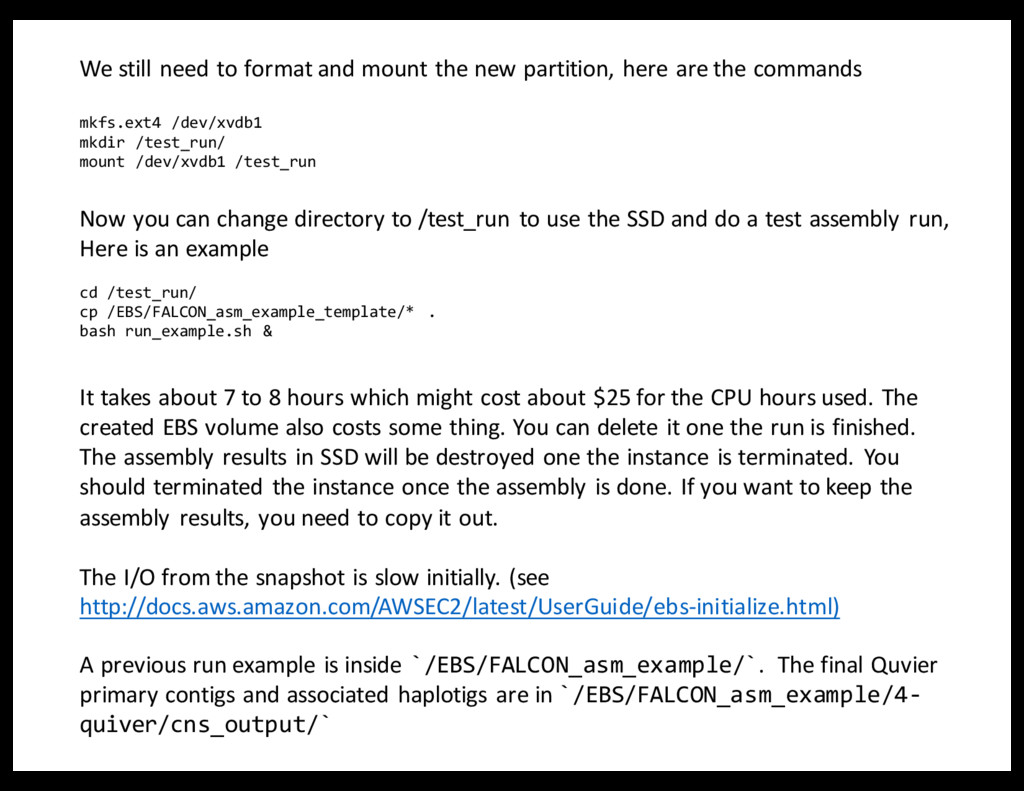
here are the commands mkfs.ext4 /dev/xvdb1 mkdir /test_run/ mount /dev/xvdb1 /test_run Now you can change directory to /test_run to use the SSD and do a test assembly run, Here is an example cd /test_run/ cp /EBS/FALCON_asm_example_template/* . bash run_example.sh & It takes about 7 to 8 hours which might cost about $25 for the CPU hours used. The created EBS volume also costs some thing. You can delete it one the run is finished. The assembly results in SSD will be destroyed one the instance is terminated. You should terminated the instance once the assembly is done. If you want to keep the assembly results, you need to copy it out. The I/O from the snapshot is slow initially. (see http://docs.aws.amazon.com/AWSEC2/latest/UserGuide/ebs-initialize.html) A previous run example is inside `/EBS/FALCON_asm_example/`. The final Quvier primary contigs and associated haplotigs are in `/EBS/FALCON_asm_example/4- quiver/cns_output/`