of HTML forms with a fairly simple example. Today, I’ll talk about the various different form controls that you can create using HTML. Later, we’ll extend our Google Maps <iframe> example from last week to allow a user enter any location and display the map for that location.
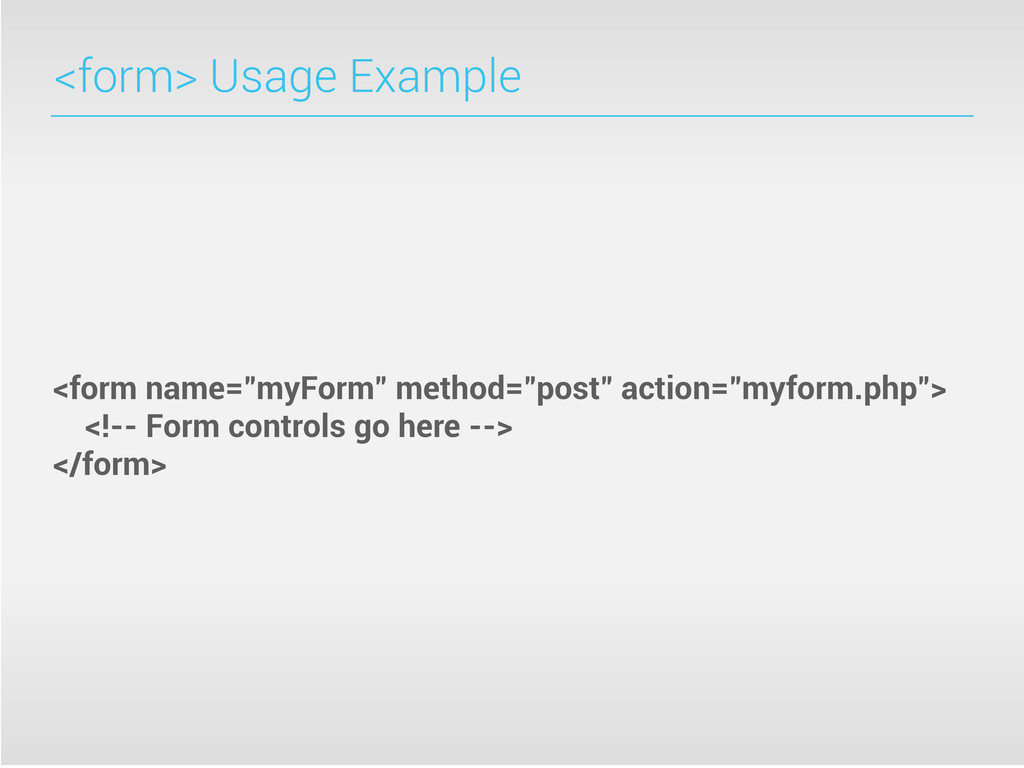
creating a HTML form is to add a <form> tag to your page. We can tell the browser some information about what the form will do so it knows where to send this information to. We’ll see an example of this a little later when we work with the Google Maps demo.
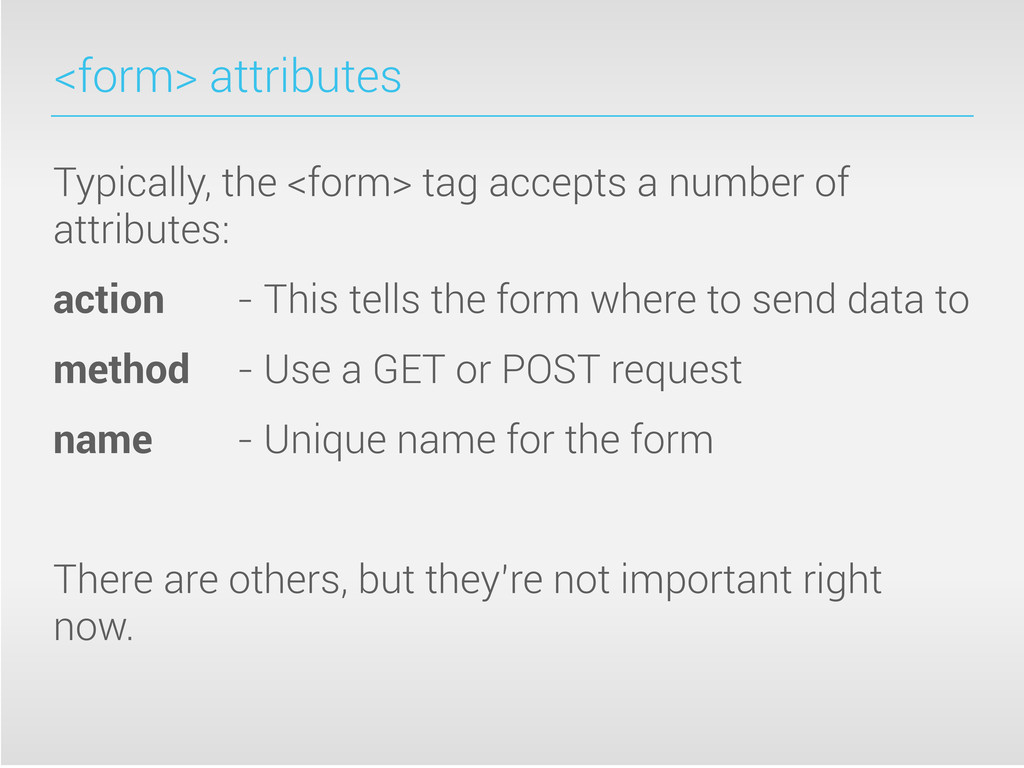
attributes: action - This tells the form where to send data to method - Use a GET or POST request name - Unique name for the form There are others, but they’re not important right now.
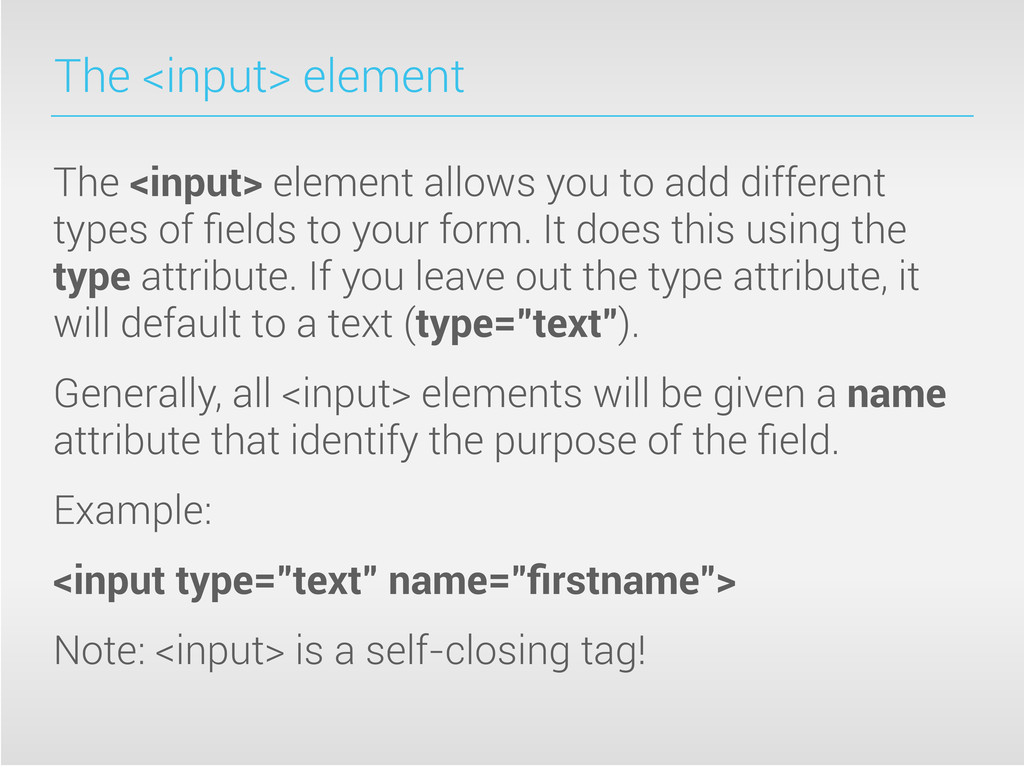
different types of fields to your form. It does this using the type attribute. If you leave out the type attribute, it will default to a text (type="text"). Generally, all <input> elements will be given a name attribute that identify the purpose of the field. Example: <input type="text" name="firstname"> Note: <input> is a self-closing tag!
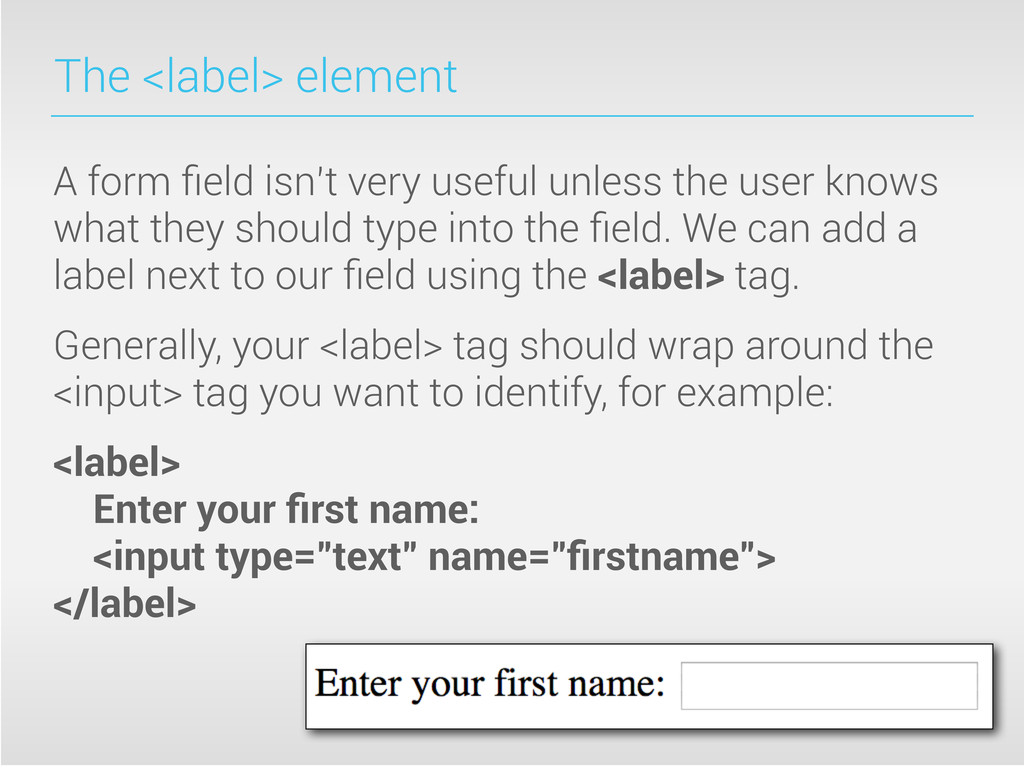
the user knows what they should type into the field. We can add a label next to our field using the <label> tag. Generally, your <label> tag should wrap around the <input> tag you want to identify, for example: <label> Enter your first name: <input type="text" name="firstname"> </label>
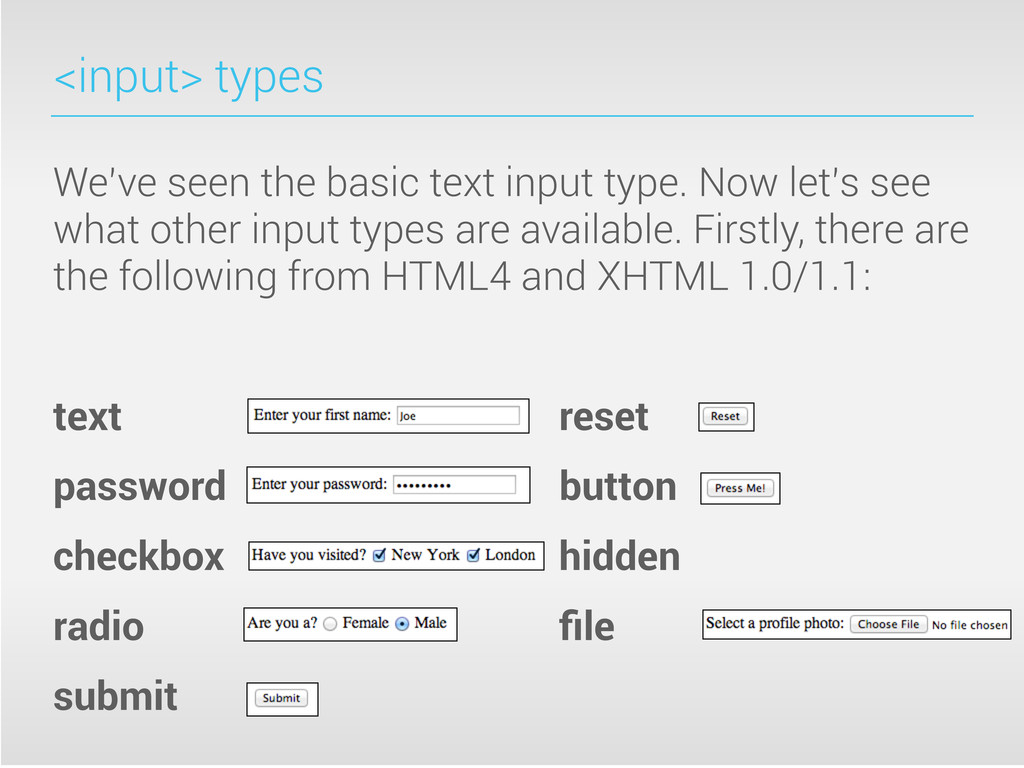
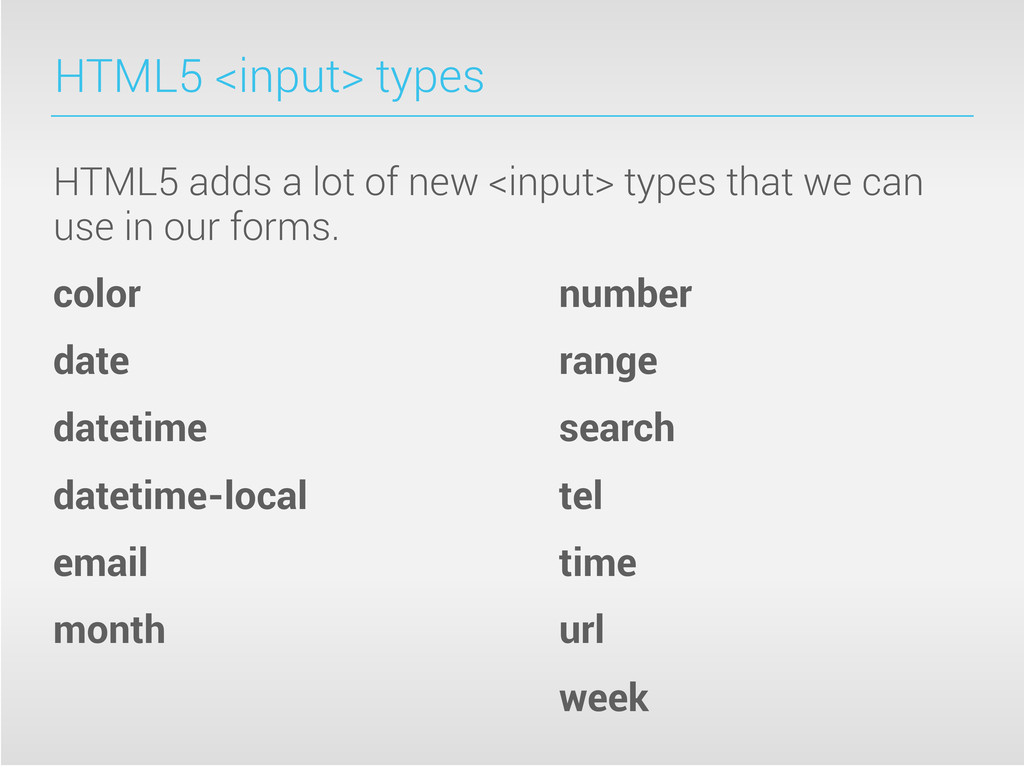
let’s see what other input types are available. Firstly, there are the following from HTML4 and XHTML 1.0/1.1: text reset password button checkbox hidden radio file submit
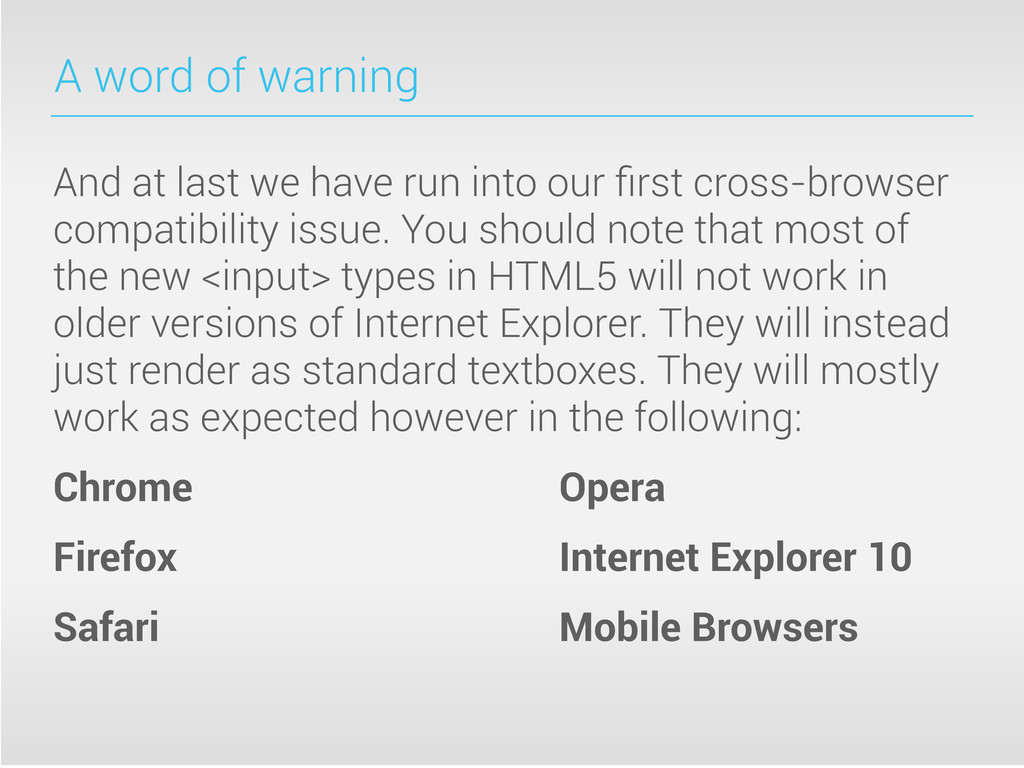
into our first cross-browser compatibility issue. You should note that most of the new <input> types in HTML5 will not work in older versions of Internet Explorer. They will instead just render as standard textboxes. They will mostly work as expected however in the following: Chrome Opera Firefox Internet Explorer 10 Safari Mobile Browsers
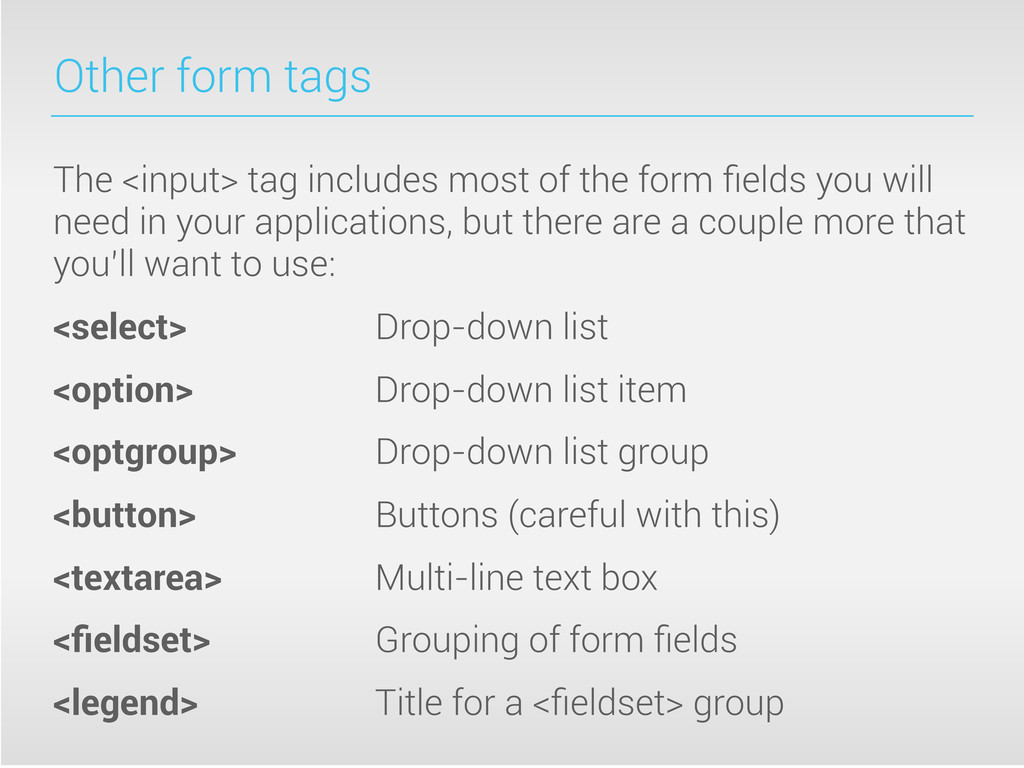
form fields you will need in your applications, but there are a couple more that you’ll want to use: <select> Drop-down list <option> Drop-down list item <optgroup> Drop-down list group <button> Buttons (careful with this) <textarea> Multi-line text box <fieldset> Grouping of form fields <legend> Title for a <fieldset> group
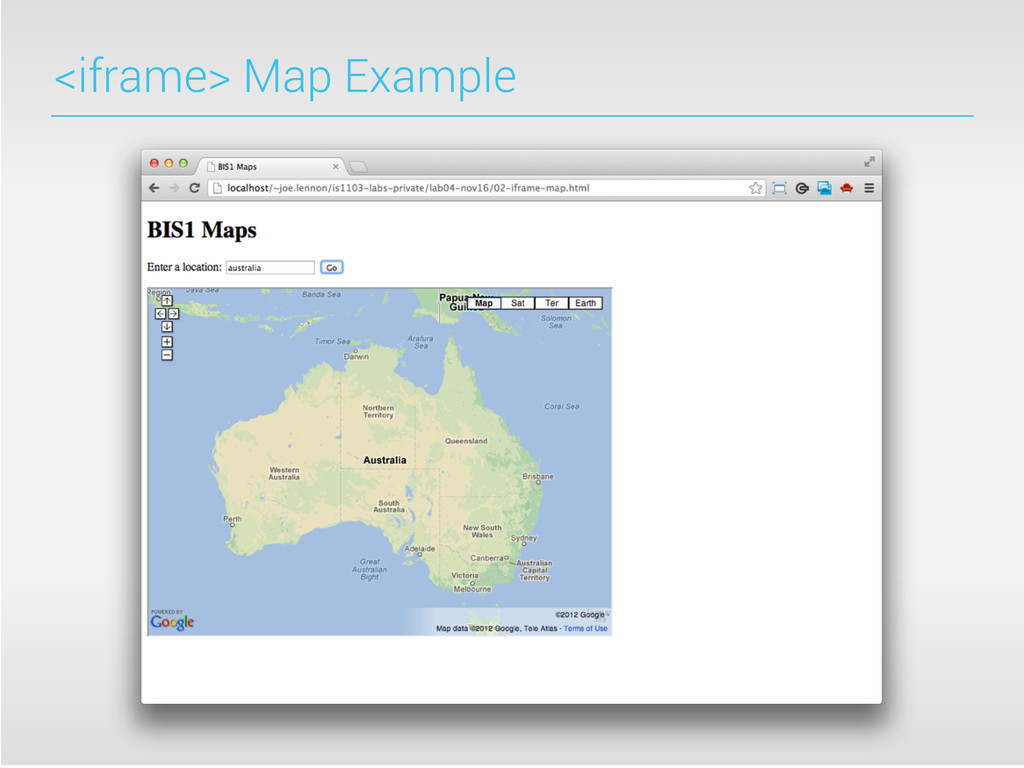
Google Maps into an <iframe> and change the location of the map using a list of links. Let’s make this much better now by replacing the list of links with a simple form that will allow the user to enter any location they want to see on the map.
will continue to go through HTML forms functionality with you. How to create multi-select lists with <select> How to disable fields and make fields read-only How to change the size of a field How to set the maximum length of a field How to create an image button