Basic coverage of how to include images in HTML pages, and how to create links to other pages and to sections within the same page. This slide deck was presented to the BIS1
your H: drive Today, you’ll learn how to include those images in a HTML page. You’ll also learn how to create links to other pages and sections within the same page (e.g. Back To Top).
other types of images in your Web page. There are three main types of image: JPEG - Good for photos GIF - Good for small images/animated images PNG - Great for transparent images
the <img> tag. We include images by telling the <img> tag where to find the image using the src attribute. Attributes are key/value pairs of data that tell HTML tags extra information that is not usually rendered in the browser. <img src="myimage.png" />
should always include when using images in HTML width - The width (in pixels) of the image height - The height (in pixels) of the image alt - Alternative text to display if images are off <img src="myimage.png" width="200" height="200" alt="My Image" />
couple of new concepts. Firstly, you may have noticed that the <img> tag does not have a closing </img> tag. Instead, the tag is self-closing, <img /> (HTML5 allows you to leave out the trailing slash if you like)
concept of a URL (Uniform Resource Locator). A URL is basically a Web address that points to a particular resource on a Web server. When we use the <img> tag, we tell the browser how to find the URL for the image by passing a resource path in the src attribute. Resource paths can be absolute or relative.
browser how to find a Web resource using its full URL. For example, to include the Google logo, you’d use the following: <img src="http://www.google.ie/images/srpr/logo3w.png">
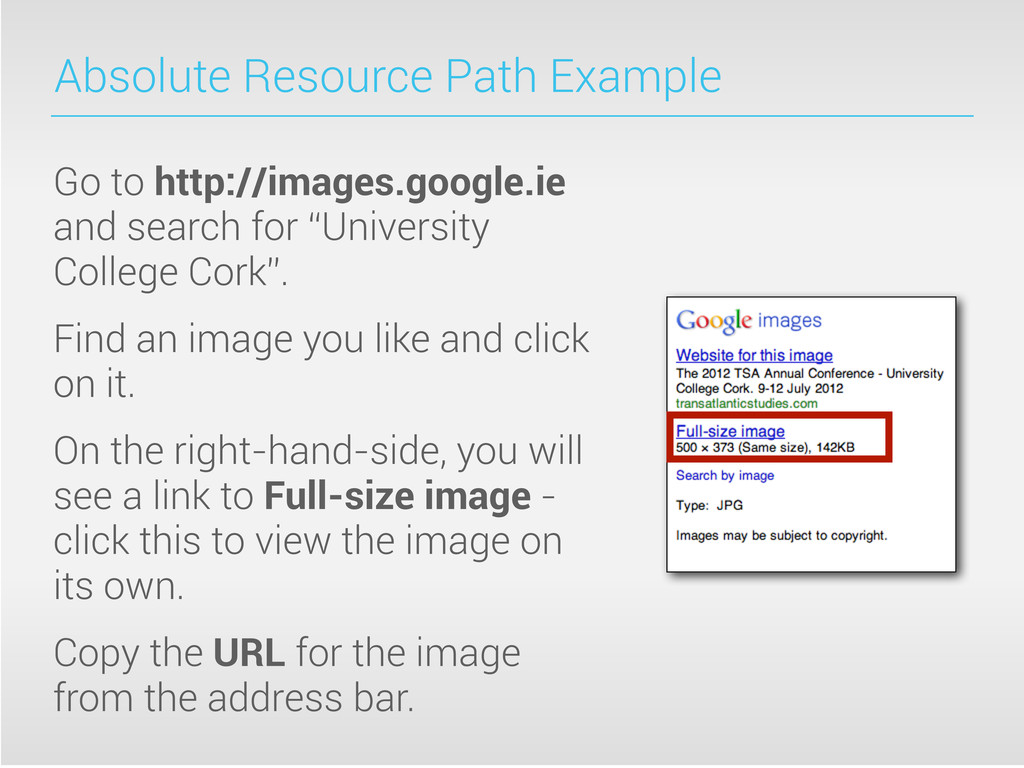
“University College Cork”. Find an image you like and click on it. On the right-hand-side, you will see a link to Full-size image - click this to view the image on its own. Copy the URL for the image from the address bar.
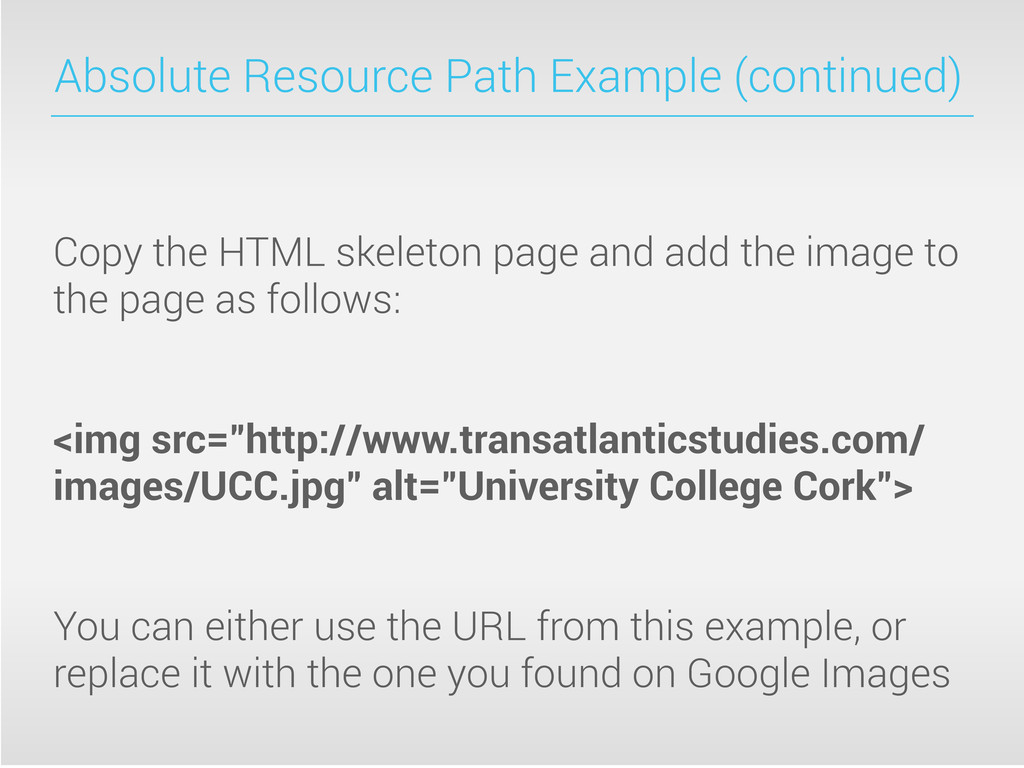
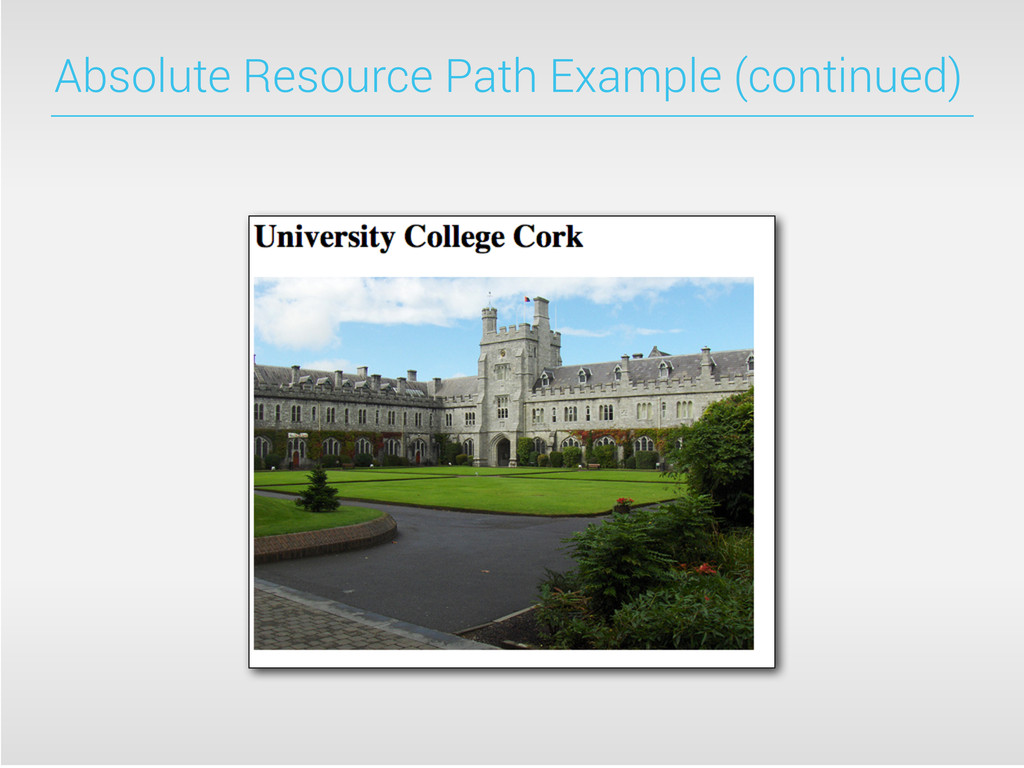
and add the image to the page as follows: <img src="http://www.transatlanticstudies.com/ images/UCC.jpg" alt="University College Cork"> You can either use the URL from this example, or replace it with the one you found on Google Images
how to find a resource using a path that is relative to the HTML page itself. This is important, you’ll be using relative paths in your projects, so if you don’t understand raise your hand when we’re going through the examples.
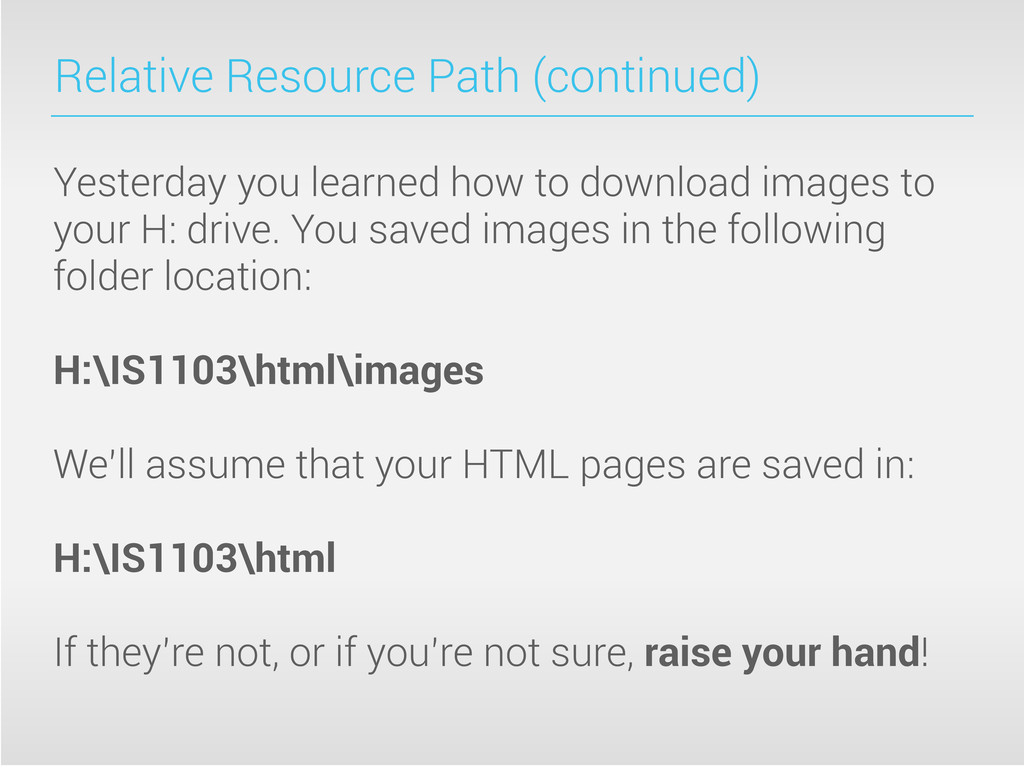
images to your H: drive. You saved images in the following folder location: H:\IS1103\html\images We’ll assume that your HTML pages are saved in: H:\IS1103\html If they’re not, or if you’re not sure, raise your hand!
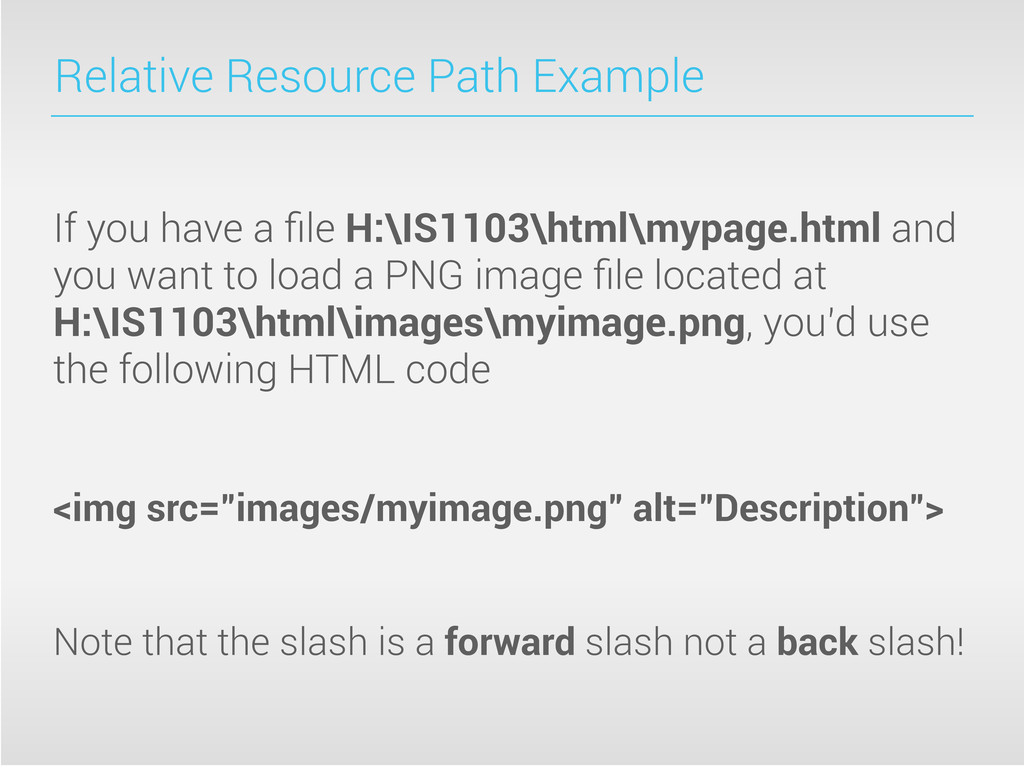
and you want to load a PNG image file located at H:\IS1103\html\images\myimage.png, you’d use the following HTML code <img src="images/myimage.png" alt="Description"> Note that the slash is a forward slash not a back slash!
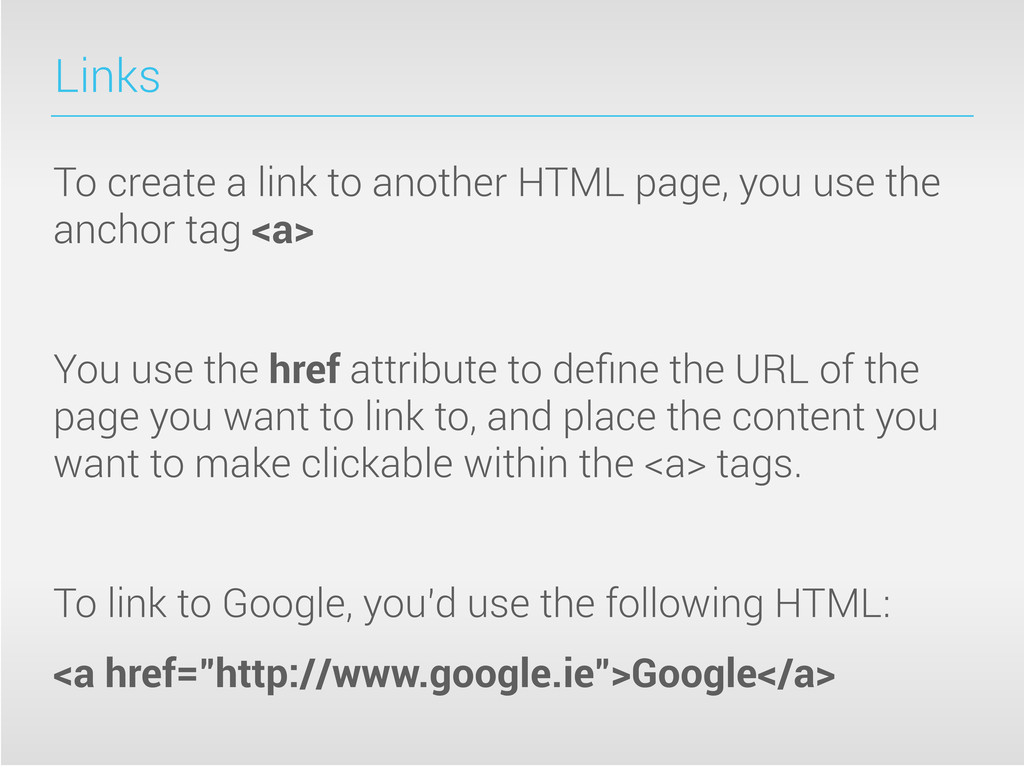
use the anchor tag <a> You use the href attribute to define the URL of the page you want to link to, and place the content you want to make clickable within the <a> tags. To link to Google, you’d use the following HTML: <a href="http://www.google.ie">Google</a>
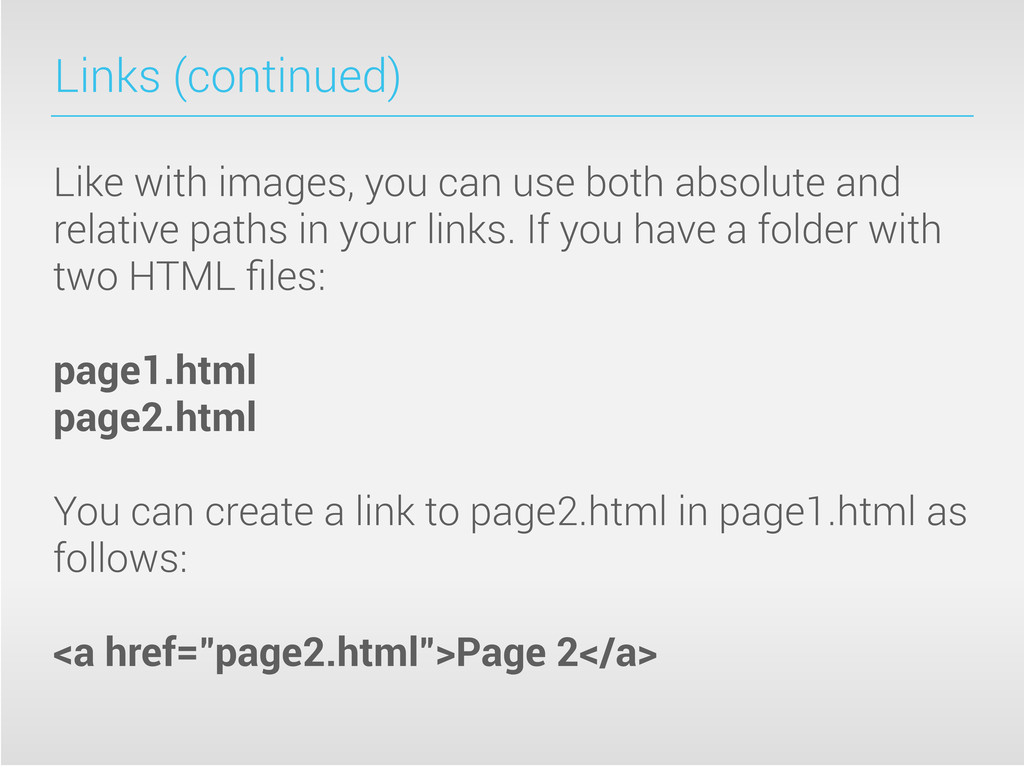
and relative paths in your links. If you have a folder with two HTML files: page1.html page2.html You can create a link to page2.html in page1.html as follows: <a href="page2.html">Page 2</a>
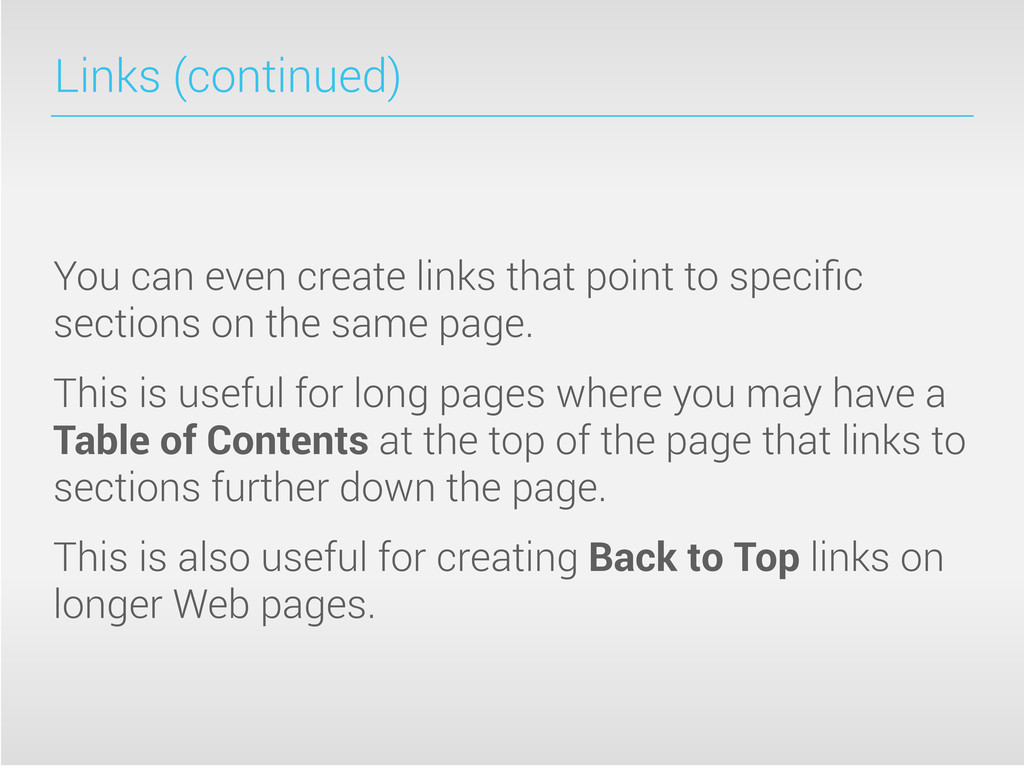
specific sections on the same page. This is useful for long pages where you may have a Table of Contents at the top of the page that links to sections further down the page. This is also useful for creating Back to Top links on longer Web pages.
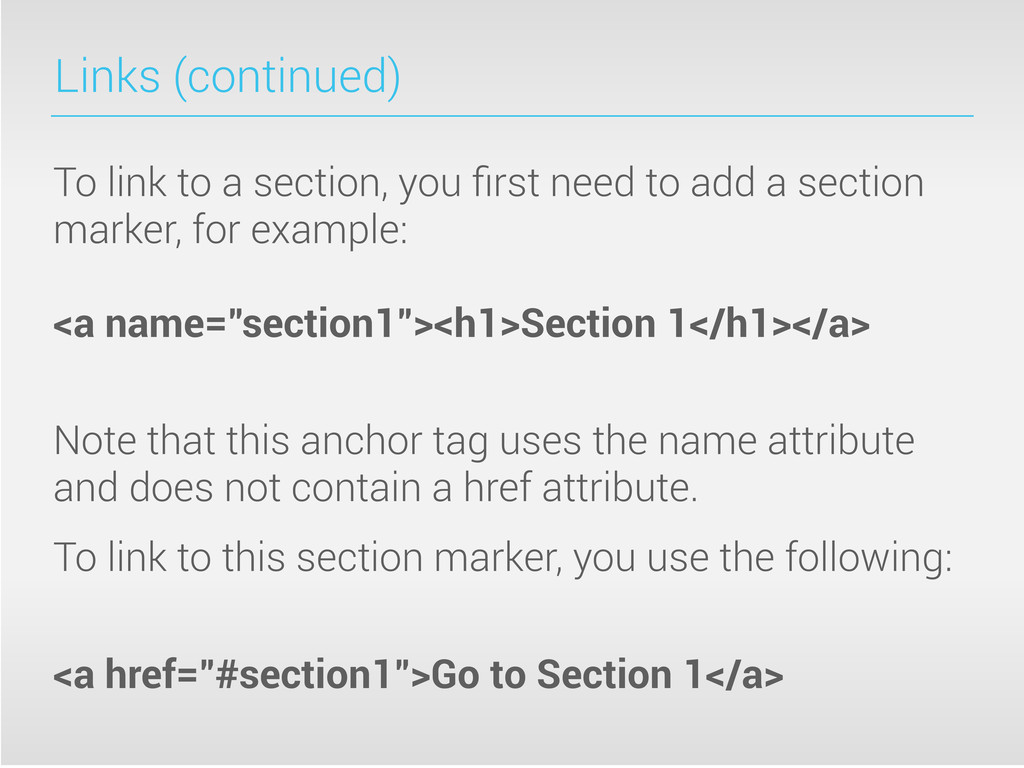
to add a section marker, for example: <a name="section1"><h1>Section 1</h1></a> Note that this anchor tag uses the name attribute and does not contain a href attribute. To link to this section marker, you use the following: <a href="#section1">Go to Section 1</a>
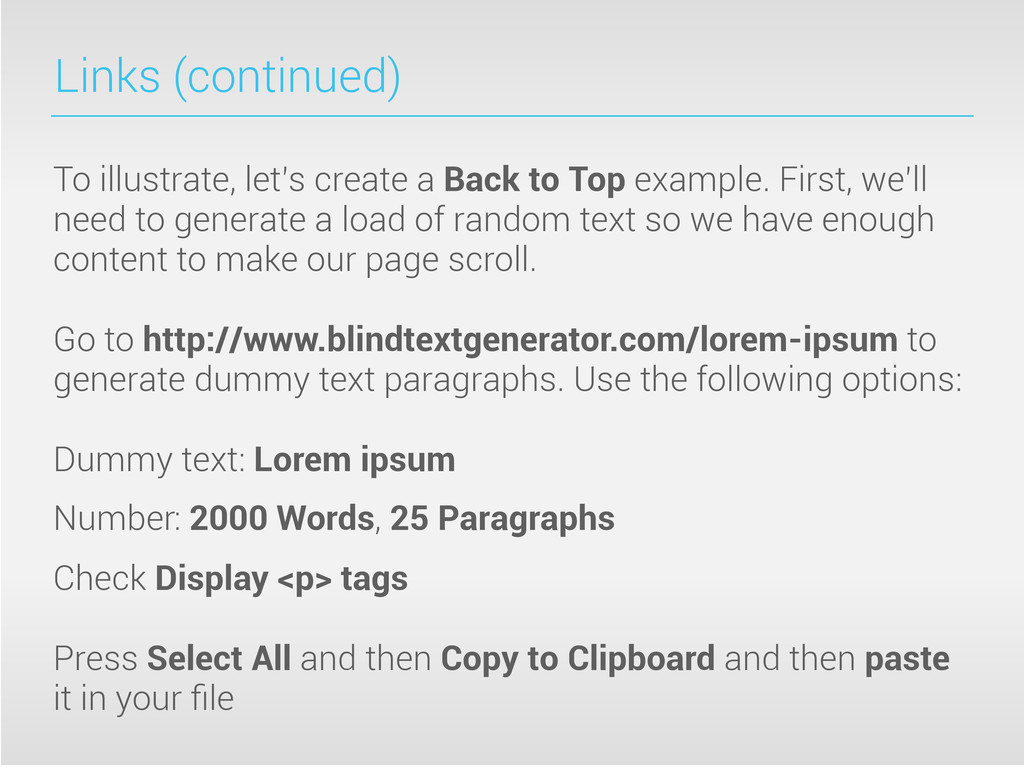
example. First, we’ll need to generate a load of random text so we have enough content to make our page scroll. Go to http://www.blindtextgenerator.com/lorem-ipsum to generate dummy text paragraphs. Use the following options: Dummy text: Lorem ipsum Number: 2000 Words, 25 Paragraphs Check Display <p> tags Press Select All and then Copy to Clipboard and then paste it in your file
add lots of paragraphs, headings, images and links to it. Include examples of both absolute and relative resource paths in both your images and links. Create section markers on your page and add a Table of Contents to the top, and a Back to Top link at the bottom of the page.