An introduction to using CSS to style your HTML content. This week we'll look at how to transform the appearance of text, and about selectors, IDs and classes.
you to CSS (Cascading Style Sheets). Because I was away last week, there might be a bit of overlap with what you’ve already covered in this week’s lab session. That’s not necessarily a bad thing, CSS is hugely important to understand, and not just for IS1103...
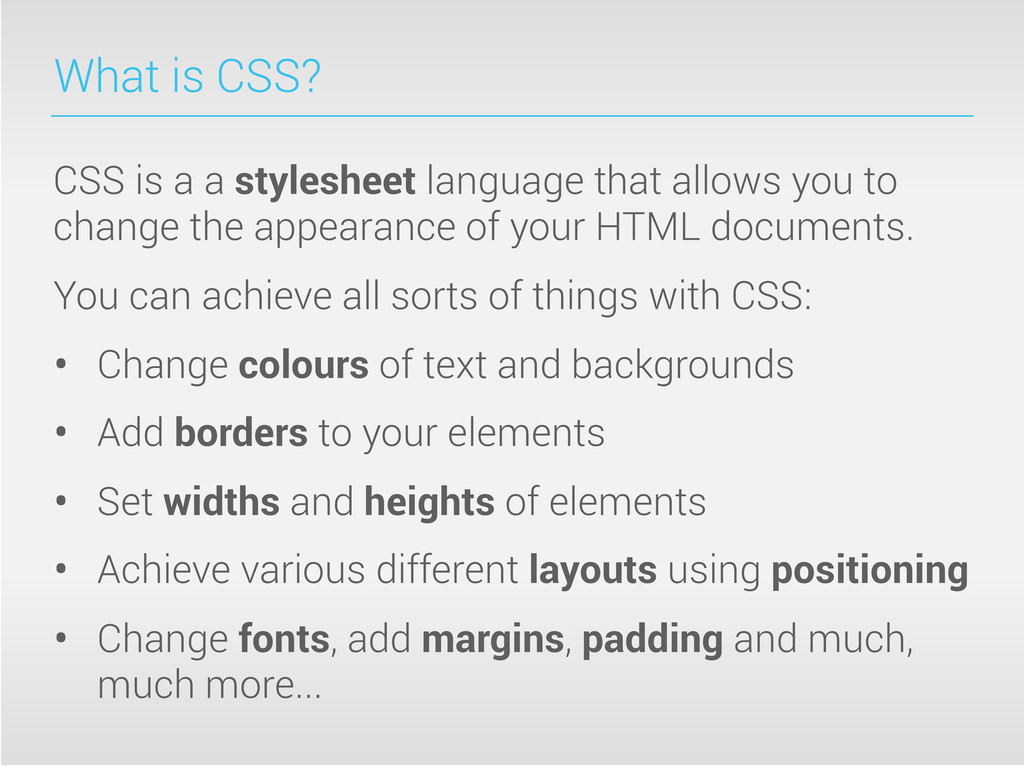
allows you to change the appearance of your HTML documents. You can achieve all sorts of things with CSS: • Change colours of text and backgrounds • Add borders to your elements • Set widths and heights of elements • Achieve various different layouts using positioning • Change fonts, add margins, padding and much, much more...
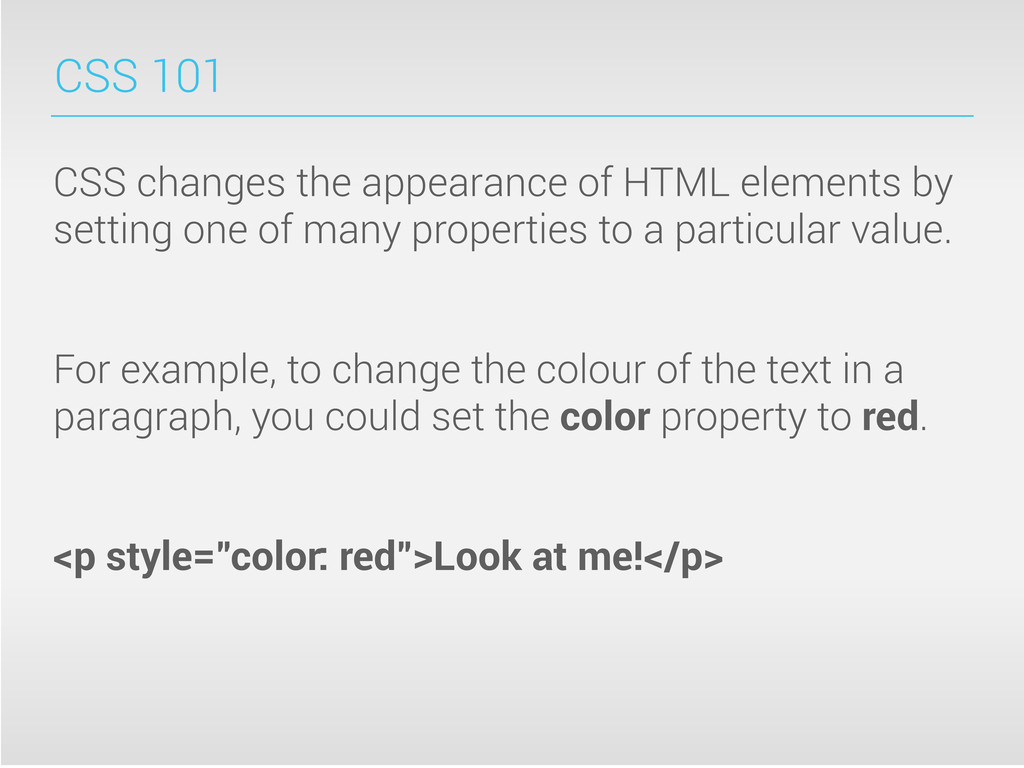
setting one of many properties to a particular value. For example, to change the colour of the text in a paragraph, you could set the color property to red. <p style="color: red">Look at me!</p>
of inline styles to apply the CSS property directly inside the <p> tag itself. Inline styles are those added in HTML using the style attribute on a tag. You should avoid using inline styles in your pages. 1. It makes your HTML code less readable 2. It makes your code harder to manage 3. It means you will need to make changes to styles in multiple places (trust me, this is a major pain!)
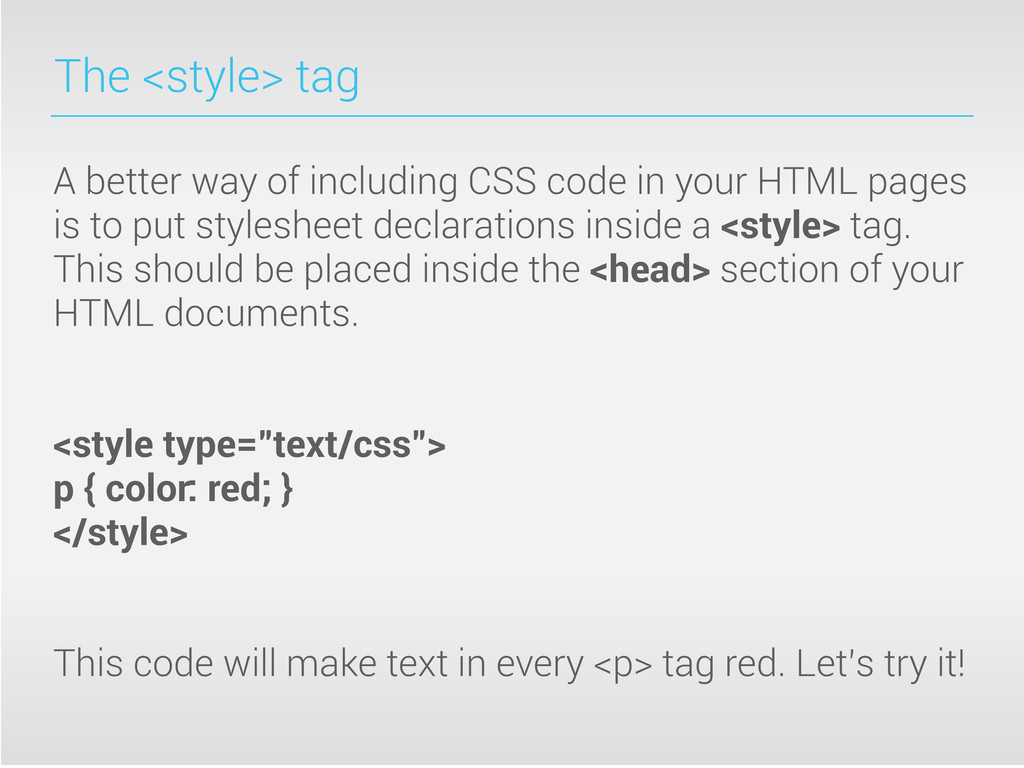
in your HTML pages is to put stylesheet declarations inside a <style> tag. This should be placed inside the <head> section of your HTML documents. <style type="text/css"> p { color: red; } </style> This code will make text in every <p> tag red. Let’s try it!
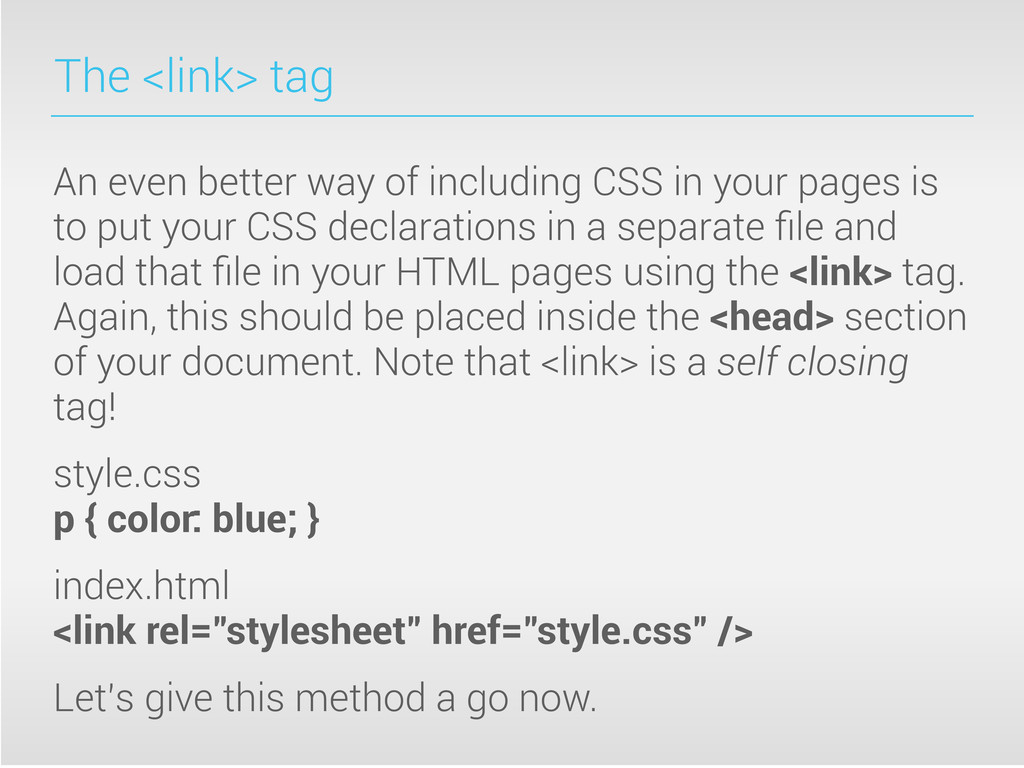
in your pages is to put your CSS declarations in a separate file and load that file in your HTML pages using the <link> tag. Again, this should be placed inside the <head> section of your document. Note that <link> is a self closing tag! style.css p { color: blue; } index.html <link rel="stylesheet" href="style.css" /> Let’s give this method a go now.
more than one page, you’ll almost always want to use external CSS files and the <link> tag. The reason for this is that you can reuse the same file across multiple pages. If you change the CSS once, the change will be applied to all pages that use that file. If your app or site has one page, you could use an external file, or alternatively use the <style> tag. You should avoid using inline styles at all costs, you’ll regret it later in your projects if you use them.
do so by defining a series of rule sets to apply to your content. You define what should be styled using something called a selector. We’ll learn more about selectors shortly. You define what styles will be applied by using a declaration block, which can include any number of declarations.
This tells the browser what type of style should be applied to the page. For example. color: red; Each rule set in CSS includes a declaration block, which can include more than one declaration. { color: red; font-size: 4em; } Let’s try using multiple declarations in our earlier example.
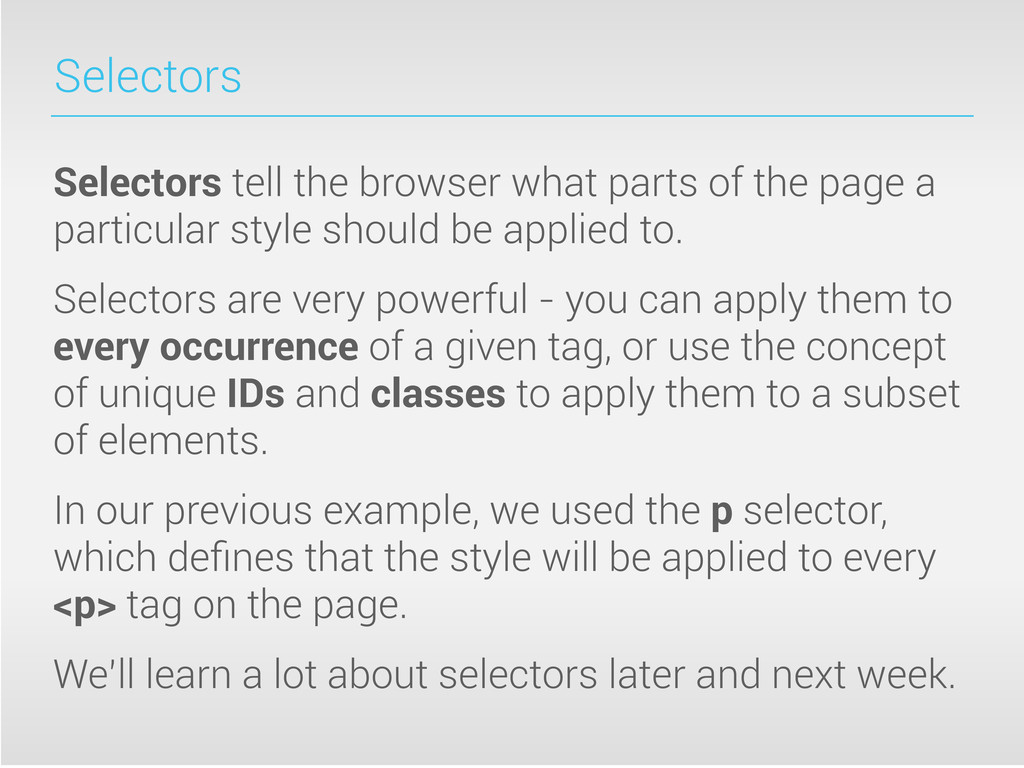
a particular style should be applied to. Selectors are very powerful - you can apply them to every occurrence of a given tag, or use the concept of unique IDs and classes to apply them to a subset of elements. In our previous example, we used the p selector, which defines that the style will be applied to every <p> tag on the page. We’ll learn a lot about selectors later and next week.
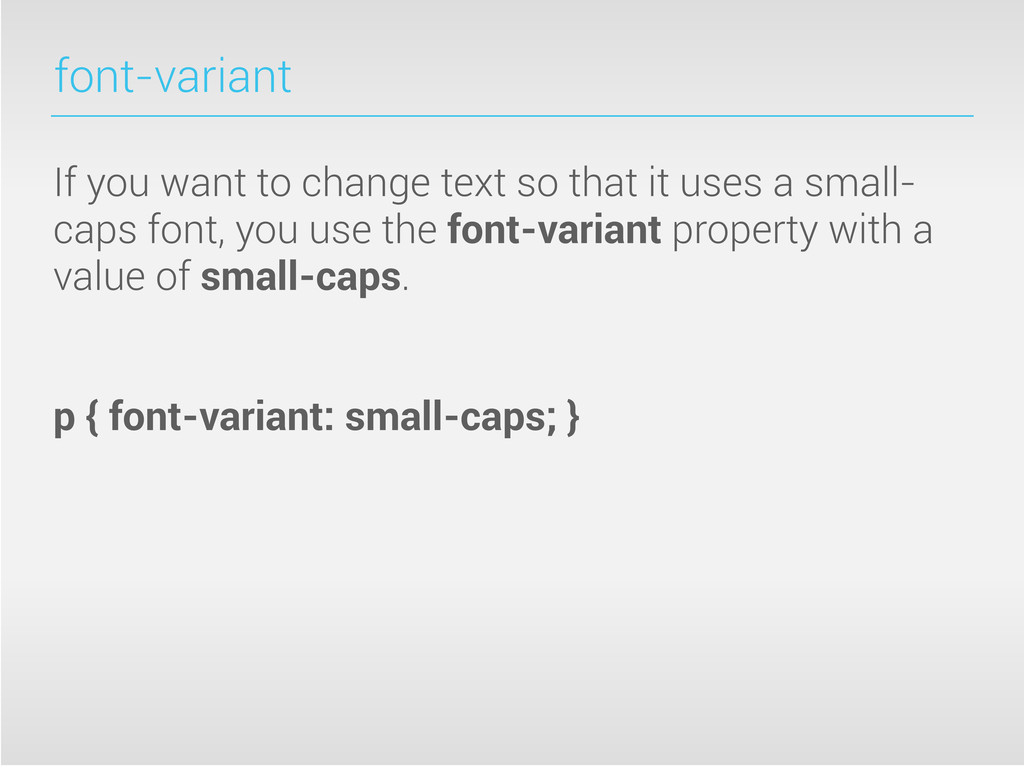
property. There are hundreds of CSS properties that you can use to style your Web pages. Today, we’ll look at text styles, that will change the appearance of your page’s text. font-family font font-size text-decoration font-style color font-weight line-height font-variant text-transform
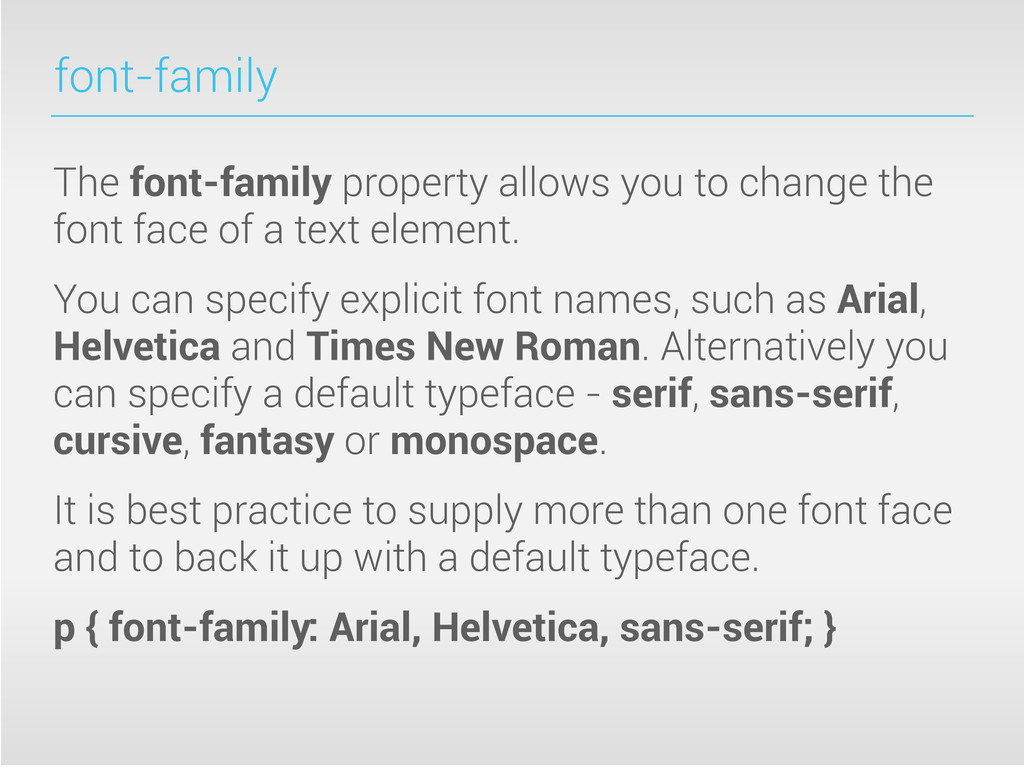
face of a text element. You can specify explicit font names, such as Arial, Helvetica and Times New Roman. Alternatively you can specify a default typeface - serif, sans-serif, cursive, fantasy or monospace. It is best practice to supply more than one font face and to back it up with a default typeface. p { font-family: Arial, Helvetica, sans-serif; }
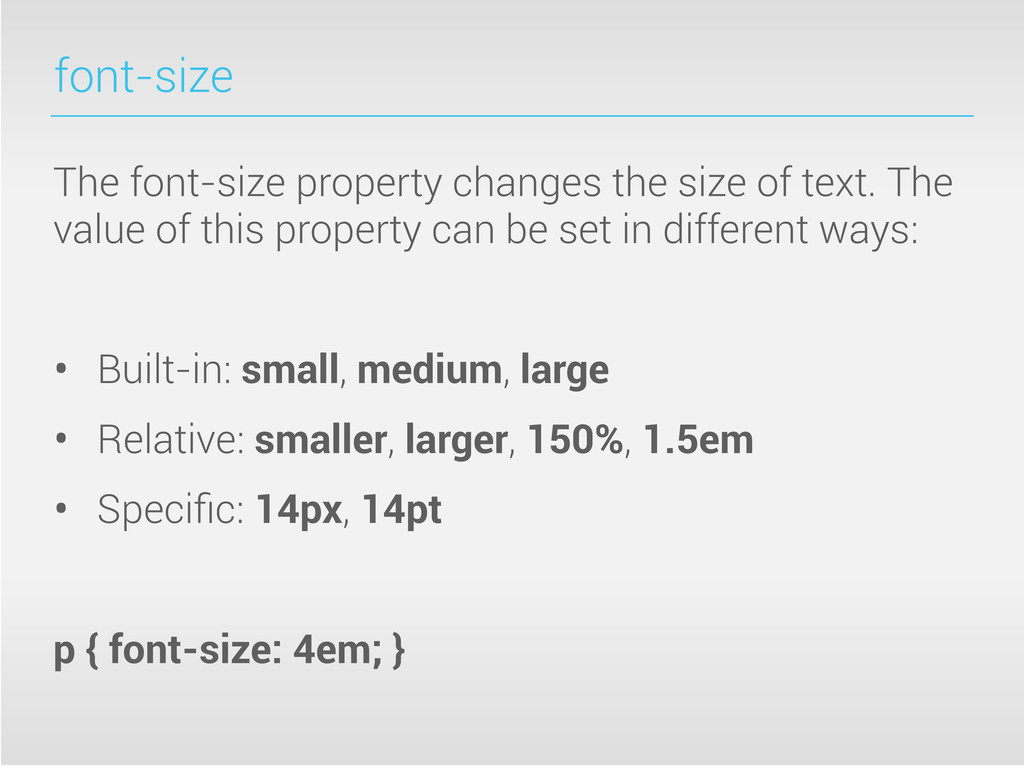
value of this property can be set in different ways: • Built-in: small, medium, large • Relative: smaller, larger, 150%, 1.5em • Specific: 14px, 14pt p { font-size: 4em; }
bolder or lighter. You can make text bold using the value bold. Alternatively, you can specify the weight as a number. For example, 300 would make text light, whereas 500 would make text bold. Some fonts have limited support for numeric font weights. p { font-weight: bold; }
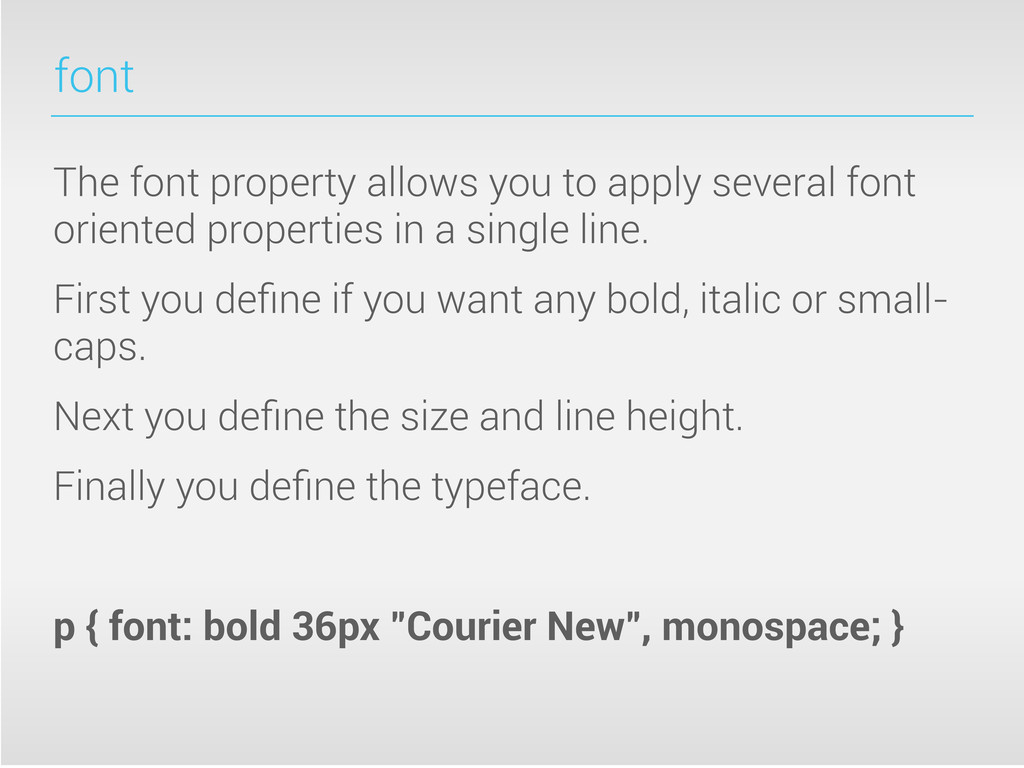
oriented properties in a single line. First you define if you want any bold, italic or small- caps. Next you define the size and line height. Finally you define the typeface. p { font: bold 36px "Courier New", monospace; }
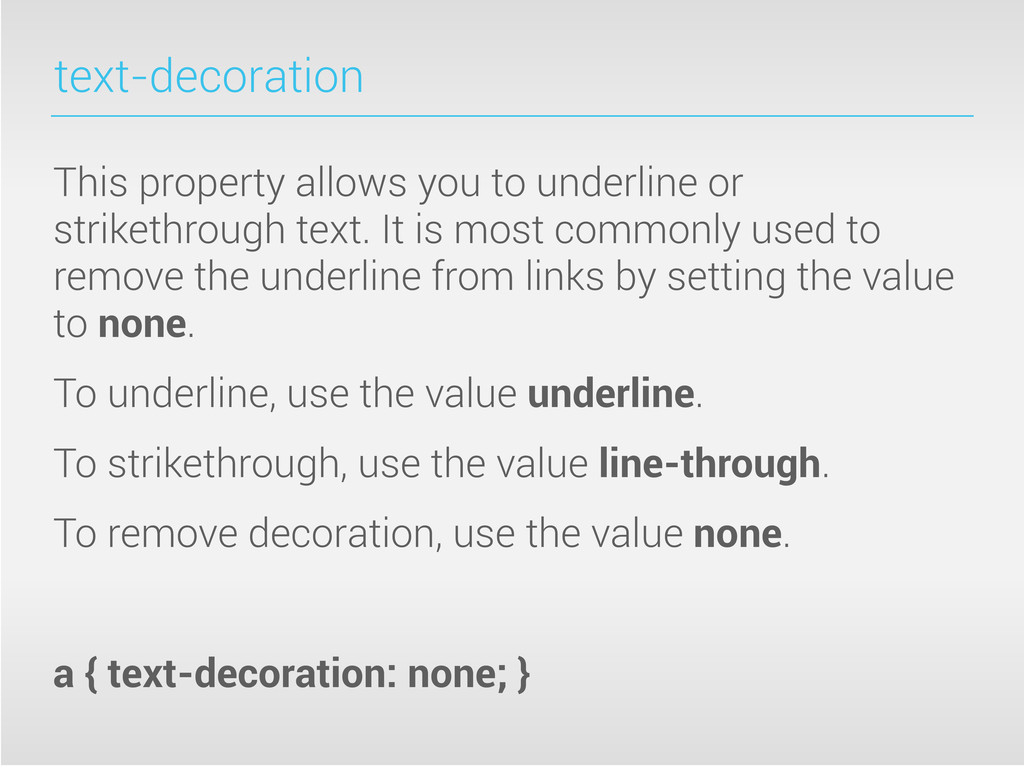
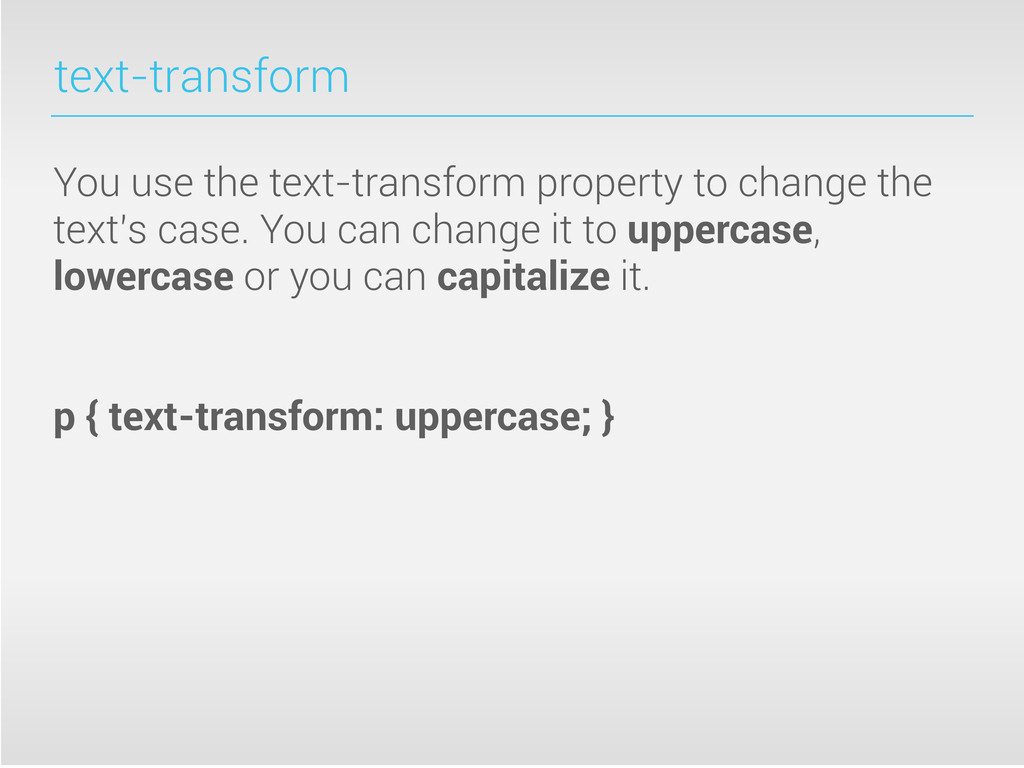
It is most commonly used to remove the underline from links by setting the value to none. To underline, use the value underline. To strikethrough, use the value line-through. To remove decoration, use the value none. a { text-decoration: none; }
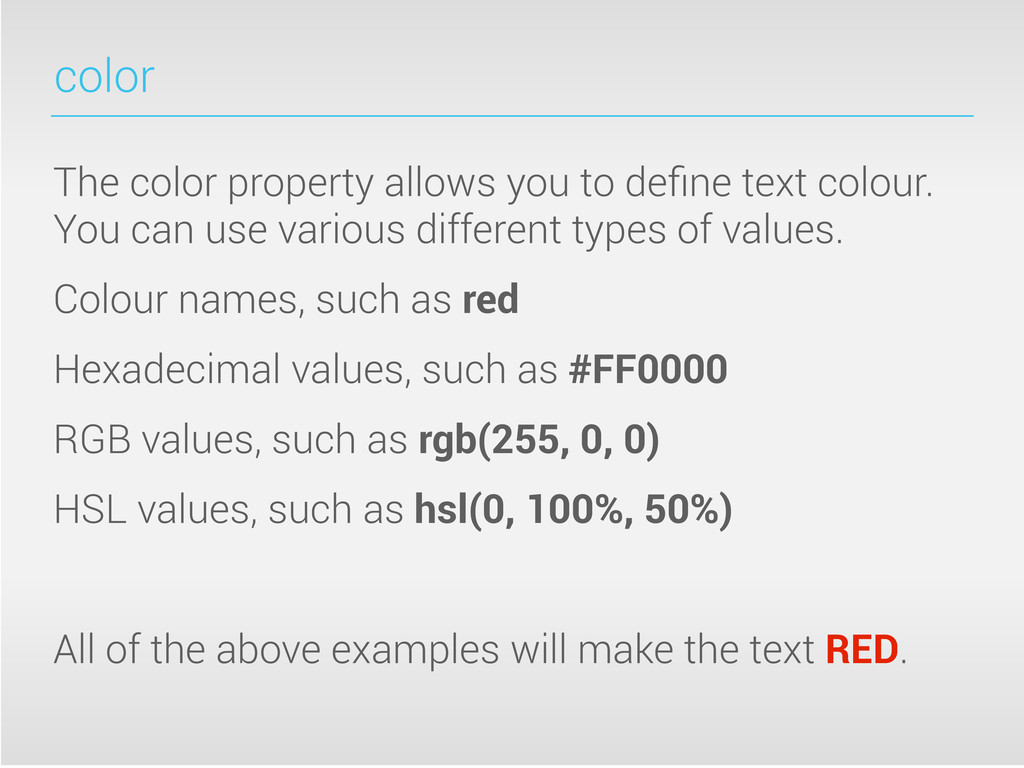
You can use various different types of values. Colour names, such as red Hexadecimal values, such as #FF0000 RGB values, such as rgb(255, 0, 0) HSL values, such as hsl(0, 100%, 50%) All of the above examples will make the text RED.
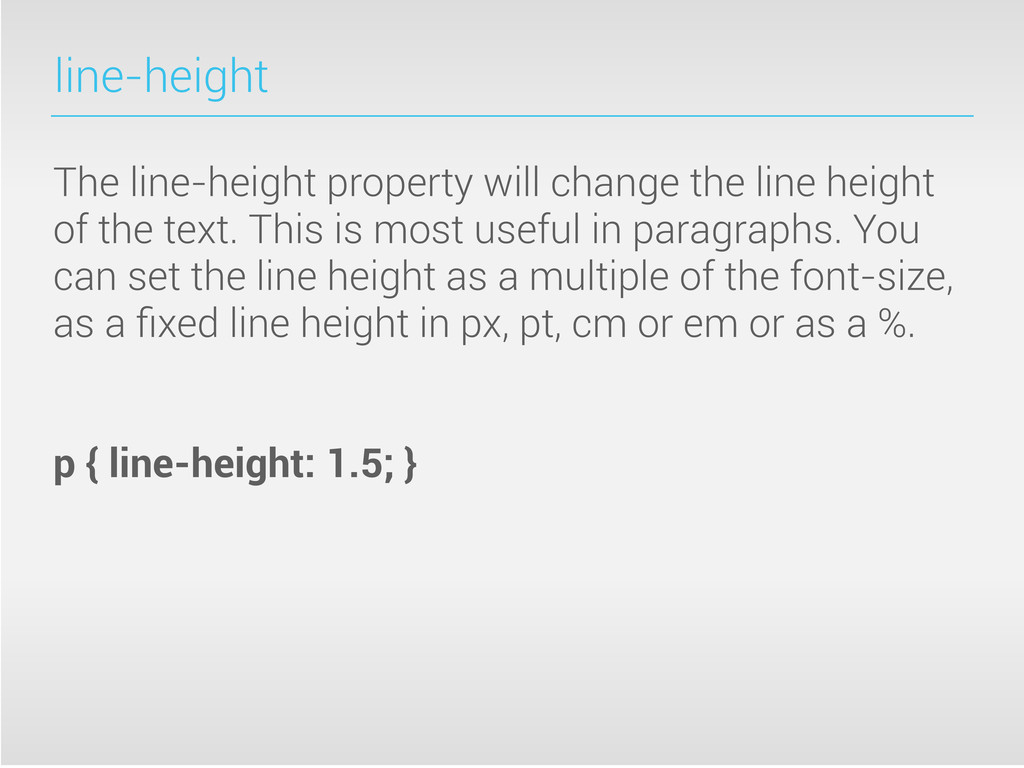
the text. This is most useful in paragraphs. You can set the line height as a multiple of the font-size, as a fixed line height in px, pt, cm or em or as a %. p { line-height: 1.5; }
ugly page that illustrates a lot of these different text CSS properties in action. I promise, we will start creating nice-looking pages really soon :-)
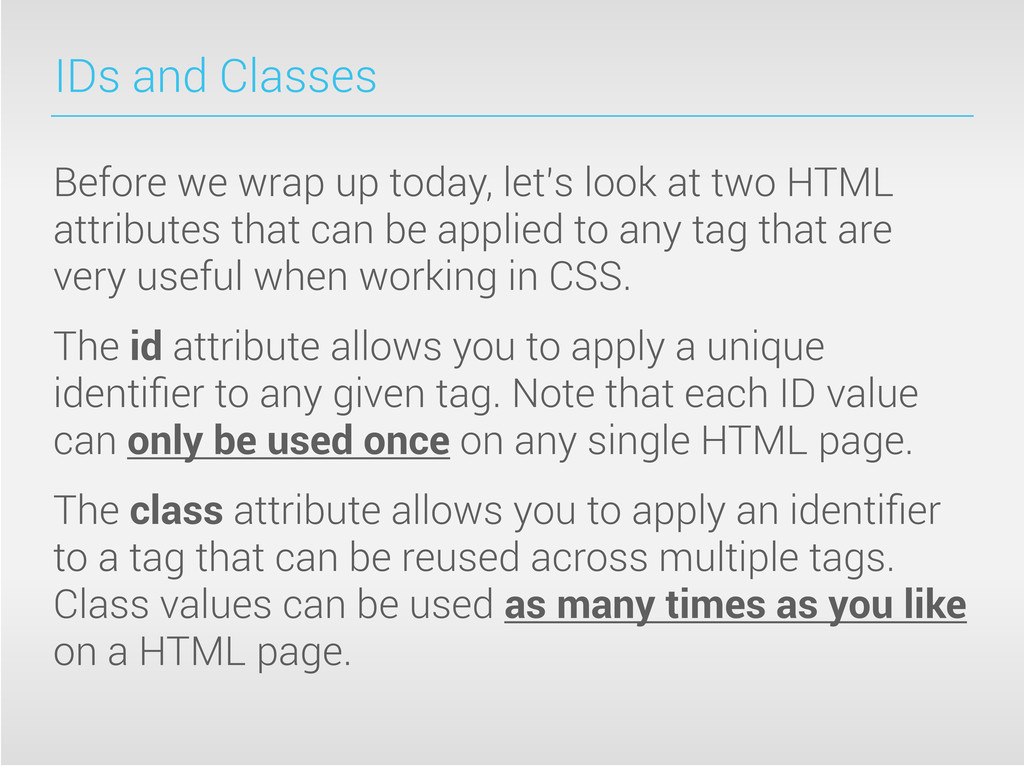
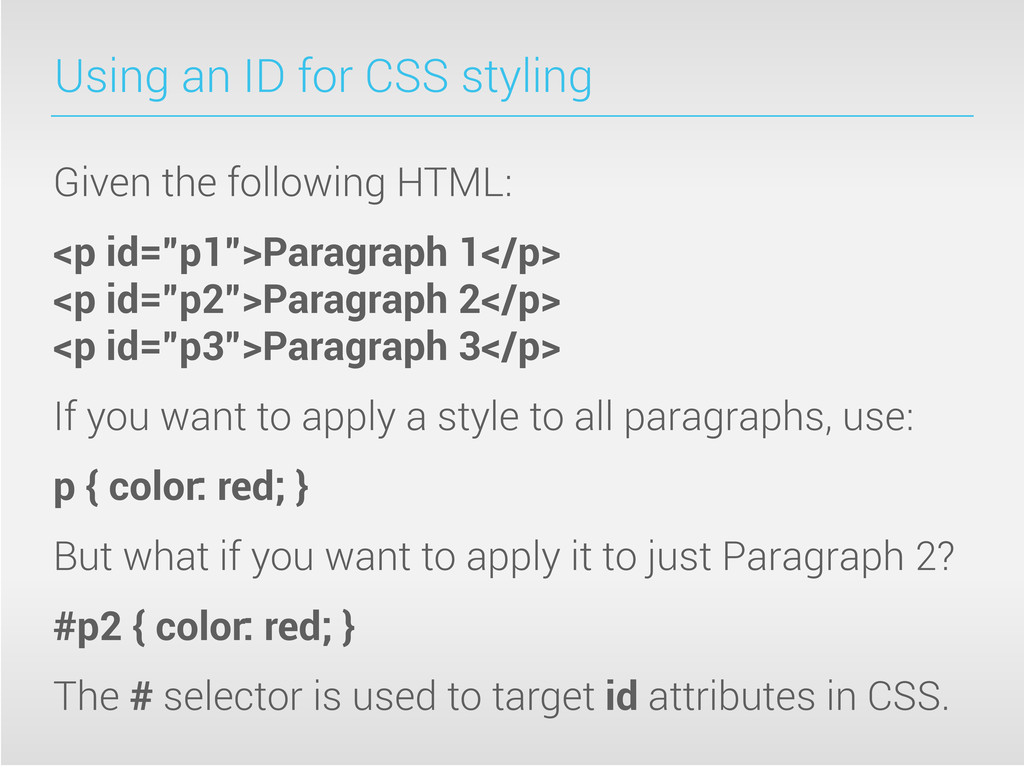
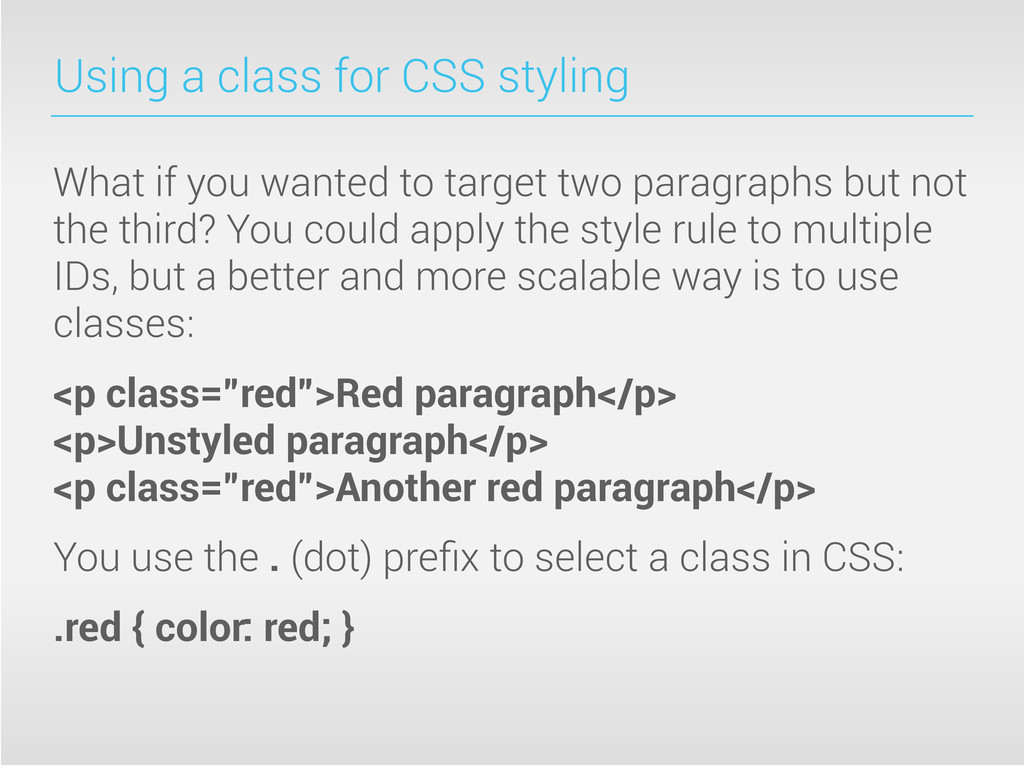
at two HTML attributes that can be applied to any tag that are very useful when working in CSS. The id attribute allows you to apply a unique identifier to any given tag. Note that each ID value can only be used once on any single HTML page. The class attribute allows you to apply an identifier to a tag that can be reused across multiple tags. Class values can be used as many times as you like on a HTML page.
<p id=”p1”>Paragraph 1</p> <p id=”p2”>Paragraph 2</p> <p id=”p3”>Paragraph 3</p> If you want to apply a style to all paragraphs, use: p { color: red; } But what if you want to apply it to just Paragraph 2? #p2 { color: red; } The # selector is used to target id attributes in CSS.
to target two paragraphs but not the third? You could apply the style rule to multiple IDs, but a better and more scalable way is to use classes: <p class=”red”>Red paragraph</p> <p>Unstyled paragraph</p> <p class=”red”>Another red paragraph</p> You use the . (dot) prefix to select a class in CSS: .red { color: red; }
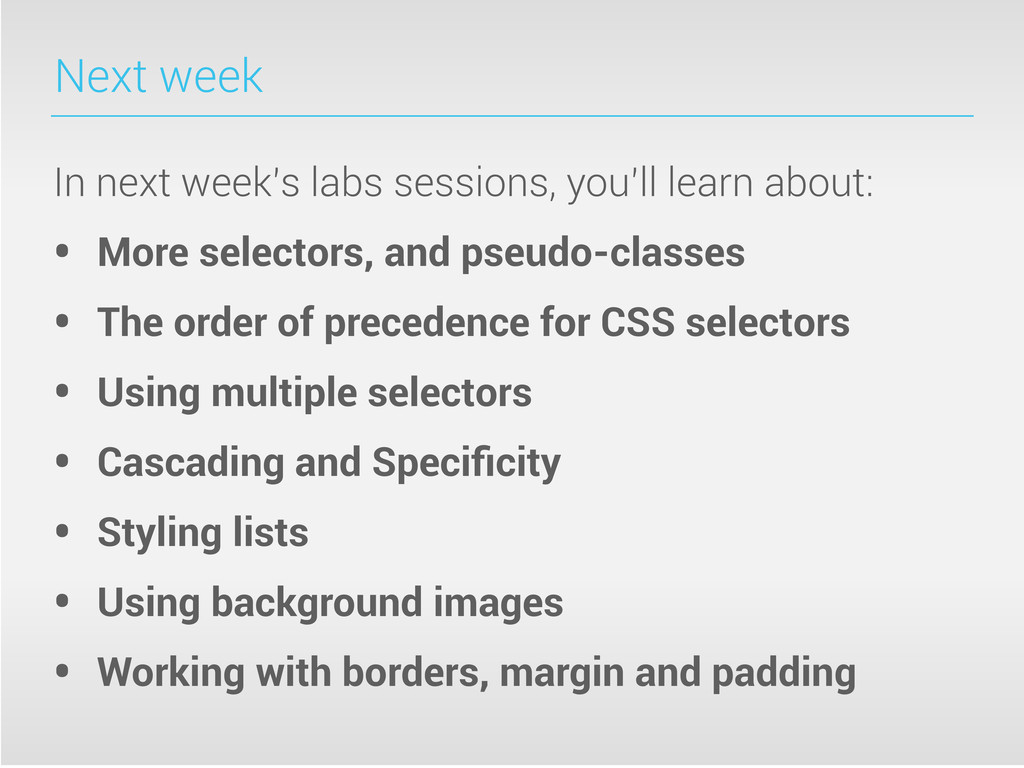
• More selectors, and pseudo-classes • The order of precedence for CSS selectors • Using multiple selectors • Cascading and Specificity • Styling lists • Using background images • Working with borders, margin and padding