ever heard of a JavaScript framework, and if so could they name it. We got answers such as Nope, Noo and Nah. Let’s try again - hopefully some of you have found some interesting frameworks and libraries that we can talk about.
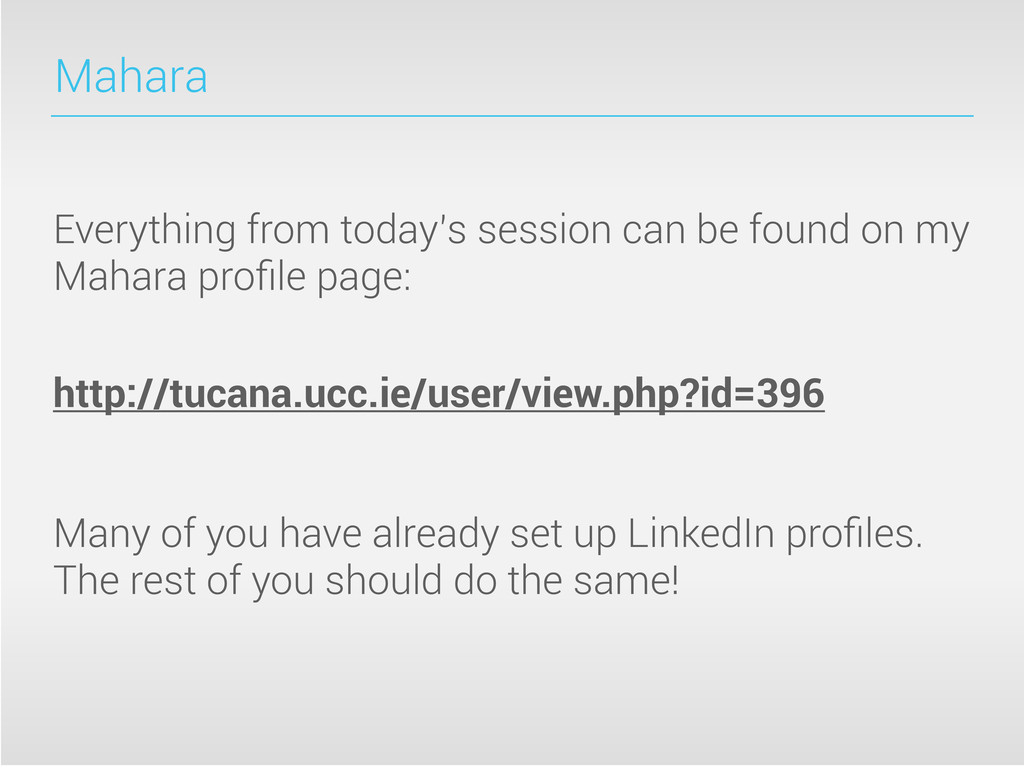
will be available on Speaker Deck @ speakerdeck.com All of the code examples will be posted on GitHub @ github.com/joelennon/is1103-labs I will post links to everything on Mahara, so be sure to keep an eye on my profile there for updates each and every week.
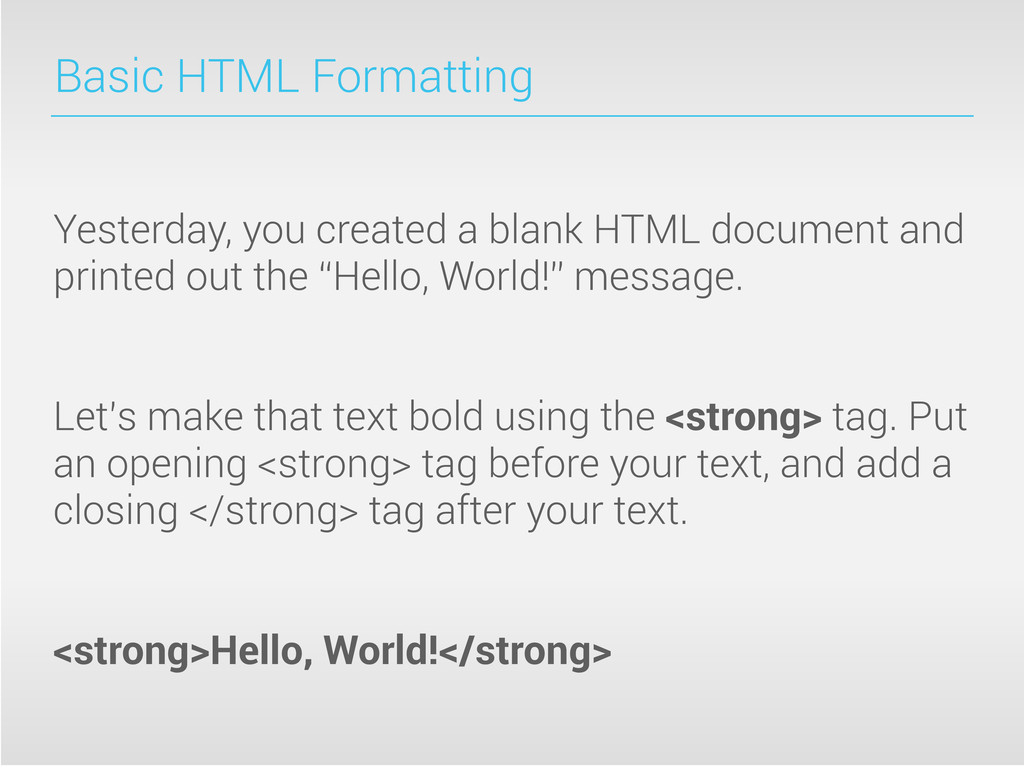
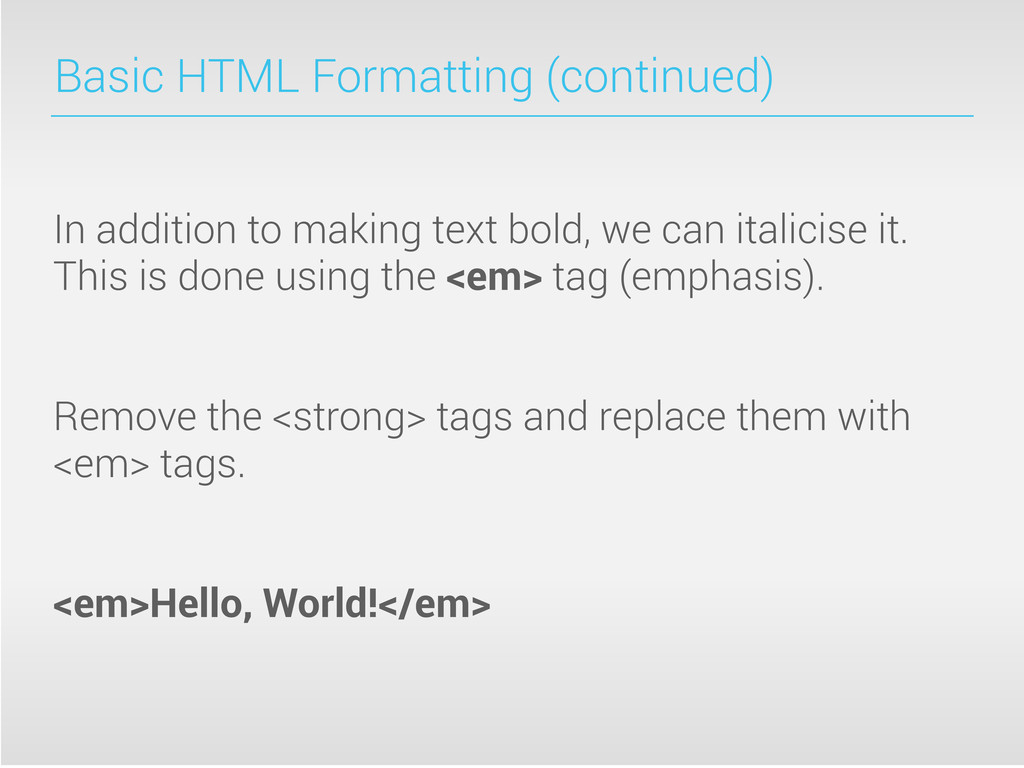
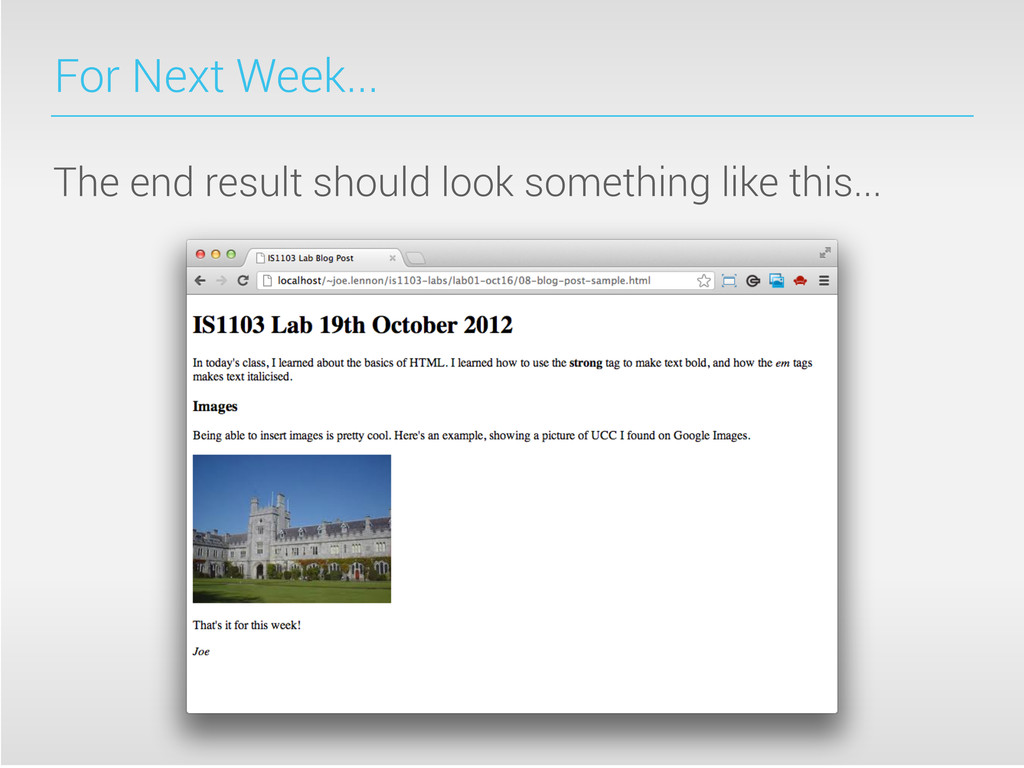
and printed out the “Hello, World!” message. Let’s make that text bold using the <strong> tag. Put an opening <strong> tag before your text, and add a closing </strong> tag after your text. <strong>Hello, World!</strong>
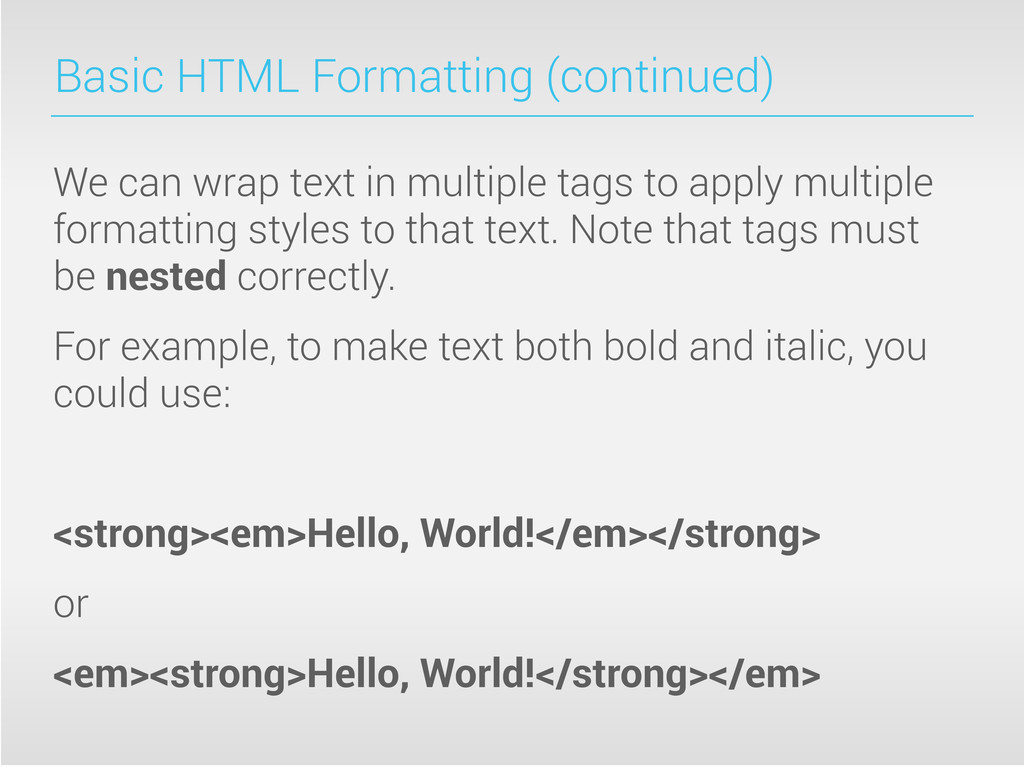
tags to apply multiple formatting styles to that text. Note that tags must be nested correctly. For example, to make text both bold and italic, you could use: <strong><em>Hello, World!</em></strong> or <em><strong>Hello, World!</strong></em>
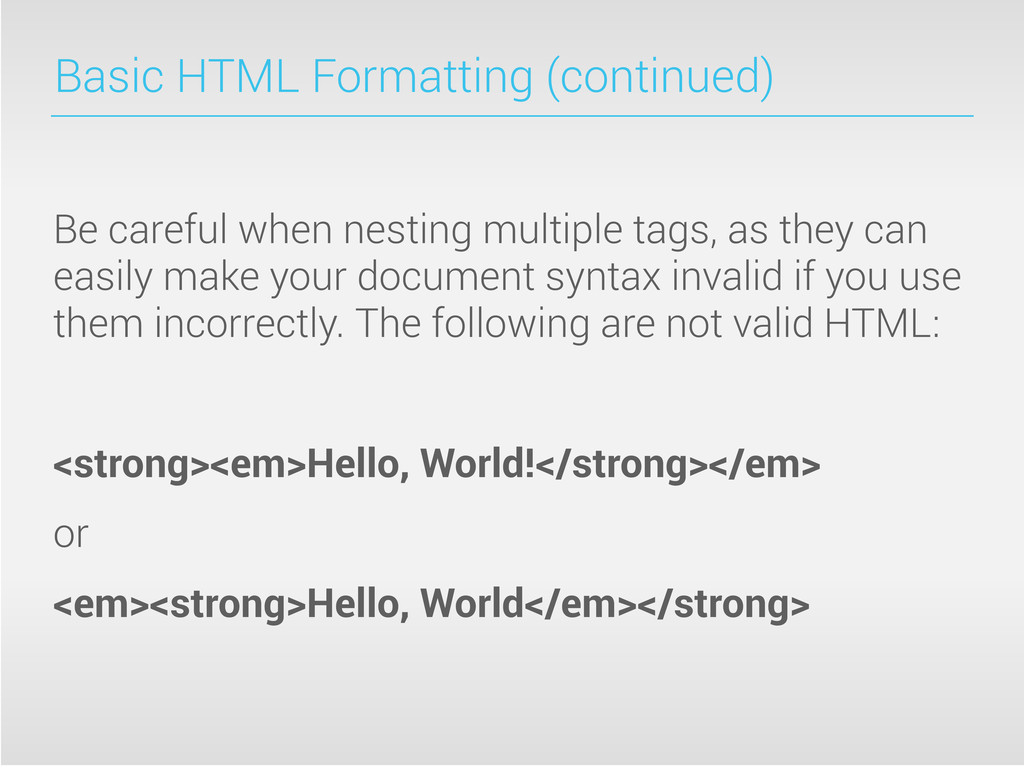
as they can easily make your document syntax invalid if you use them incorrectly. The following are not valid HTML: <strong><em>Hello, World!</strong></em> or <em><strong>Hello, World</em></strong>
tags you can use for basic formatting. These include: <small>Make text small</small> <s>Strikethrough</s> <sub>Subscript</sub> <sup>Superscript</sup> <code>Monospaced font</code> There are other tags too, but...
tags are no longer considered valid. These include <b>, <i>, <u> and various others. To make things even more confusing, some of these tags are considered valid again in HTML5, but with a completely new meaning - <b> does not mean Bold! The simplest way to tackle this is to stay away from HTML formatting altogether and use CSS (Cascading Style Sheets) instead. We’ll be covering CSS in detail over the course of the year.
page using a series of number heading tags. <h1>Heading 1</h1> <h2>Heading 2</h2> <h3>Heading 3</h3> <h4>Heading 4</h4> <h5>Heading 5</h5> <h6>Heading 6</h6>
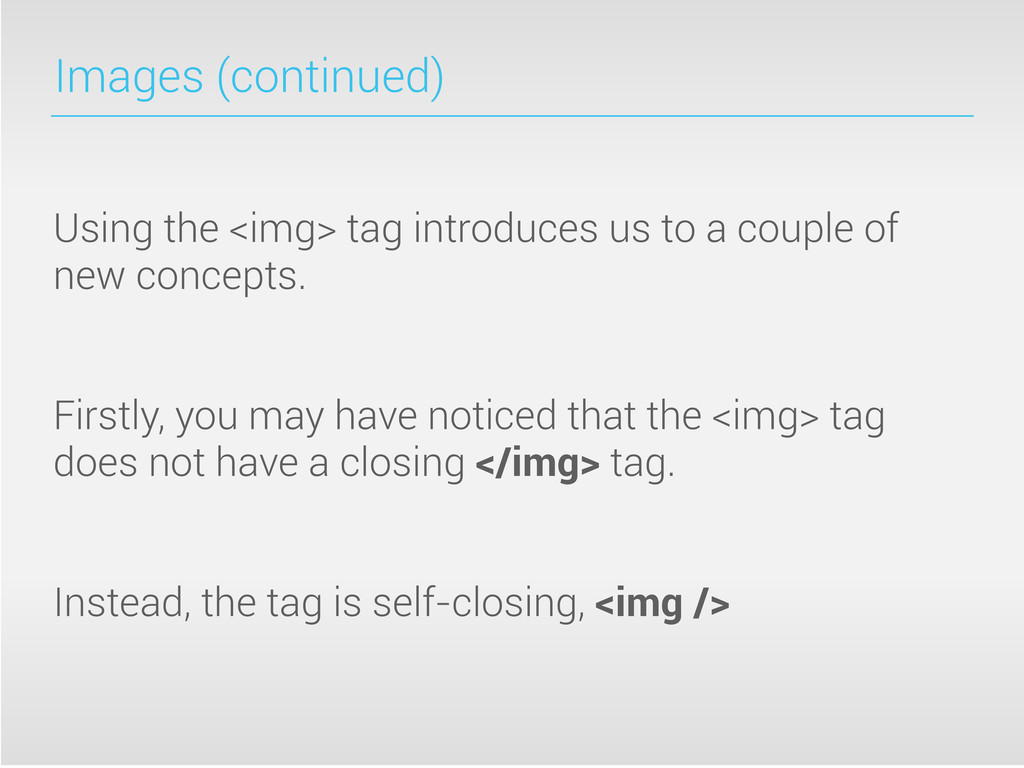
include images by telling the <img> tag where to find the image using the src attribute. Attributes are key/value pairs of data that tell HTML tags extra information that is not usually rendered in the browser. <img src="myimage.png" />
should always include when using images in HTML width - The width (in pixels) of the image height - The height (in pixels) of the image alt - Alternative text to display if images are off <img src="myimage.png" width="200" height="200" alt="My Image" />
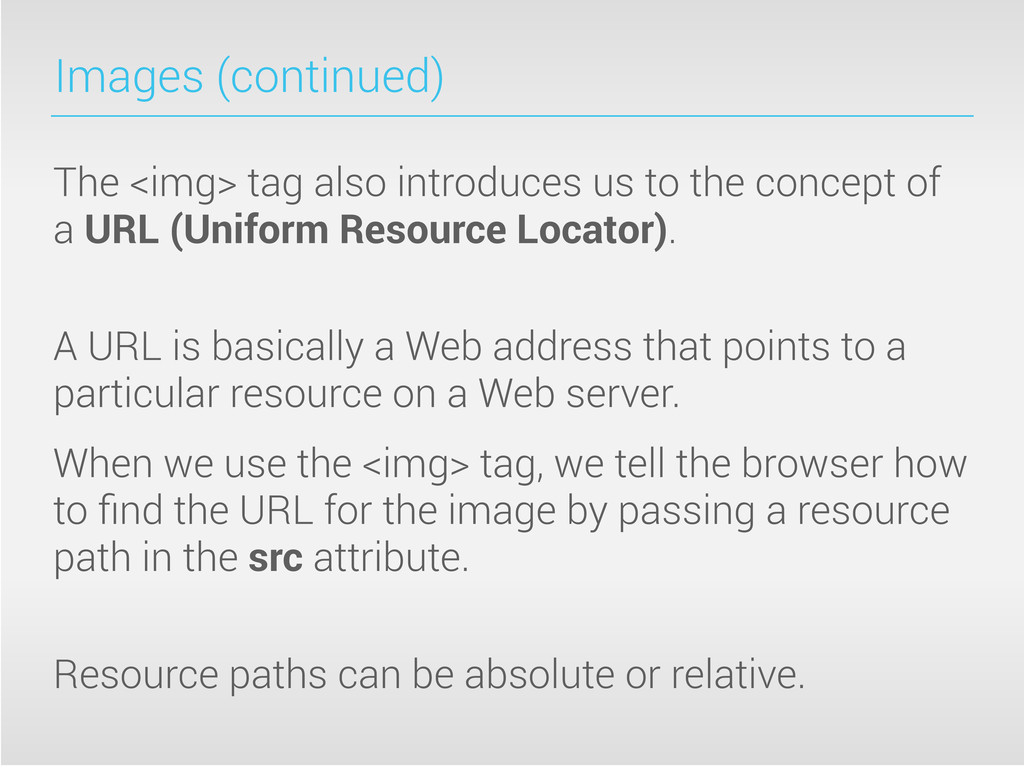
concept of a URL (Uniform Resource Locator). A URL is basically a Web address that points to a particular resource on a Web server. When we use the <img> tag, we tell the browser how to find the URL for the image by passing a resource path in the src attribute. Resource paths can be absolute or relative.
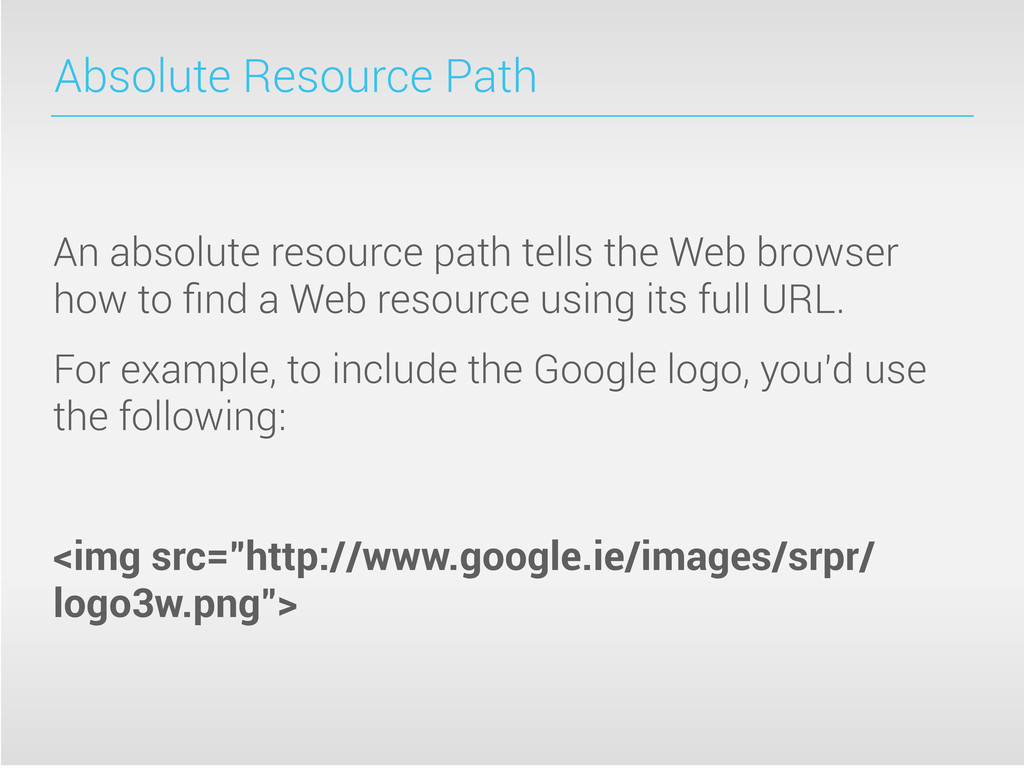
browser how to find a Web resource using its full URL. For example, to include the Google logo, you’d use the following: <img src="http://www.google.ie/images/srpr/ logo3w.png">
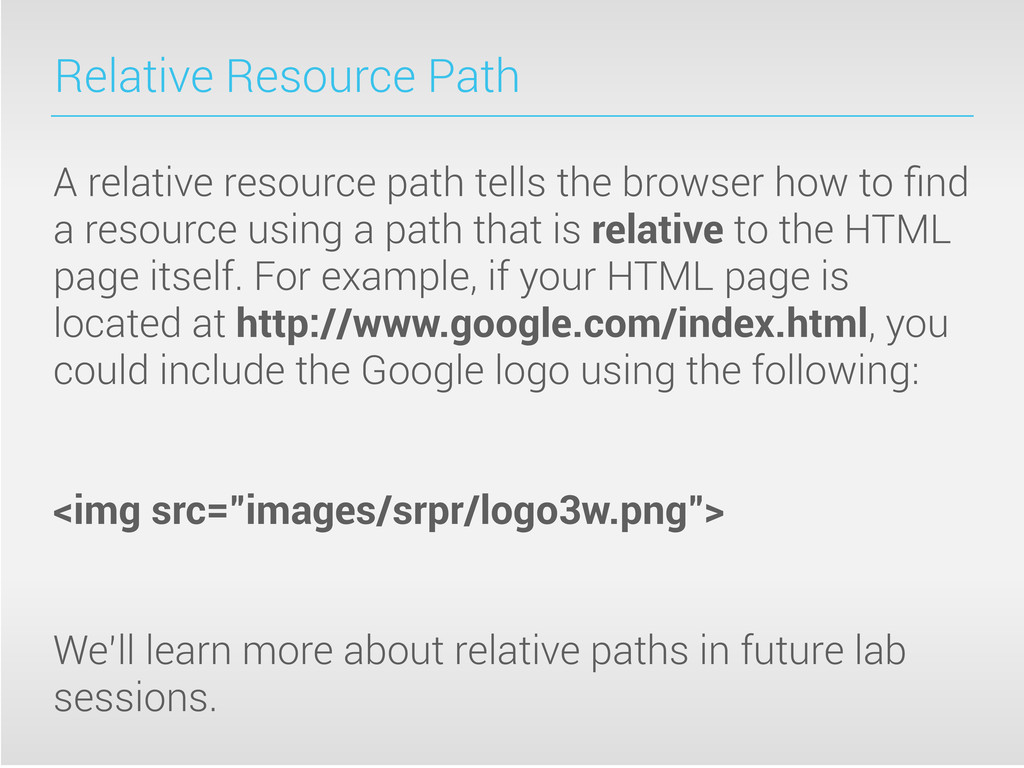
how to find a resource using a path that is relative to the HTML page itself. For example, if your HTML page is located at http://www.google.com/index.html, you could include the Google logo using the following: <img src="images/srpr/logo3w.png"> We’ll learn more about relative paths in future lab sessions.
link to other pages and websites. We’ll see how you can create lists, and how to create lists within lists. You’ll learn about three types of lists - unordered (bullet), ordered (numbered) and definition (glossary-style) lists. You’ll learn how to build a table in HTML, with rows and columns like you might see in an Excel document. We’ll also talk a little bit about HTML frames.